Bar End Plugs for Trail’s Edge Moose Mitts

Trail’s Edge Moose Mitts are a winter cycling accessory that I’d have a hard time living without and something I recommend to all new winter riders†. They are a mountain bike specific version of the pogie, designed to allow one to wear summer time gloves while riding in cold weather.
As I’ve had mine since January 2009, using them every winter, the elastic straps designed to hold the ends of the Moose Mitts to the bars have become a bit stretched. This, coupled with the Ergon GP1 that I use, has required me to position the elastic band between my middle and ring fingers to keep them comfortably in place. This isn’t bad, per se, but isn’t the most comfortable and sometimes requires fiddling around to get it properly secured. I’d prefer an empty bar, so after soliciting advice from friends I threw something together.
Based on a suggestion from Bob Keller and his Relevate Designs pogies I decided to put a small retention device on the end of the bar for holding the elastic. Coupled with a plastic push button spring lock I have something which I think will work out pretty well. Total cost, beyond parts laying around home, was the (overpriced) $3.70 to pick up a pair of locks from Jo-Ann at 8:45pm. (Purchased via Amazon these same locks would have been cheaper for 10x as many… That’s a good demonstration of the cost of convenience…)
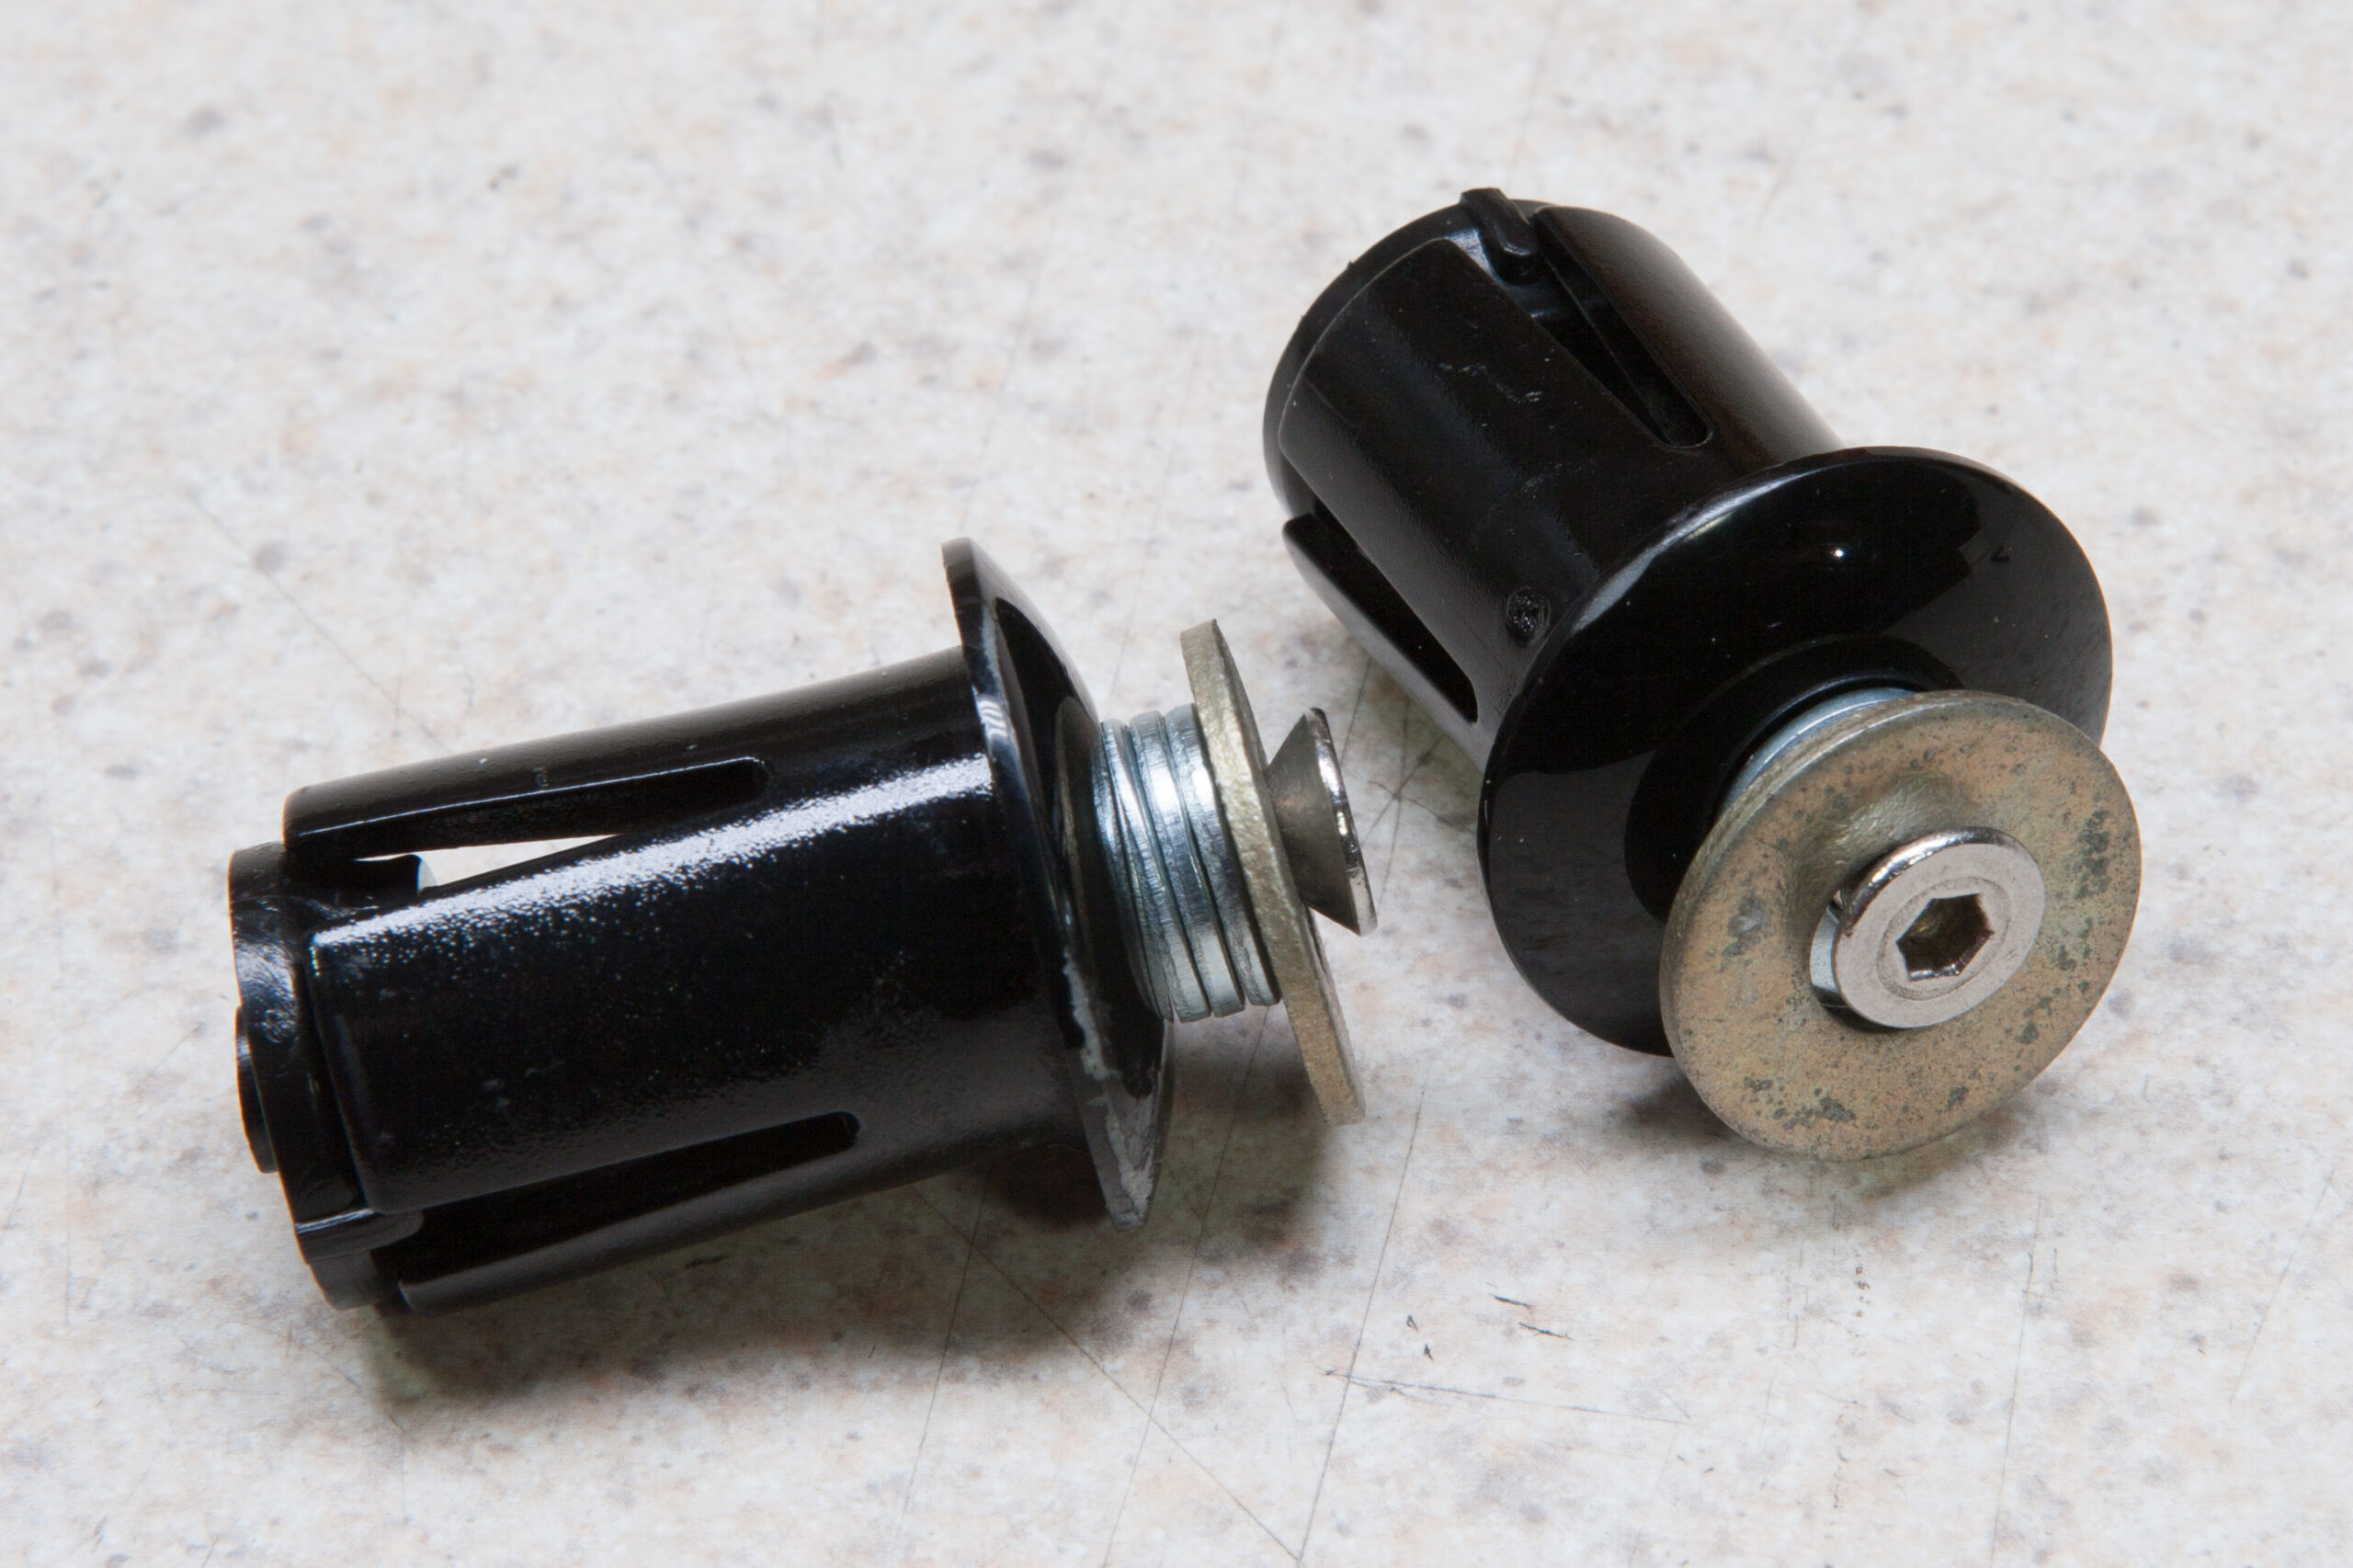
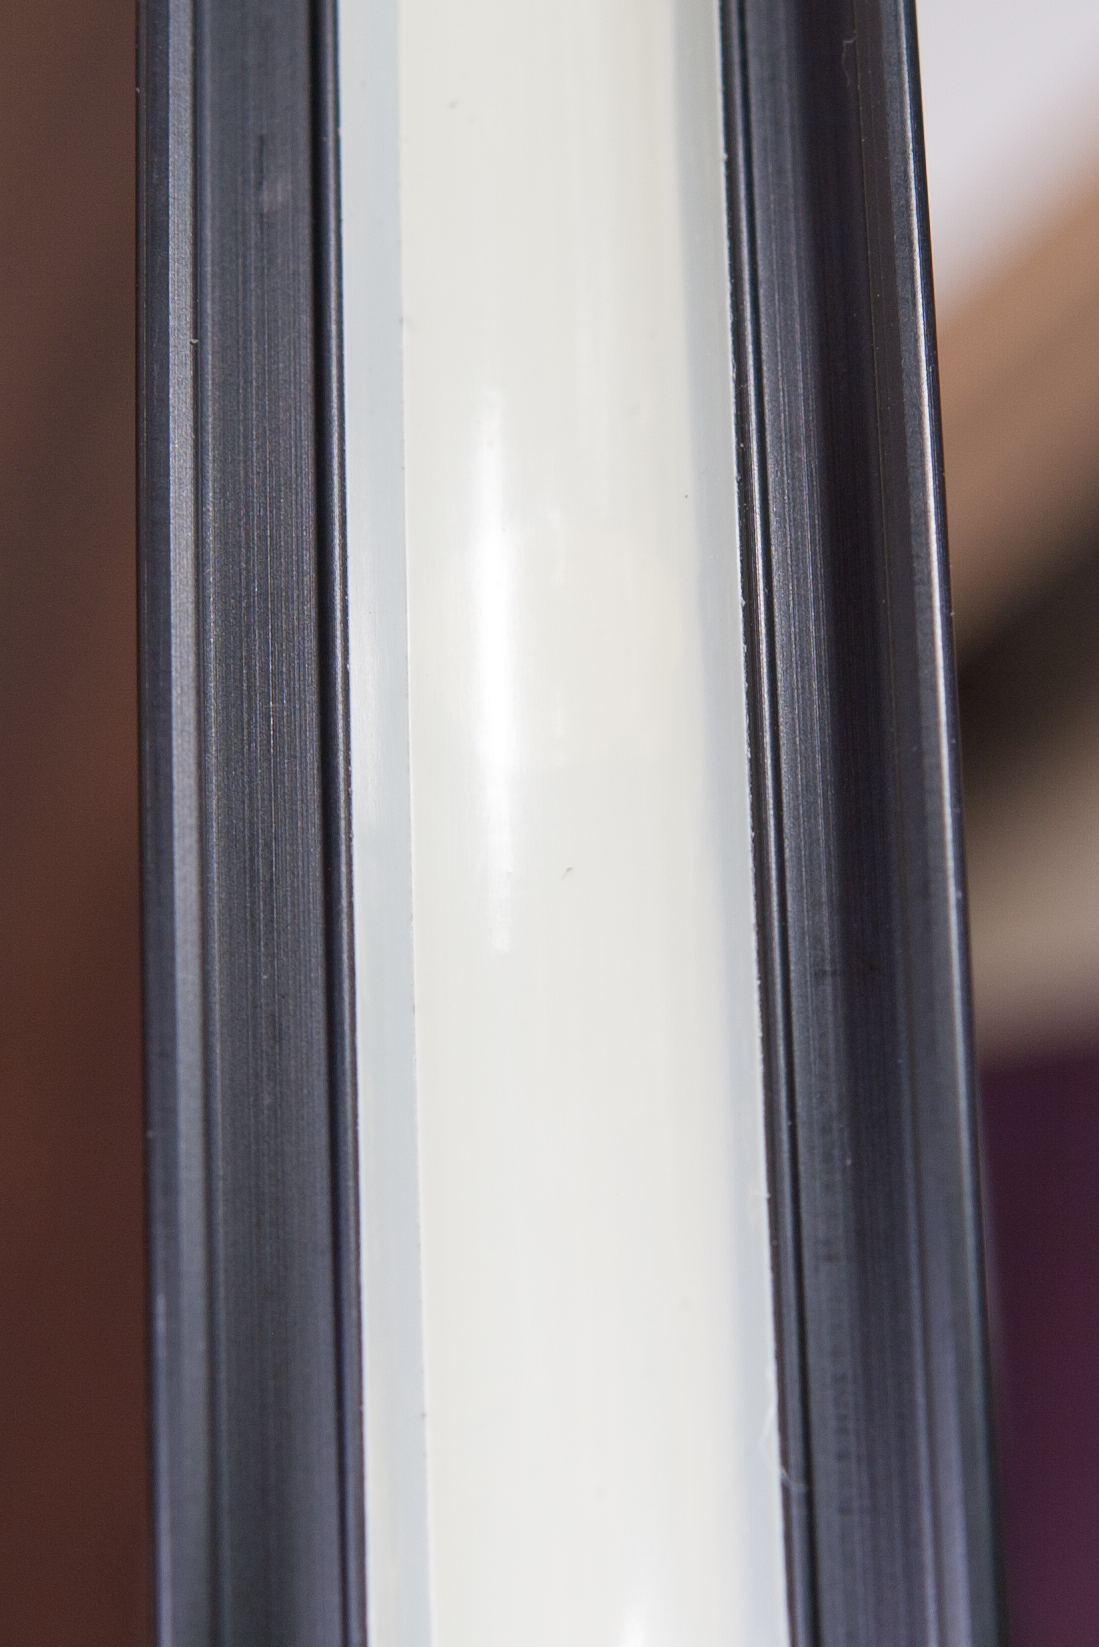
These were assembled by taking some cheap road bar plugs and fitting three small washers, one large washer, and a small piece of neoprene under the head of the bolt on the outside of the plug (photo without neoprene). After tightening up the assembly the neoprene was trimmed flush with the edge of the head of the screw (installed photo). Without the neoprene the outer water spun, and I was concerned it’d rattle while riding.
There are effectively two ways to secure the elastic strap to the bar end: tightening the lock against the body of the Moose Mitt, or tightening it against the end of the elastic strap. As shown above I’ll start with the former because this results in a Moose Mitt position most like when I’d have the strap looped around the grip and between my fingers. One downside is that loosening the strap could result in pulling the lock off of the elastic, which’d be hard to fix when out in the cold. If this becomes an issue I’ll address it by fitting a wishbone-shaped piece in the end of the elastic then sewing it shut.
UPDATE: After my first ride with this setup I think it’s great. The bars were more comfortable to hold, and the cord only popped off once; when I was fooling with the Moose Mitt itself while stopped. I’ll likely keep using this setup for a while.
† I believe that Moose Mitts are considerably better than their primary competitor, Bar Mitts. Specifically, Bar Mitts are made of too heavy of a material (neoprene) and are smaller and harder to get in and out of. For most riding here in Southeast Michigan one warms up quickly and thus only moderate insulation and wind blocking is needed to keep hands warm. This is exactly what Moose Mitts provide. I Back in 2009 I paid full price for mine, but they do happen to be made by my buddy Mike Flack and his wife Abby at their shop Trail’s Edge right here in Southeast Michigan… Moose Mitts also now come with cord locks.

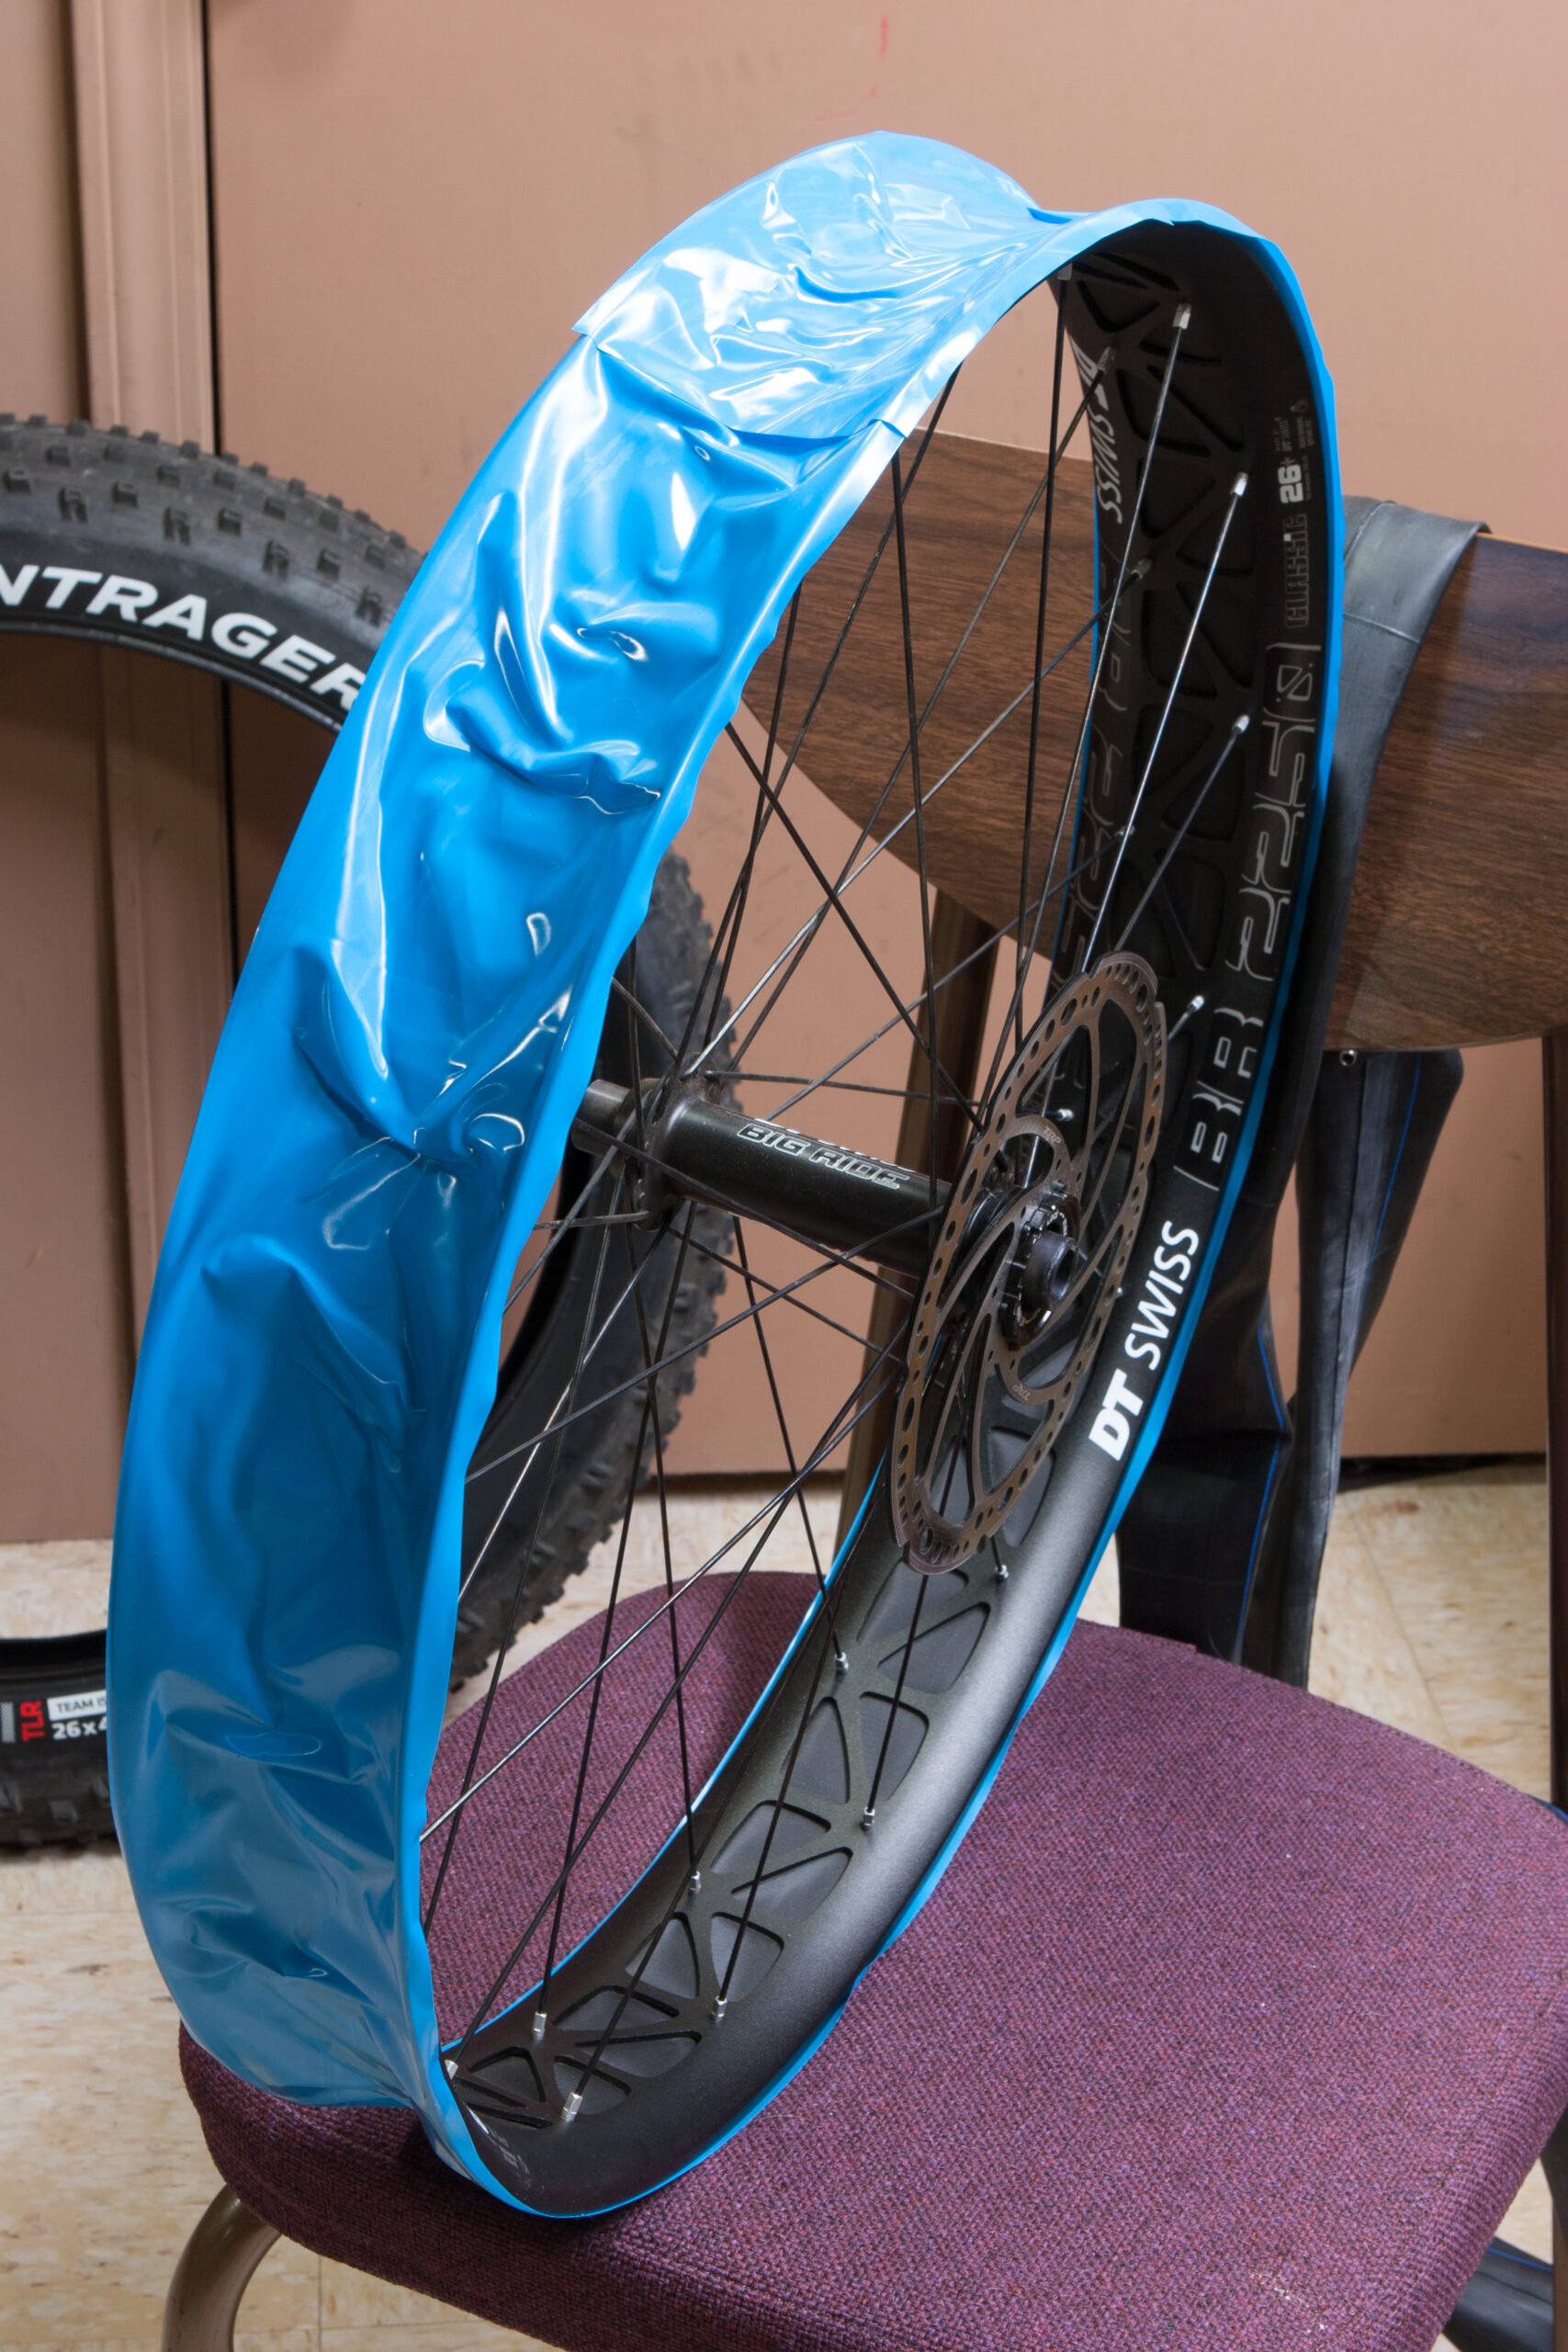
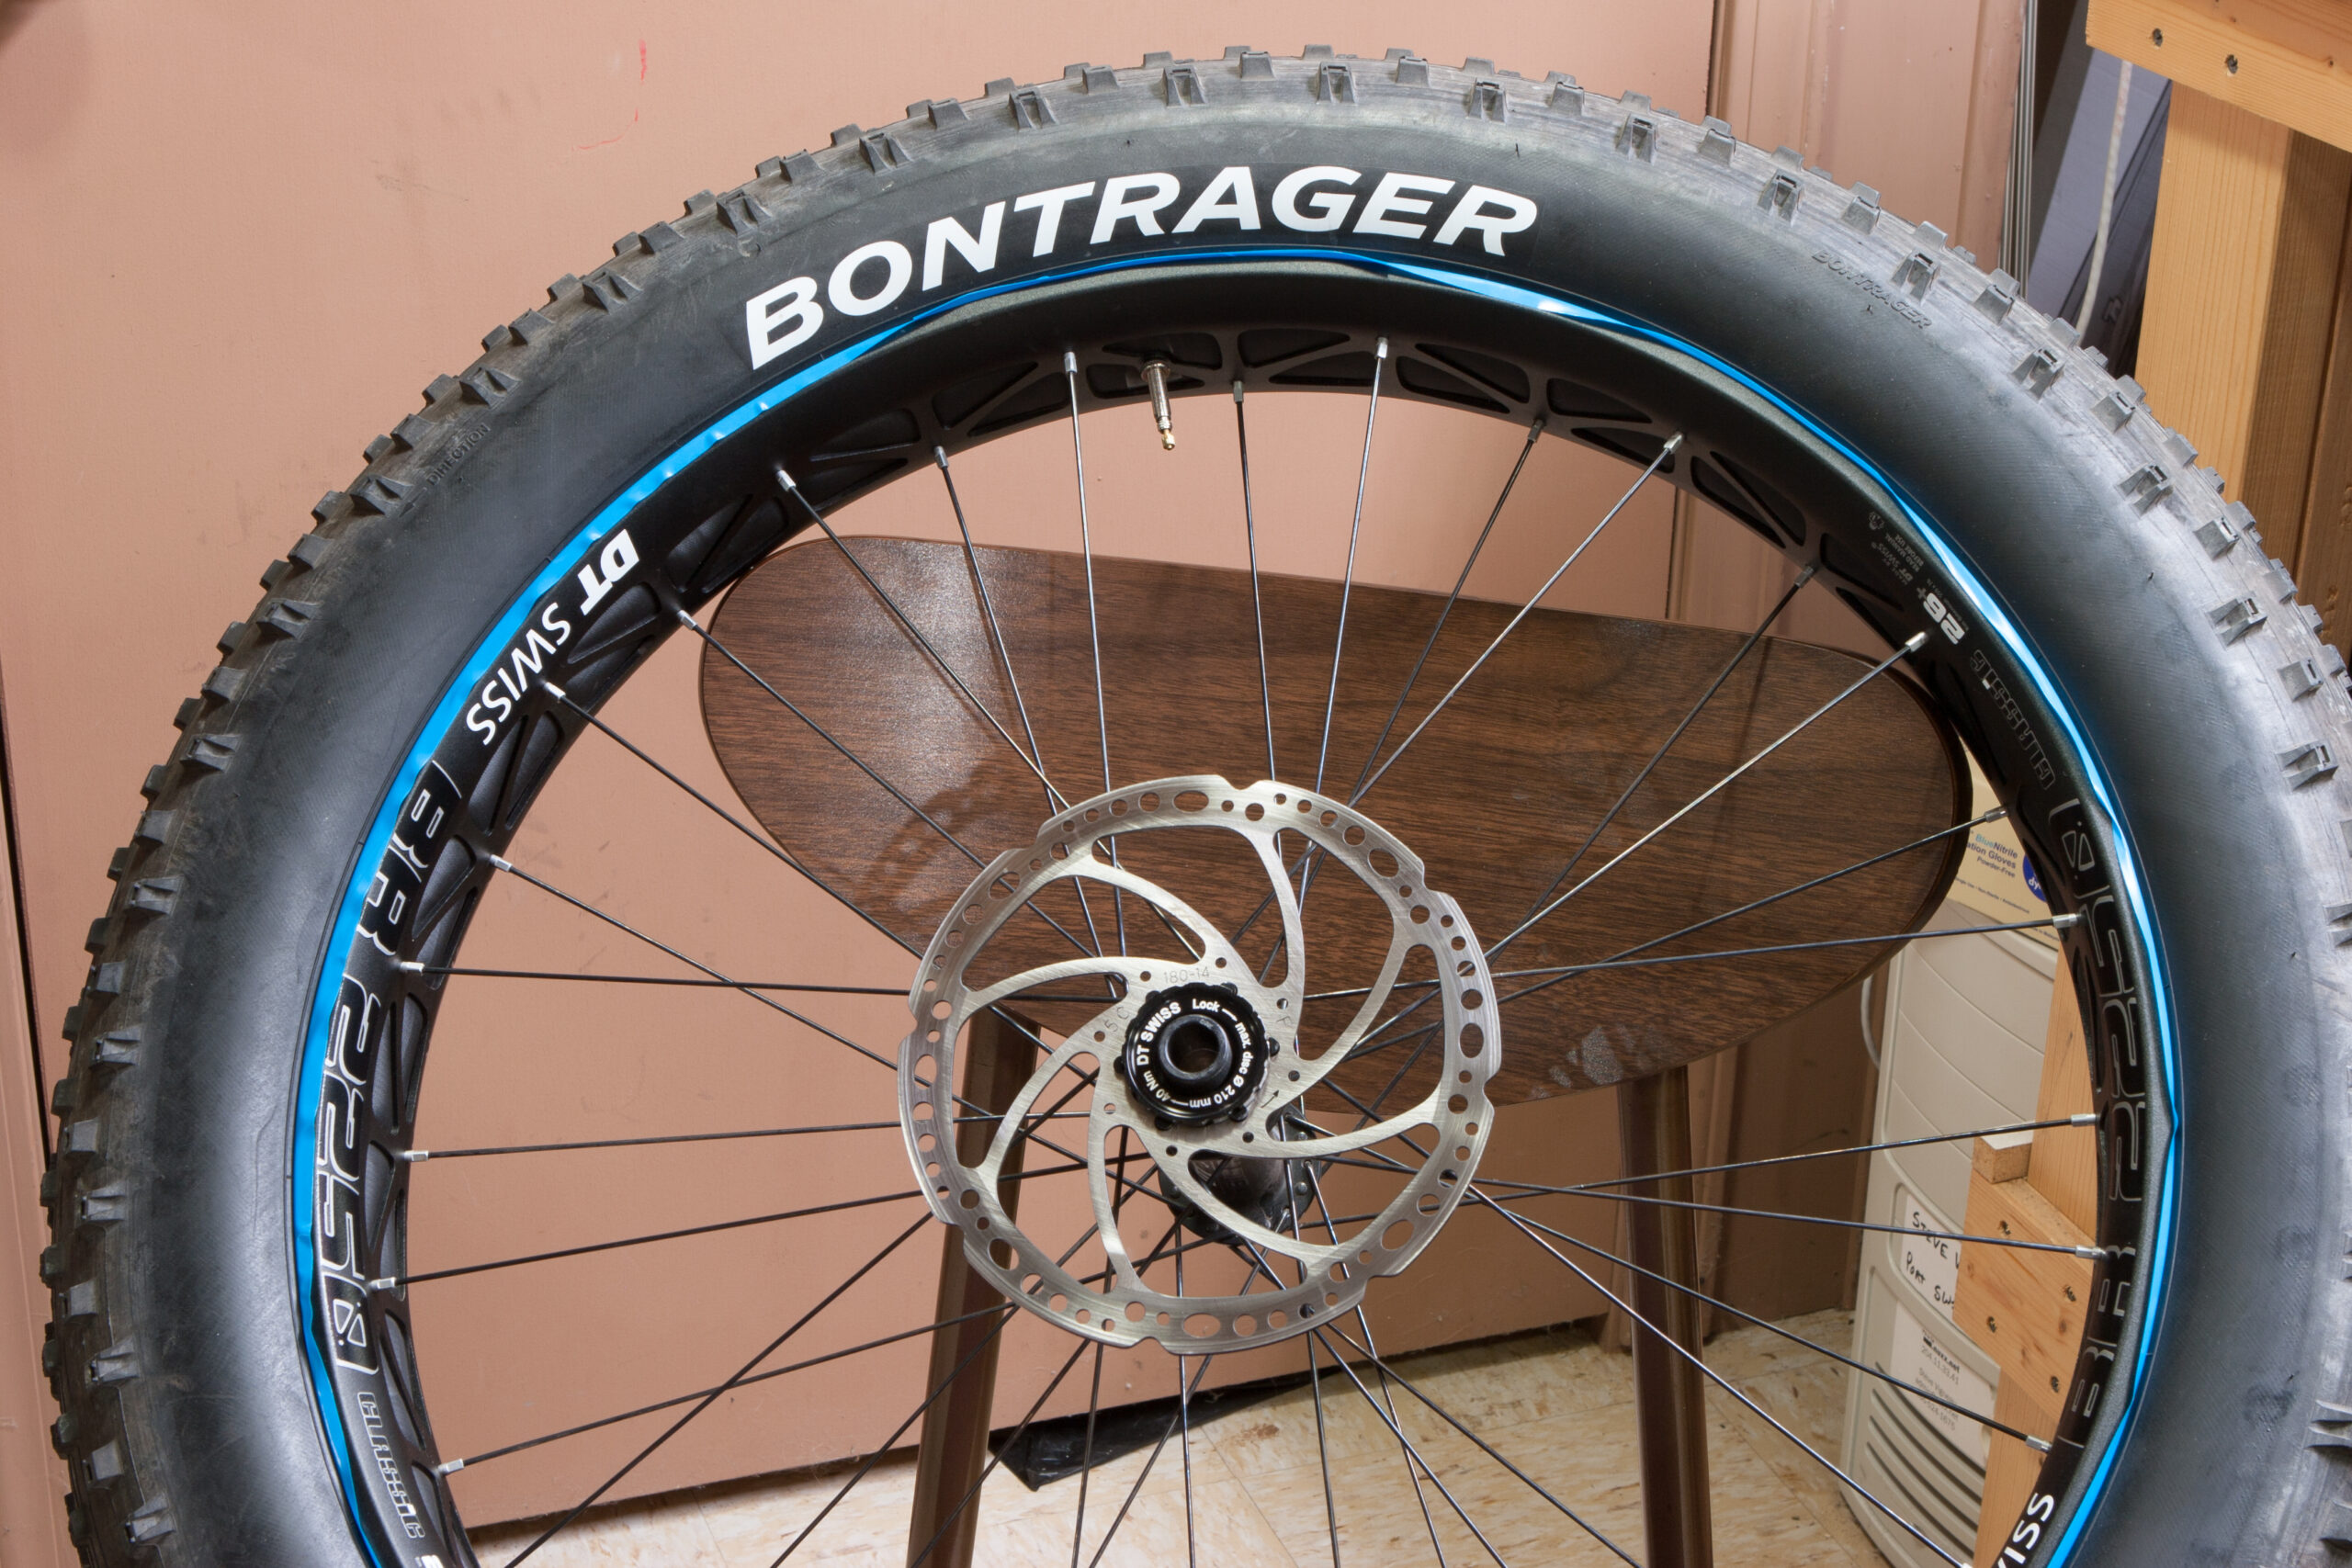
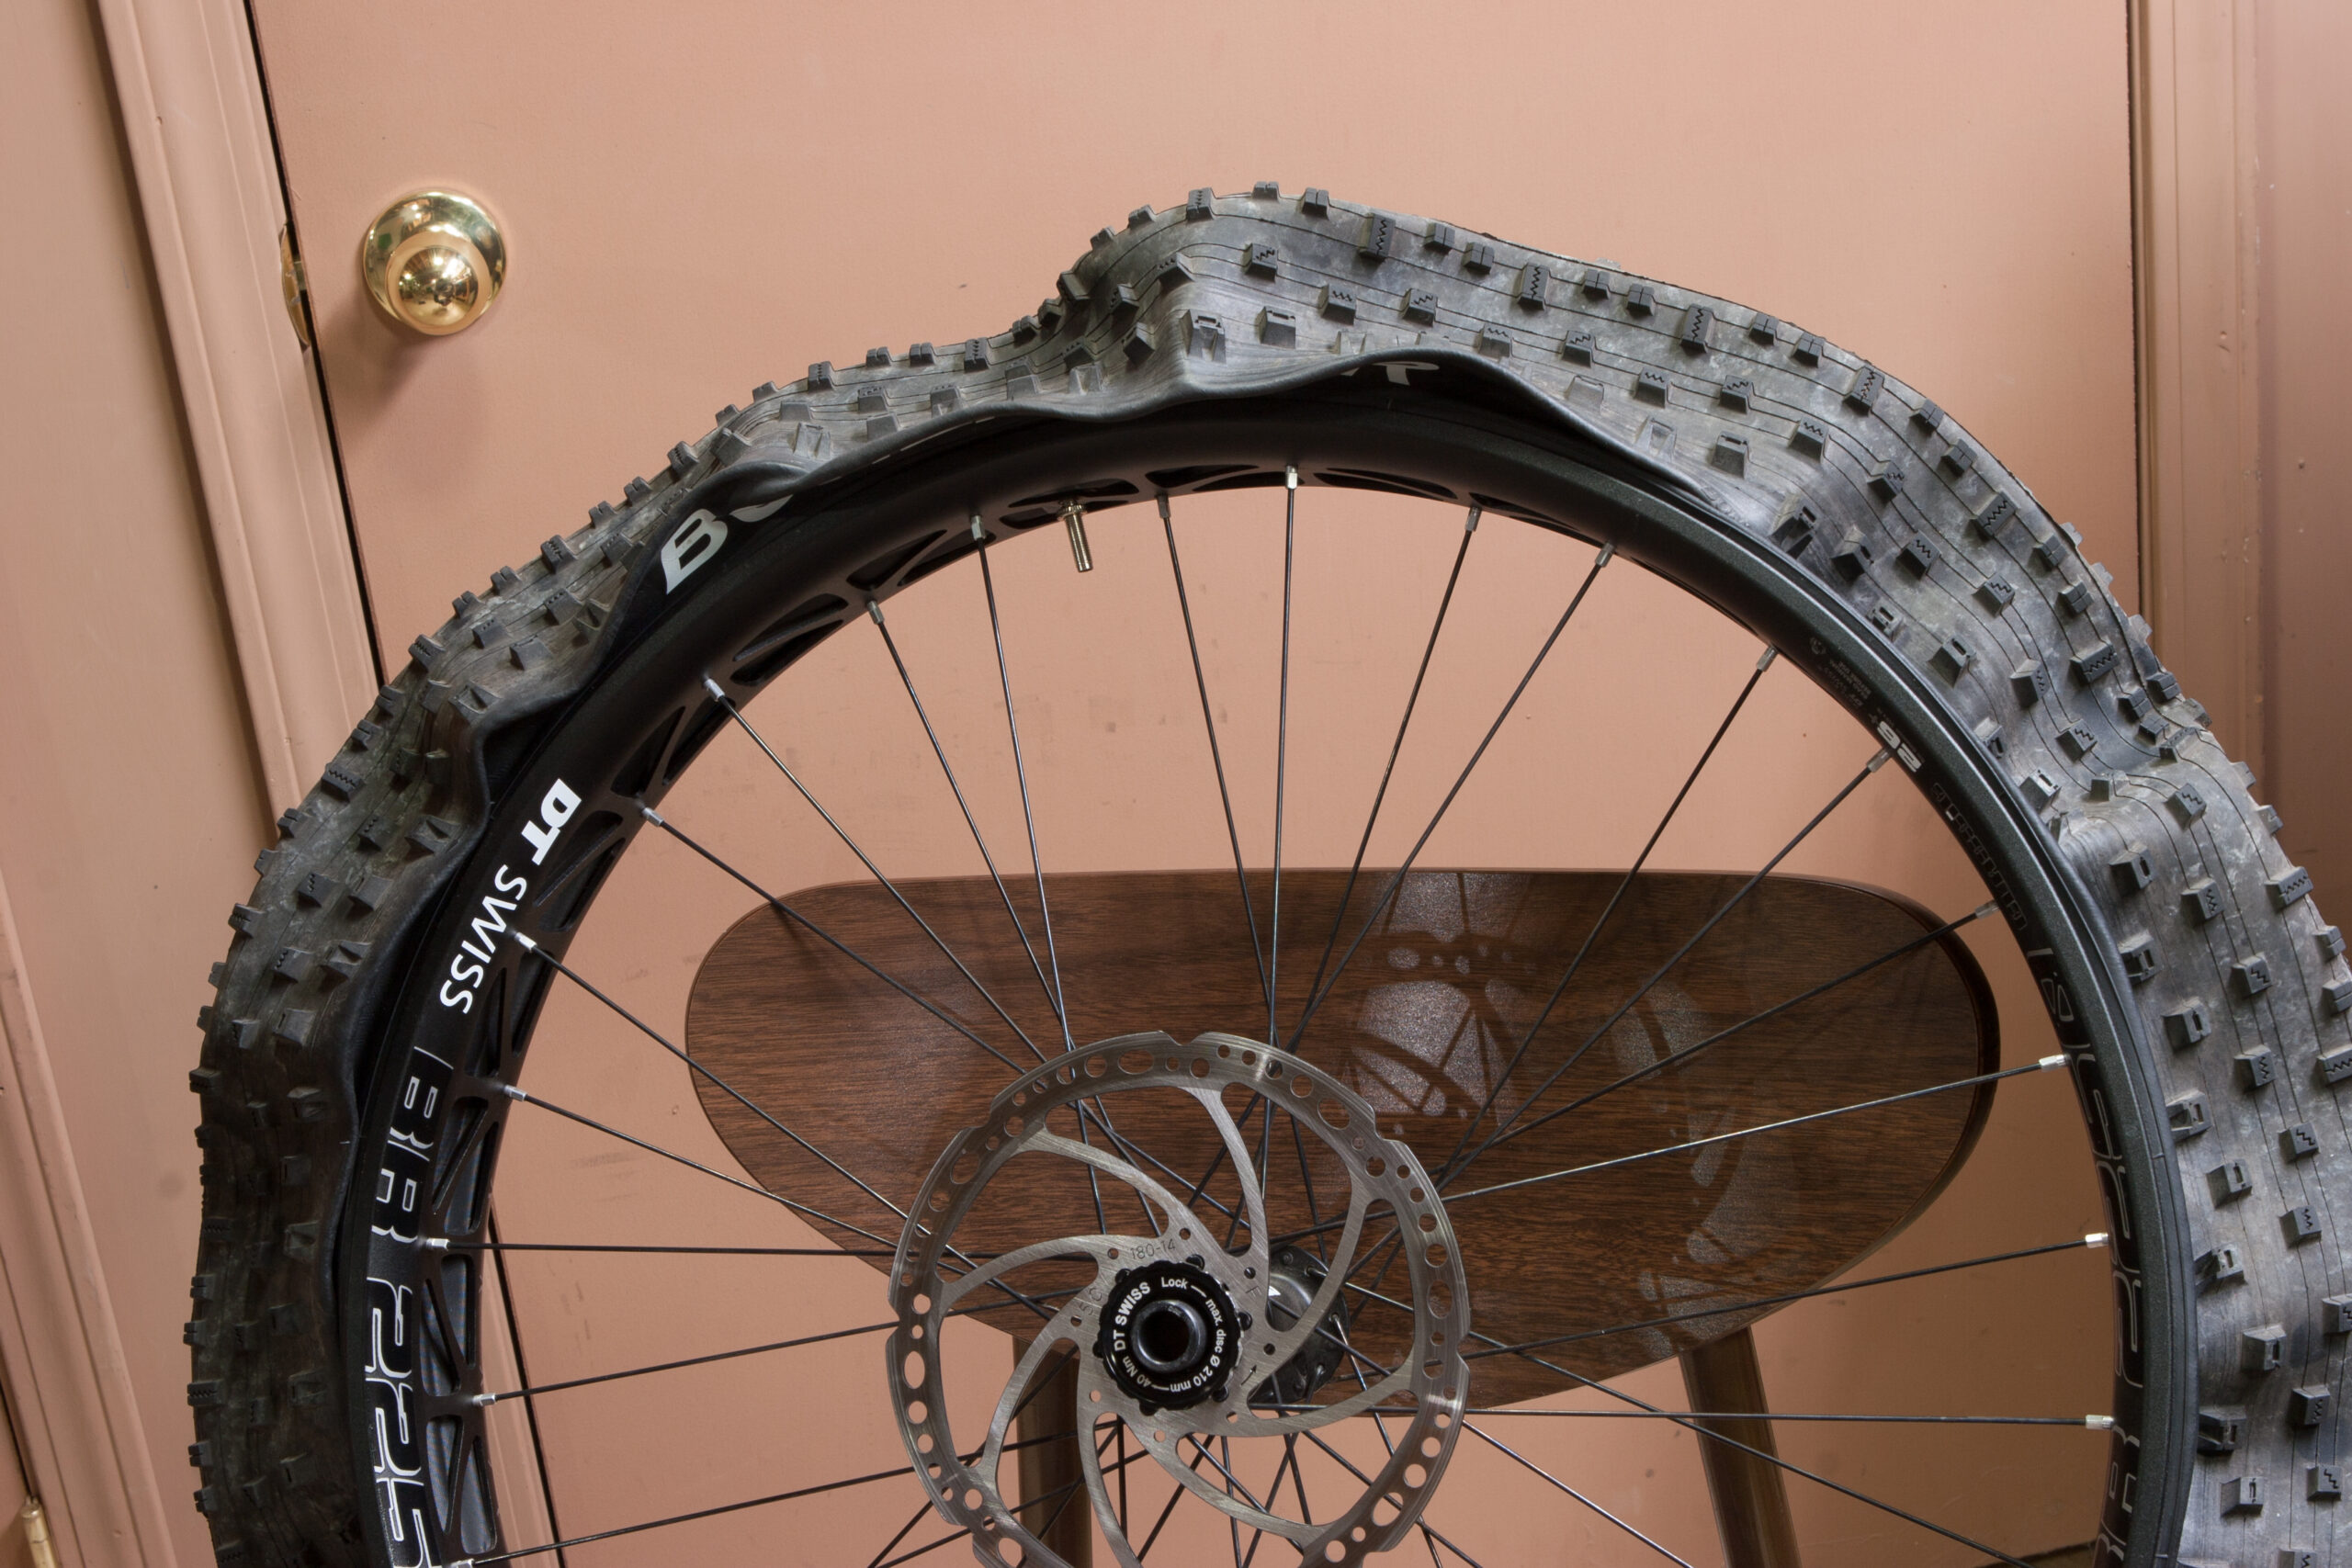
 Fat bike rims effectively come in two styles: those with weight-reducing holes cut in them (eg:
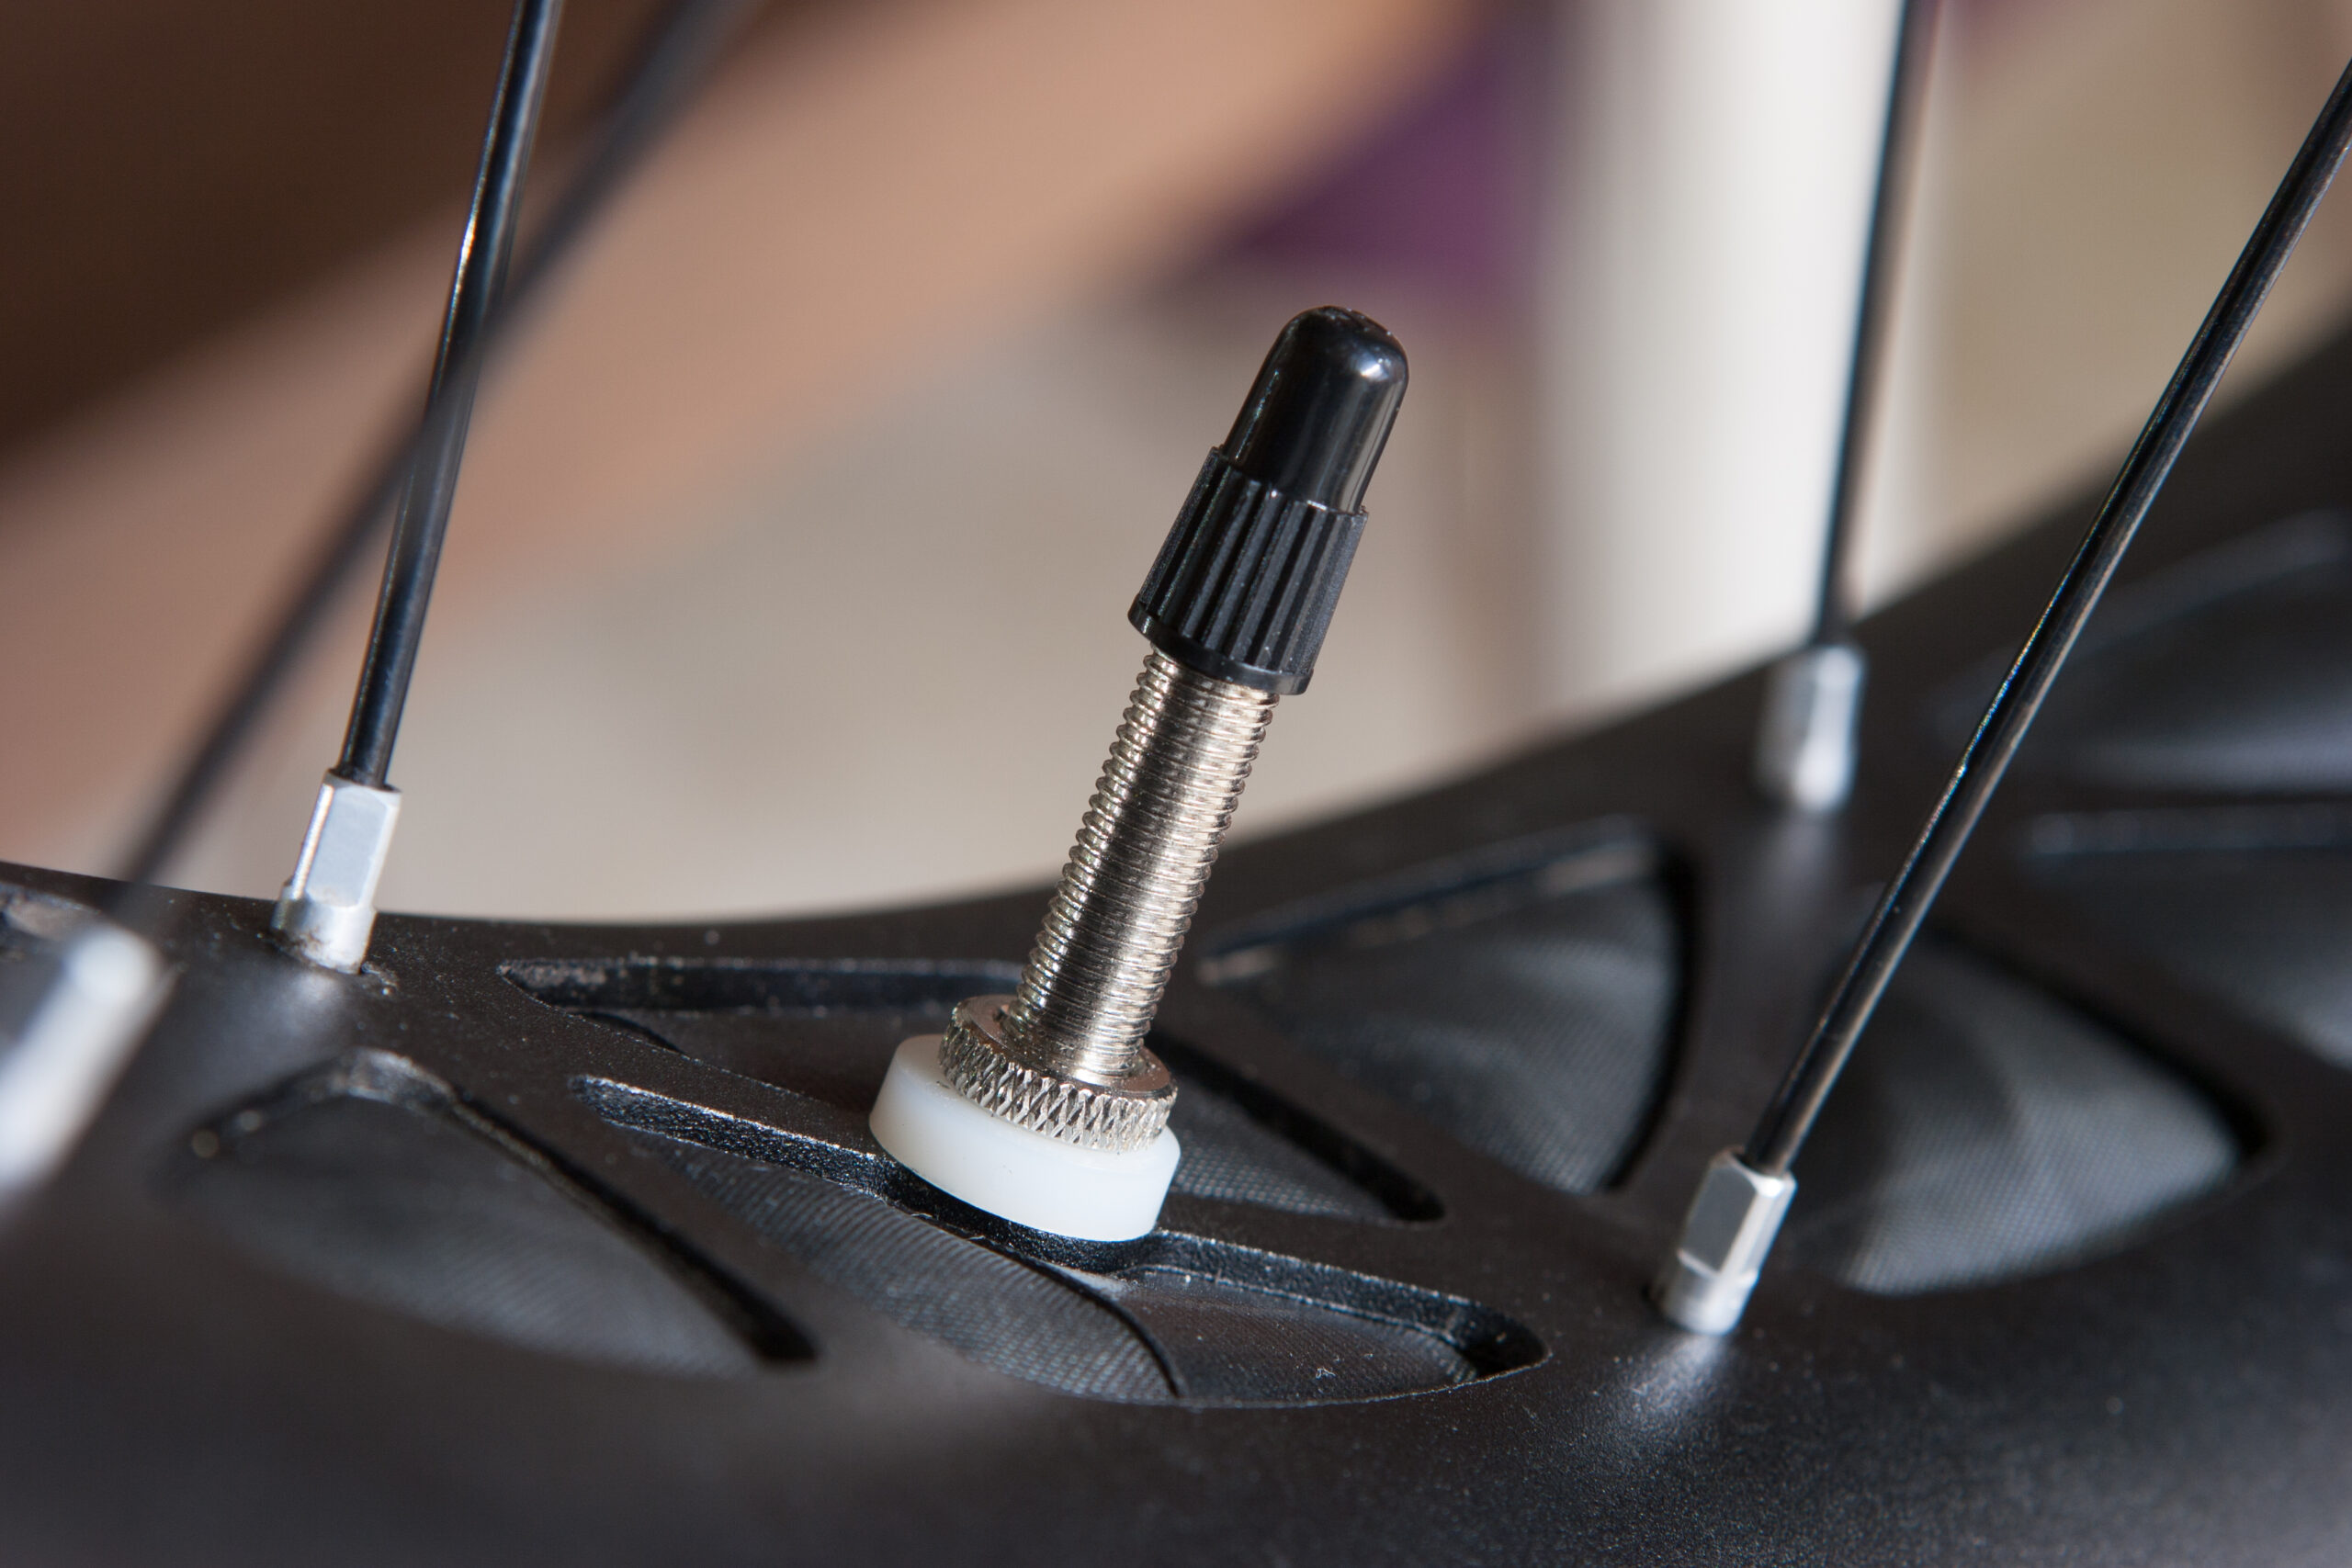
  Due to the thin rim wall the cone-shaped gasket on the


 and new (right). Cut-down black silicone foam grips were added to the spacers to mitigate rattling.")


