Recently I purchased a Honda Odyssey (2024 EX-L) to replace my aging Subaru Outback and get something a bit better for longer trips. Specifically, I wanted to be able to easily put two (or more) bikes inside, along with dogs and luggage. During winter we’d often drive to trails separately because that was the easiest way to keep both of our bikes clean on trips and this was irritating.
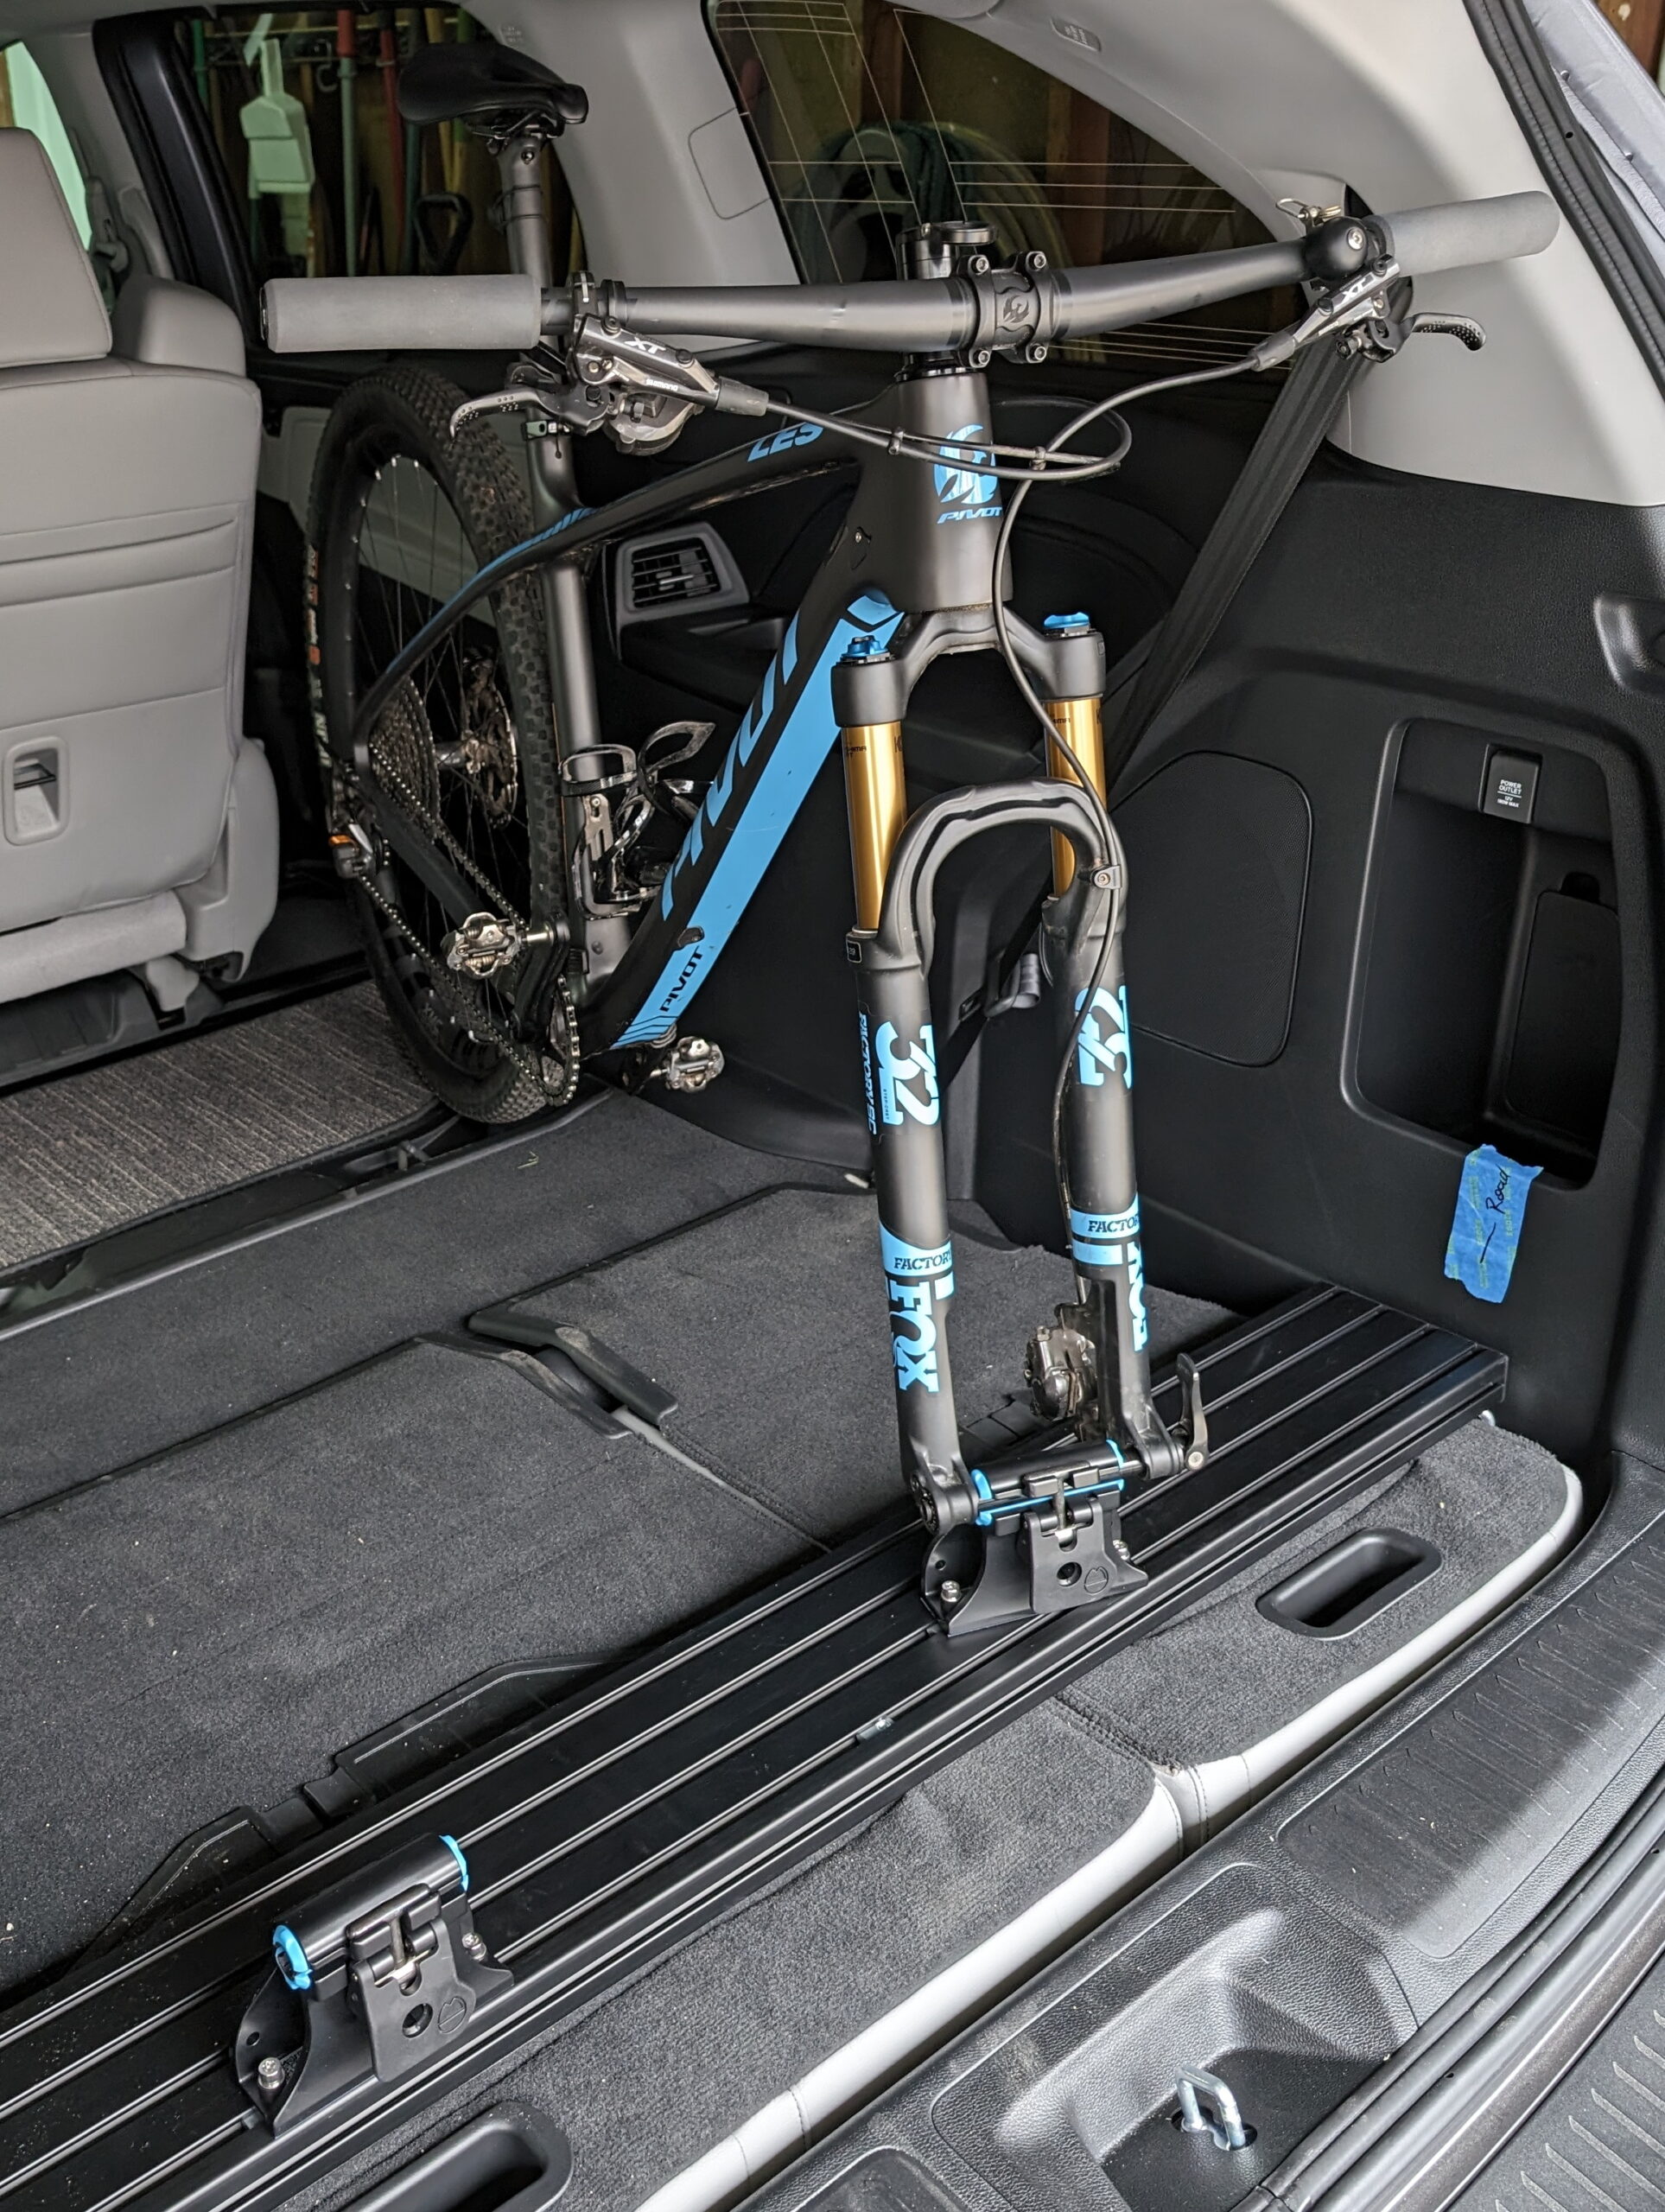
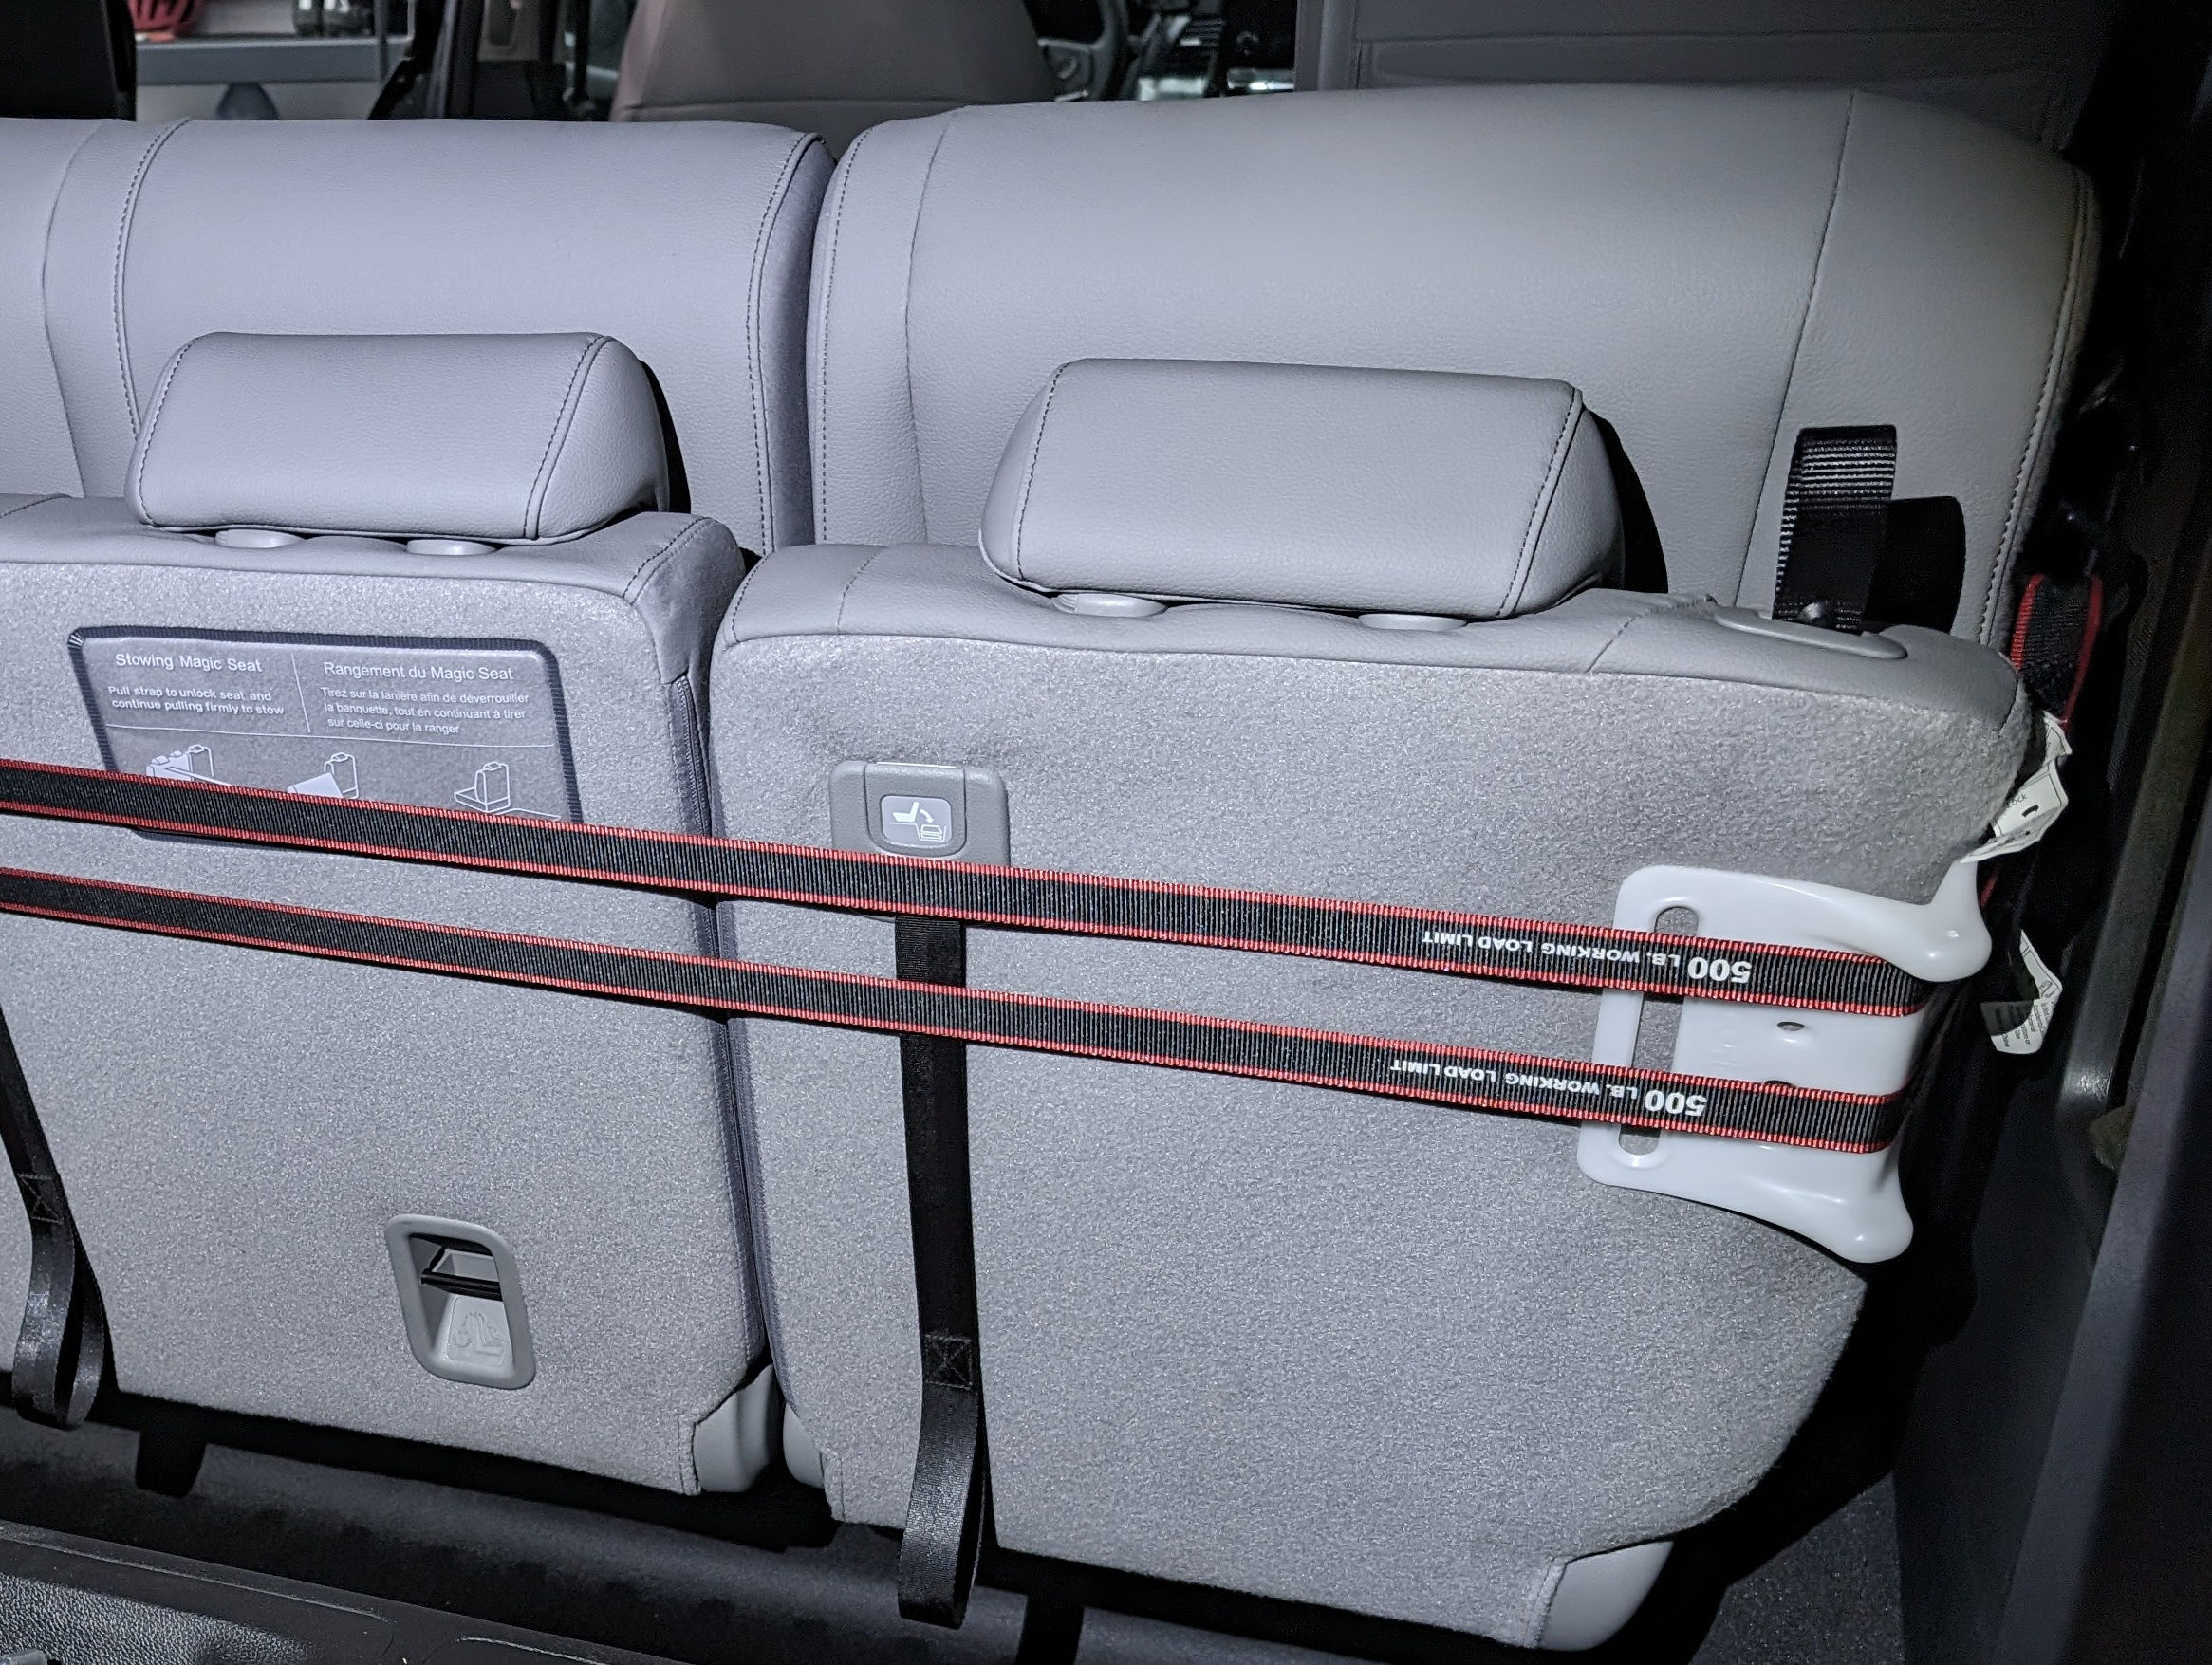
To securely hold the bikes inside I put together an adjustable, expandable rail system that holds bikes by their front through axles and is easy to adjust based on bike type, carrying needs, etc. The rail system is strapped to the rear seats as they sit folded into the floor, which provides solid mounting and easy access through the rear door. Combined with the adjustable, and outright removable, second row seats this works nicely for every bike in the house.
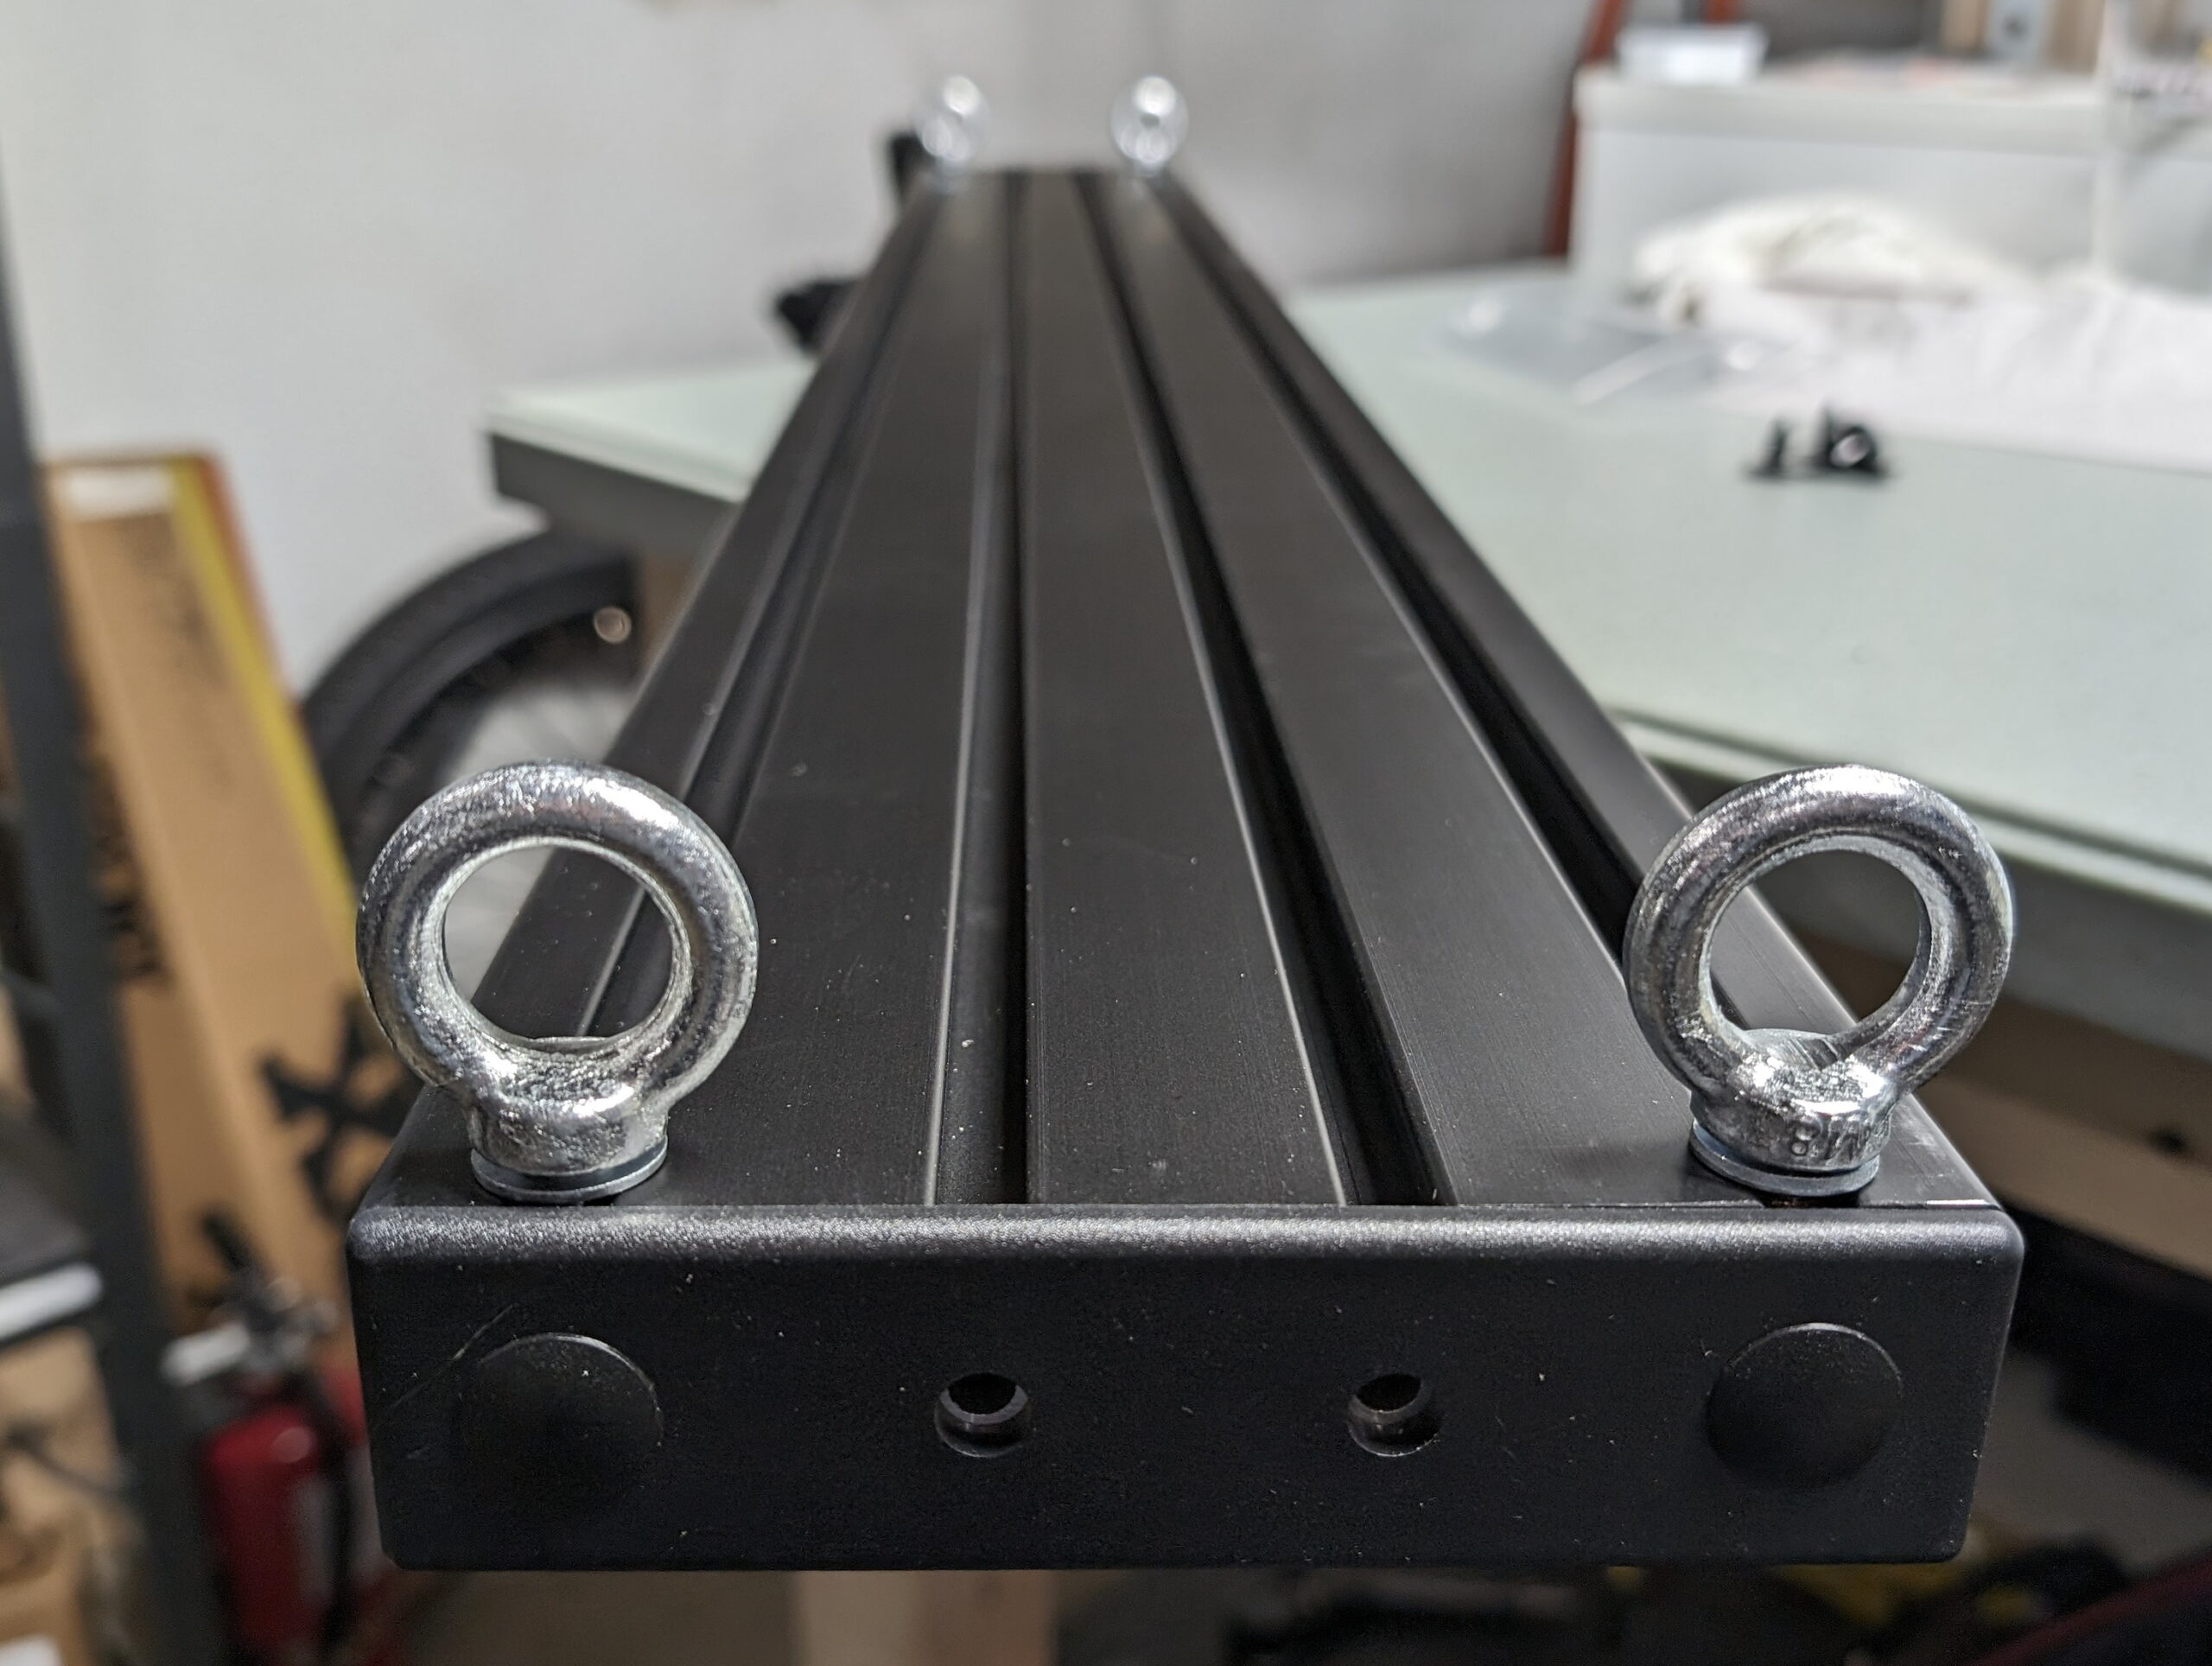
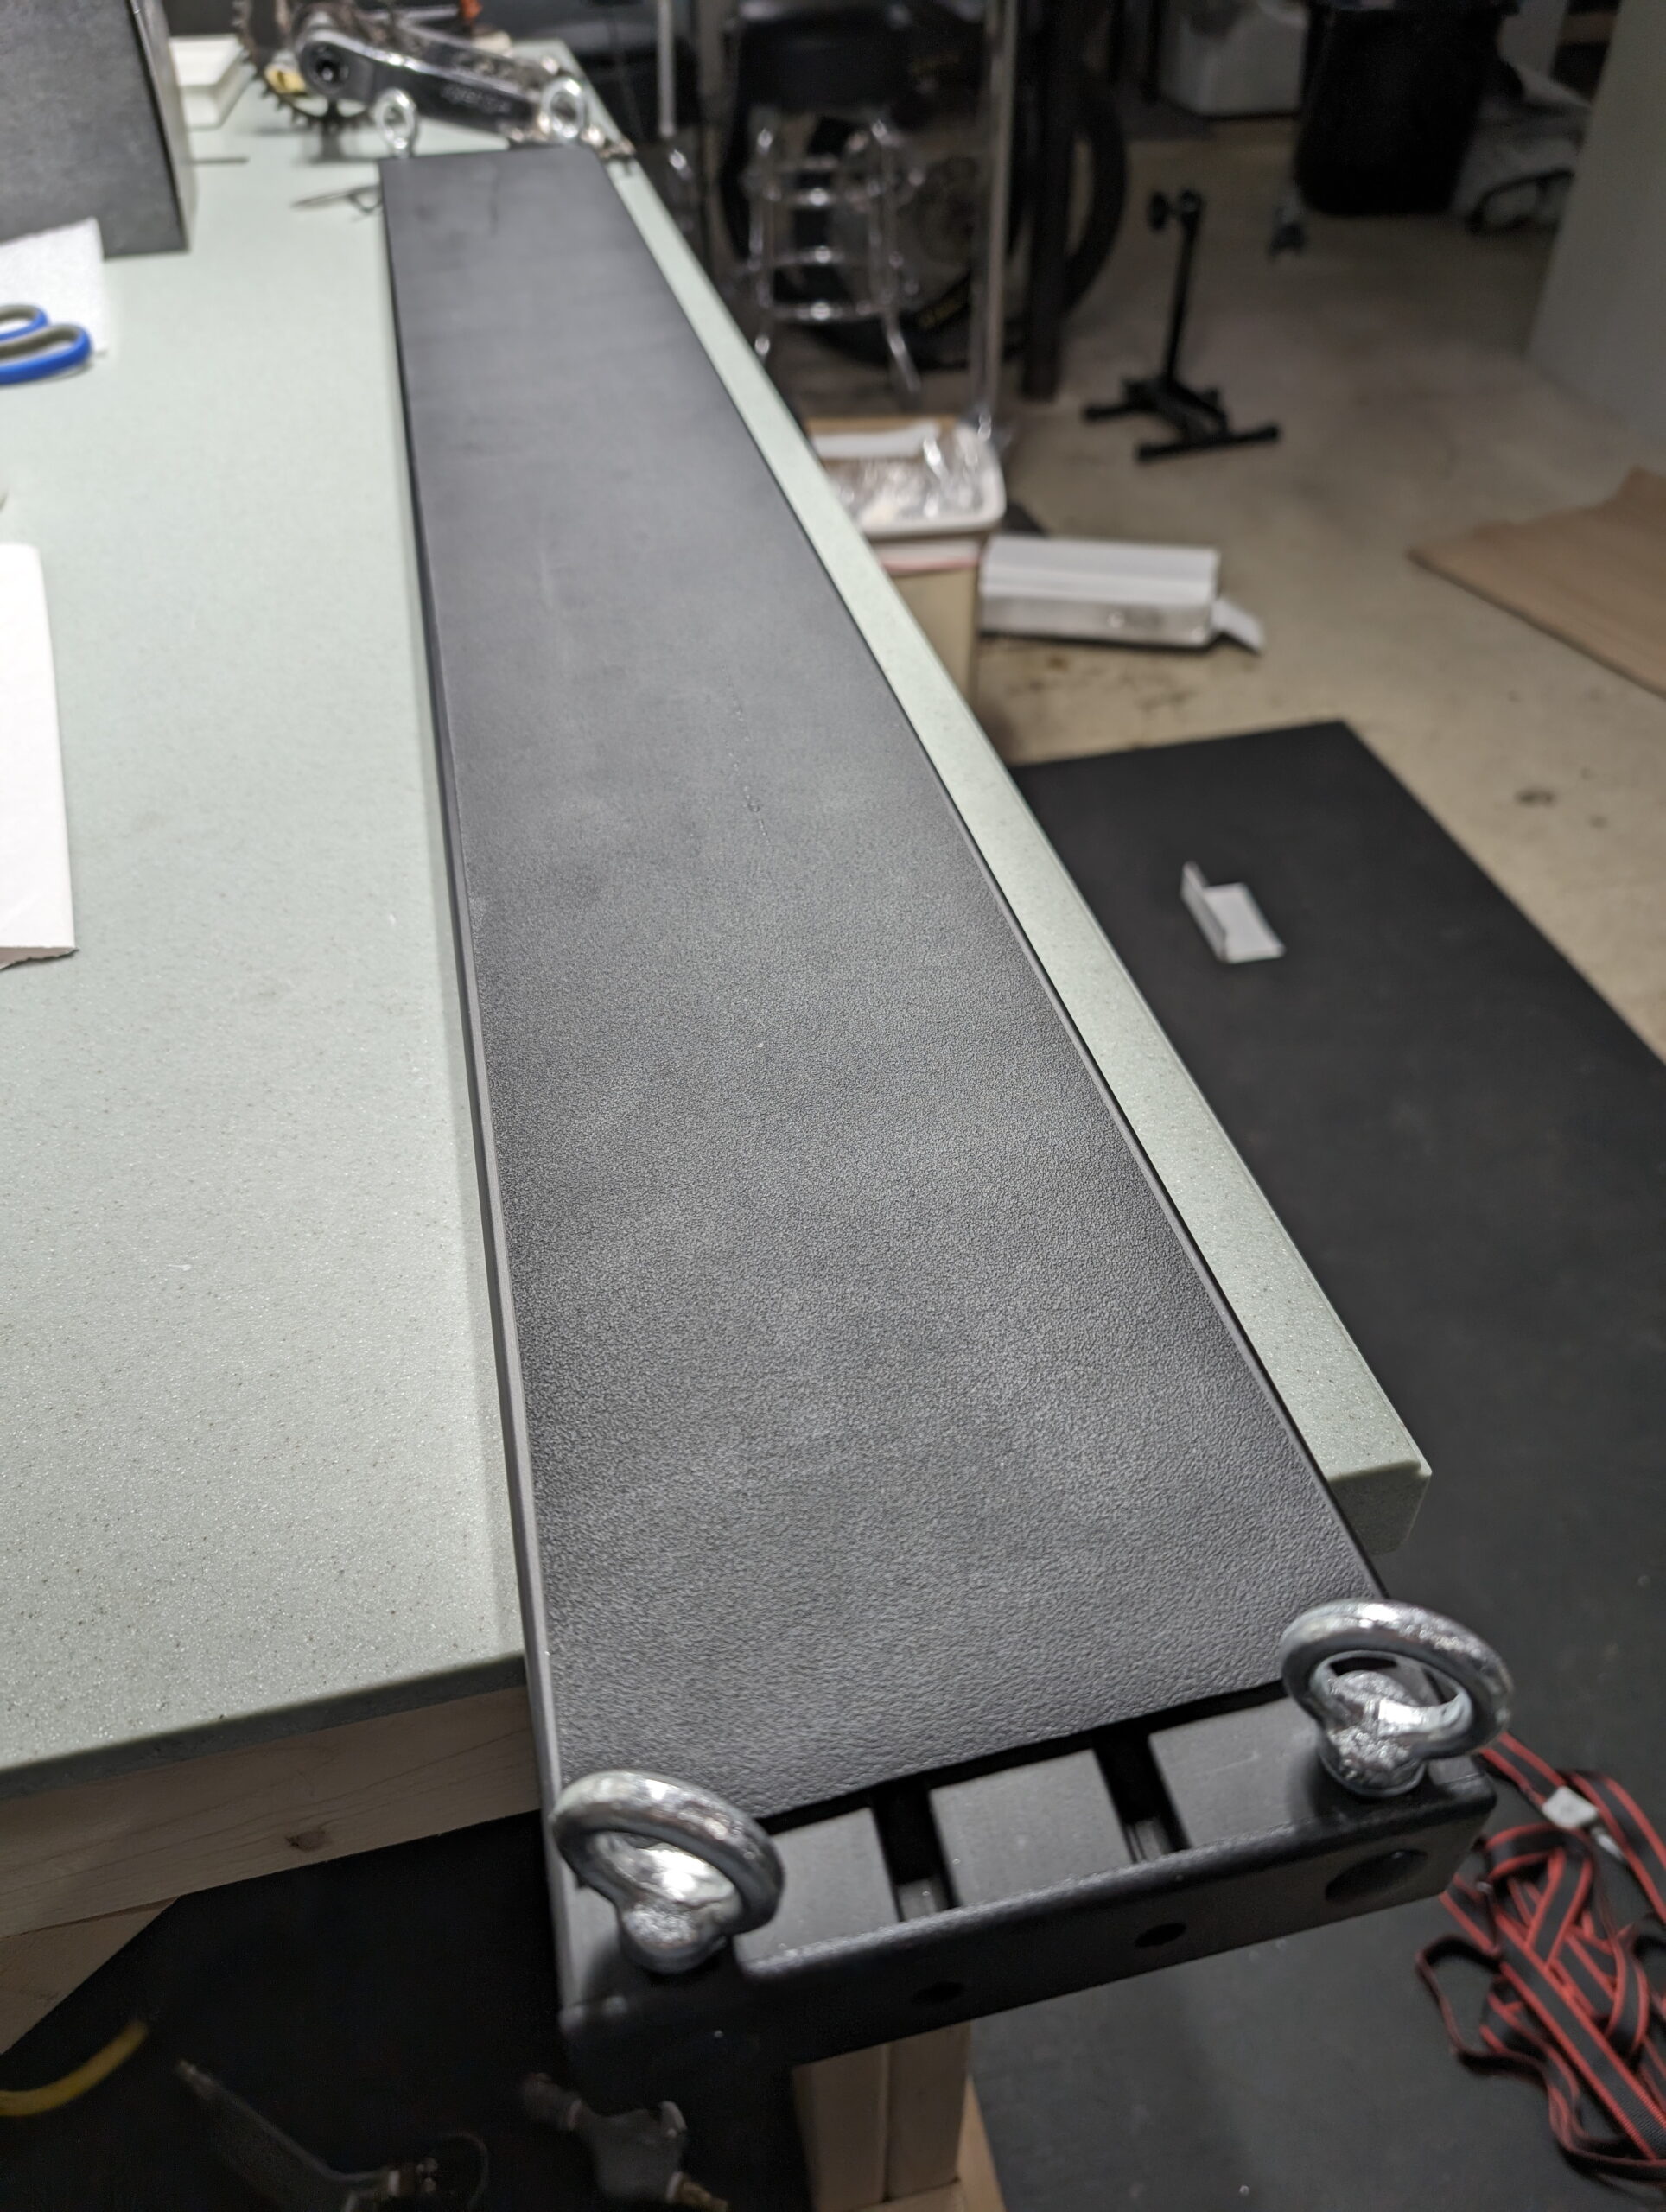
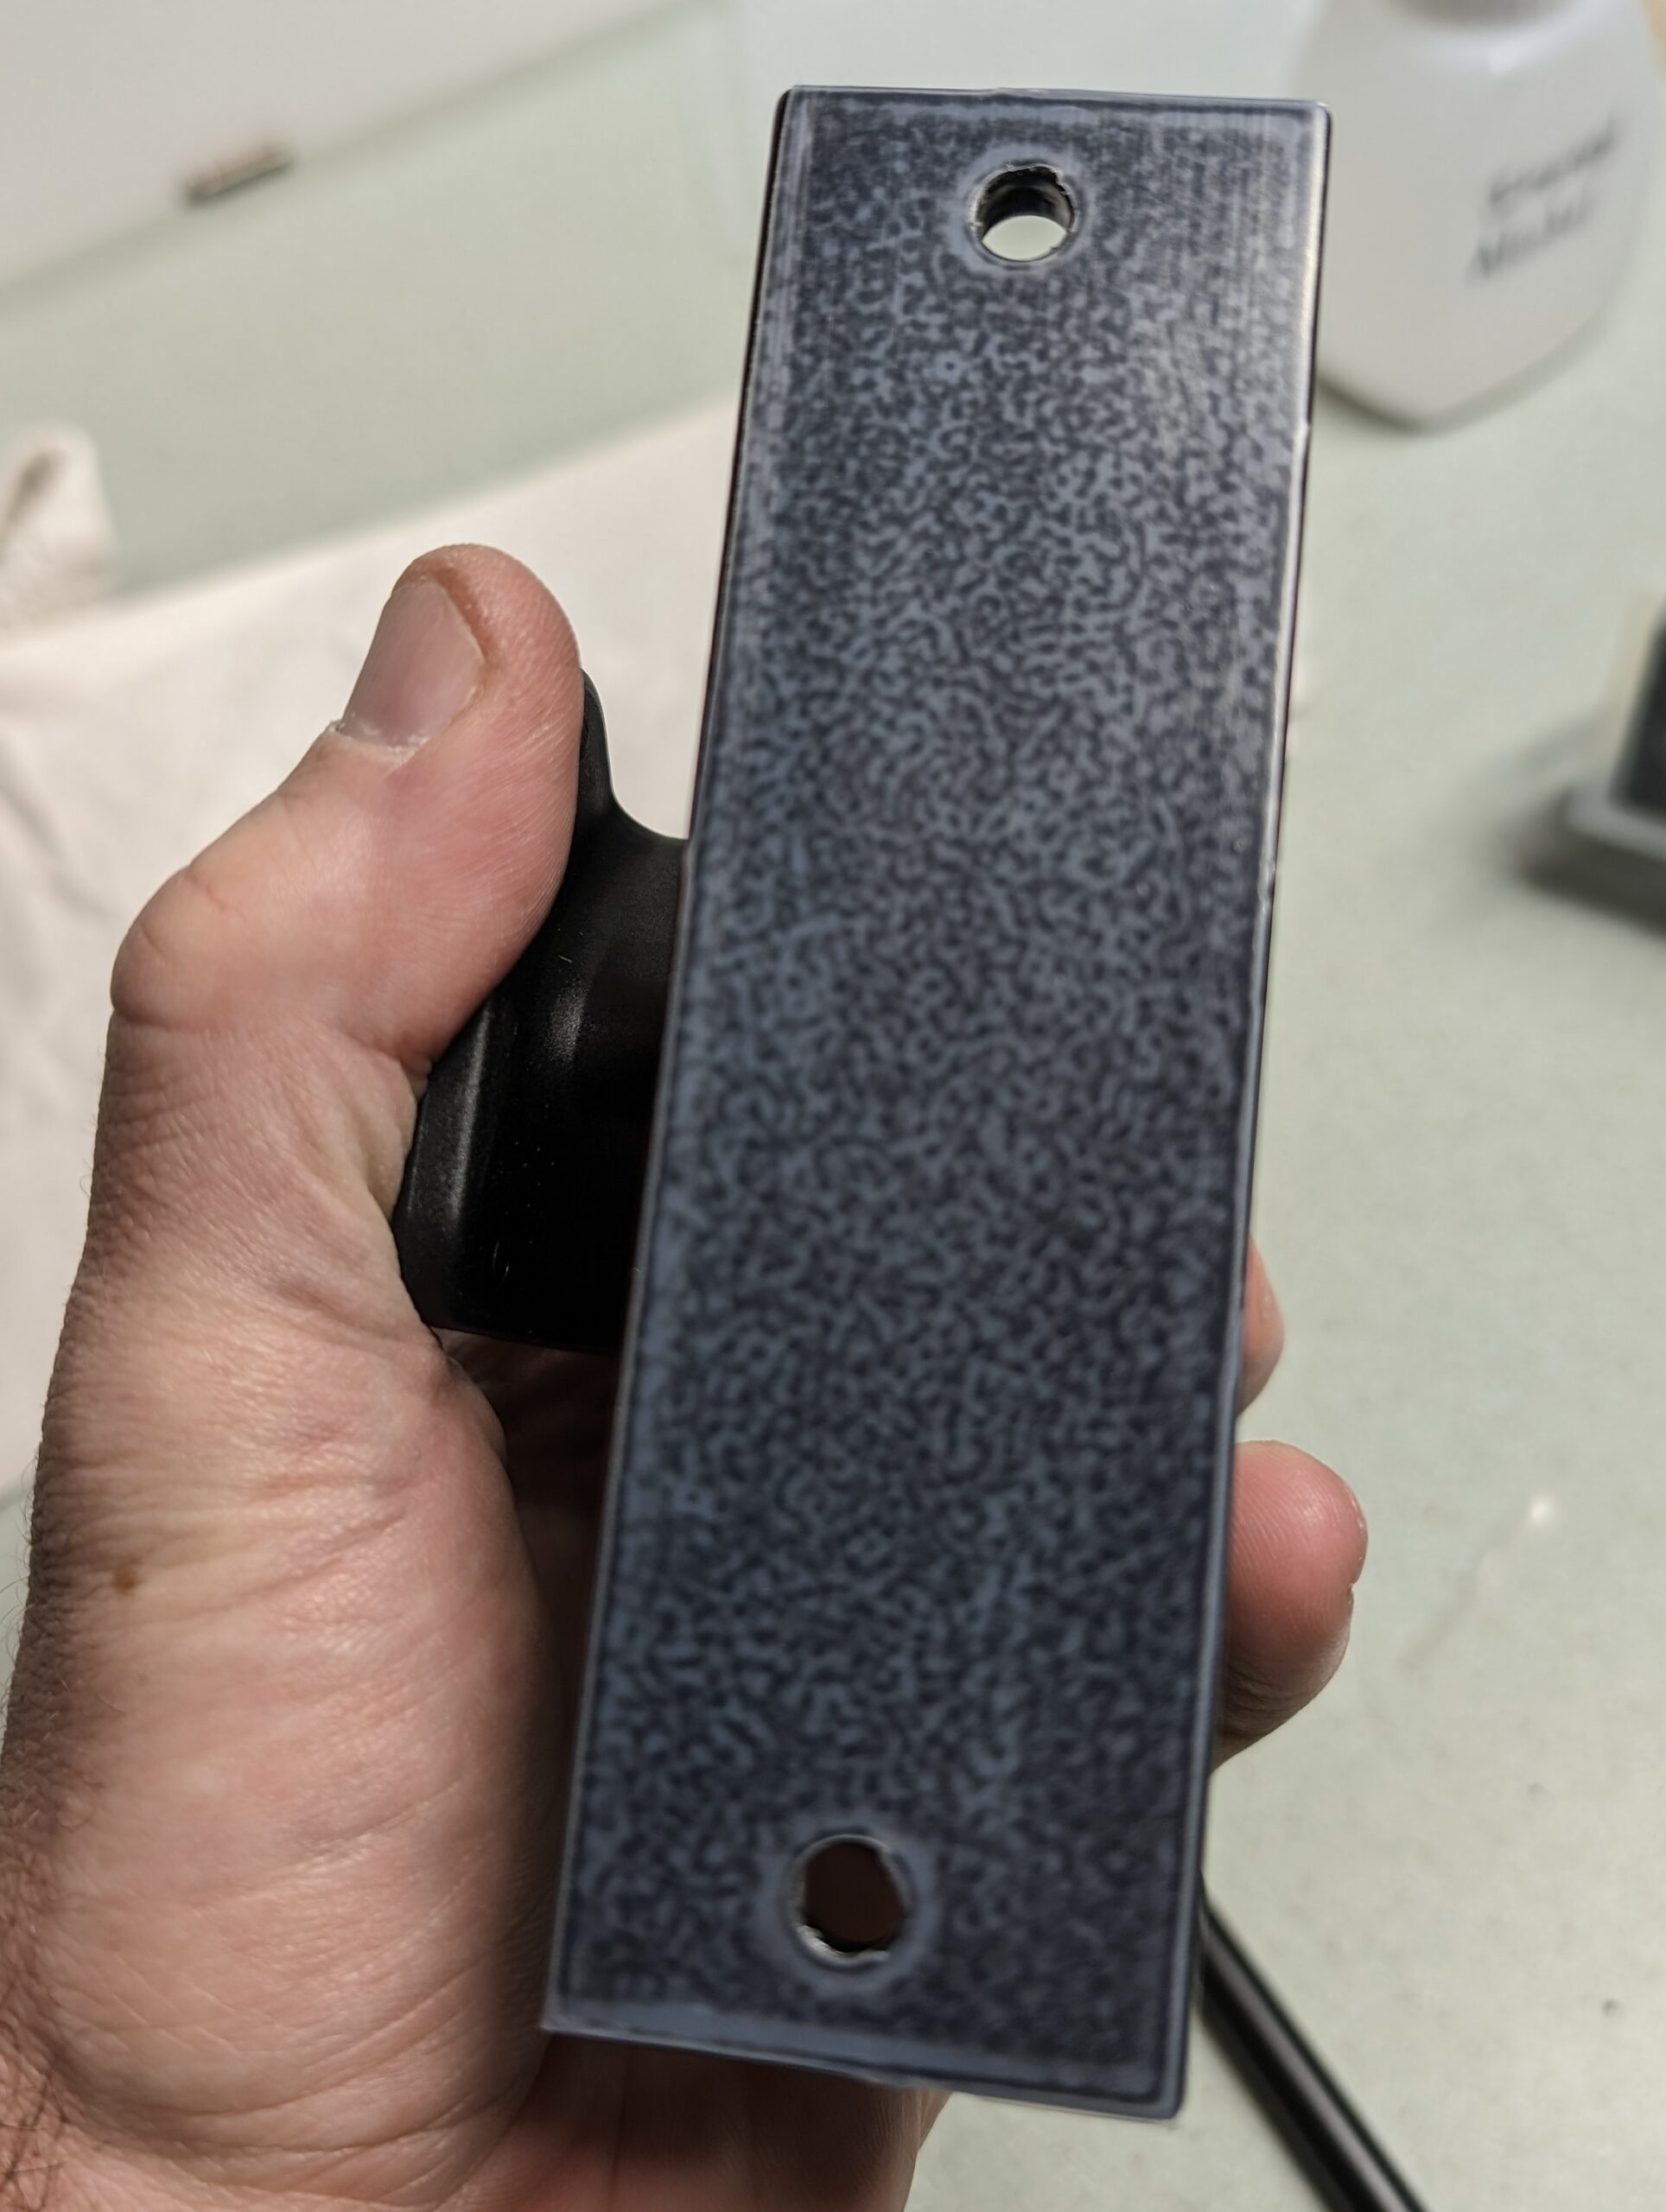
The main, base part of the rack is a 1.5″ x 6″ aluminum extrusion which has four slots on the larger faces. These slots are fitted with drop-in T-nuts to which the fork mounts can be fastened. To support easily repositioning the fork mounts I keep T-nuts in the unused slots, and chose ones with spring ball retention, which keeps them from rattling or sliding around while driving. While this style can be inserted or removed without removing the end caps, I keep spare ones in place because depending on the type of bike being fitted it is sometimes necessary to adjust the mount rotation or move them between slots.
Each end of the extrusion is capped with plastic face plates, and eyelets in slots on the underside are used with ratchet straps to hold the rail to the folded rear seats. A scrap of neoprene was stuck to the underside of the rail with small pieces of 3M VHB tape to help keep it from siding, and plastic corner protectors are used to keep the straps from digging into the seats.
Rocky Mounts DropTop mounts hold the bikes themselves to the rail, and the underside of each mount was covered with UHMW polyethylene tape to make side-to-side adjustment of the mounts smooth and avoid scratching the aluminum. The M6 bolts which came with the mounts were used to attach them to the T-nuts, but they are a bit long and bottomed out on the inside of the rail, so some nylon spacers are used beneath the heads of the nuts. I may eventually get some shorter bolts and avoid the spacers, but I really like the Torx head bolts that came from Rocky Mounts and I’m in no hurry to replace them. By varying the slot used the mounts can be angled at 0°, ~20°, or ~44° and can move forward or backward up to 4.5″. Coupled with easy side-to-side adjustment this makes staggering handlebars and fitting long mountain bike bars easy.
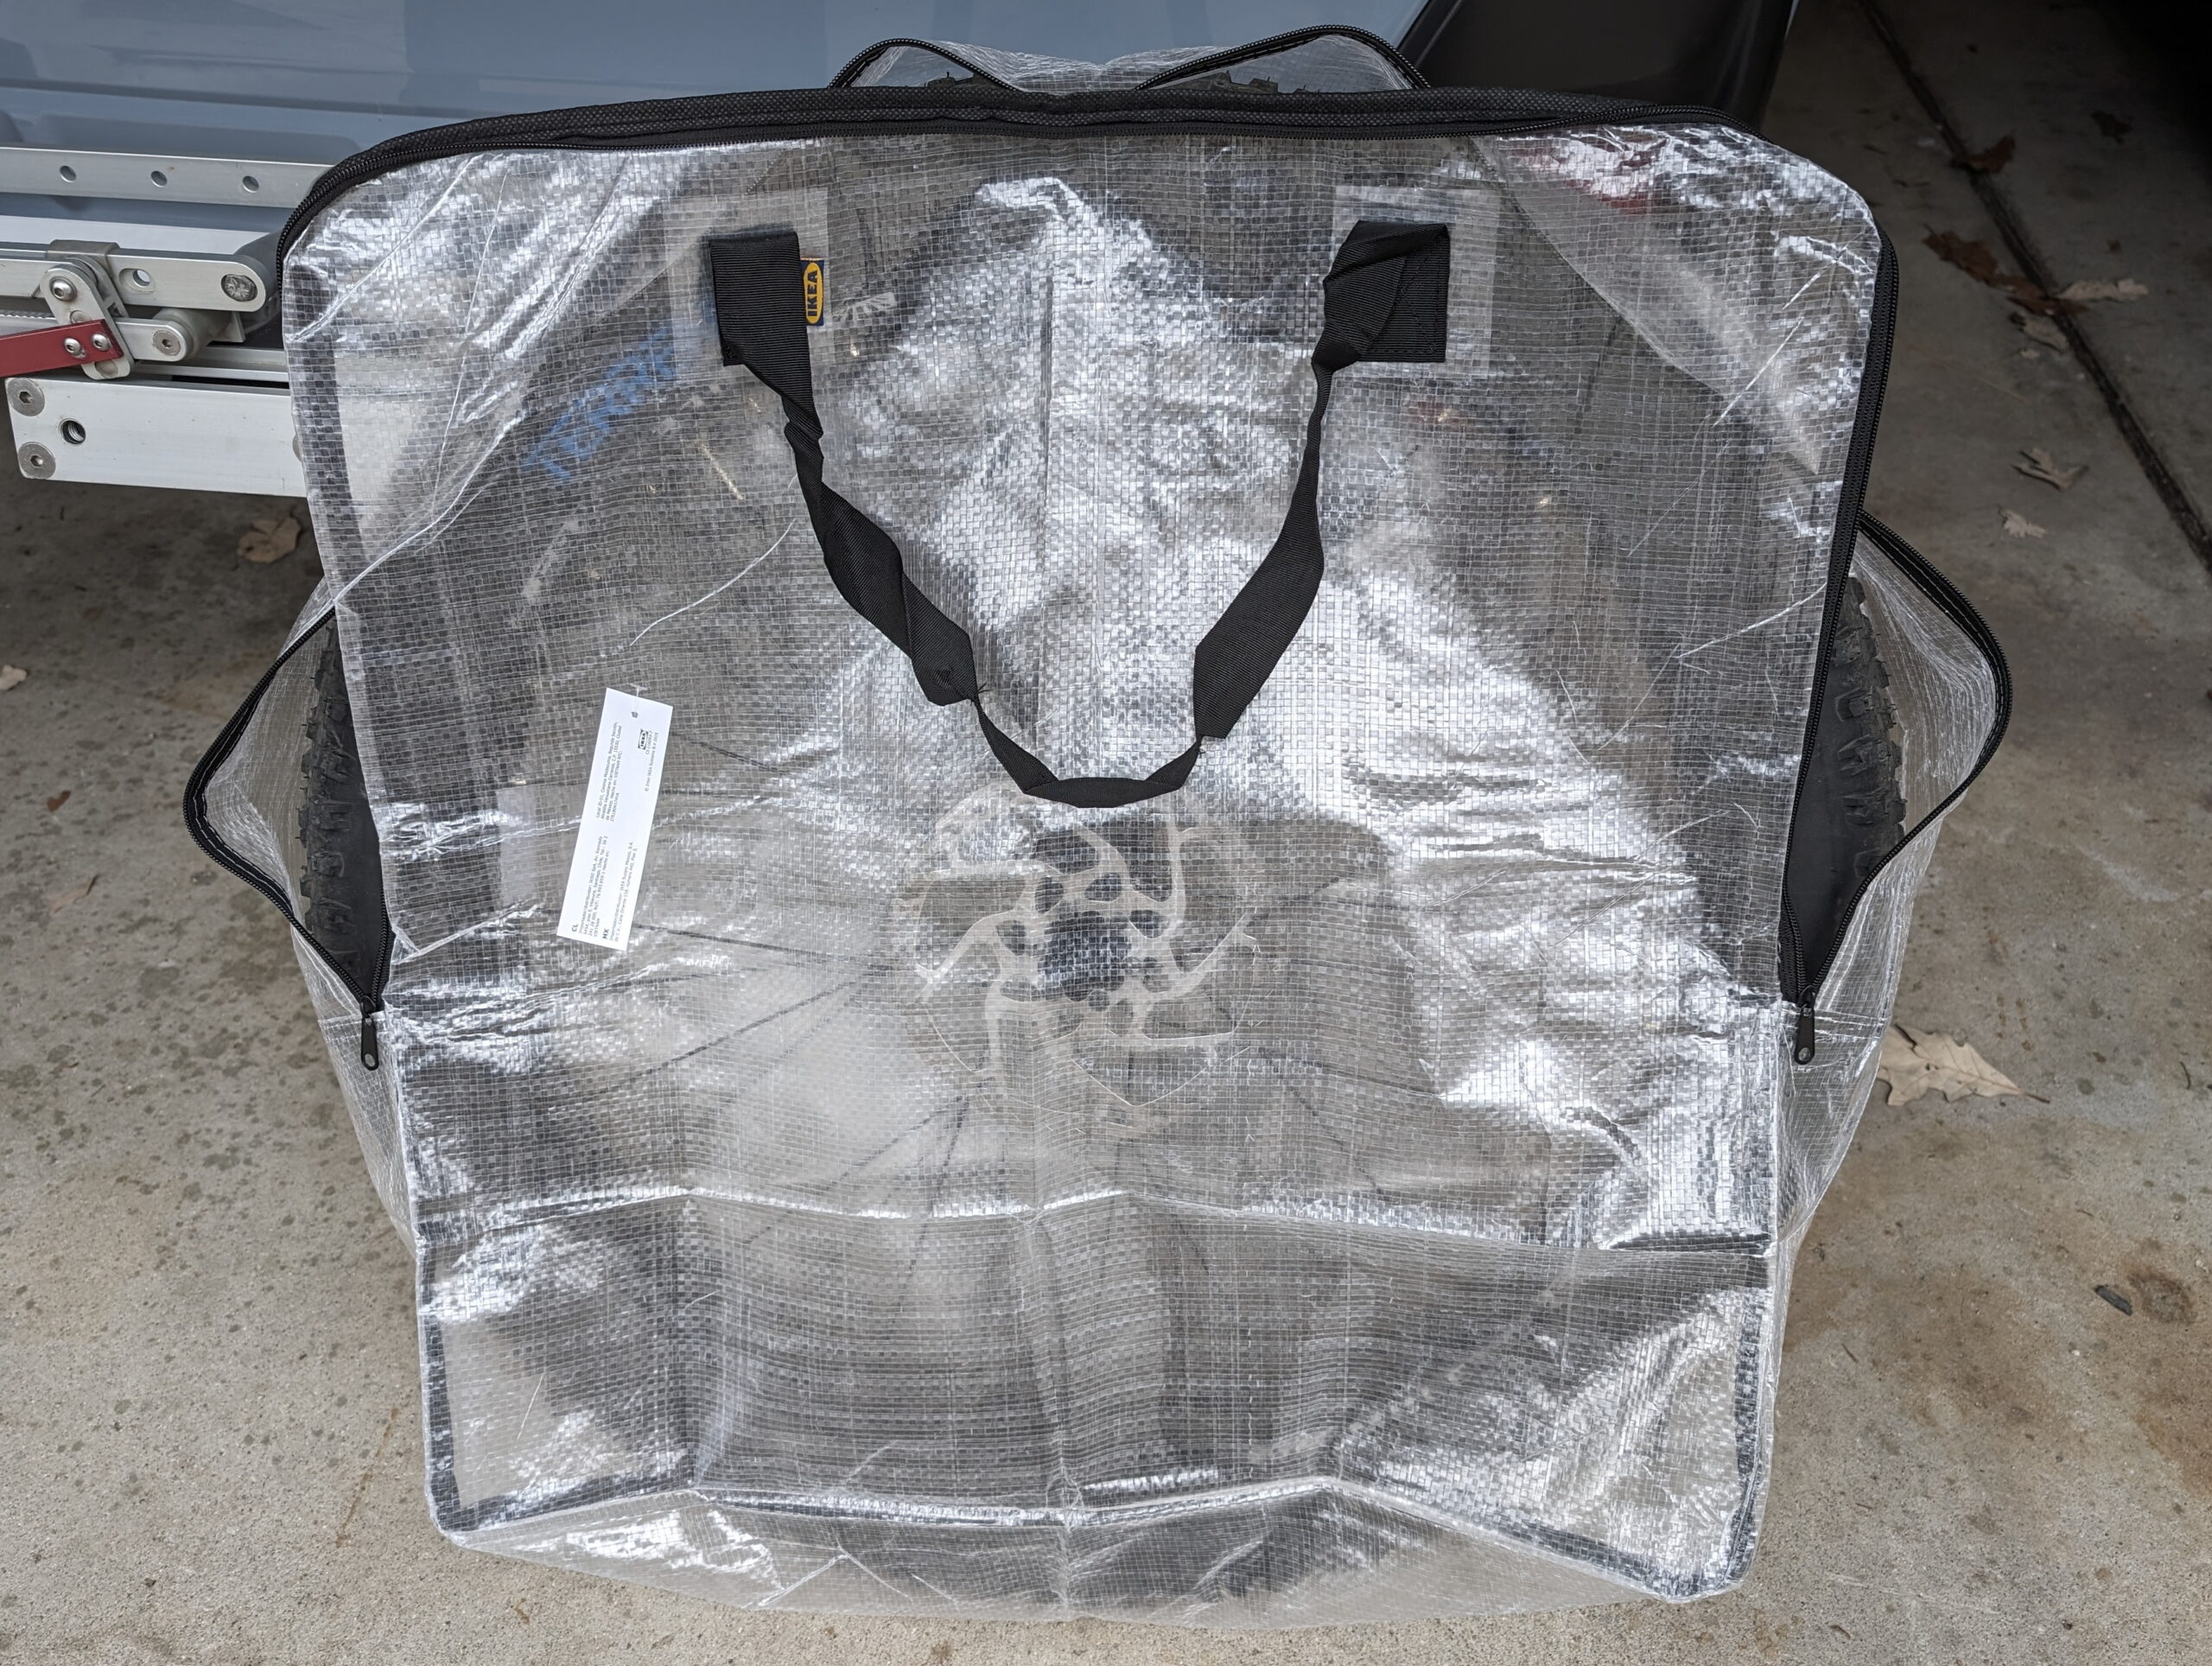
Finally, to hold the front wheels while they are off the bikes, IKEA DIMPA bags are working well. These aren’t always necessary, but with studded or potentially dirty tires and potentially setting them on other luggage, I like being able to drop the wheels into a bag before putting them in the car.
Here’s the specific parts used:
Aluminum Extrusion: TNUTZ EX-1560L-BLACK – 1.5″ x 6″ Smooth BLACK Lite T-Slotted Aluminum Extrusion (48″)
T-Nuts: TNUTZ (DB-015) 15 / 40 Series Drop-In T-Nut w/spring-ball
Eyelets: TNUTZ PULL-RING – Steel Pull Ring – M8 x 12mm
End Plates: TNUTZ 15 SERIES – BLACK PLASTIC END CAP – BLANK
Neoprene: ~5mm scrap piece from The Foam Factory
UHMW PE Tape: McMaster-Carr 76445A764
Ratchet Straps: Husky 12 ft. x 1 in. Ratchet Tie-Down Straps with S-Hook (4-Pack)
3M VHB Tape: 4910 (Spare from the Under Cabinet Lighting project.)
Nylon Spacers: McMaster-Carr 90176A155
Plastic Corner Guards: LTM Concrete CG100-000 (Amazon Link)
Wheel Storage Bags: IKEA DIMPA


