Exploring Modular Audio Synthesis
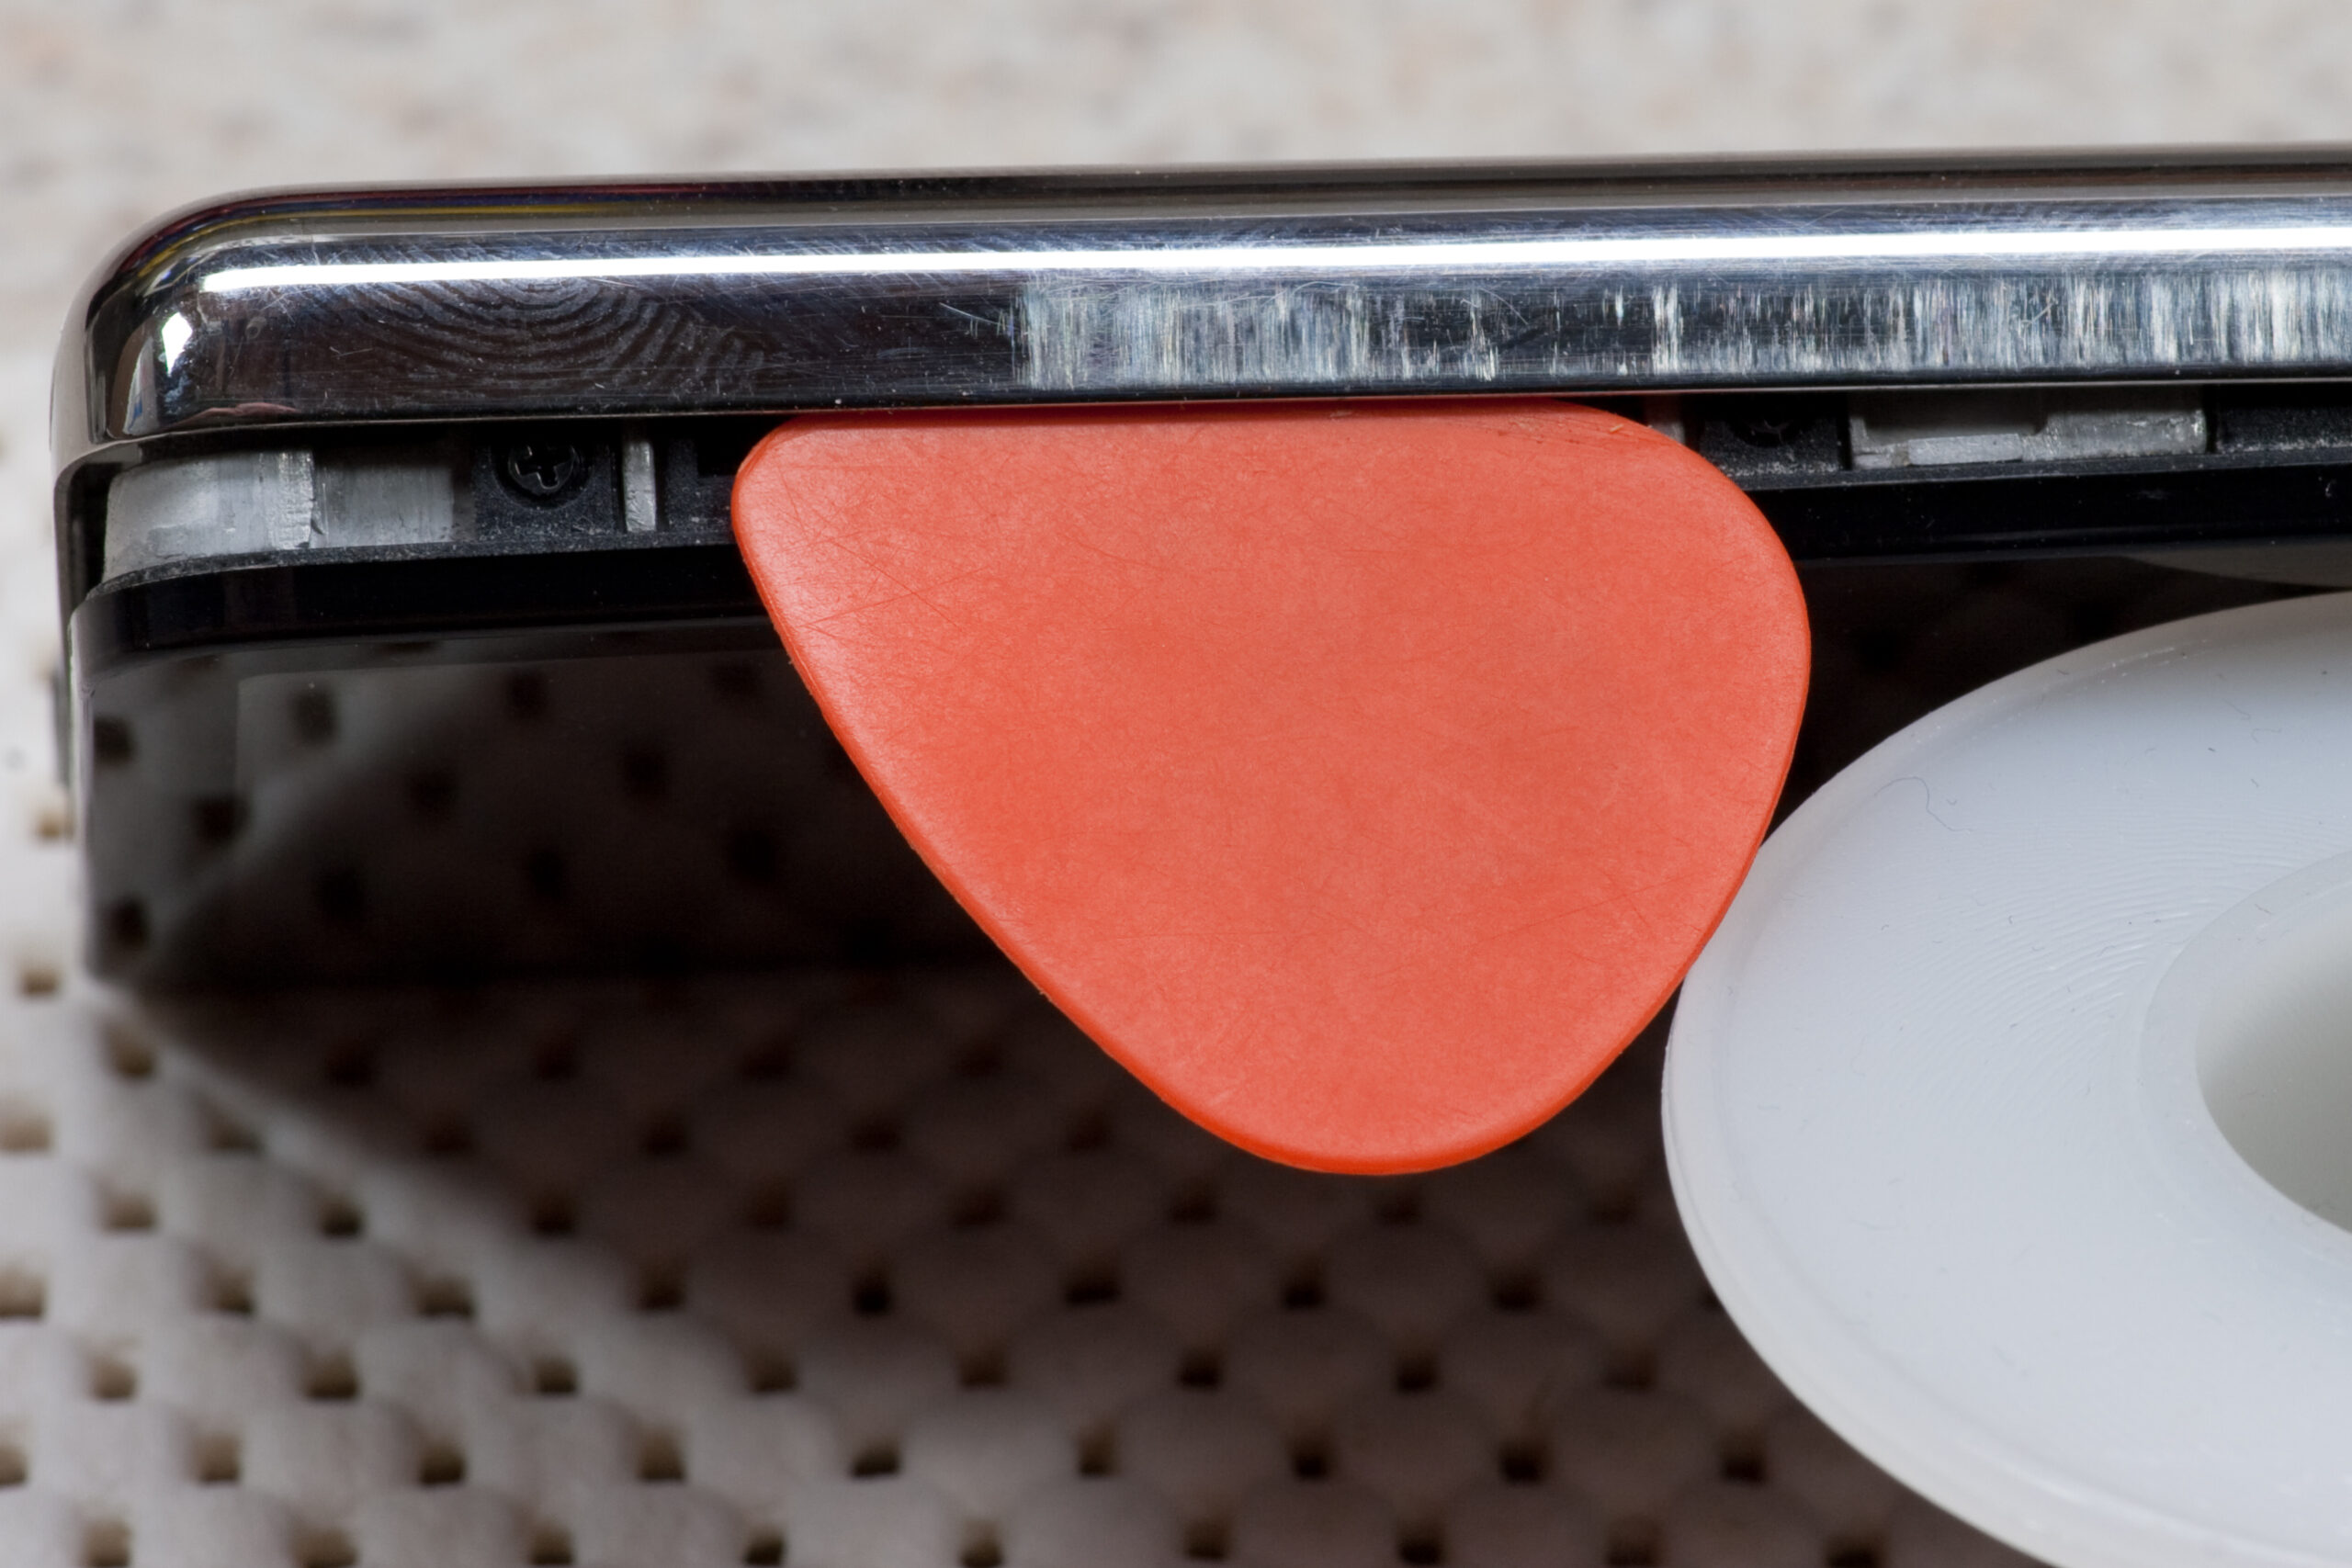
")
For pretty much as long as I can remember I’ve been interested in experimenting with sound. While I love great music, sounds themselves are most interesting to me. I remember using the shaft of spinning electric motor pressed against the mic of a cheap cassette recorder to simulate chainsaw sounds, putting my ear against different parts of my sister’s Casio SK-1 (where I also learned about ADSR) as the case vibrated and tone changed, and intently listening to The Downward Spiral picking out samples (puffing a drinking straw, fingers brushing over metal grating).
Over the years I’ve ended up owning, and in many case building, a number of piece of music equipment. This ranged from the Electrix suite of effects, some drum and synth modules (Yamaha TX81Z, Alesis D4), self-built x0xb0xes, some MIDIbox SID-NUXXs (where I learned the basics of PCB layout), but they all seemed too oriented around song composition and didn’t work well when I simply wanted to play with sound.
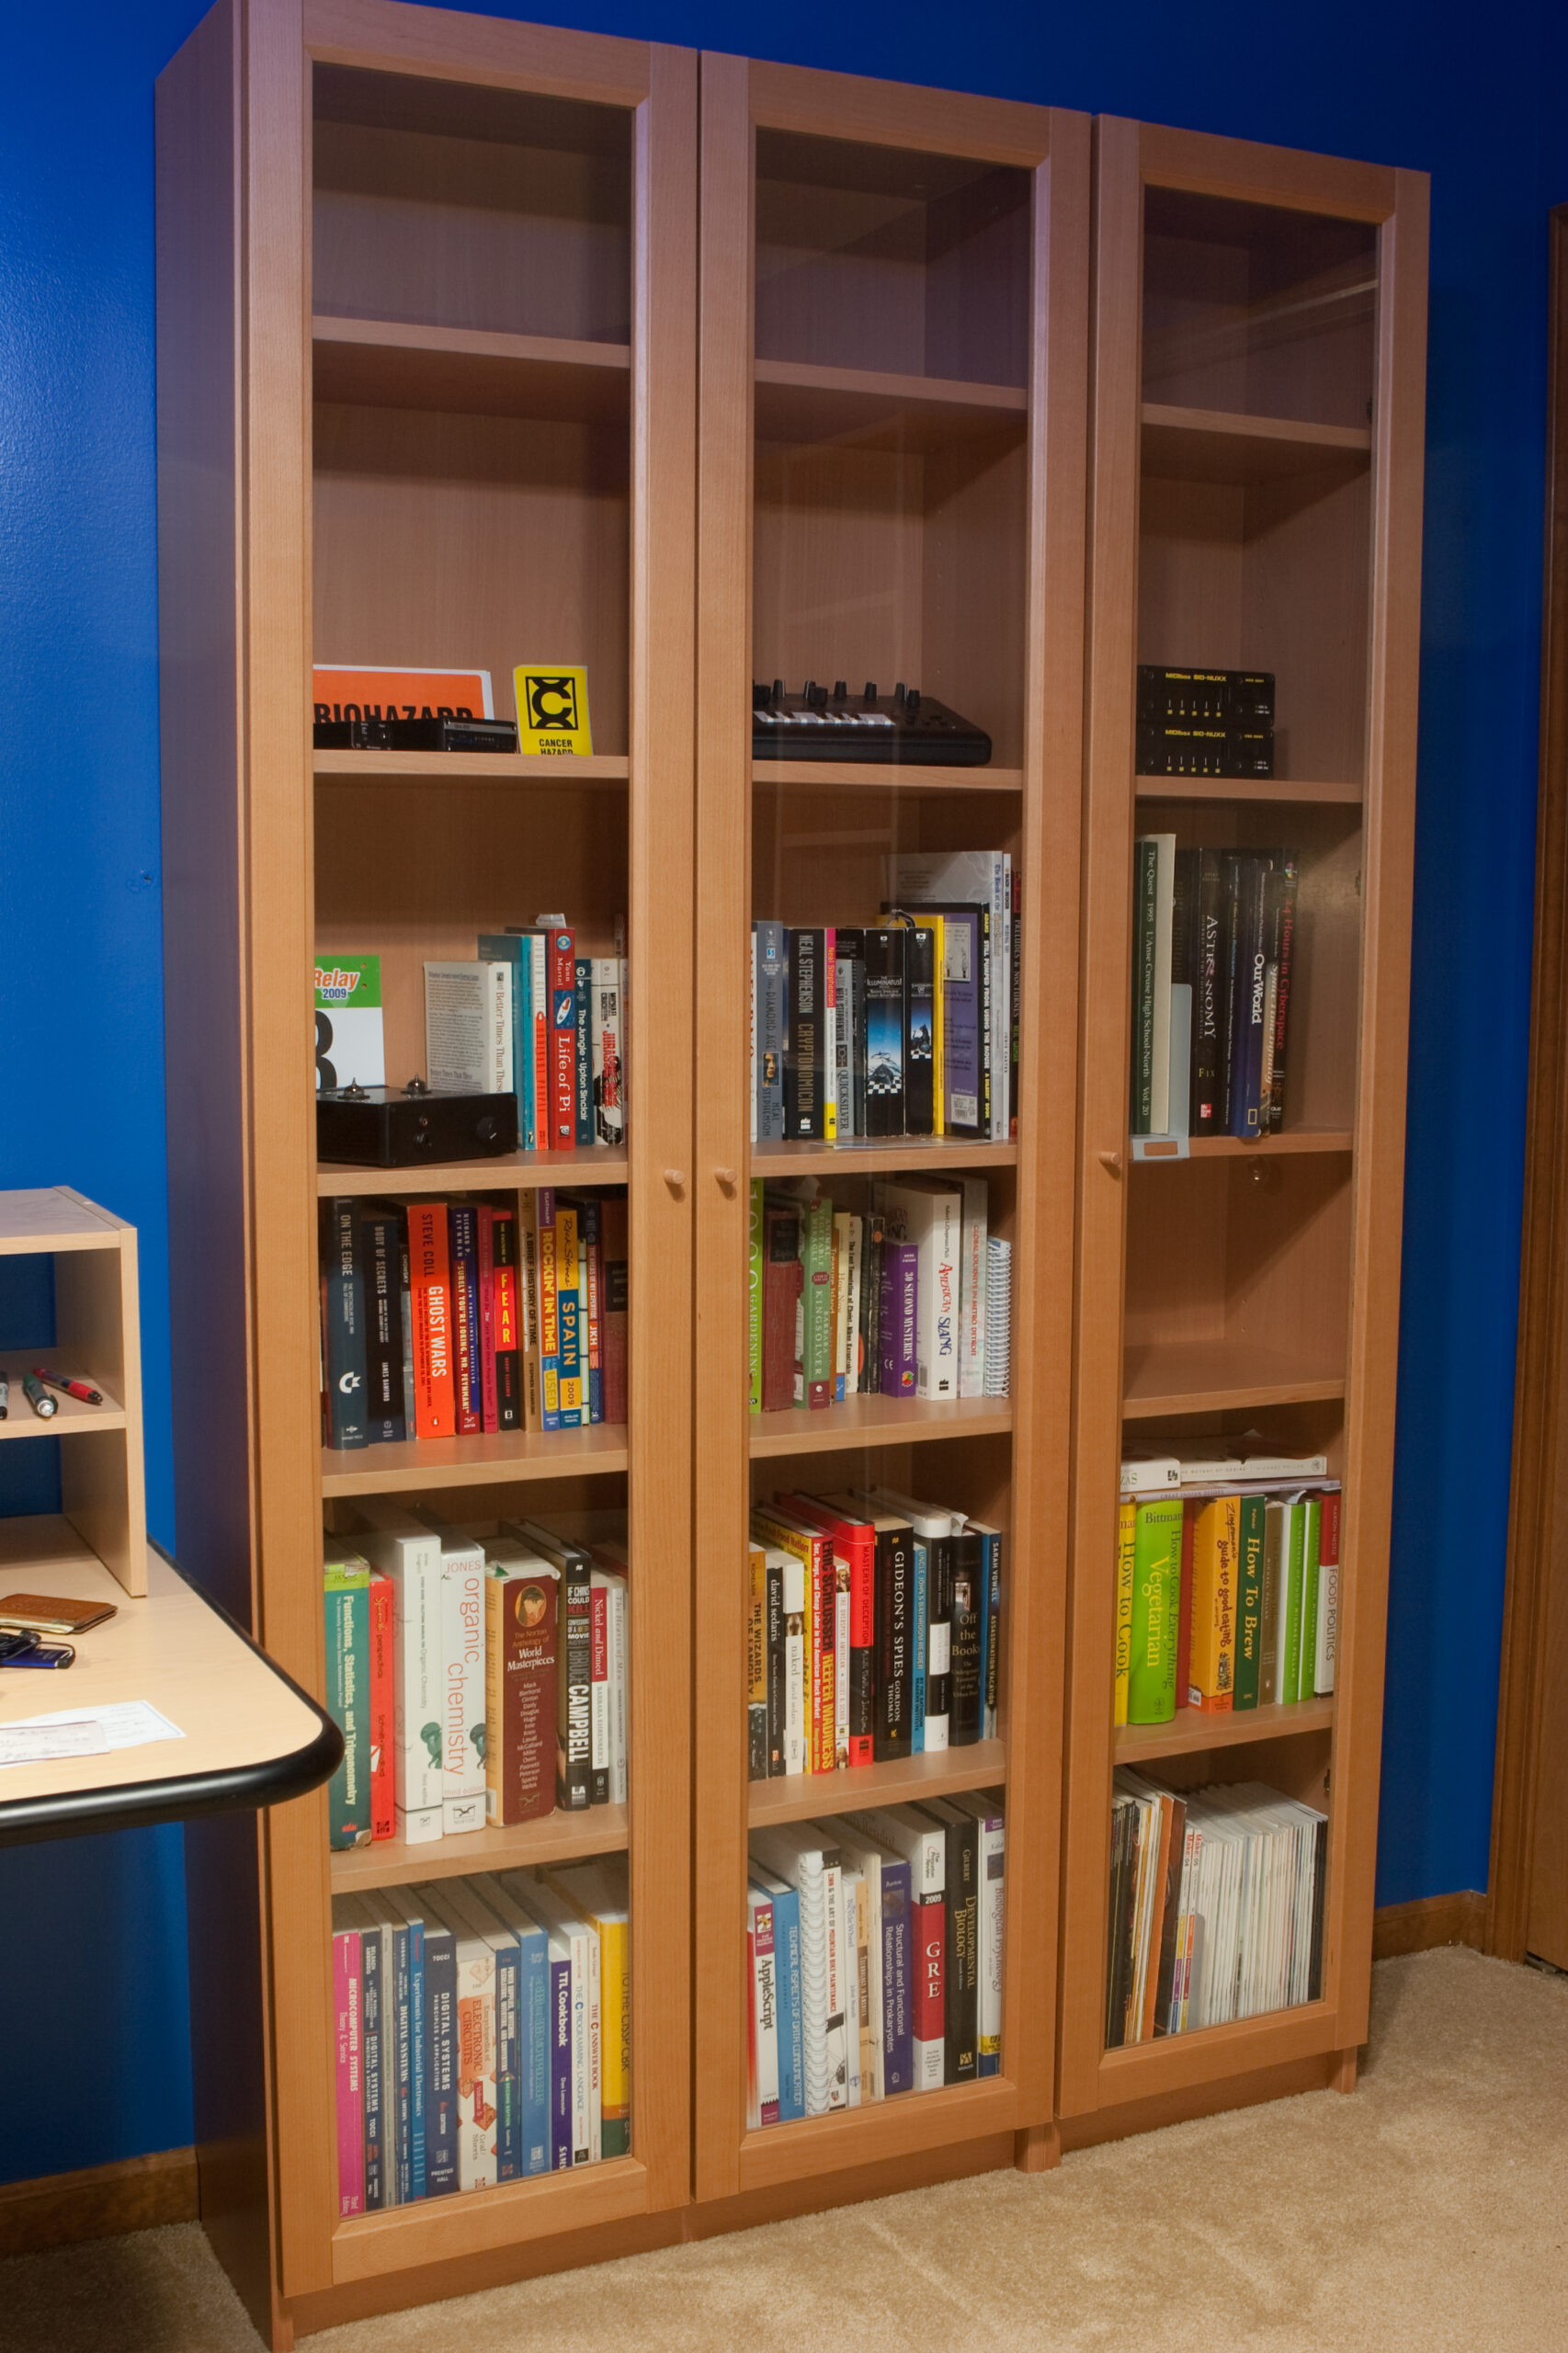
With some self-built gear sitting around on the shelf and a newfound empty space in my closet, I decided to put much of it back together, but this time acquiring something that’s much more hospitable to experimentation: a eurorack-format modular synthesizer. As of now I’ve mostly settled on a suite of modules, with just enough stuff that I’ve still got loads of learning to do and lots to explore. This setup also allowed me to connect some of my older DIY gear; stuff that I’d been longing to hear for a while. Conveniently I had an old analog oscilloscope and quality multimeter, things which are surprisingly useful when troubleshooting why a patch isn’t doing what was hoped.
All set up, it’s as seen above.
When expanding I started out with the basic (but fantastic) Moog Mother-32 and the cost effective Arturia BeatStep Pro, but soon after realized that for the kind of experimenting I wanted to do a few discrete modules would be really nice. While fairly low end (especially the speakers) it’s a good setup for experimenting and deciding how much further I want to take things. I believe I’m pretty well set up and have a lot to learn before I make any additional significant purchases. This setup gives me option for everything from triggering drums and playing with sequencing music from synths to setting up drones and seeing how sound can be tweaked:
Non-Eurorack:
- Mackie CR3 Monitors
- Arturia BeatStep Pro Sequencer
- x0xb0x
- 2x MIDIbox SID-NUXX
- M-Audio Radium 49
- Behringer UFX1204 Mixer
- Fluke 179 Multimeter
- EZ Digital OS-5020 Oscilloscope
- Furman RackRider RR-15NL
Eurorack:
- Tiptop Audio Mantis (Case)
- Delptronics Little Drummer Boy + Expansion (LDB-2e + LDB-2x)
- Circuit Abbey G8
- Intellijel Mult
- ALM O/A/x2 (ALM010)
- 2x Doepfer A-111-3 Micro Precision VCO / VCLFO
- Make Noise Maths
- Intellijel Dual ADSR
- Intellijel Korgasmatron + Expander
- Doepfer A-138b Mixer
- Intellijel µJack
- Moog Mother-32
- Malekko Performance Buffered Mult
- Music Thing Modular Turing Machine Mk2 + Pulses Mk2 + Voltages
- Expert Sleepers Disting mk4


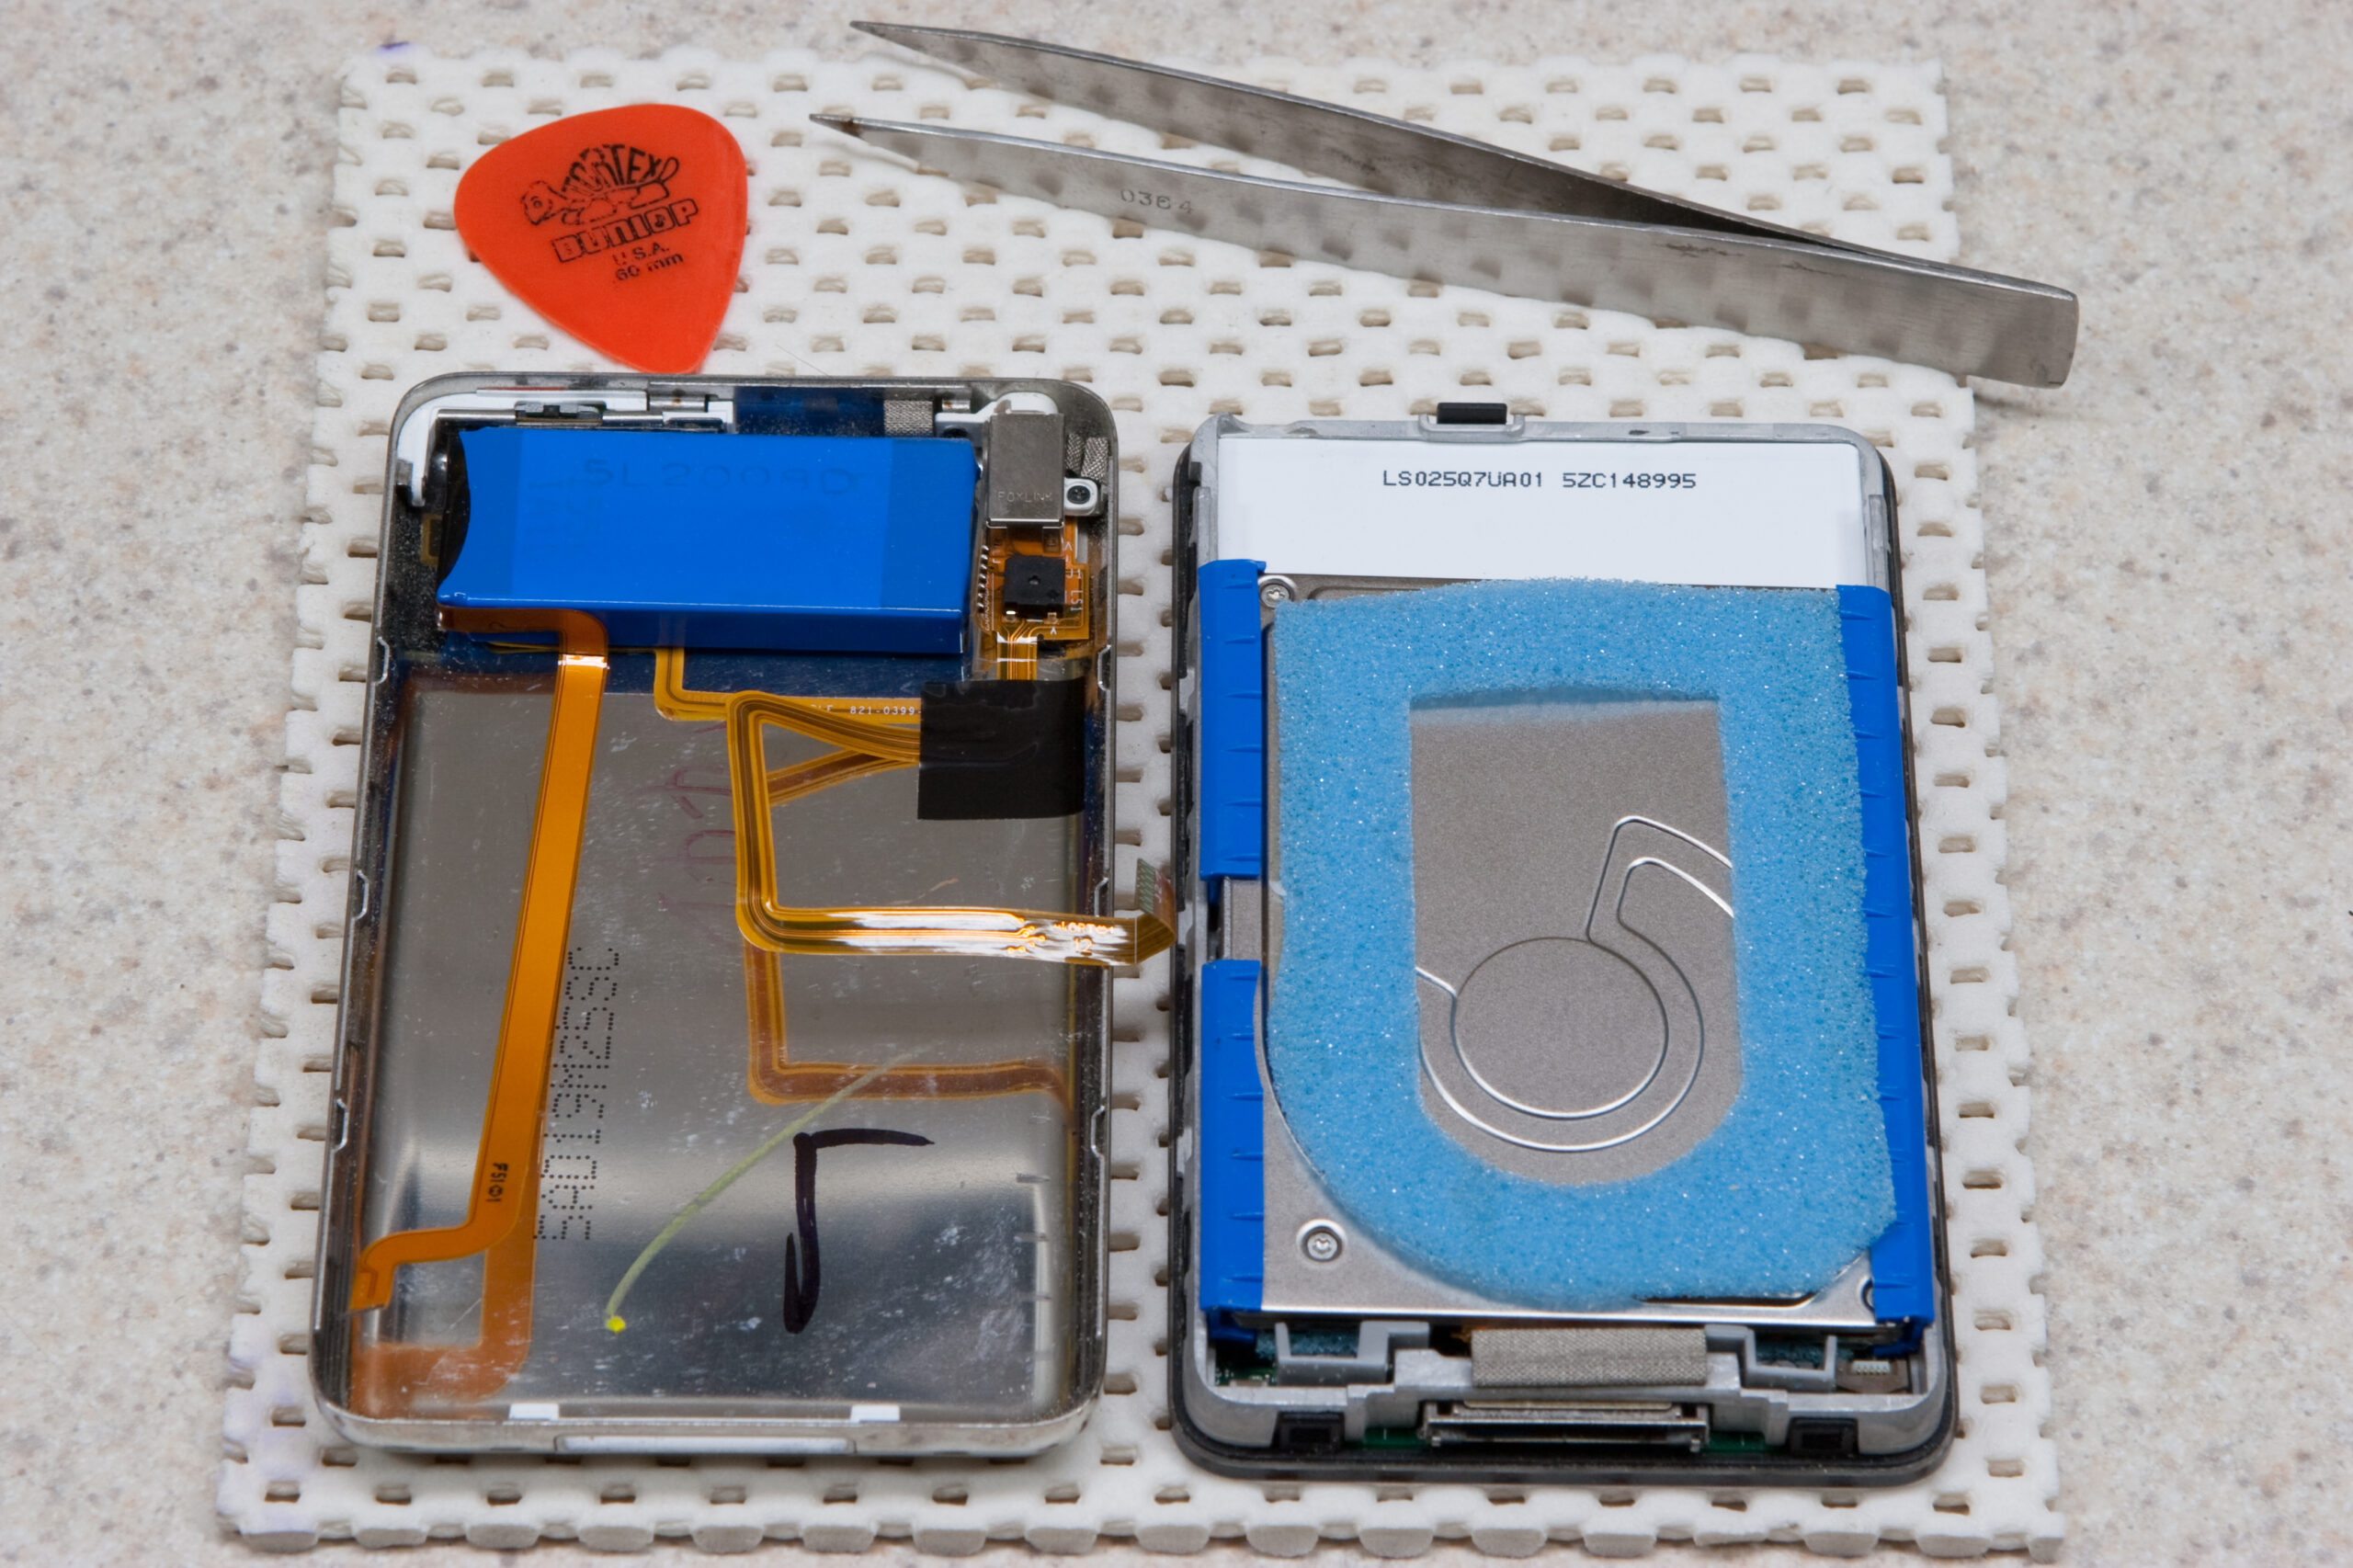
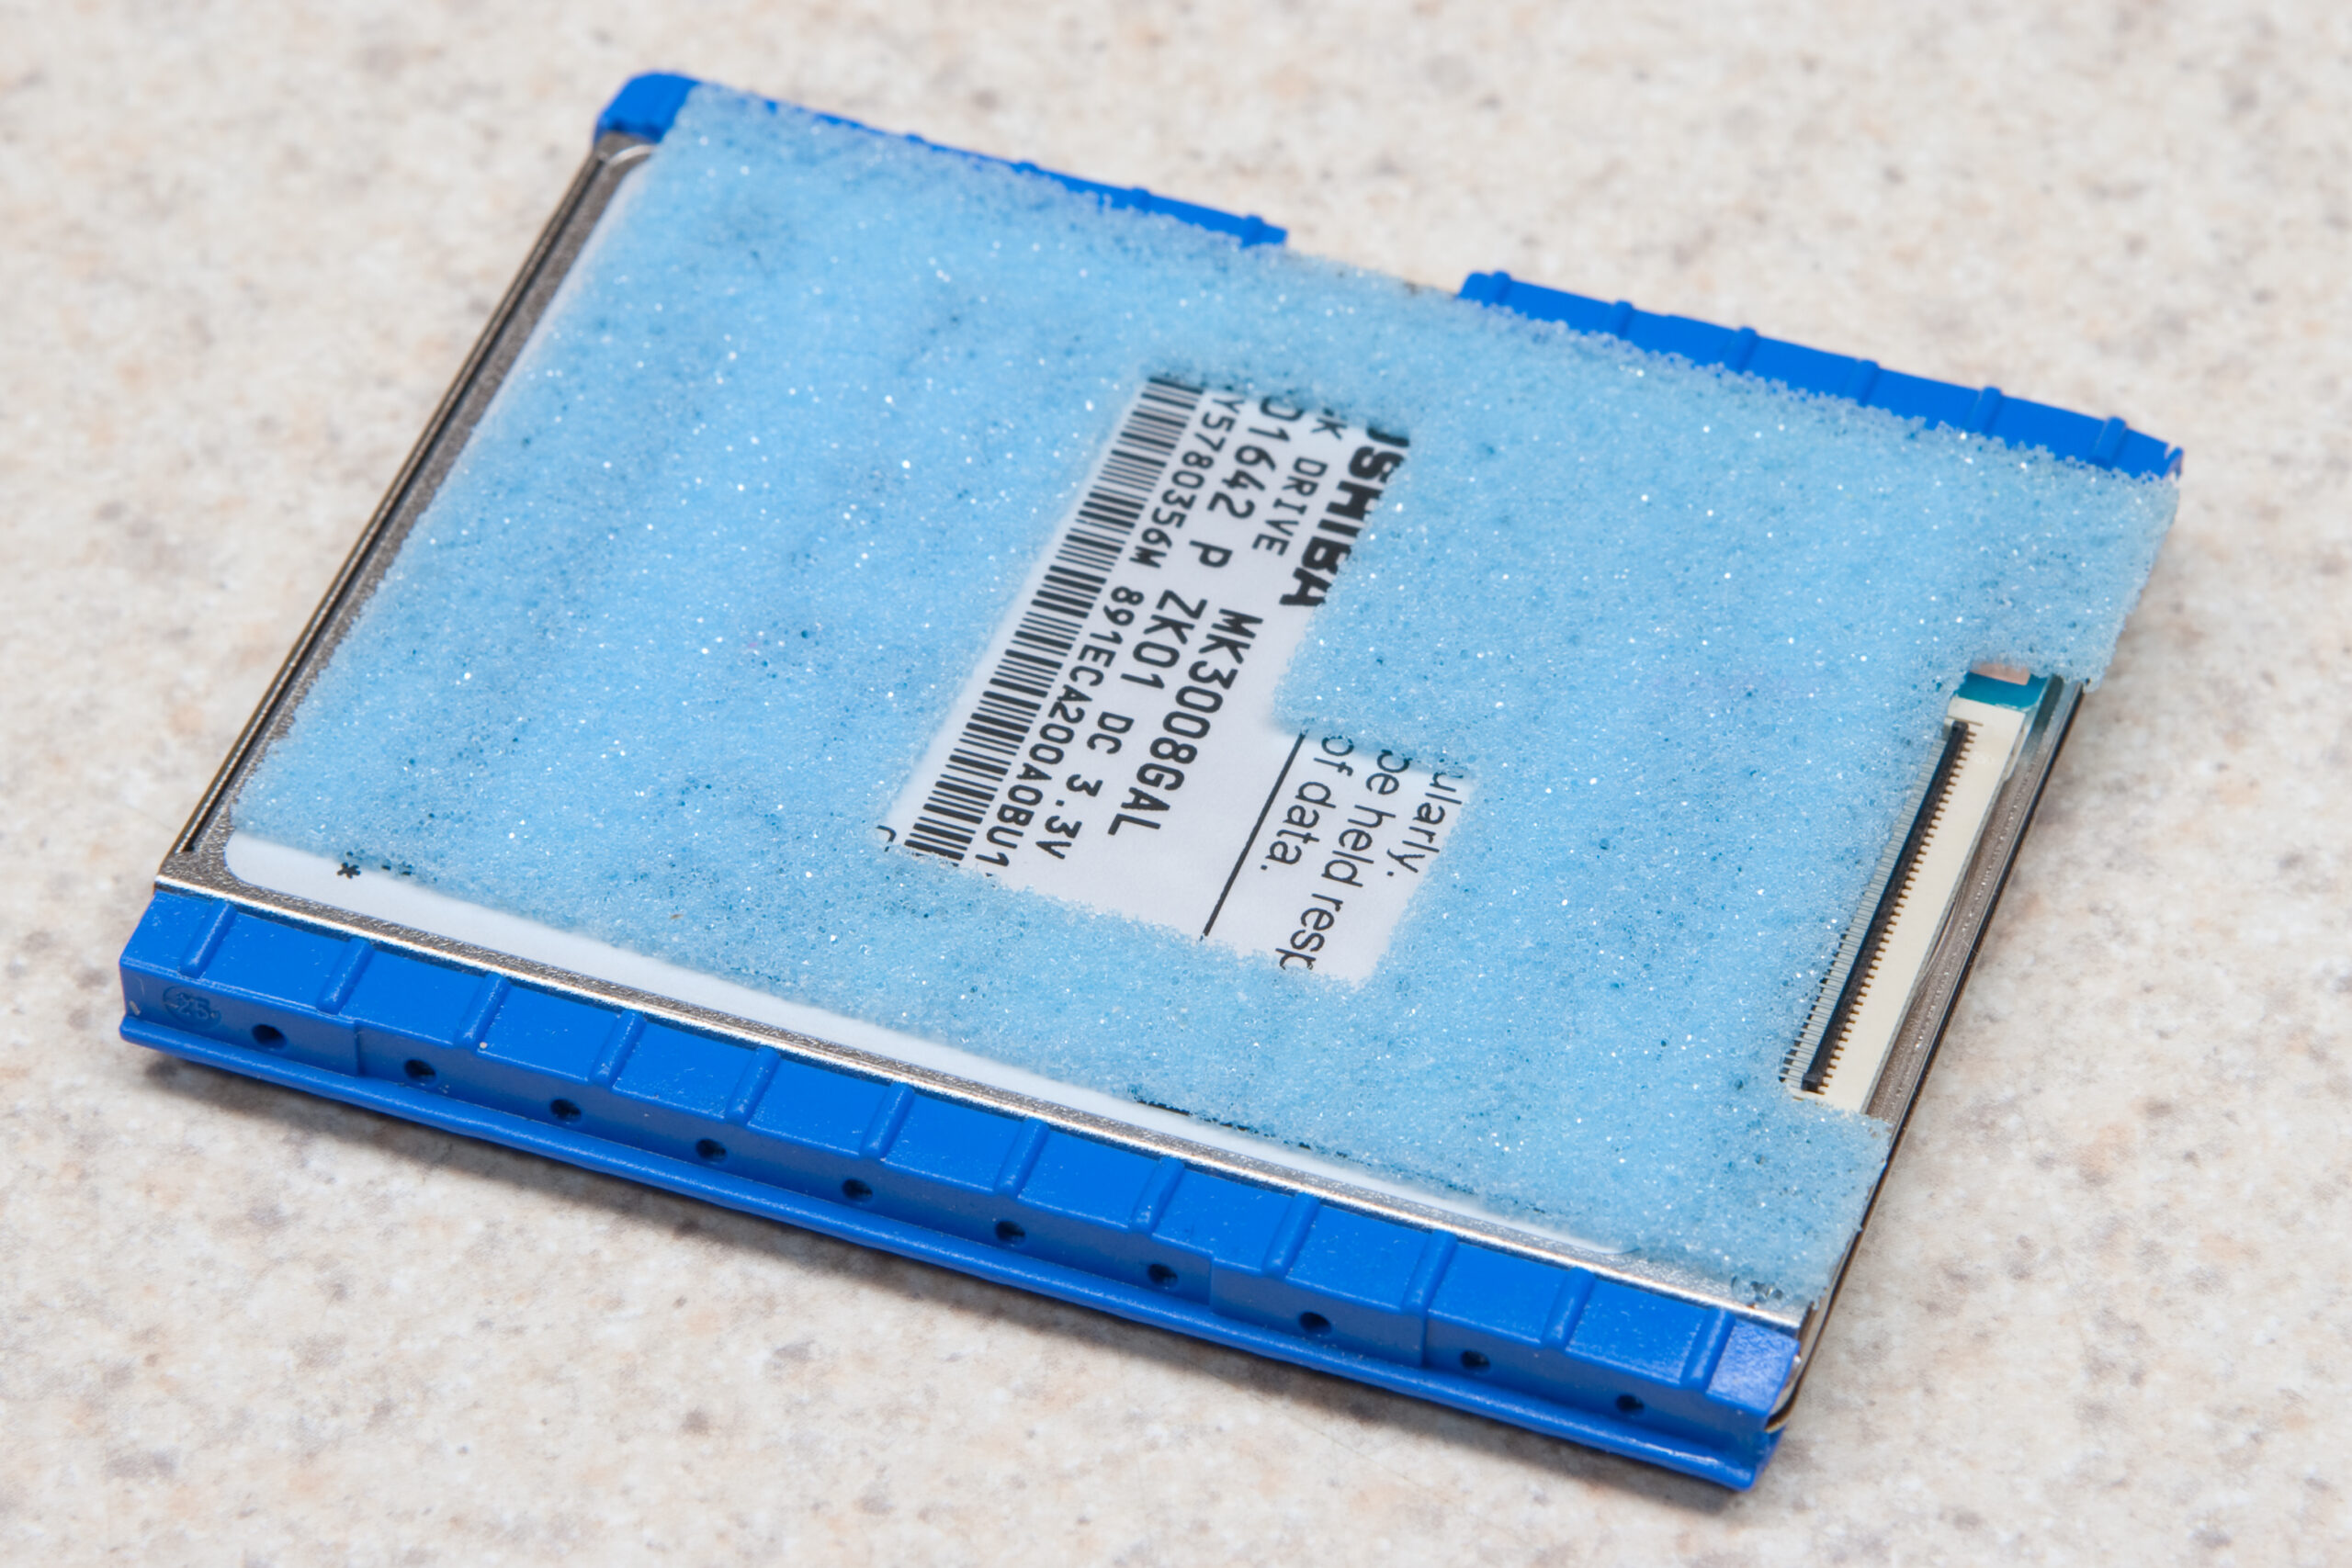
 fit inside of my iPod, disconnected. Note that the foam ensures a snug fit within the metal frame.")
