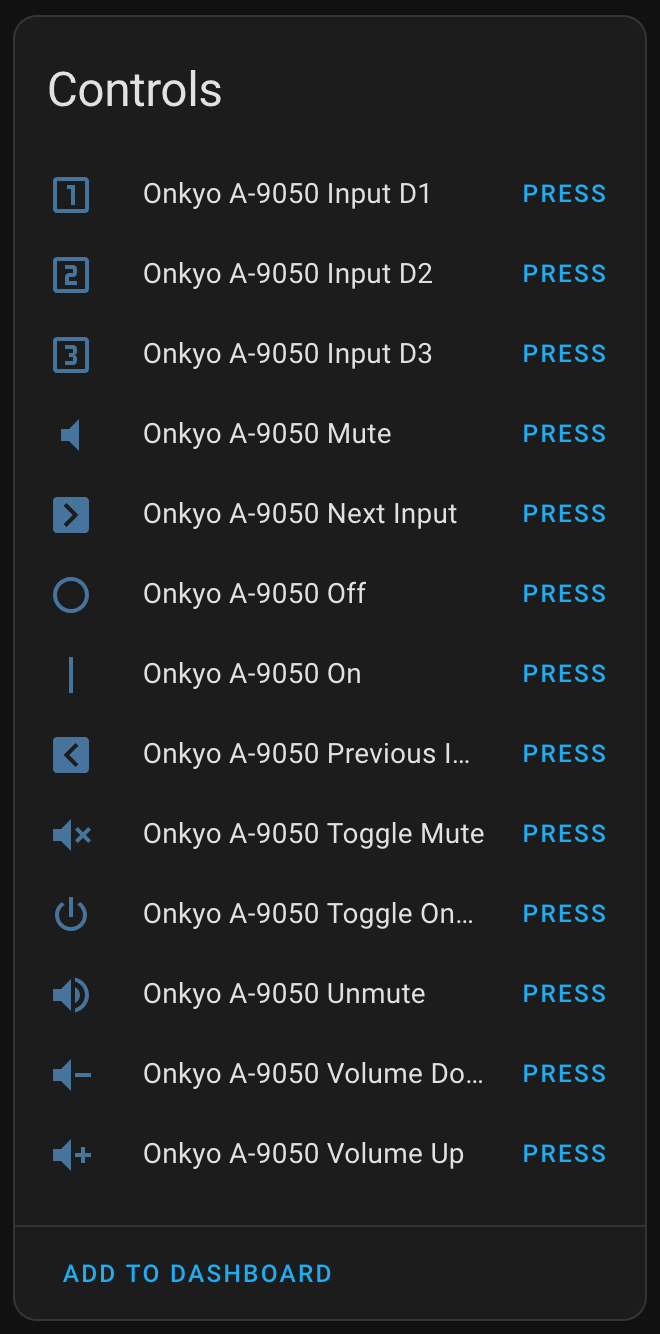
ZOOZ ZSE44 Flat Lines at 0° (C or F)

I’ve been using, and liking the ZSE44 Temperature | Humidity XS Sensor, with one in the attic and another in the back yard. It seems to work well, has a long battery life, and works great at pretty-far distances. But today I ran into an interesting quirk: it will not report negative numbers.
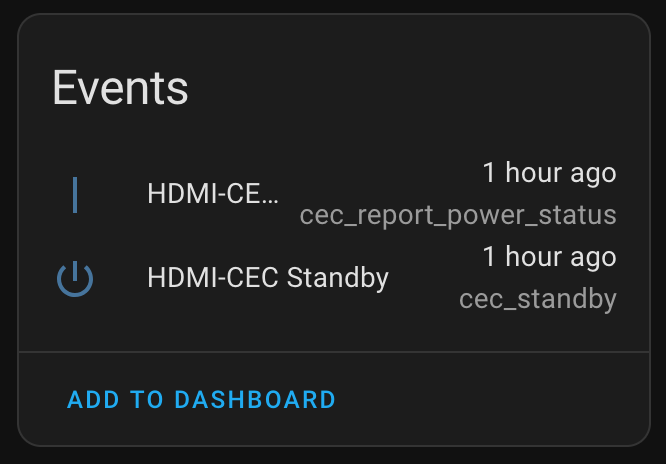
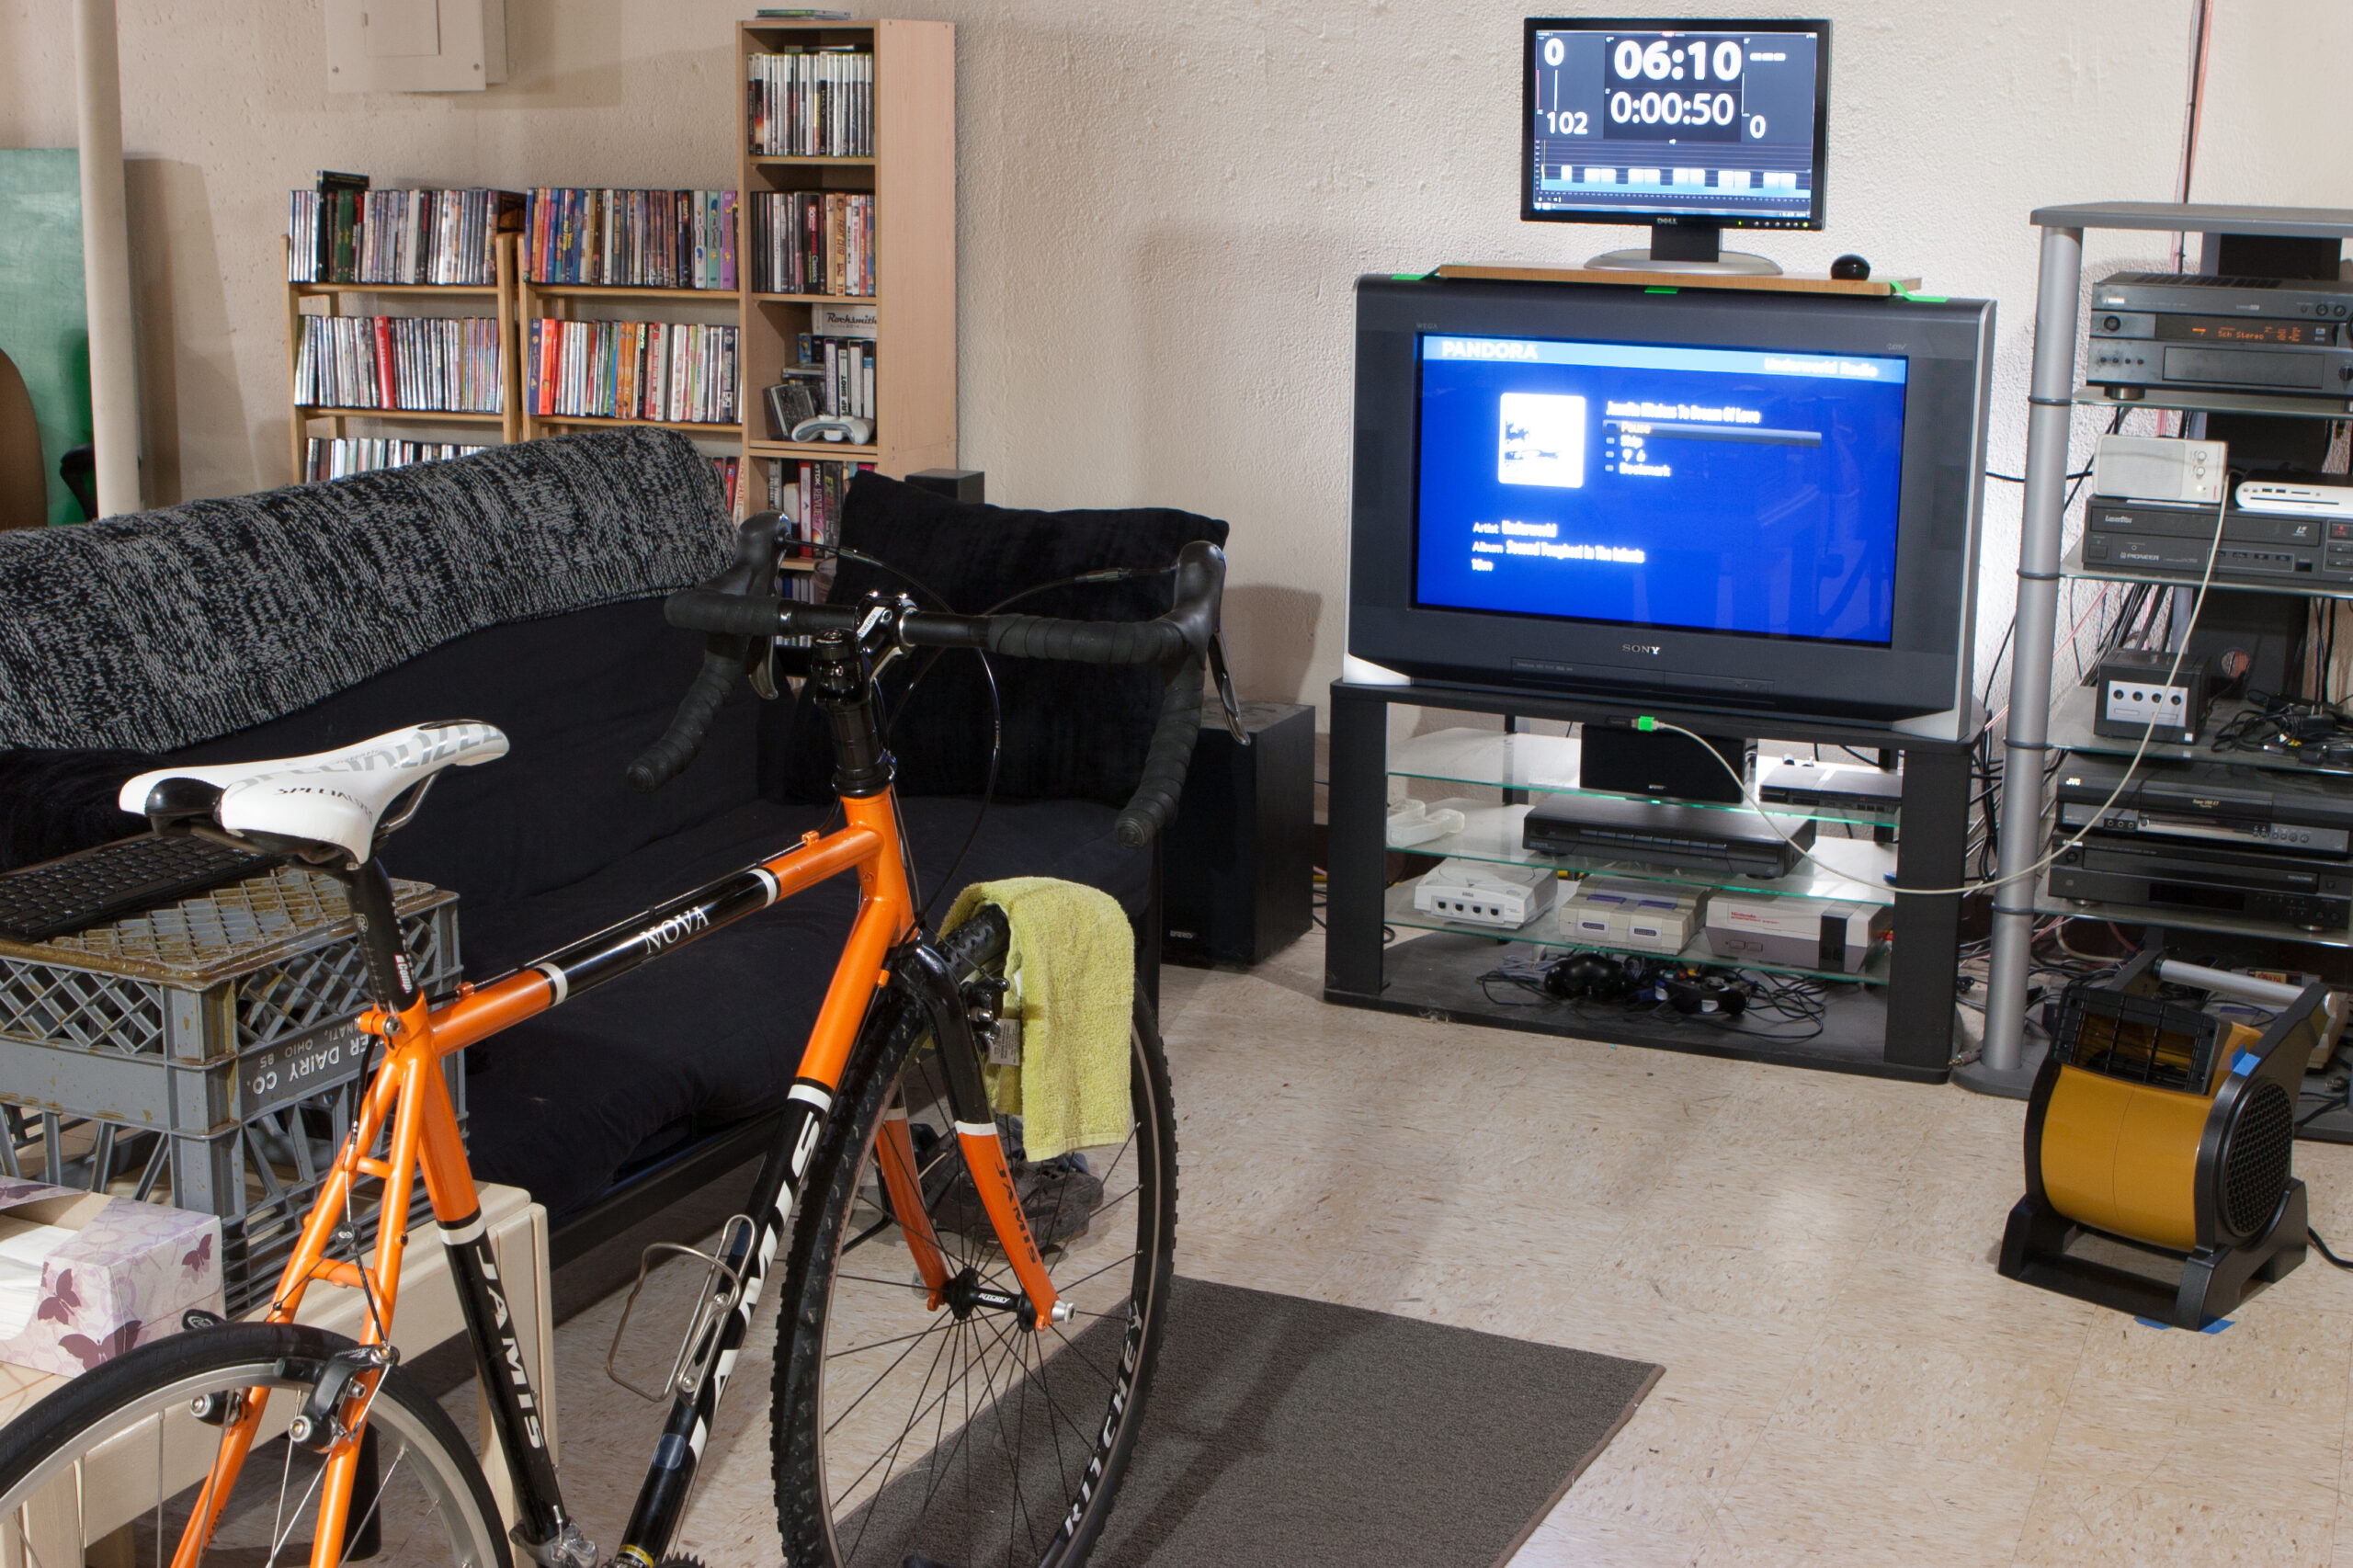
We’ve had a hefty cold snap here in Southeast Michigan, and last night the lows were well below 0°F, but I noticed that Home Assistant (see screenshot above) flatlined at 0°F for the back yard temperature.
I ended up asking ZOOZ customer service about this, and I was told it’s not designed for freezing temperatures, and thus won’t report negative numbers. So even though it’s working well at quite-below freezing temps, has been for the last week, and is even working fine now at ~4°F (reporting strong battery and active communication), a firmware limitation keeps it from telling me the actual temperature.
So, regardless of whether you have it set to Celsius or Fahrenheit, 0° in that scale is the lowest it reports. If you are using one of these in Celsius mode, you can get a bit more range by setting it to Fahrenheit and converting the value, but it only goes so far. (And yes, I tested the inverse by switching the ZSE44 to Celsius mode and saw that Home Assistant wouldn’t show below the converted 32°F.)
I’m a little irritated by this, but as it’s rarely this cold here, and the sensor otherwise works fine, I’m not planning to replace it. It’d just be nice to know the actual temperature outside via this sensor. The technical specs say it only works for 40°F to 90°F, but with it in the shade on our back fence or in the attic I’ve seen accurate values well beyond that.
Adding to the weirdness, the FAQ for the ZSE44 says:
The ZSE44 uses a SHTC3 [link mine] digital humidity and temperature sensor. The sensor covers a humidity measurement range of 0 to 100% RH and temperature measurements range of -40 C to 125 C.
While emailing back and forth with ZOOZ support, and their support person claiming the limit is because of the components, and they aren’t open to changing the firmware because that’d put it outside of specs, I did some digging to validate their claims. It turns out:
- The Energizer CR2450 that ZOOZ recommends specs a range of -30°C to +60°C: https://data.energizer.com/pdfs/cr2450.pdf
- The recommended Panasonic CR2450 is -30°C to +85°C: https://industrial.panasonic.com/cdbs/www-data/pdf2/AAA4000/AAA4000C337.pdf
- The recommended Maxell CR2450 is -40°C to +125°C: https://biz.maxell.com/en/primary_batteries/CR2450HR_DataSheet_22e.pdf
- The Z-Wave chip specs a range of -40°C to +80°C: https://www.silabs.com/documents/public/data-sheets/zgm230s-datasheet.pdf
- The SHTC3 rage is -40°C to +120°C: https://sensirion.com/resource/datasheet/shtc3
So between the range for the sensor, the suggested batteries, and the Z-Wave chip, a range of -40°C to +60°C would be fully within spec for all components.
Thus, the currently stated limitation for the ZSE44 of 40°F to 90°F (~4°C to ~32°C) is radically narrower than what any of the individual components, including the Z-Wave chip and battery) are spec’d to operate at. And I’ve demonstrated that all the components work at a much wider range: typical lower Michigan weather.
This make me a bit more irked at the limitations of the firmware, but thankfully after a bit of email discussion this information was sent to their development team, so I’m hopeful they’ll recognize the disparity and correct things.
But for now, at least now I know what’s going on.
(I could probably go to a different temperature sensor type, but all the really wide range ones, such as are meant for monitoring chest freezers, aren’t Zigbee or Zwave, and I don’t really want to add another protocol to my Home Assistant setup… Maybe that’ll be a project for this summer. Maybe…)
NOTE: This post is accurate as of 2025-Jan-23, on ZSE44 HW v2.0 w/ FW v2.0.


")


