
A reliable fat bike tubeless setup is pretty important to me, and over the years I’ve tried a number of different methods. Typically some sort of tape works (eg: TPP350 or Scotch 8898) well at first, but over time tends to fail as the adhesive is weakened by sealant, in part because of difficulties smoothing the tape into a concave rim. My current wheel setup, DT Swiss BR 2250, has worked somewhat-well for the last year, but has regularly had intermittent problems problems holding air. Going into another winter (it’s only ~4 months away!) I want to have a solid tubeless setup, as I’m planning to do some lengthier solo snow rides; not the time to end up with a flat.
The biggest problem stems from the BR 2250 being rims with cutouts; a necessary compromise for keeping weight reasonable while building a stronger rim. I considered going to a solid rim such as Nextie carbon or HED B.A.D. to sidestep the problem, but as I’m otherwise really happy with the wheels (great hubs, solid rims) I decided it’d be best to exhaust all tubeless conversion options first. Having gone through most tape options, next up was the FattyStripper, a latex rim strip that’s not unlike the split tube method. I find it preferential to the split tube method, though, as it appears to be lighter, easier to trim, and being thinner should interfere less with the bead lock that’s so important for keeping a tire seated at low pressures.
To get started I decided to convert the front wheel first. This one had been mostly holding air for a year, but would drop pressure noticeably over a couple days; something a good tubeless setup shouldn’t do. Upon disassembling the wheel and removing the tape I found that it had the expected failure mode of some sealant blowby where the tape layers overlapped, making it only a matter of time before a more persistent leak developed.
After reviewing the FattyStripper Installation Instructions I decided that my plan would be to leave the DT Swiss rim strip in place, then install the FattyStripper over that, securing it in place along the edges with 3M Super 80, a spray adhesive designed to bond rubber (such as latex) and metal. My hope is that this will keep the FattyStripper in place through multiple tire changes, allowing this to be a solid, long-term, reliable tubeless adaption for the BR 2250 wheels.
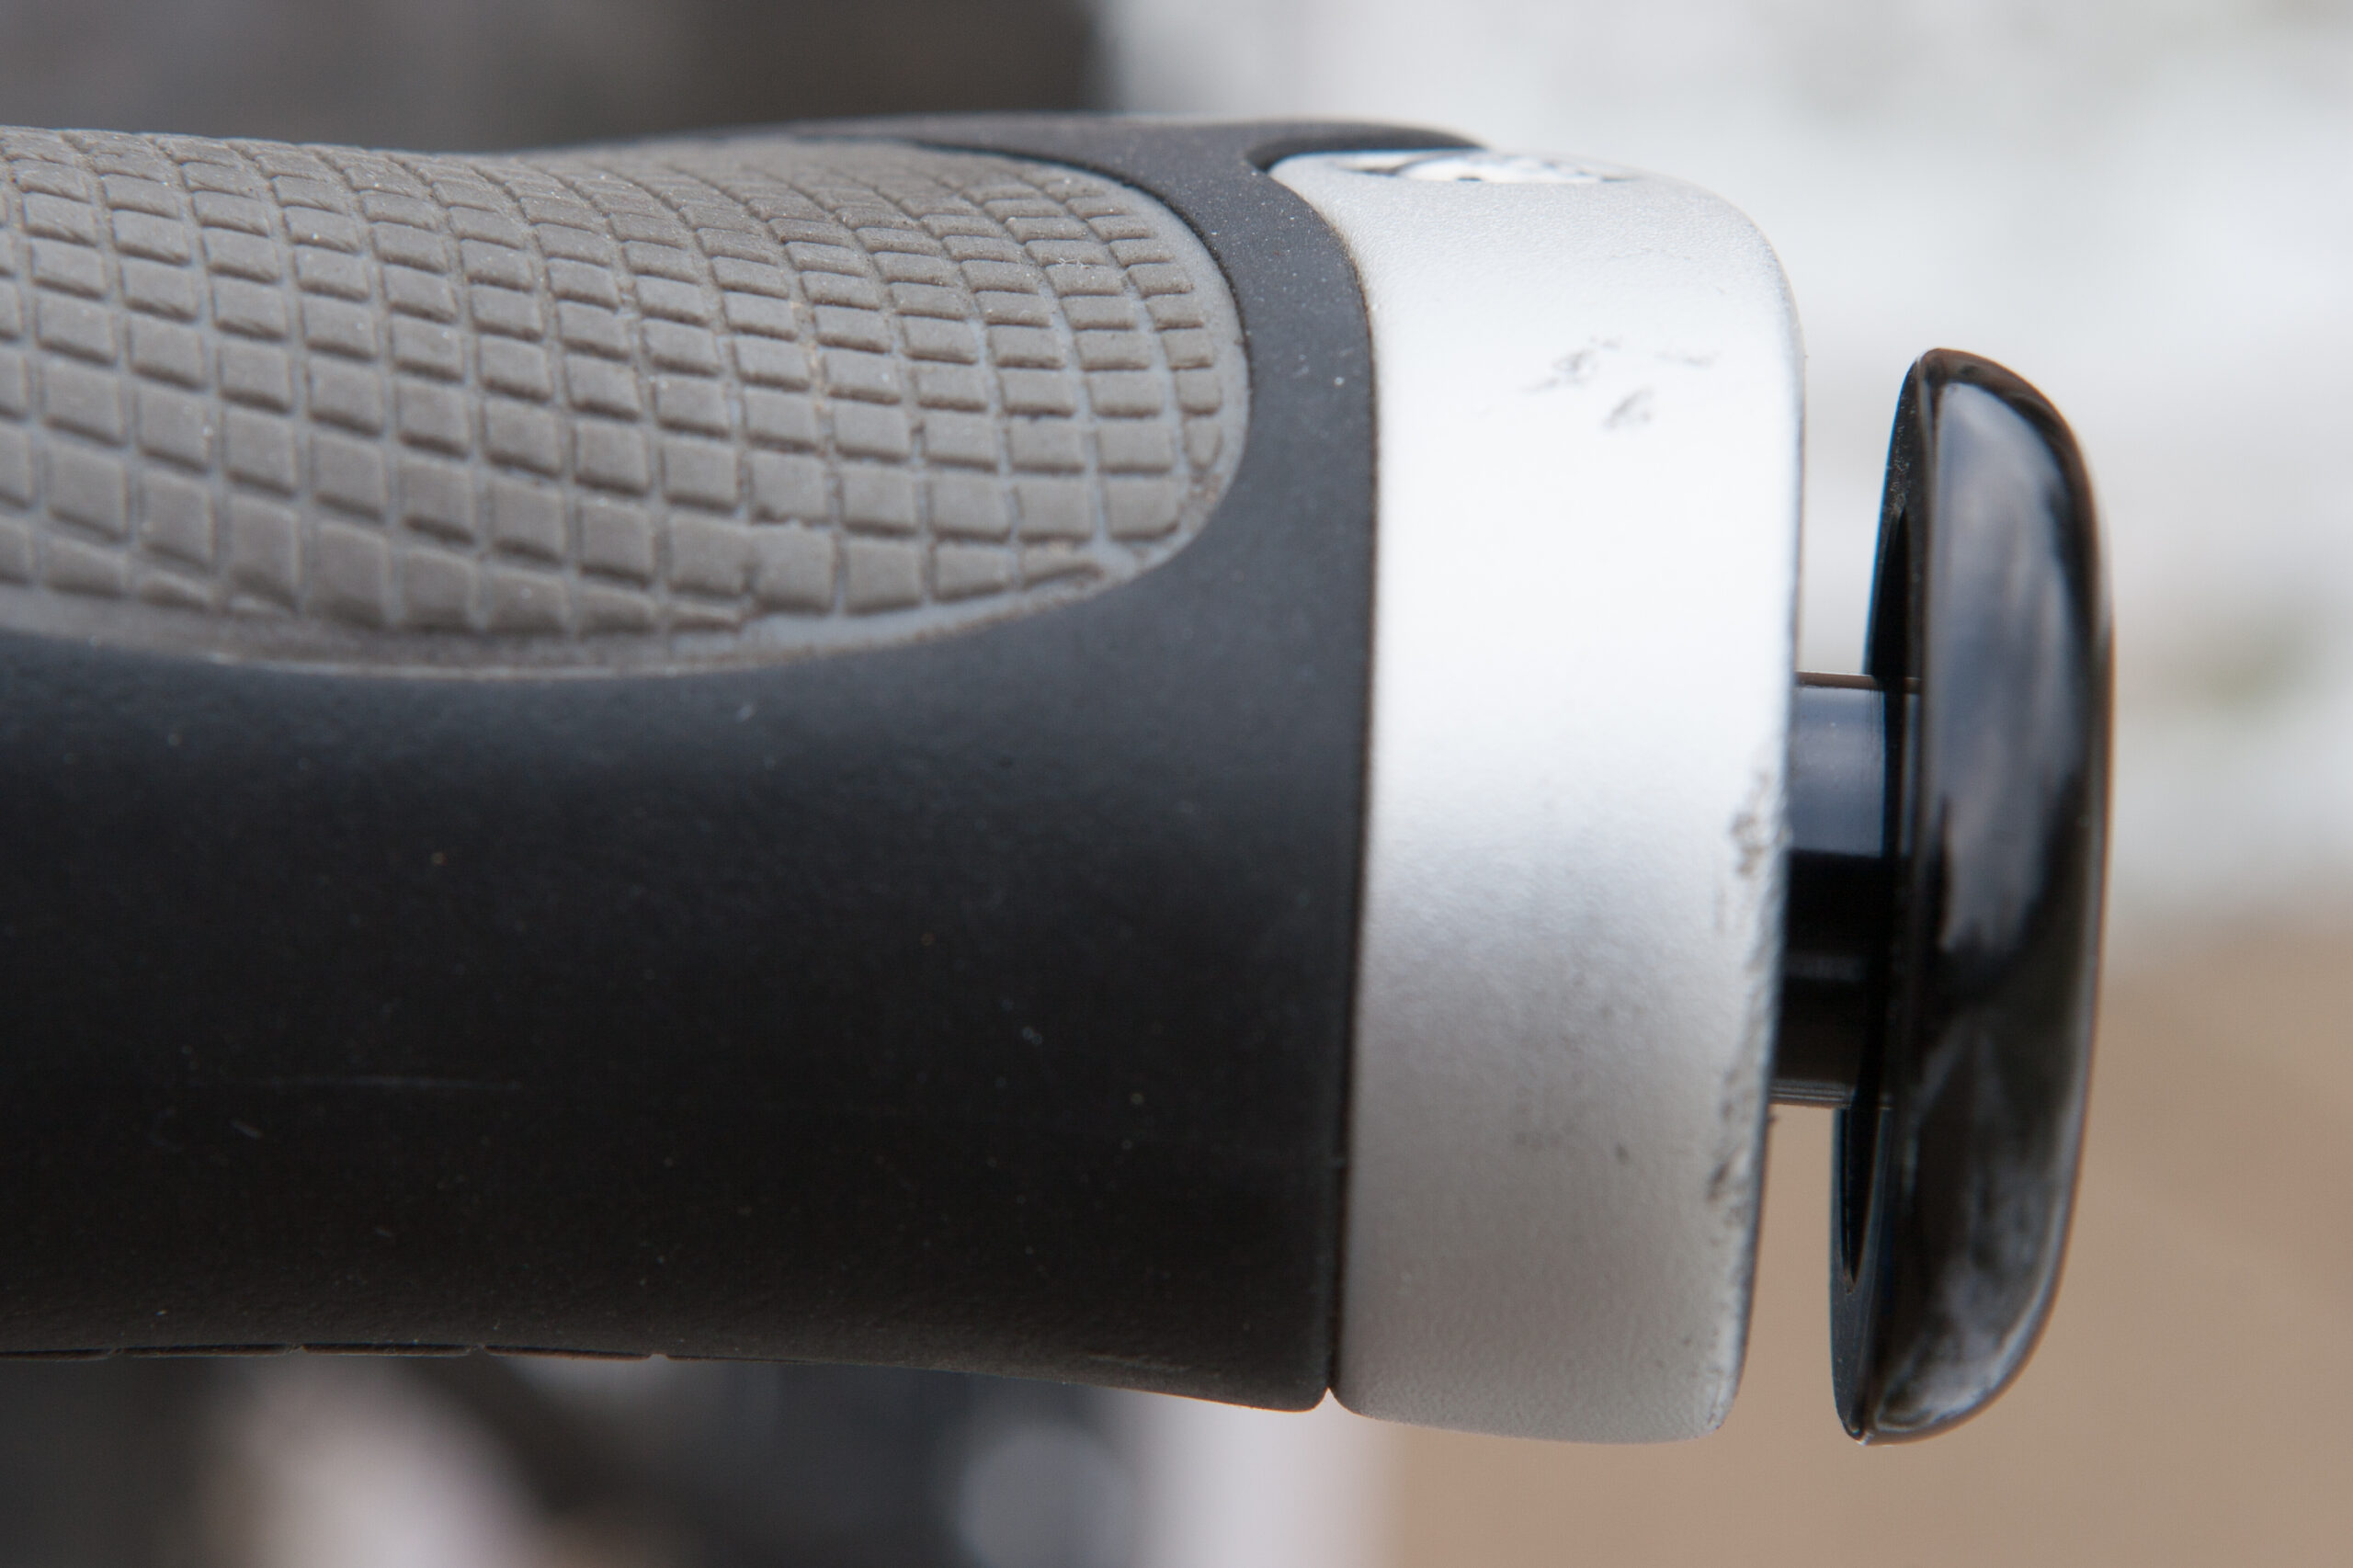
Removing the tape left a bit of both adhesive and tubeless sealant residue, so I first cleaned that off before fitting the rim strip. After the strip was in place I glued each side in place, one at a time. The strip was rolled back, adhesive sprayed, adhesive left to set up (working time is 4-30 minutes), then carefully rolled/placed the back along the rim, paying particular attention to get it nicely settled in the bead seat. The gluing process was a bit of a pain, as getting the rim strip nicely in place required carefully pressing it into place with a combination of fingers, a small rubber tool, and a washer that I rolled along the bead seat / rim wall intersection. Dispensing the adhesive resulted in some web-like overspray which settled on the spokes (and a little on the rotor), but this cleaned off easily with an alcohol-soaked paper towel. When doing the front wheel I’ll either wipe off or applying some masking tape to the top edge of the side wall to keep overspray off of here, as set up adhesive in this location made it difficult to cleanly trim the strip after tire installation.
Overall, gluing took about 40 minutes.
Once the FattyStripper was installed and stuck in place it was time to fit the tire. I’d left the sealant in the tire and not cleaned the bead to help wet/lube the bead during inflation, which seemed to do the trick. Tire installation was fairly uneventful, and I was able to get the tire to seat without resorting to a strap clamp, taking about 30 PSI to get the tire fully seated. After valve installation and a quick shake I trimmed the overhanging strip by pulling it away from the bead and using a new hobby knife blade to cut it. Most of this worked well, but on locations where adhesive oversprayed on the top of the sidewall it didn’t trim cleanly and adhesive residue and a bit of latex is visible. This is not a practical concern, but doesn’t look too great up close. I will likely attempt to clean up this residue either by rubbing it off or with a citrus solvent.
After sitting overnight the assembly seems to have held pressure quite well. Based on this I’m going to convert the rear wheel within the next few days.
While the current setup seems solid, I have a few long-term concerns. Most of these should be answered when I switch to snow tires (likely in late December / early January):
- Will the latex-based sealant (Stan’s) bond the tire to the latex rim strip? How will this complicate removal of the tire?
- Will tire removal overpower the adhesive or tear the rim strip?
- Will the thickness of the rim strip interfere with the bead lock mechanism at low pressures? (Unlikely, can deflate tire to manually check.)
At this point if this installation of FattyStrippers aren’t working out I will have a couple options:
- Use a second/spare set of FattyStripper strips to redo the process. This’ll work for winter, but long-term isn’t good as I don’t want to spend $12 plus time (old strip removal, new application, etc) whenever I swap tires.
- Attempt some other tape-based method. Perhaps another method of applying TPP350 or Scotch 8898.
- Go back to using tubes.
- Acquire new wheels, without holes.
November Update: After tearing my tire on a piece of angle iron I got to test the FattyStripper during a tire swap. During removal the FattyStripper tore, and removing the part glued to the rim took quite a bit of time. I ended up selling the DT Swiss BR 2250 wheels (ordering some HED B.A.D. rims with DT Swiss hubs), but if I were to do it again I’d use the FattyStrippers, skipping the adhesive.
The FattyStripper held wonderfully for months of riding. There was no leaking, no need for additional sealant, and it held pressure as well as any other proper tubeless setup. There was quite a bit of sealant left in the rim when the tire were removed.
It seems that the biggest downside to the FattyStrippers is their one-shot use, but while in use they work very well. (There are a few people who’ve been able to reuse their FattyStrippers between tire changes, but they seem to be the exception. Therefore, I see these as needing to be replaced with each tire change.)
")

")


