Parts for Jones Plus Build

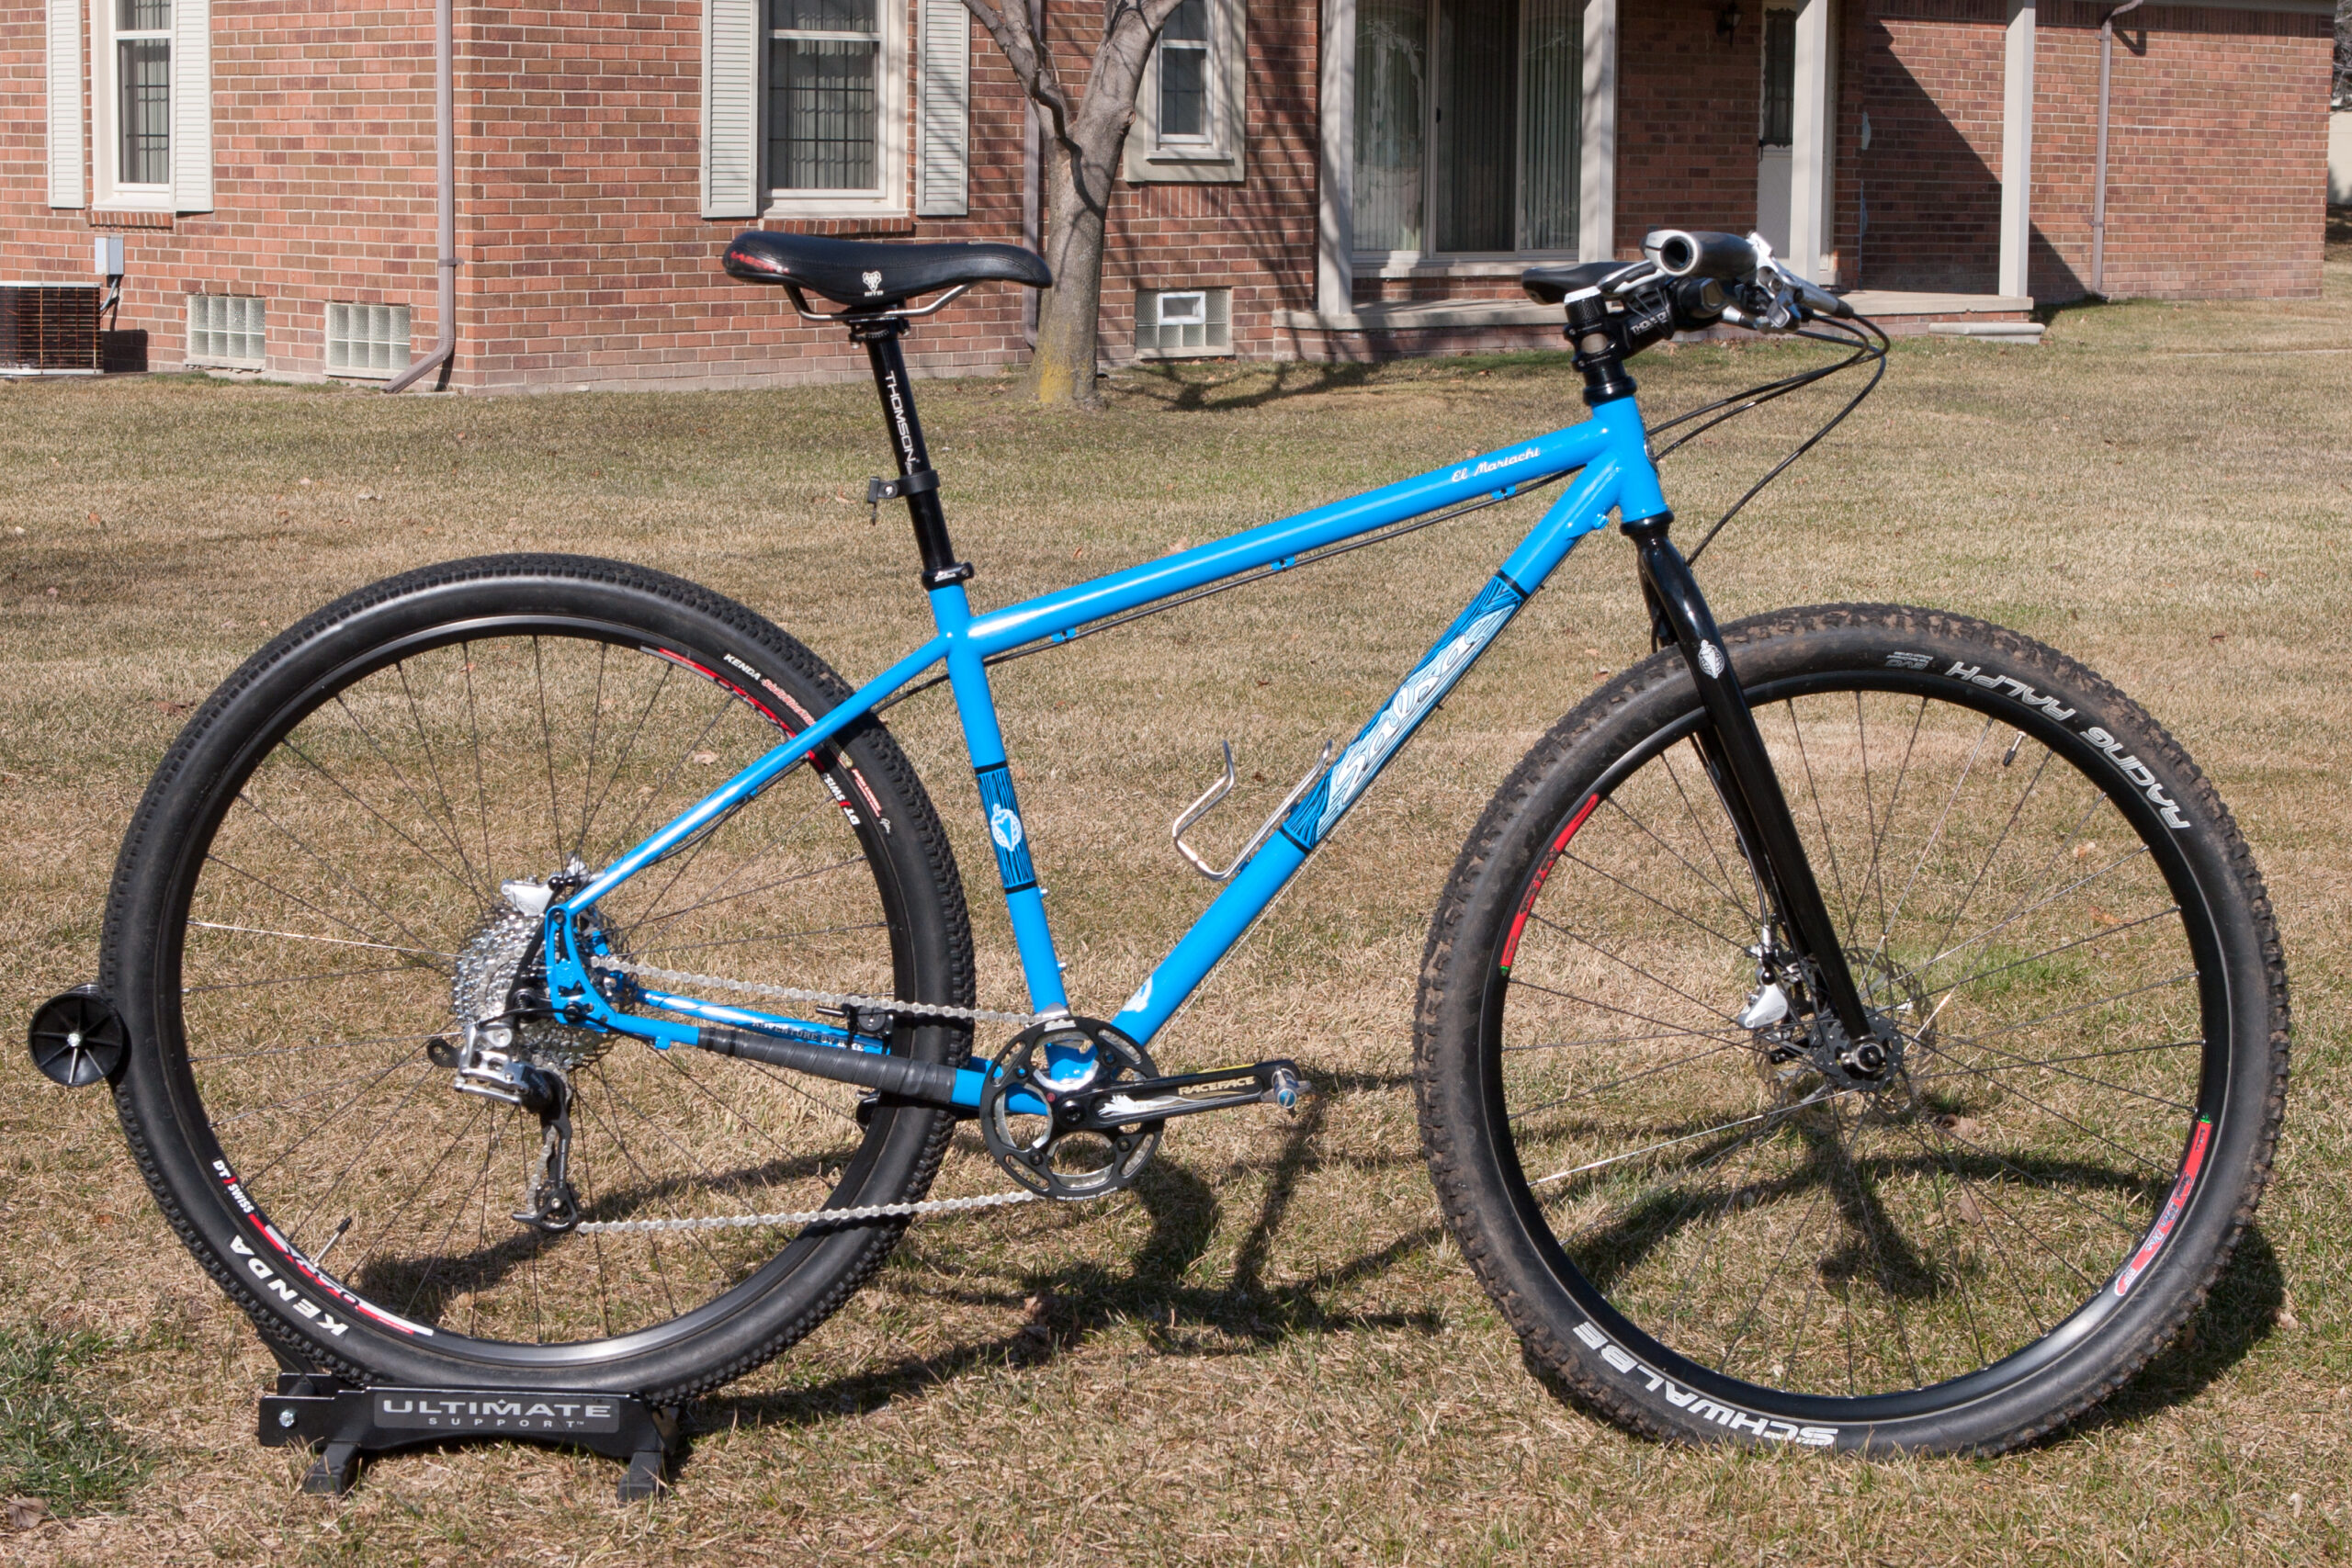
I’ve had my eye on the Jeff Jones / Jones Bikes venerable Spaceframe for years, but wasn’t interested enough to pick one up. Still, Jeff’s bike designs have intrigued me. This winter everything fell into place for me to build up the newest Jones Bikes design, the Jones Plus. Being built as a single speed it’ll replace my well loved steel Salsa El Mariachi, but it is should easily be convertable to a geared bike, should the desire arise.
After months of thought, collecting parts via group buys, weird corners of the internet, local bike shops, and the Jones Bikes store itself, the parts are now all here and the build has begun. Here’s the collected list of parts going into the bike. Not all have arrived yet (and the list will be updated if needed), but if all goes as planned it’ll be built by the beginning of March:
Frame / Fork: Jones Plus (24″)
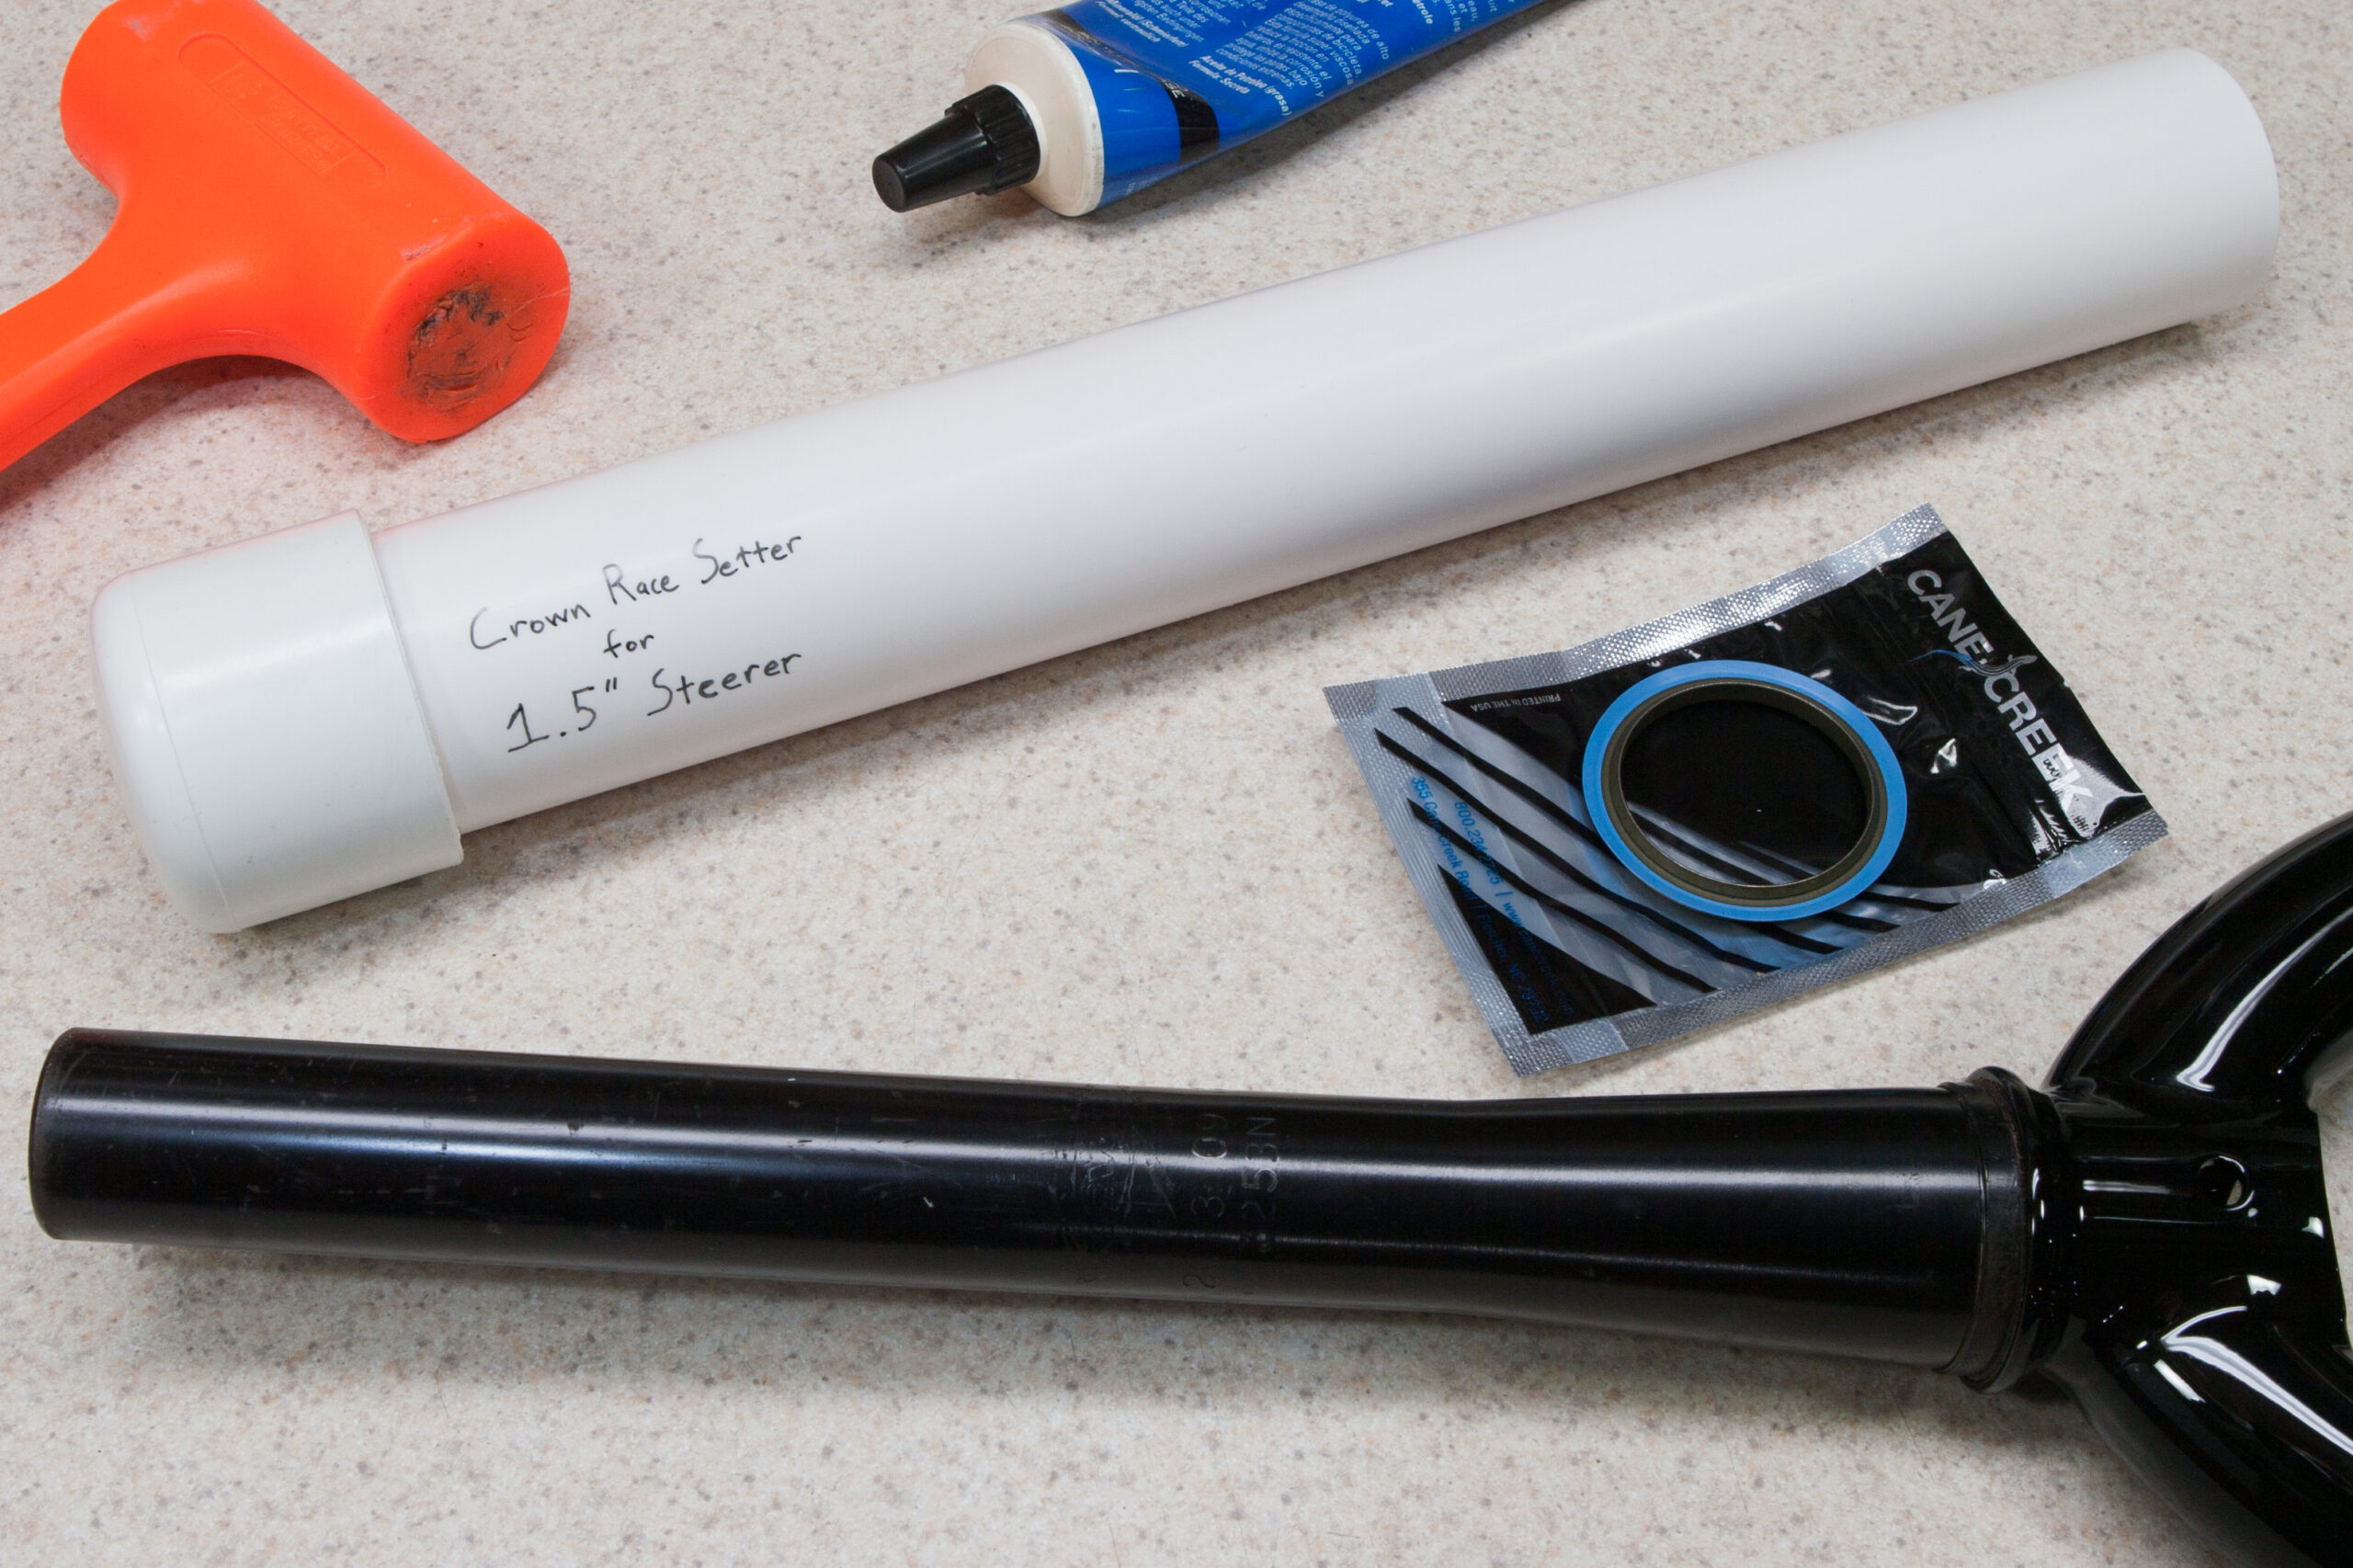
Headset: Jones Headset for Truss Fork
Front Hub: Jones 135/142-F Hub
Rear Hub: DT Swiss 350 135mm Disc Brake (Int.Standard) w/ Bontrager 54t Star Ratchet Set (436413)
Front Axle: Jones (Comes w/ Fork)
Rear Skewer: Shimano M770 (Deore XT, 173mm, Y3TG98020)
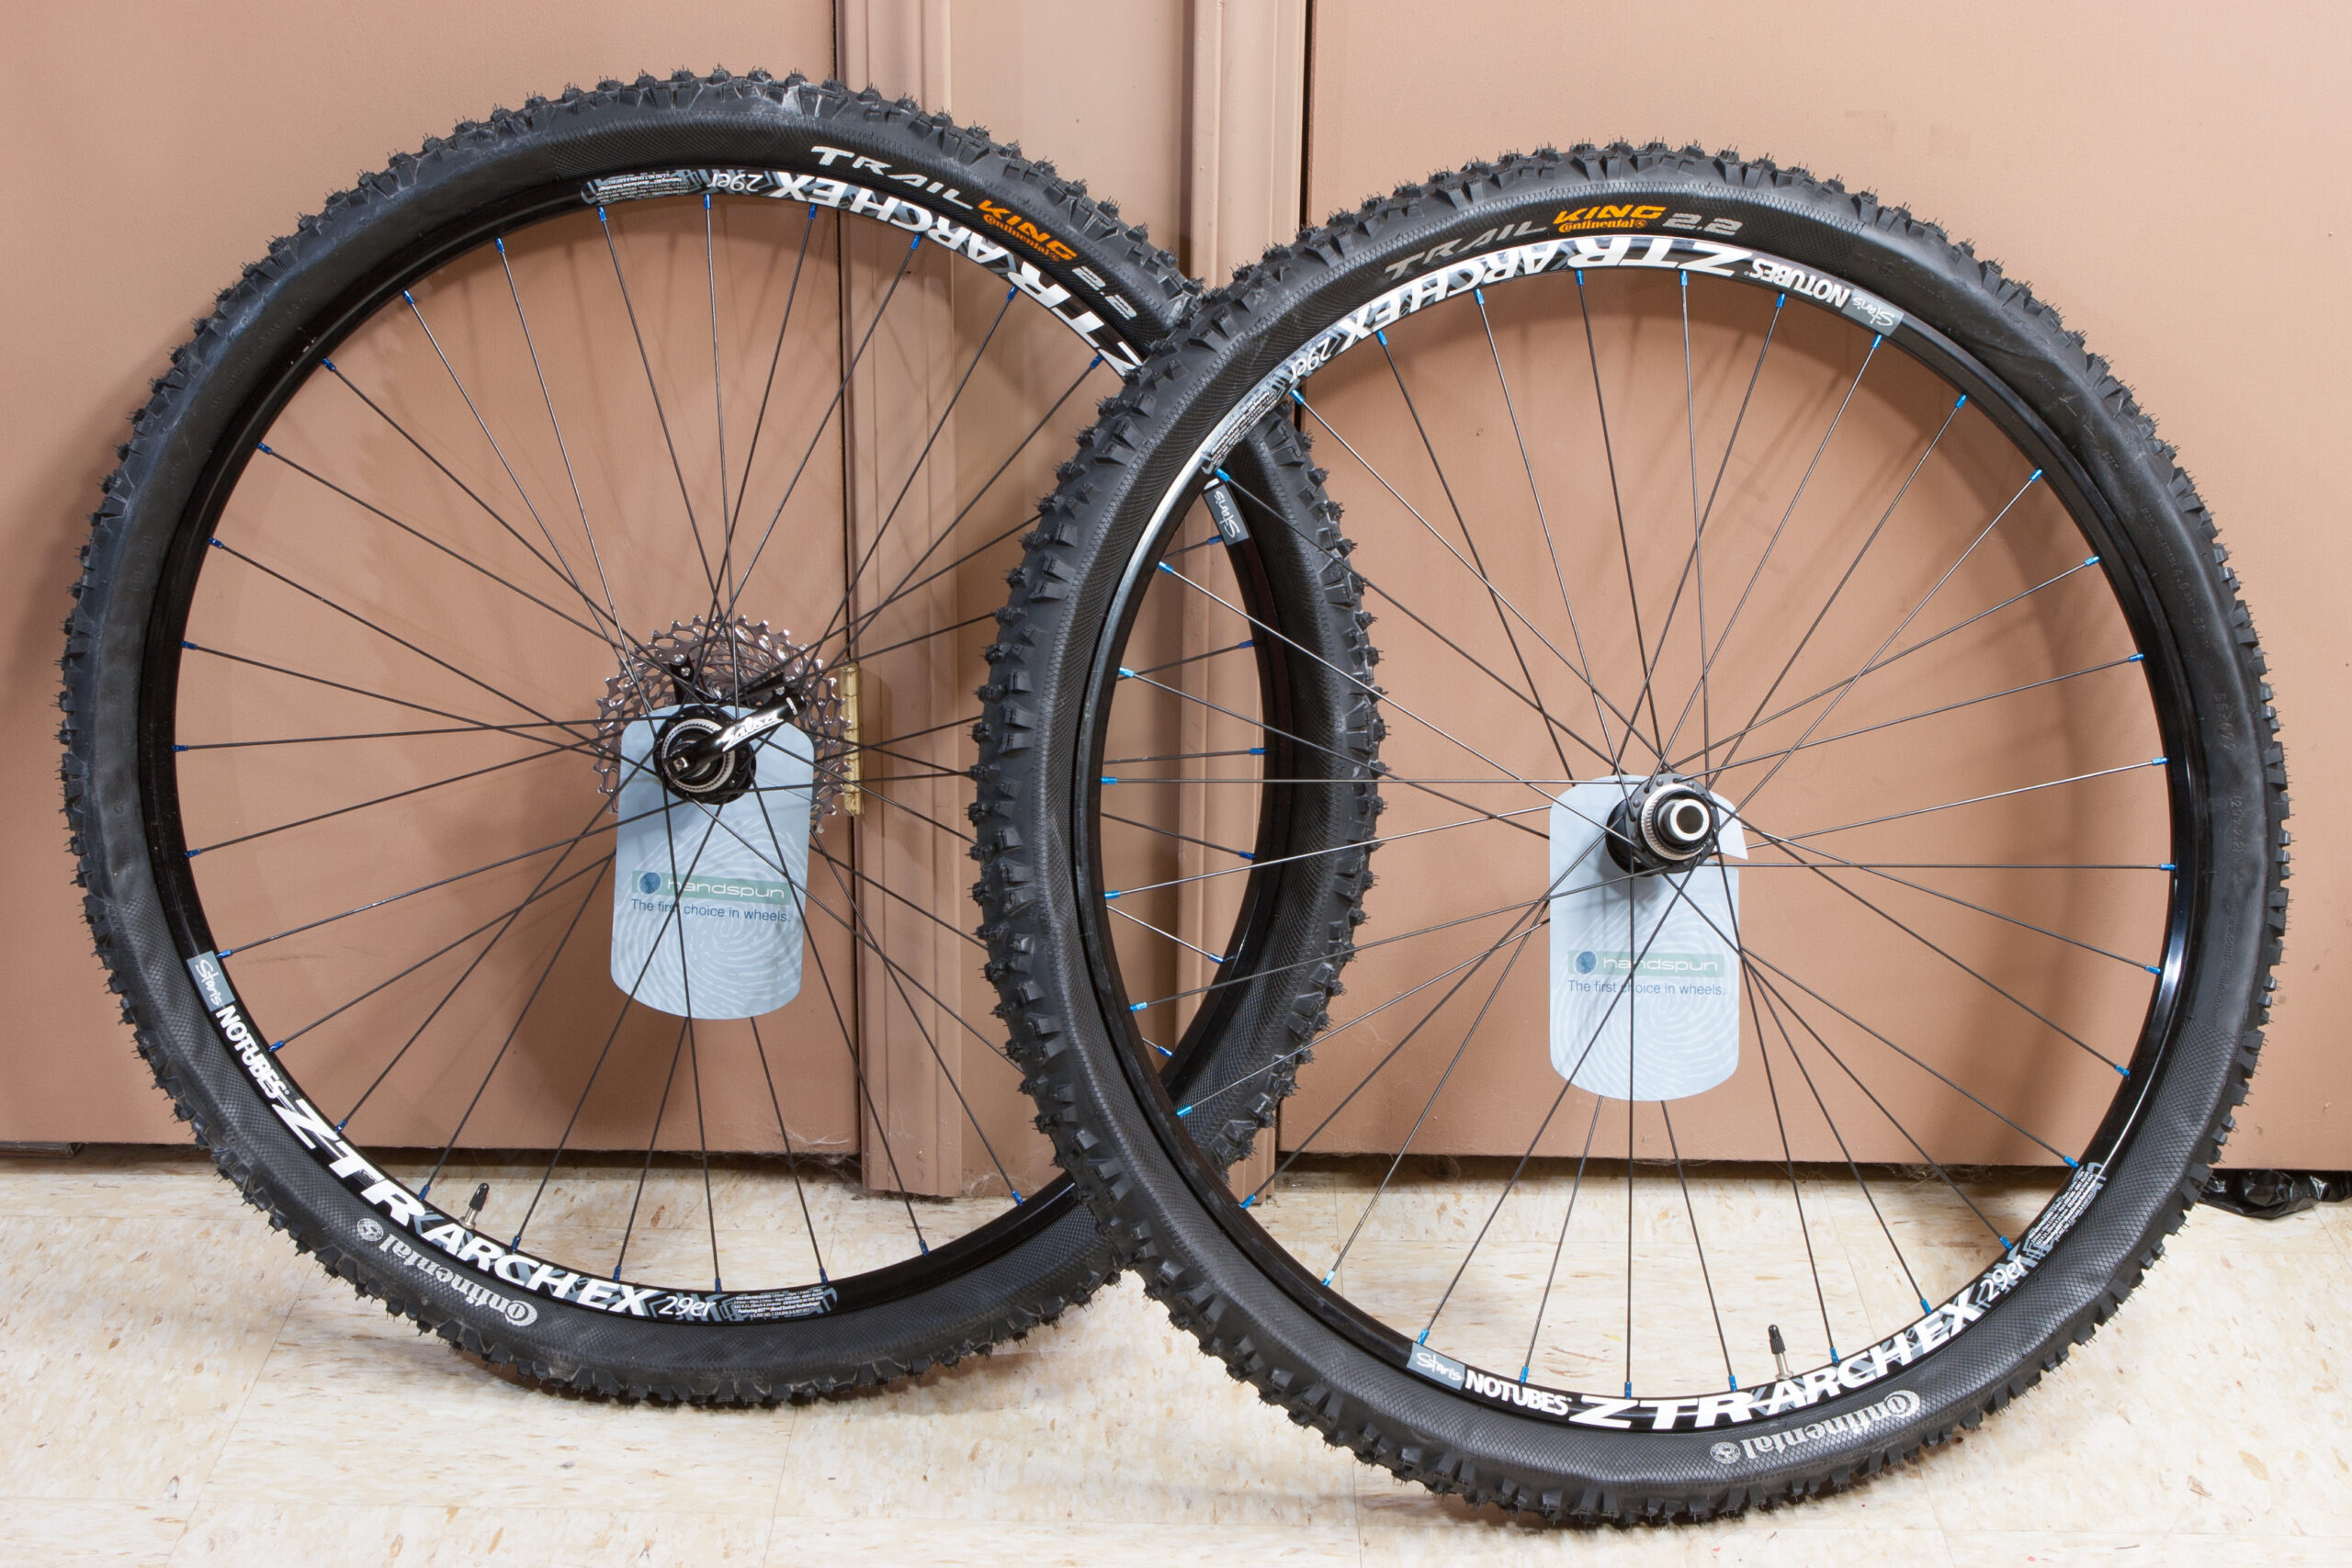
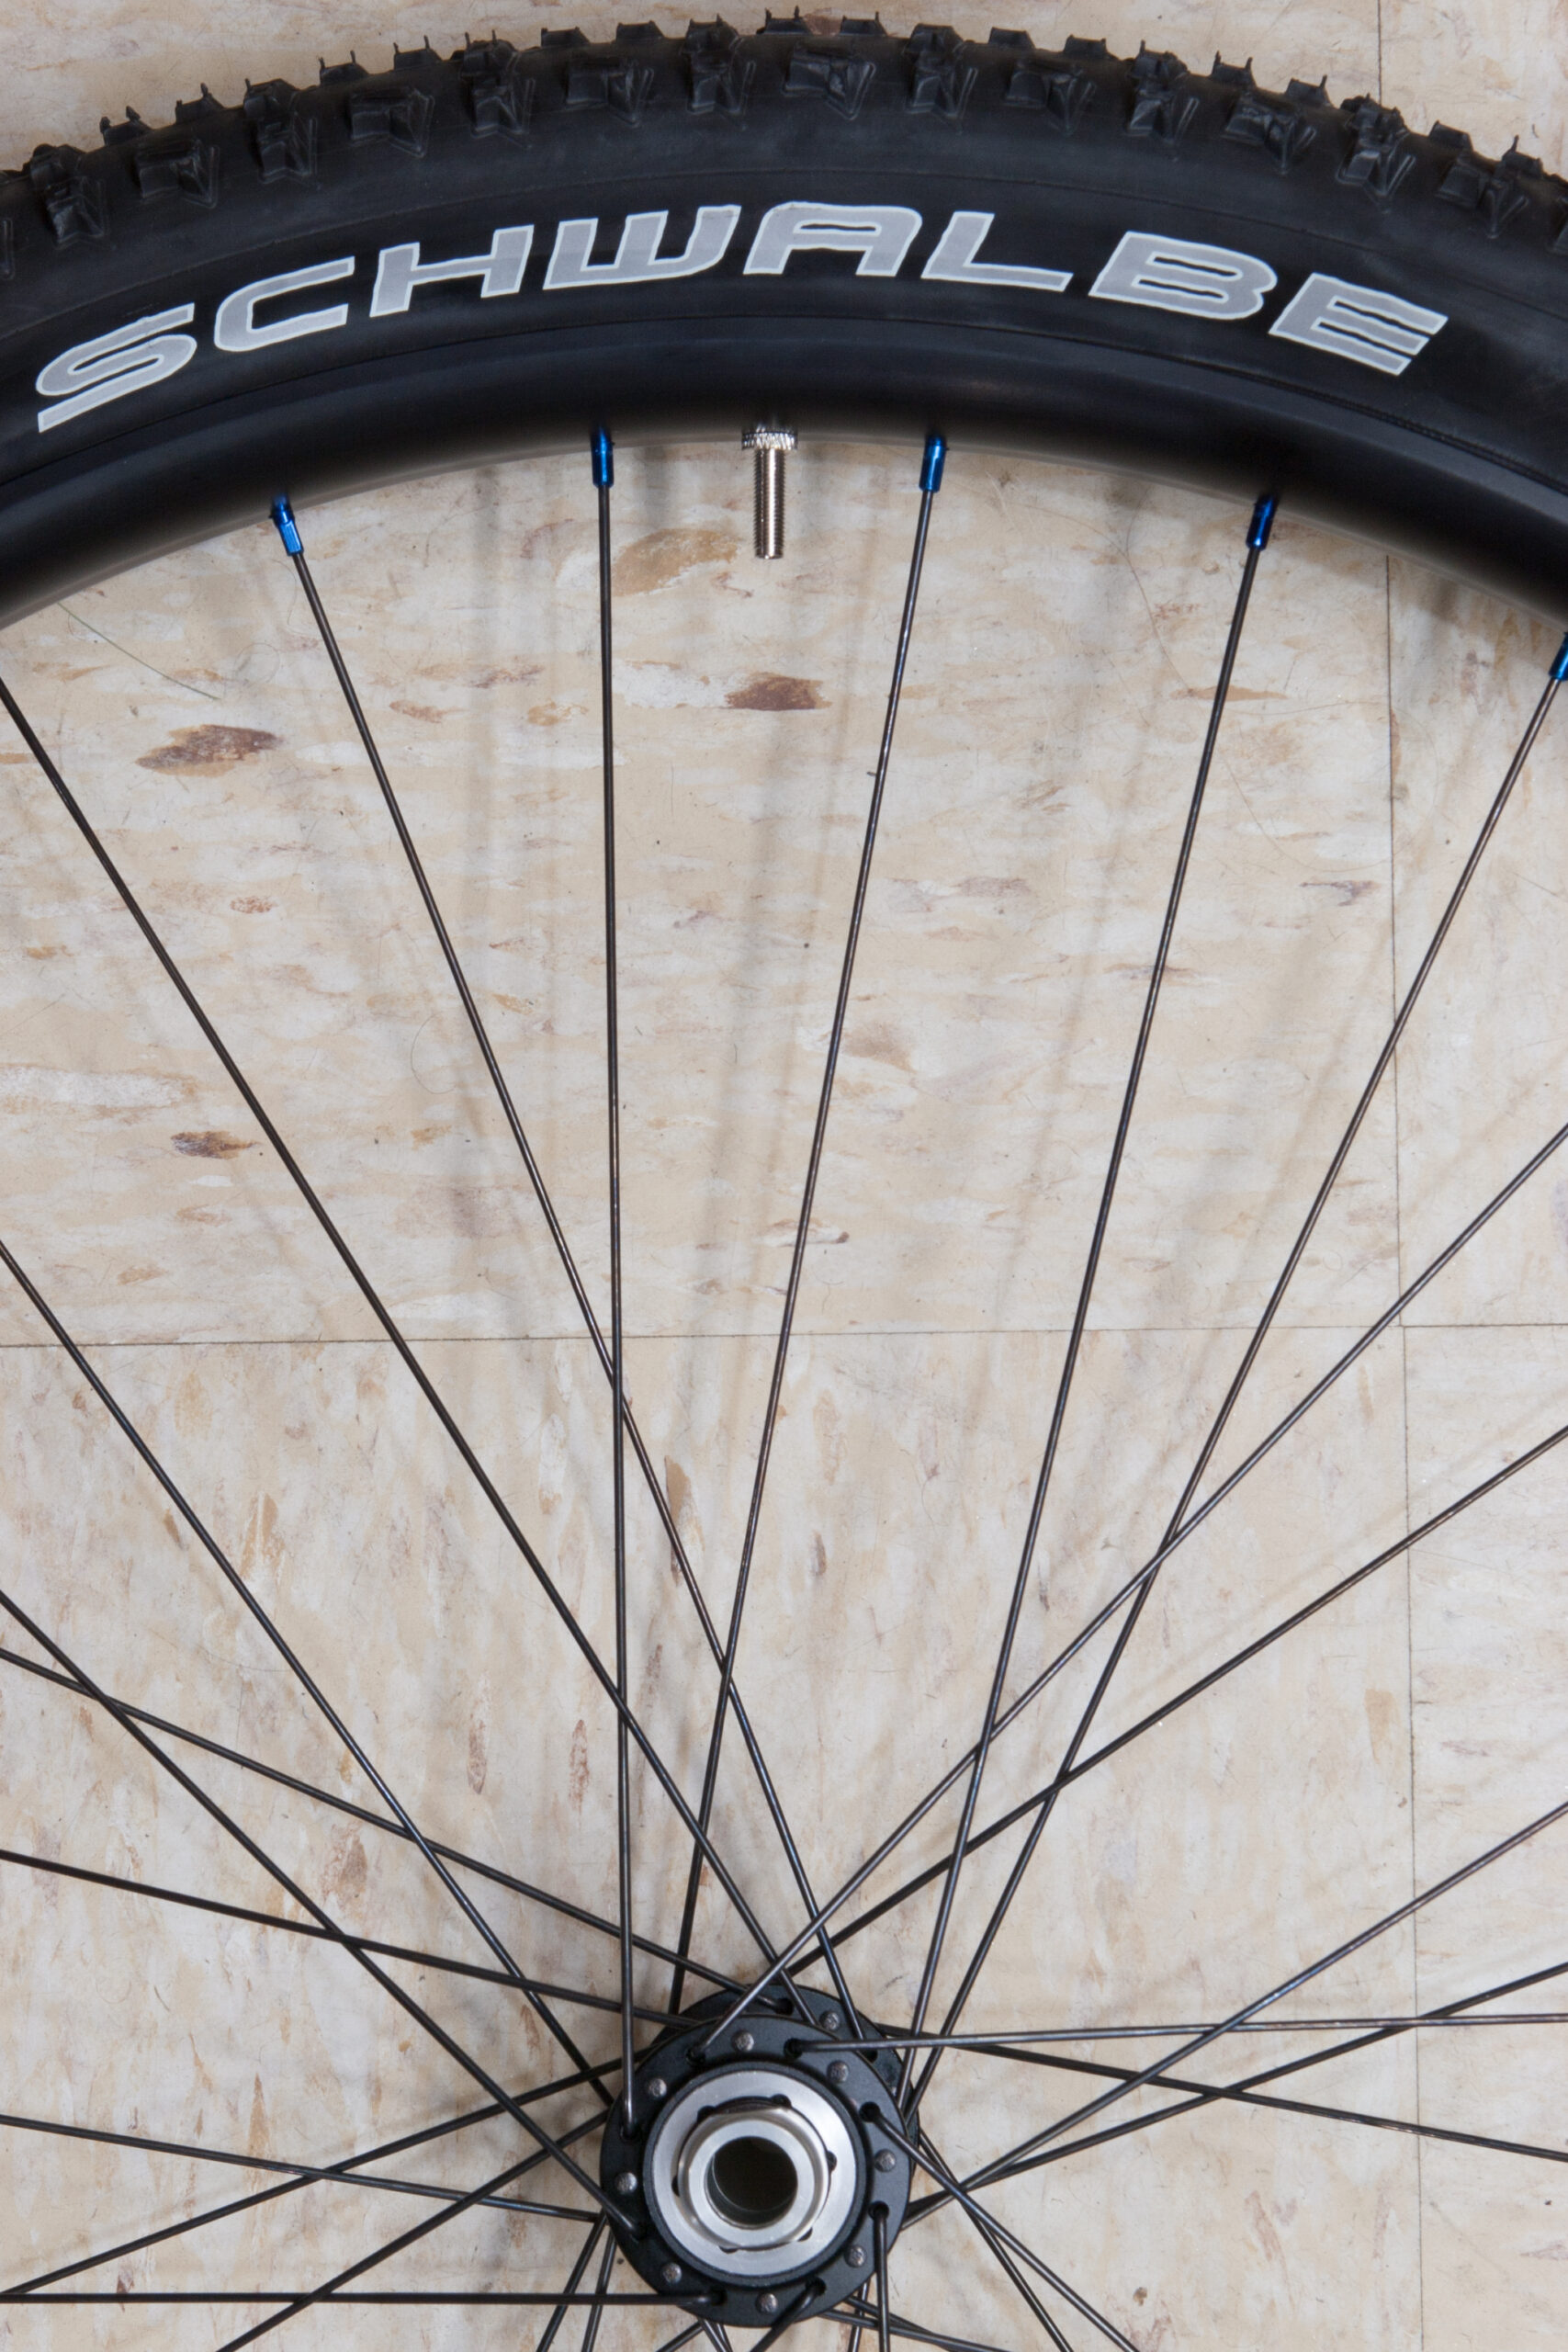
Rims: Nextie Jungle Fox Carbon Fat MTB 29+ Rim 50mm Width Double Wall Hookless Tubeless Compatible [NXT50JF] w/ 3mm Offset (measured 576.5mm ERD)
Spokes: DT Swiss Supercomp (Black, 276mm, Spoke Calculator Screenshot)
Nipples: DT Swiss standard, aluminum (Silver, 1.8mm, 16mm long)
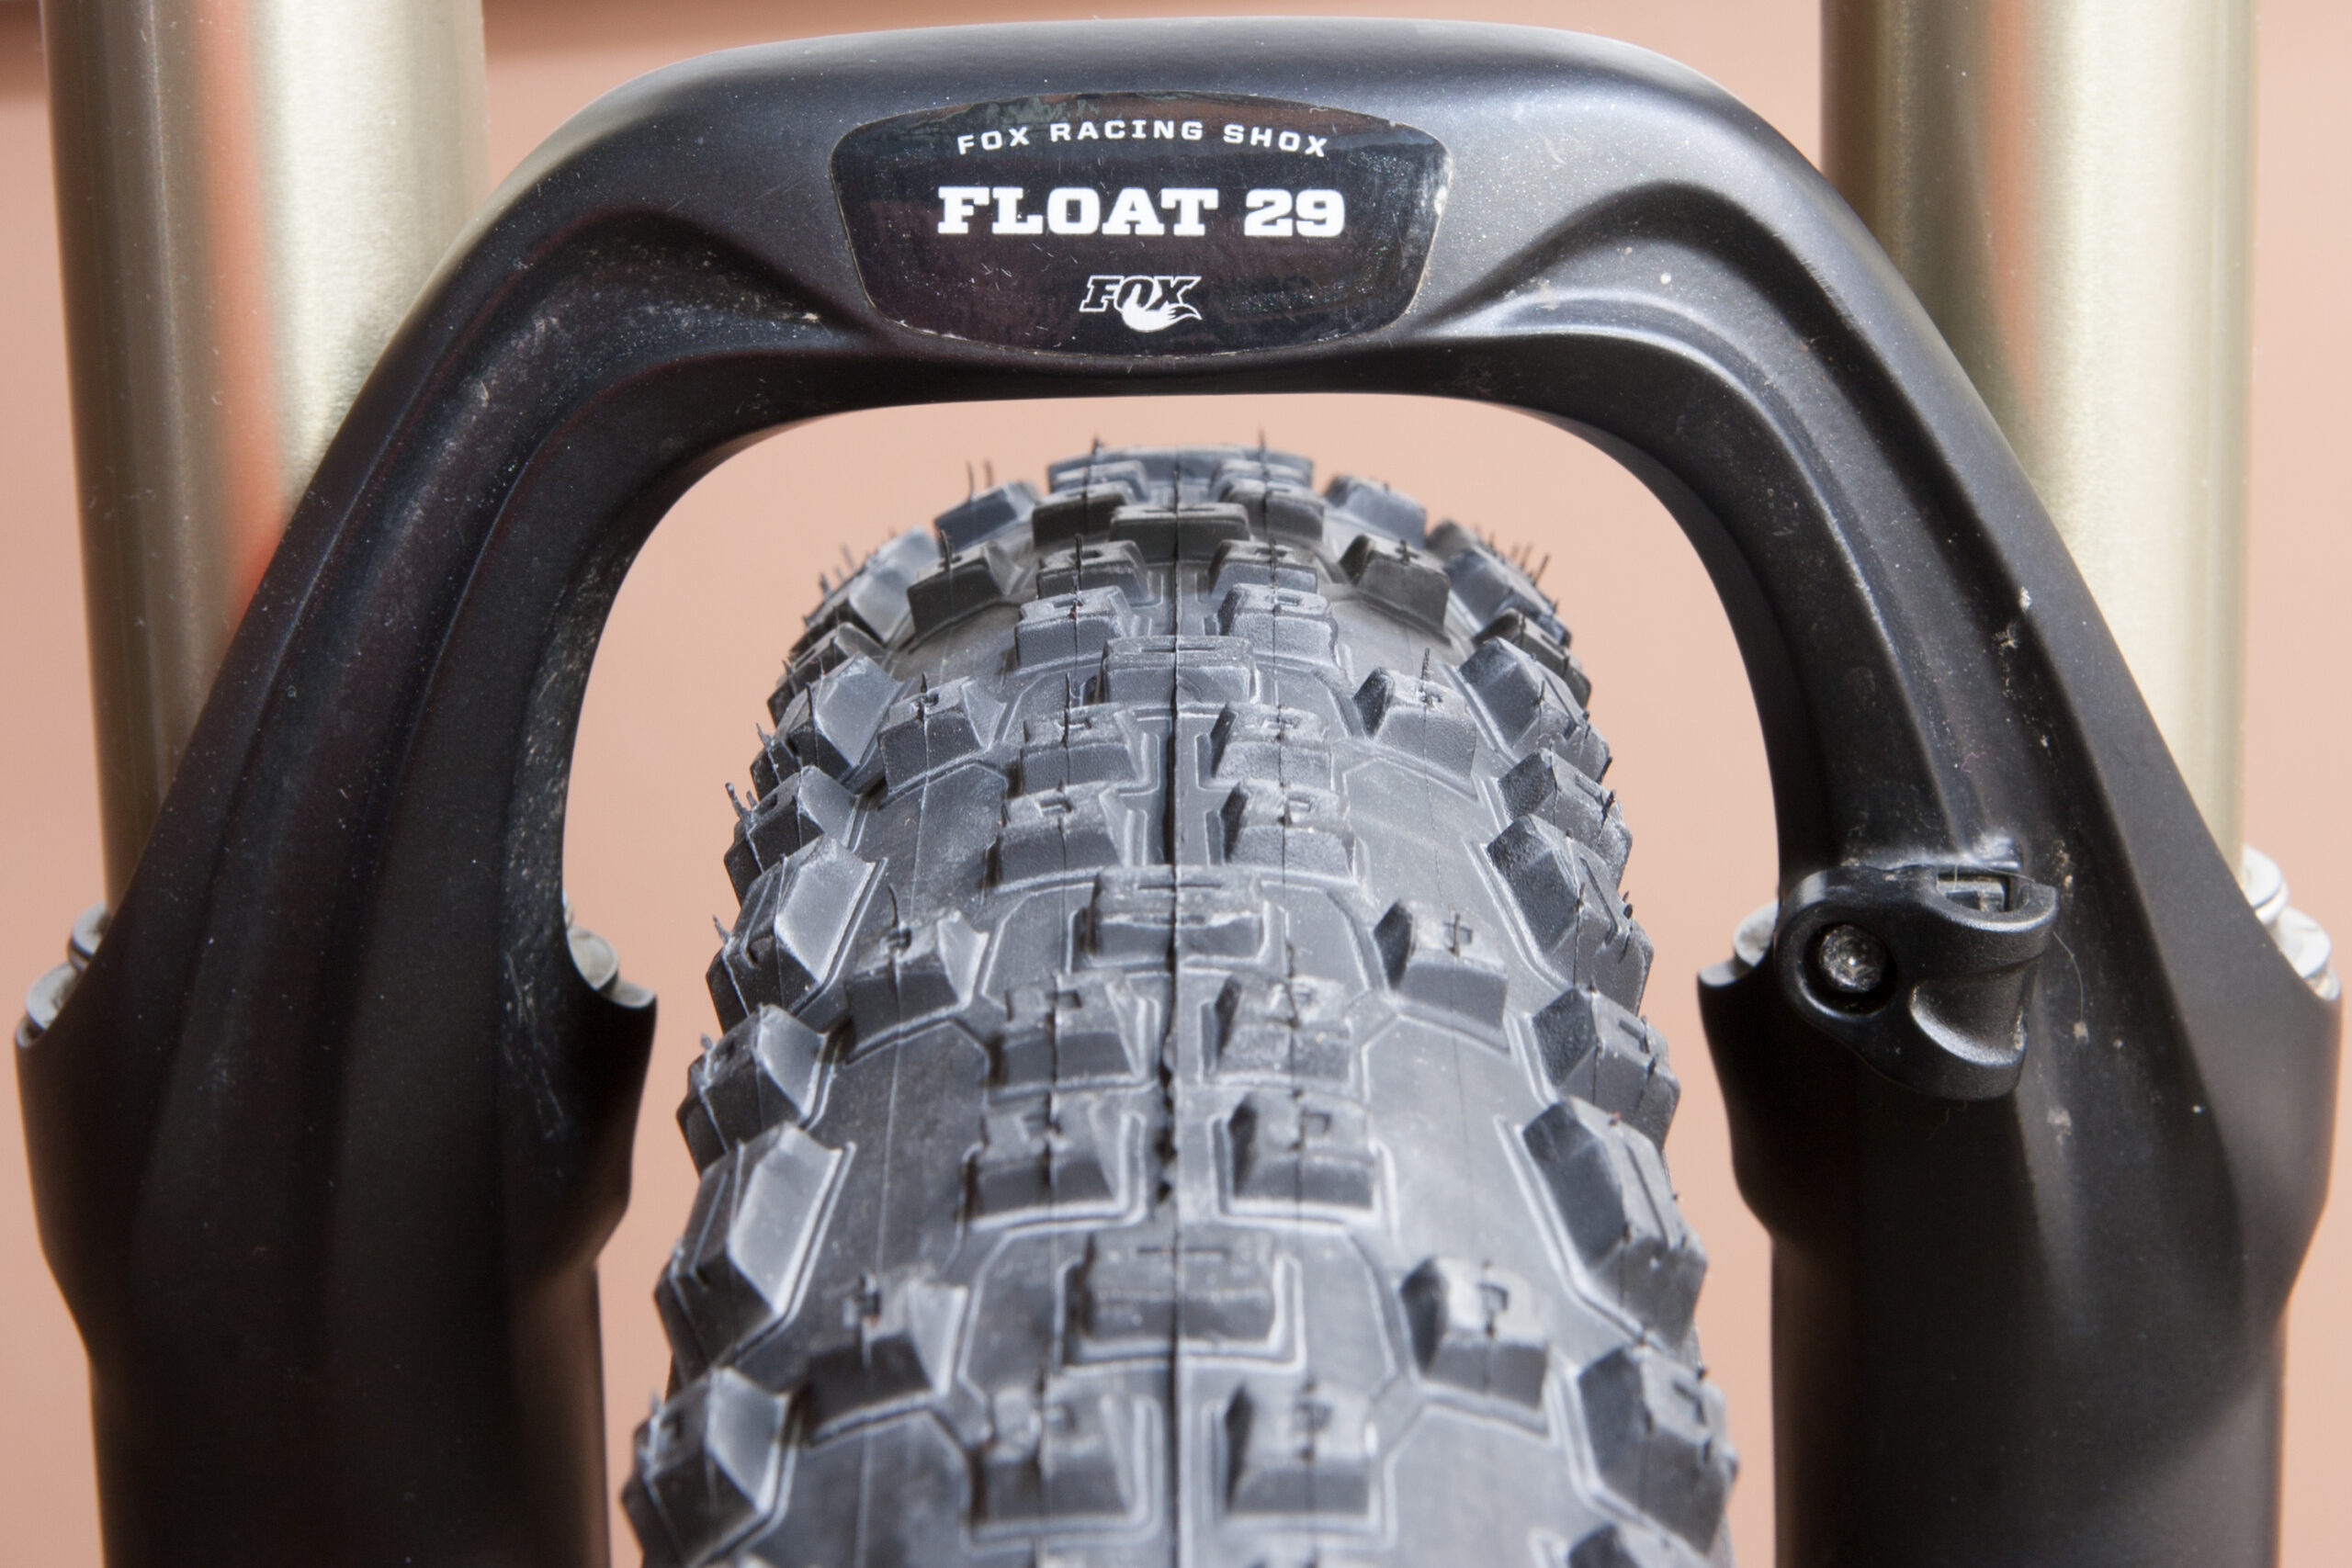
Tires: Bontrager Chupacabra
Tubeless Valves: Stan’s NoTubes 44mm
Tubeless Sealant: Stan’s NoTubes Tire Sealant
Rim Tape: Stan’s NoTubes Rim Tape 21mm
Brakes: Shimano XT, Levers: BL-M785, Calipers: BR-M785
Brake Rotors: Front Rotor: SM-RT76-M (180mm), Rear Rotor: SM-RT76-S (160mm)
Crankset: SRAM XO1 (GXP, 175mm, Black)
Crank Protectors: Race Face Carbon Crank Boots, (Black)
Bottom Bracket: Truvativ GXP (Silver)
Chainring: North Shore Billet 1 x 10 Direct Mount Chainring (32t, GXP)
Rear Cog: Surly Cassette Cog (18t)
Chain: SRAM PC 991
Single Speed Spacer Kit: Surly Spacer Kit
Pedals: Crankbrothers Eggbeater 3 (Black)
Handlebar: Salsa Bend 2 (23 Degree)
Stem: Thomson Elite X4 : 31.8 Mountain (1-1/8″ x 10° x 90 mm x 31.8 mm, SM-E138 BLACK)
Headset Spacers: Wheels Manufacturing Black Aluminum
Stem Cap: Niner YAWYD
Grips: Ergon GP1 (L)
Saddle: Specialized Phenom (143mm)
Seatpost: Thomson Elite (27.2 dia. x 410 mm, SP-E113 BLACK, Straight)
Collected photos of the parts can be found here (photo gallery retired).

 on a Light-Bicycle 35mm hookless rim.")
 hub, Ritchey-branded DT Swiss Champion Spokes, blue aluminum nipples, Velocity Velotape, and a Stan's NoTubes valve.")


