
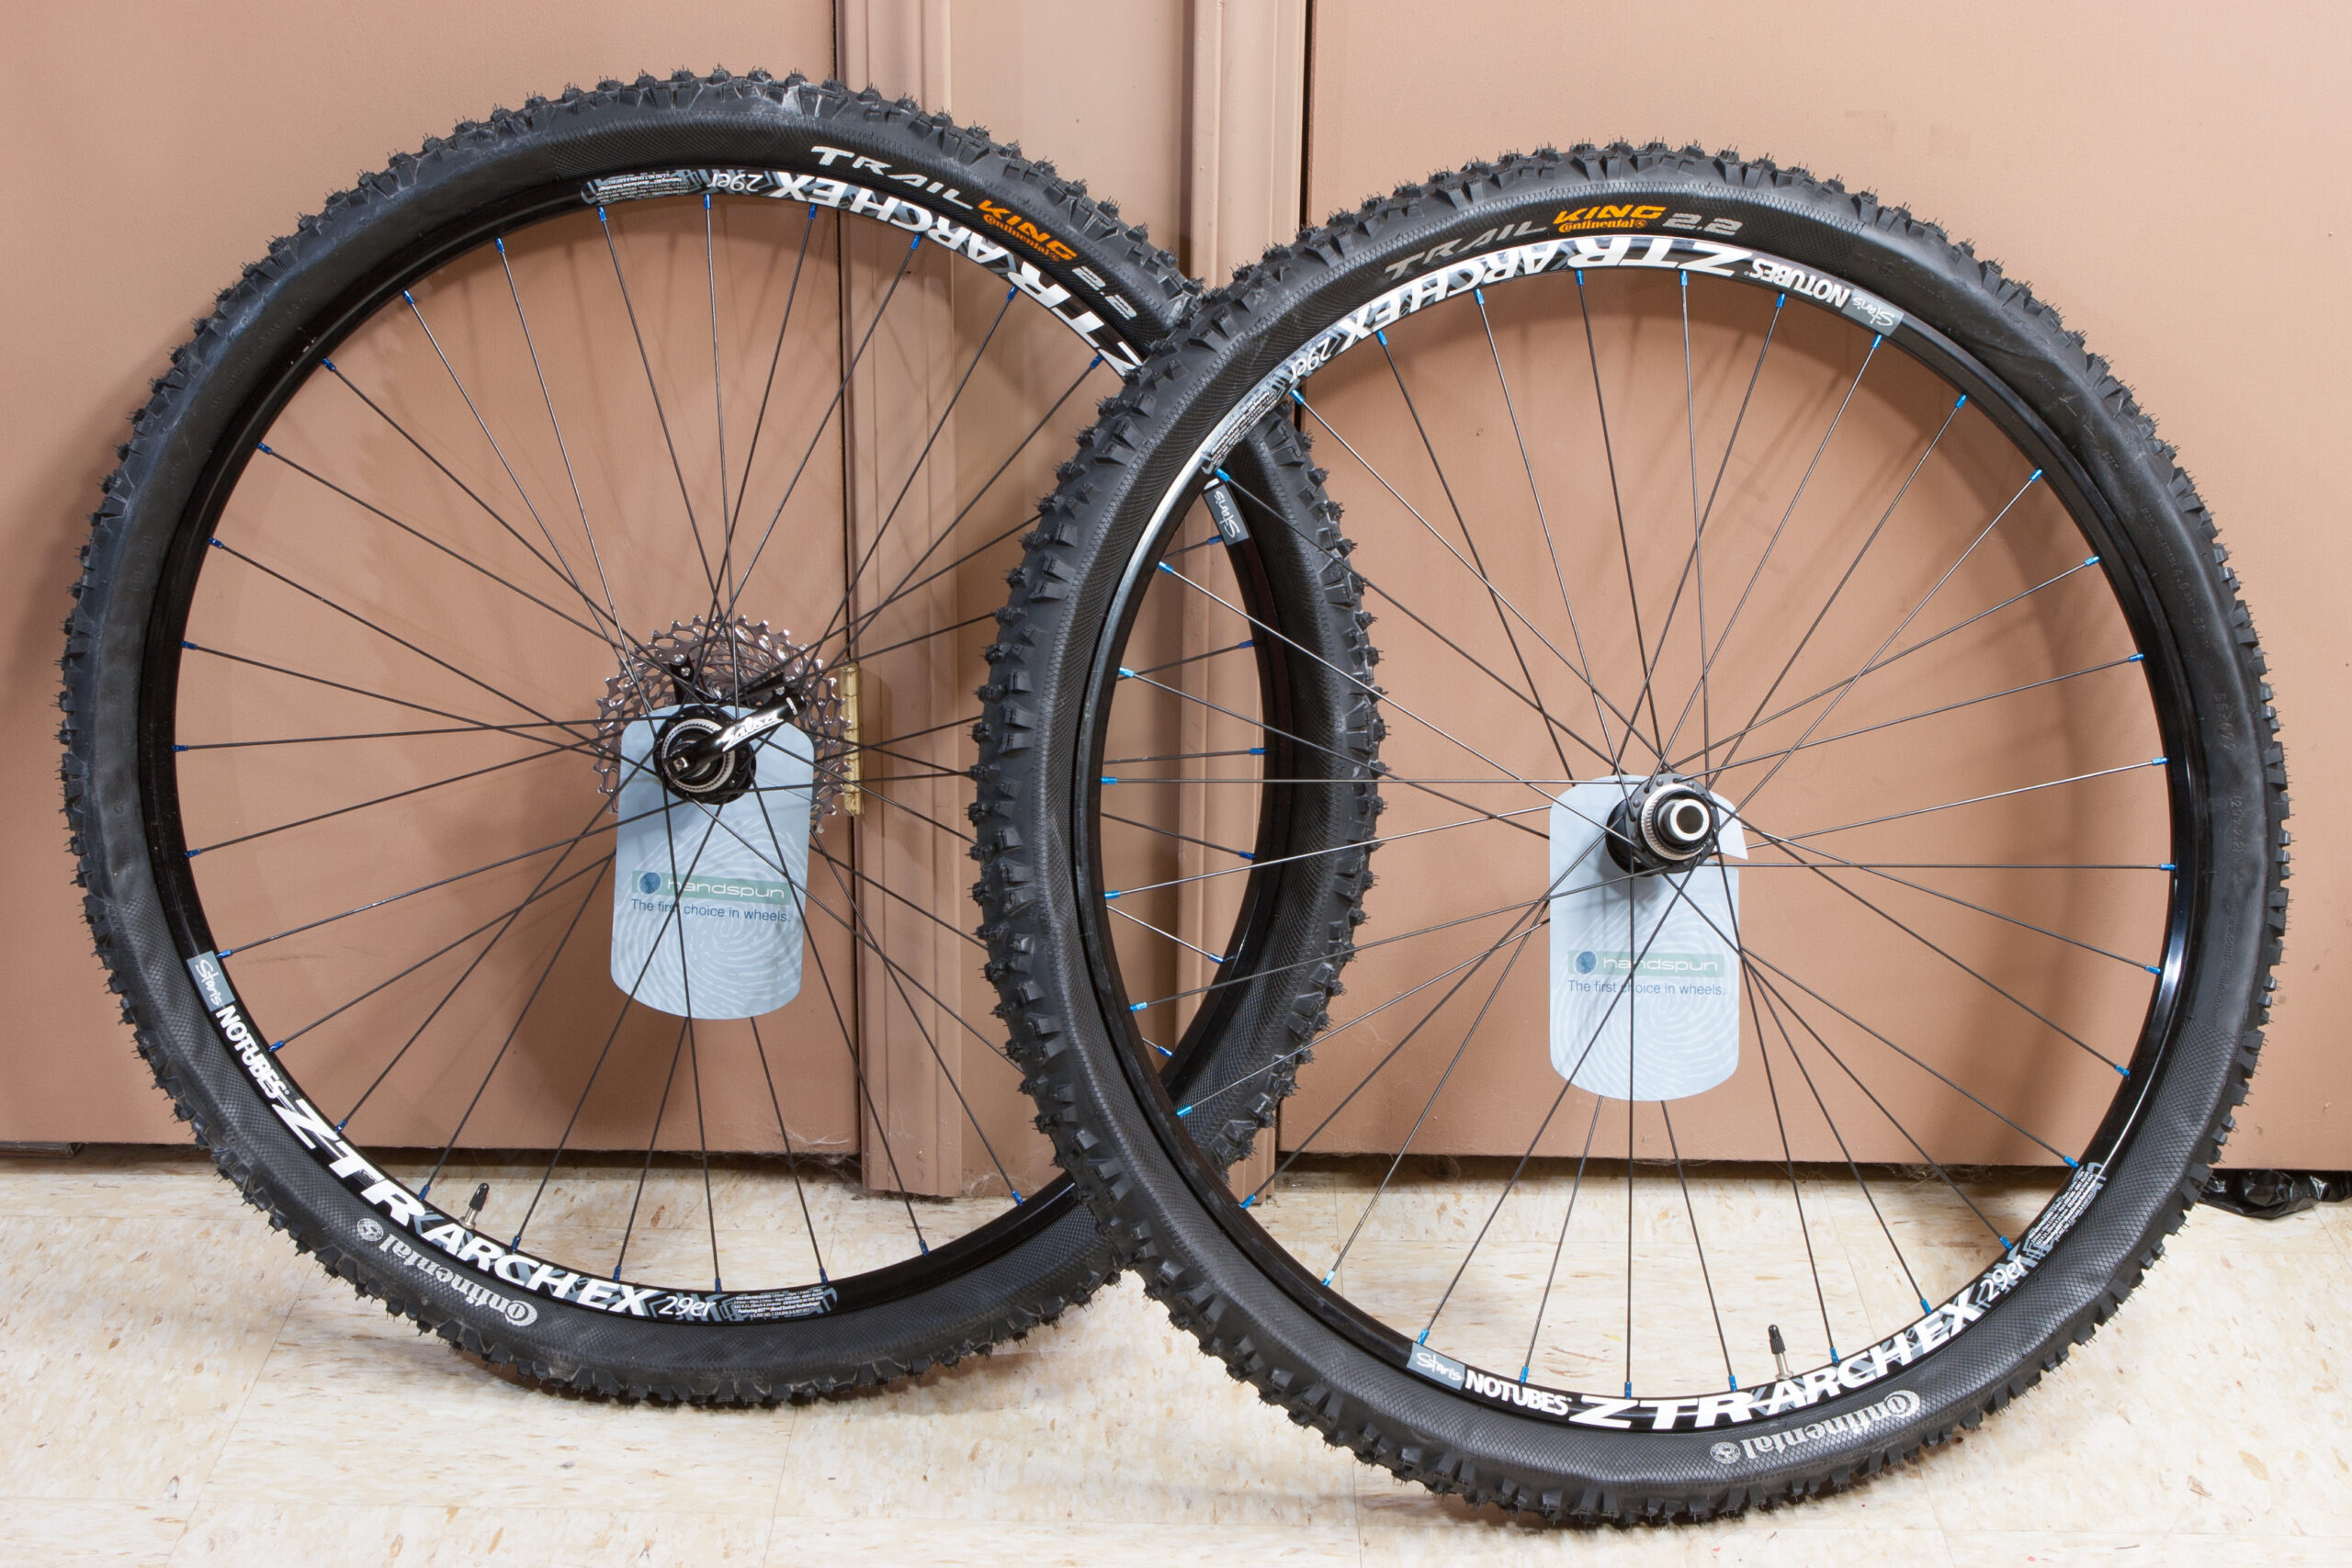
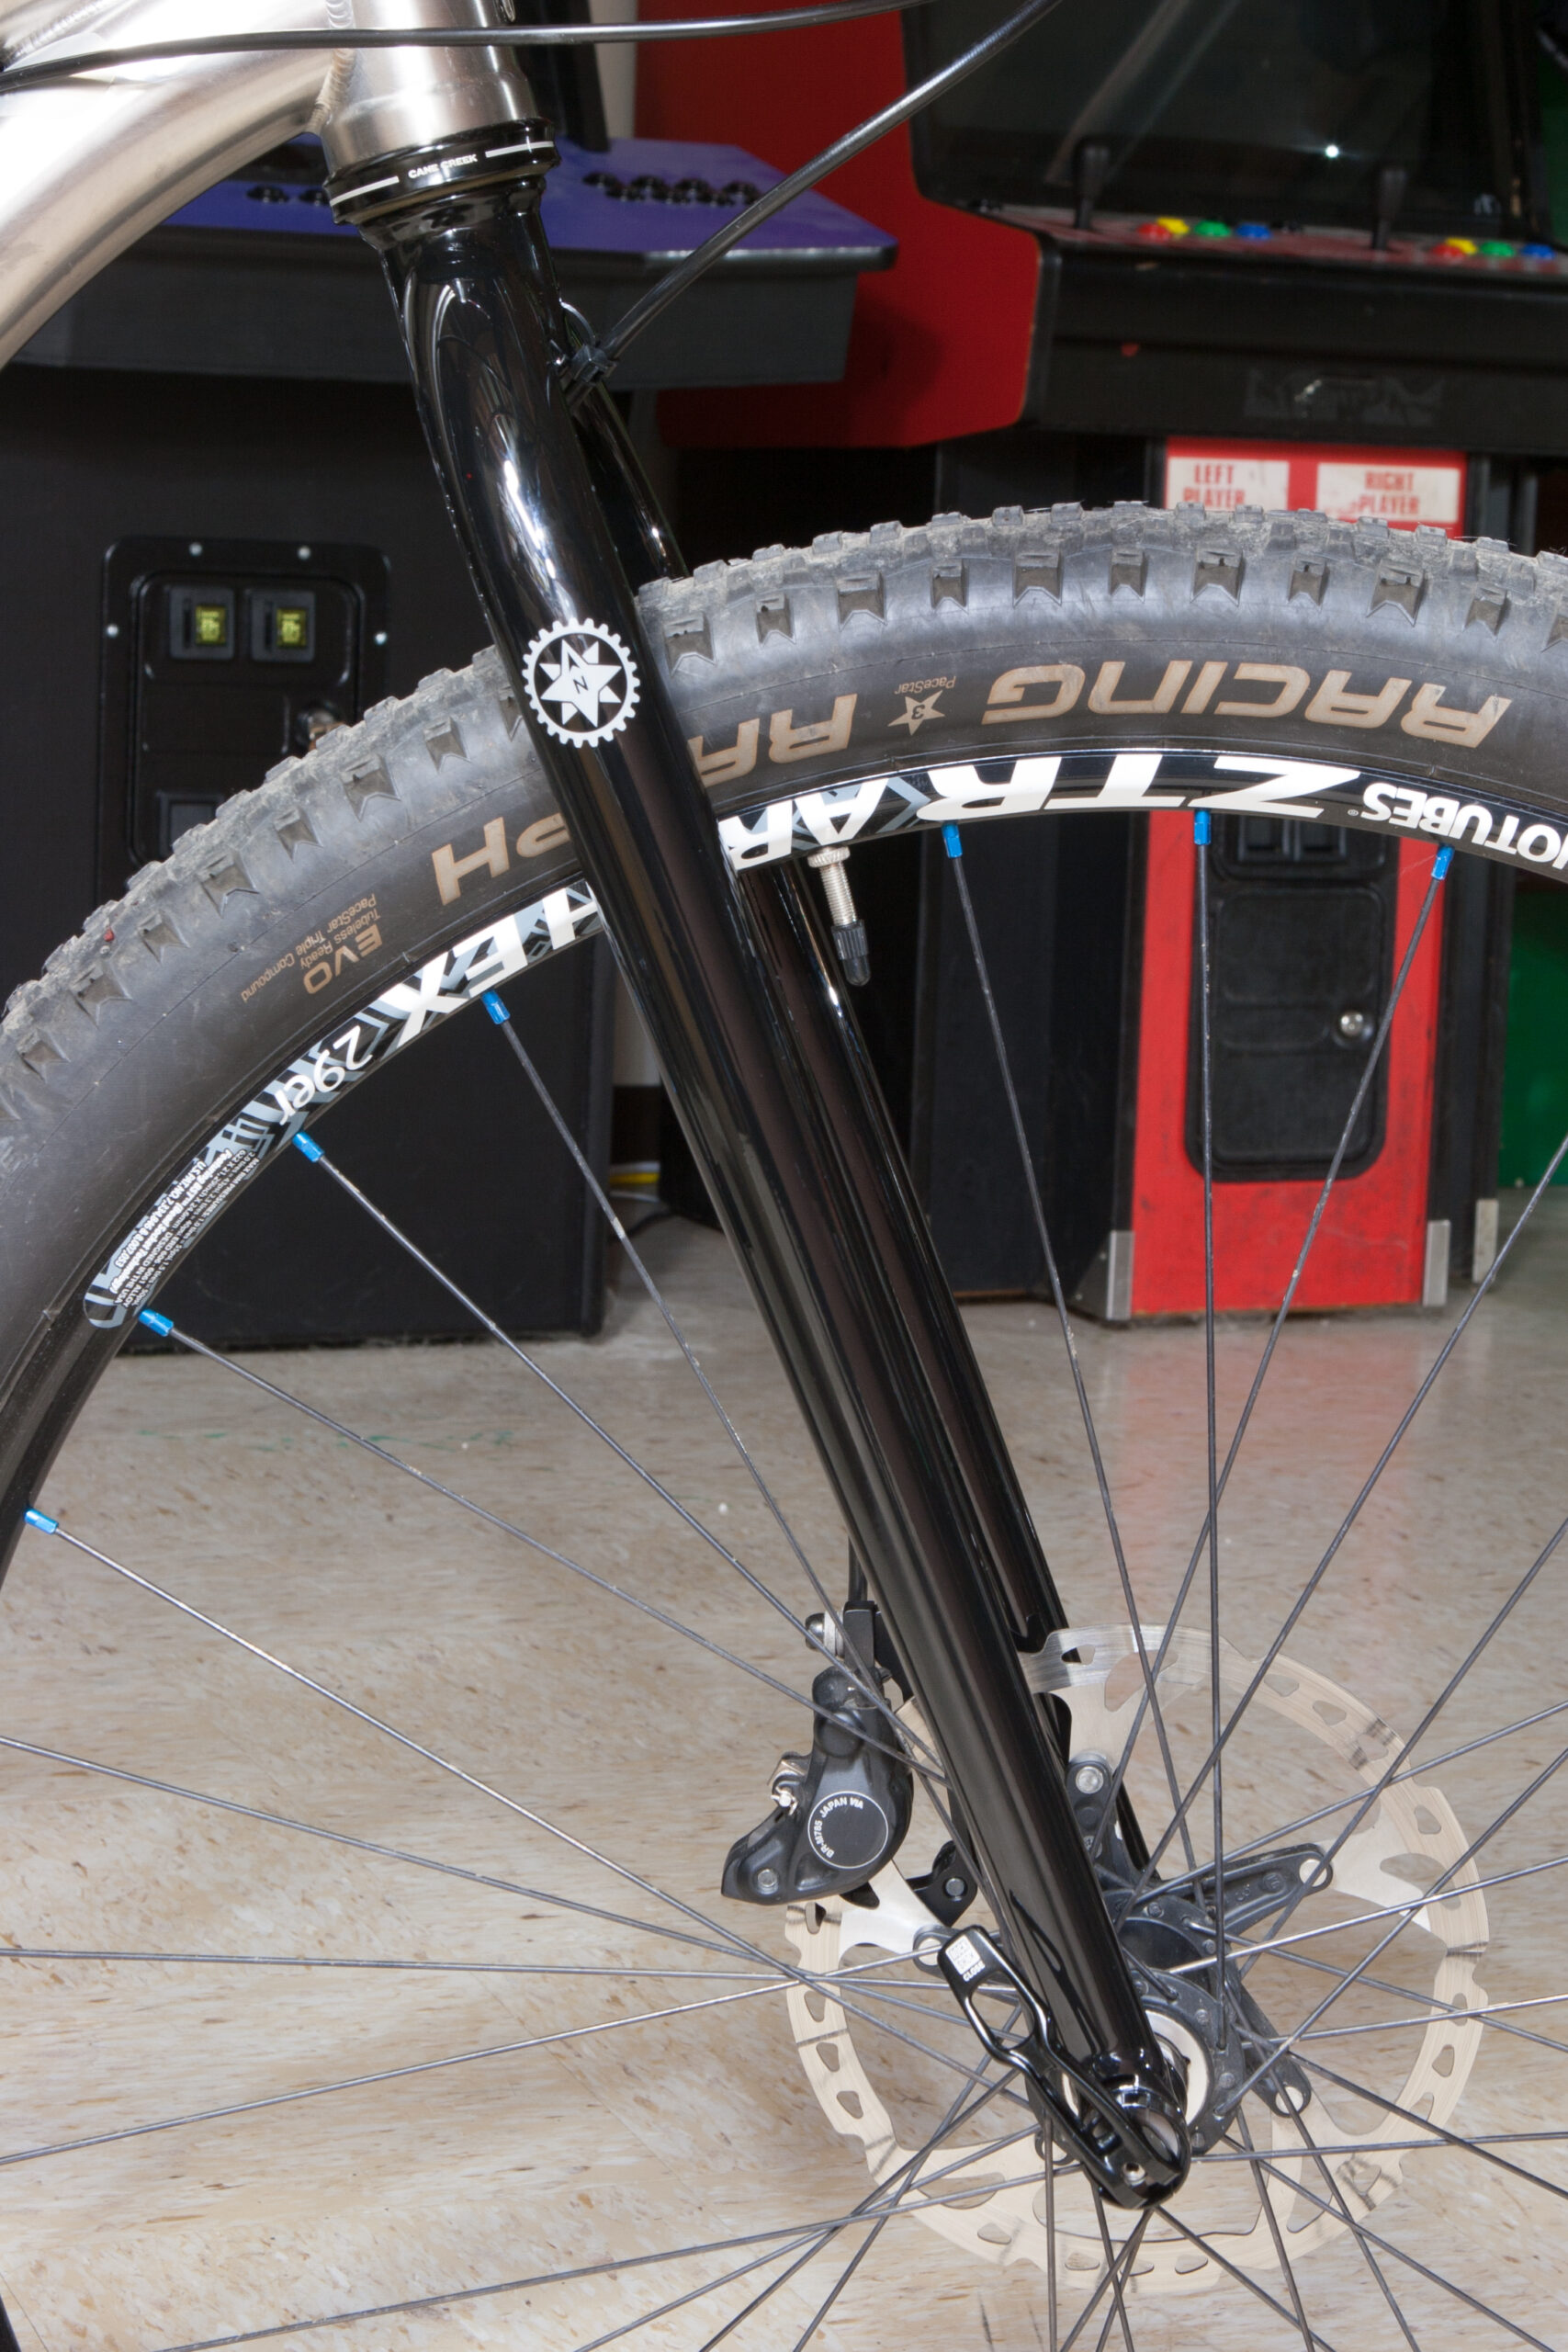
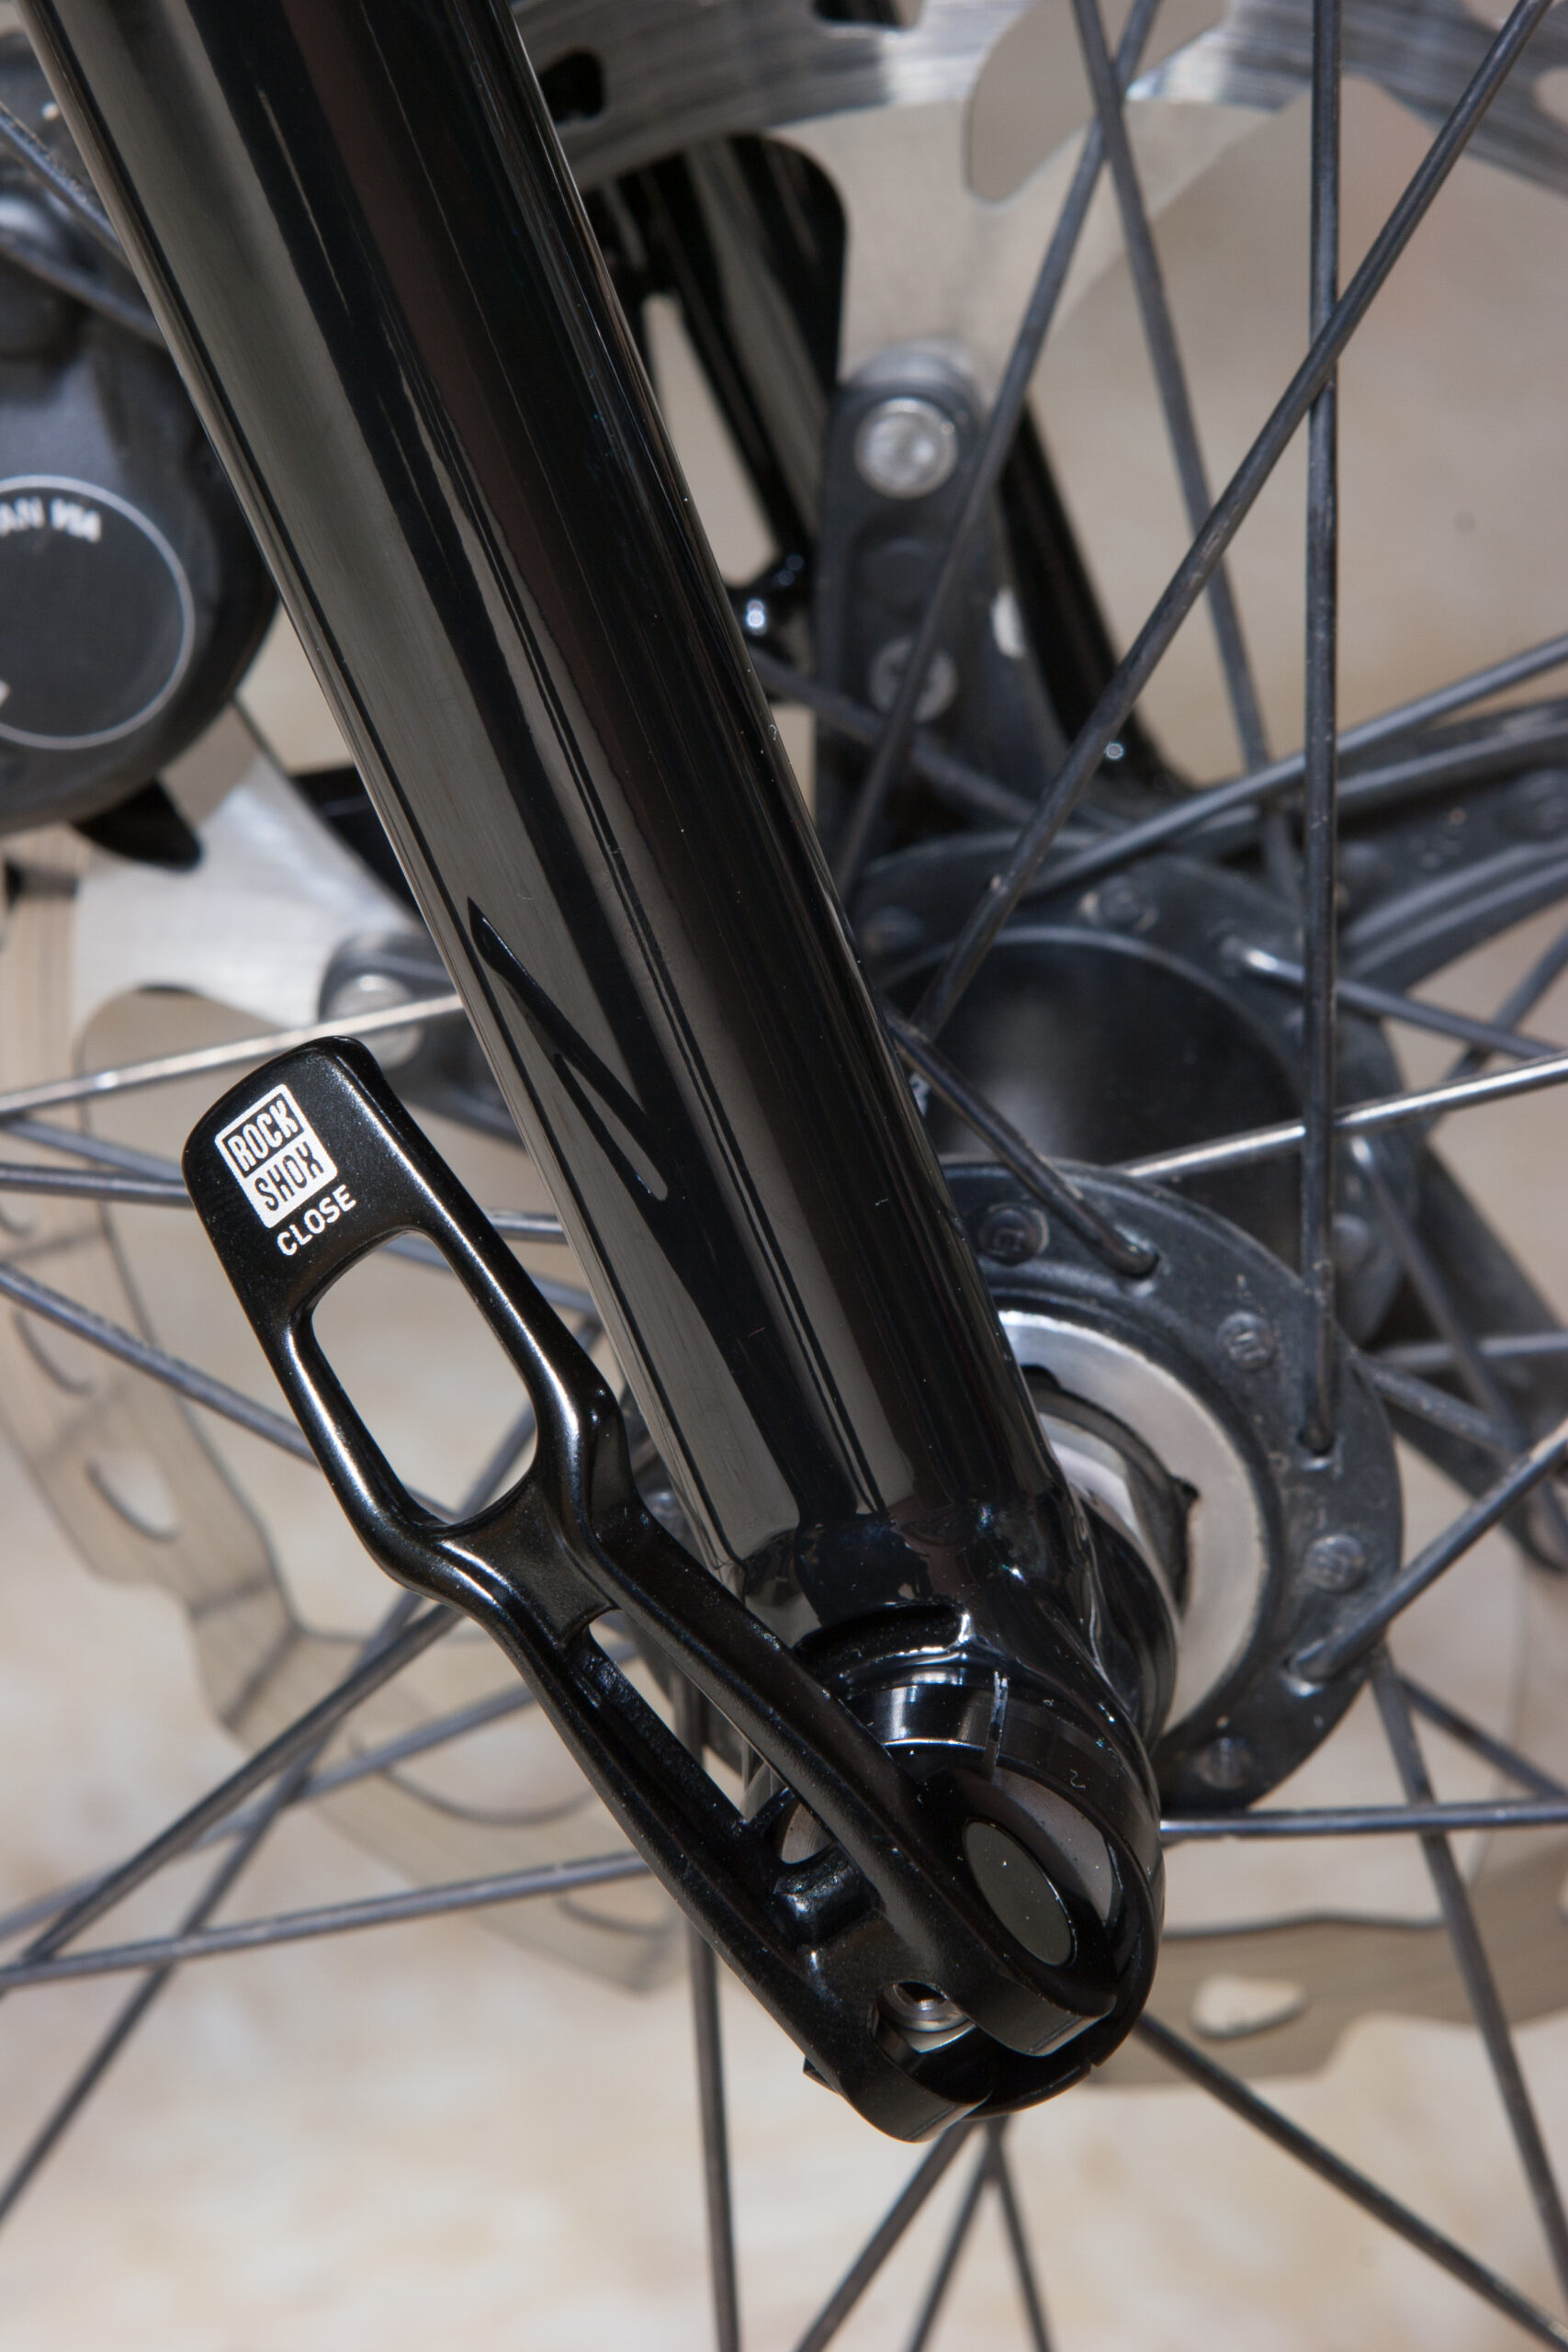
A rainy, quiet Saturday while Danielle is working gave me a nice opportunity to get some bike stuff done. In preparation for what I hope to be a long ride tomorrow and the Fun Promotions Stoney Creek 6 & 12 Hour Mountain Bike Endurance Race I removed the rigid fork from the El Mariachi Ti and put the original Fox and Arch EX-based wheel back on. While I like the high volume tire and rigid fork, it’s still a bit much for long rides. Thankfully the swap between forks and wheels is easy, taking only about 15 minutes. I imagine I’ll be switching this around a few times this year.
I also had to re-remedy a long-standing problem with the cassette on the El Mariachi Ti: it’s noisy. Last year I was dealing with some odd under-load ticking sounds that were worst mid-cassette and in the little chainring up front, especially when really mashing on the pedals. After a lot of experimentation I was eventually able to reproduce it and found it could be alleviated by lightly greasing the plastic spacers between the cogs. This seems to last for a few months, then it needs to be done again. This should go away once the cassette is replaced, unless the next one has a similar problem…
Finally, I got a pair of Specialized Pro MTB shoes set up and ready to use. At the end of last year I was able to pick them up on clearance at Cycletherapy, since they are the discontinued model with a strap closure, as reviewed here. These are very similar to the Comp model that I purchased in early 2011, except with more venting and a carbon fiber sole. Three years the Comp shoes were starting to get near the end of their usefulness, with holes appearing in the sides of the toes, the sole becoming more flexible than normal, and the insole seriously breaking down.
I appear to have the cleats positioned appropriately, although the pedal body on Eggbeaters seems to hit the lugs a bit. I’m not yet sure if this’ll cause a problem or is a good thing, but if it ends up not working I’ll have to shave a millimeter or two of rubber off of the lugs. Clipping in is a little stiffer than I’m accustomed to, but the solid shoe-against-pedal feeling makes for a very rigid interface. It should also move energy transfer to a larger area, cutting down on the pedal wing / shoe sole transfer that eats through Shoe Shields.
Trying the shoes out on the trainer and in the rain around the parking lot, they are definitely stiffer than the non-carbon fiber composite Comp shoes that I normally wear. They improve on the Comp shoes stiffness to the same degree that the Comp shoes (and my previous Sidis) improved on the Shimano SH-MT40 commuter shoes I’d first started out with. Fit is almost identical to the previous shoes, but with a new, stiff, less slipper-like feel. These should be good.

 on a Light-Bicycle 35mm hookless rim.")
 Specialized footbed for Specialized Pro MTB shoes.")


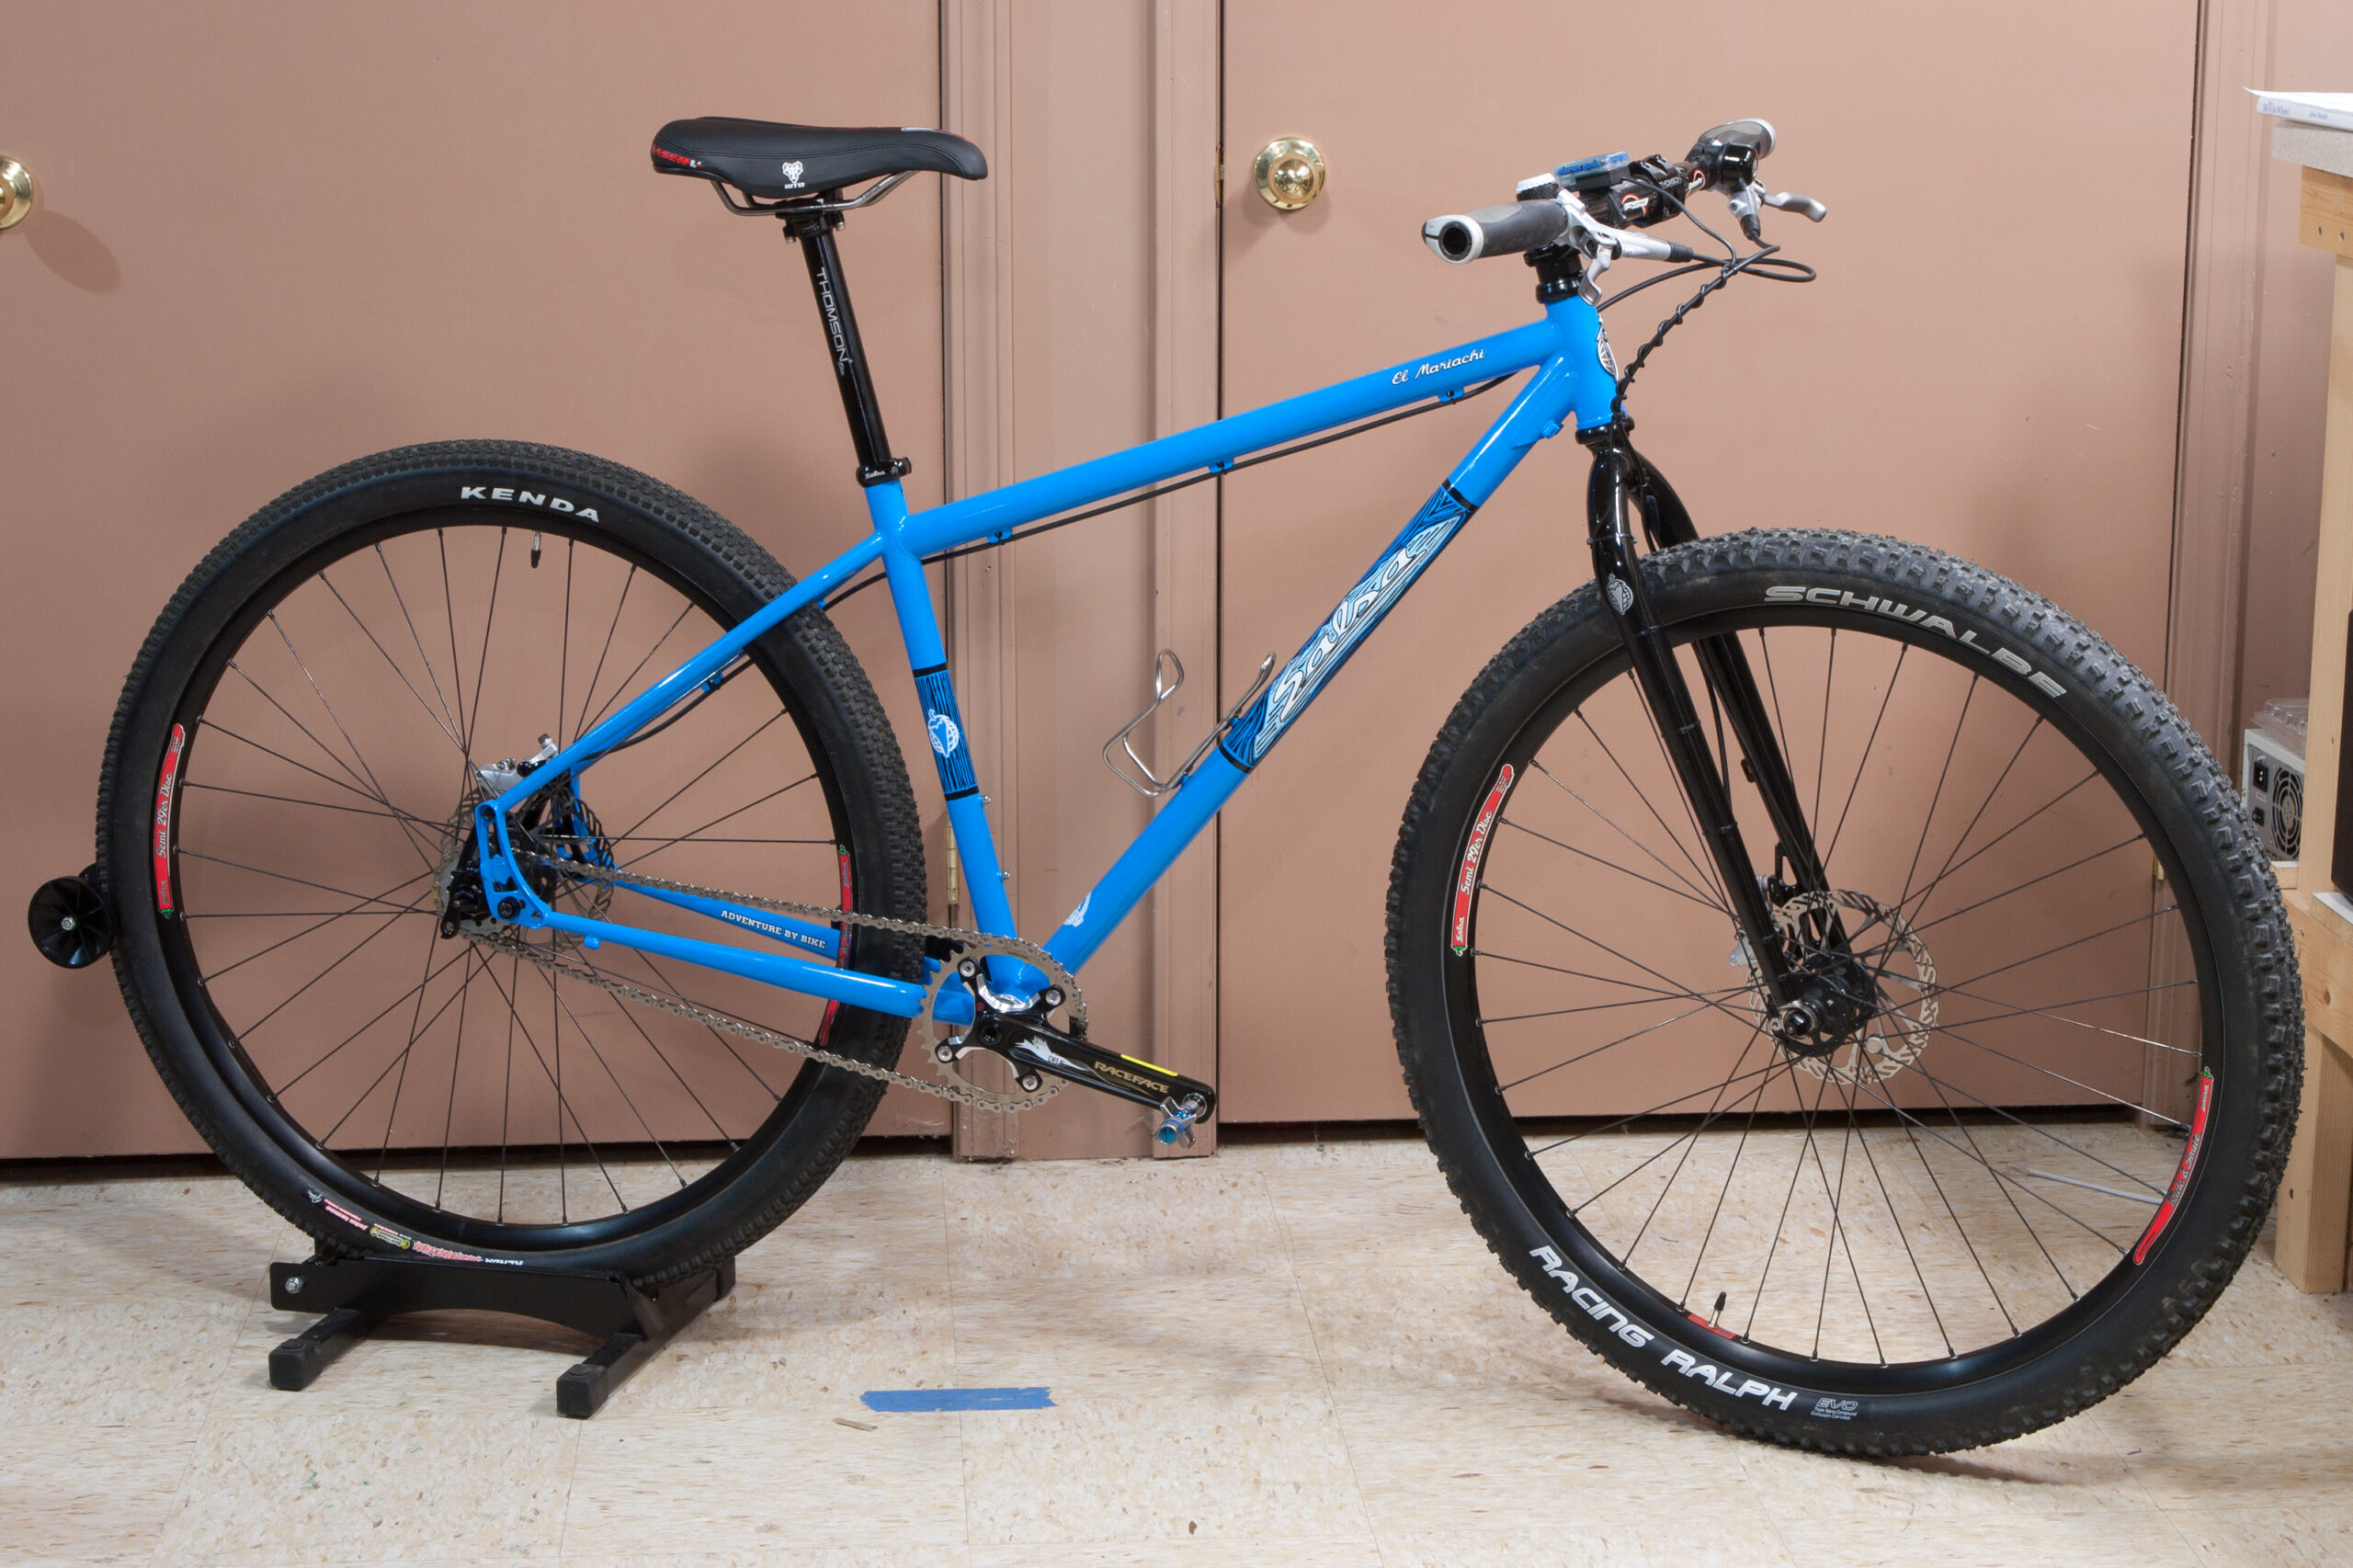
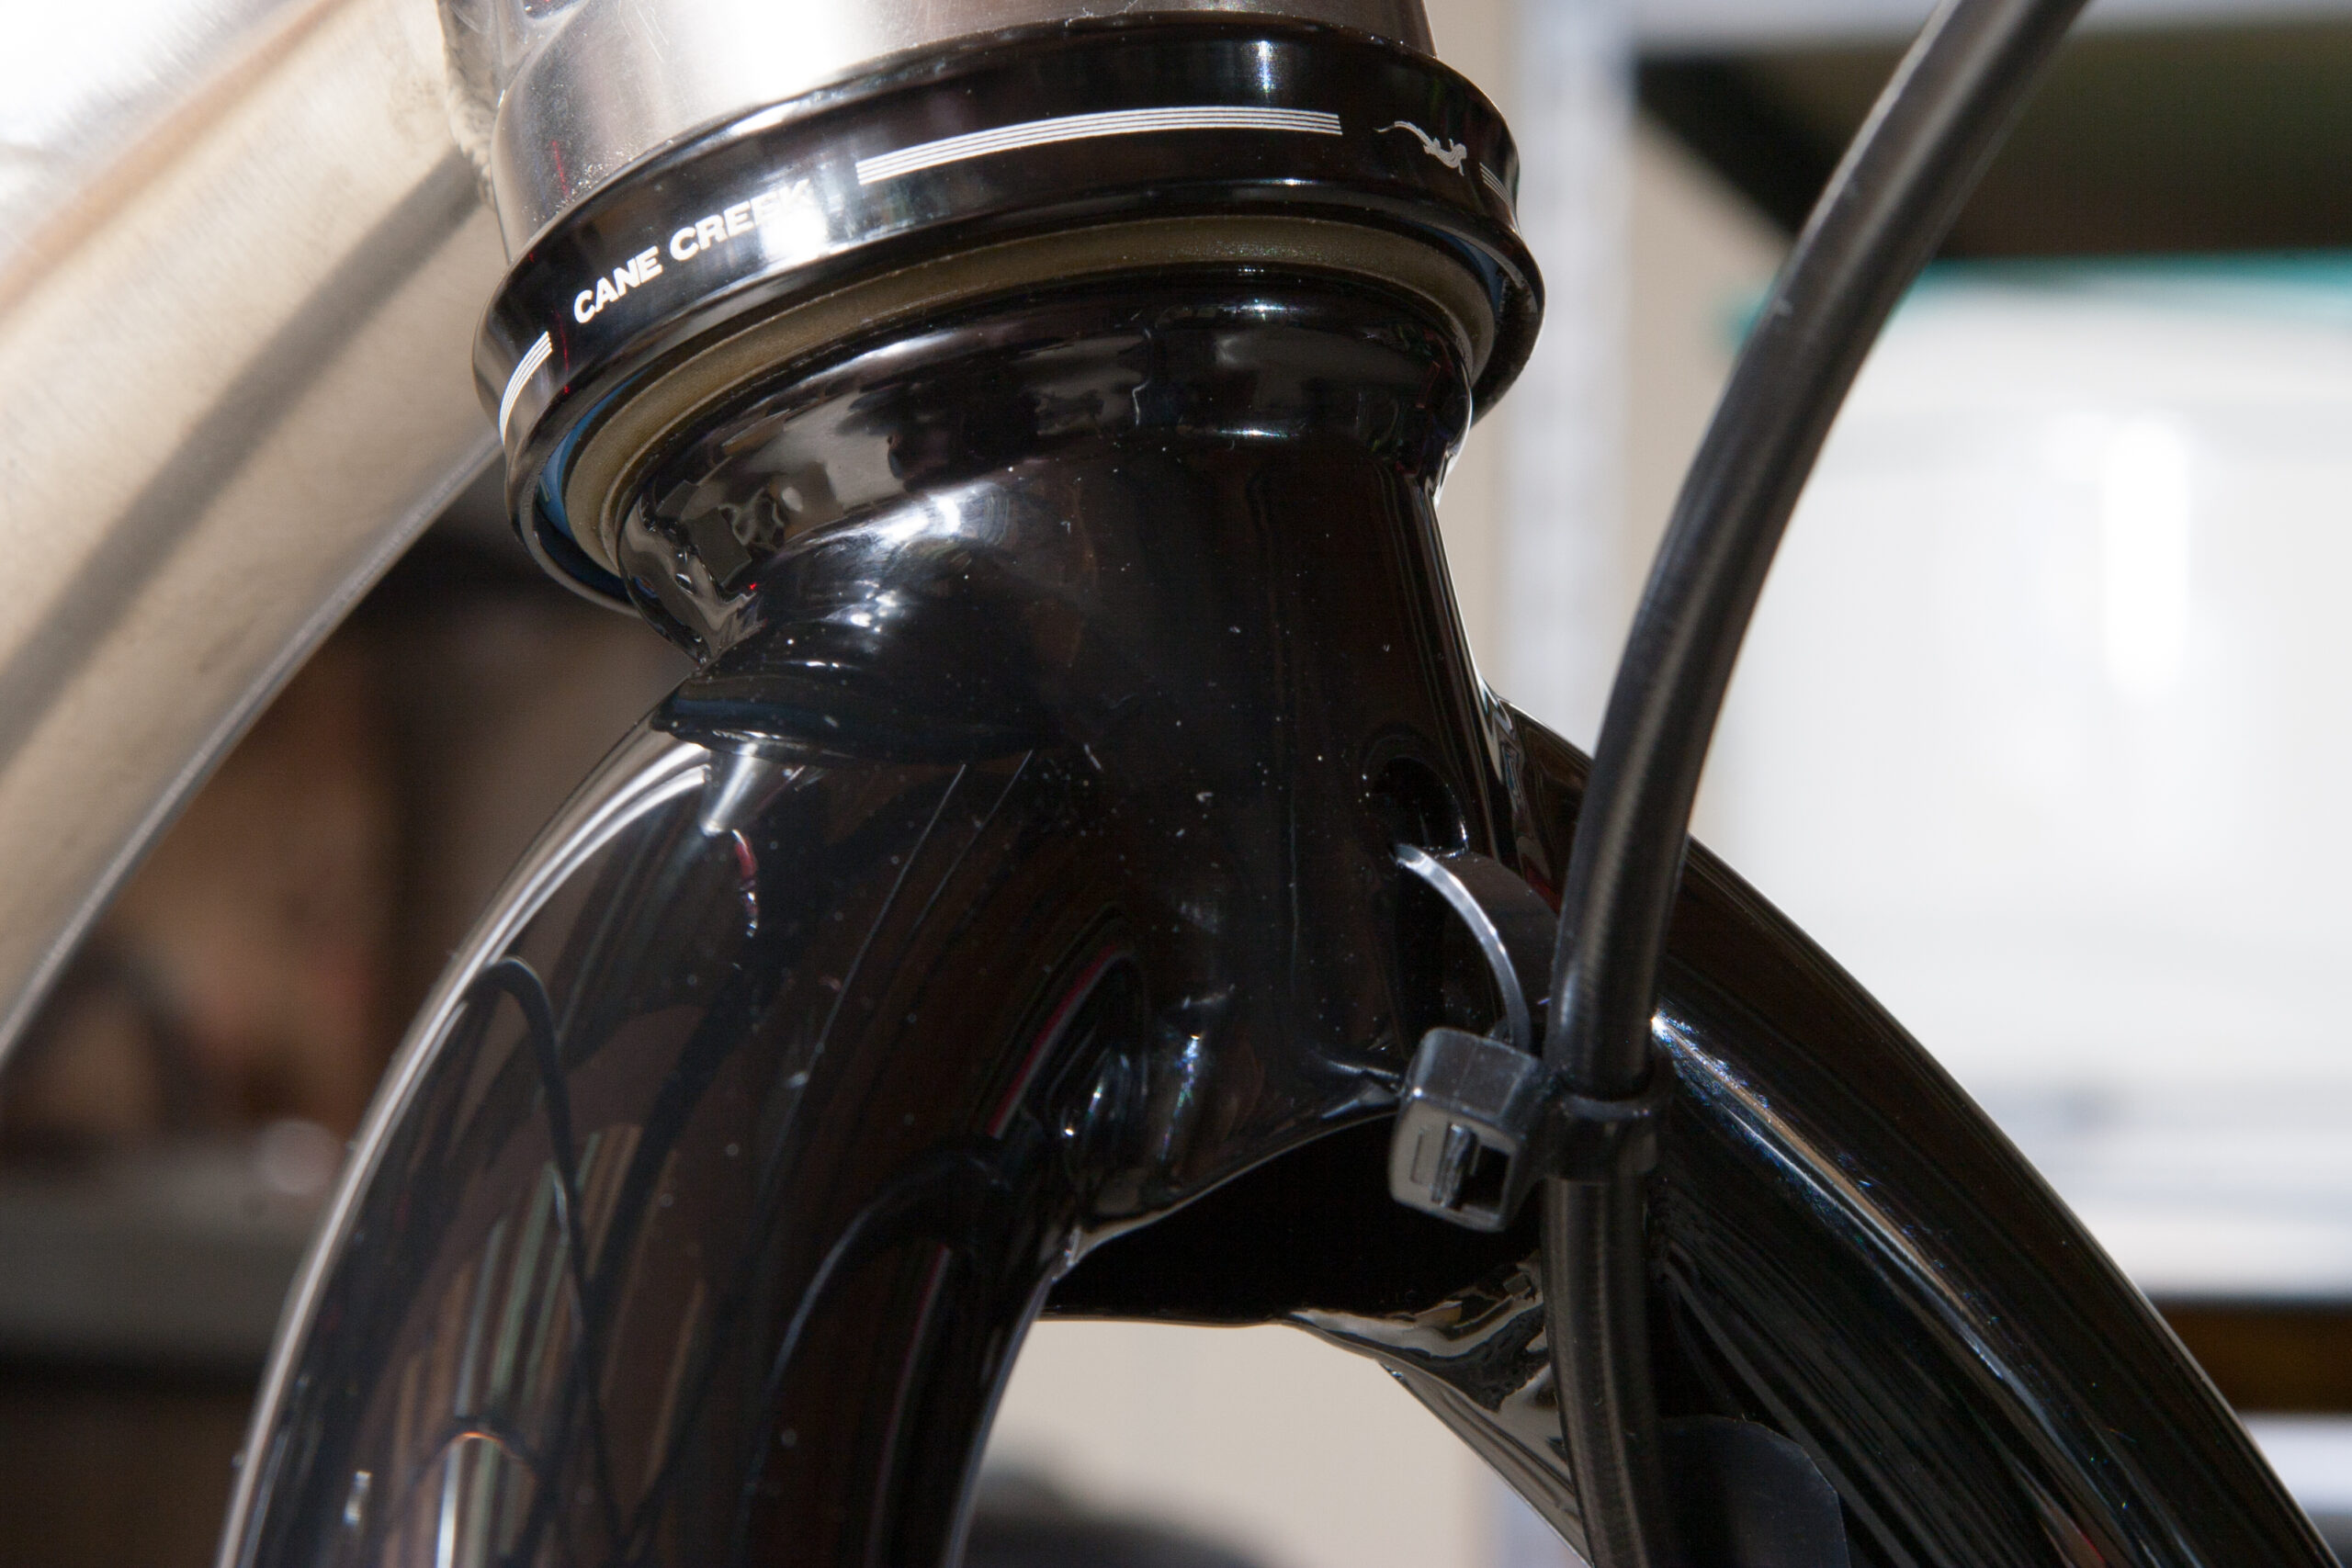
 with a tapered head tube fitted on the Salsa El Mariachi Ti.")
 sitting on top of the equipment stand in the basement where I'll use it while riding on a trainer.")