Press "Enter" to skip to content

Category: electronics

No Audio

x0xb0x #888 after assembly is complete. While it runs, no sound comes out of the headphone or line out.

Tonight I finished assembling x0xb0x #888, but on first power up no audio is heard. The sequencer runs and I know the VCO works, but beyond that I’m not sure where the problem lies. Time to dig through the schematic while sitting in front of it with a scope.

Fun.

(I just hope I don’t have a blown BA6110 like some folks have had…)

Leave a Comment

x0xb0x Artwork from AbleIdeas

New sample of x0xb0x artwork from AbleIdeas on the left, my originals from Maverick Label on the right. The material feels very similar, but the Able Ideas art has a slightly more matte texture. The quality is very good.

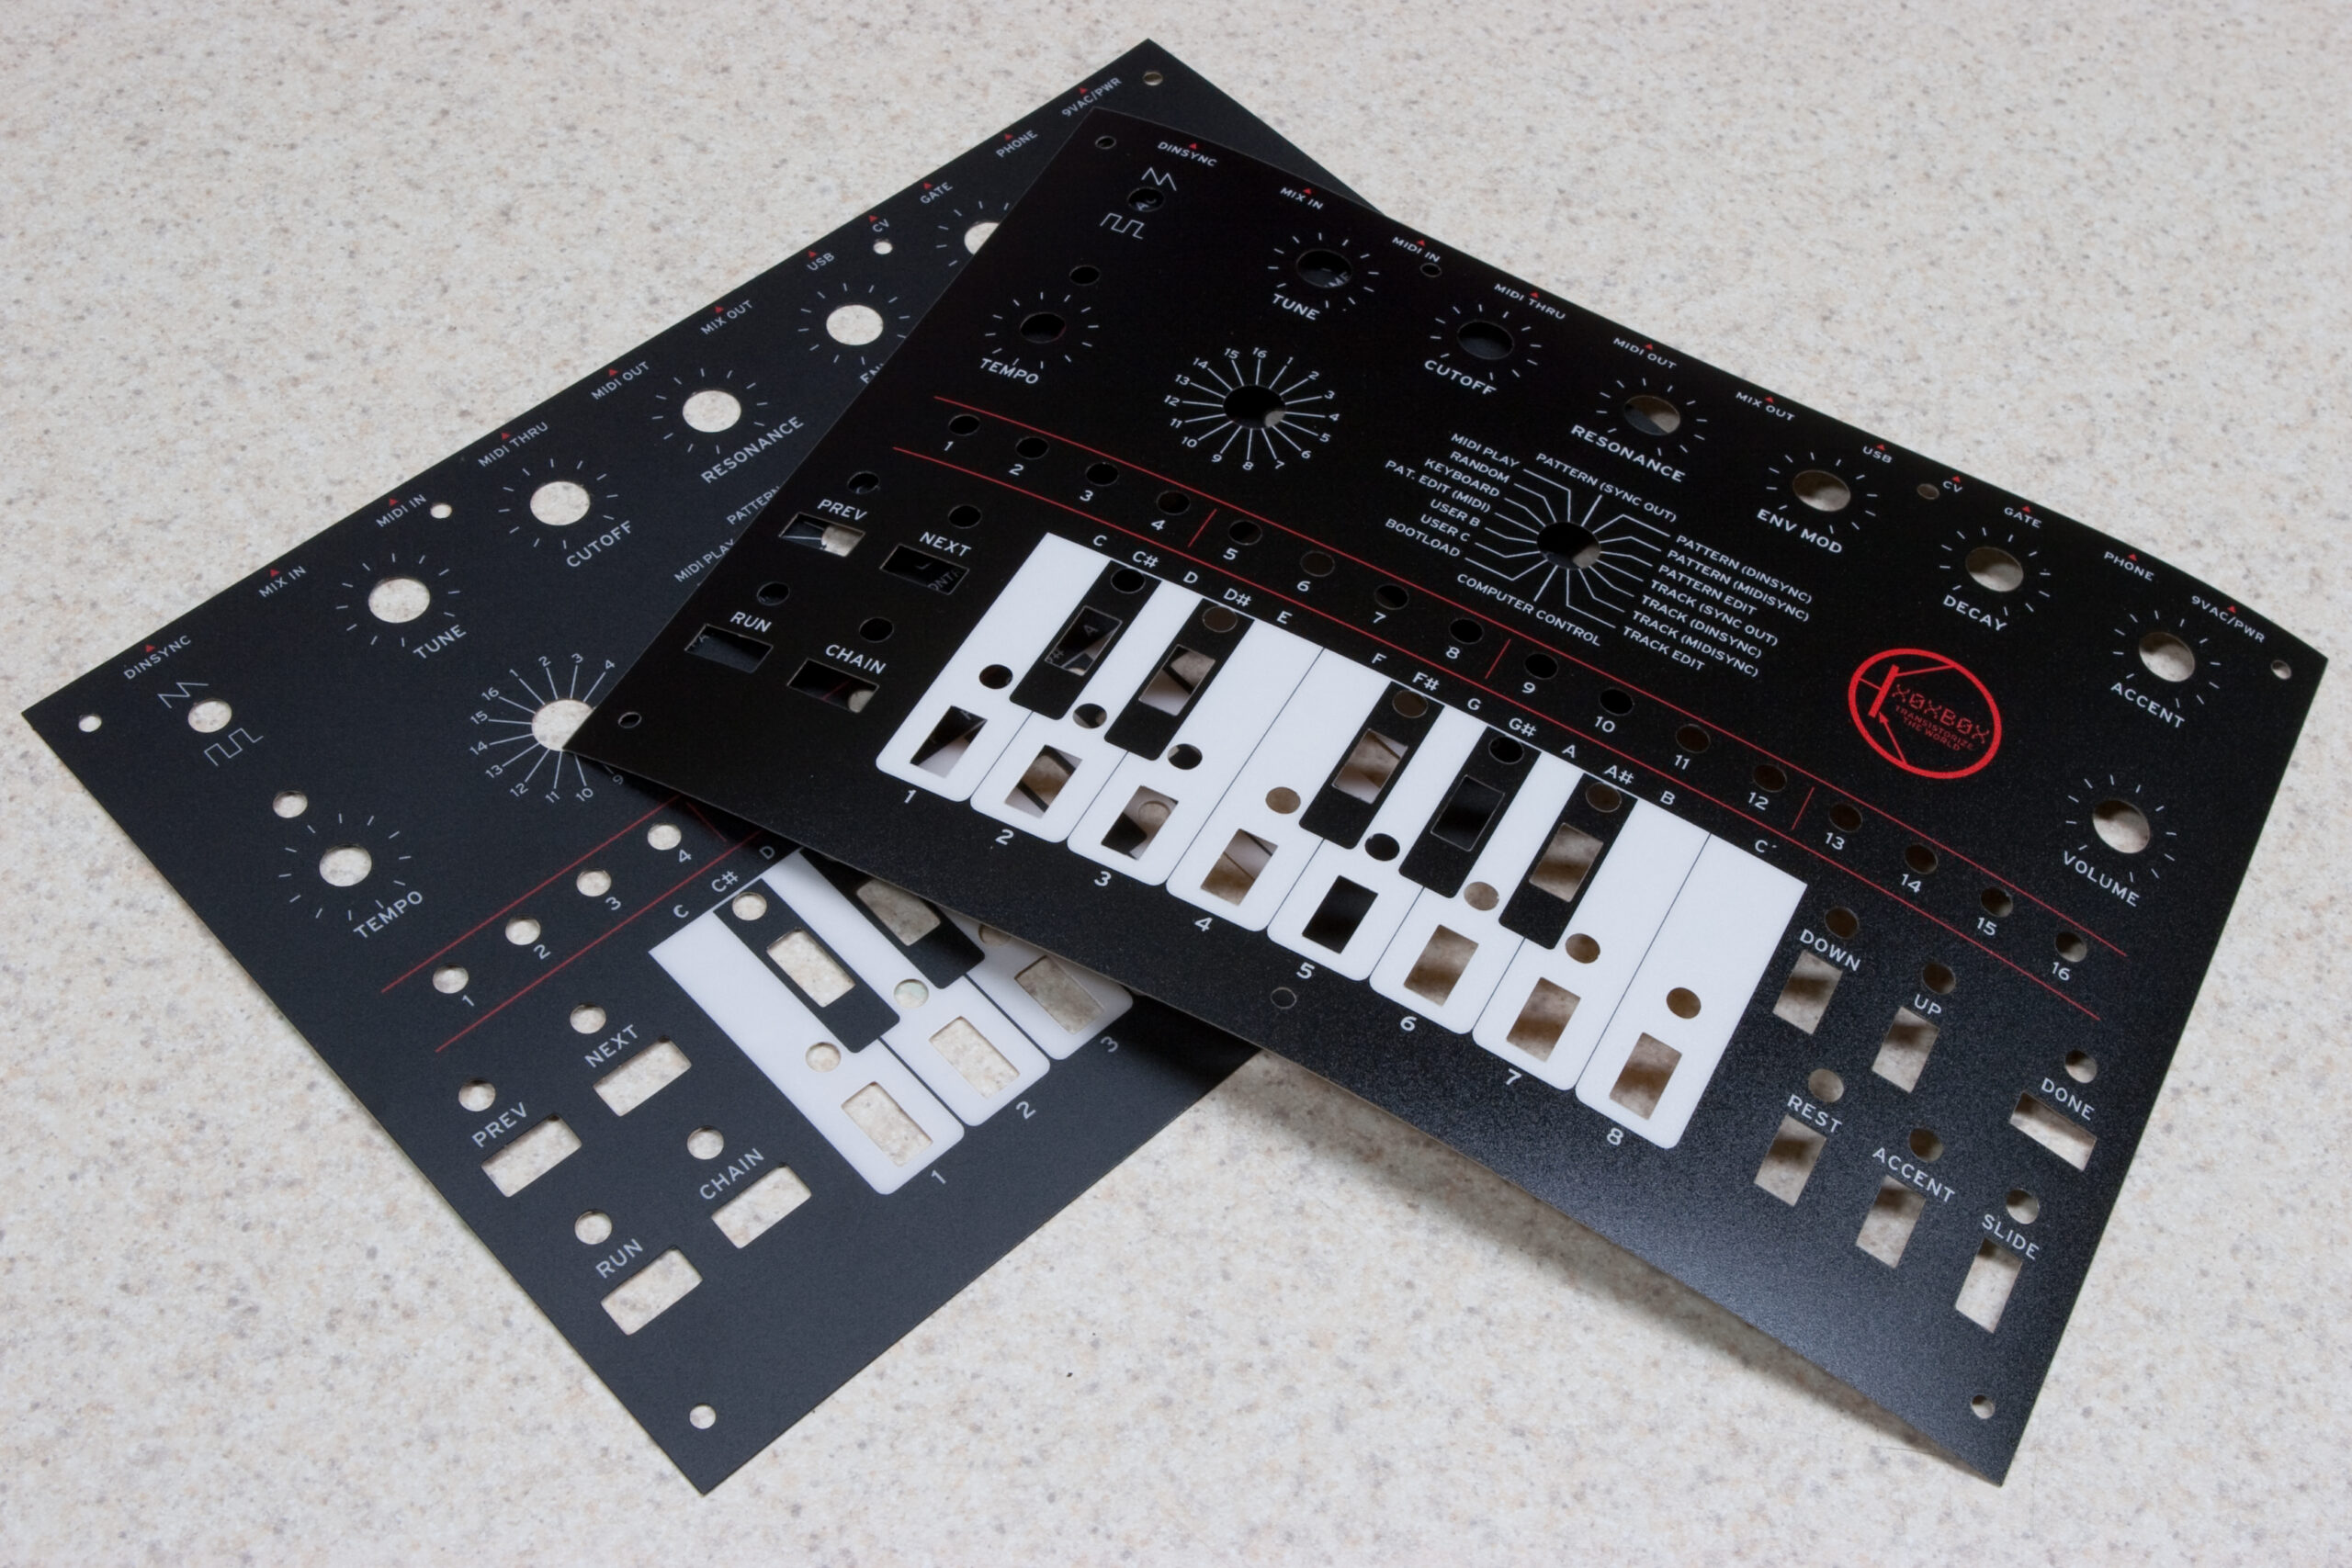
A few days back I released my x0xb0x artwork into Creative Commons, but I didn’t mention what it was that got me thinking about the artwork and its license, prompting me to do this. It turns out that James Irwin was wanting to print more copies of this artwork up to sell via his shop AbleIdeas. Wanting the art available for others I licensed the art as I did, giving him permission to print and sell copies, and he agreed to send me one piece.

I received this piece of x0xb0x art today, and I must say that it looks pretty good. The texture of the plastic on the top layer is a bit more matte than my original pieces from Maverick Label, but the print quality and the cutting looks great. Lining one of his pieces up with mine showed them to be practically identical. The adhesive backing is the slightly thicker 3M 468 MP, which is 5 mil as opposed to the 2 mil 467 MP I’d selected from Maverick. This will adhere better to rough surfaces, but supposedly doesn’t help with the bond on smooth surfaces. I’ve been told that this adhesive will change to the 467 MP in future runs.

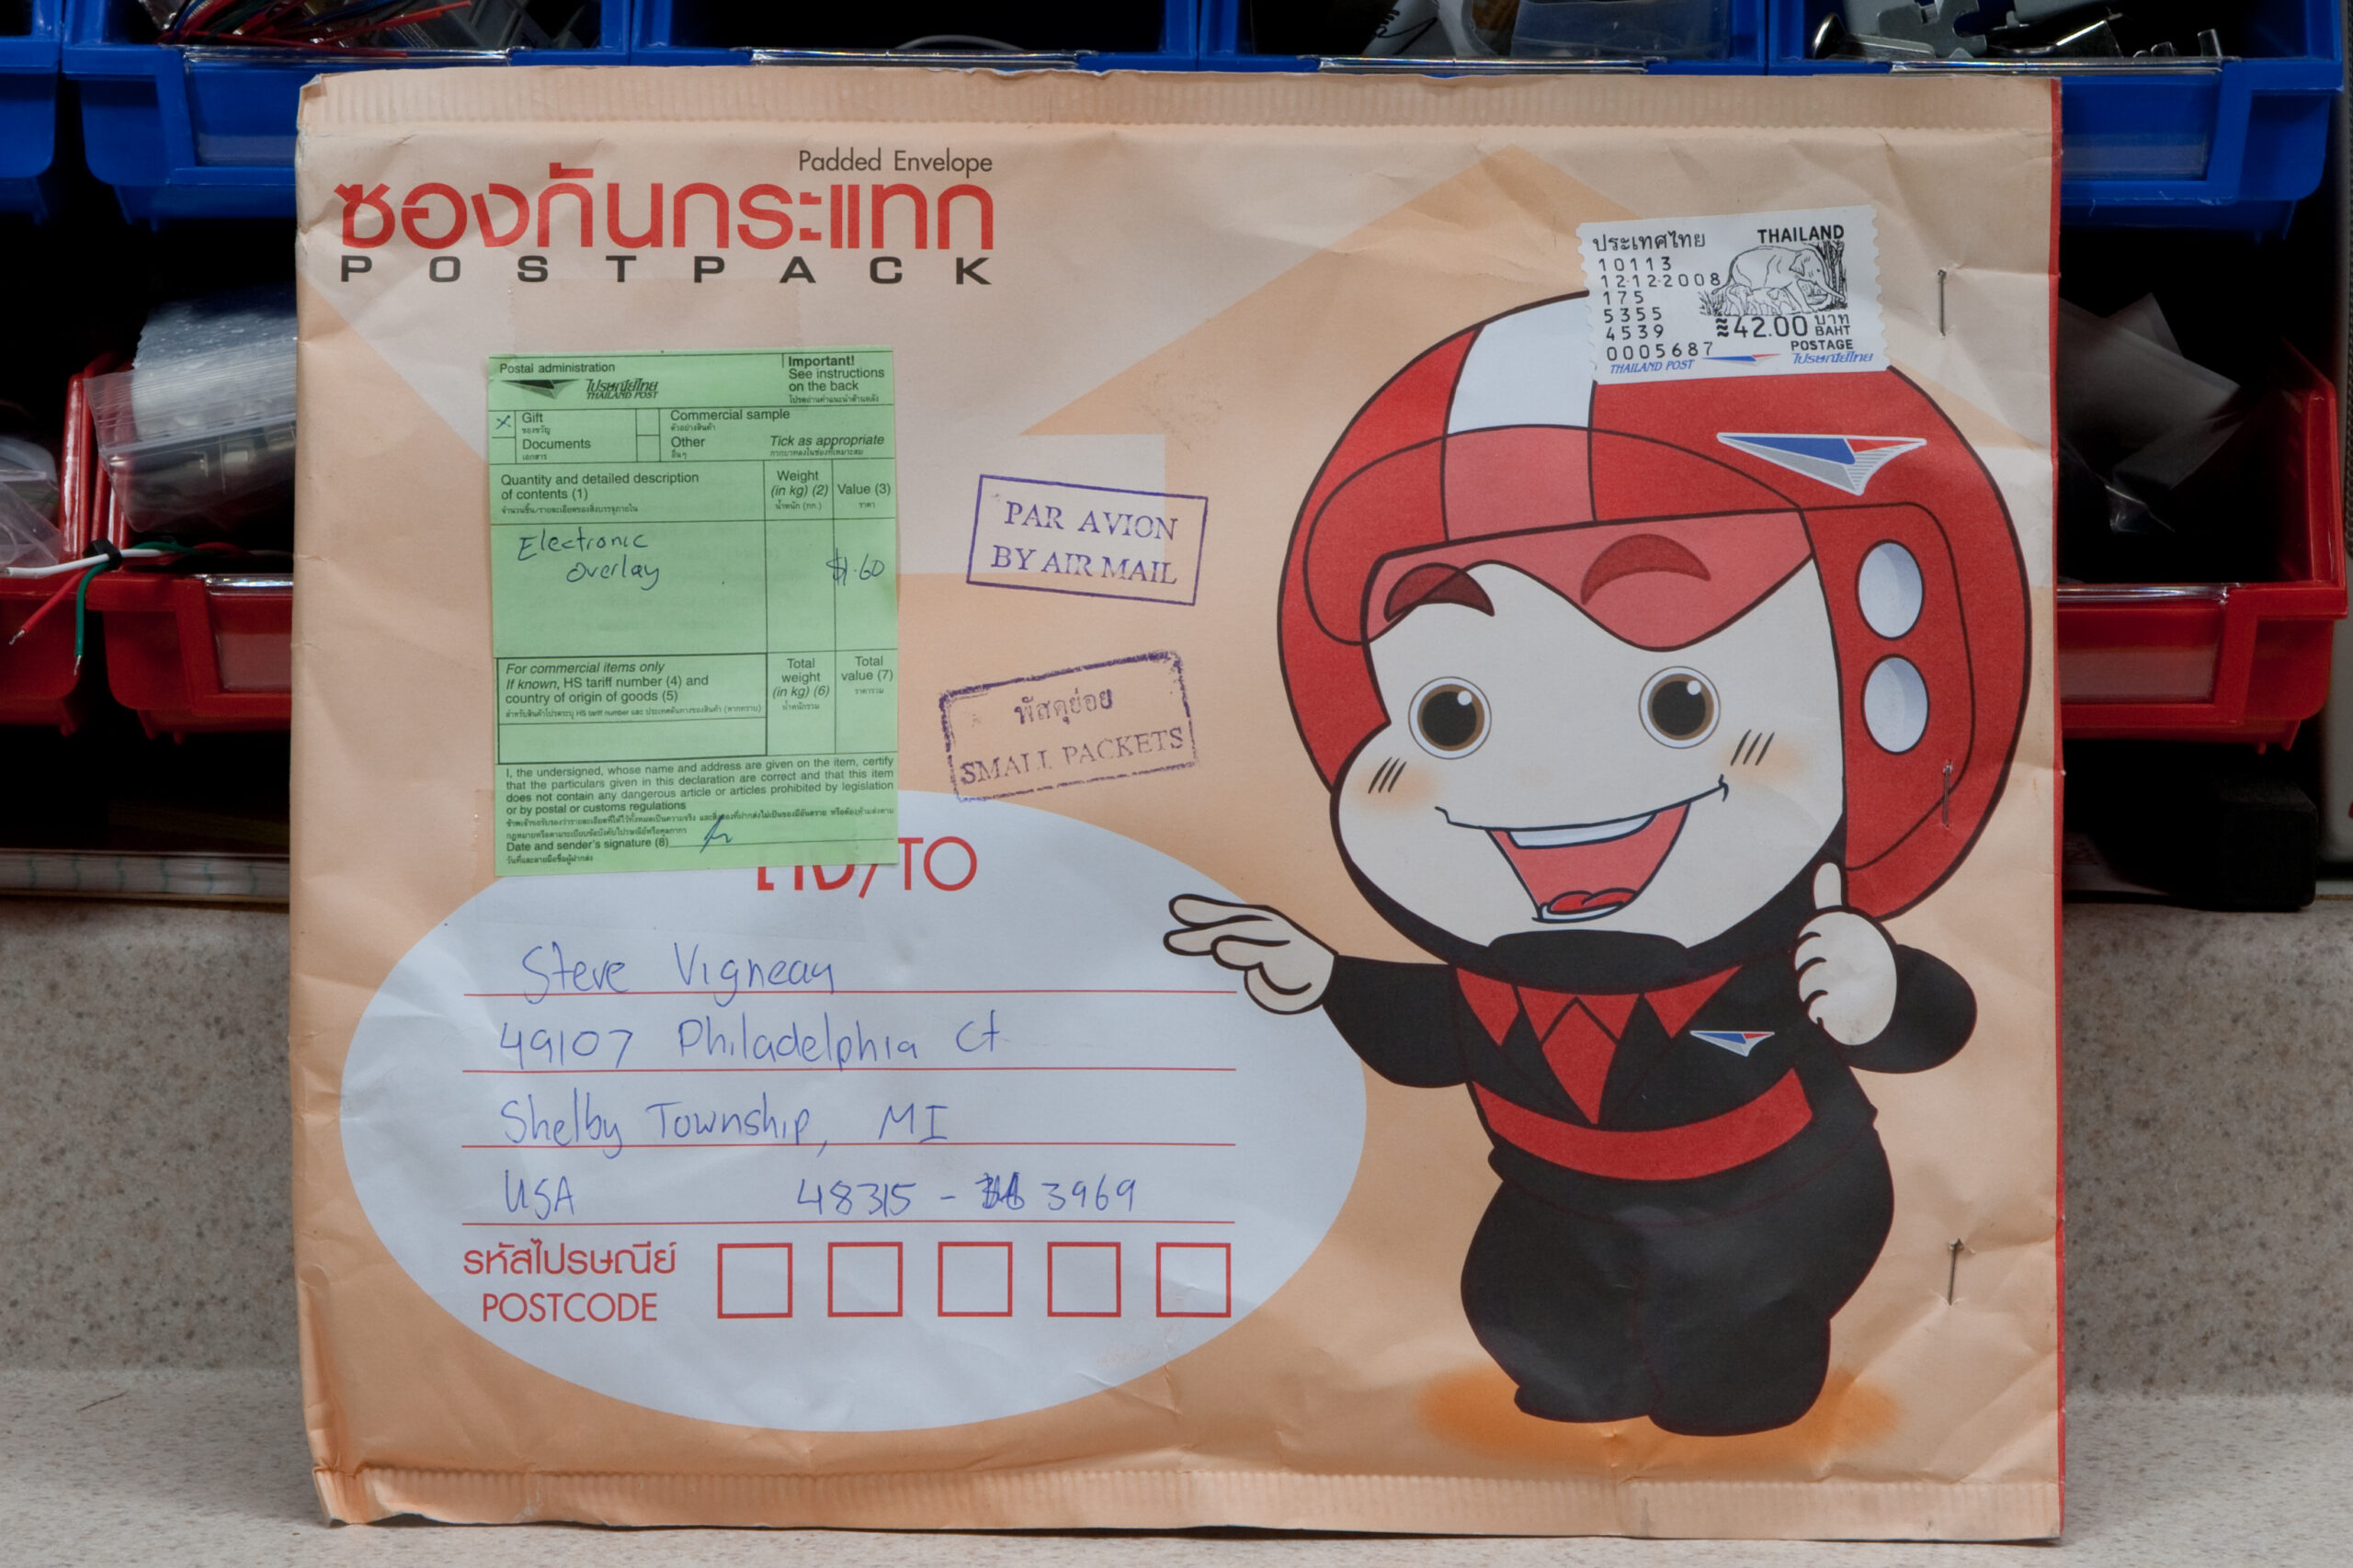
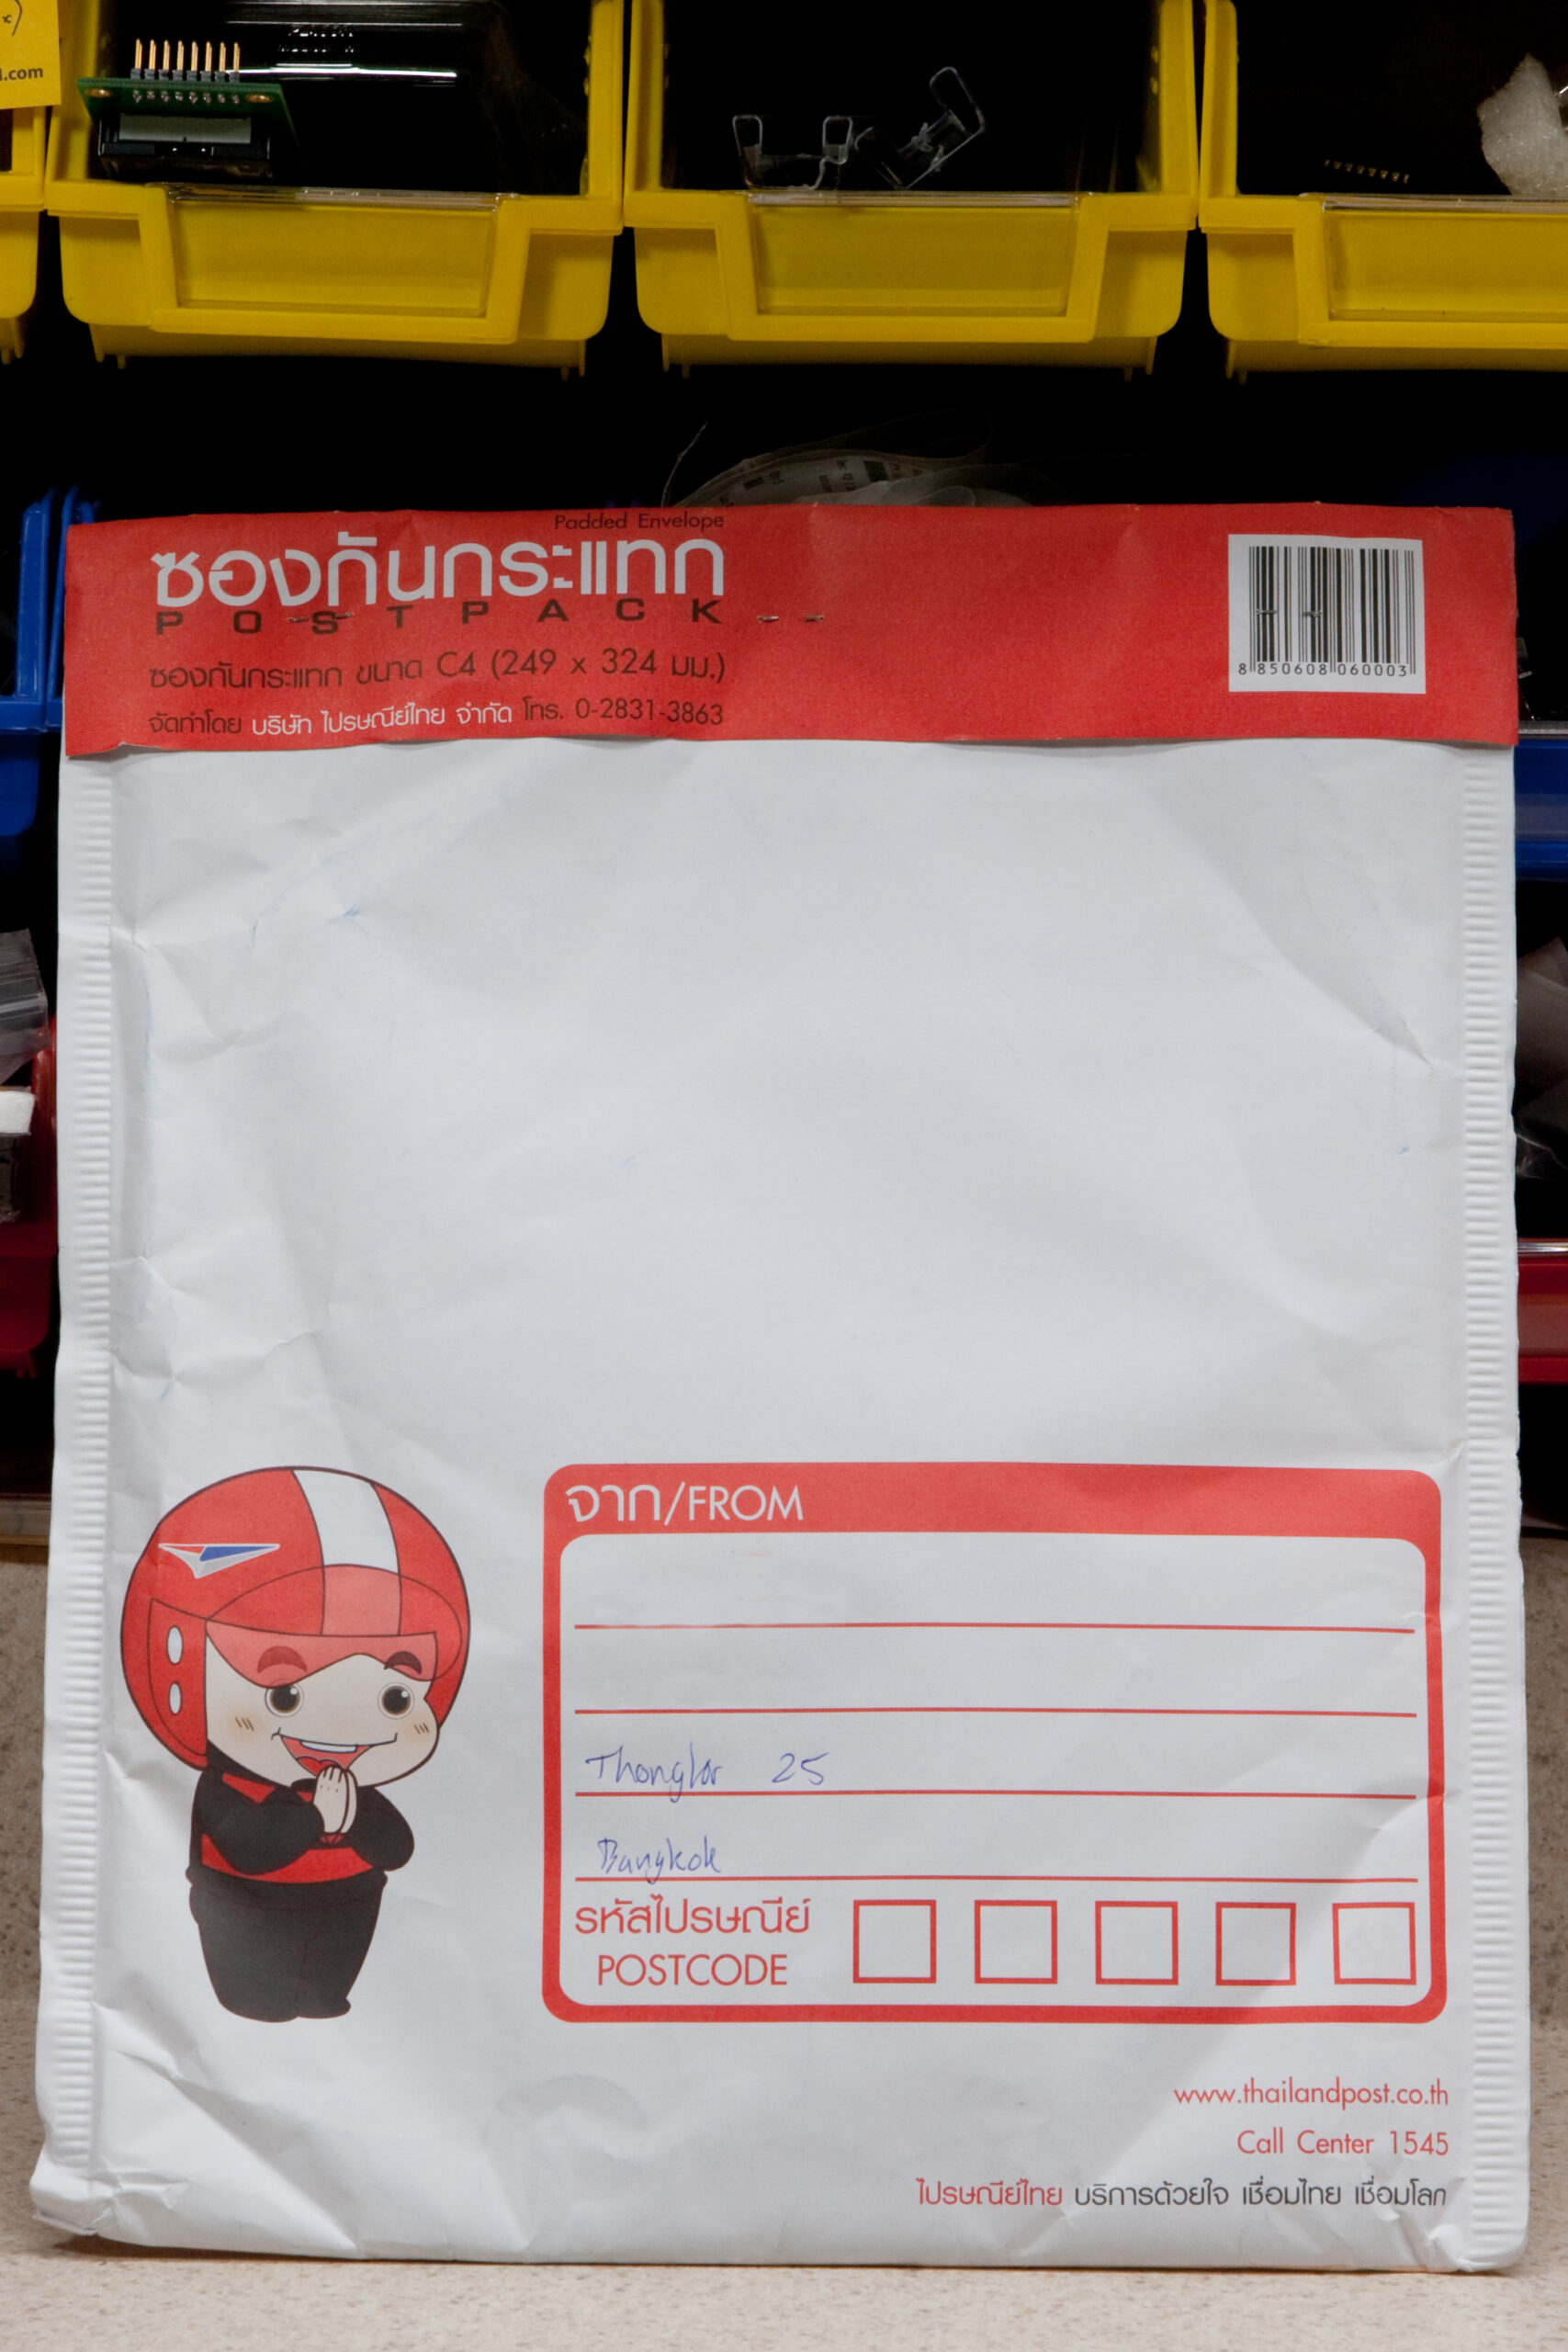
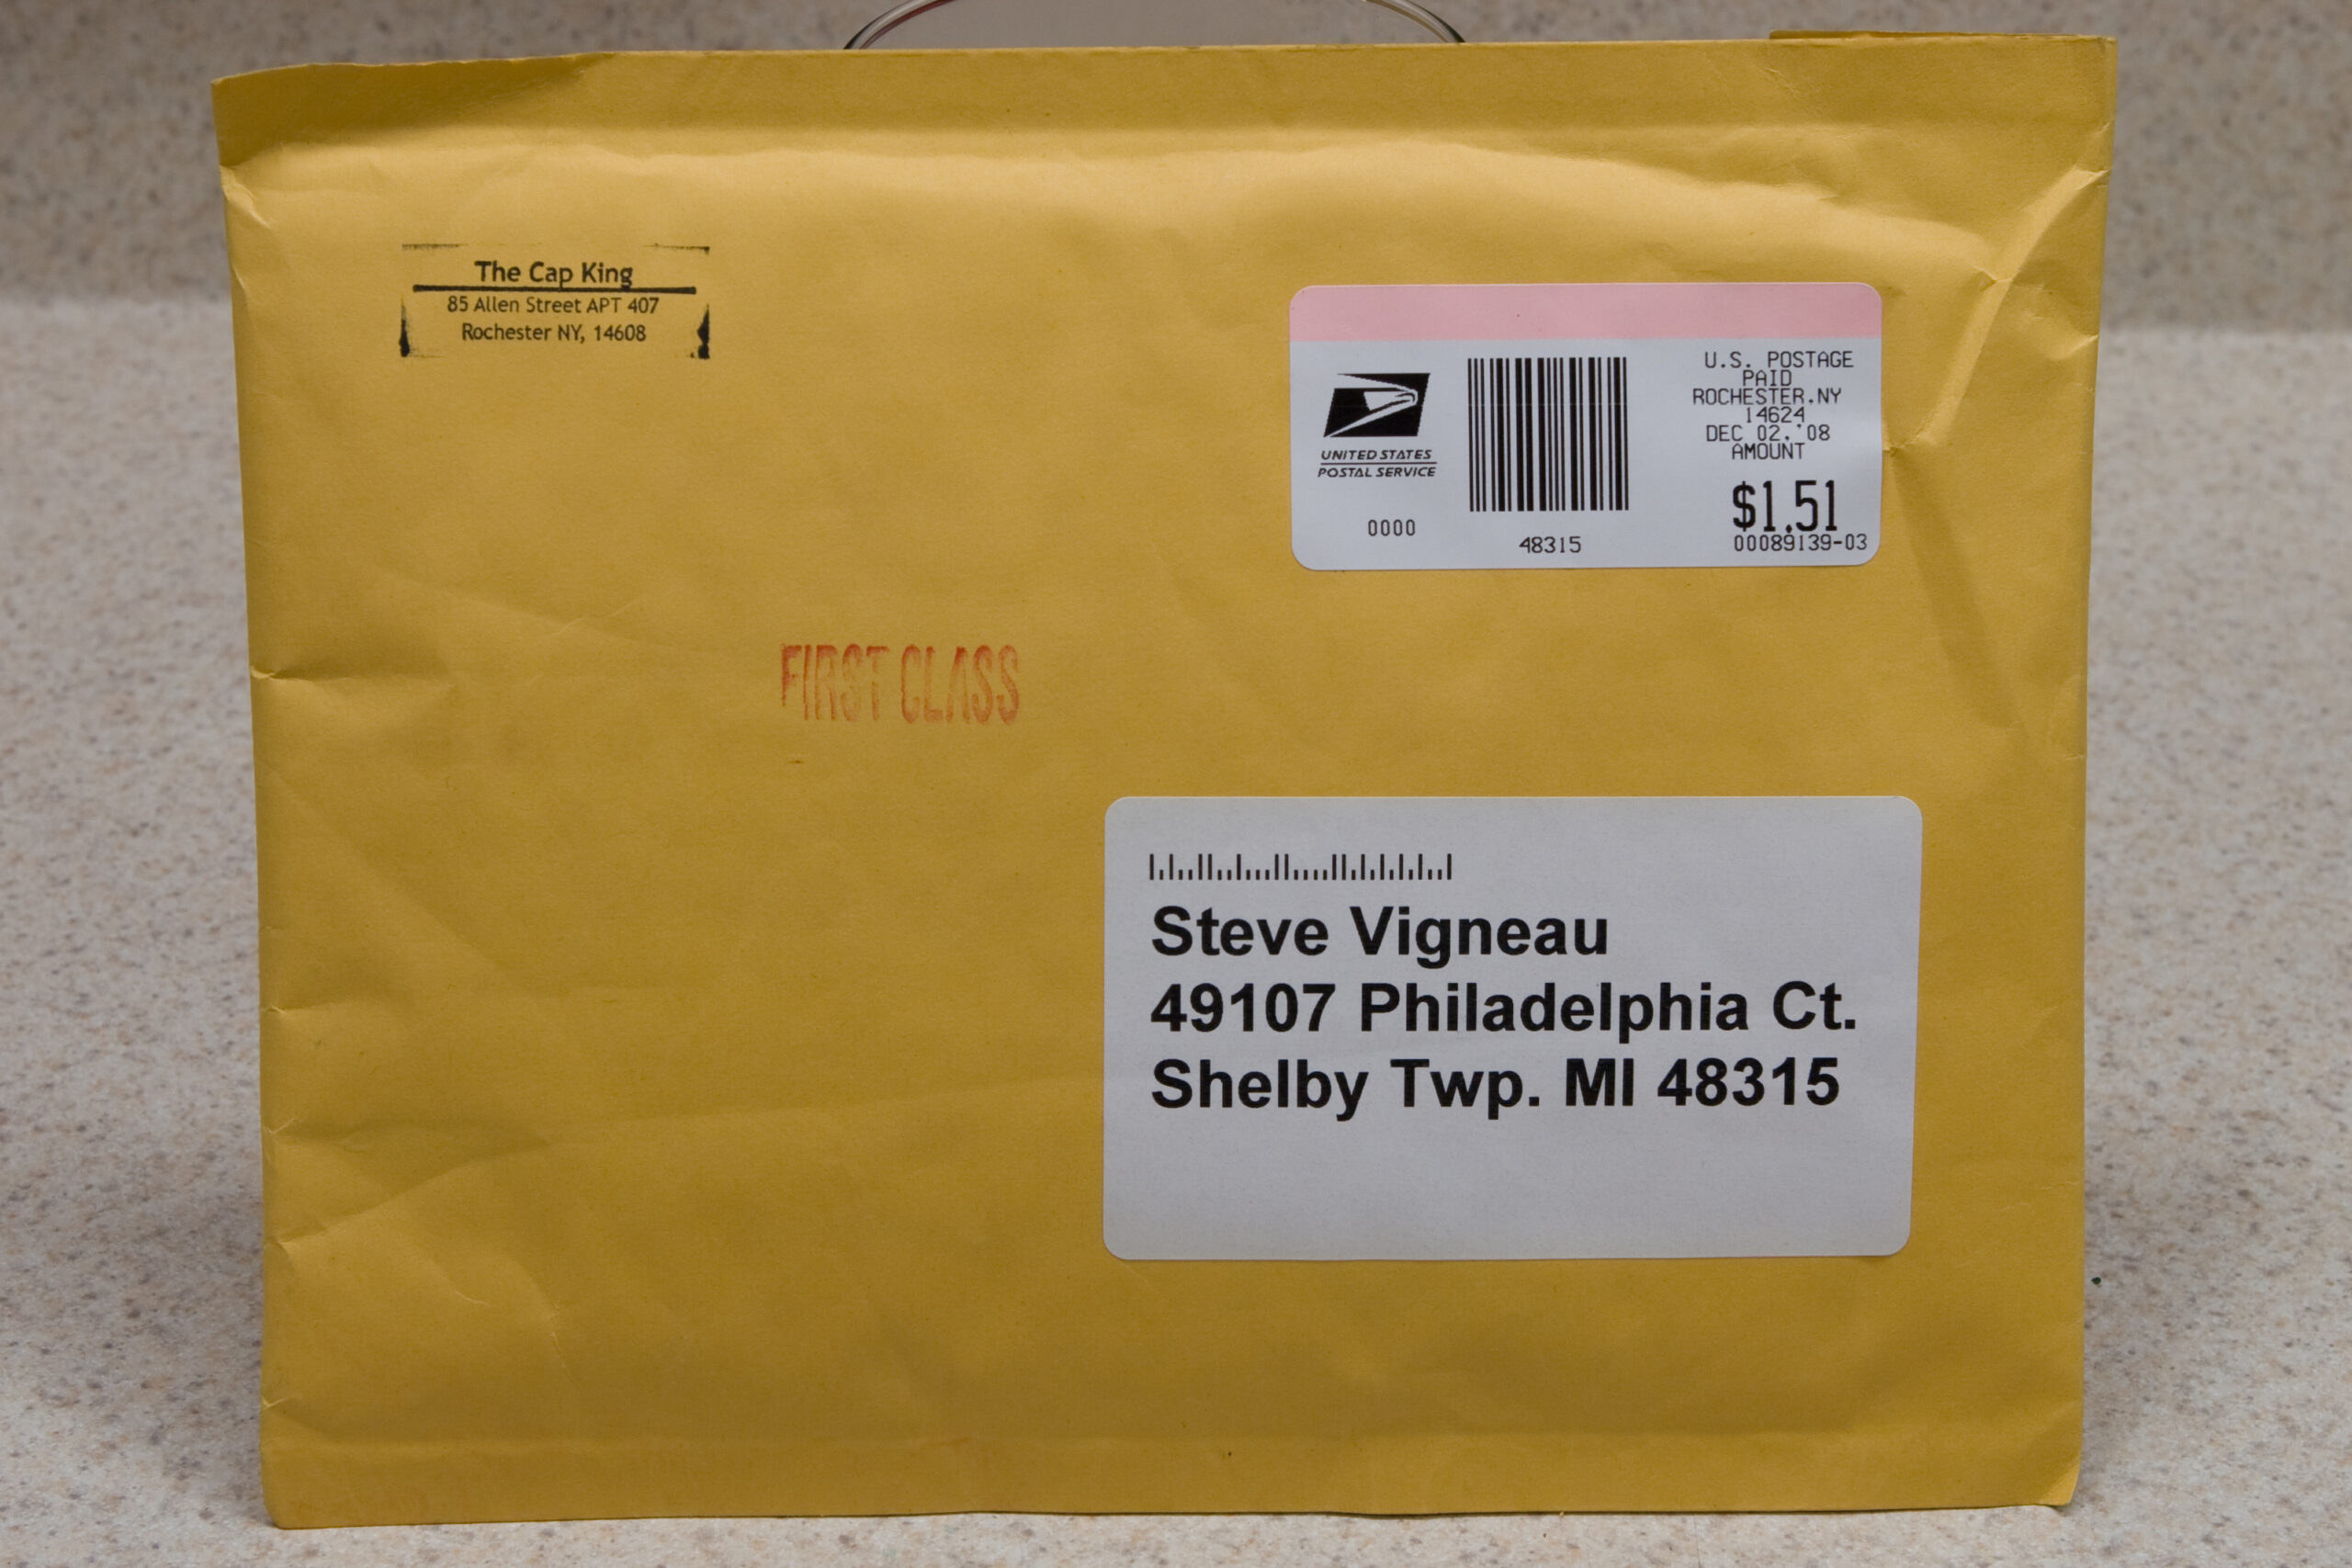
Oh, and (possibly) best of all? The Thailand Post (ไปรษณีย์ไทย) envelope the artwork came in was exceedingly cute (front · back). It could have used some backing board to ensure the artwork didn’t get bent (as the slight wrinkles visible here on the backing paper allude to), but the plastic looked just fine. I’ve mentioned this to James and he’s made note of it.

So, if you’re wanting some of my artwork printed up for your x0xb0x and don’t want to order in quantity from Maverick Label, definitely check out AbleIdeas x0xb0x store.

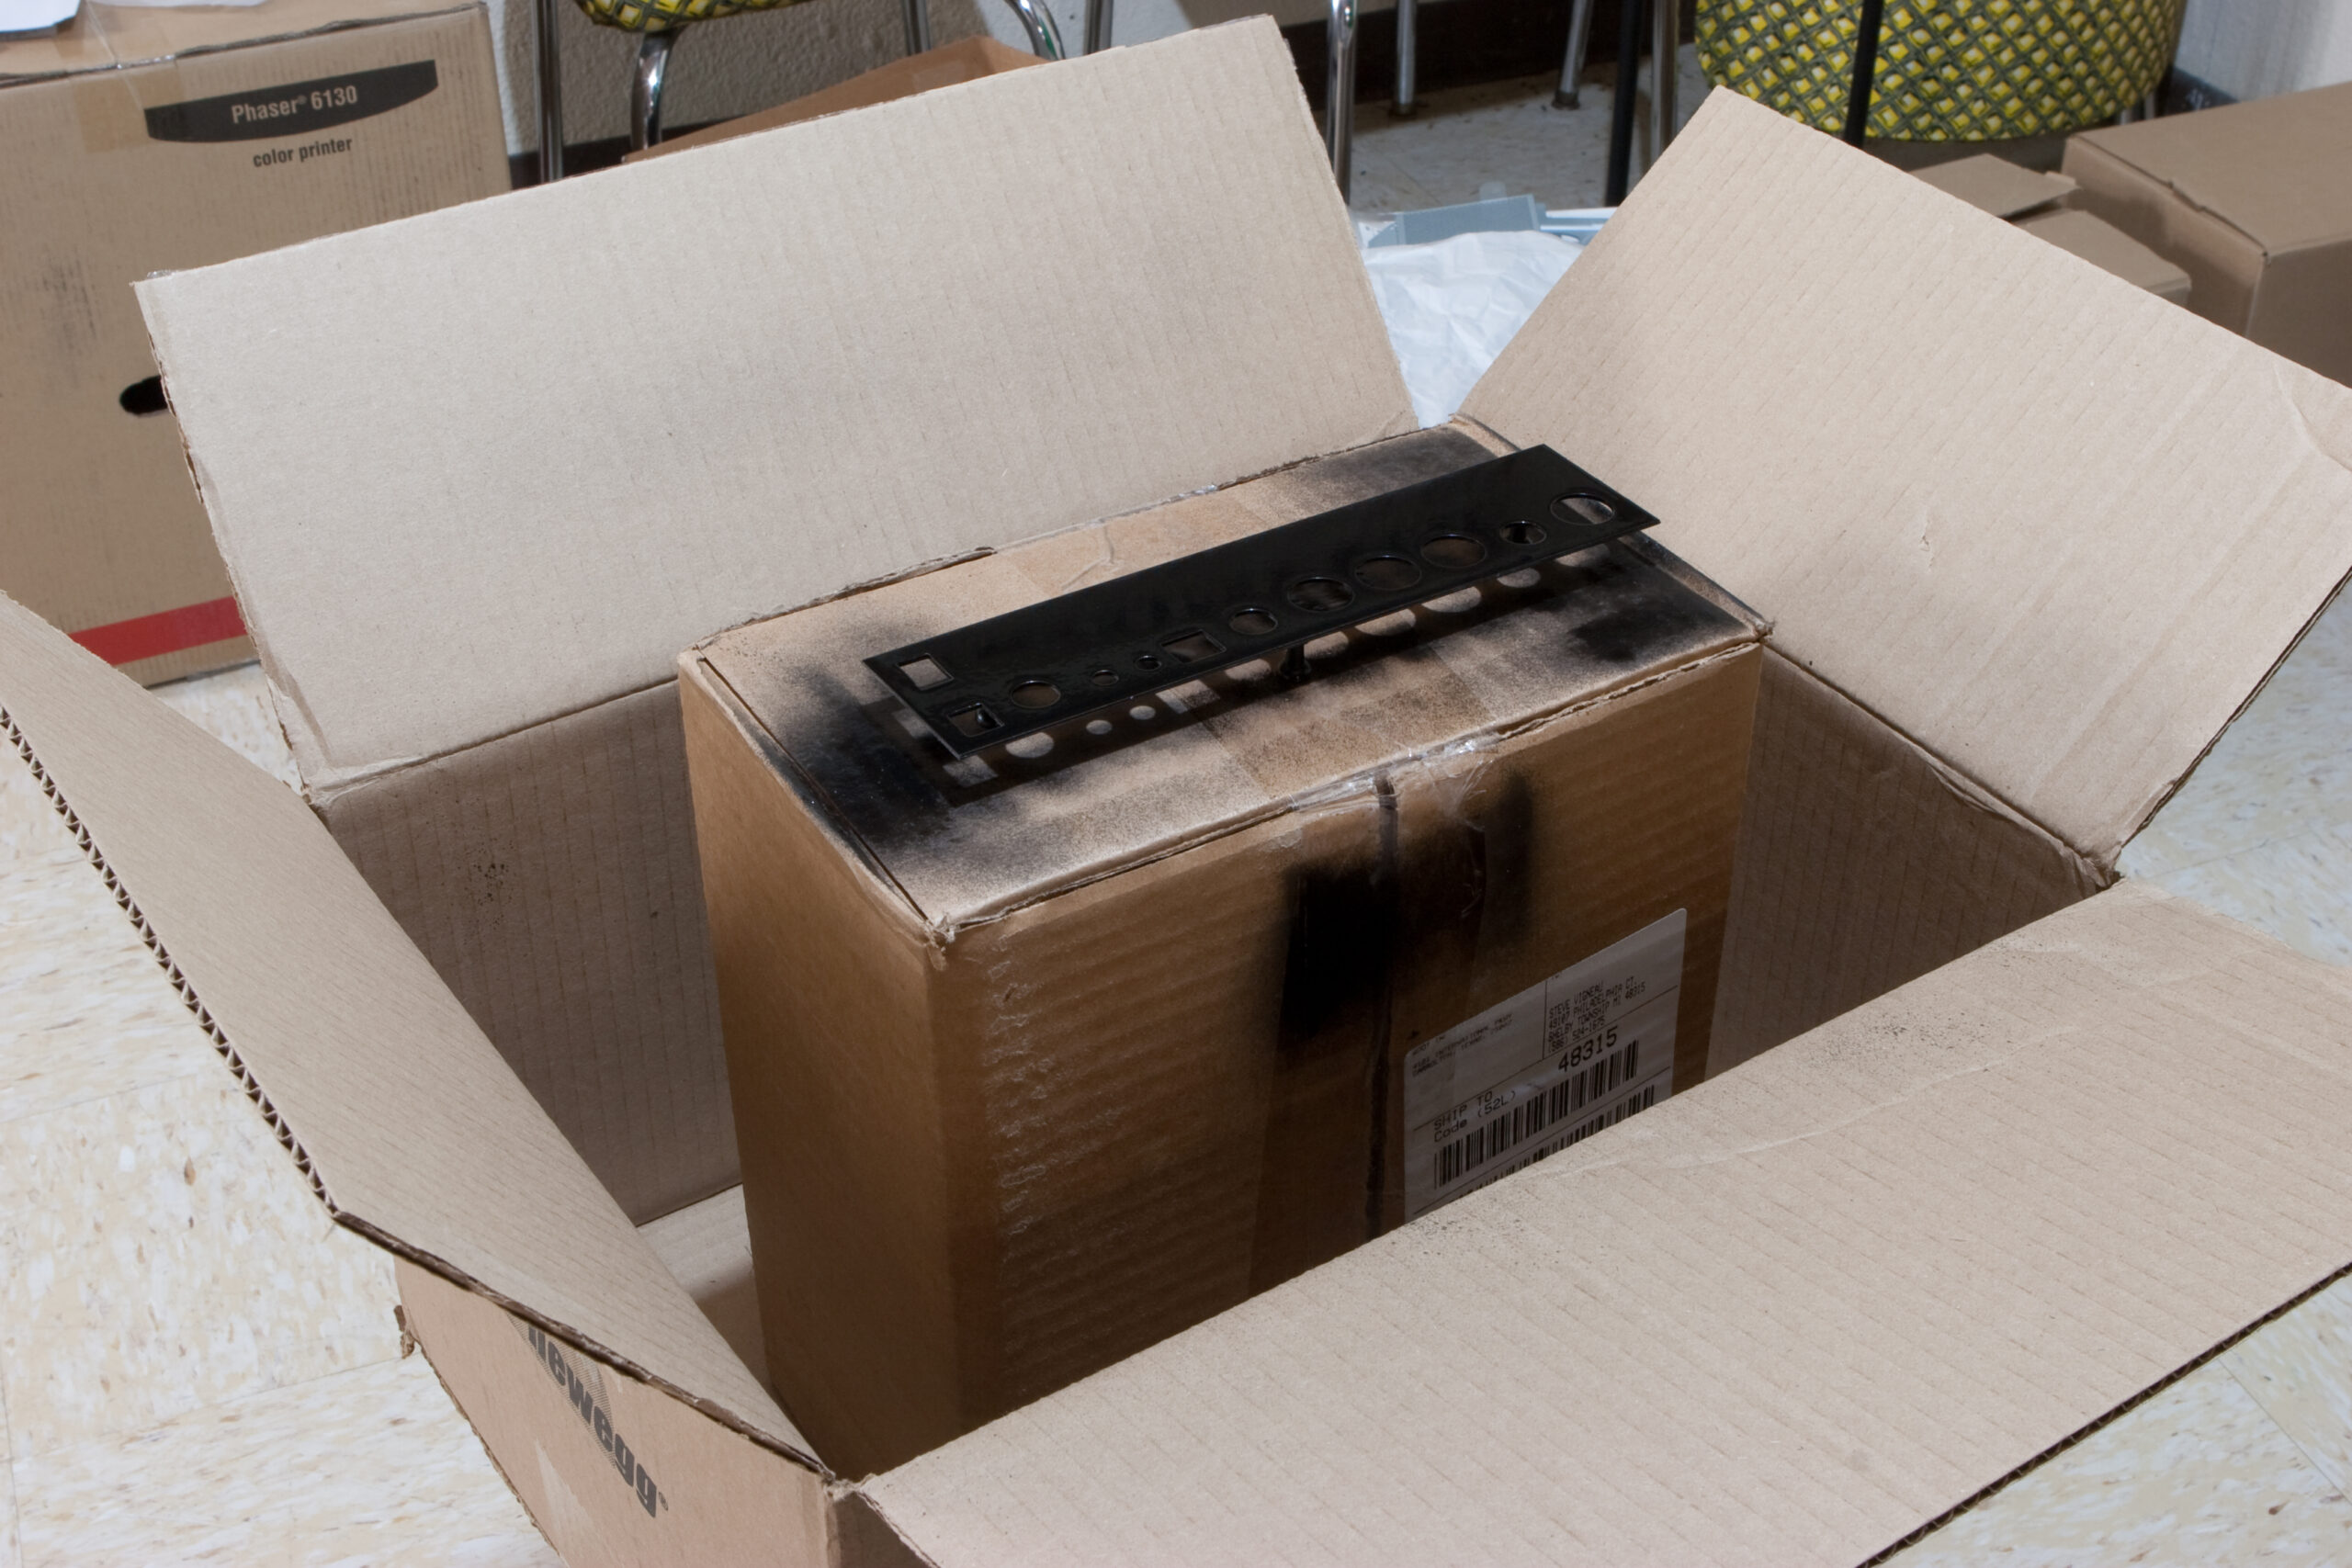
In x0xb0x #888 building news, tonight I sanded down the front panel to remove the epoxy lettering, cut a hole in the rear panel for the power switch, fashioned an impromptu indoor painting area, then began painting the rear panel. Hopefully I’m only a few days away from applying this artwork and finishing off another x0xb0x. I do still have to order some knobs and pushbuttons from Digi-Key, but those are essentially only finishing touches. Those can be changed after the case is closed.

Leave a Comment

x0xb0x #888 Mainboard Complete

Top of the finished mainboard PCB for x0xb0x #888, showing the mode and bank selector switches, red LEDs, and tactile switches.

After sleeping in a bit, most of today was spent on the mainboard for x0xb0x #888. Everything went quite well, the board cleaned up great, and it’s ready to hook up in the case. I even made a particular point of soldering all sealed components before washing, then doing electro-mechanical parts afterward with no-clean flux. I haven’t always been this particular in the past, and having to occasionally avoid a switch or button while scrubbing the flux off was a hassle.

Tomorrow I’m hoping to start on painting the back panel, possibly adding a power switch, and assembling everything for its first full-system test and (hopefully) tuning. I’ve already confirmed functionality of the power supply and USB (which the FT232BM from yesterday handles), so that’s a good start.

Here’s two more photos from today’s work:

· Soldered connections for the tactile switches, showing the slight bit of residue from no-clean flux.
· Detail of the cleaned solder joints on the DAC, located between the mode and bank switches.

Leave a Comment

FT232BM in x0xb0x #888

Detail of the FT232BM USB to Serial adapter which is IC25 in the newer x0xb0x designs. It is used for updating firmware and remotely editing saved programs.

Either I’ve become a bit better at soldering, or things like the FT232BM in the x0xb0x are easier than I recall. I’ve finished the IO board so it’s time to wash and test it, then move on to the main PCB.

Here’s an amusing (to me) photo of solder dust from below the brass pad in the iron stand. Note the black cable tie at the top for scale.

Oh, also, this assembly is once again reminding me of my very dislike for cornrowed (upended) resistors. They take 3x as long to fit as normal, flat ones. Also, when there are 50 of one value of resistor right next to each other, maybe resistor networks would be a good idea?

UPDATE: Here’s the same chip, with most of the flux removed. There is still a very small residual amount of non-water-soluble flux left, which was removed after this picture was taken.

Leave a Comment

Microsoft: Dump Switch Support for Windows

Schematic from Microsoft's article Dump Switch Support for Windows.

Known mostly as a software company, it surprised me a bit when I came across the article Dump Switch Support for Windows at Microsoft’s site a few years ago. This site has a schematic (which appears to have been done in Paint, detailing a PCI device for generating an NMI to force a machine to bugcheck and dump.

Many servers have NMI switches built in, but it’s quite nice to be able to add one to a PCI slot bearing device of your choice. I think it’d be nice to know how to do this on PCI Express, but it’d take me a little time to figure out how. It’s probably not as easy as this implementation.

Leave a Comment

iMac G5: Worse Than Before

Image of the machine in Open Firmware showing video glitches present after recapping. I suspect that there are cold solder joints and the video card isn't getting proper power.

Well, I managed to get all the capacitors I previously complained about desoldered and the new parts fitted. However, the iMac G5 now displays video glitches while POSTing, and it never boots past a plain blue screen with an artifacted cursor. As can be seen above, video glitches are also present in Open Firmware.

Looking at this photo (large size here) and seeing what may be some cold solder joints I suspect that some of the caps — specifically those for the video controller / memory — aren’t doing what they are supposed to. This means that I’m going to be taking the machine back apart tonight or tomorrow and attempting to reflow those joints.

I’m disappointed. It really frustrates me when I screw something up.

UPDATE: I think I should probably take a look at the display cable and its connector as well.

2 Comments

I Fail At Desoldering

Another view of the domed caps, after some of the dried electrolite had fallen off.

My grandparents computer is an older iMac G5. When installing an Airport card in it last weekend I noticed that a number of the capacitors were domed, and some were leaking electrolyte, a sure sign of failing capacitors, possibly because of the capacitor plague. After digging around through Digi-Key, Mouser, et al I found that the cheapest way to get a set of replacement caps is to order them from The Cap King. He sells a set of the 25 needed caps for $16 shipped, and the set arrived earlier this week.

After sorting the caps, tearing down the iMac, and removing the logic board I identified which caps needed to be replaced, marked them by type, then set about desoldering two of the most accessible ones. This is where I began to have problems.

Normally I’m pretty decent at soldering, but getting these first two caps out was difficult. The first one left a lead sitting in the board, and the other three holes still contain solder. I presume its because of the number of layers in the board and the giant planes of copper near them, but I cannot seem to get enough heat on the board to melt the solder all the way through and wick it out.

Here are two photos of where things currently stand: 1 · 2. I think the next thing I’ll try is pre-heating the board with a hair dryer, then leaving the hot air flowing over it while attempting the desoldering. Hopefully that’ll help.

Leave a Comment

x0xb0x #888 Begins

Parts have been checked against the BOM and sorted, the 2SA733 transistors sorted by hFE, and assembly can now begin.

The sorting of parts and confirming kit contents against the BOM is tedious. On the upside, this x0xb0x kit (#888) is not missing any parts and now that everything is sorted I can begin putting it together. That’ll be tomorrow or thursday’s task, and hopefully I’ll finish up this weekend.

This kit is slightly different from the past ones I’ve received, because it came with domed red LEDs like the ones I had to purchase separately in the past. I’ll have to order a red RUN button and some knurled black aluminum knobs from Digi-Key to match the last piece of custom artwork which it will be fitted with, but that shouldn’t be a big deal. I should probably put a power switch on this one as well.

Leave a Comment

Next Project: Atari SDrive by C.P.U.

I think I’ve found what I want to do for my next electronics project. Fitting with my usual idea of taking another OSS project and adding fit and finish (and hopefully accessibility) polish to it, I want to take Atari SDrive by C.P.U. and make a new PCB and enclosure for it, and possibly sell some of the PCBs.

I intend to make the following changes from the current design:

· SIO connector to the Atari. Option for DB15.
· SMT parts.
· Double-sided PCB with soldermask.
· Different enclosure design, possibly with different label / pushbutton / switch configuration.

Leave a Comment

SIP via Asterisk on Nokia E51

My current cell phone is a Nokia E51, one of Nokia’s more recent Symbian Series 60 cell phones. Beyond being a decent phone with a decent camera it also happens to do 802.11 wireless and be a SIP endpoint.

In short, this means that my cell phone can also be a VoIP client. Today, thanks to , my phone is working for making actual calls out via the public internet, into a server, then into the phone system.

Since there were a few quirks with getting this going I wanted to document the settings used in the phone for connecting to the Asterisk-based server.

First, make sure your phone has a valid wireless network connection available, which is done via Tools → Settings → Connection → Access points. Without a configured, functional AP your phone won’t be able to connect to the internet.

Now, to configure the phone itself, the following settings must be made:

Tools → Settings → Connection → SIP settings
Profile name: NameGoesHere
Service profile: IETF
Default access point: (Pick your access point from before.)
Public user name: sip:c0nsumer@sip.host.com
Use compression: No
Registration: Always on
Use security: No

Tools → Settings → Connection → SIP settings → Proxy server
Proxy server address: sip.host.com
Realm: asterisk
User name: c0nsumer
Password: PasswordGoesHere
Allow loose routing: Yes
Transport type: UDP
Port: 5060

Tools → Settings → Connection → SIP settings → Registrar server
Proxy server address: sip.host.com
Realm: asterisk
User name: c0nsumer
Password: PasswordGoesHere
Transport type: UDP
Port: 5060

Tools → Settings → Connection → Internet tel.
Create a profile with a name of your choice, then associate the SIP profile created earlier with this. This will set up one profile which can then be used to make calls across the network via VoIP.

After this, set your new NameGoesHere profile as the default via Tools → Settings → Connection → SIP settings → Options → Default profile.

With these settings your phone will always connect to the AP whenever it is found and register with the VoIP server. It will then be able to make and receive calls. Setting Registration to When needed makes the phone prompt before connecting to the AP and the SIP server when an attempt to dial an internet call is made. Inbound calls will not work in this case.

Leave a Comment