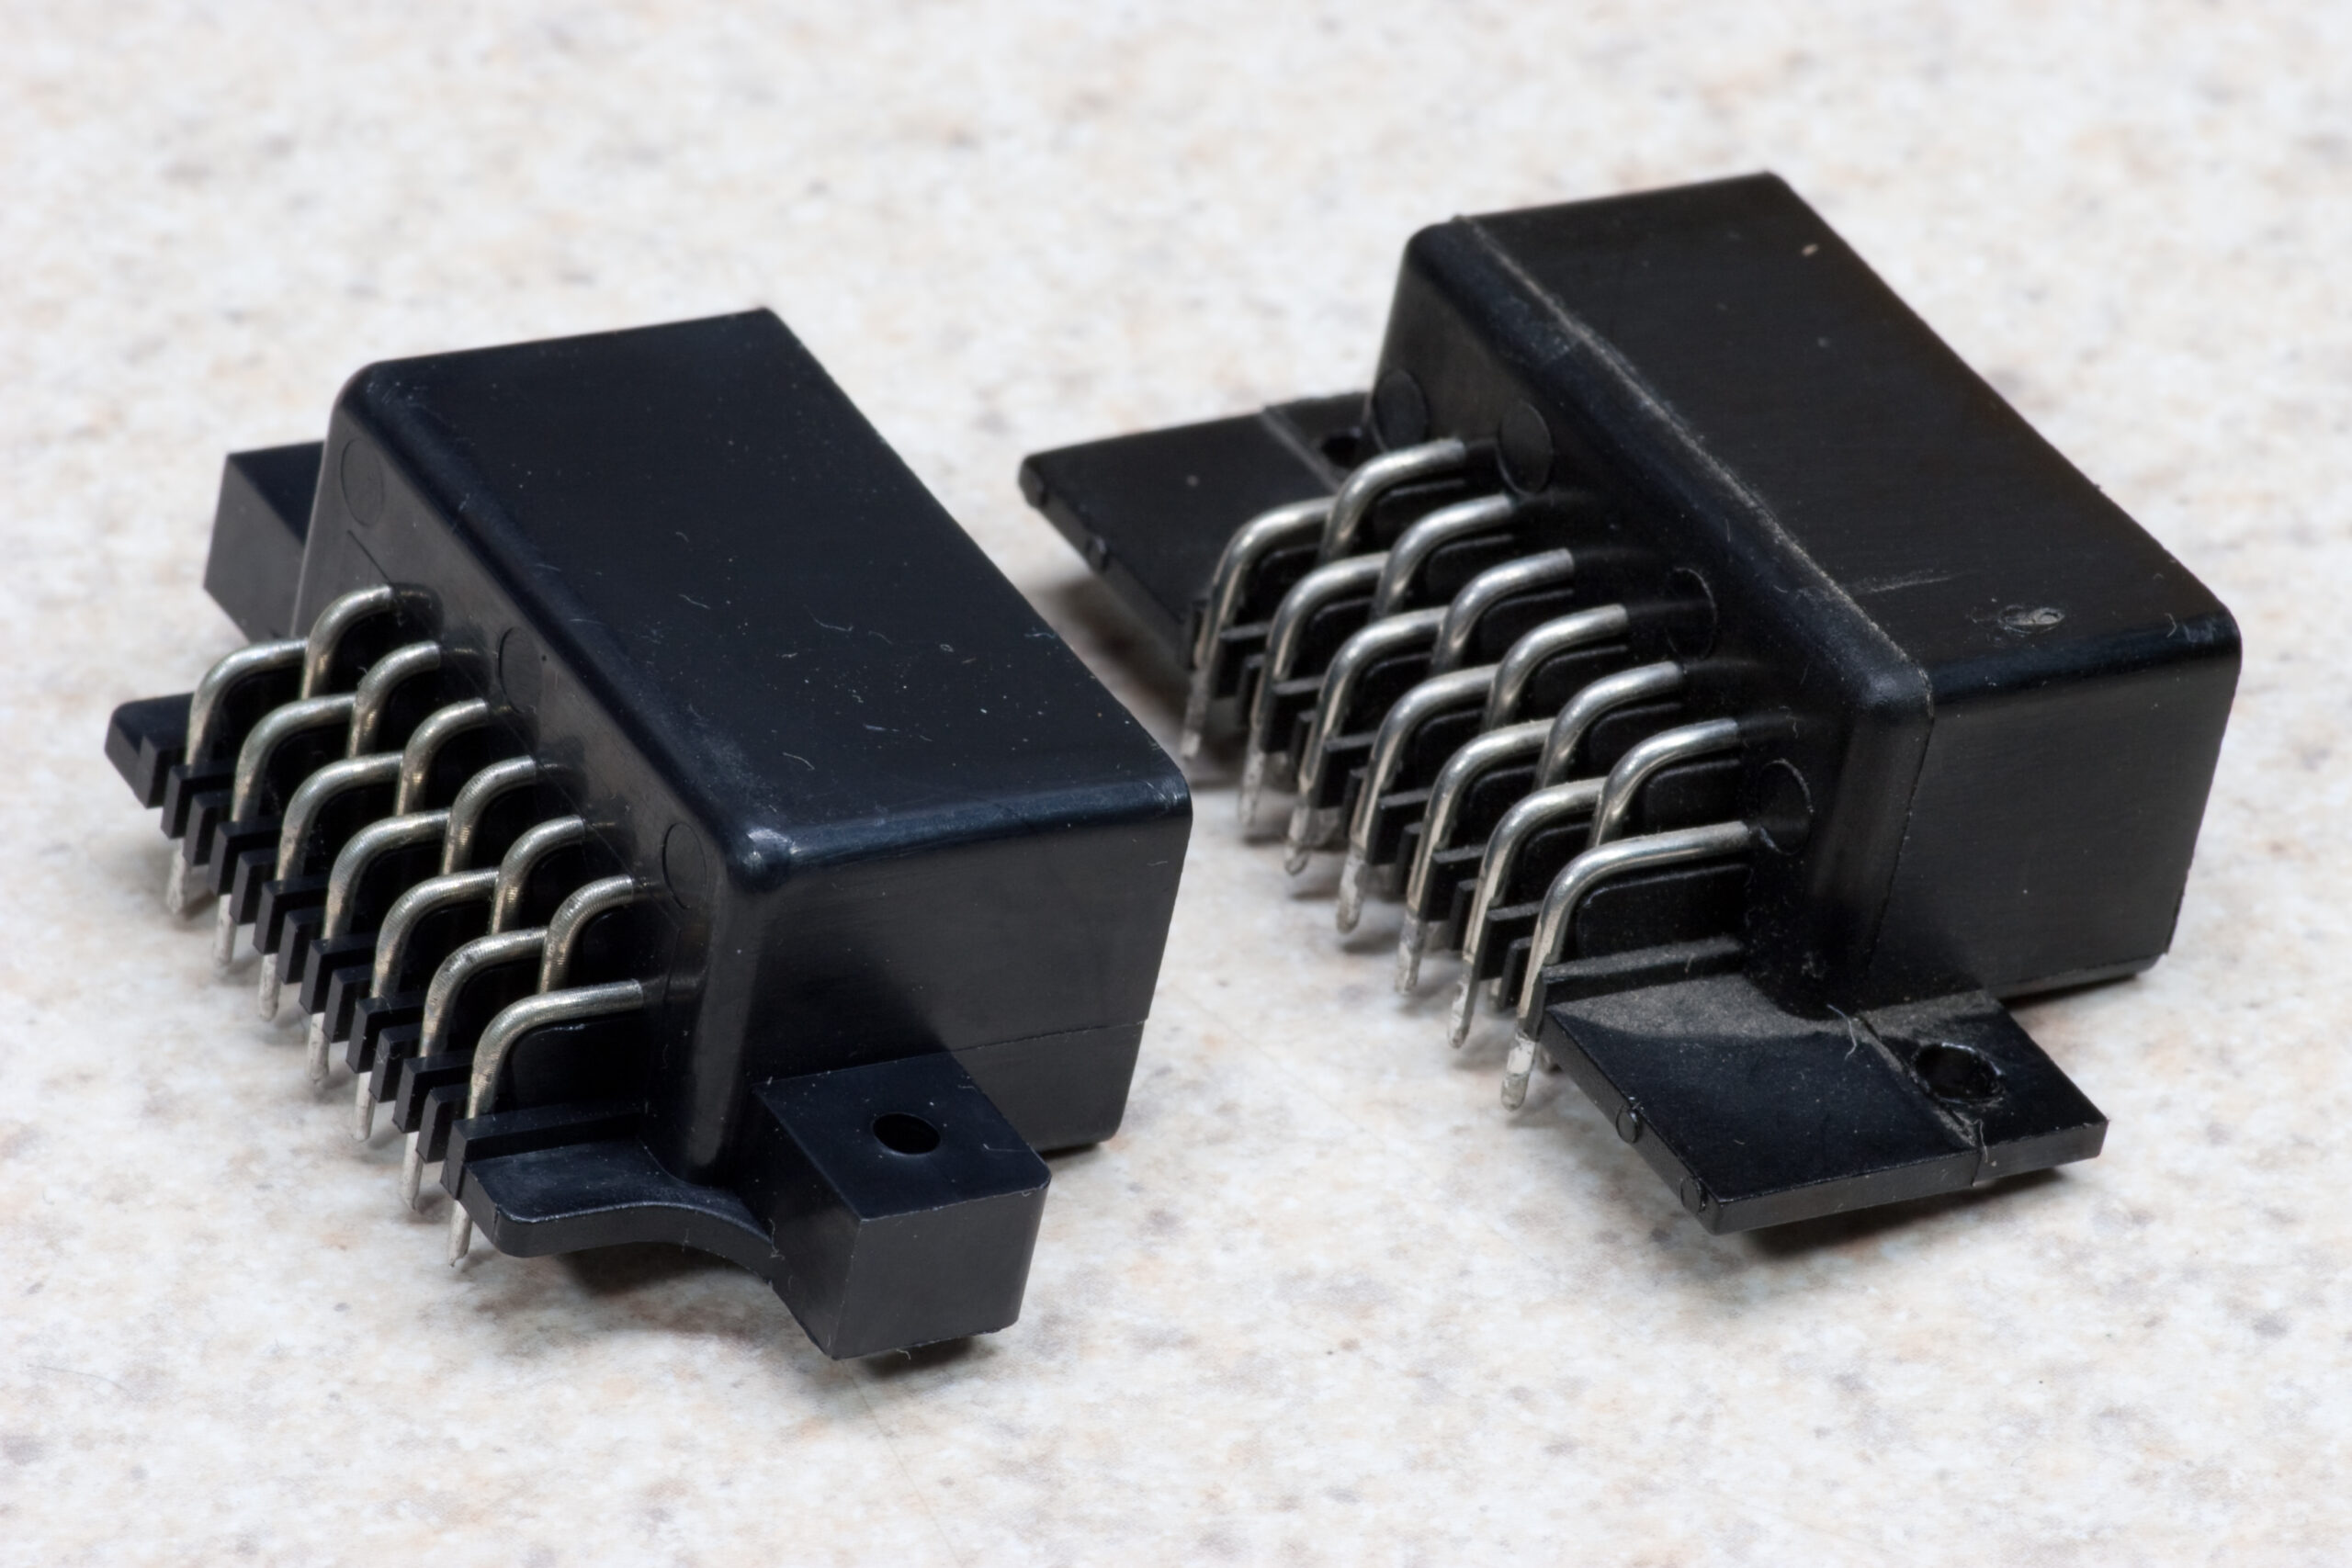
End Panel Mockups
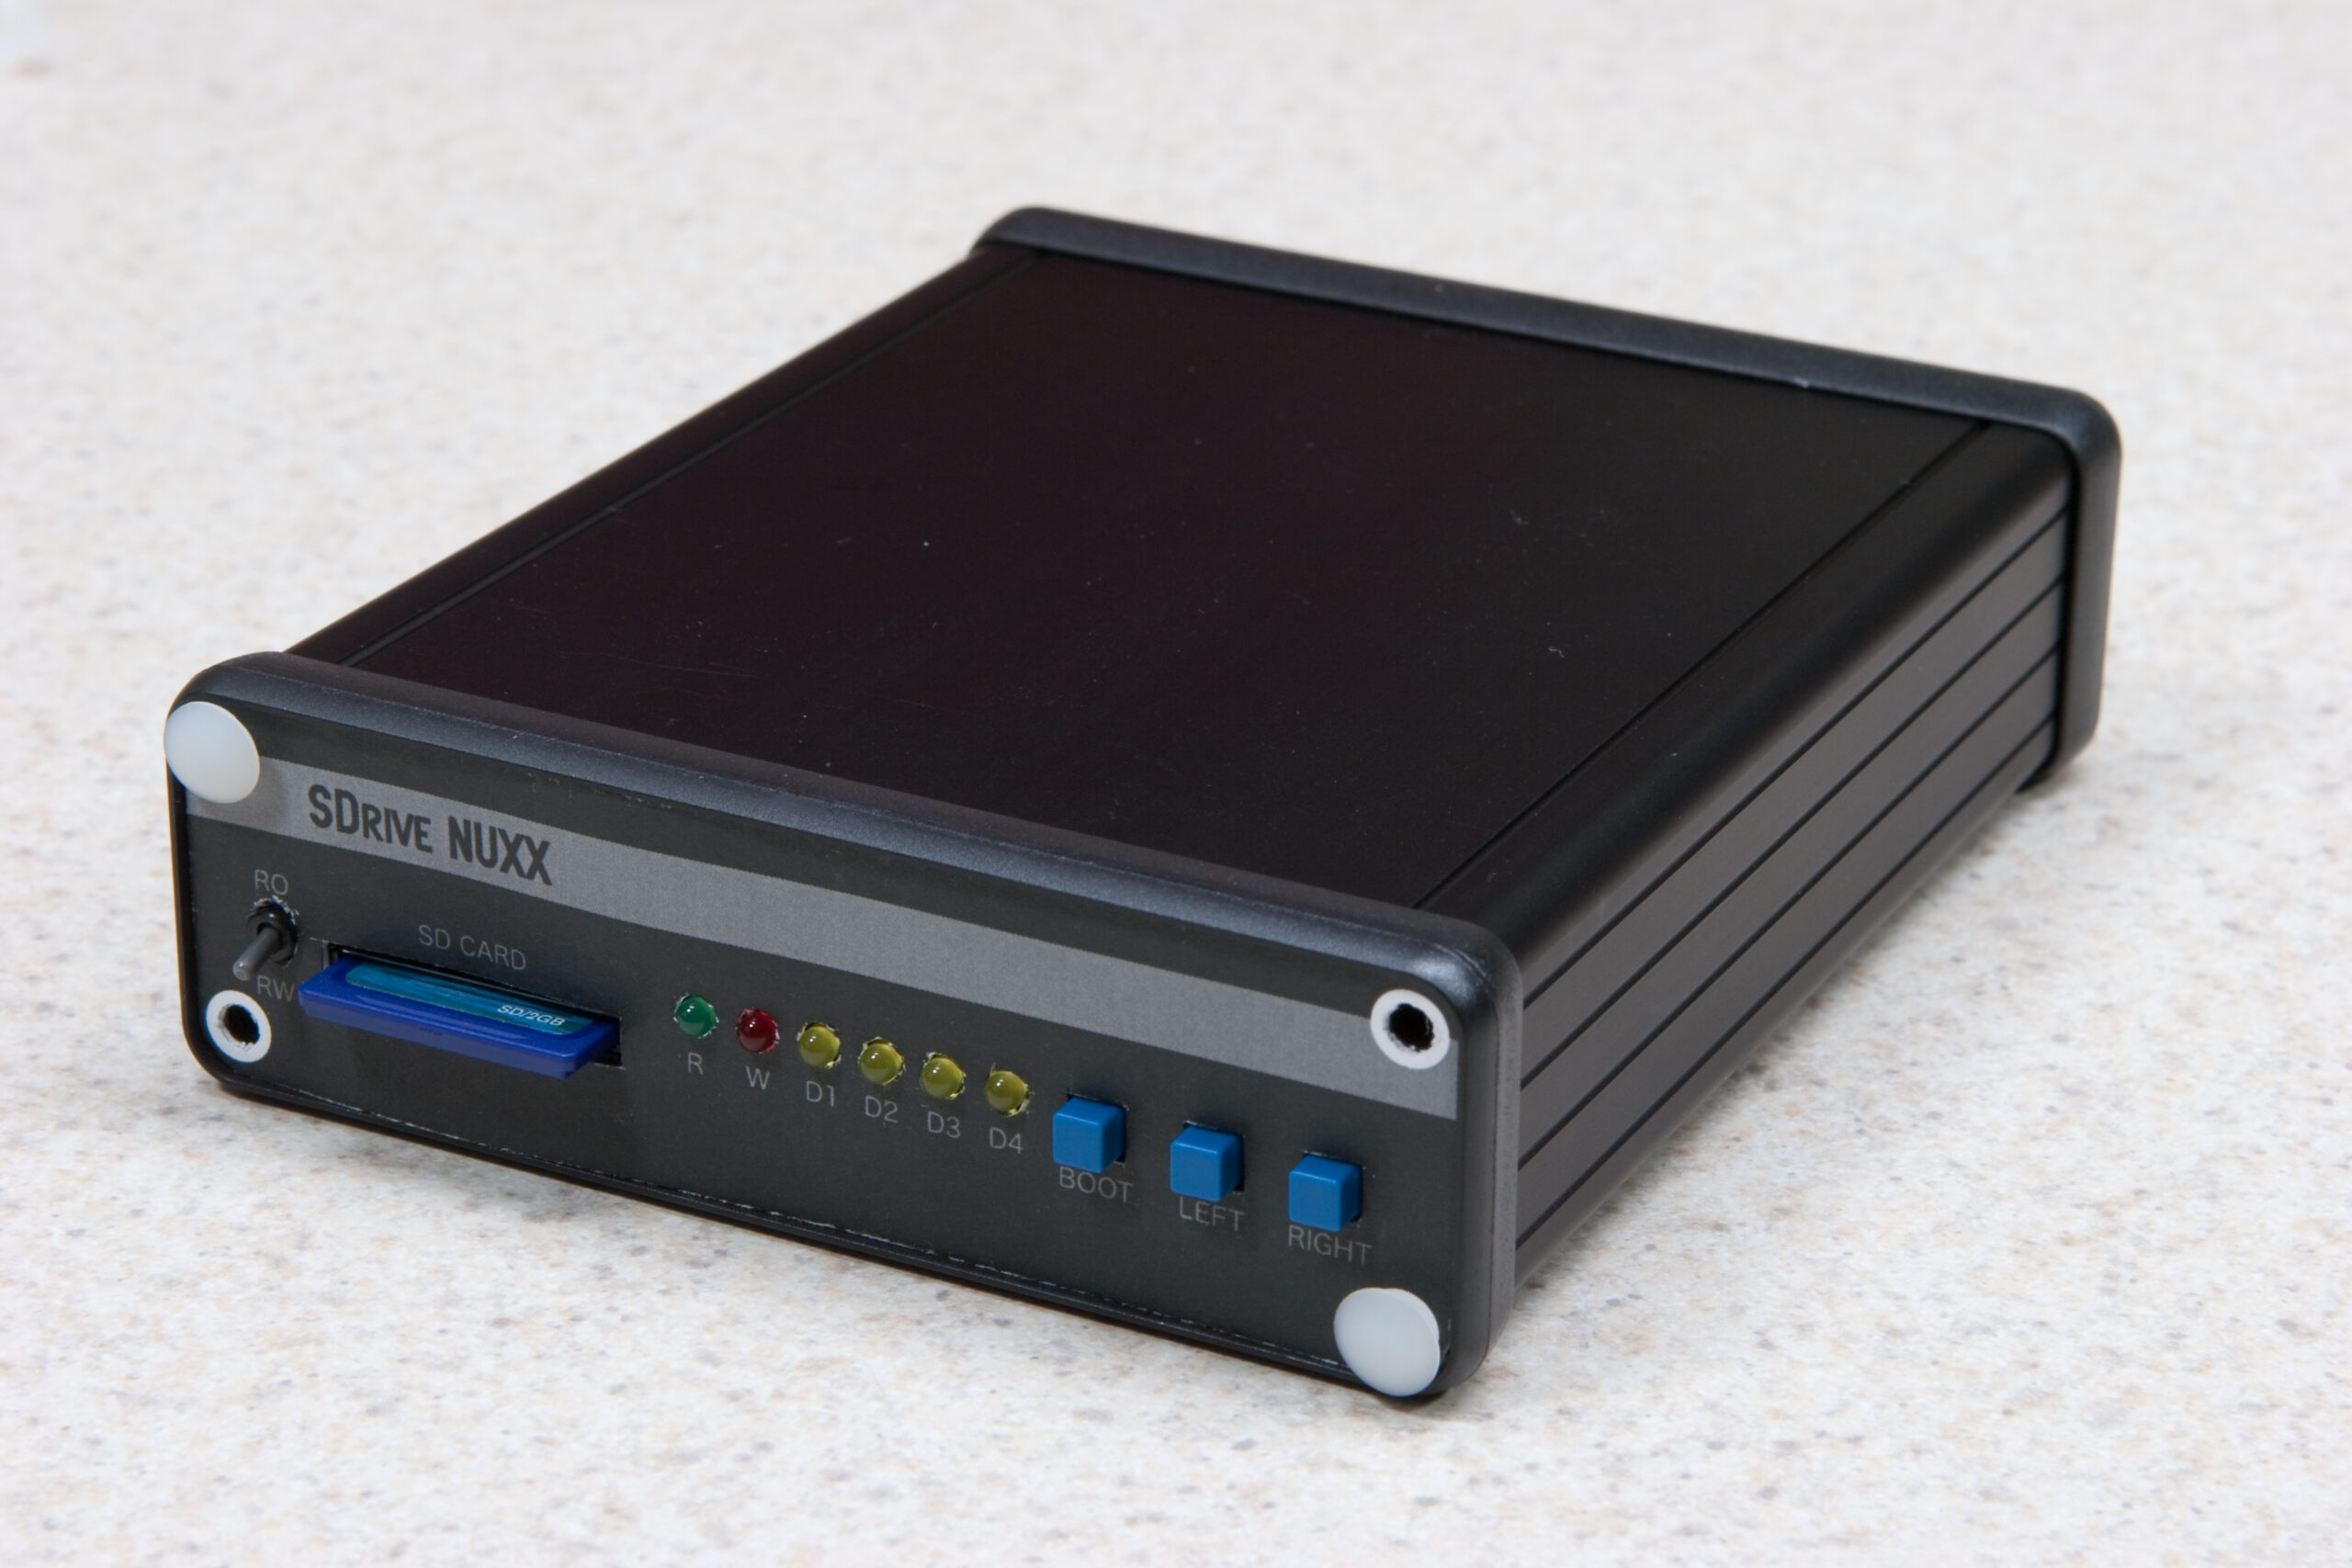
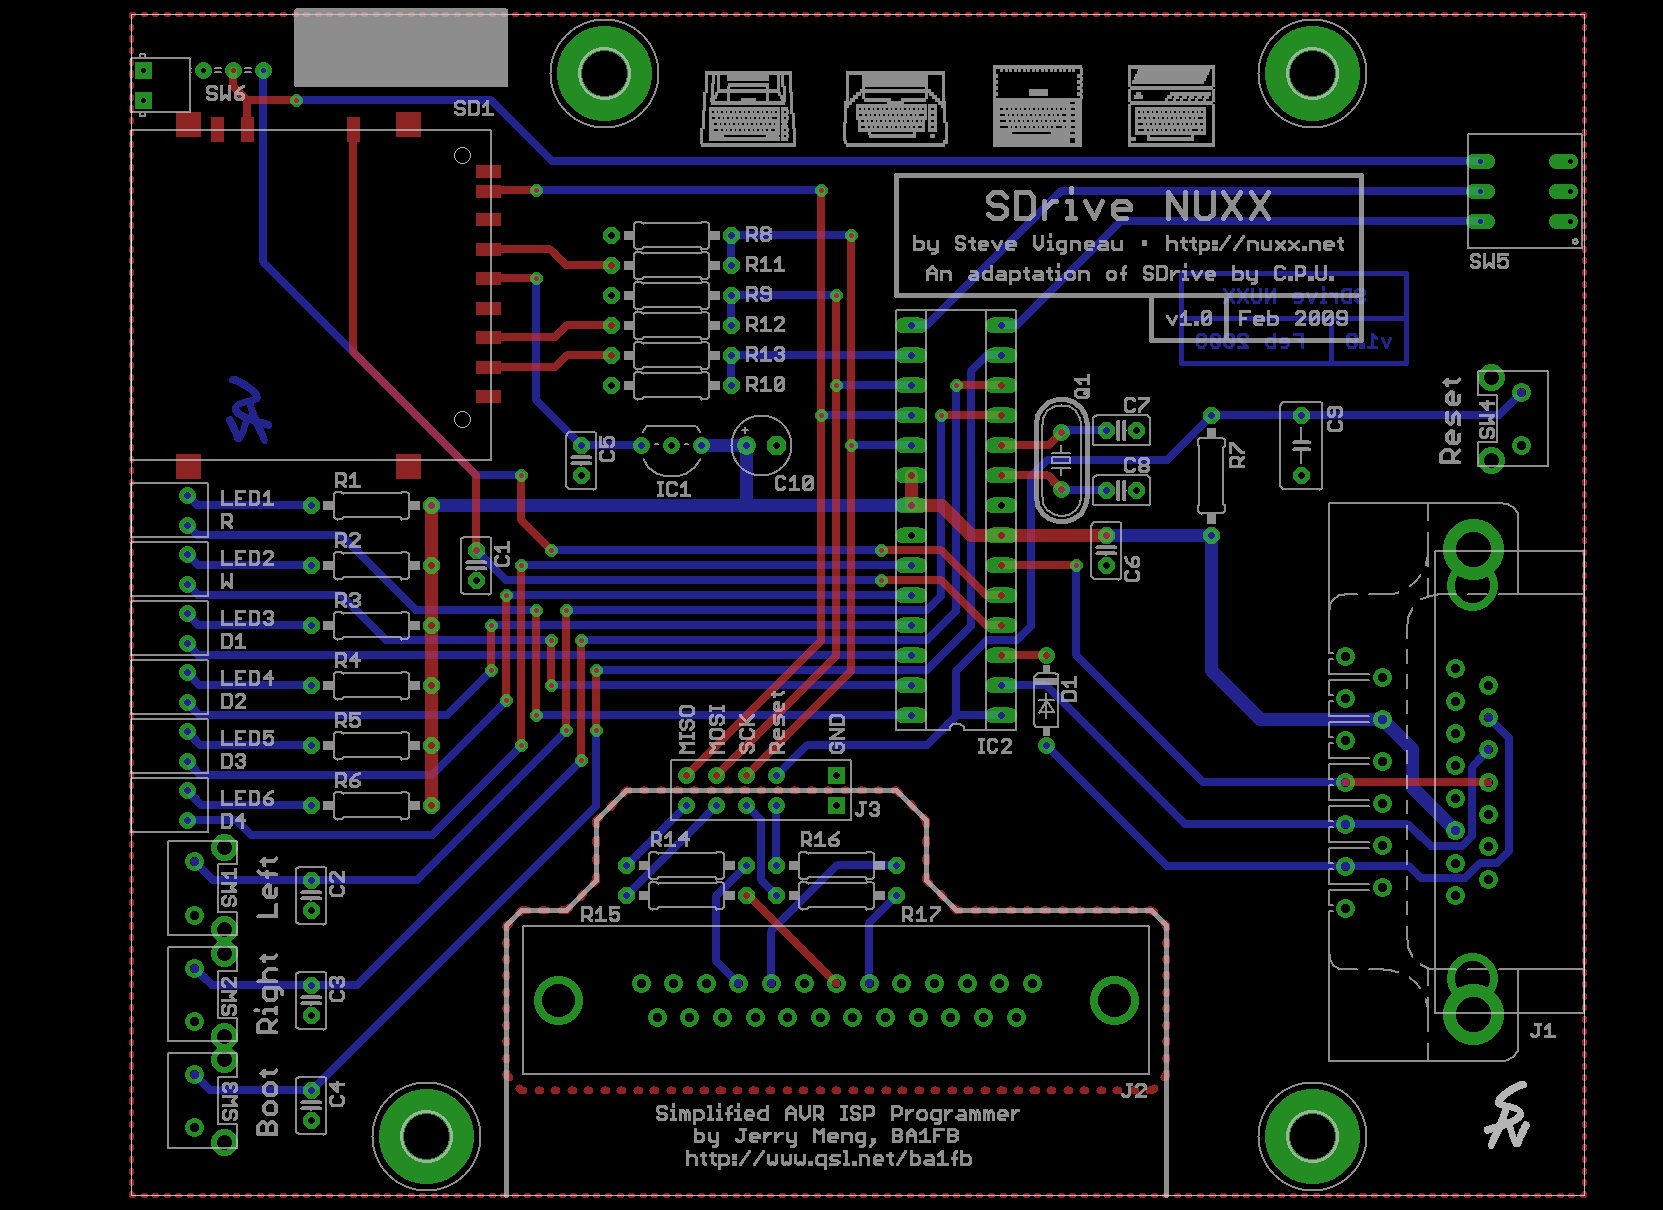
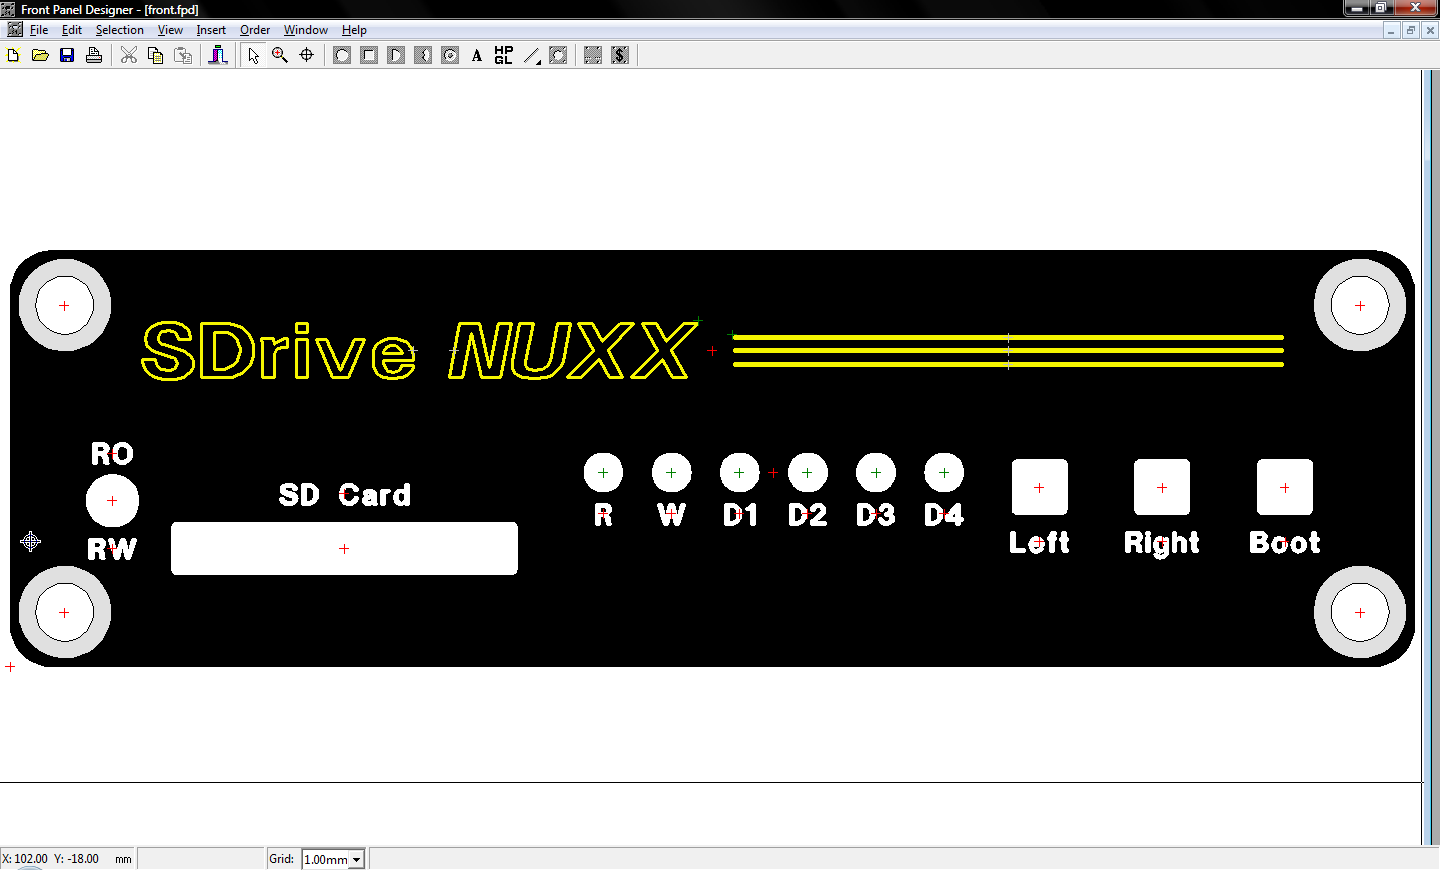
Tonight after a profanely busy day at work I did cardboard mockups of my current SDrive NUXX front and rear panel artwork. I’m mostly happy with it, but as my printer seems to stretch things out slightly on the page I have to double-check a few things (toggle switch hole and DIP switch markings, in particular), but I think that what I have is close to the final artwork design.
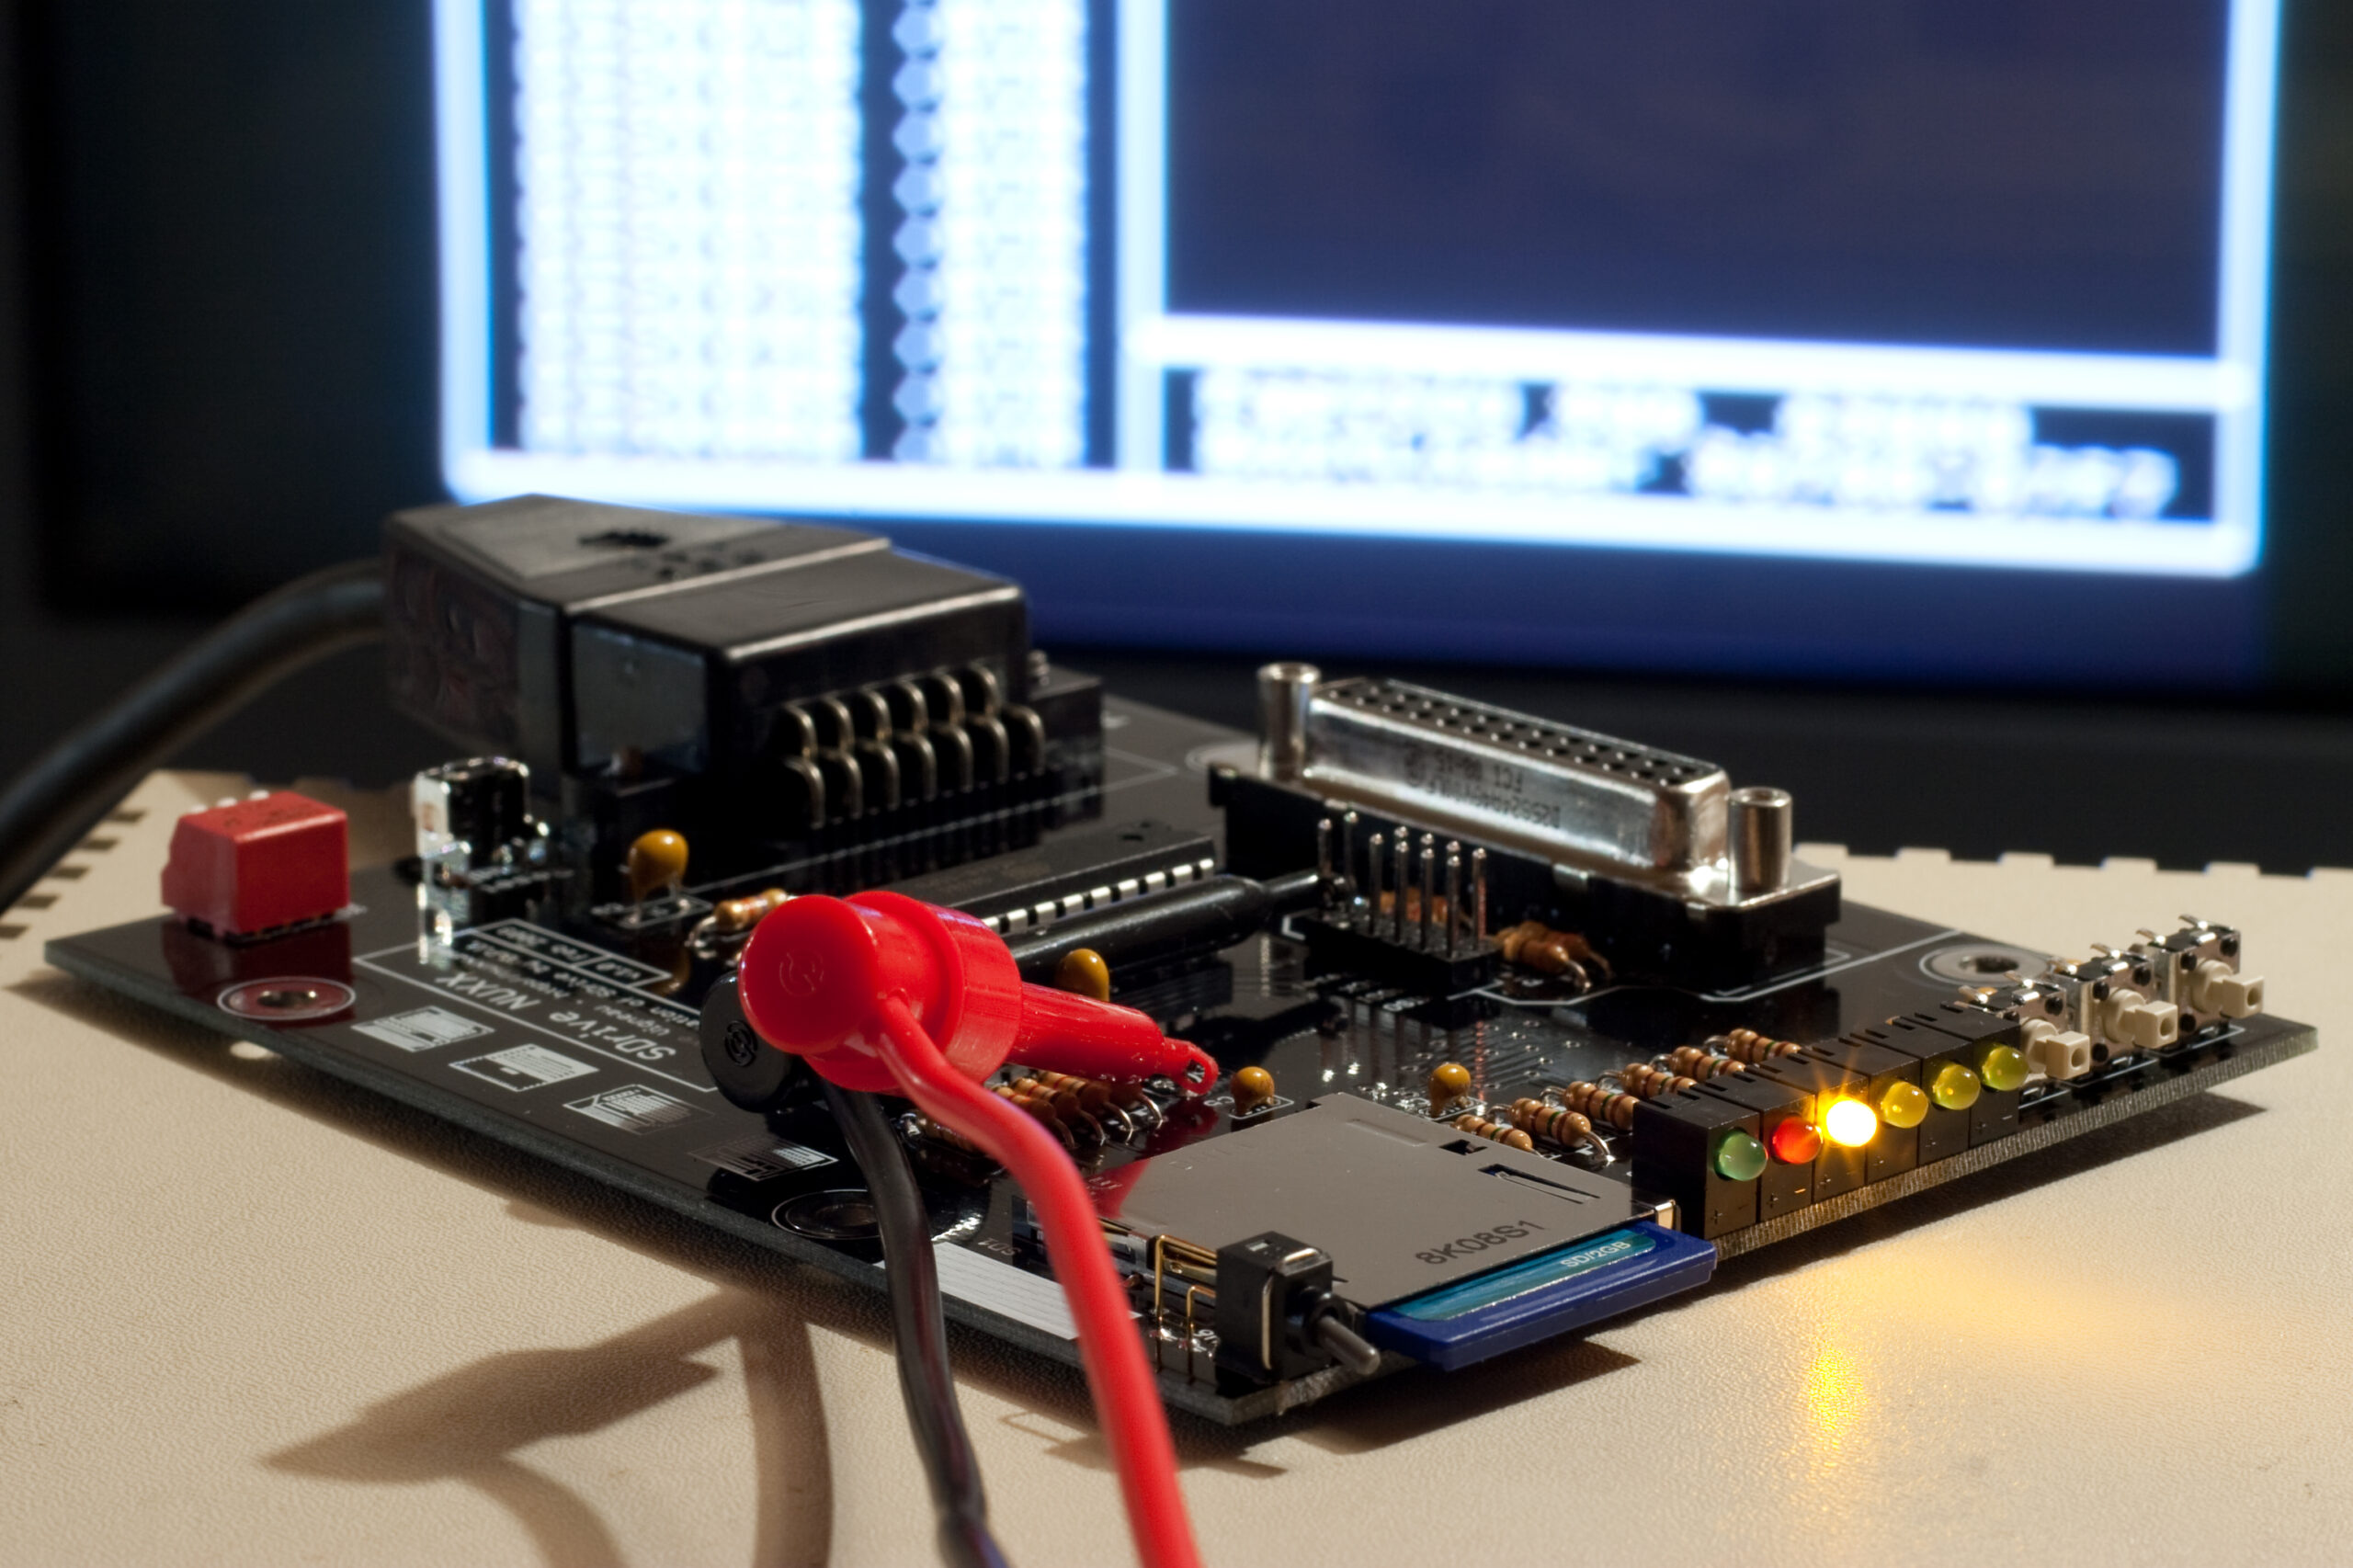
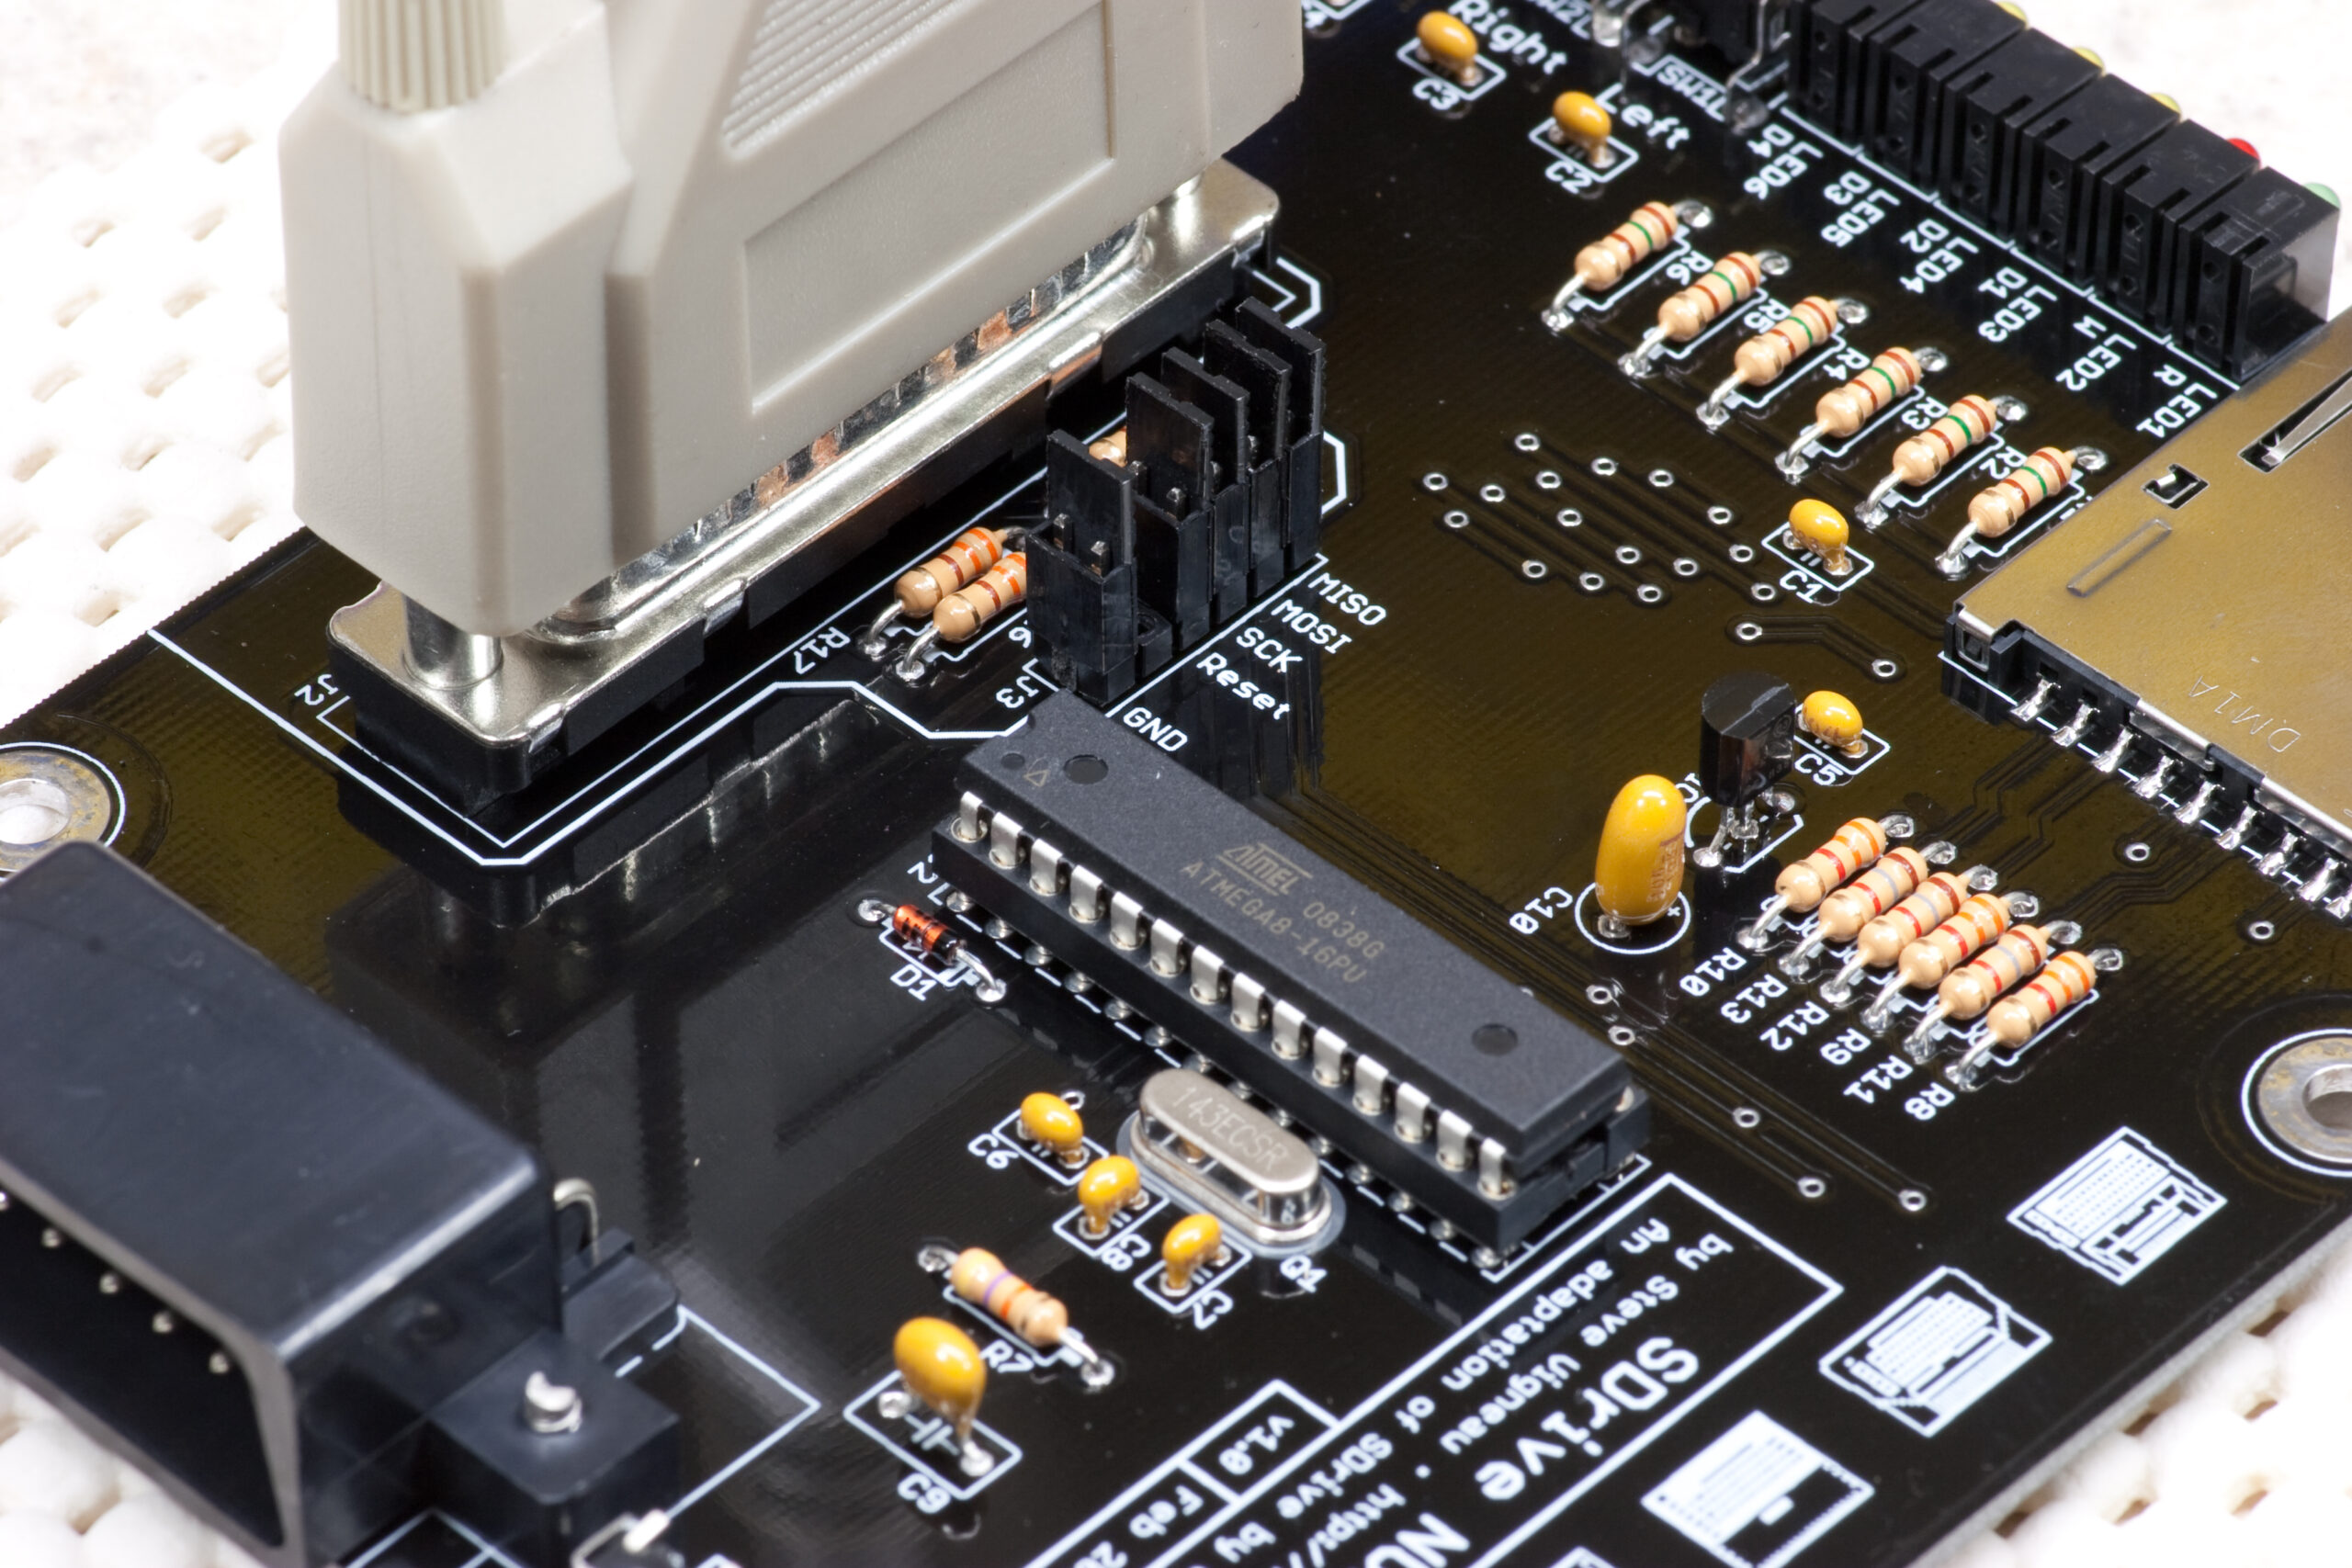
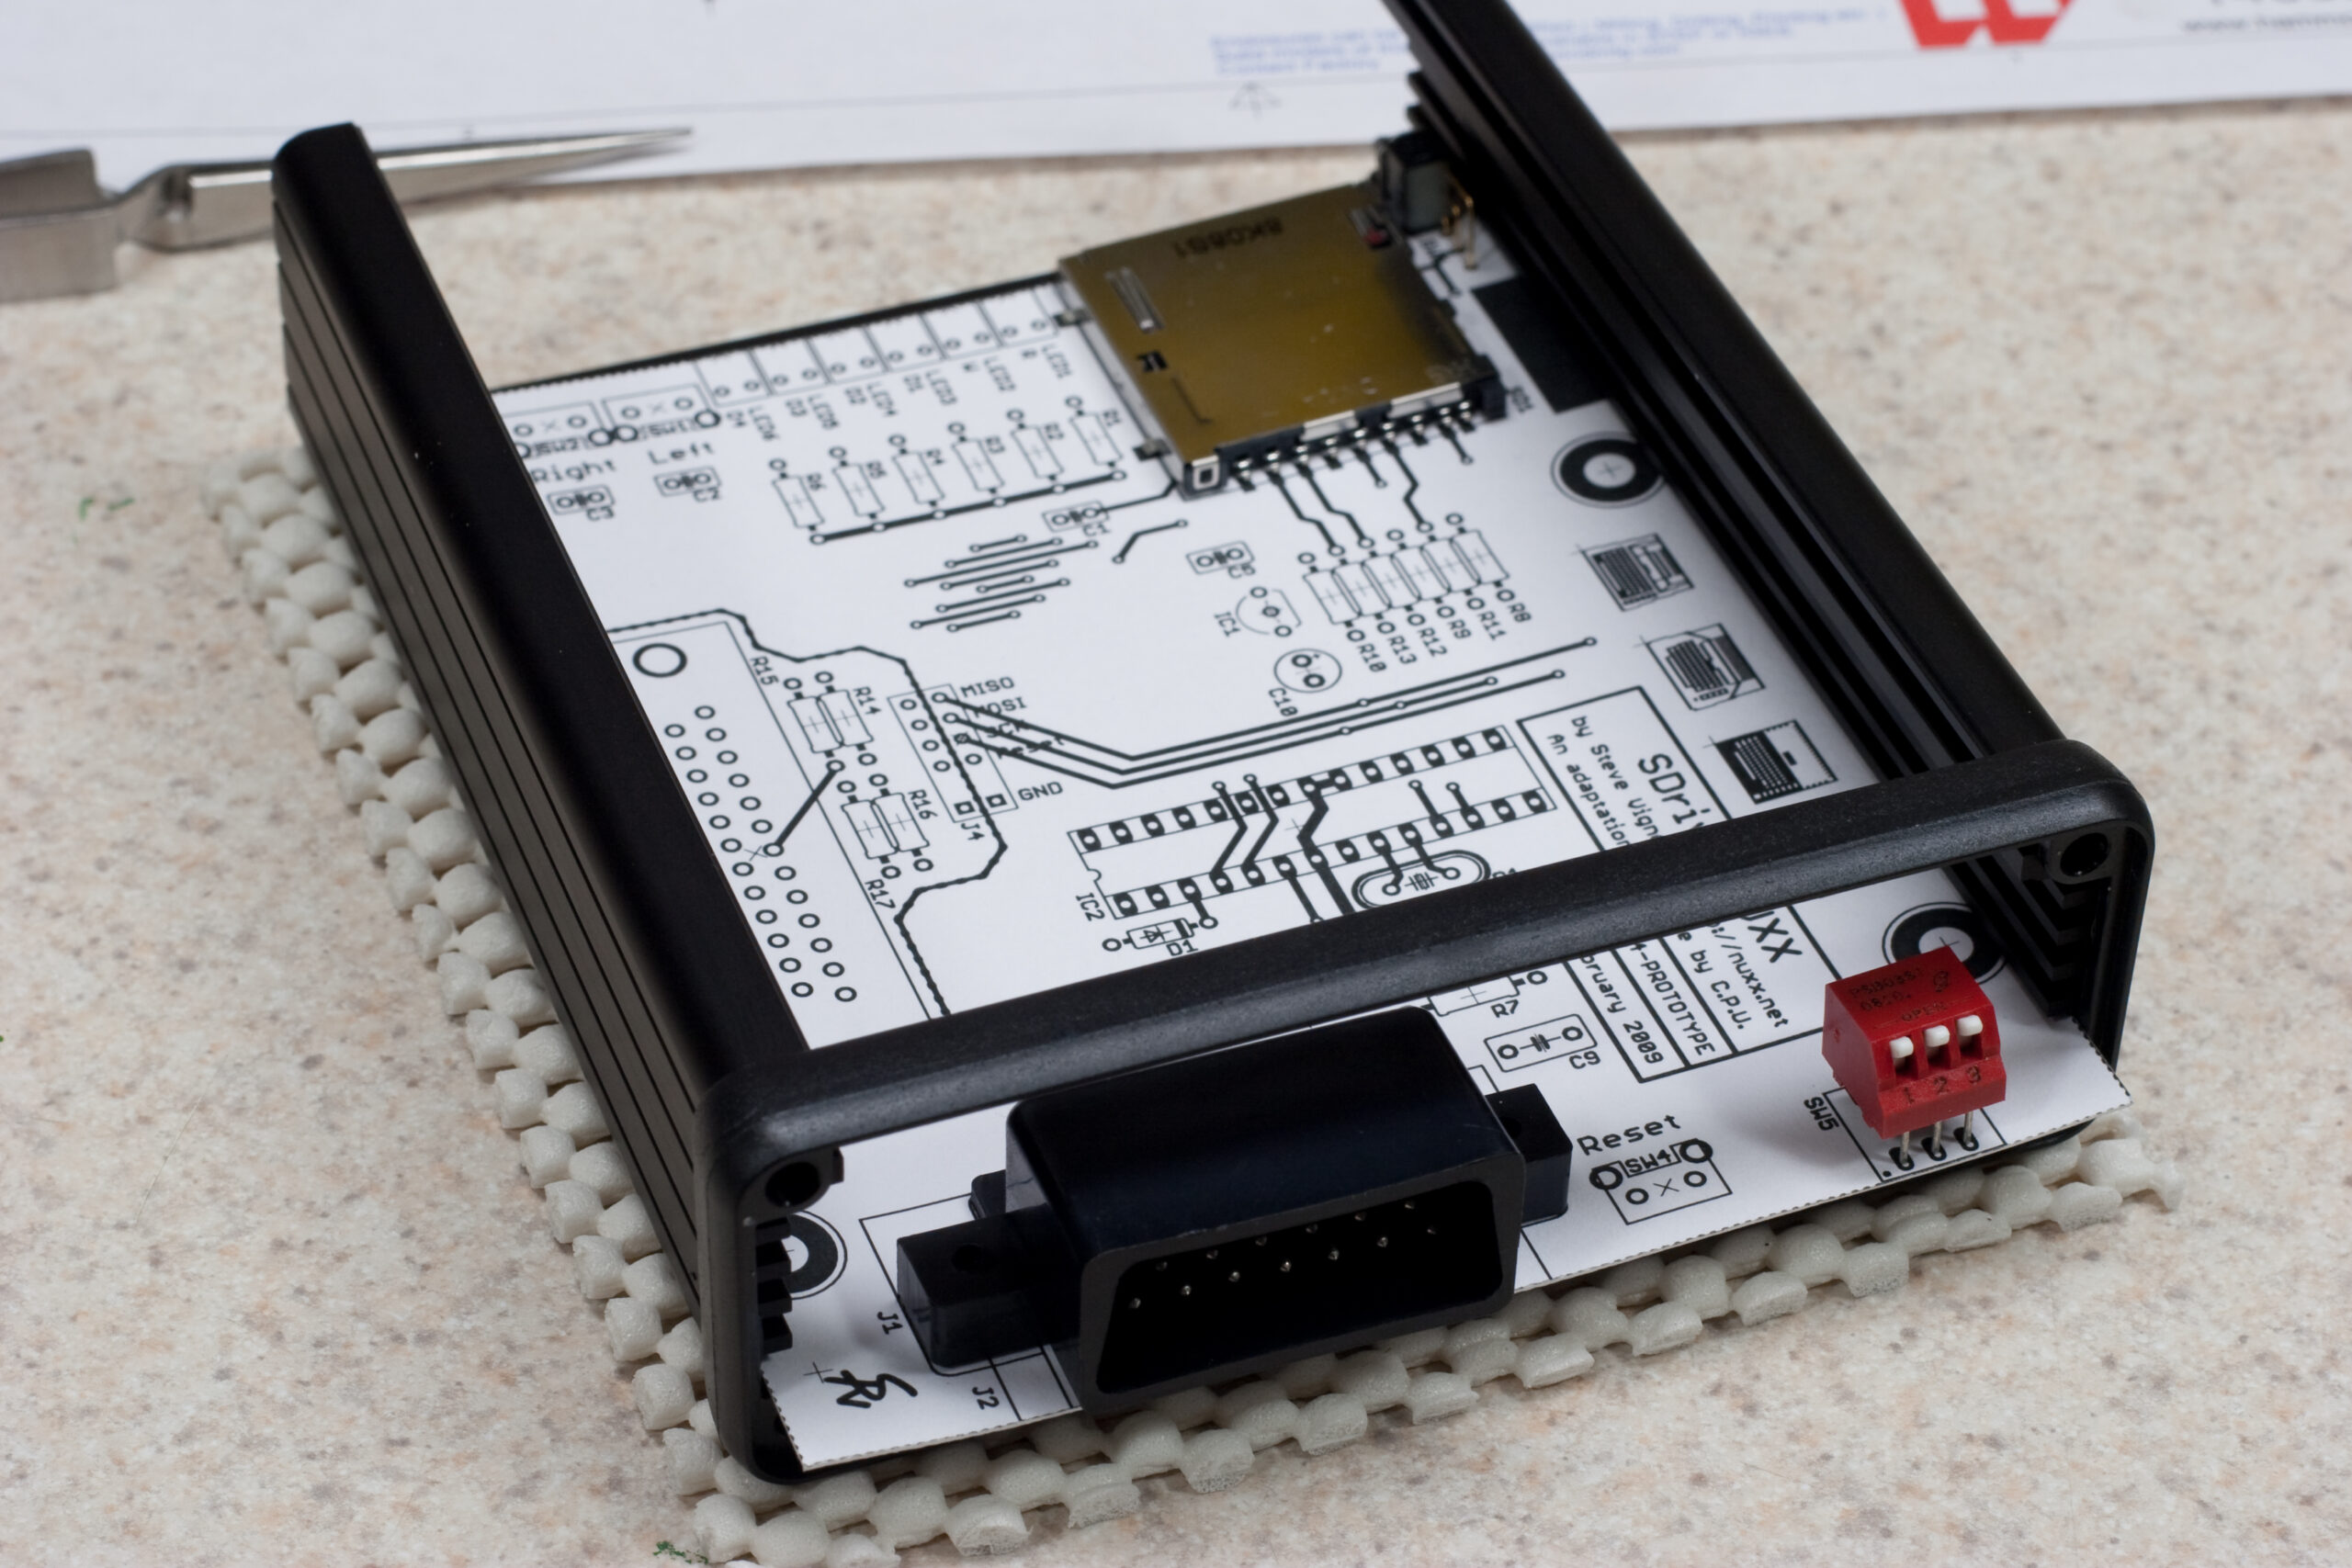
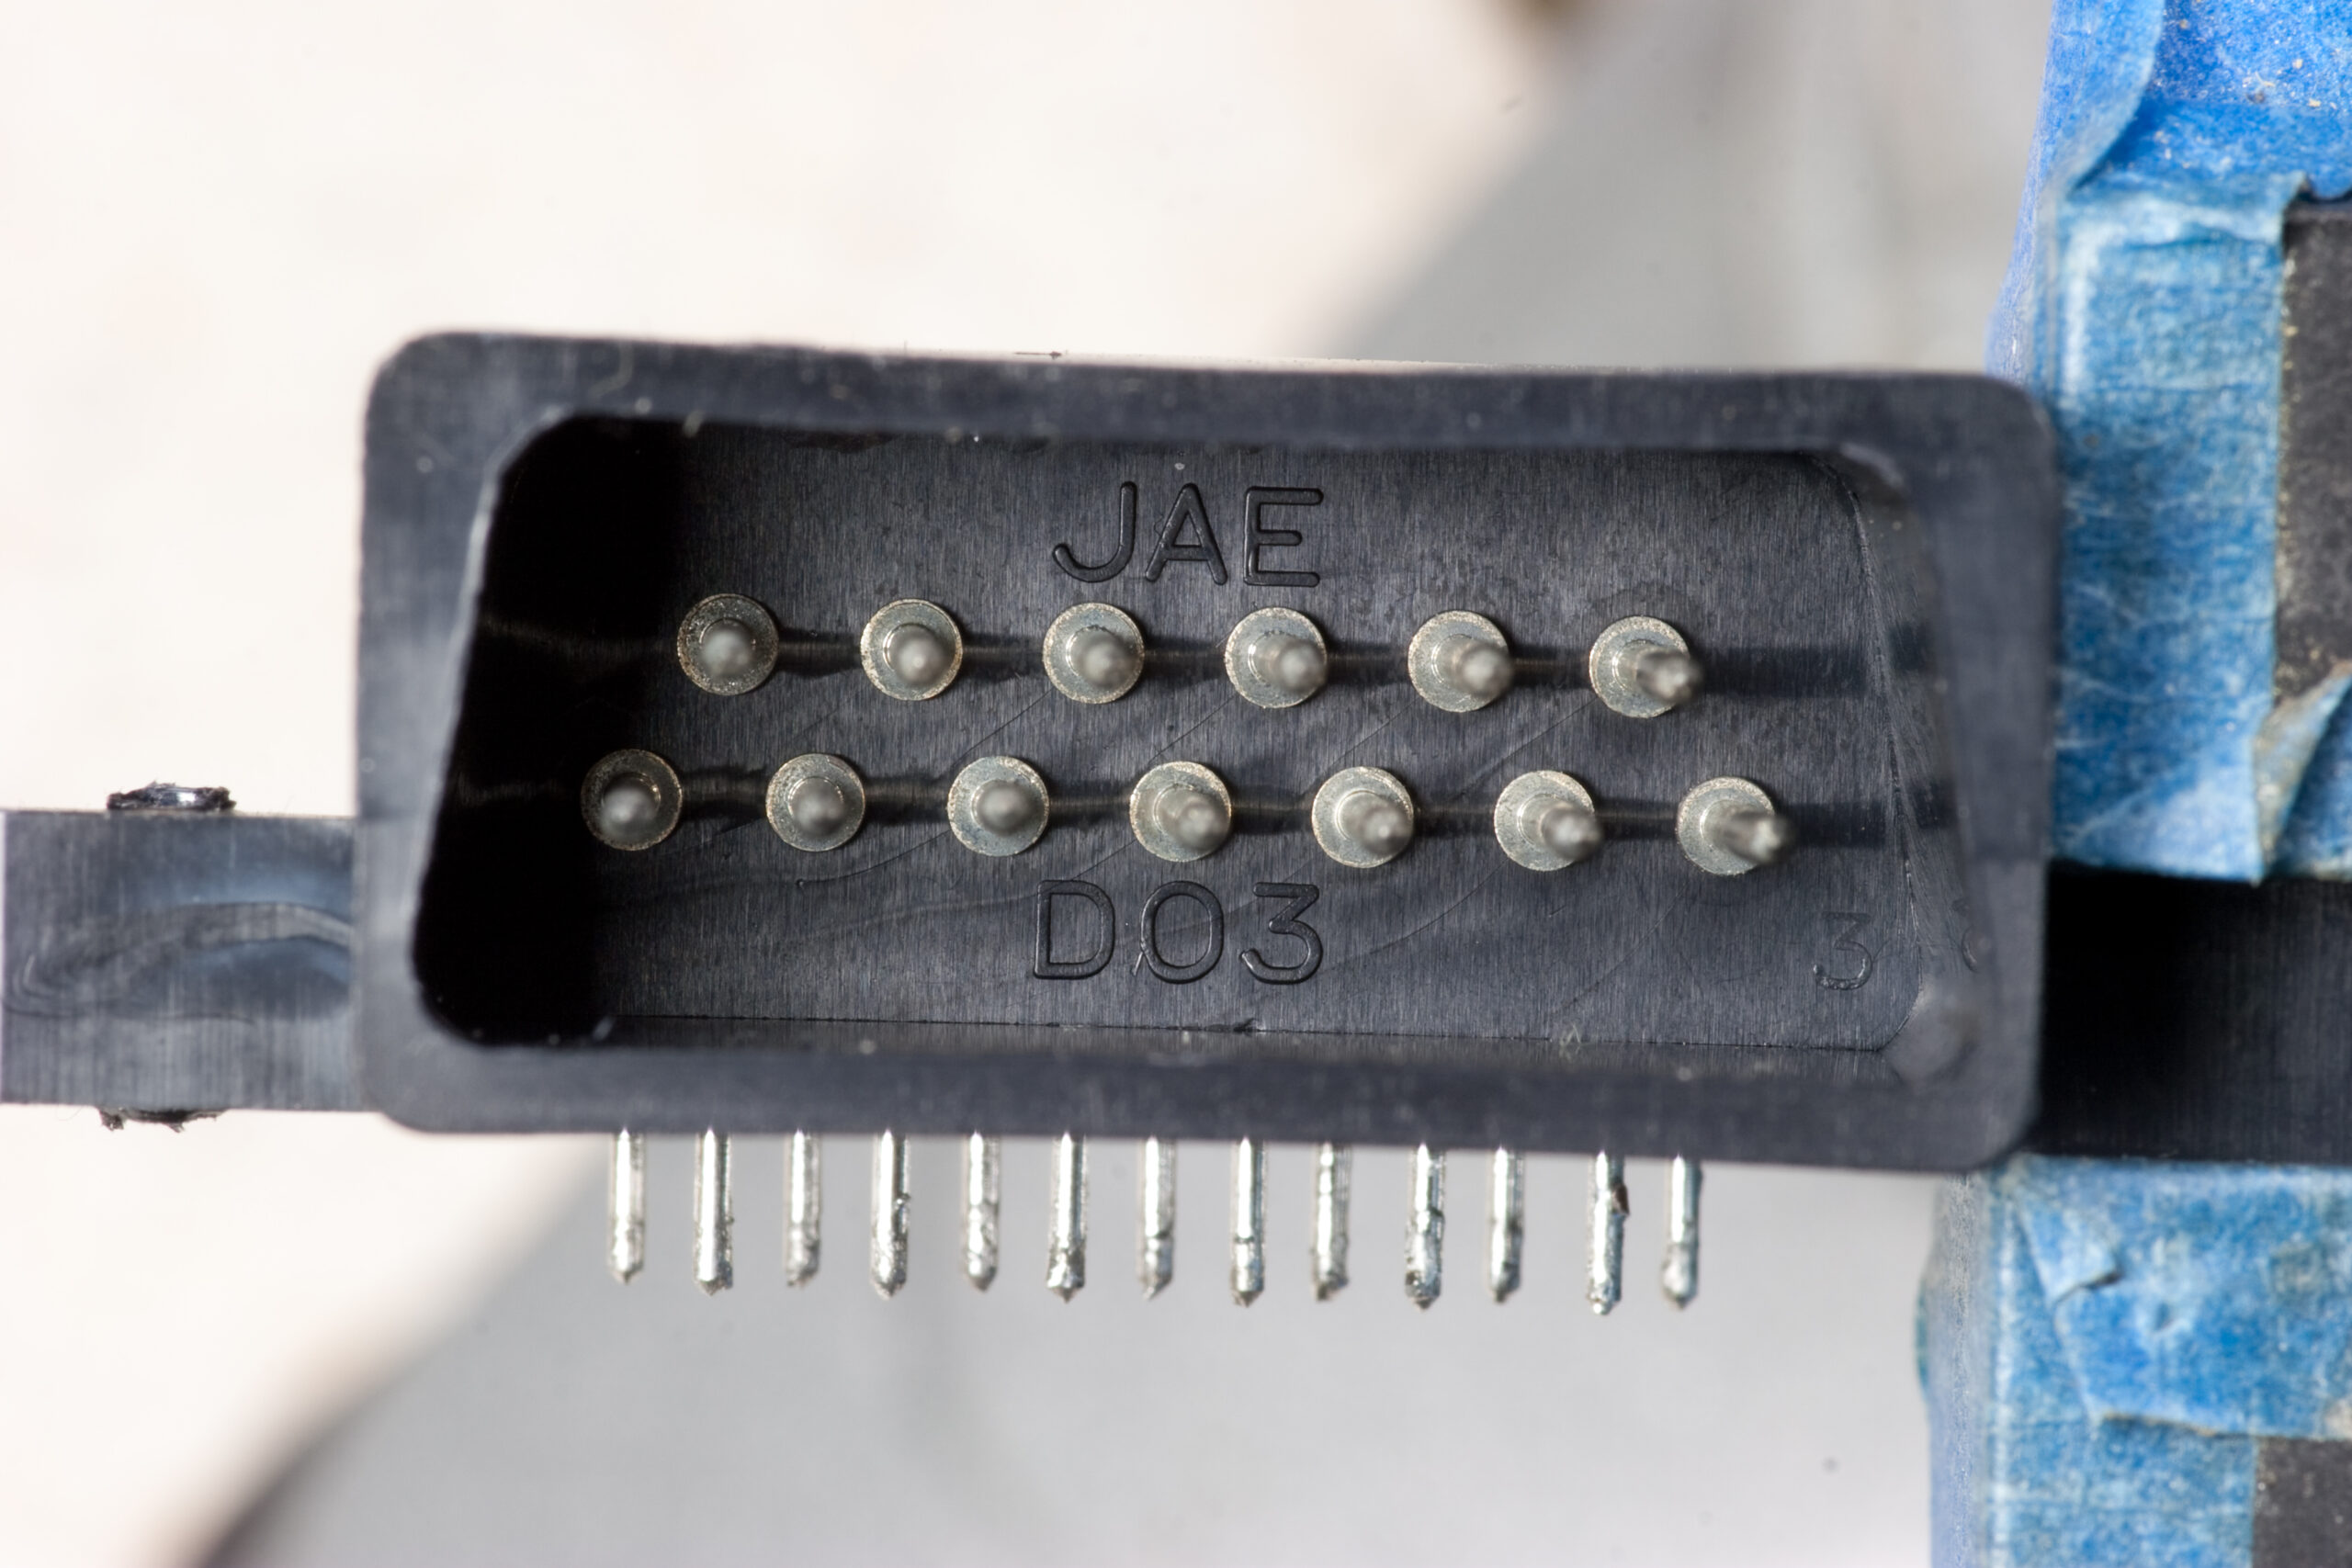
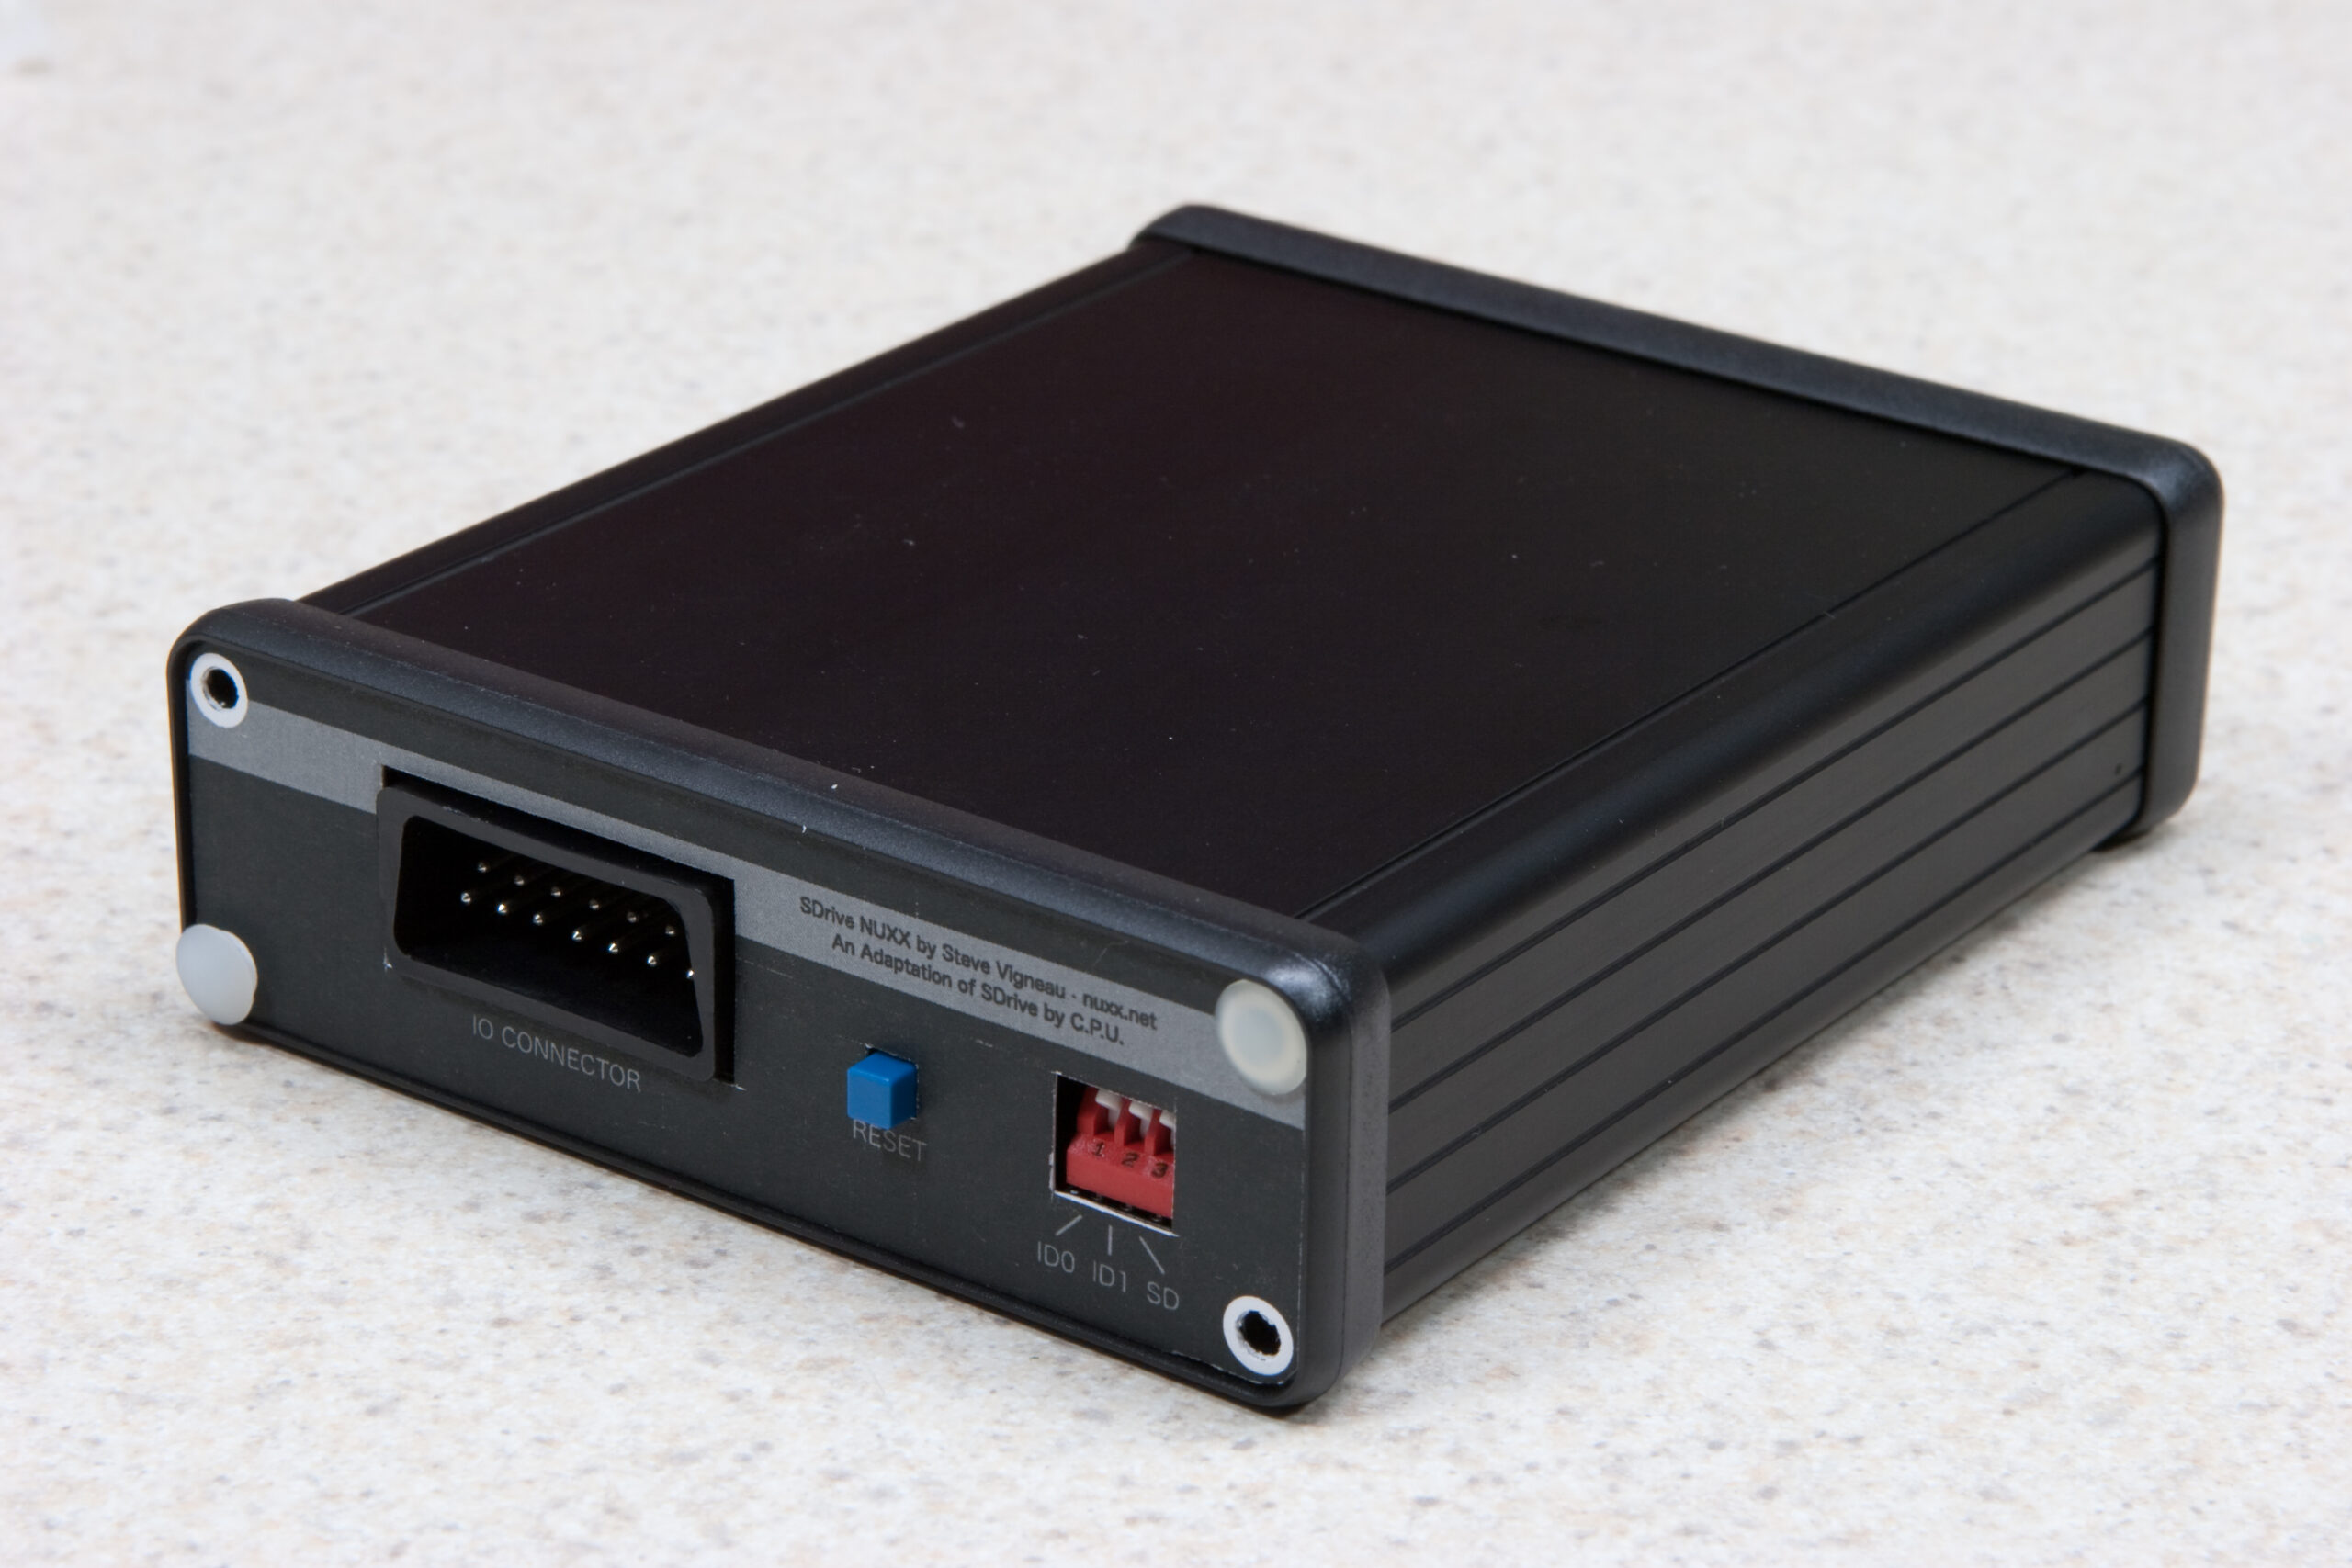
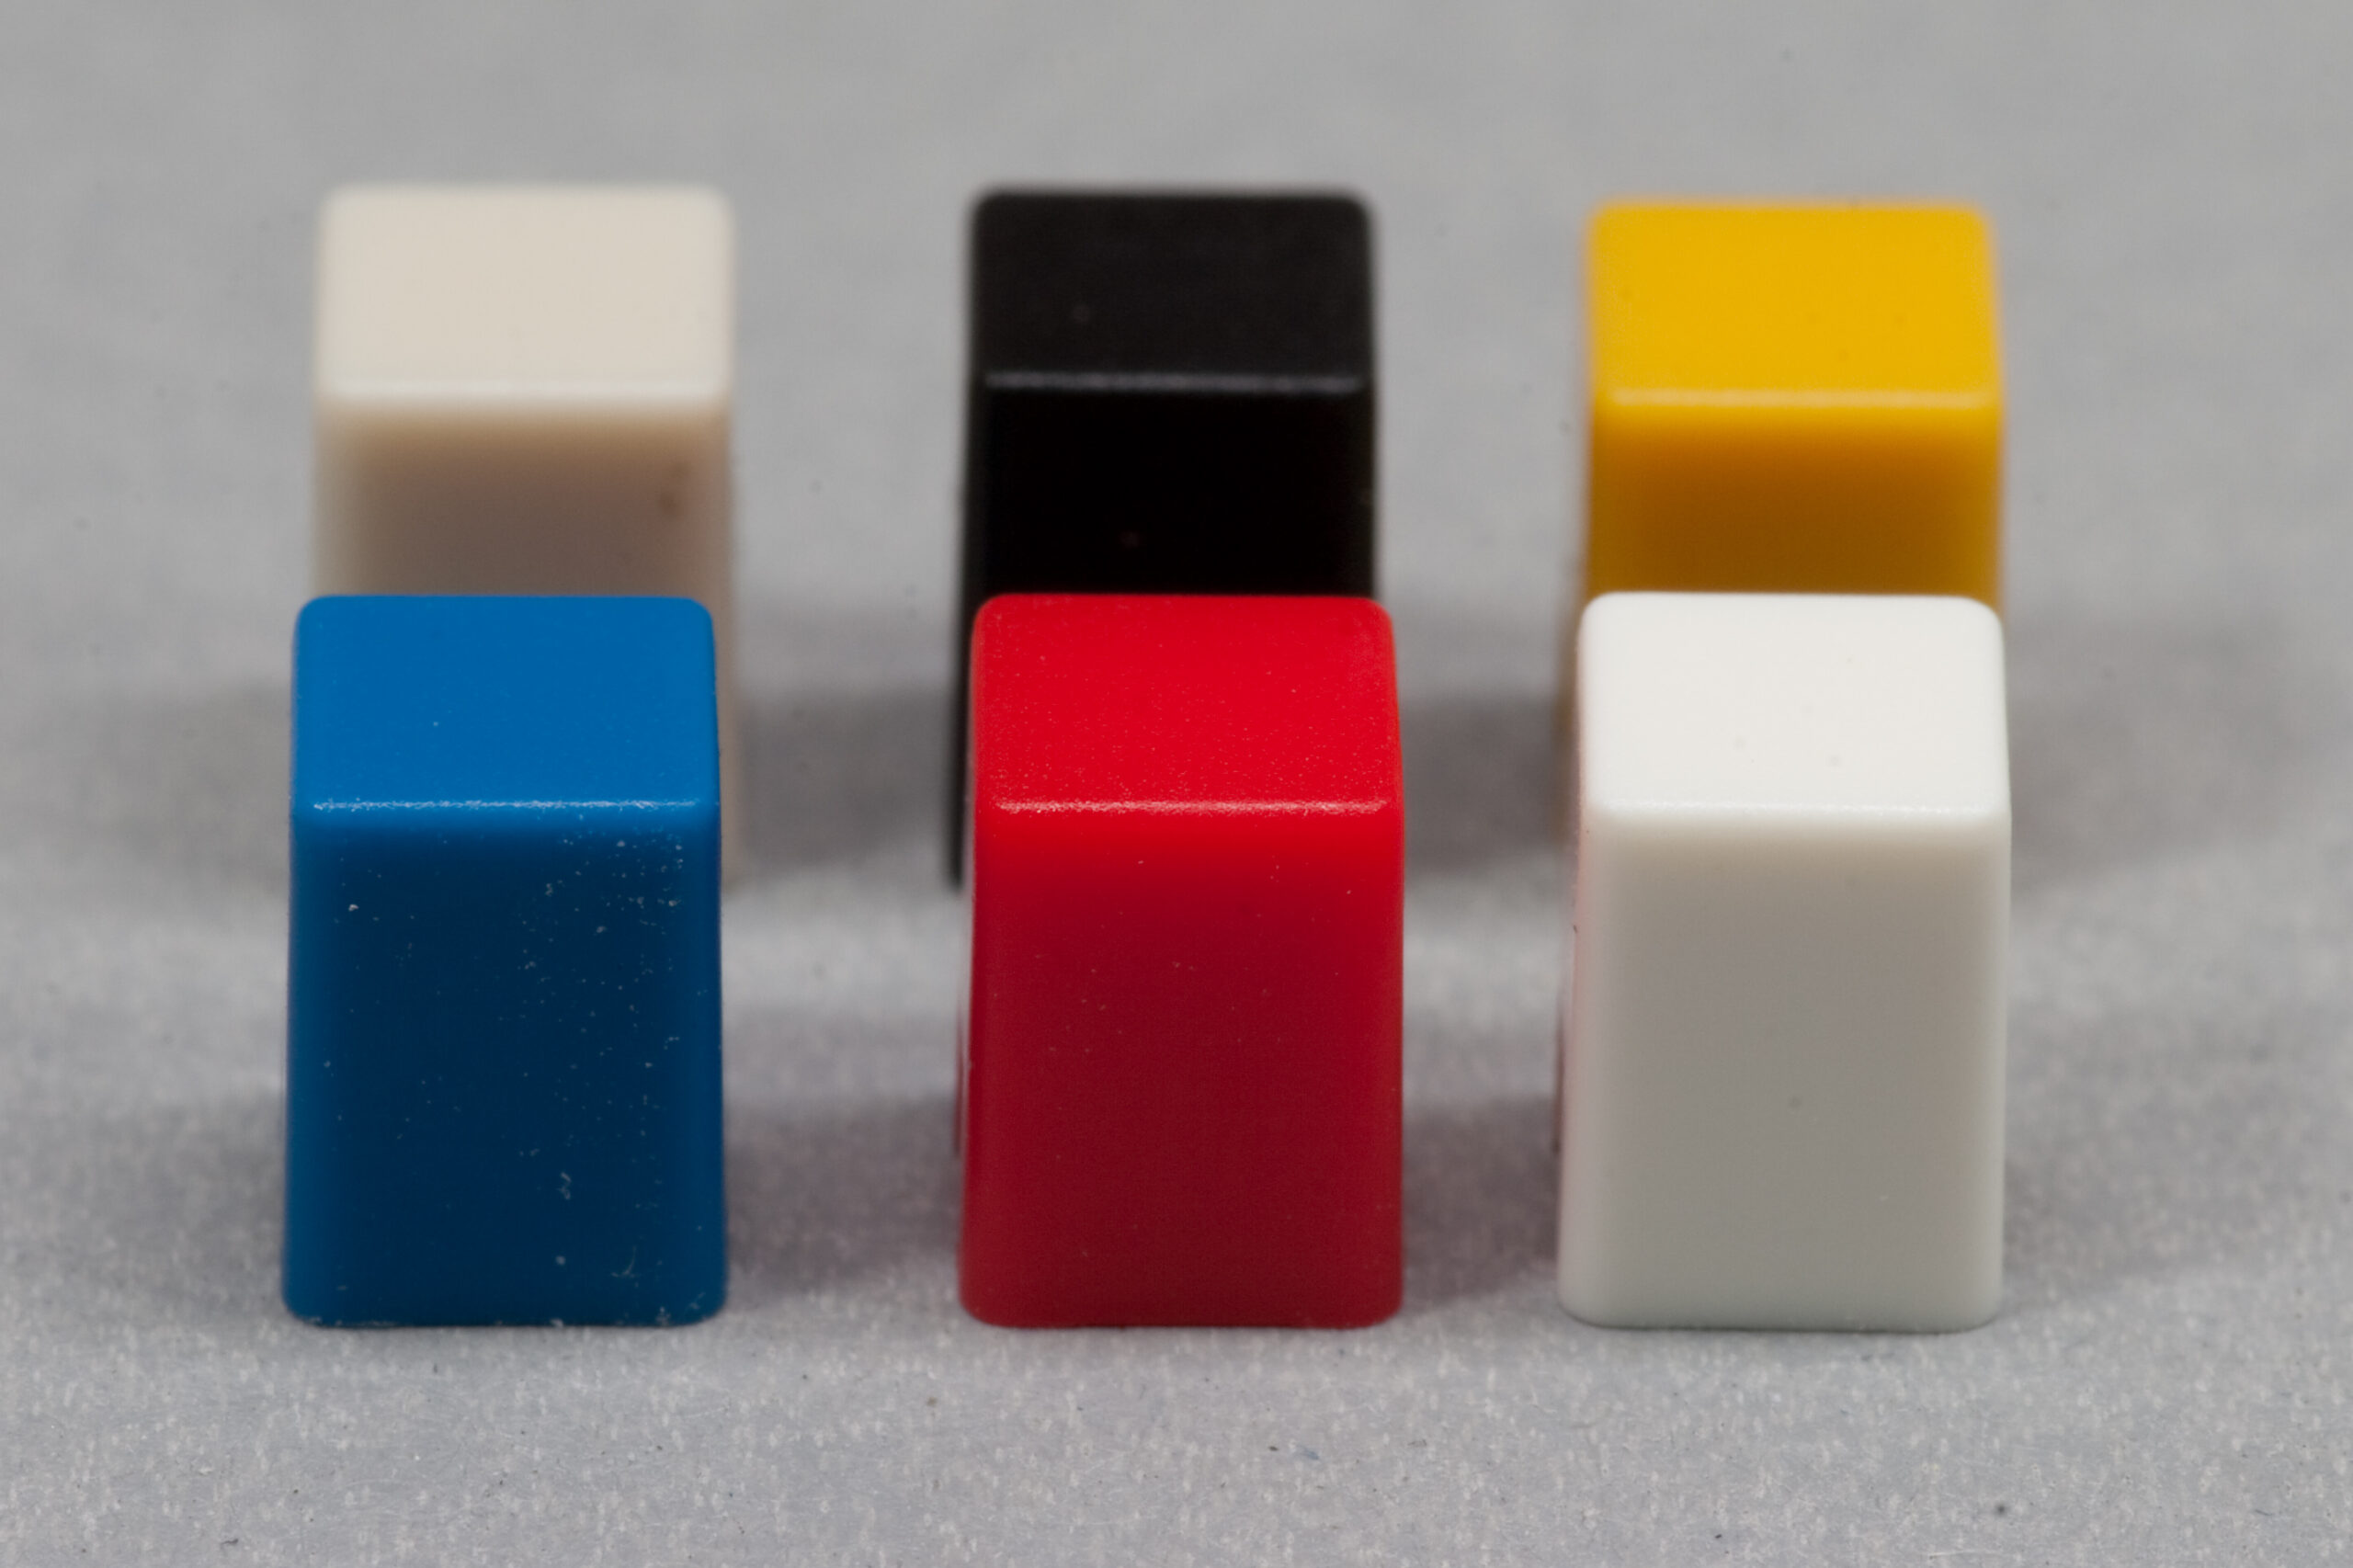
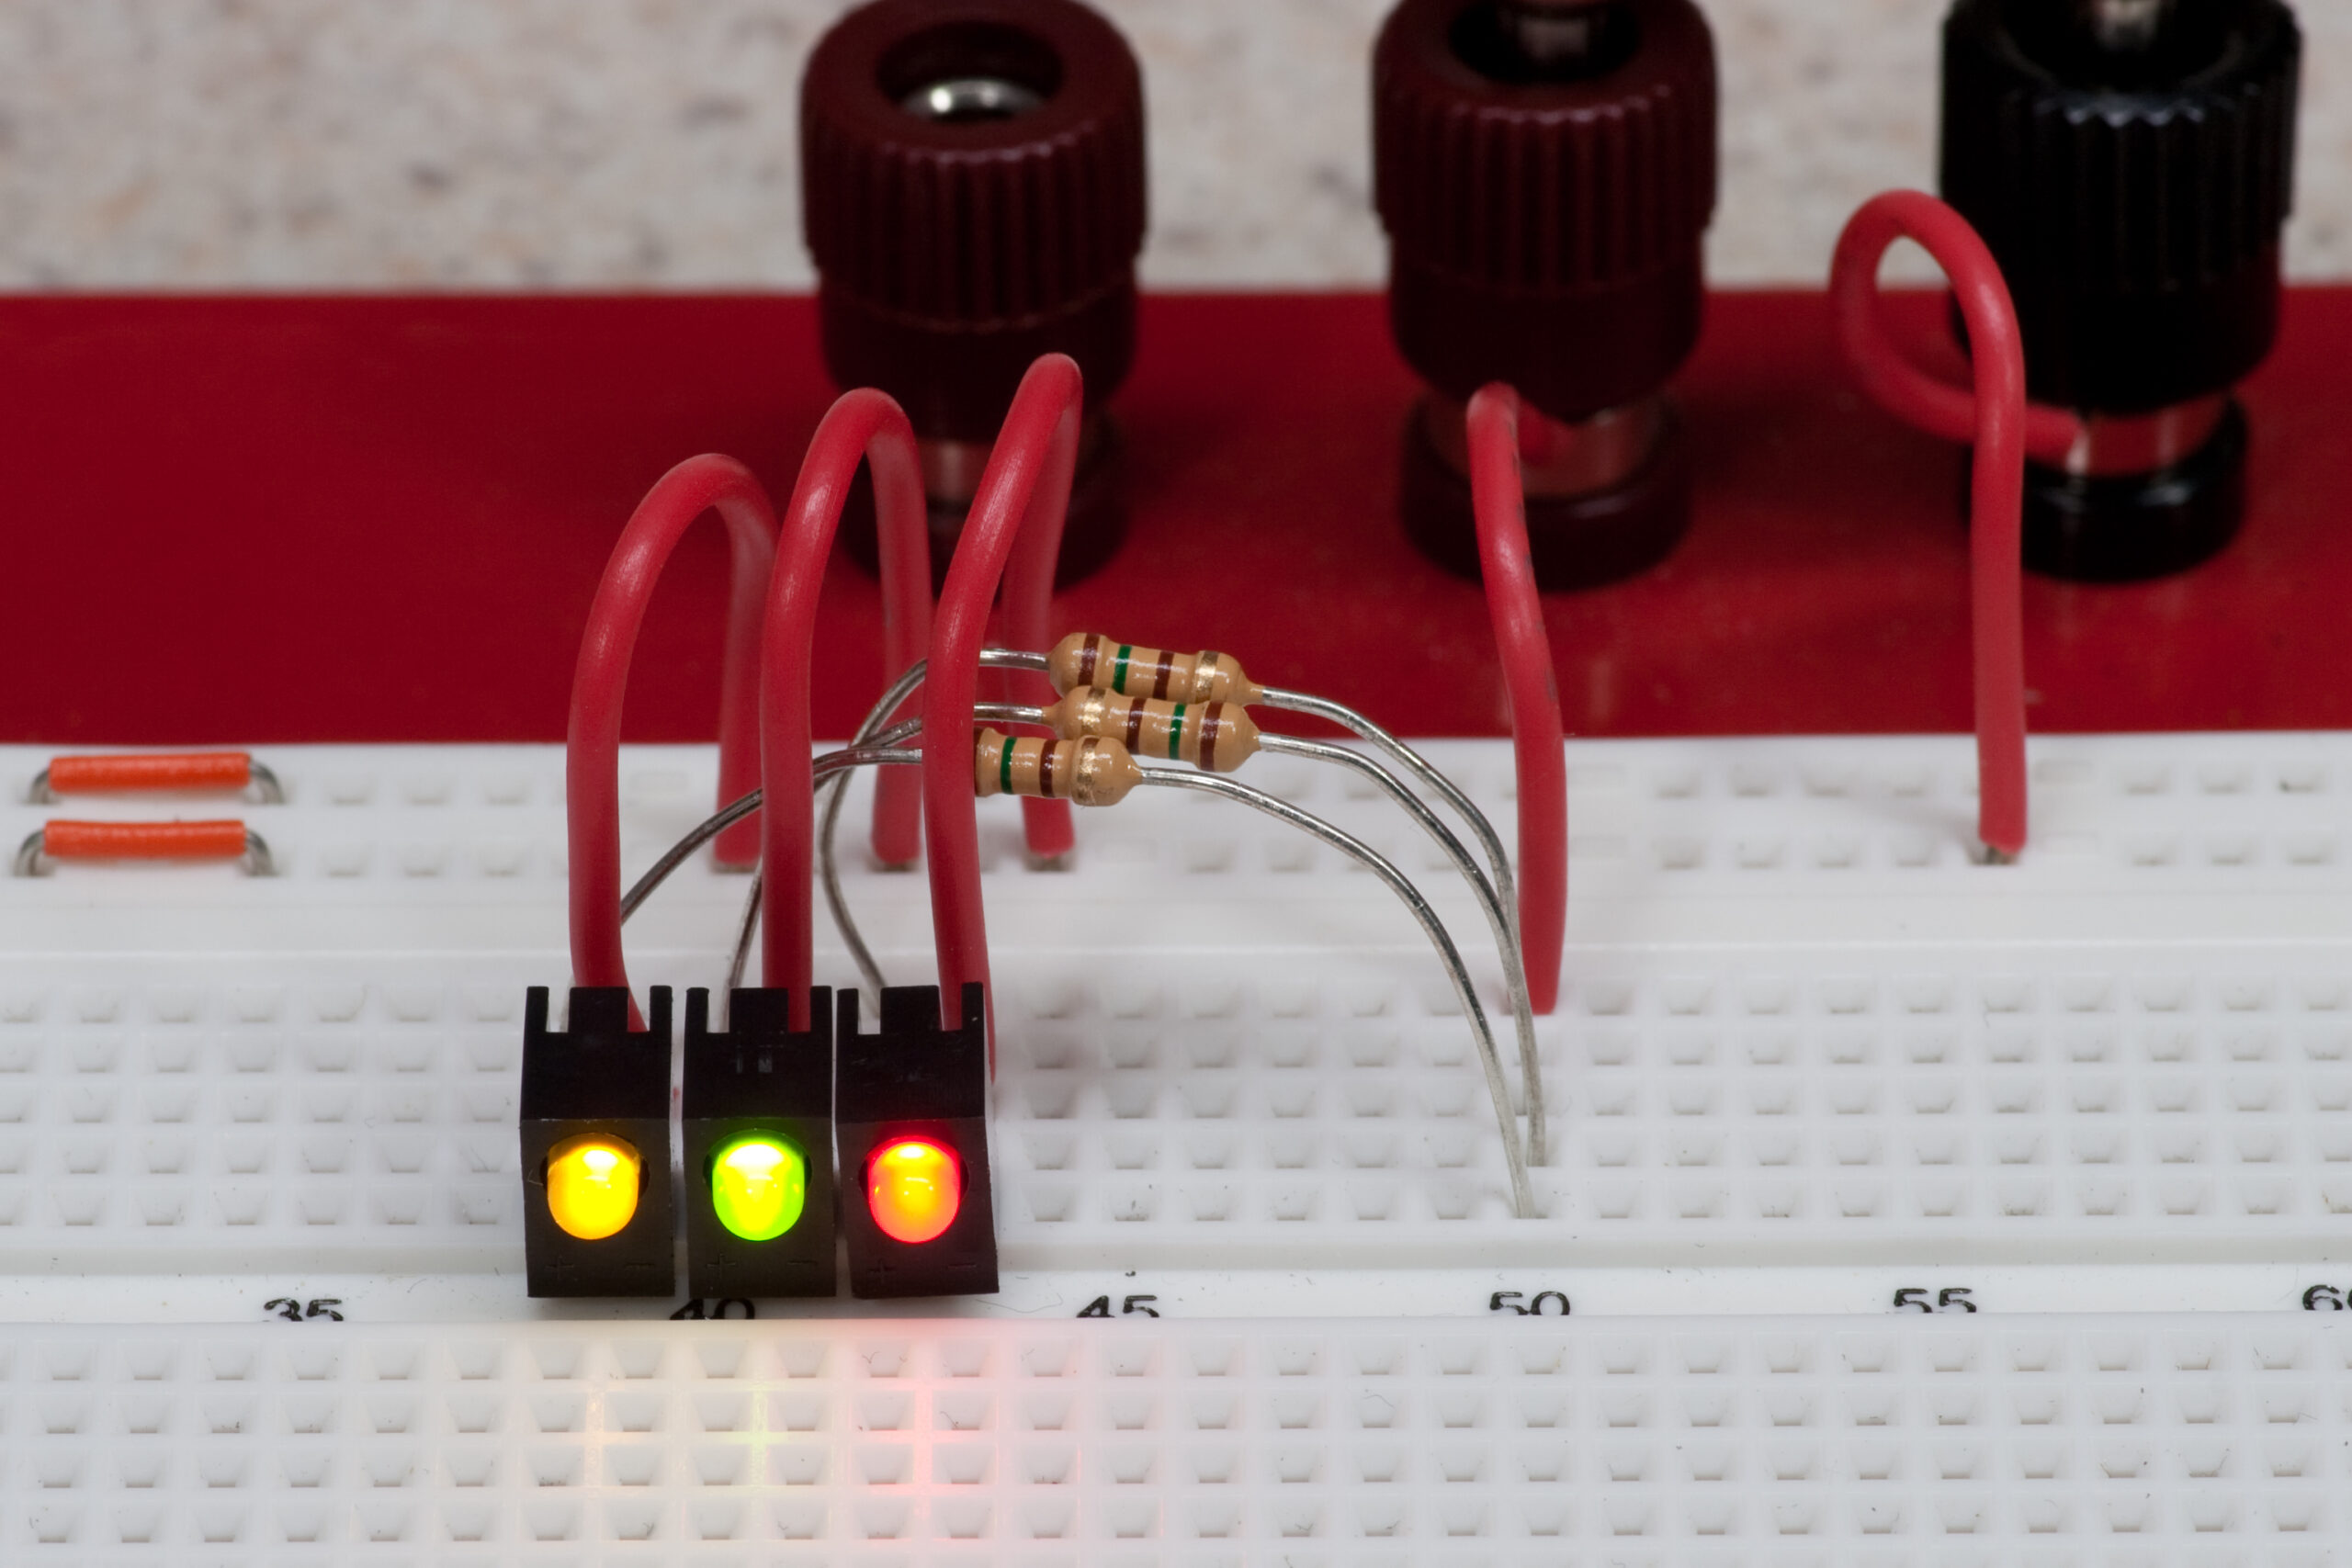
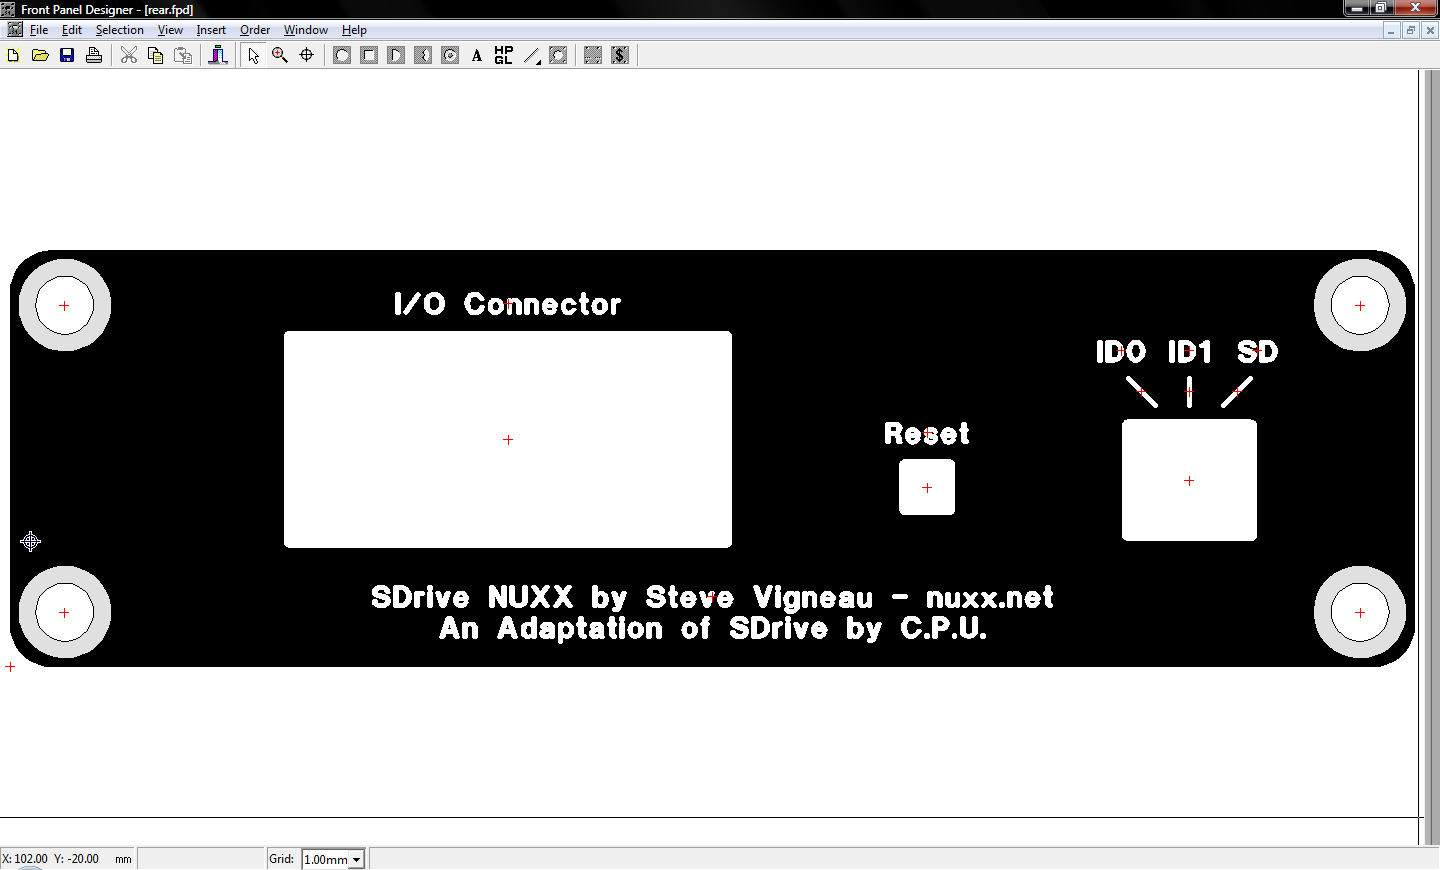
Here is an image showing the rear panel with SIO connector, reset button, etc. Note that the ugly blue switch caps were used because I don’t like them, so I was willing to throw them away on a prototype. The other switch caps may be seen here. I think I’ll be putting black on the front panel and red on the reset button on the rear. It’d be nice if a dark gray cap was available, but Digi-Key nor Mouser seem to list one.