nuxx.net
Making, baking, and (un-)breaking things in Southeast Michigan.

Category electronics

AMB Mini³

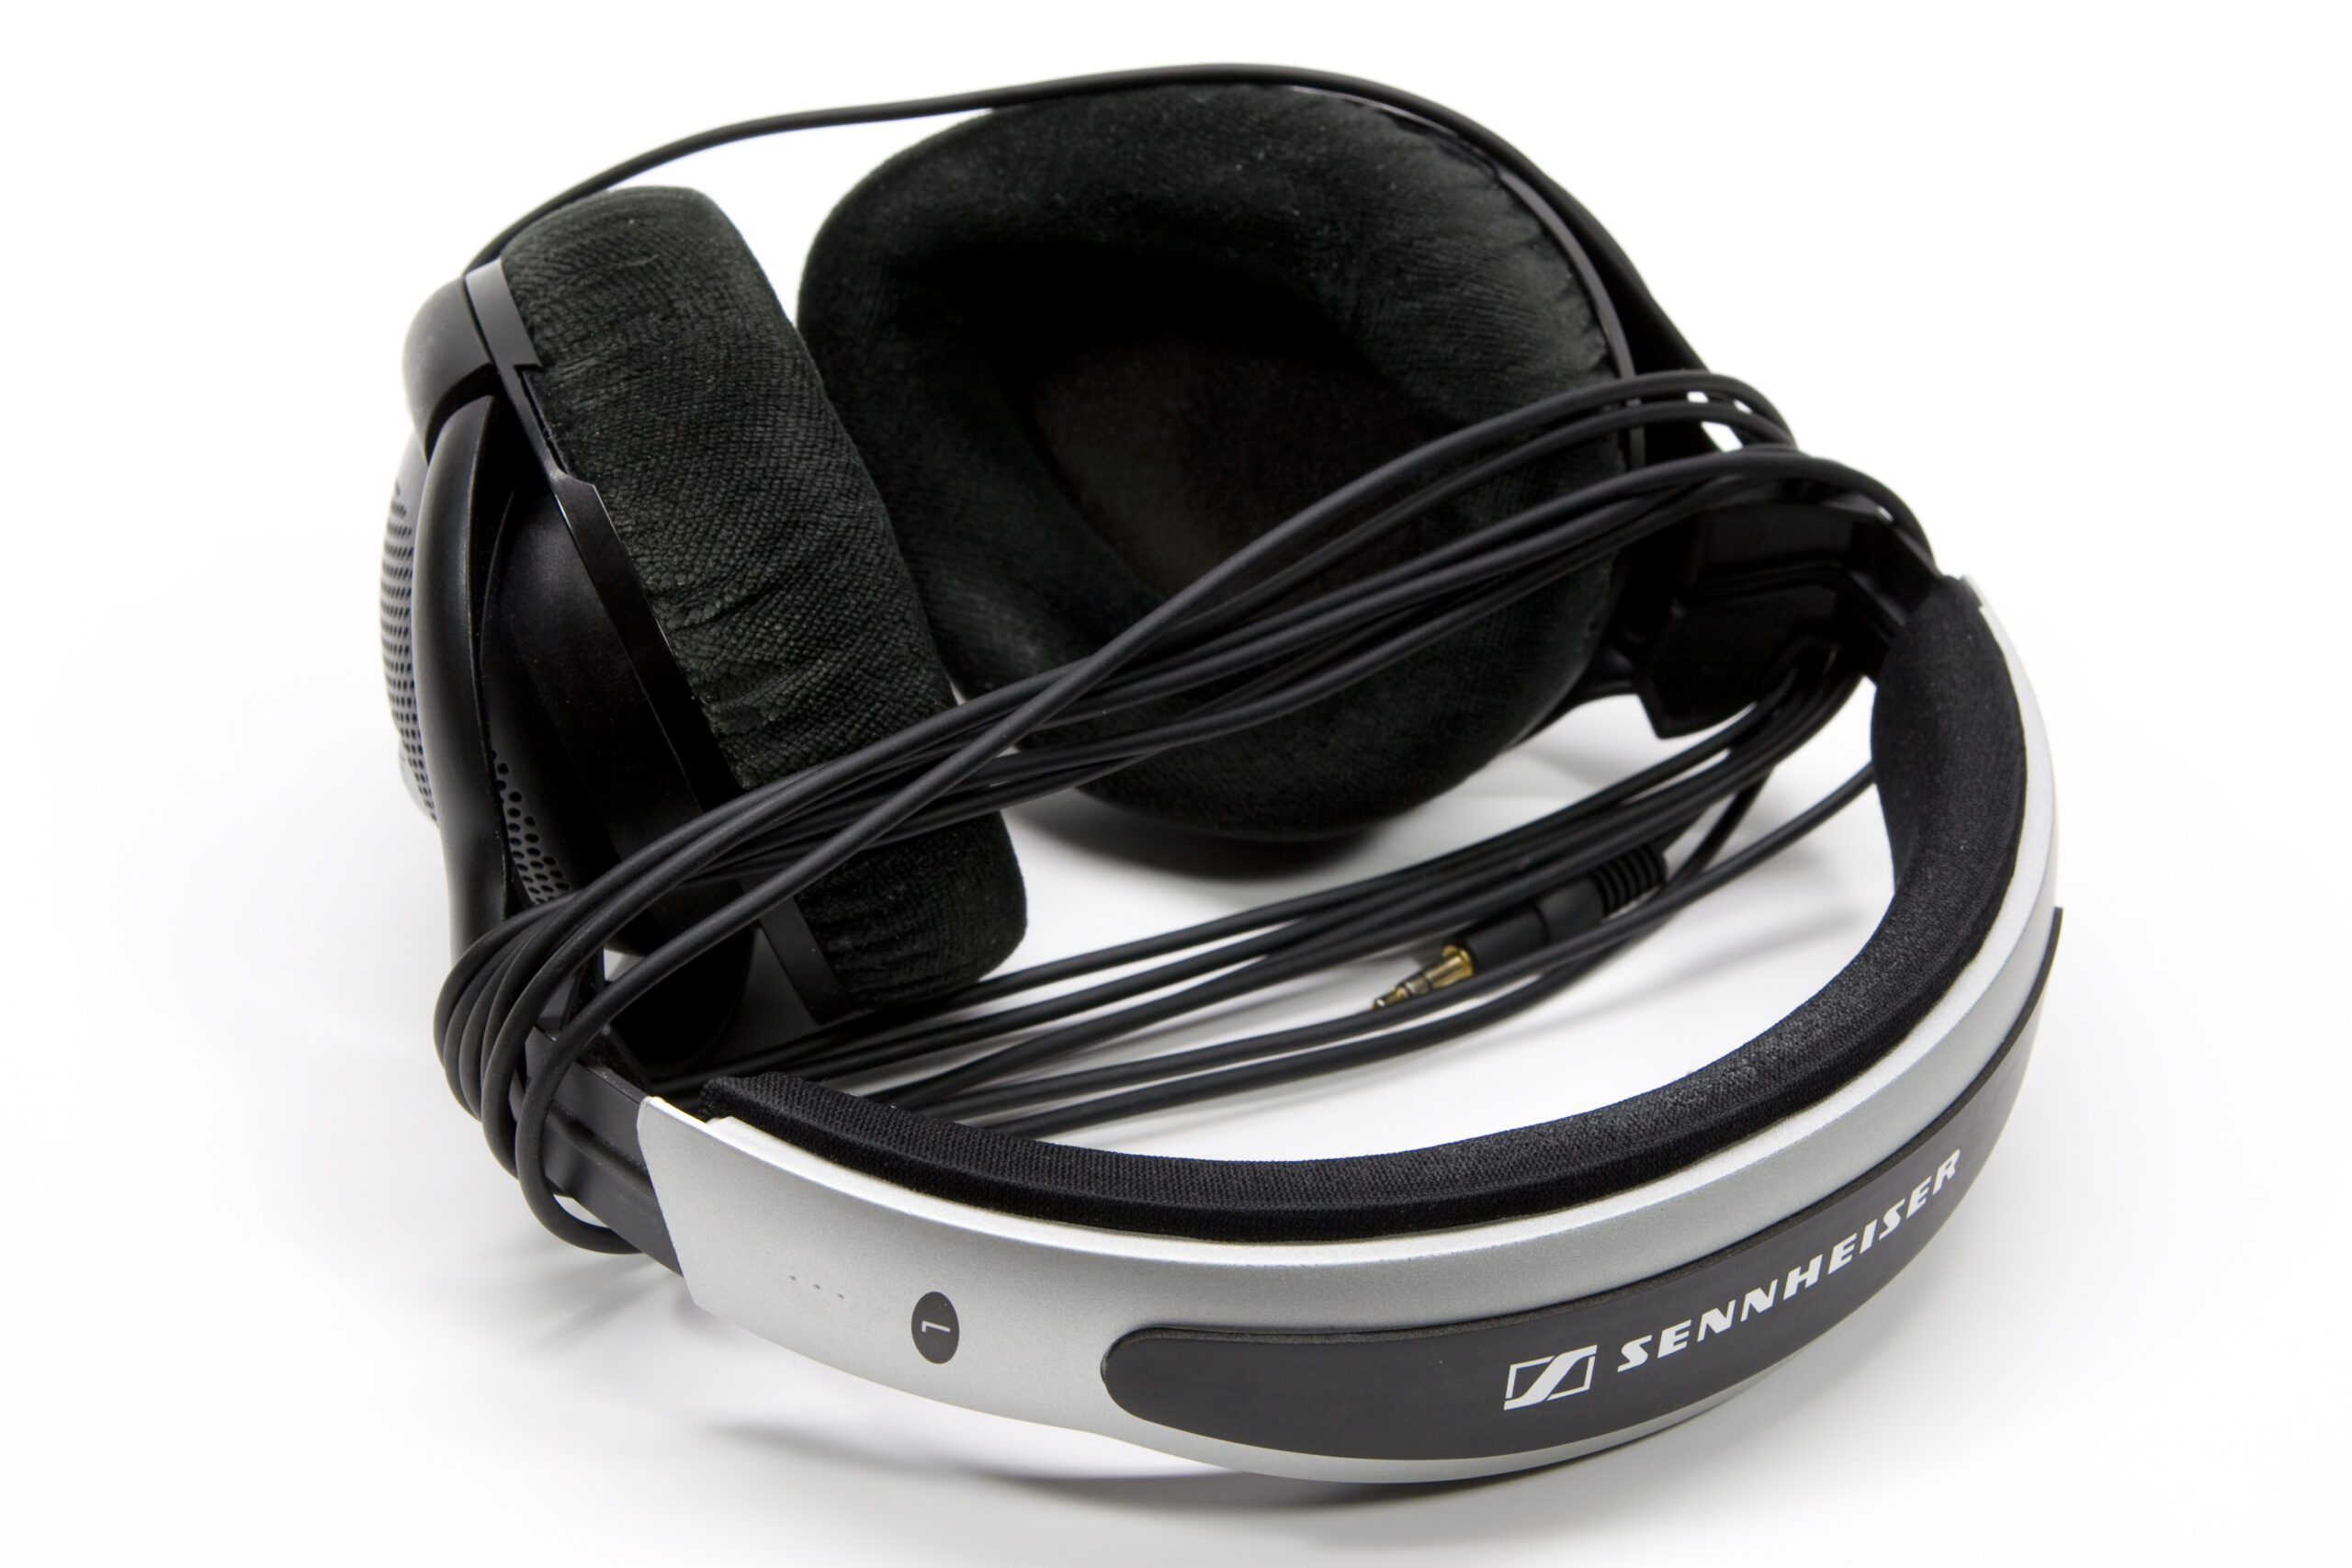
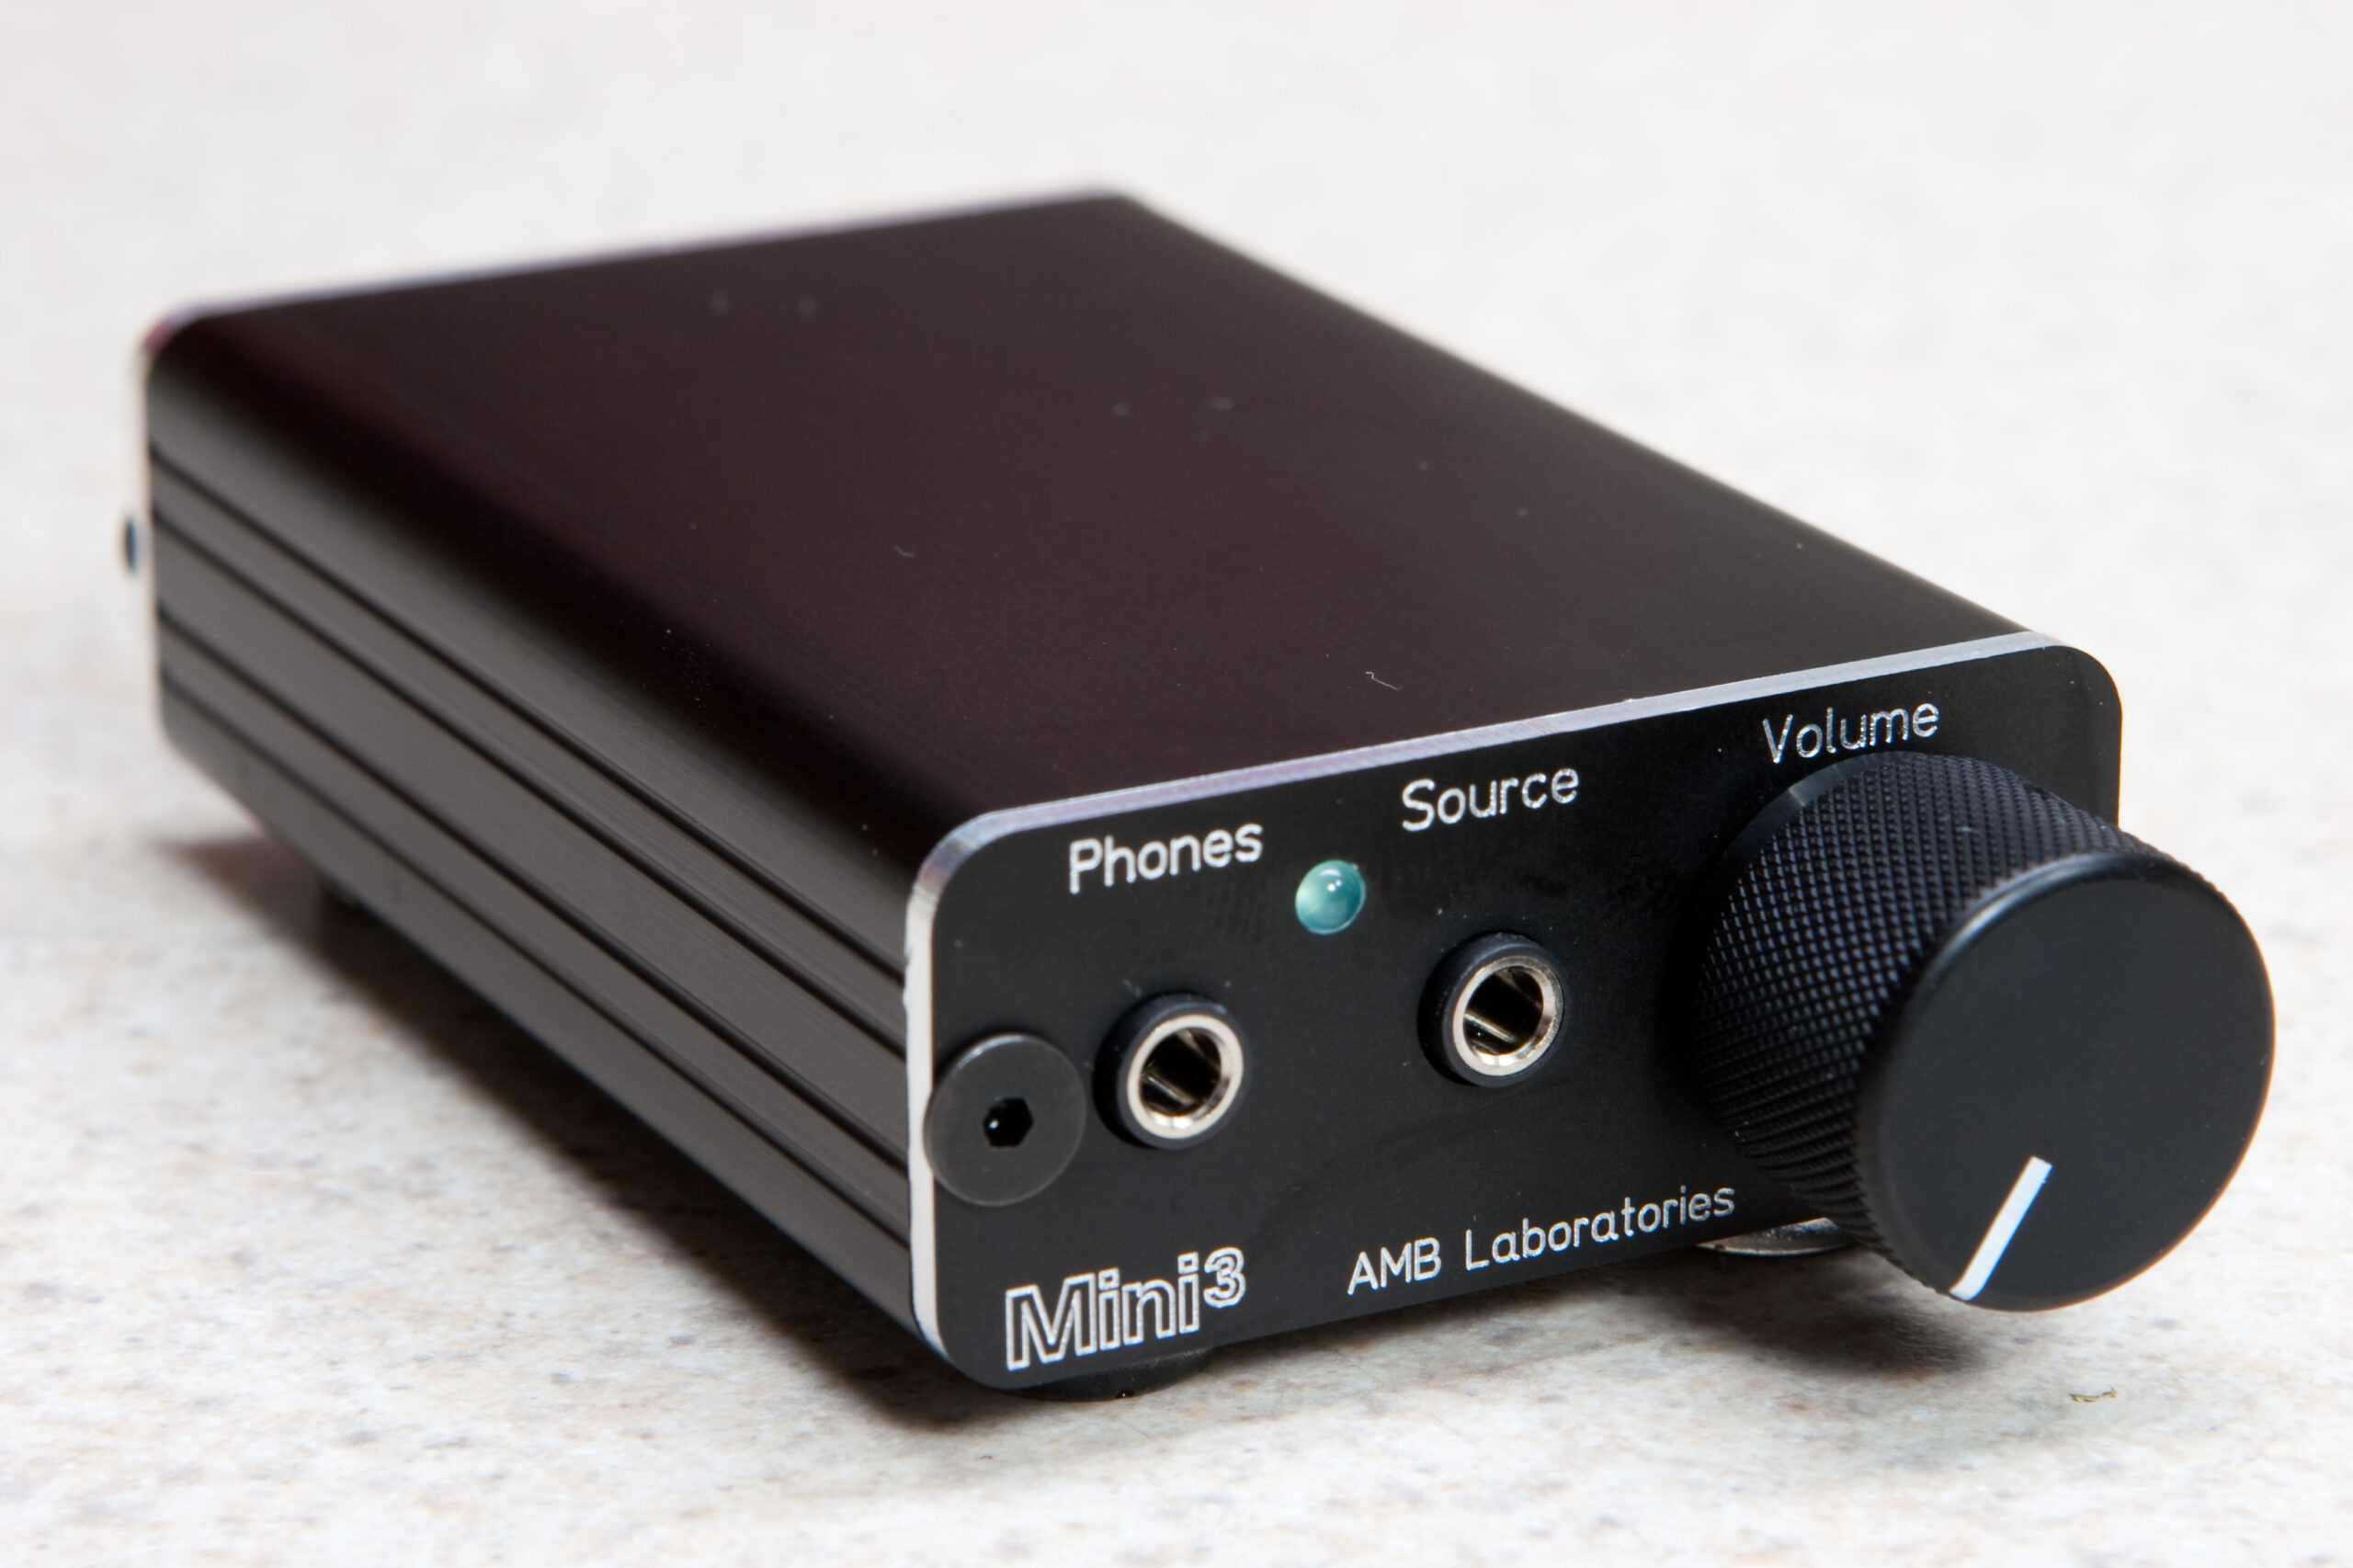
Today the PCB and other parts that I ordered from from the AMB audio shop arrived, so this evening I assembled an AMB Mini³. This is a rechargable battery powered, credit card sized headphone amp does a great job of driving my Sennheiser HD570 headphones.

While I didn’t take any photos of the assembly or inside of the enclosure (I just wasn’t in the mood tonight, for some reason), the assembly went very smoothly. Part of the assembly suggested that one put thermal grease on the underside of the AD8397ARDZ op-amp to help transfer heat from the chip to the PCB. Wanting to wash the PCB I didn’t want to do this, and I instead found that scraping a bit of solder mask from the heatsink trace allowed me to reflow the underside of the chip without much difficulty. After that SMT pads themselves went nicely, and everything else was through-hole. I had a few problems with battery clearance in the case, but adjusting the battery contacts slightly made everything fit comfortably snugly.

Everything was built as-specified for the high-performance version, except that I used a different knob and LEDs. The knob is a Kilo International OEJL-75-4-7 (Digi-Key p/n 226-4094-ND), which was the only 6mm shaft knob that I had laying around the house. The power LED (LED2) is green in place of the standard blue, and the rear (LED1) is a red, and matches the power LED brightness-wise. The LEDs are Mouser part numbers 630-HLMP-1790 and 630-HLMP-1790 and 630-HLMP-1700, respectively. To properly fit the LEDs, R6 and R7 were changed, using 5.1K Ω (Mouser 270-5.1K-RC) and 7.5K Ω (Mouser 270-7.5K-RC) resistors, respectively. I’m happy with the LEDs as they are visible in a normal room, but not particularly bright, even in complete darkness.

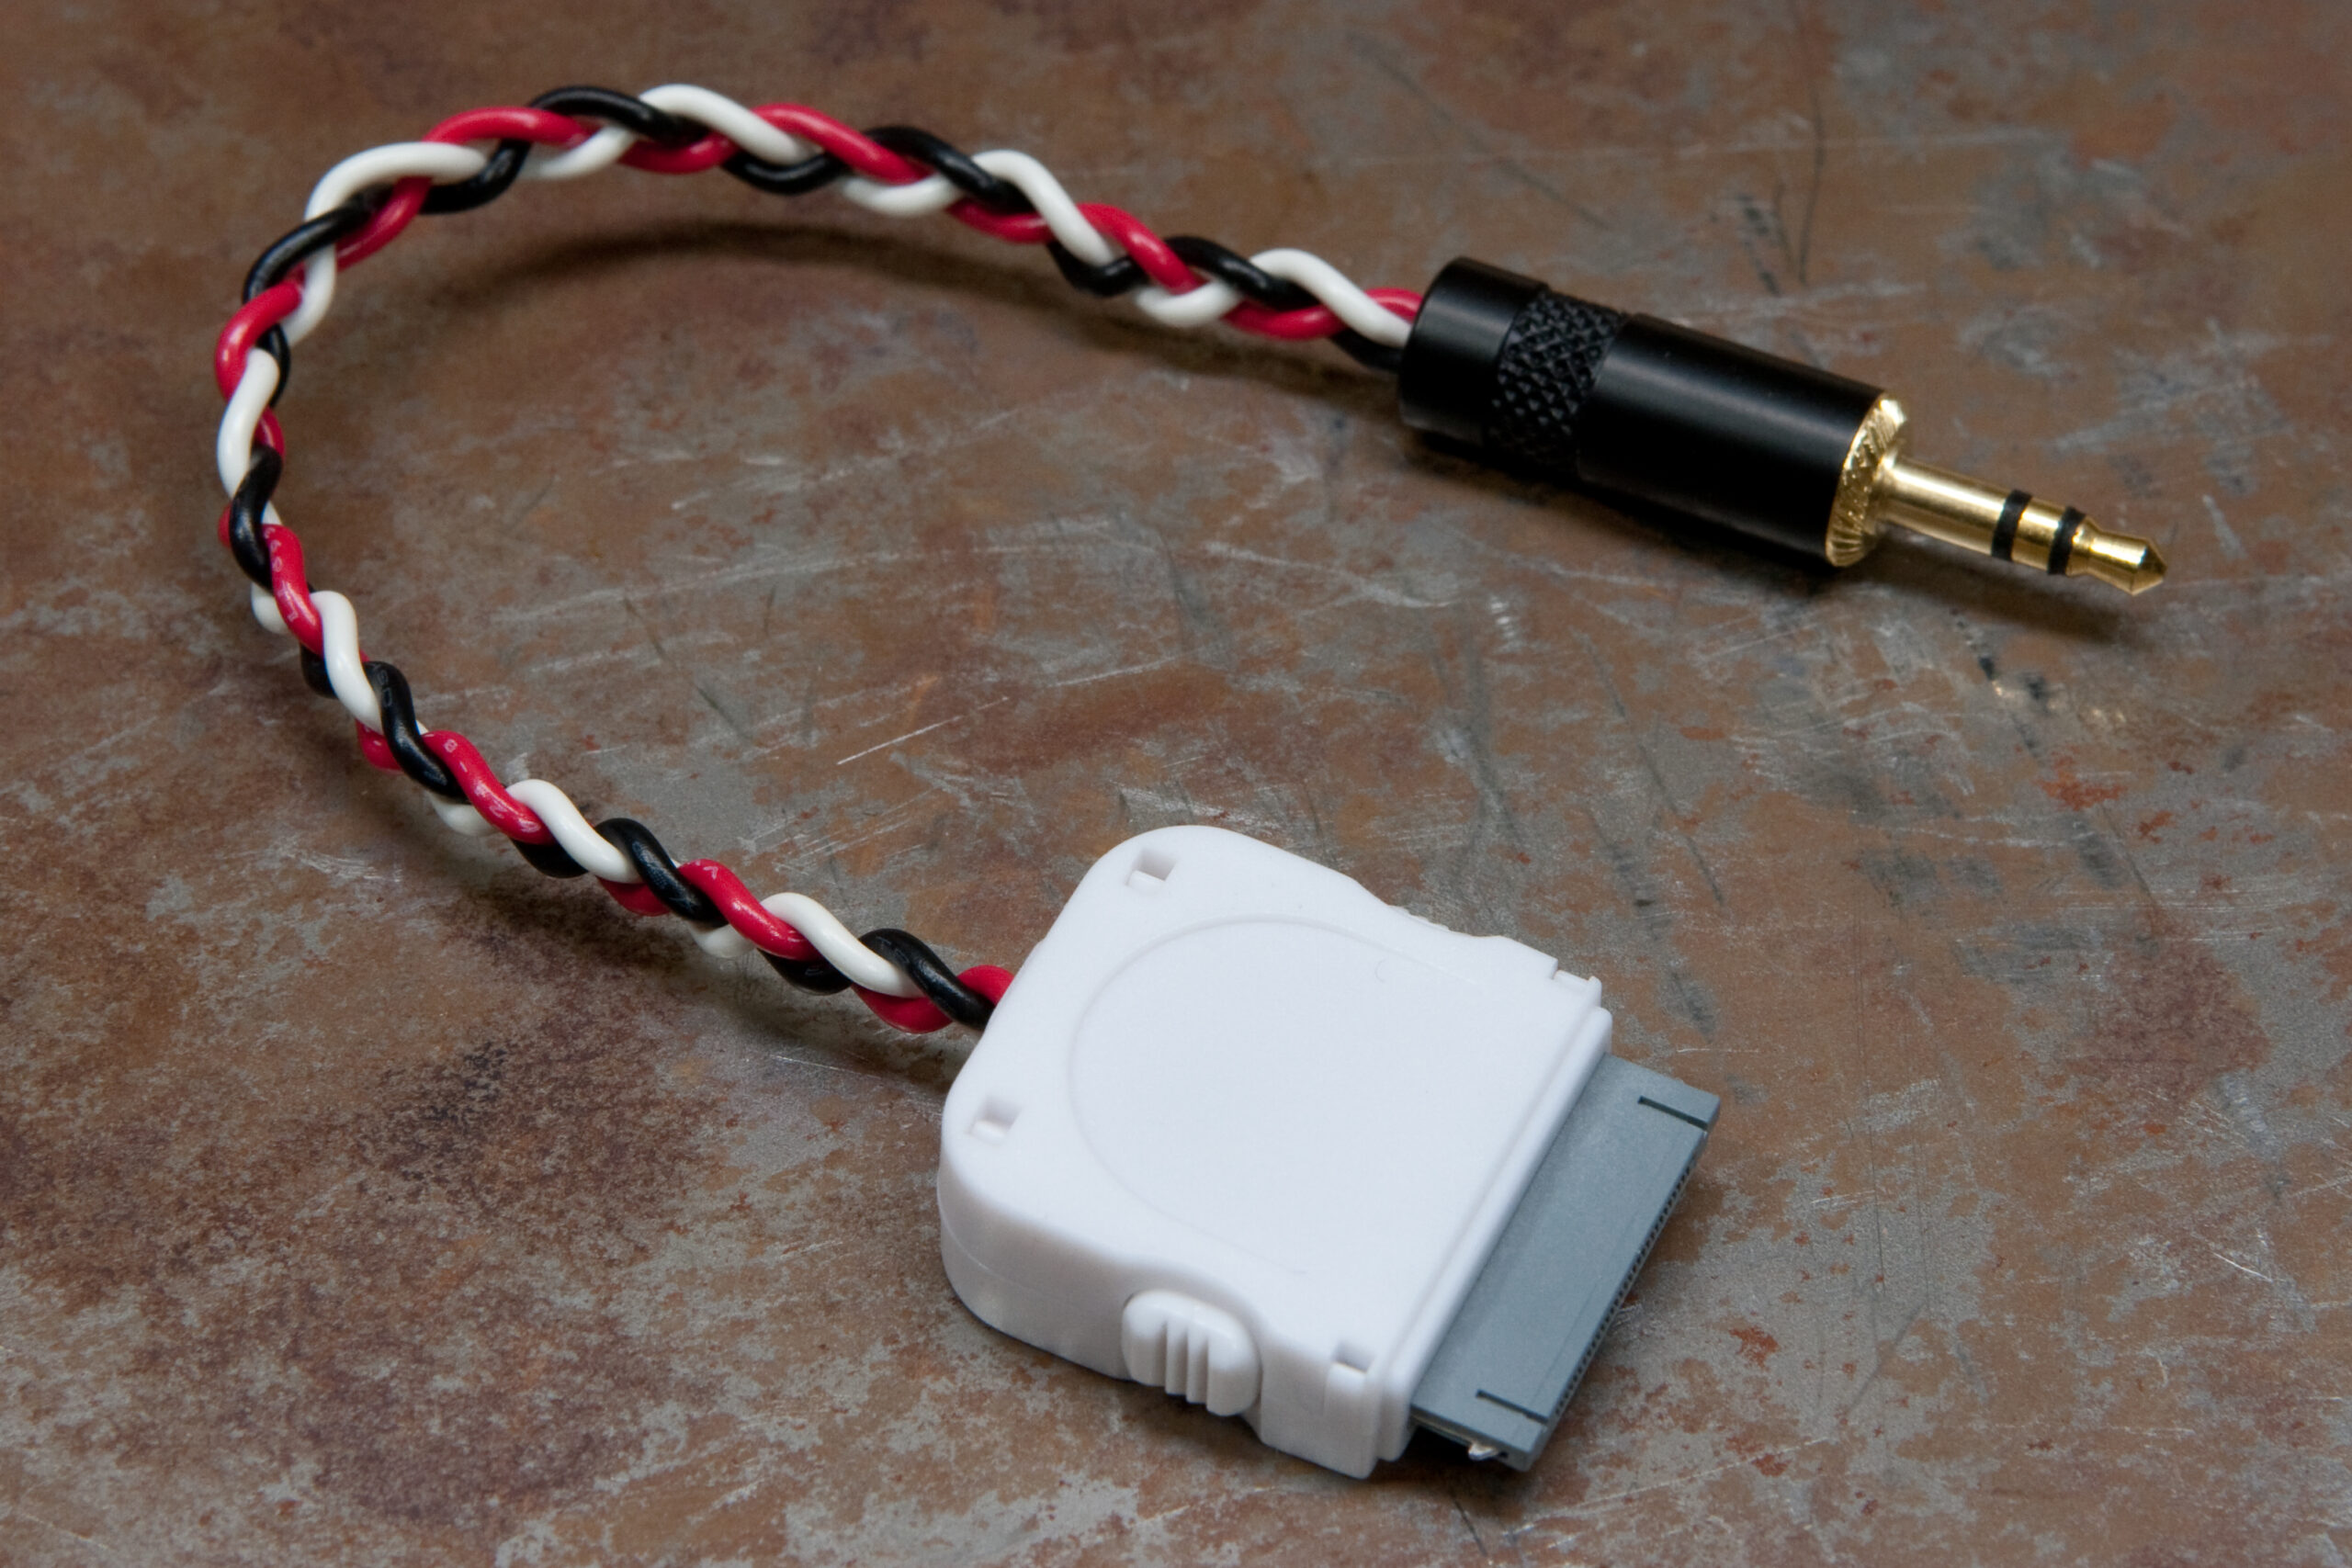
Using the iPod dock to 3.5mm (1/8″) cable that I made last week I connected my iPod to the amp and gave it a go. In short, I’m really happy with it. My headphones finally sound as they should with the iPod. Right now it’s charging on the kitchen counter, and tomorrow I’ll give it a full go at work.

Abnormal for me, I didn’t take very many photos during the assembly of the Mini³. For some reason I just wasn’t in the mood to document it as I normally do, so I only took the following three photos:

· AMB Mini³, from the front, fitted with a slightly non-standard knob and a green LED instead of the standard blue.
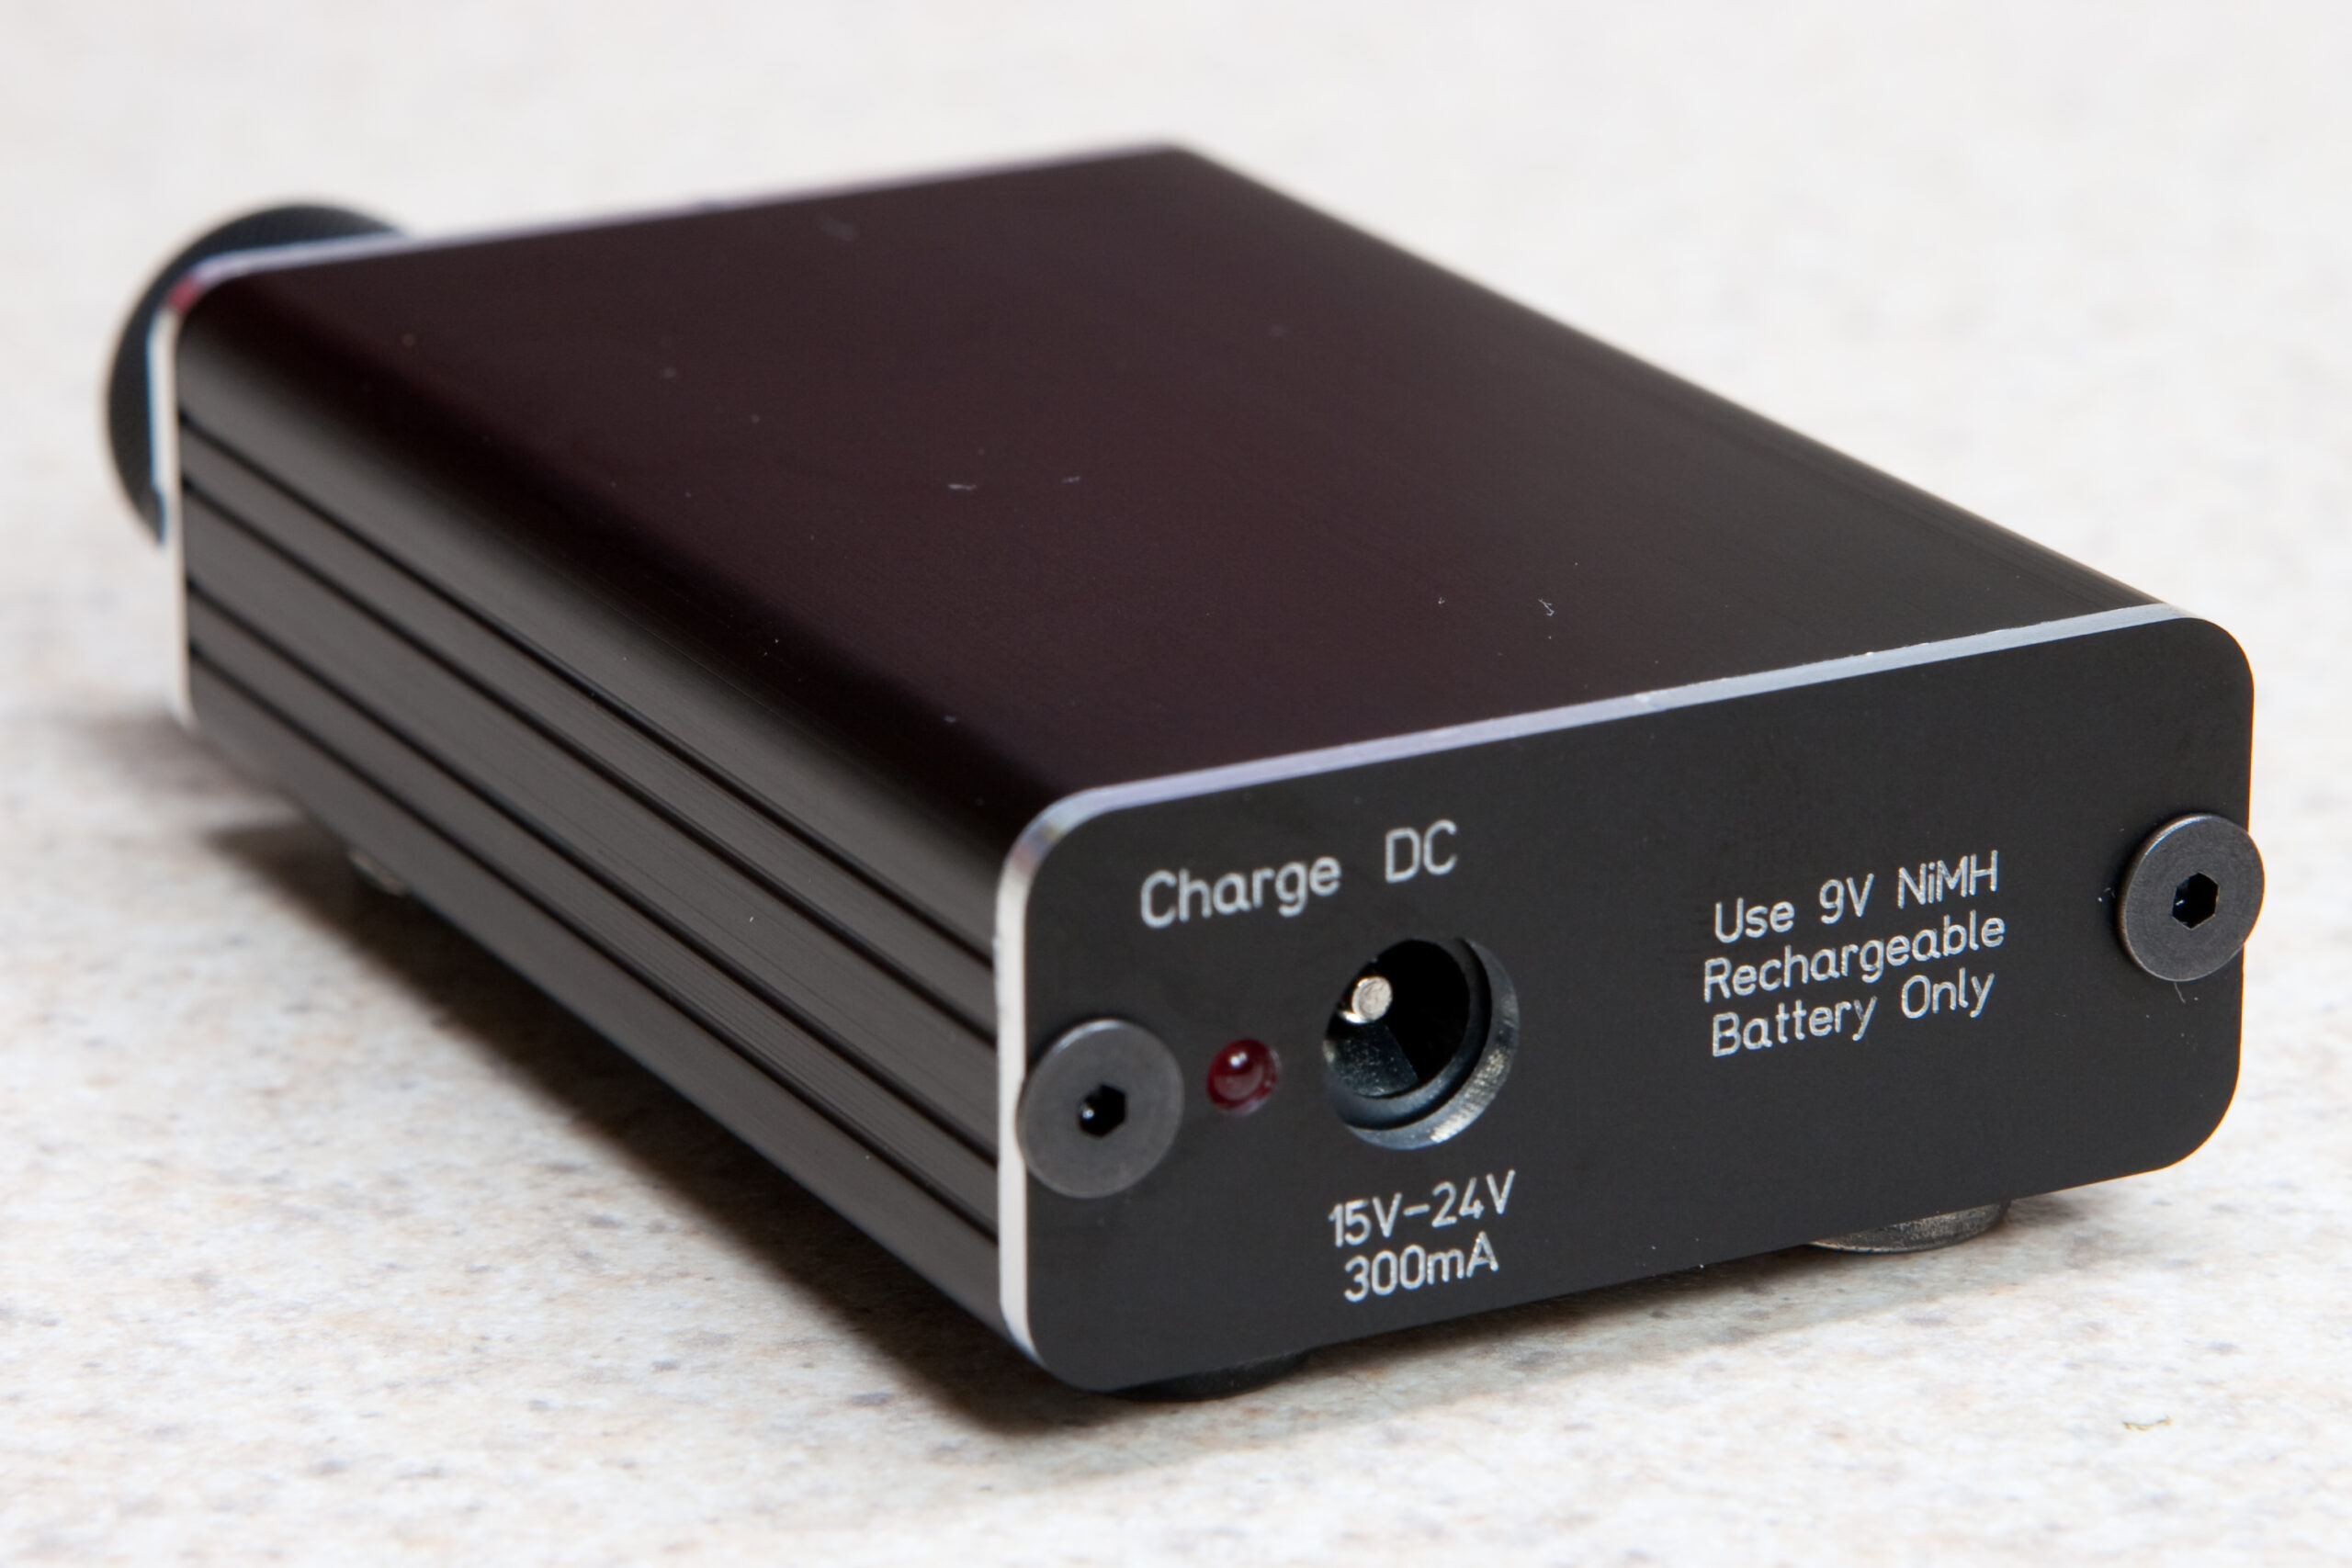
· AMB Mini³, from the rear.
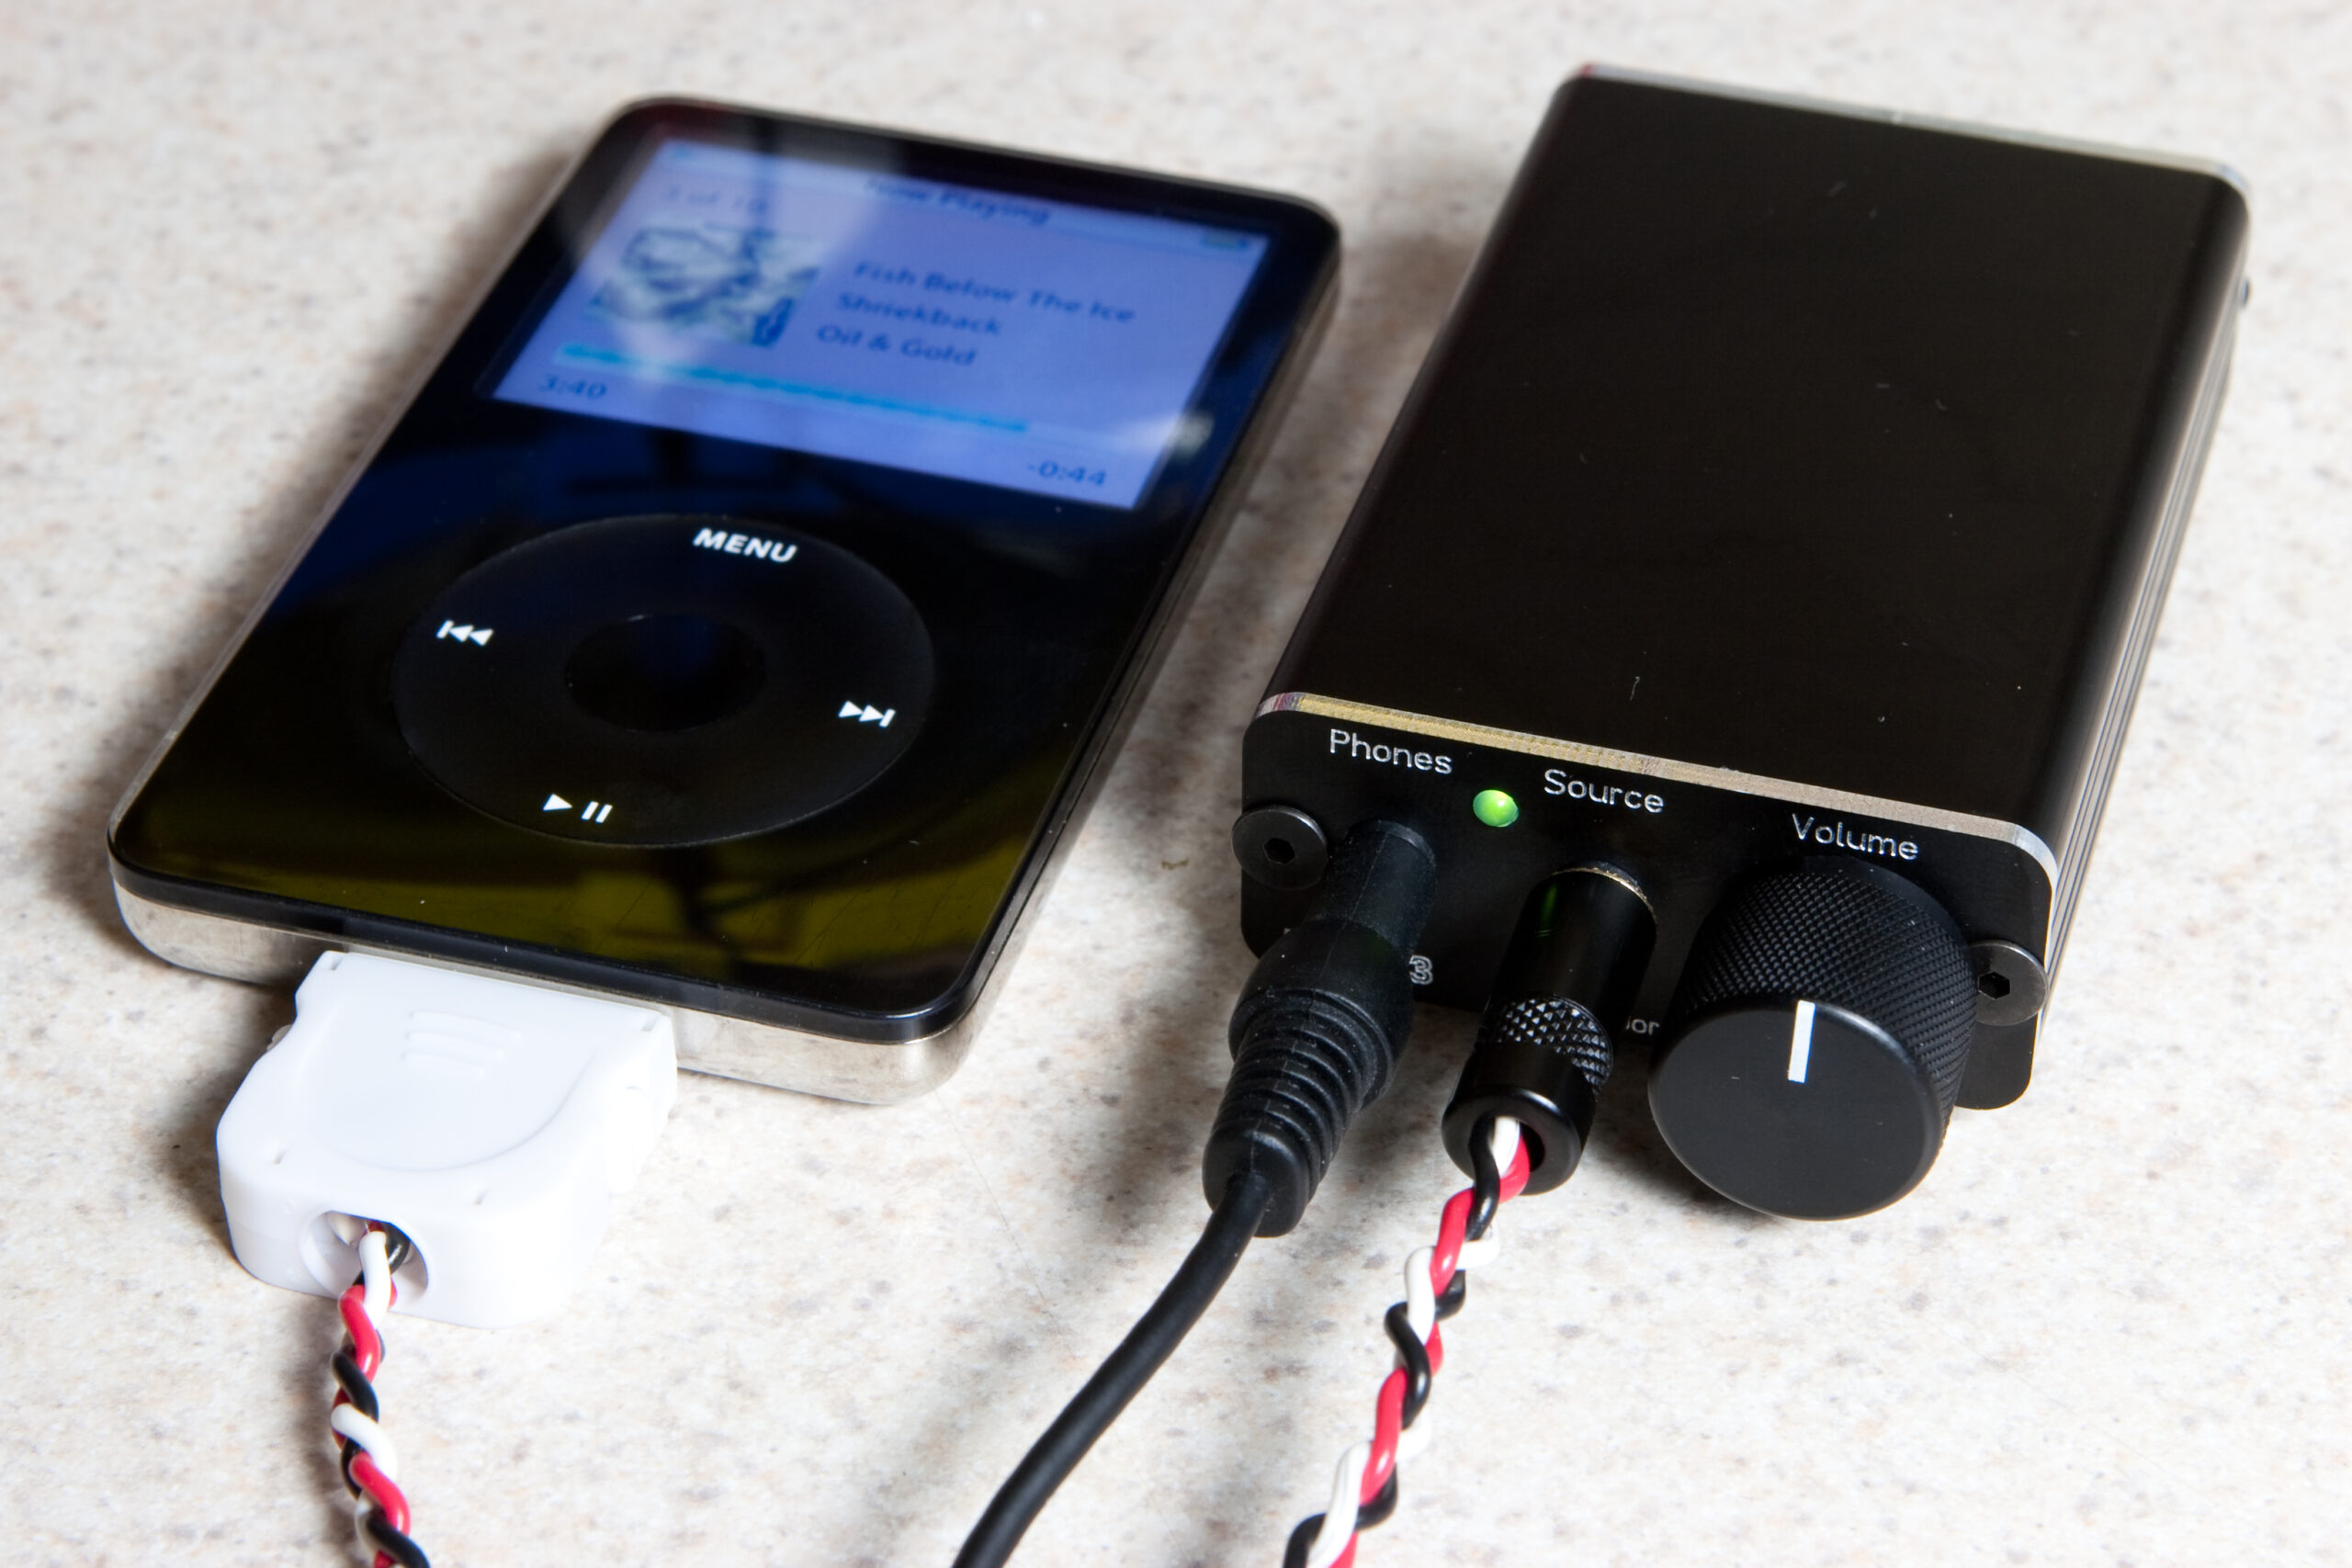
· AMB Mini³ connected to my 5G iPod Video.
electronicsmaking things

Customs Declarations

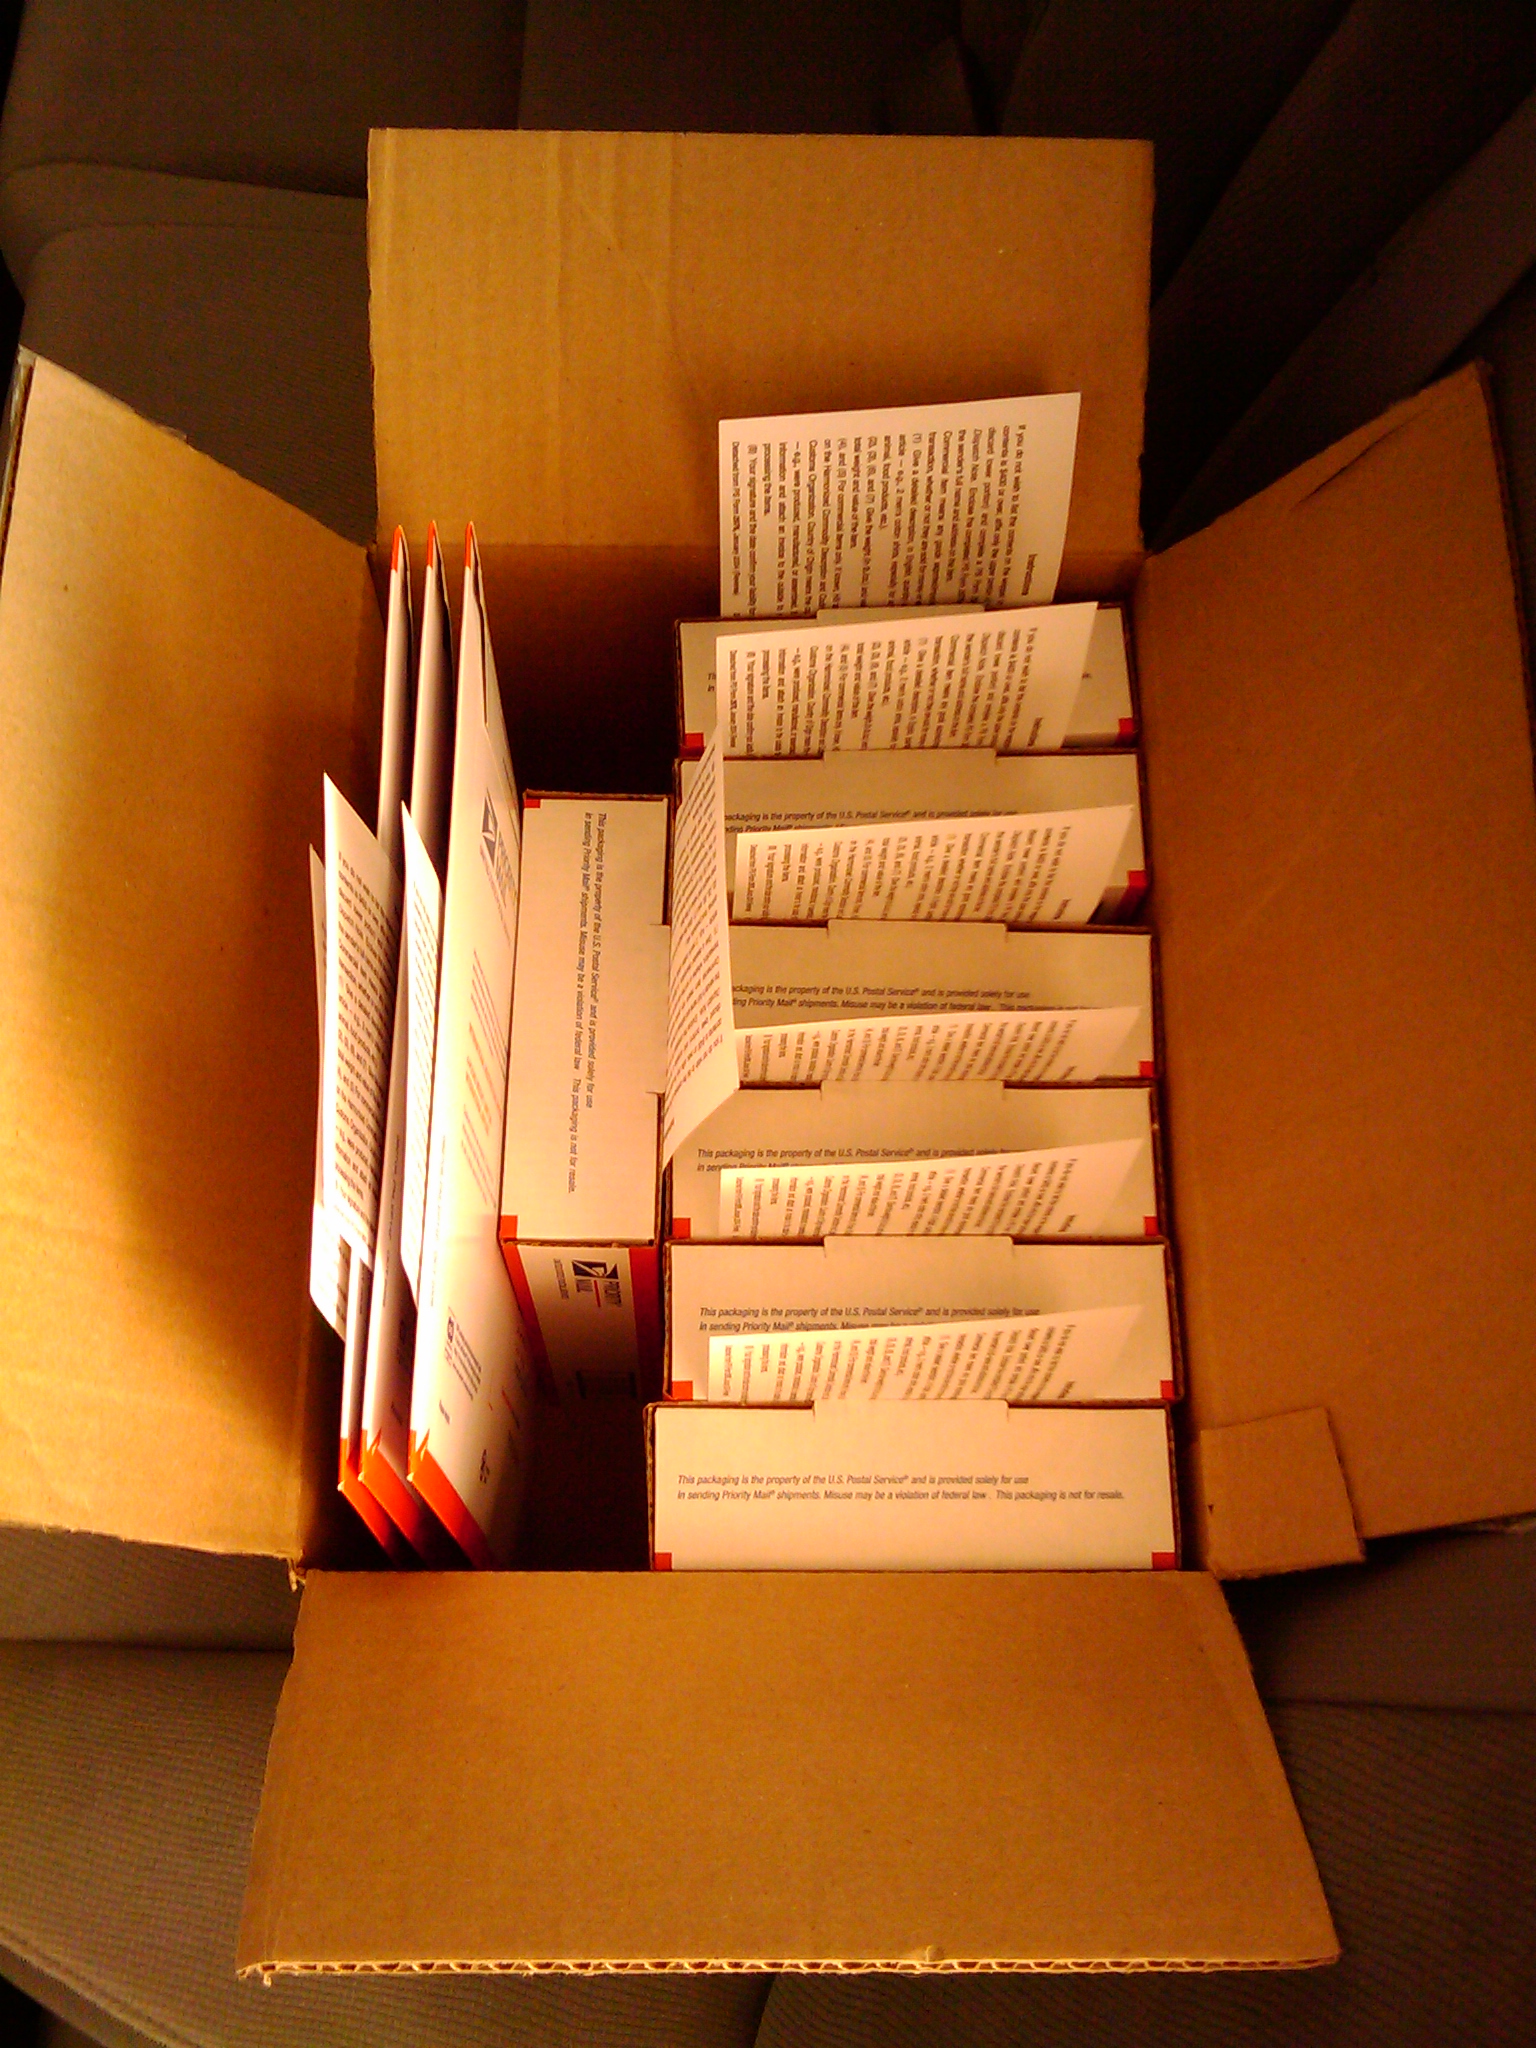
Filling out customs declarations is a real big hassle. Because of their odd size they must all be hand-written. Additionally, when I dropped all of these international SDrive NUXX orders off at the Post Office, the person working at the counter admonished me for sticking the declarations to the back of the packages. This bothers me because there isn’t enough room to fit them on the front of most small packages, the directions do not indicate that one should apply them to any particular area of the package, and I’ve historically had no problem with them stuck to the back.

Ah well, at least all the international shipments are set. Now I just need to sell a few more so that I break even on the project and everything will be set. Oh, and prep the CAD and artwork files for release…

electronicsmaking things

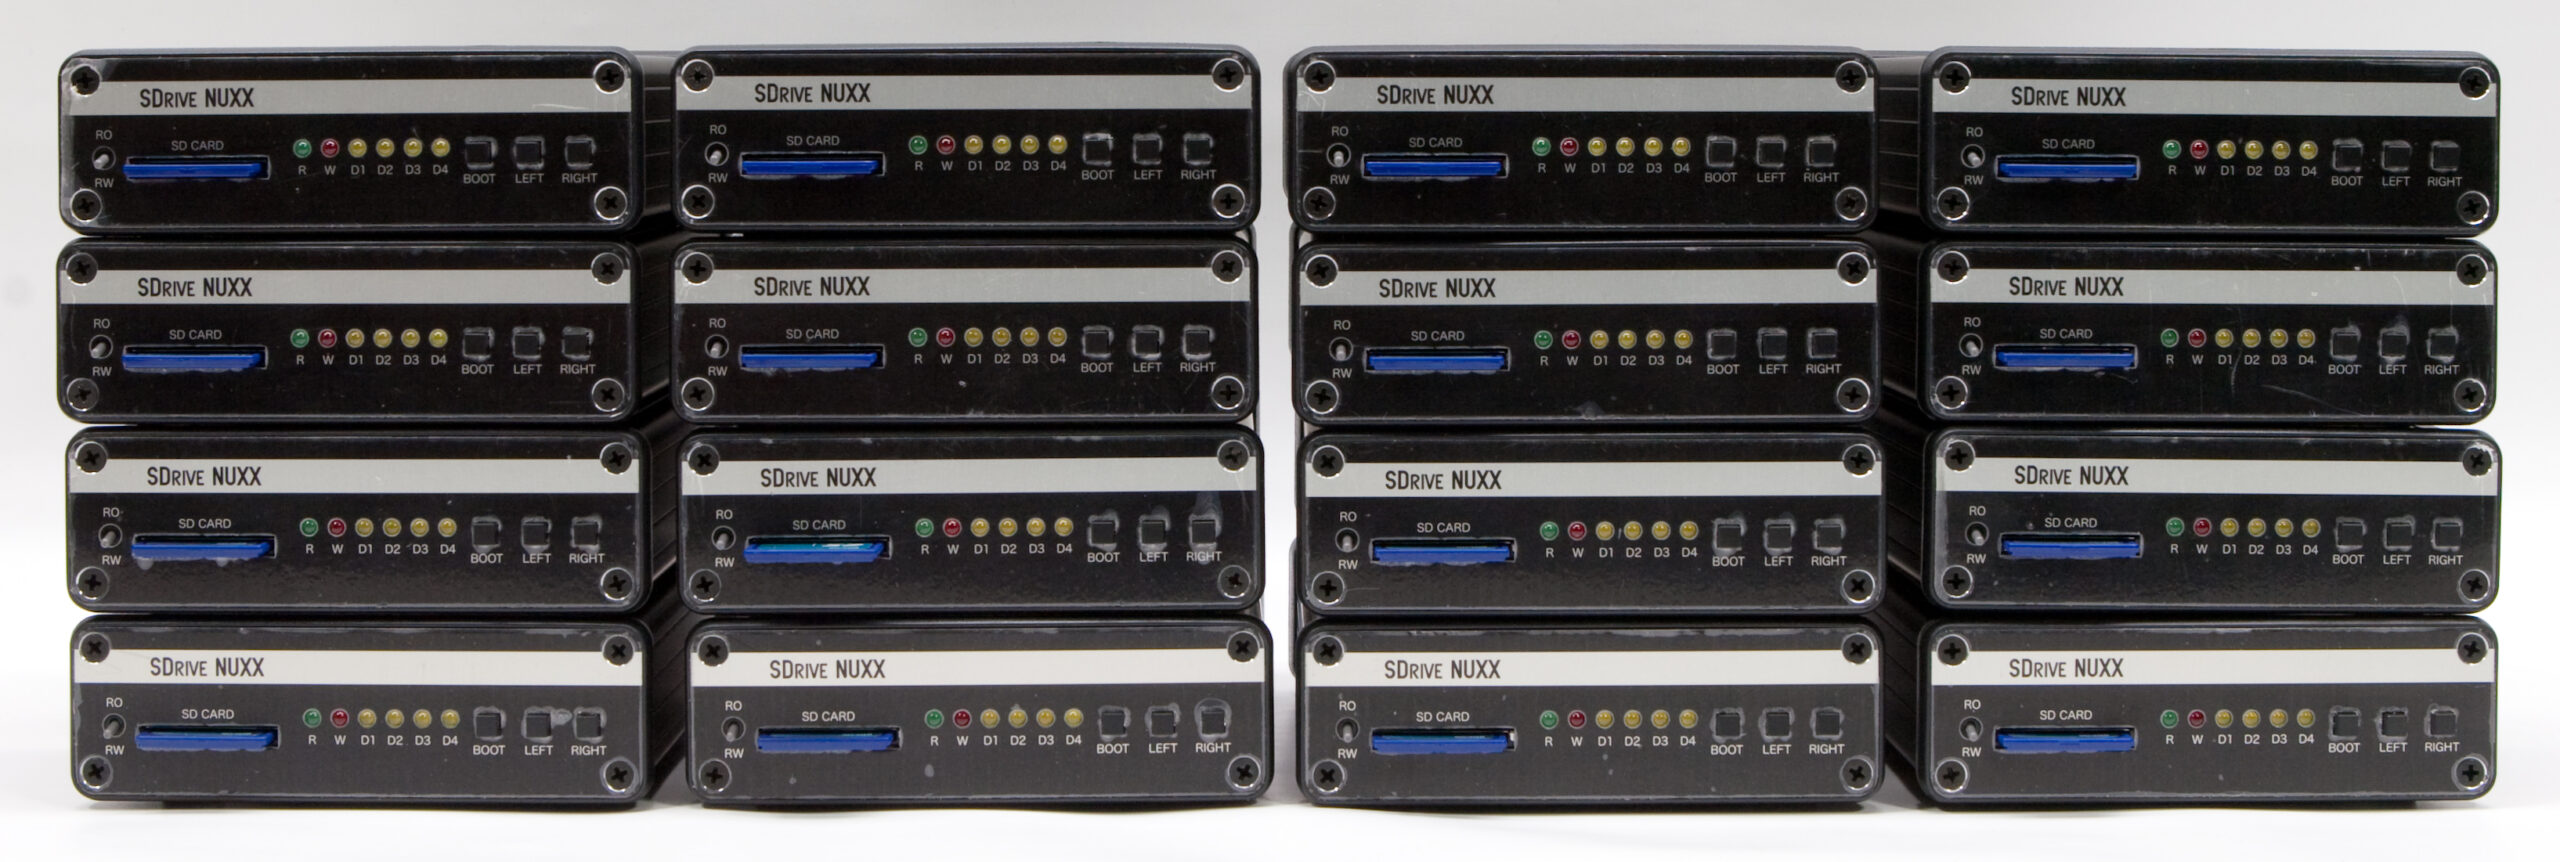
Sixteen Assembled SDrive NUXXs

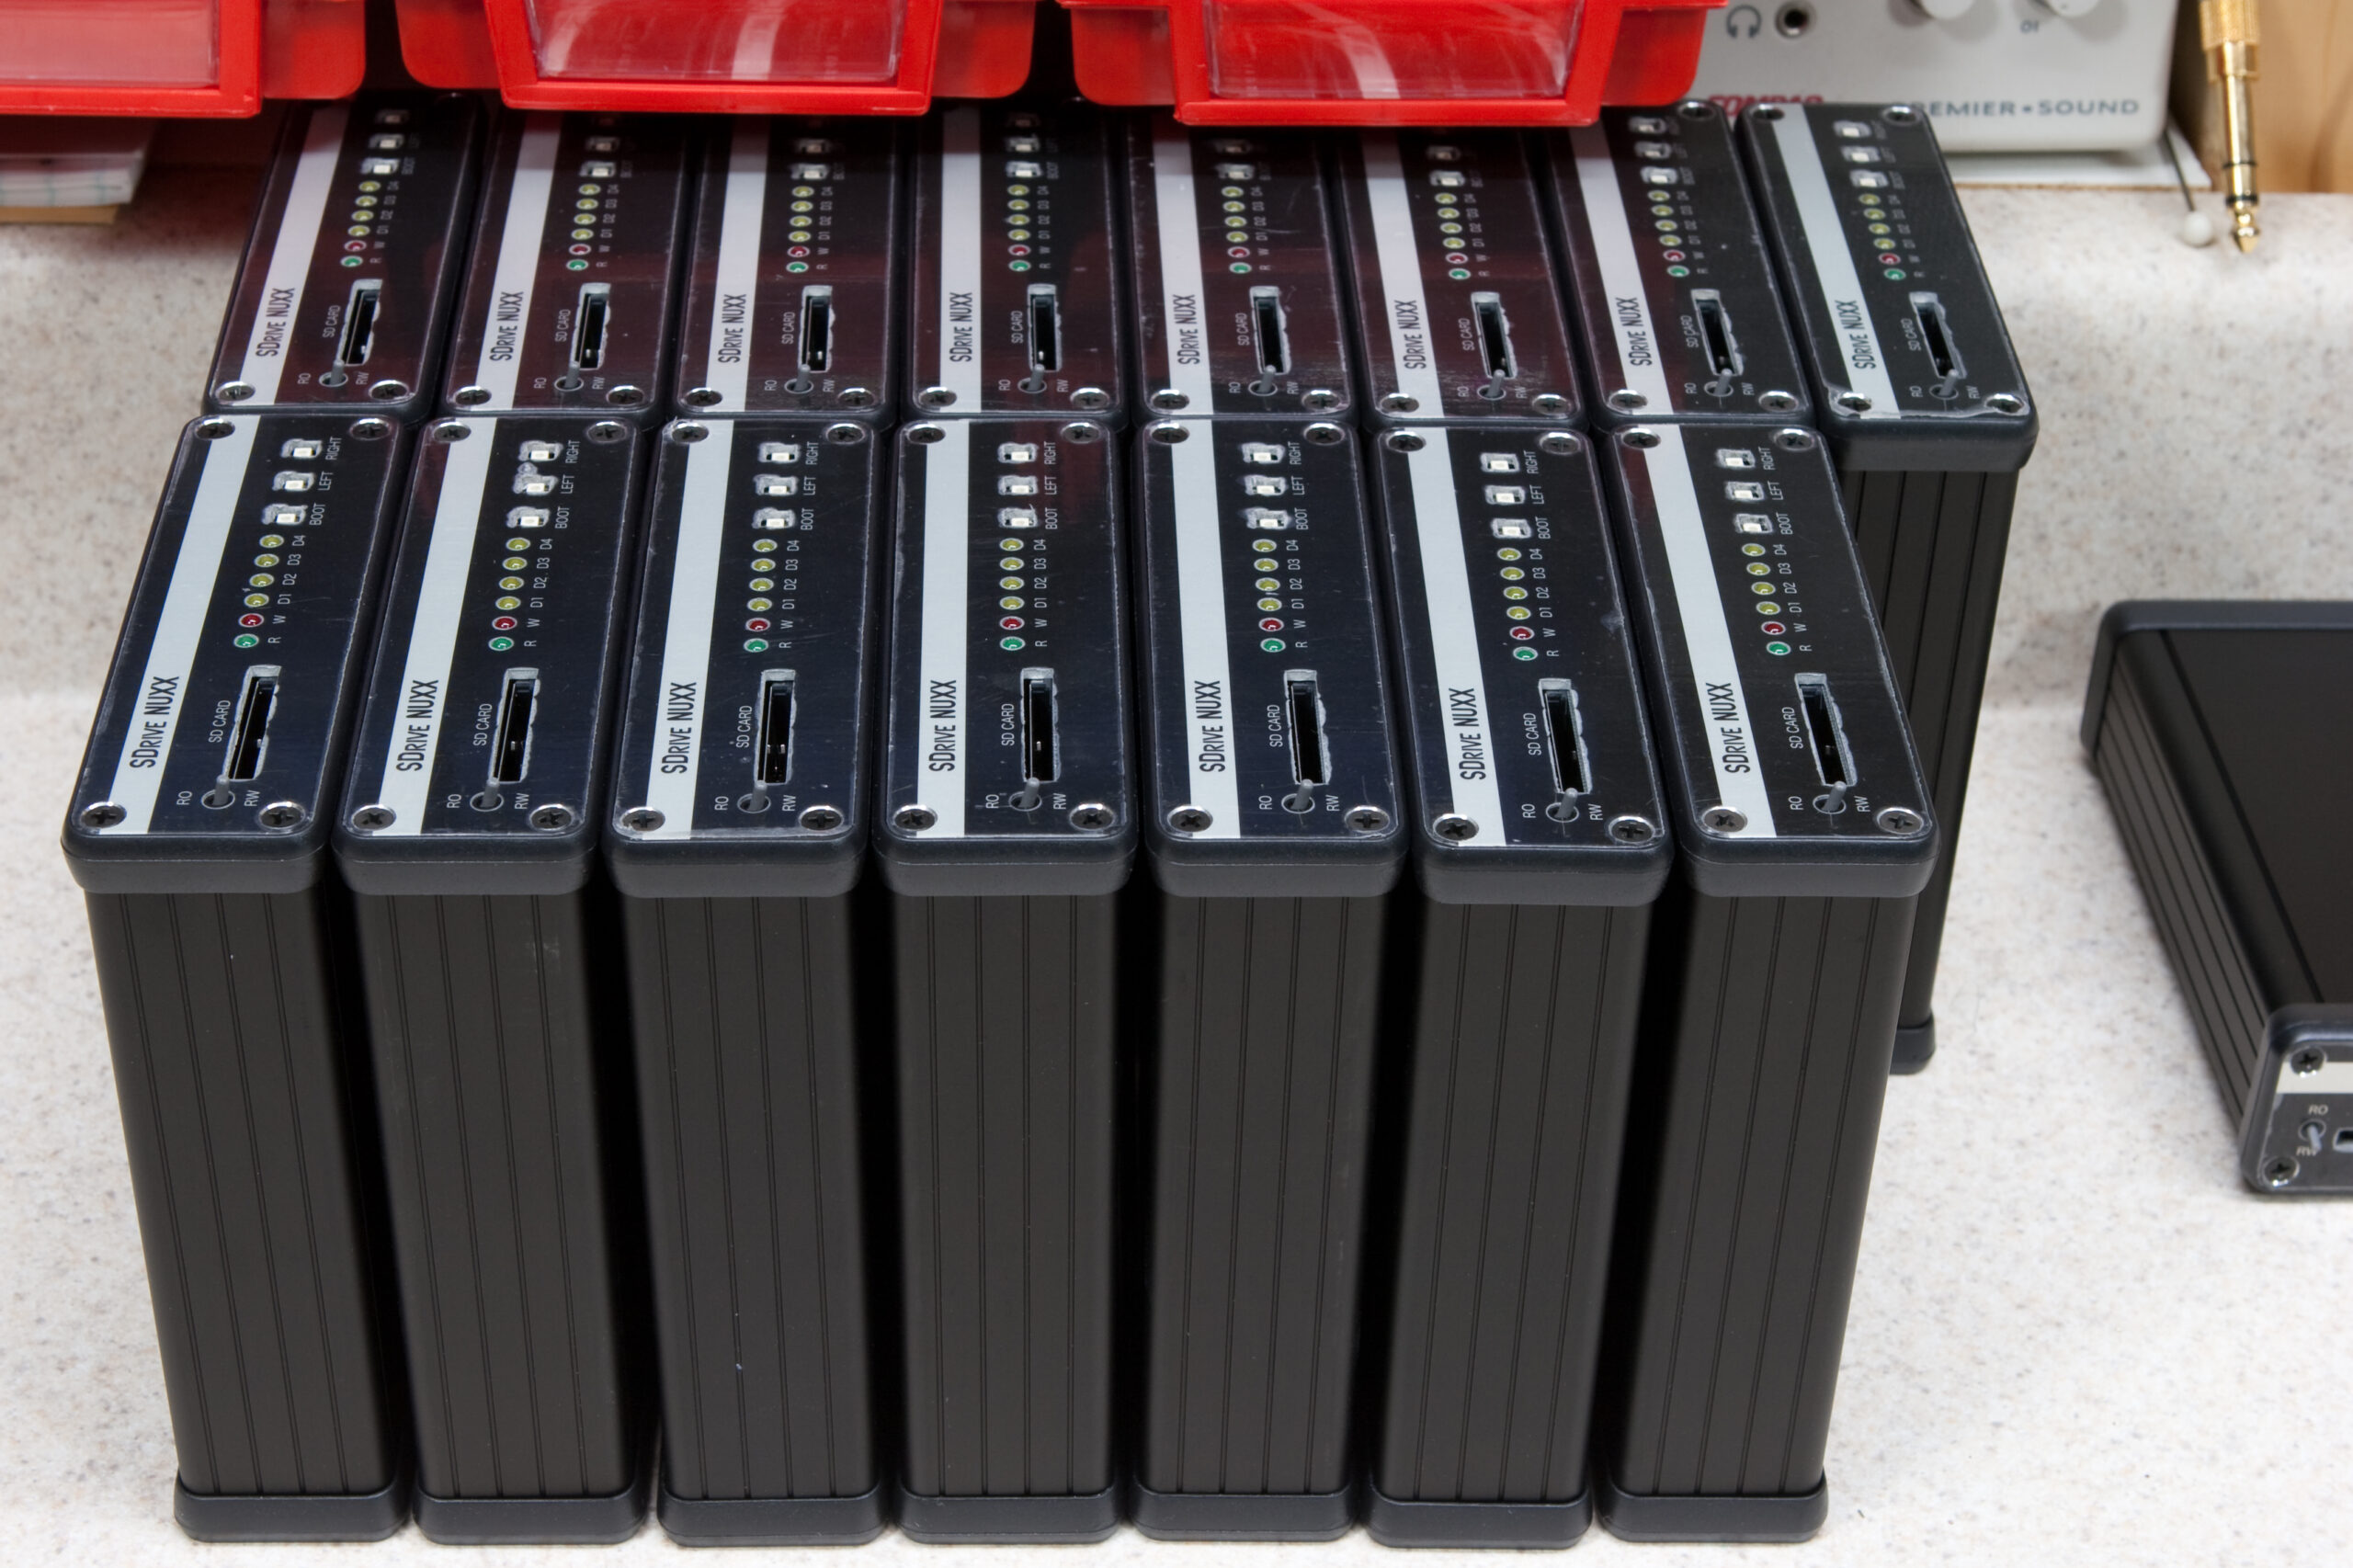
Sixteen assembled SDrive NUXXs, with 2GB Kingston SD cards, ready for final testing.

Here’s one more SDrive NUXX photo for tonight: sixteen fully assembled devices with 2GB SD cards in the slots, awaiting final testing. Here’s a few more photos, which I’ll just link directly to:

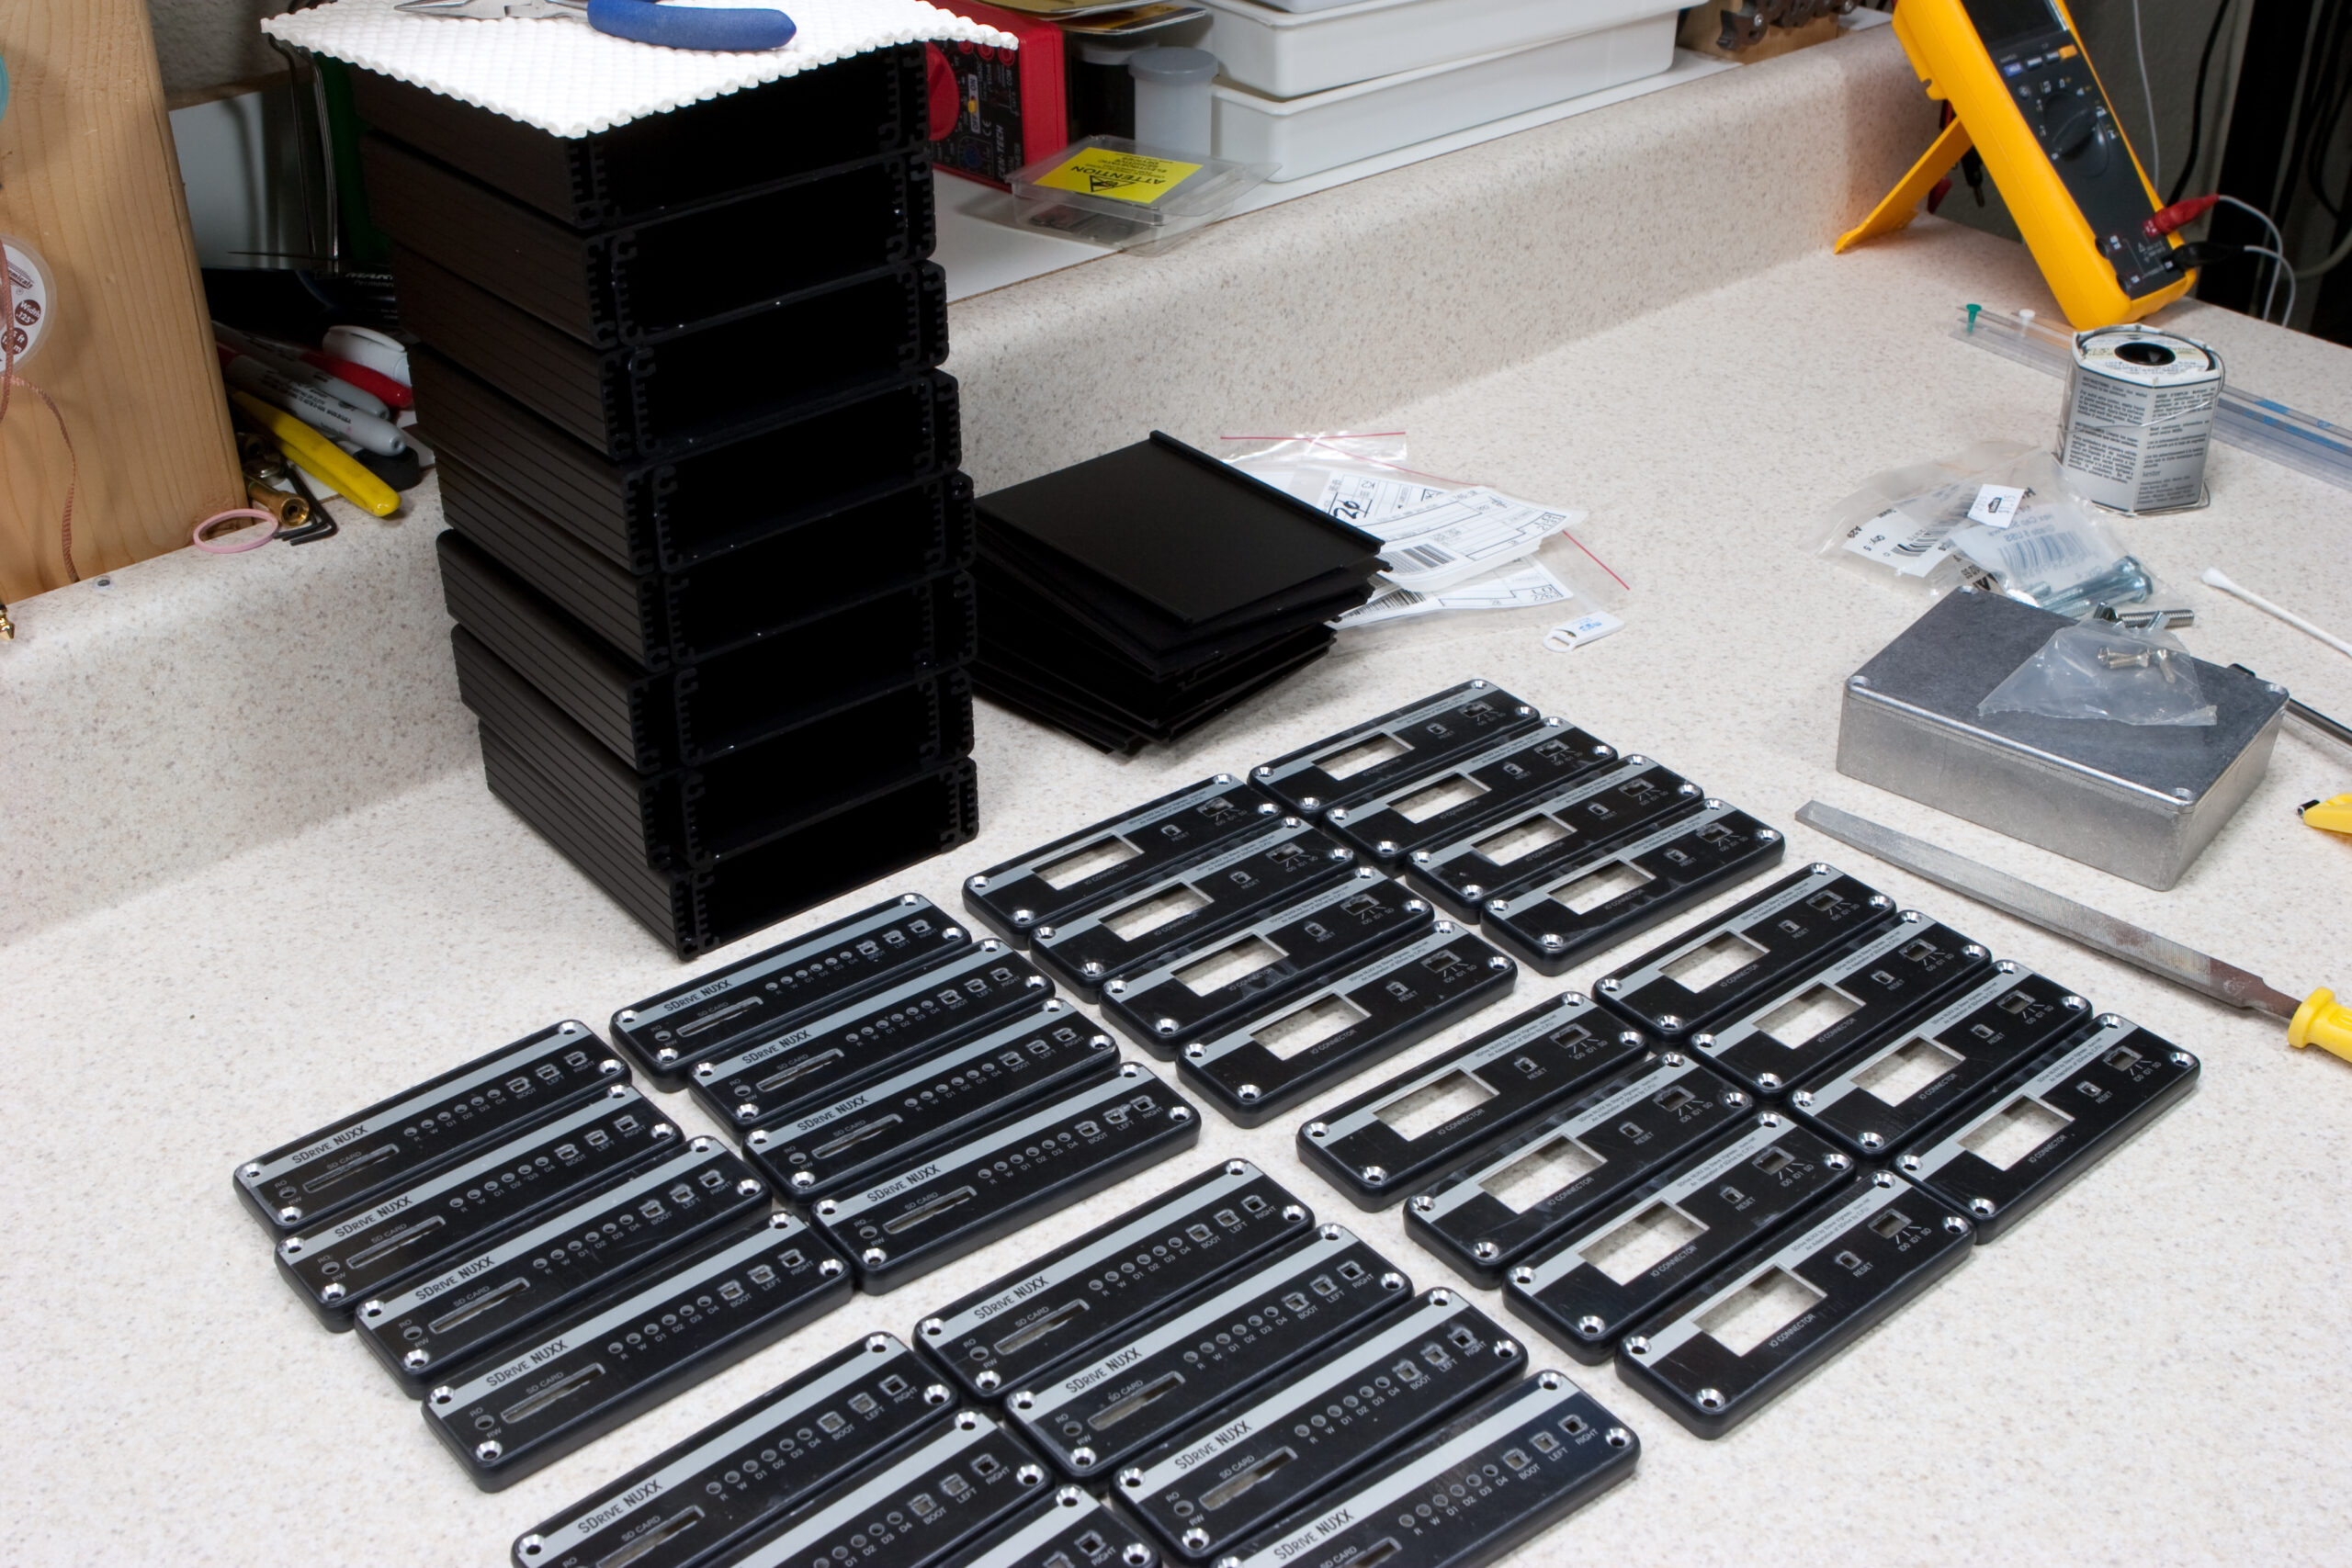
· 16 front and rear end panels snapped into 32 bezels, ready for final assembly to begin.
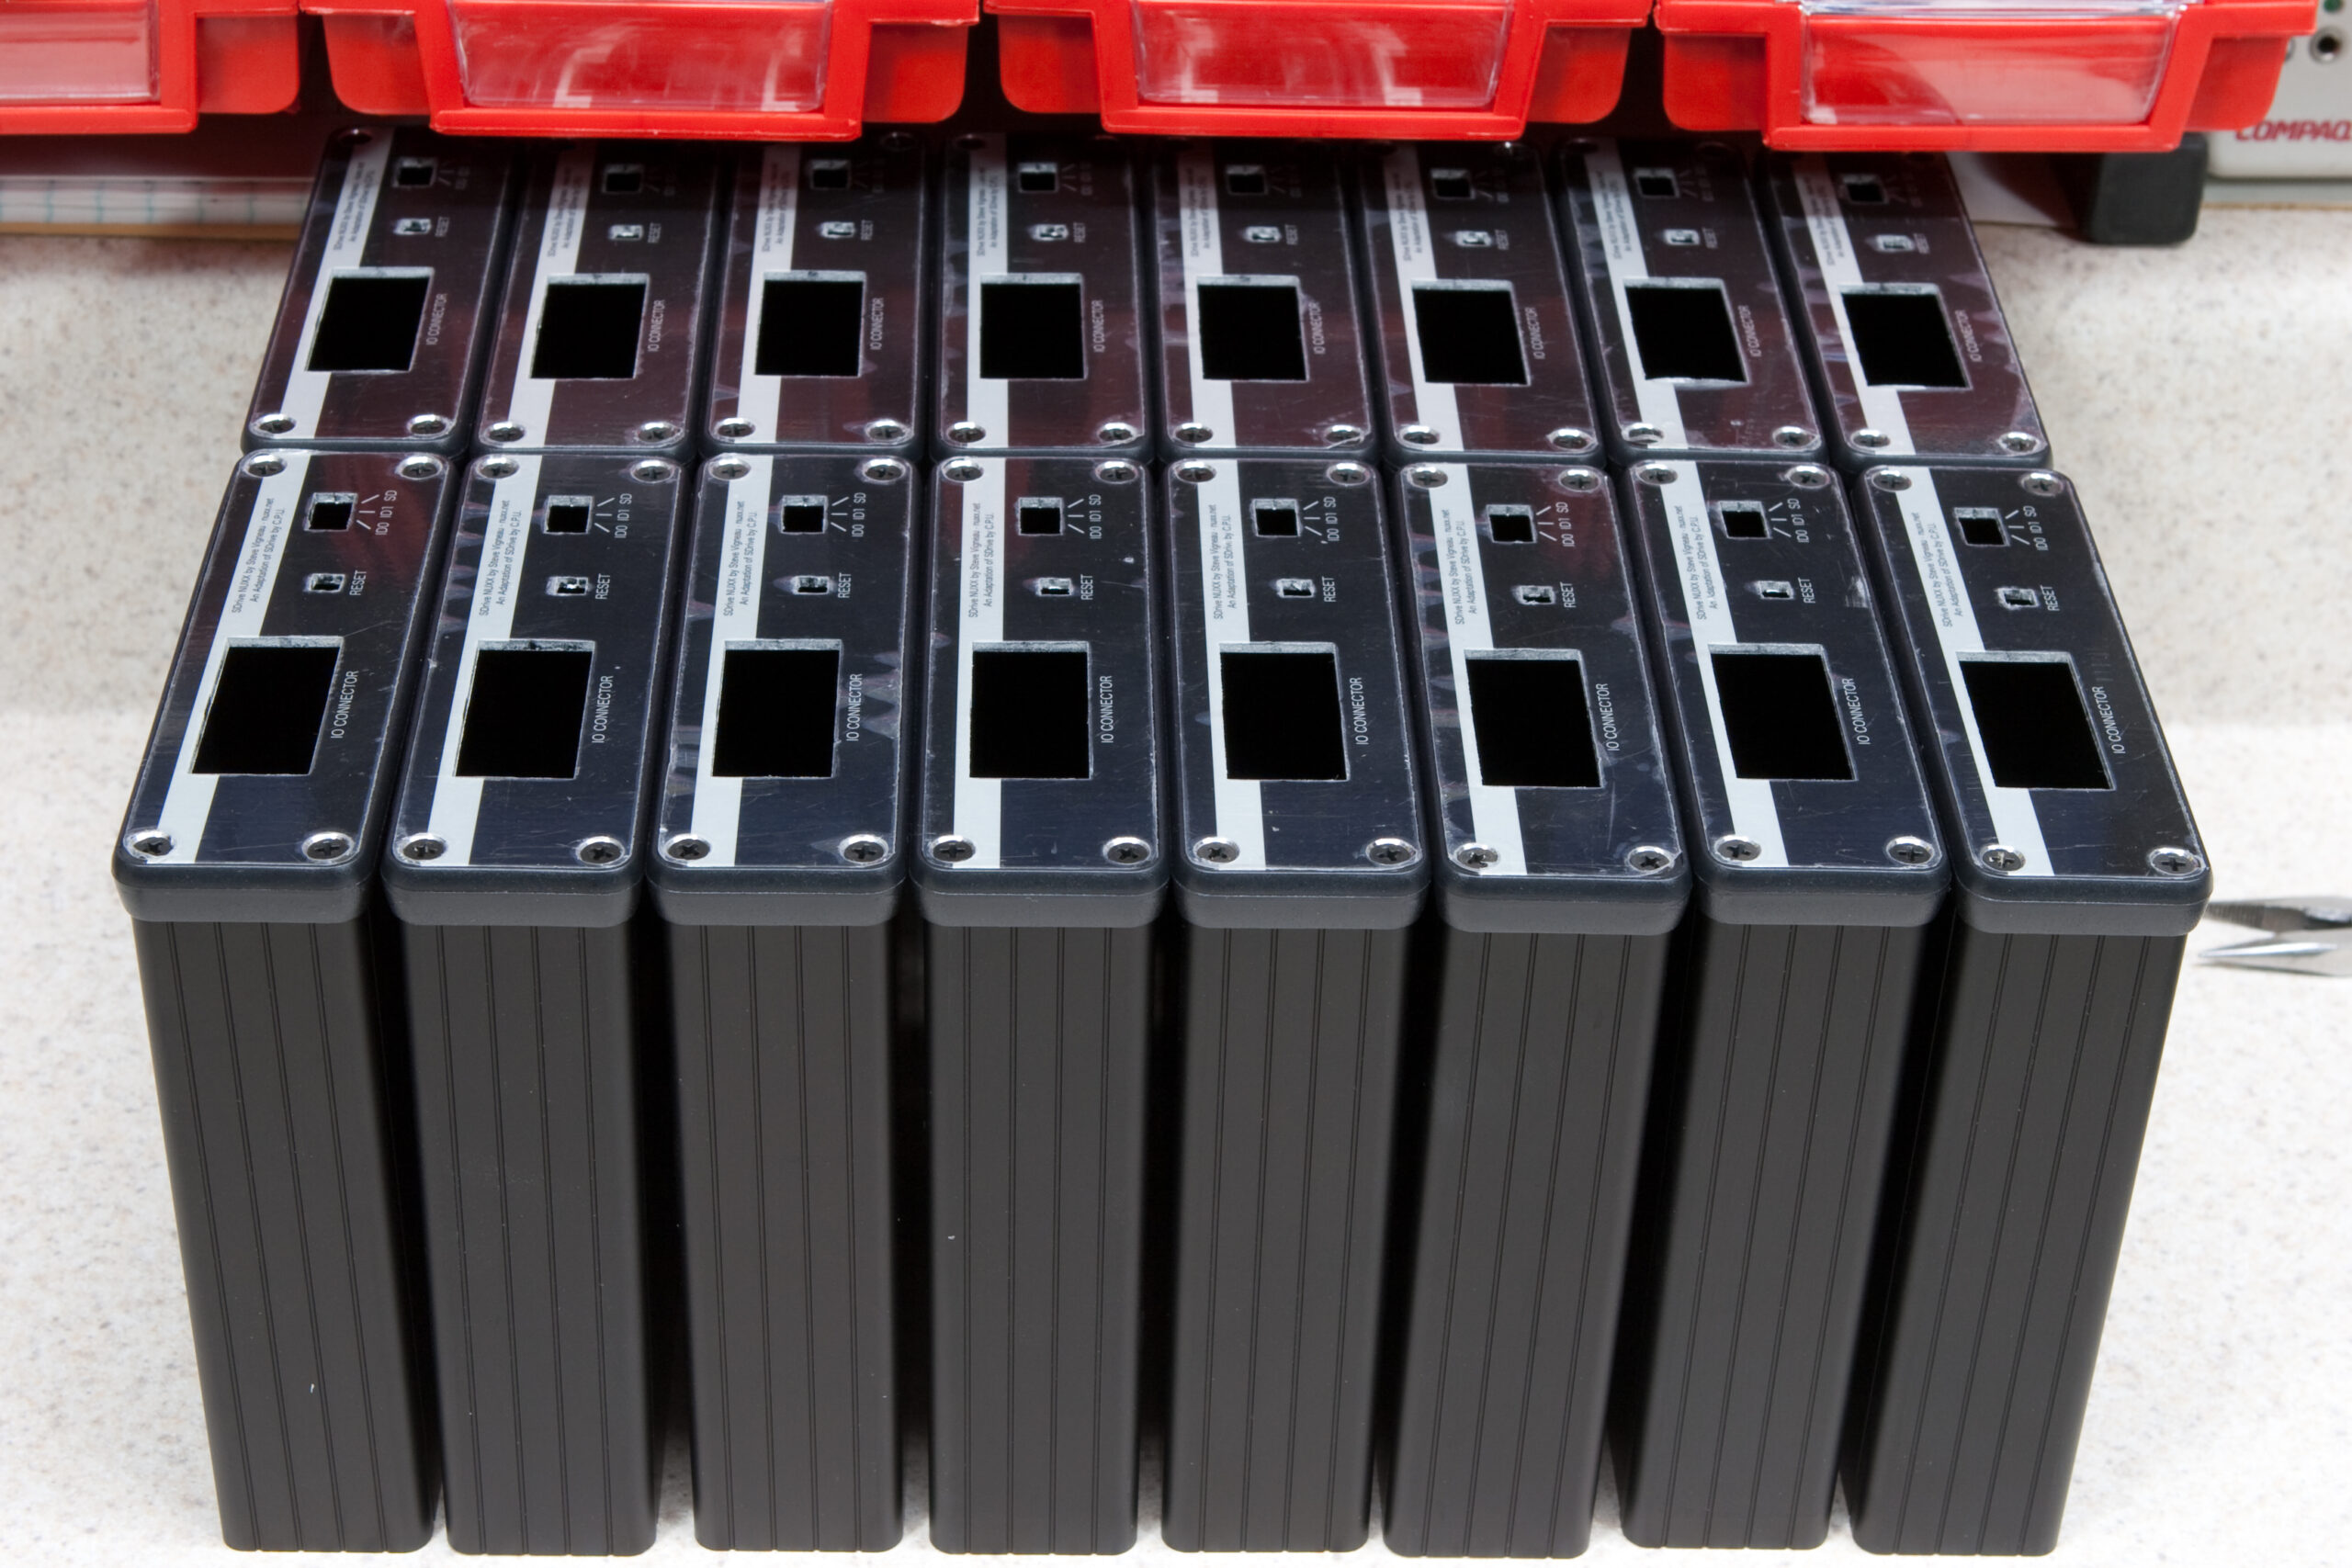
· Rear panels fitted to the cases. Note that the plastic is left on the panels to protect them.
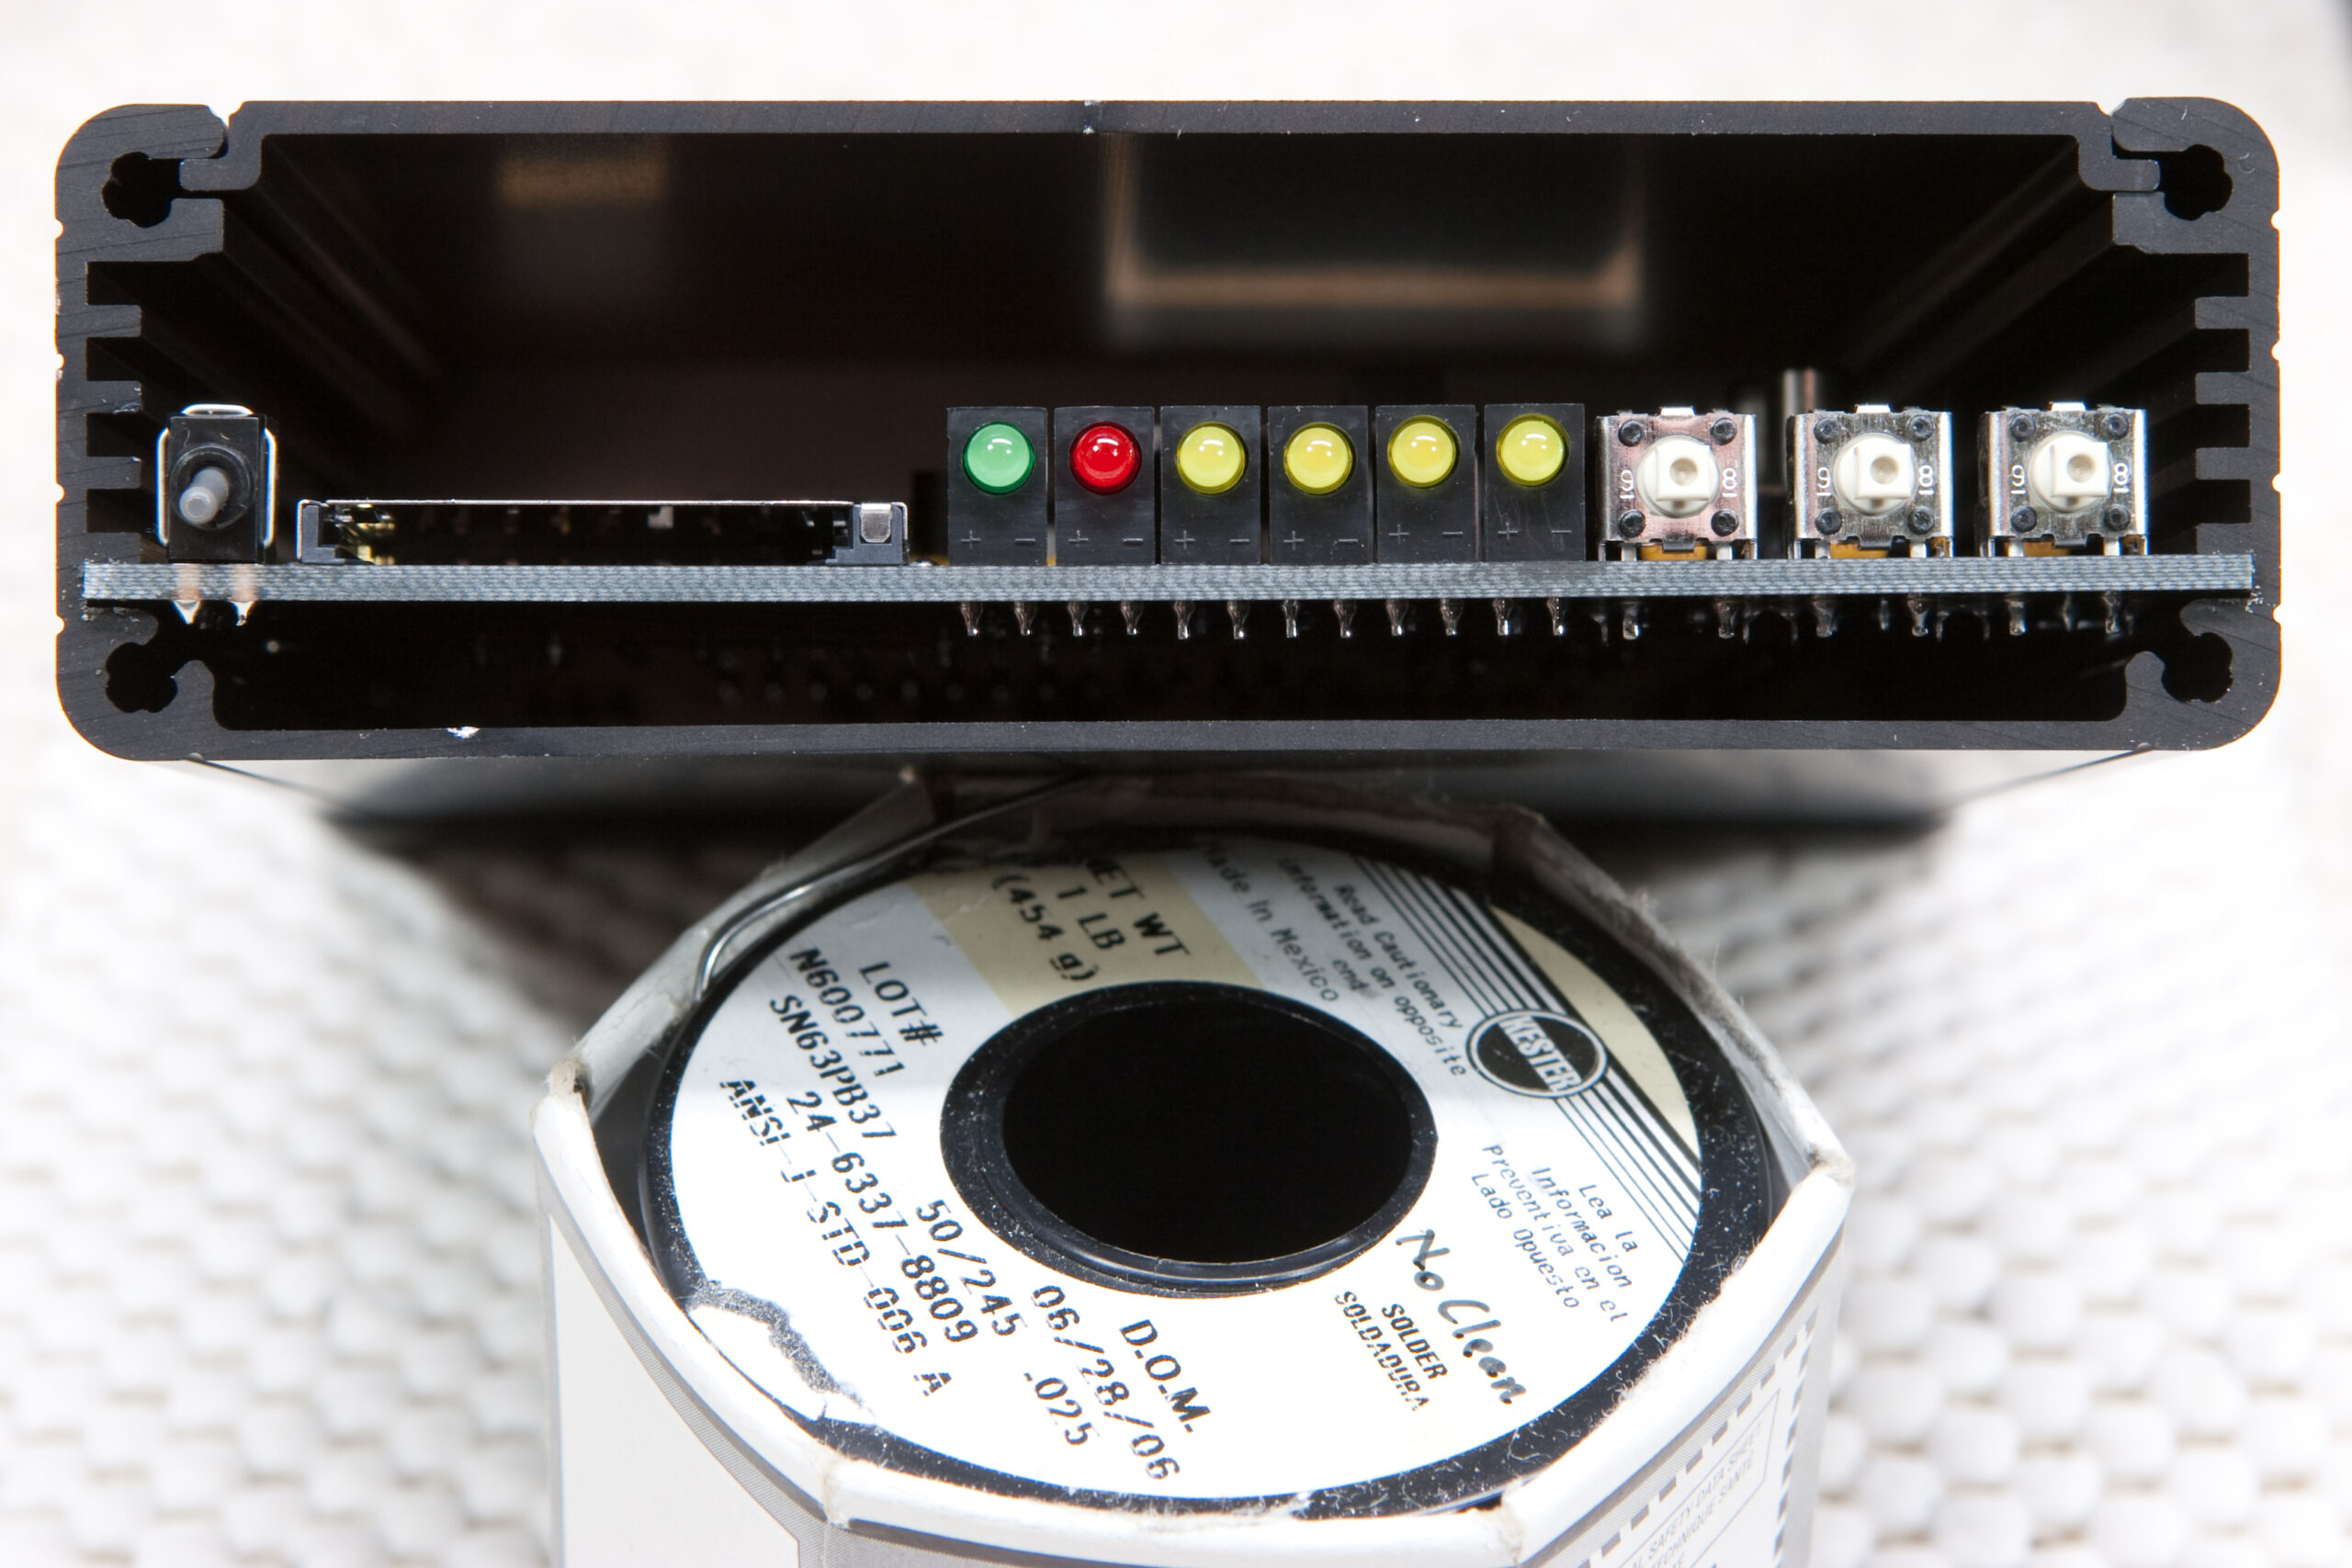
· PCB slid into an enclosure with the rear panel fitted, showing the front edge components.
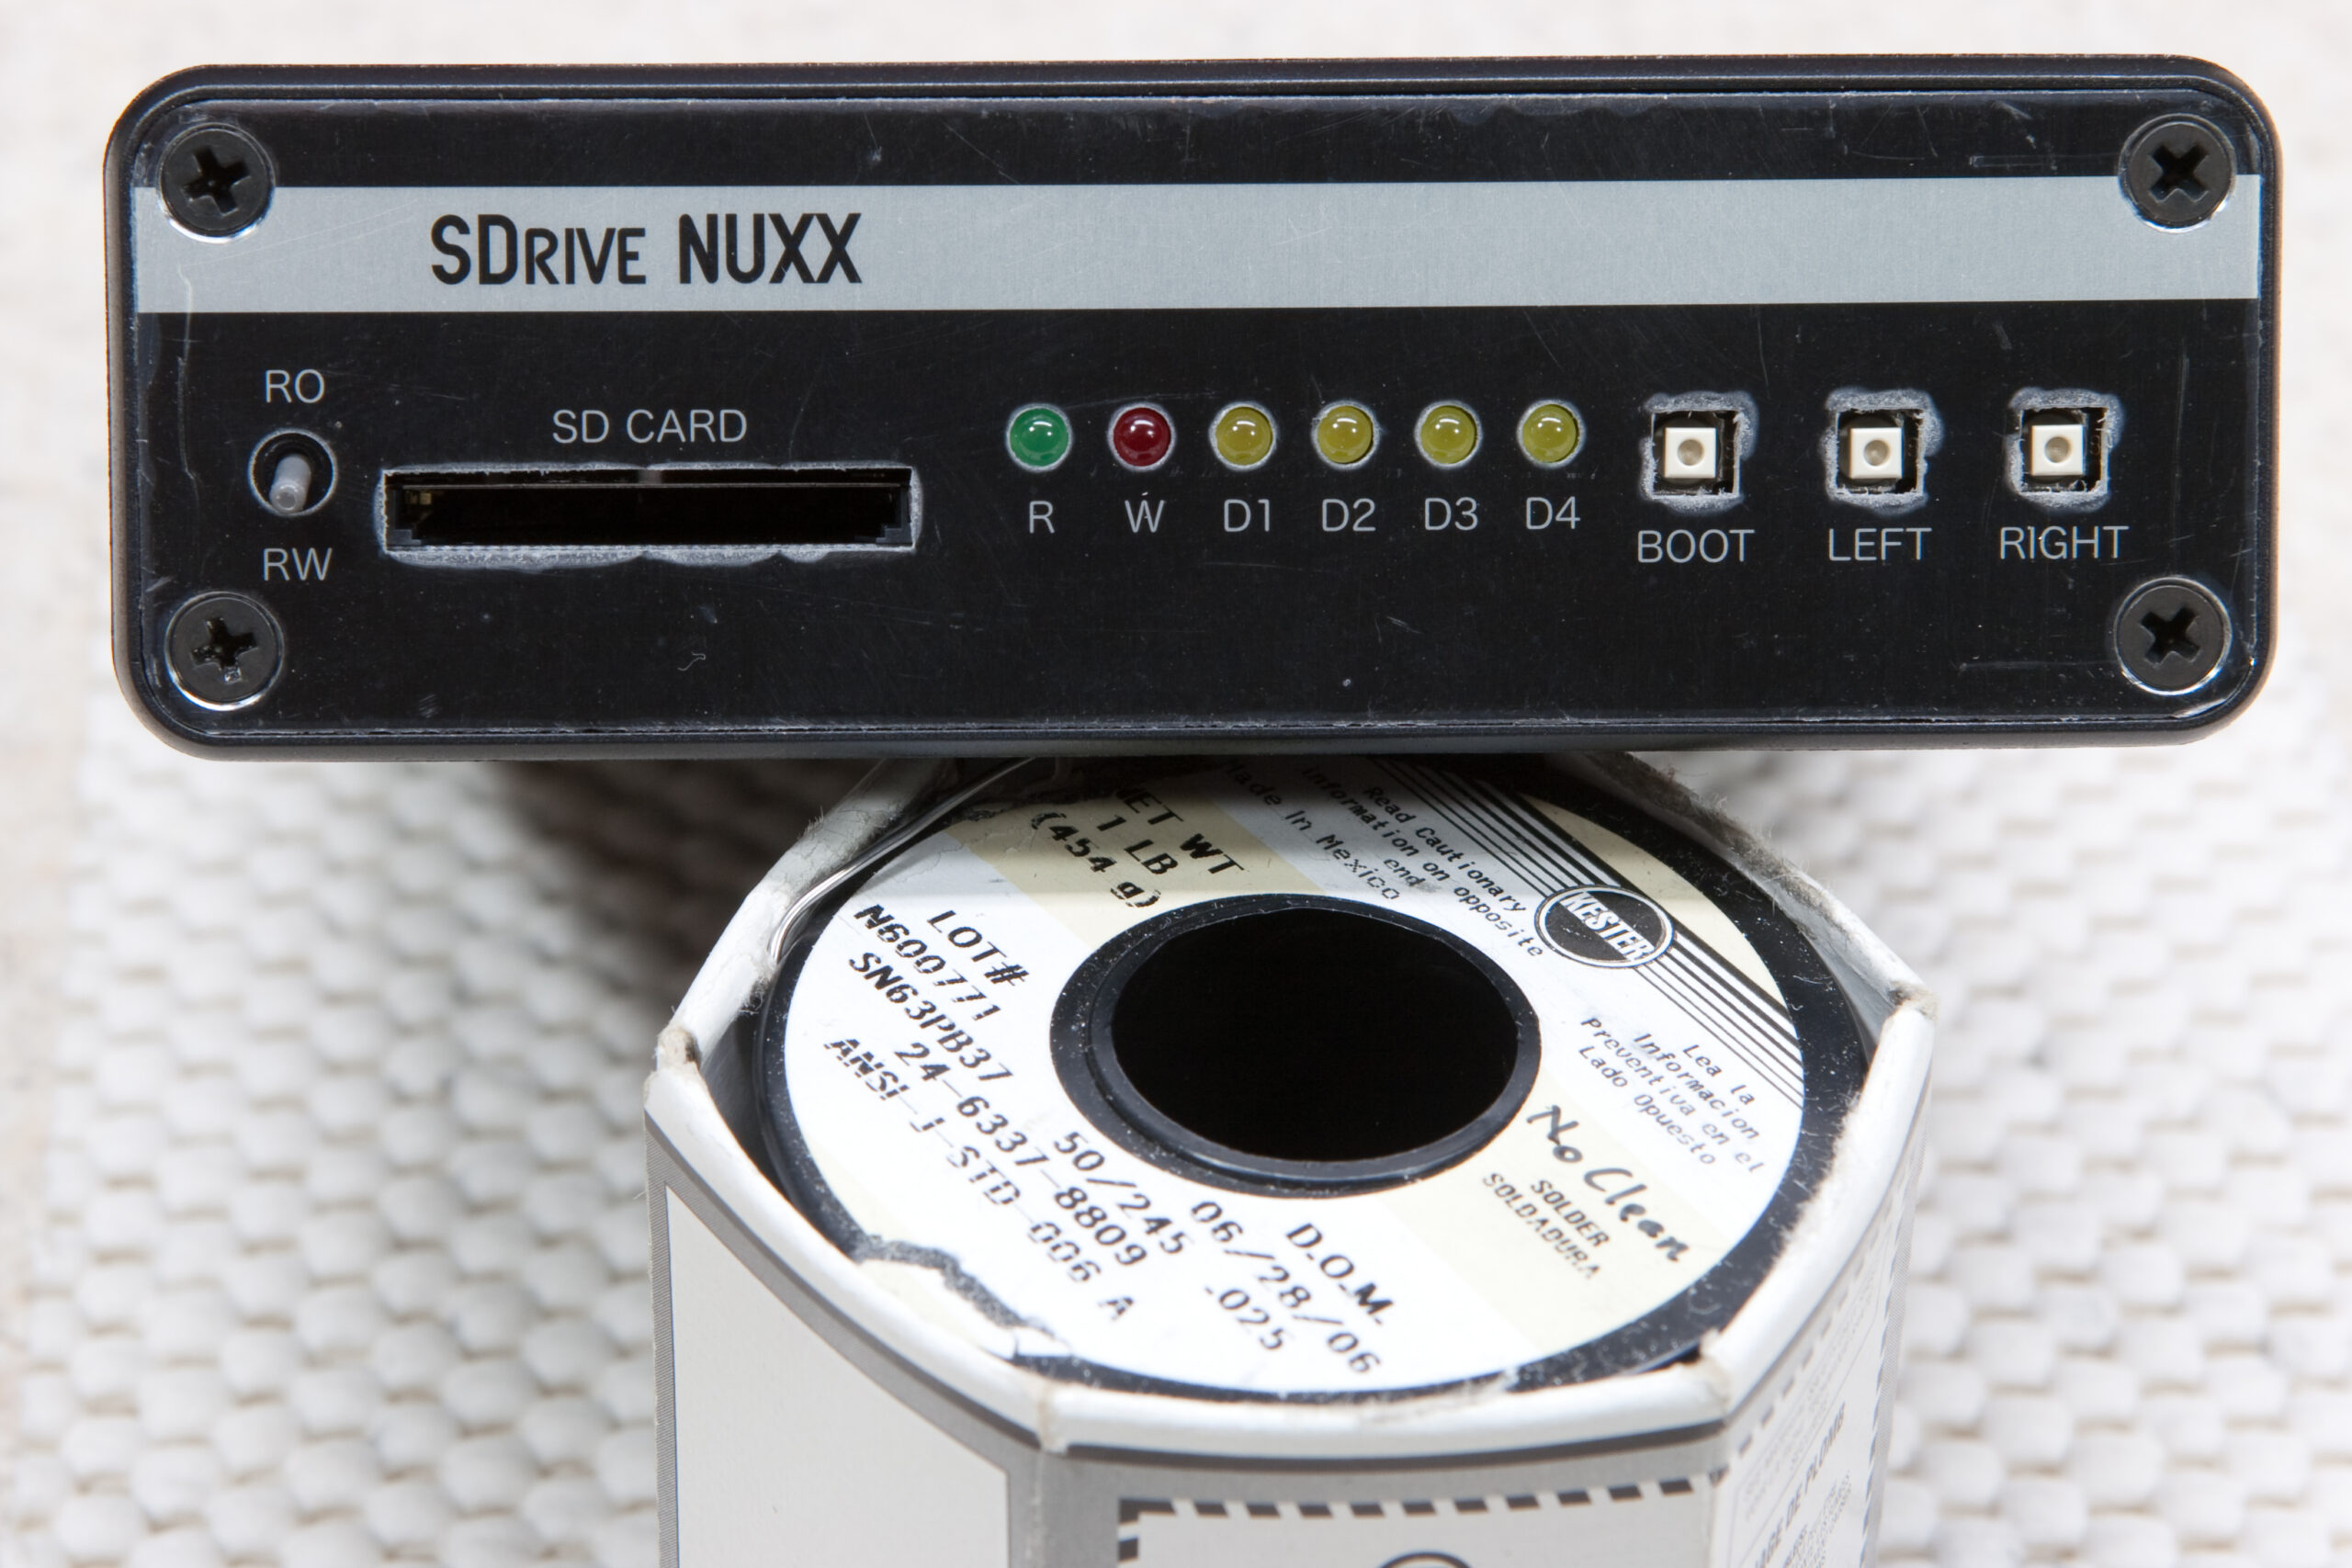
· Front panel fitted on an SDrive NUXX showing the nice alignment of the tactile switches, LEDs, toggle switch, etc.
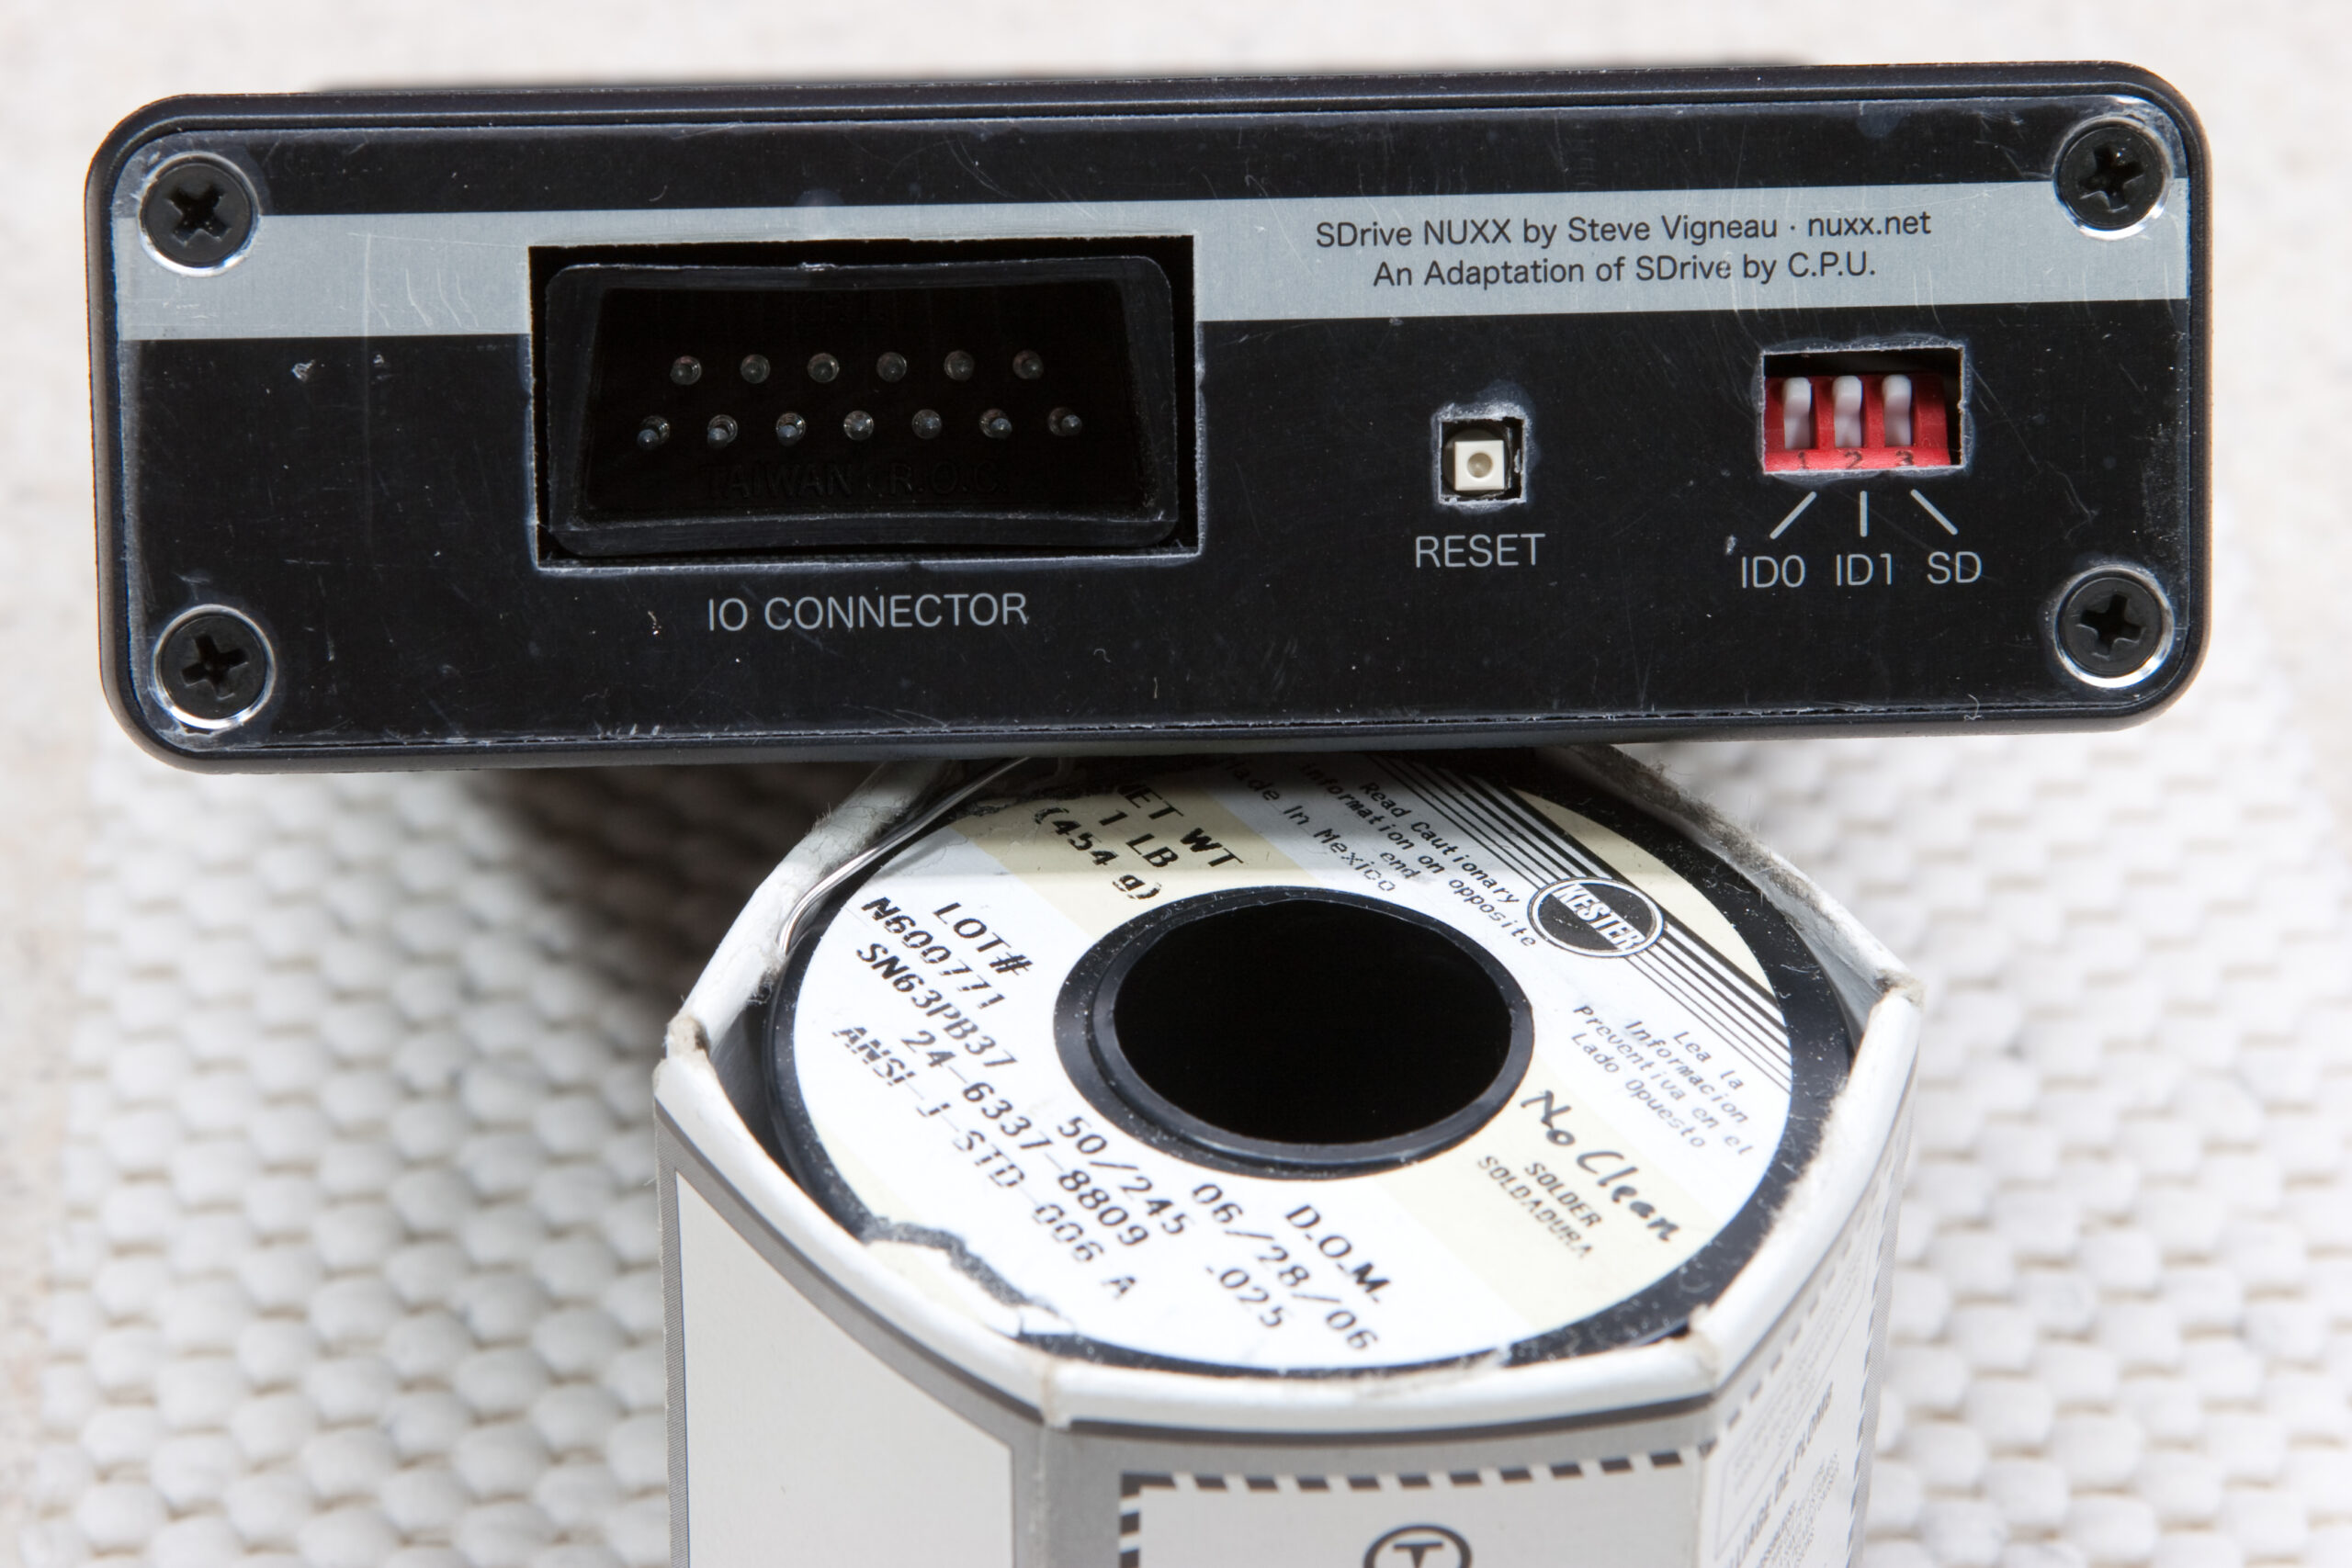
· Rear panel of an assembled SDrive NUXX showing how the DIP switches, reset button, and SIO connector align with the panel.
· SDrive NUXXs with panels and PCBs fitted, waiting for the installation of rubber feet and switch caps.
· Detail of the SDrive NUXX end panels, shown with the protective plastic film still in place.

I hope to have these, and all the other related orders (PCBs, uCs, kits, etc) ready to ship by the end of the weekend so that I can get them out on Monday.

electronicsmaking things

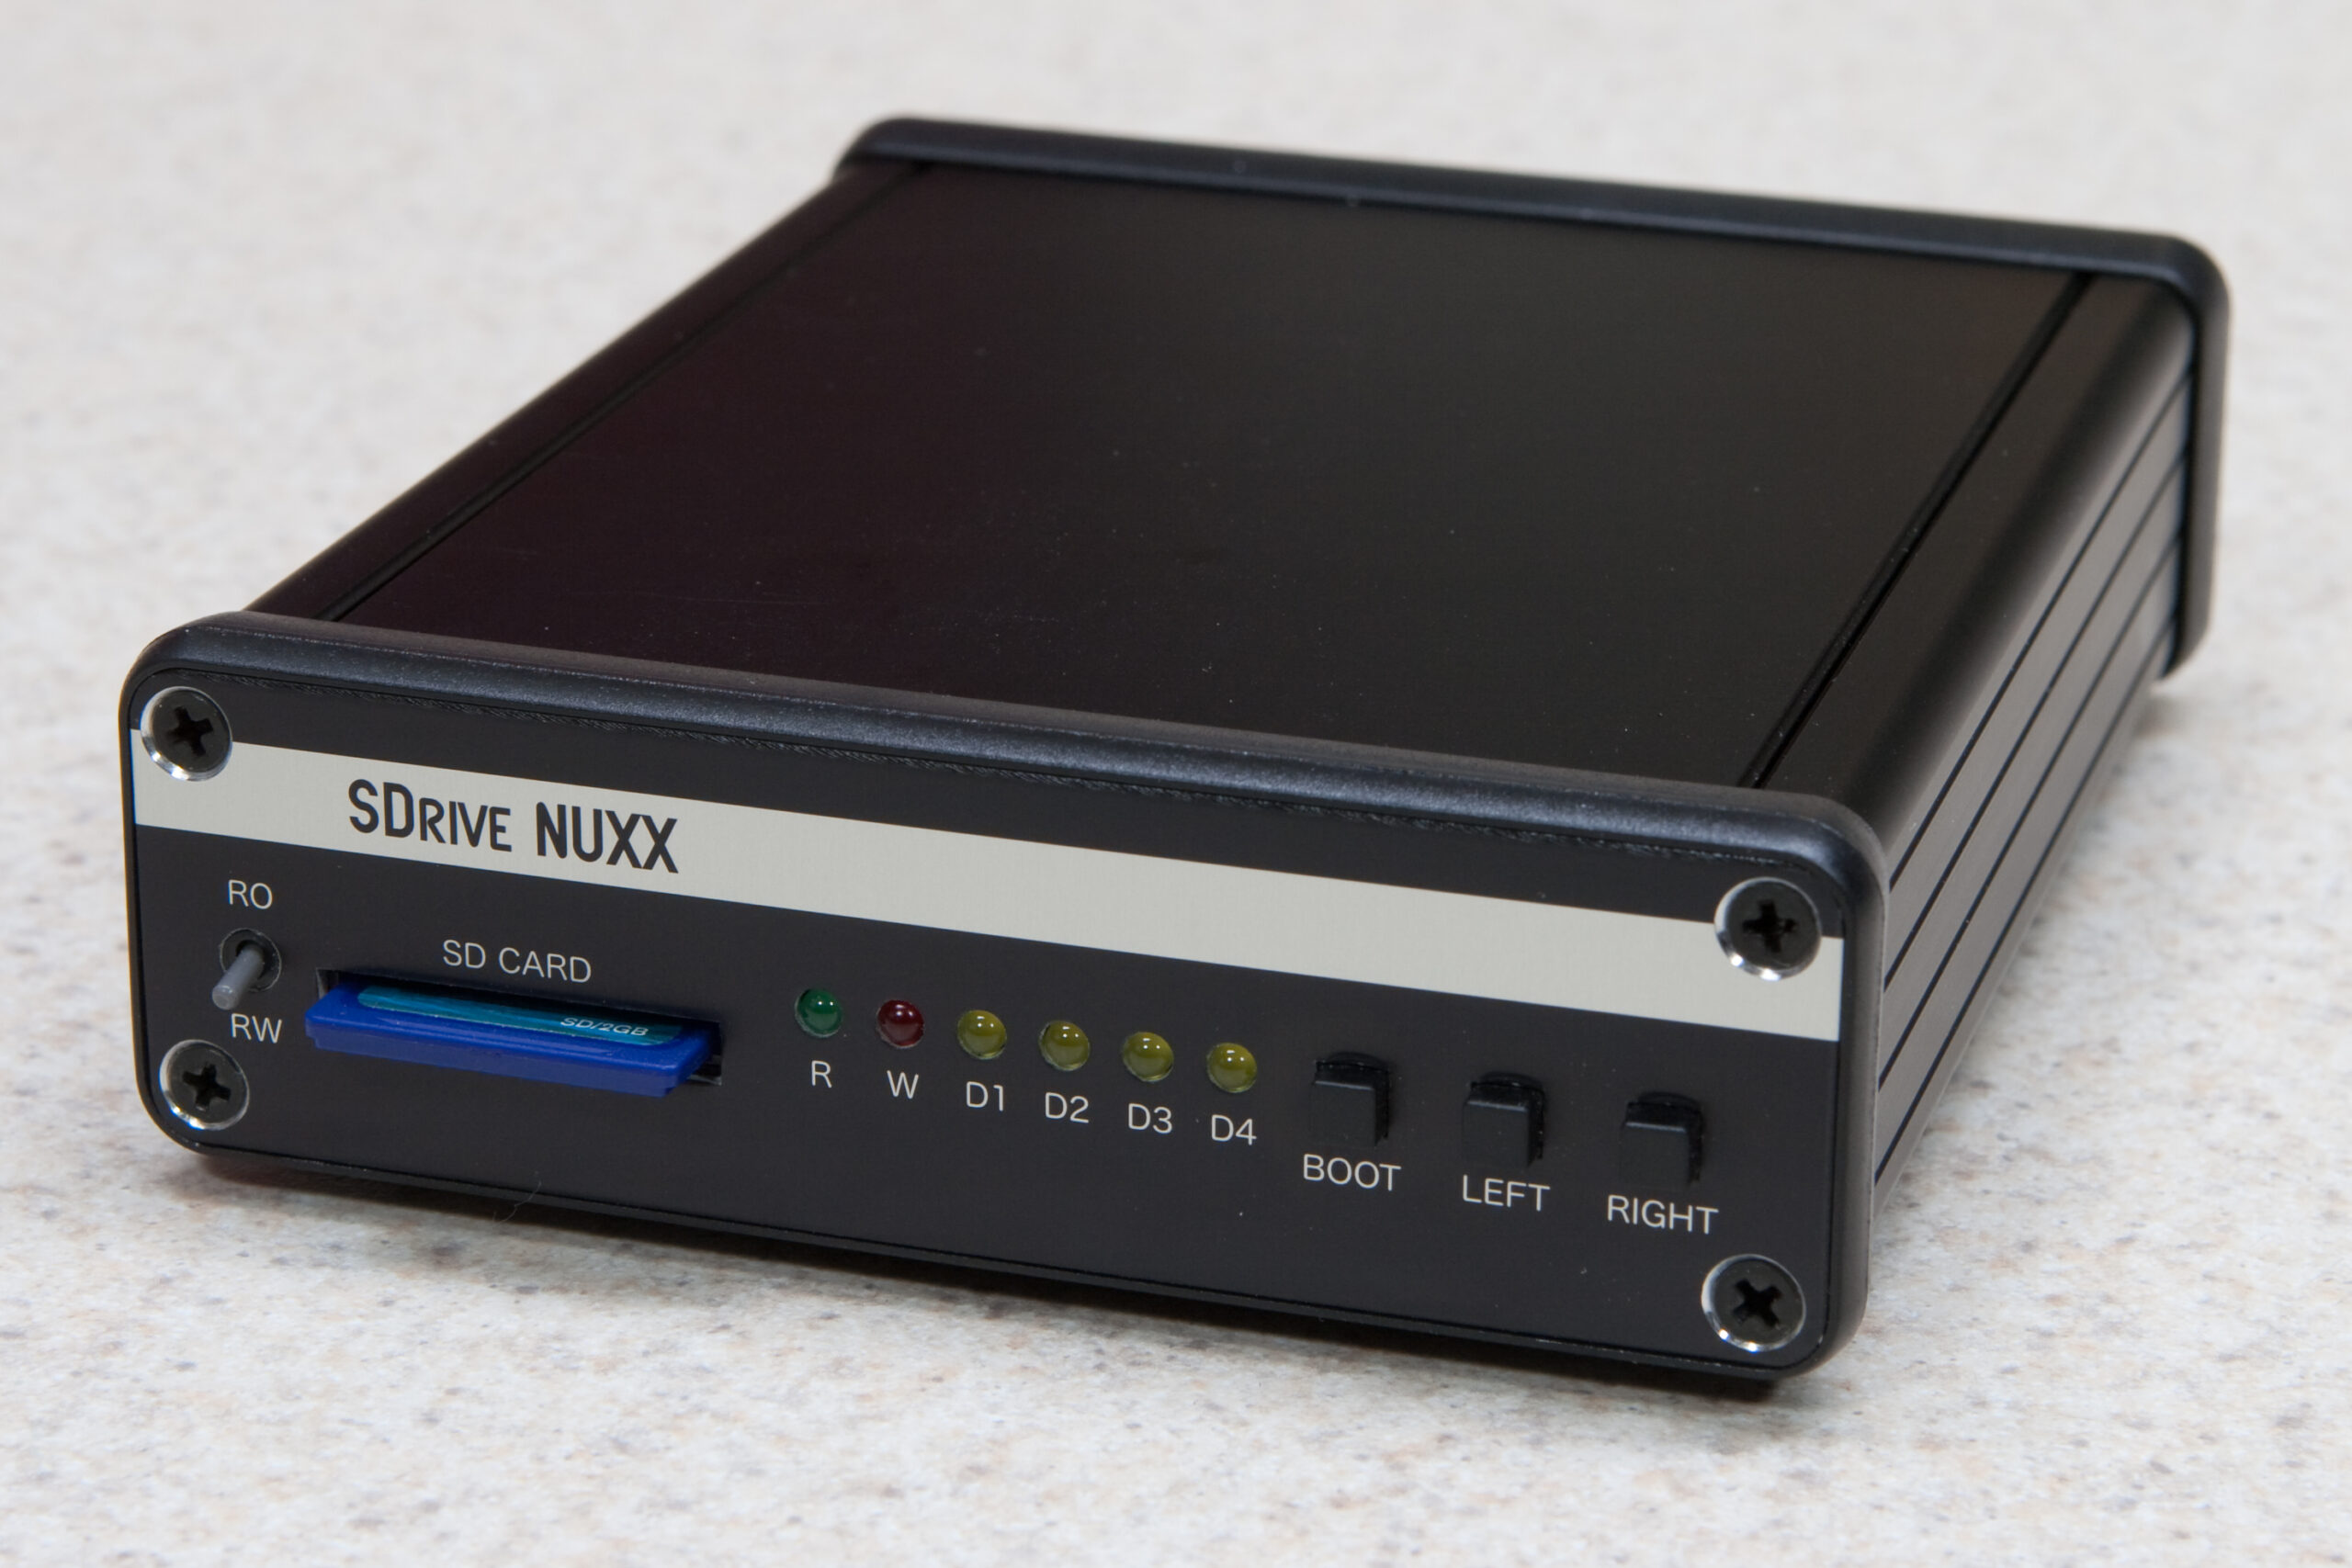
First Complete SDrive NUXX

Front of the first completely assembled SDrive NUXX, with MetalPhoto end panels.

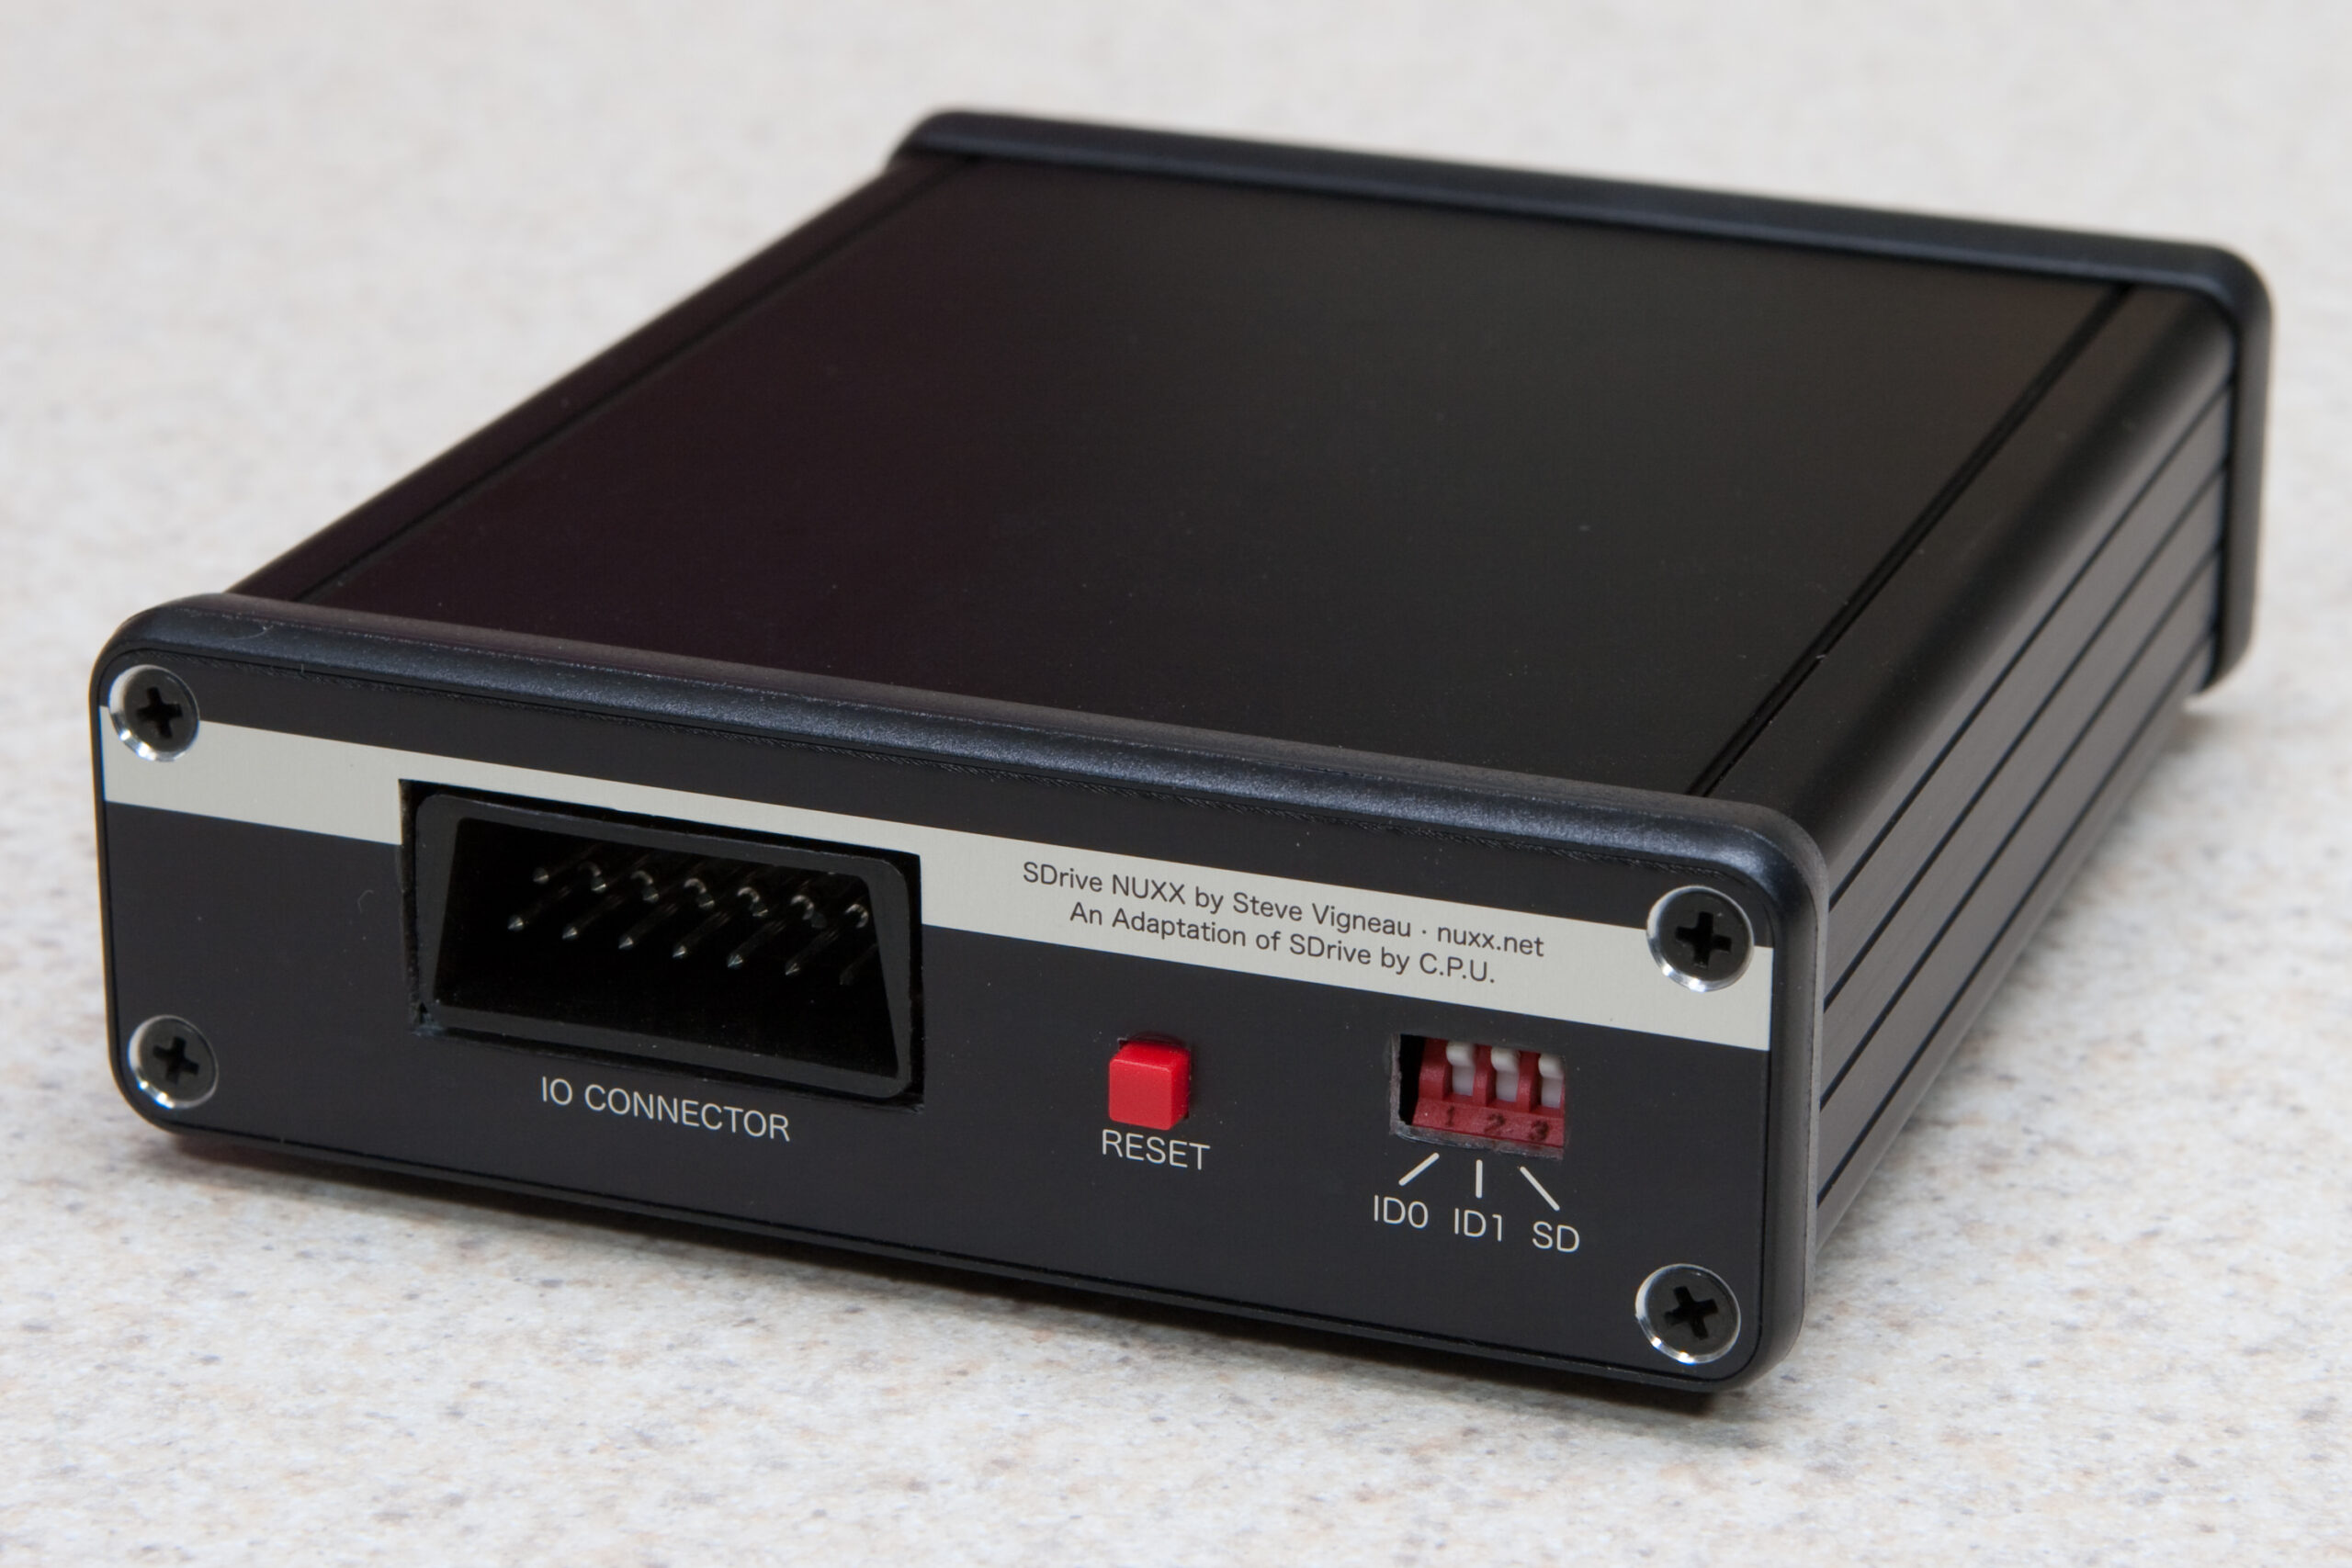
There it is, the first completely assembled SDrive NUXX. Here’s the back, showing the SIO connector, reset button, and DIP switches.

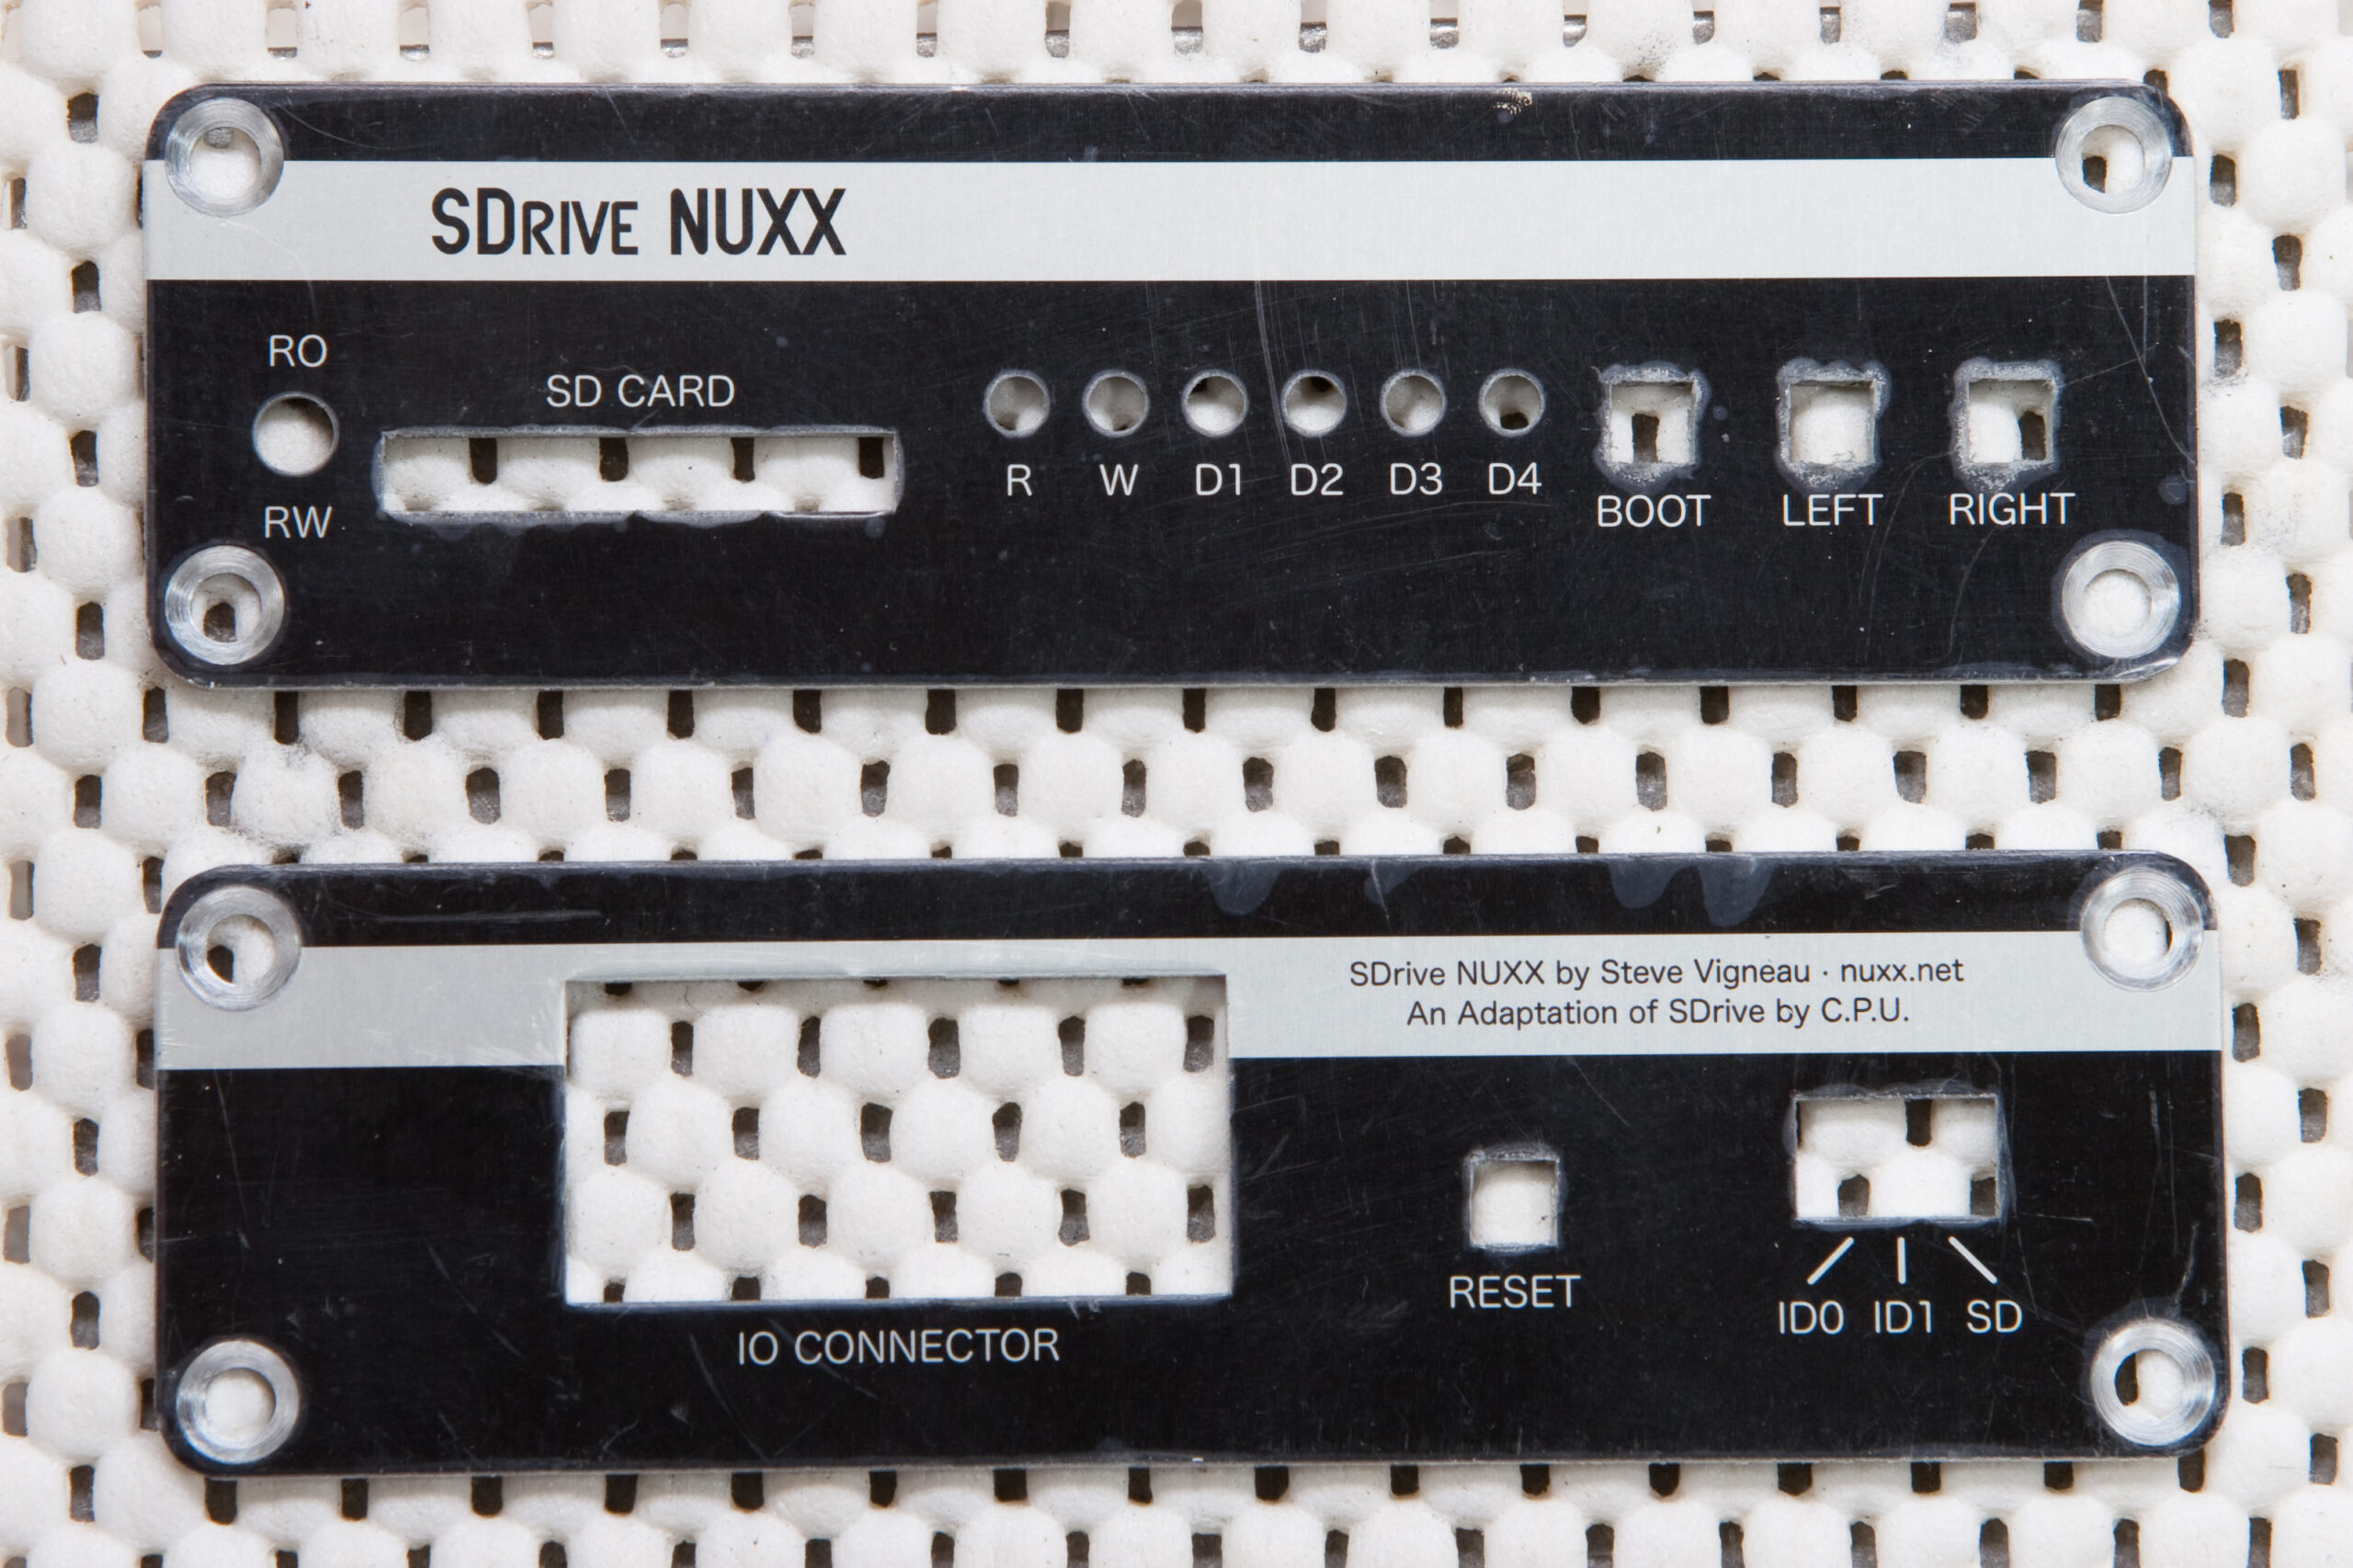
I’m really, really happy with the MetalPhoto material used for the end panels. The manufacturer also did an outstanding job with the panels themselves. They snap nicely into the bezels, fit perfectly with the PCB, and just work.

After I finish eating this giant leftover portion of biyrani I think I’ll get to work assembling the rest of them.

electronicsmaking things

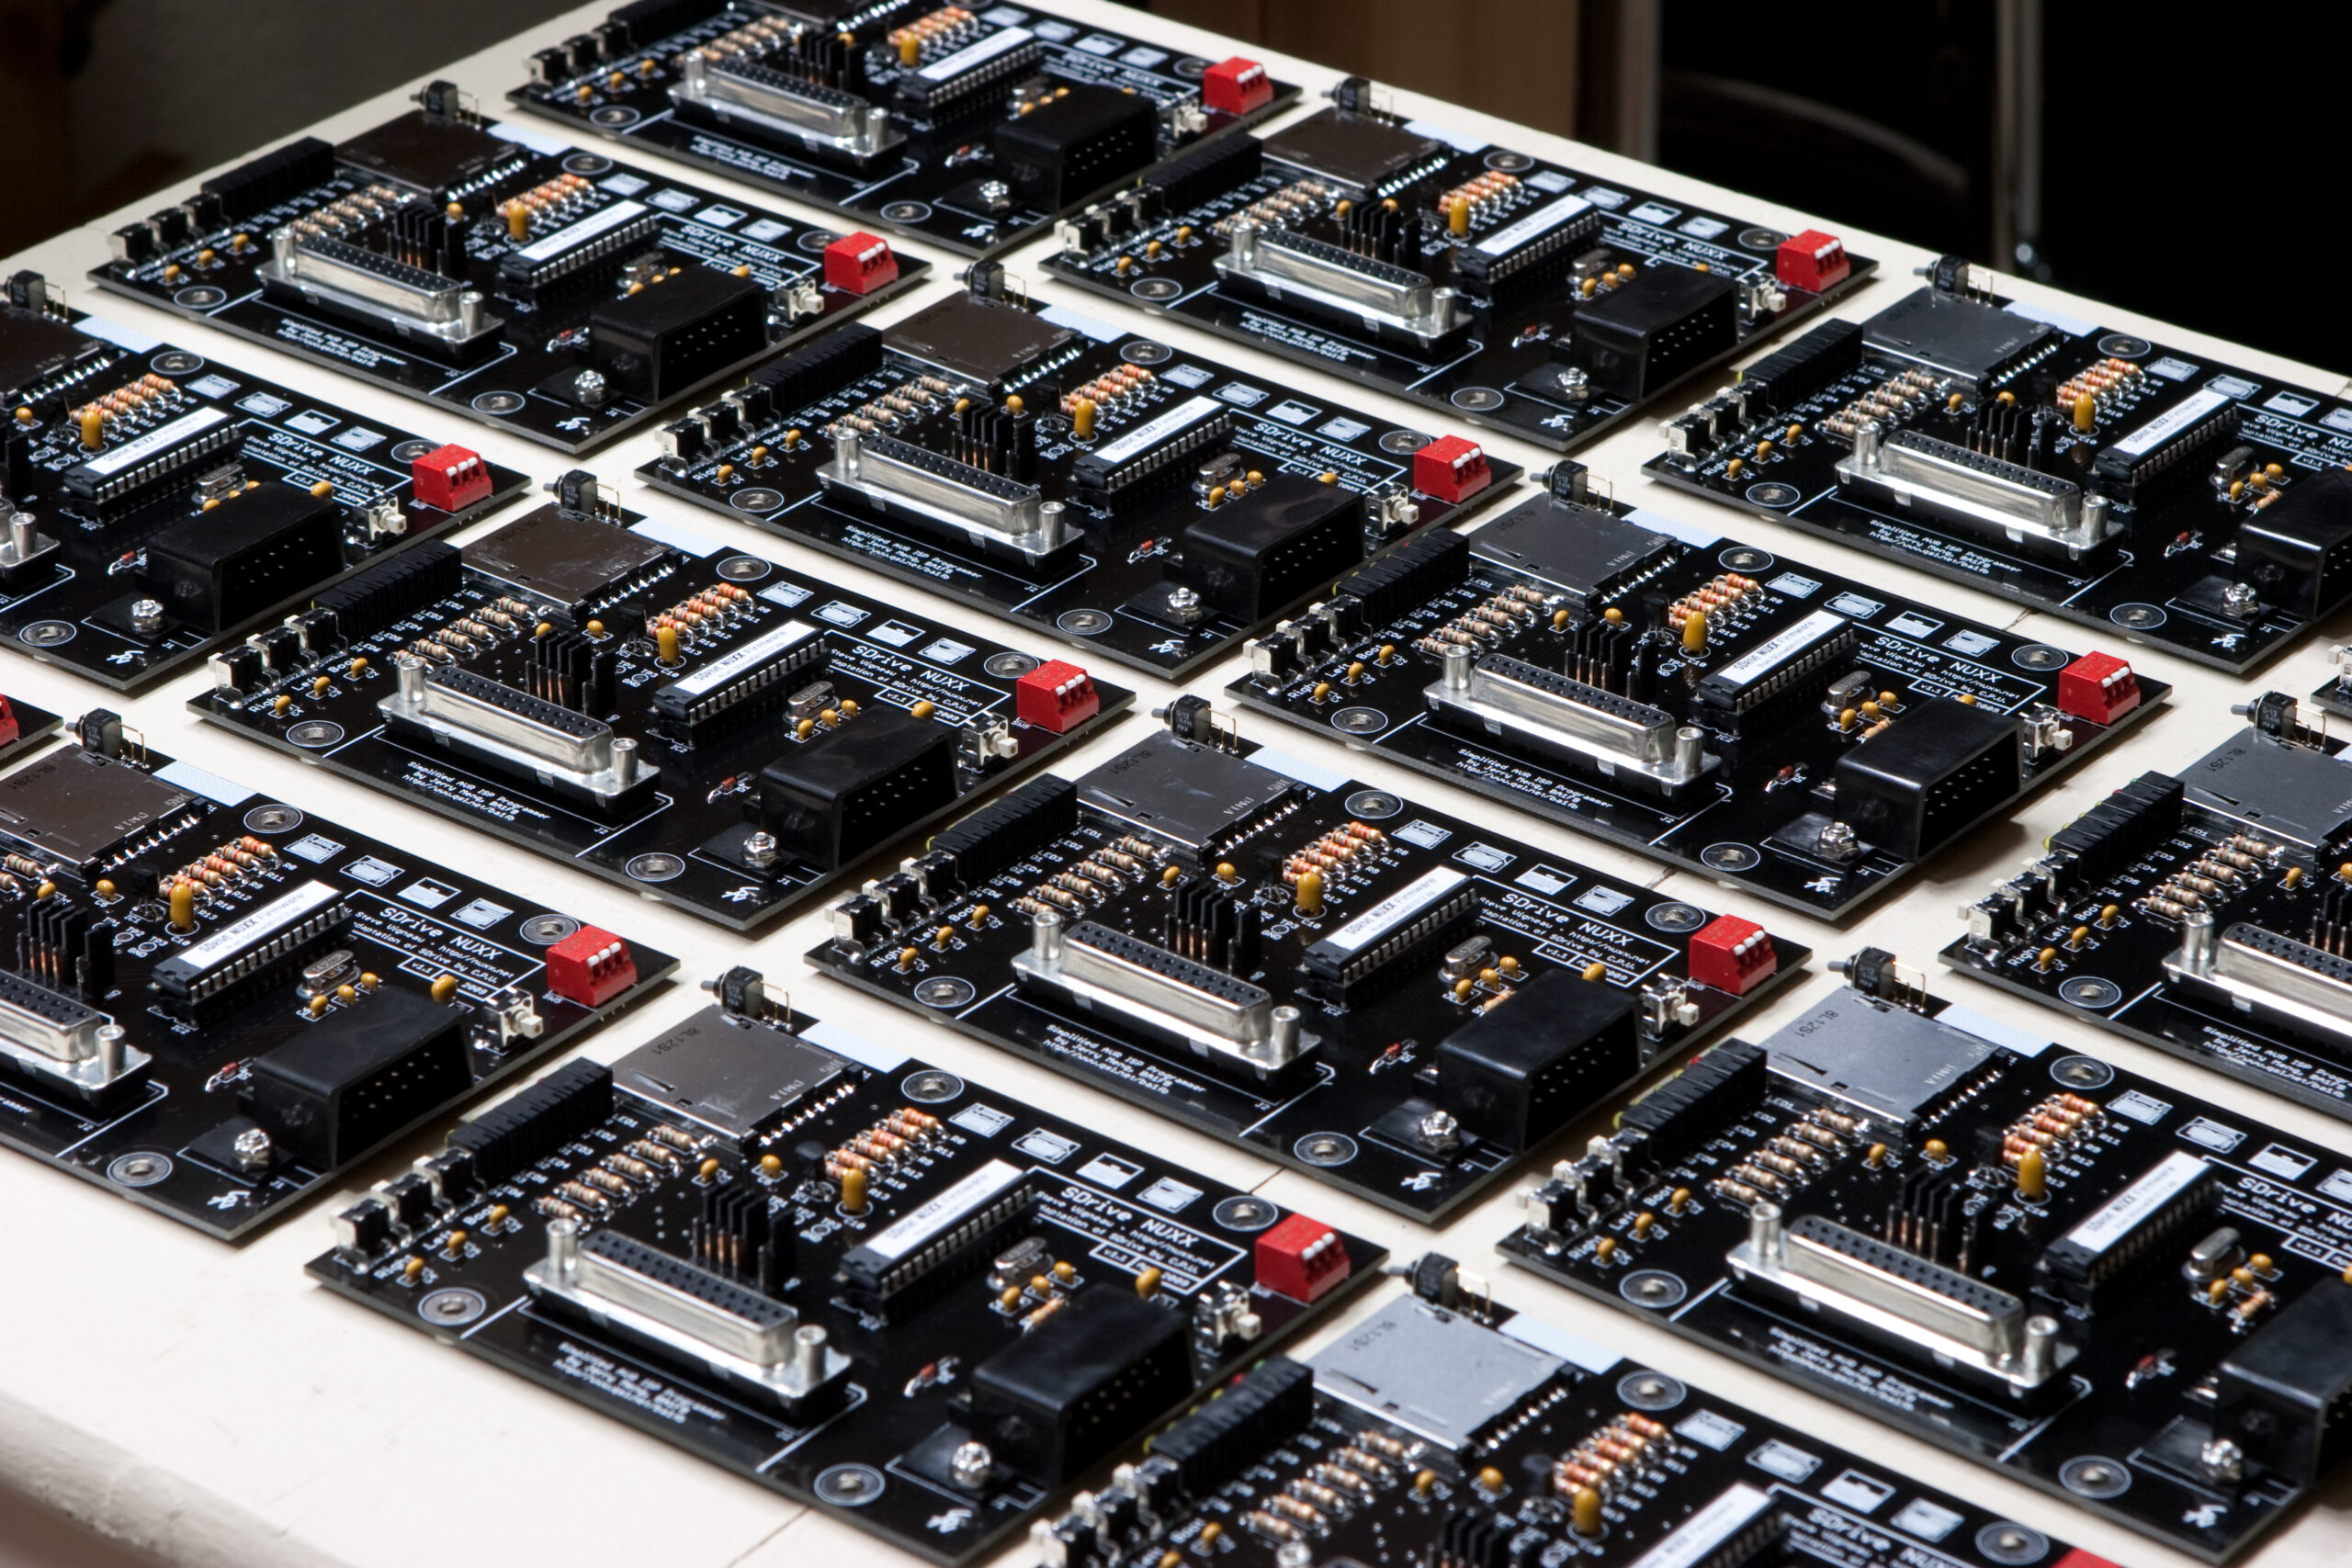
SDrive NUXX PCB Assembly Complete

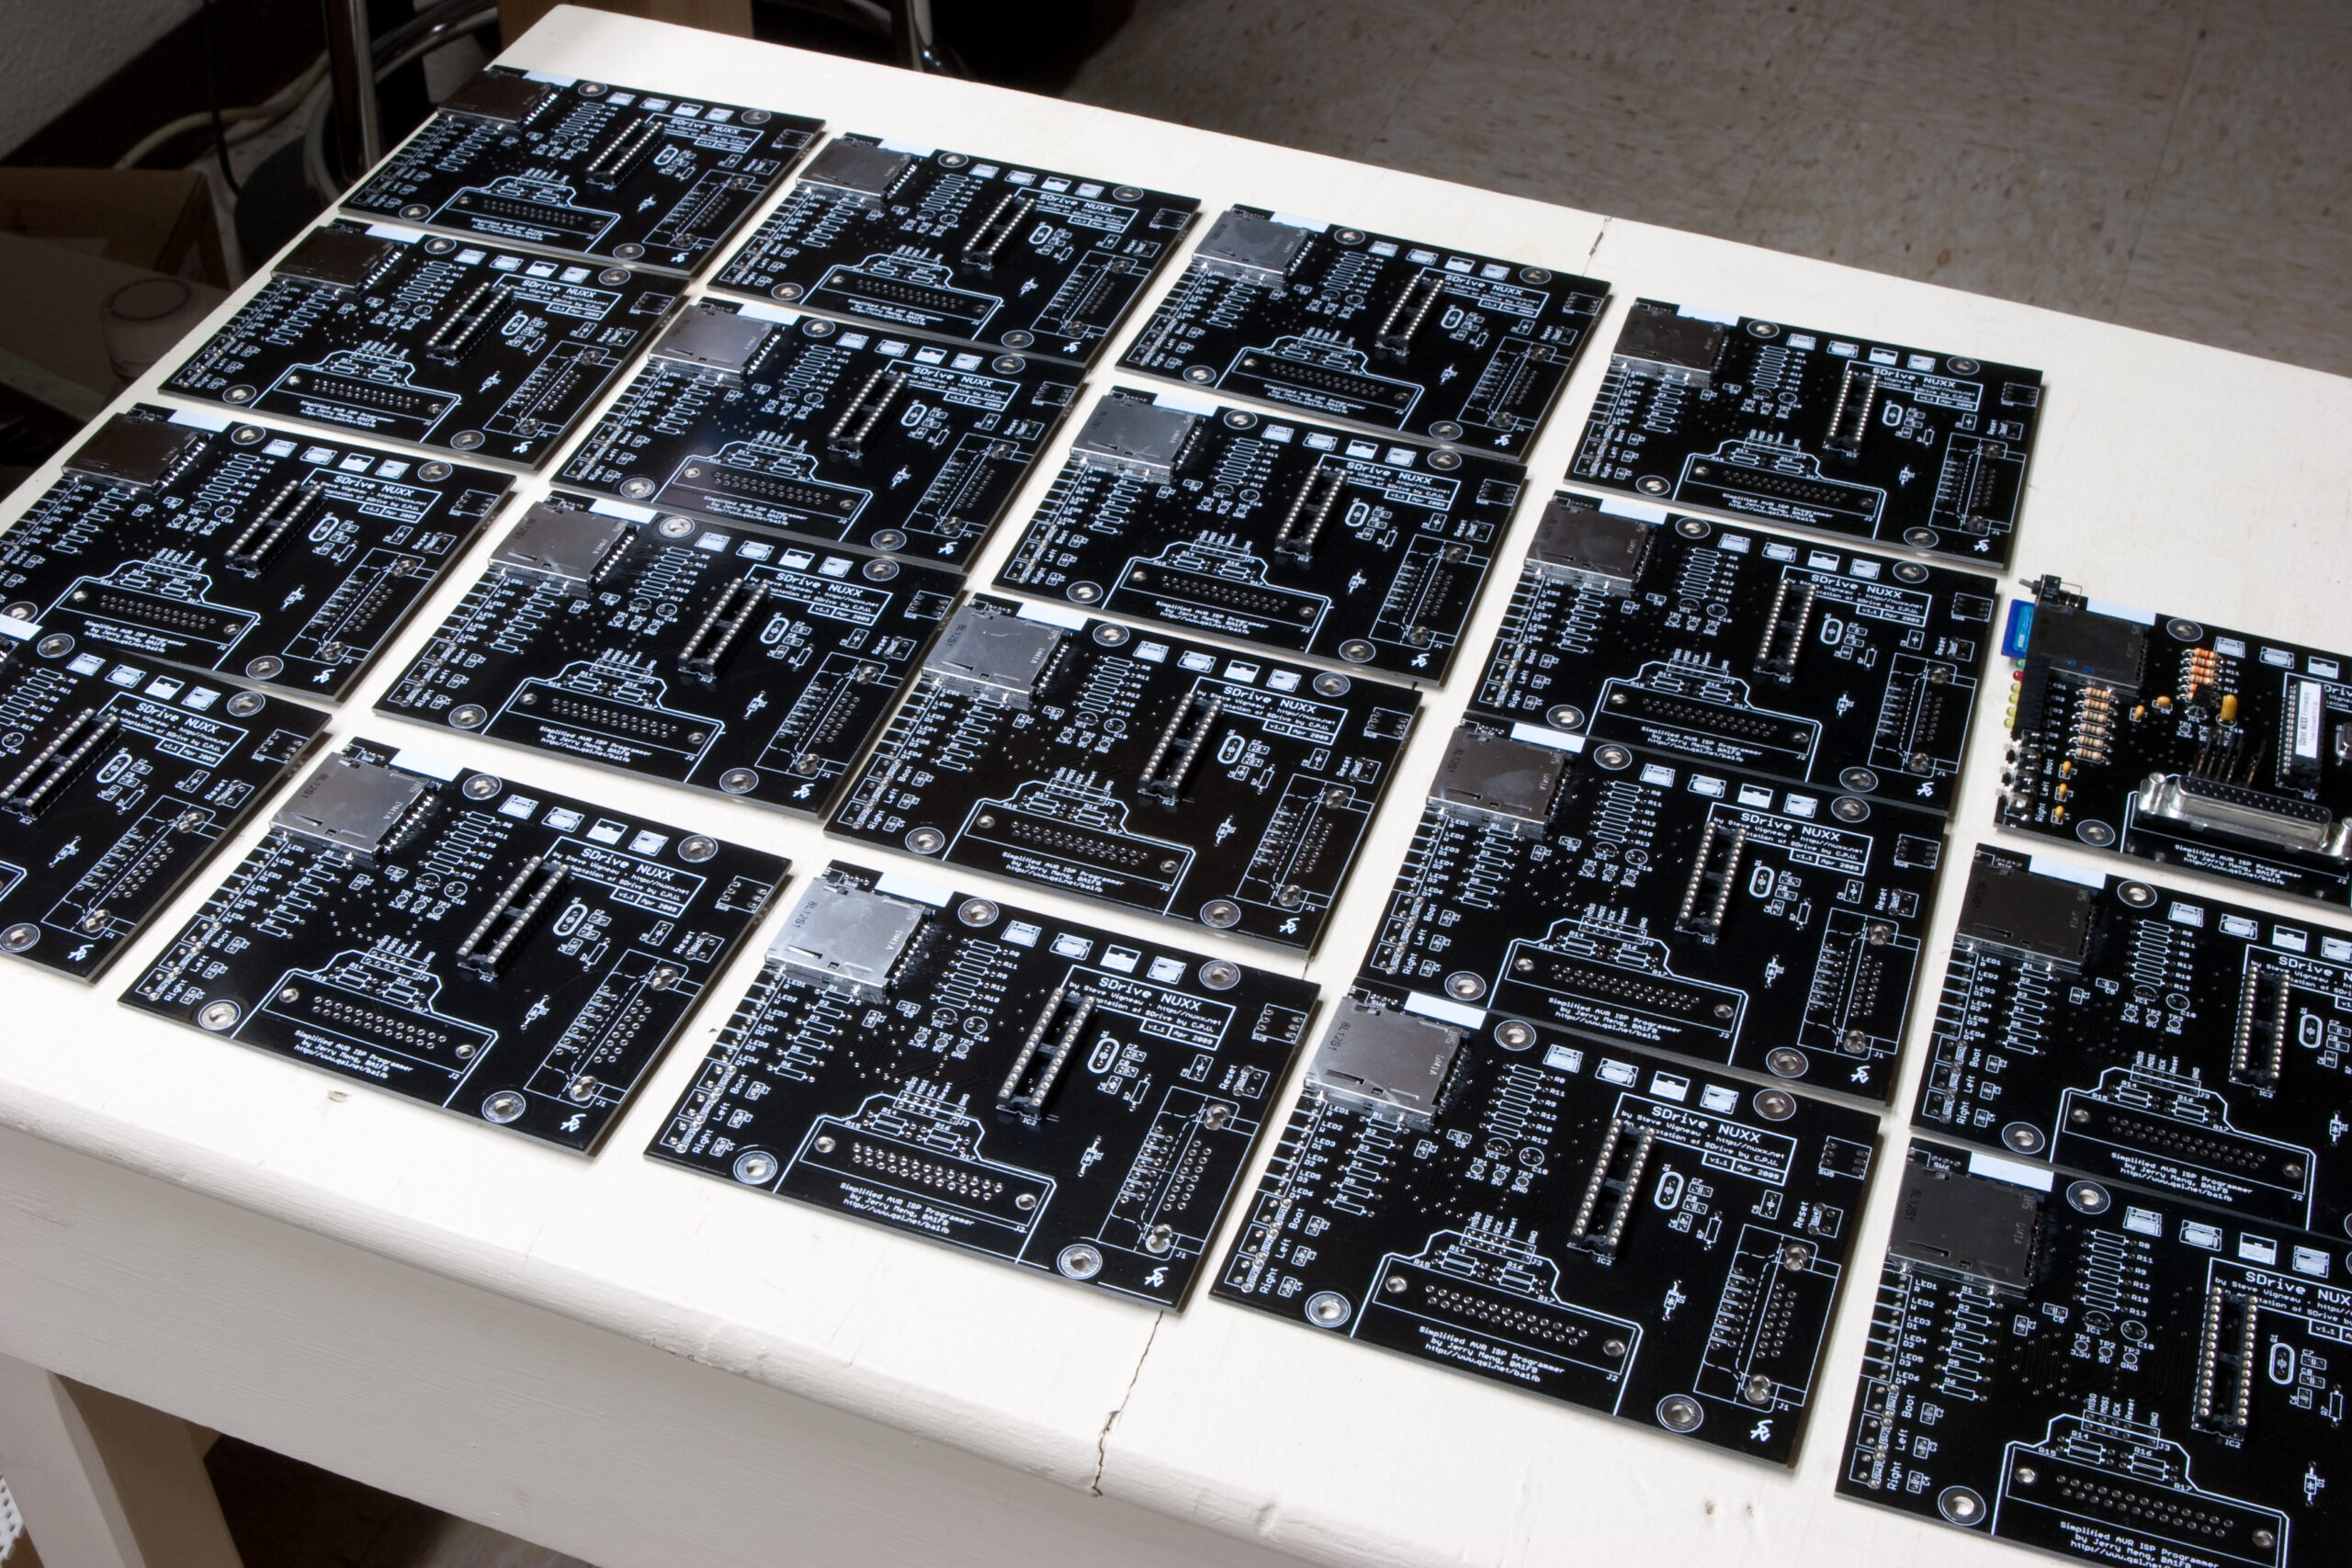
Sixteen of the assembled SDrive NUXX PCBs. They have all passed initial testing and are ready to be inserted into enclosures.

After working on and off for a week and a half, I have finished assembling most of the SDrive NUXX PCBs. It turns out that I’m missing a voltage regulator and DB25 connector, but I was still able to get 17 boards fully completed and two more missing only one component each. (The table pictured above contains more boards than shown, but I cut some off to better frame the image.)

Each board has also passed initial testing (100% success rate), which involves checking for shorts, checking voltages, checking LEDs, checking the buttons, and ensuring that the microcontroller can read the SD card. I’ll do more testing later, to be sure that booting an 800XL, running an app, doing R/W, and all that other important stuff works.

electronicsmaking things

TiVo HD Power Supply: Fixed

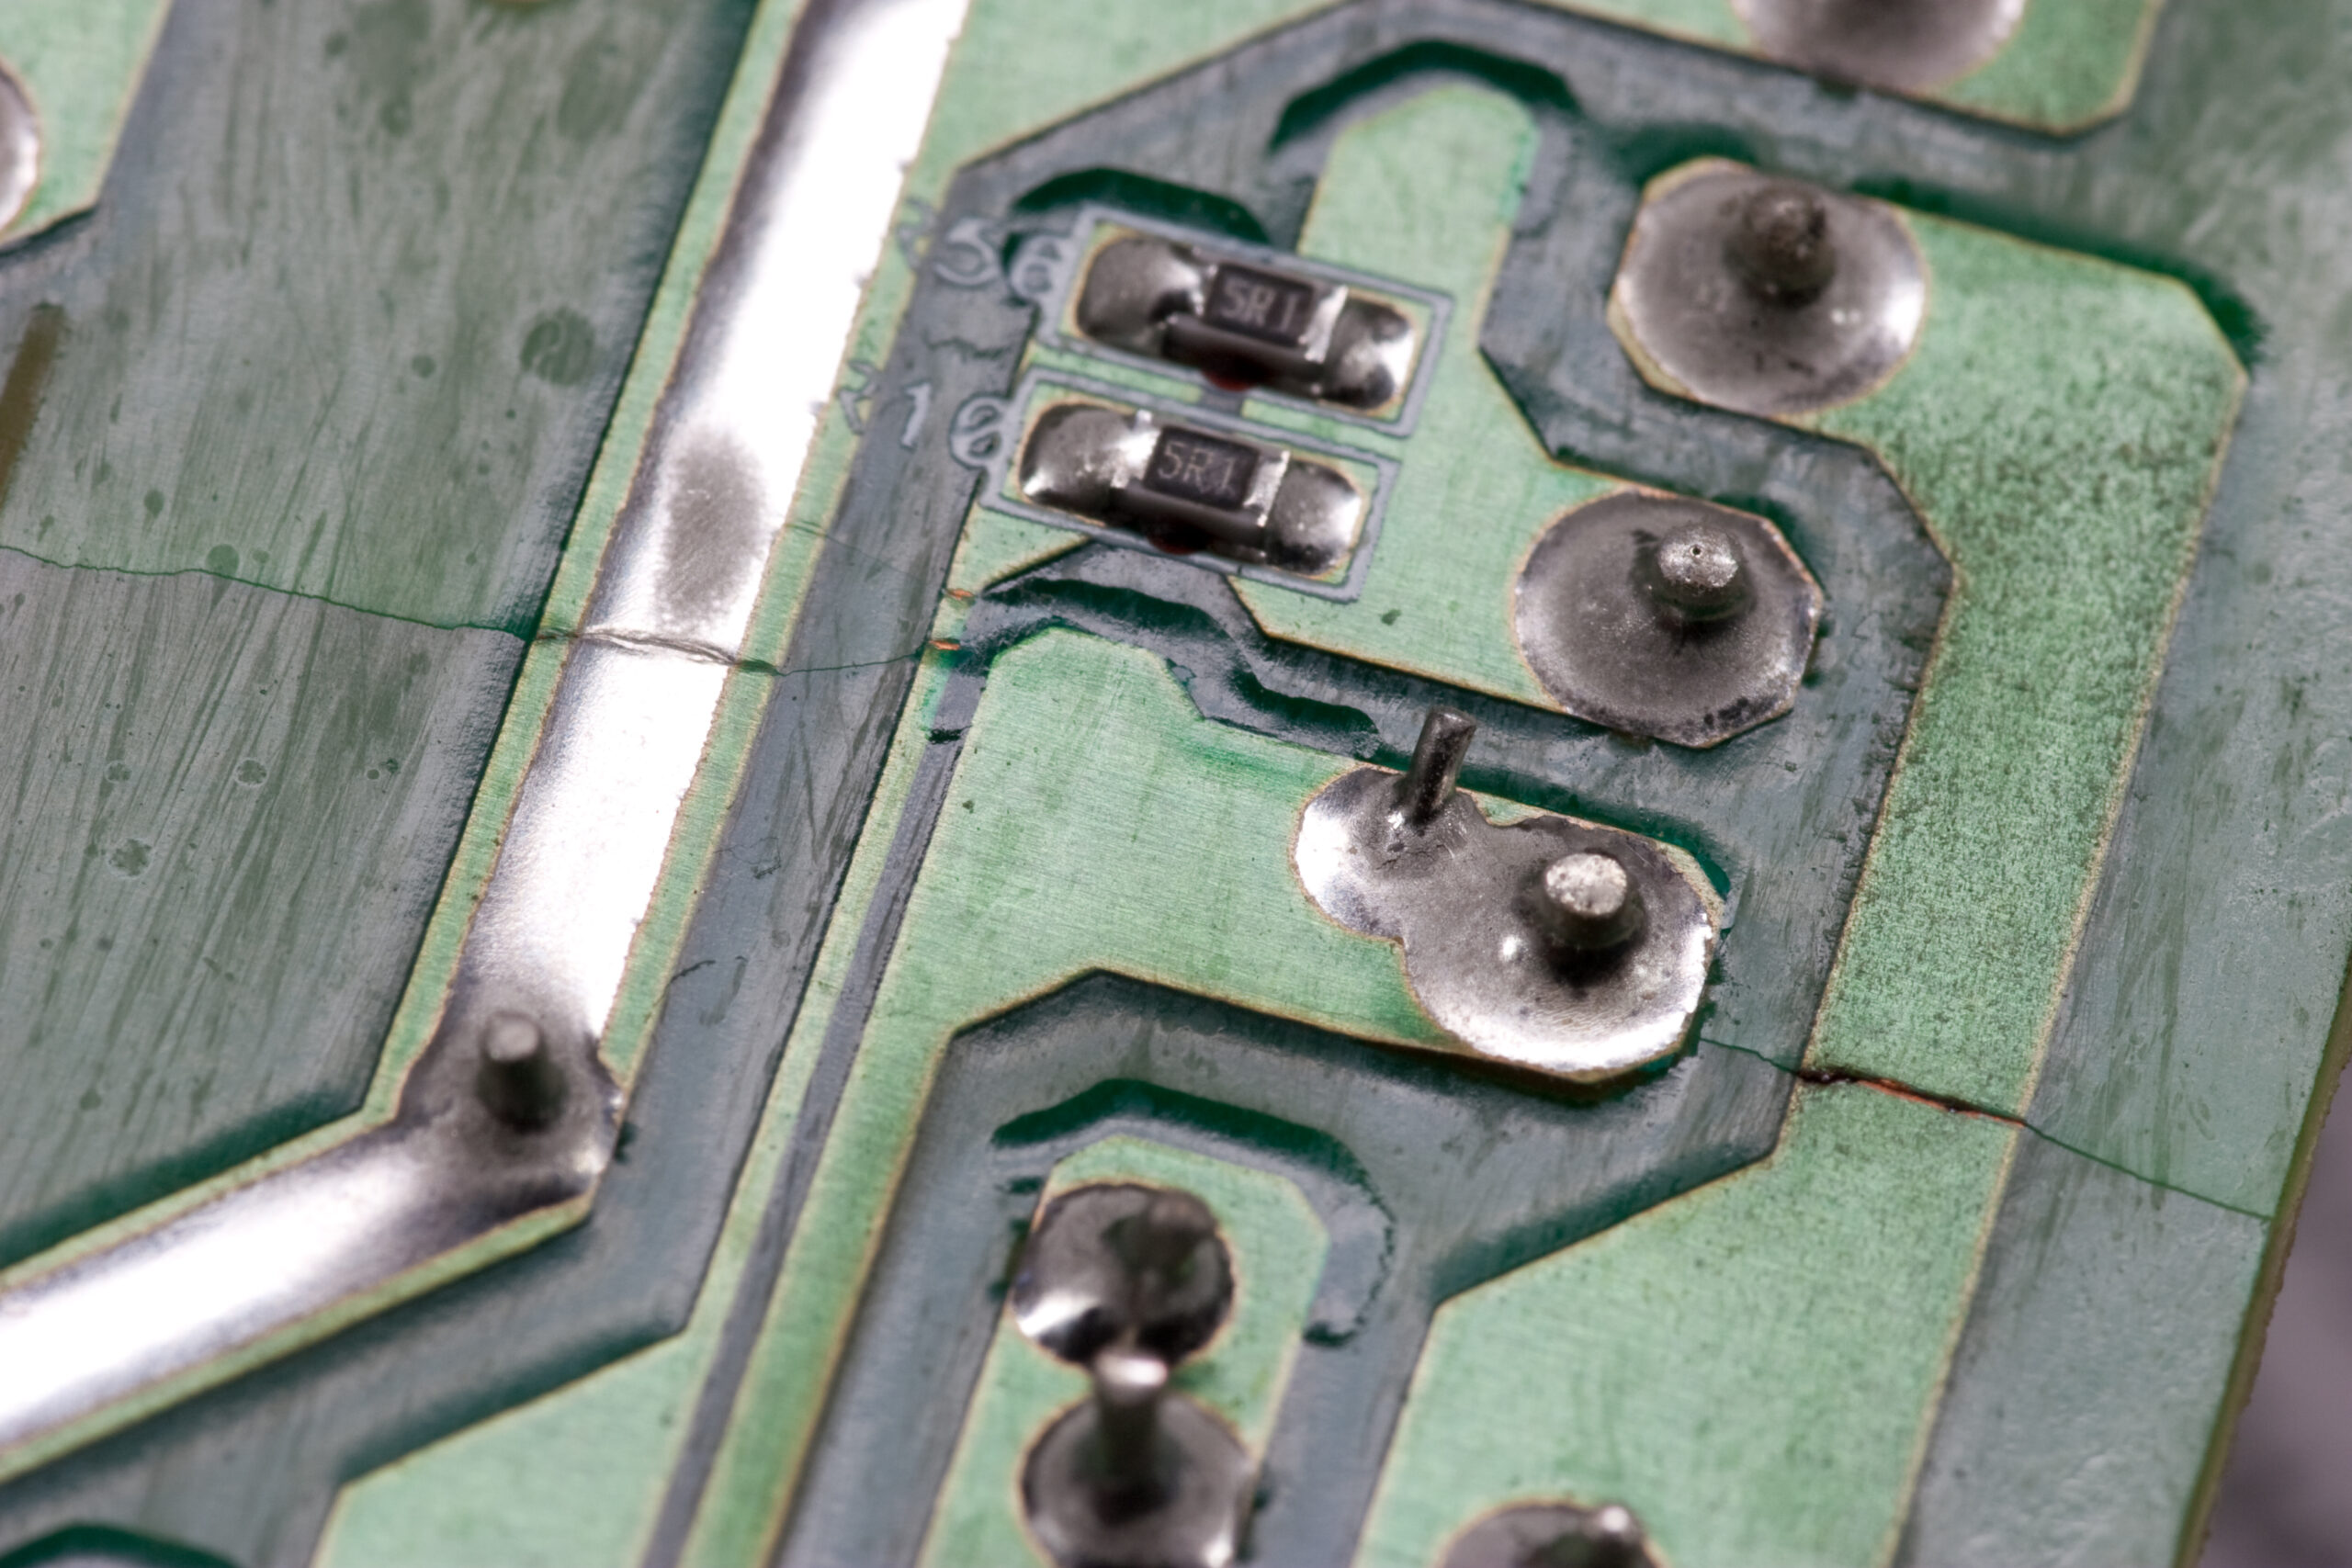
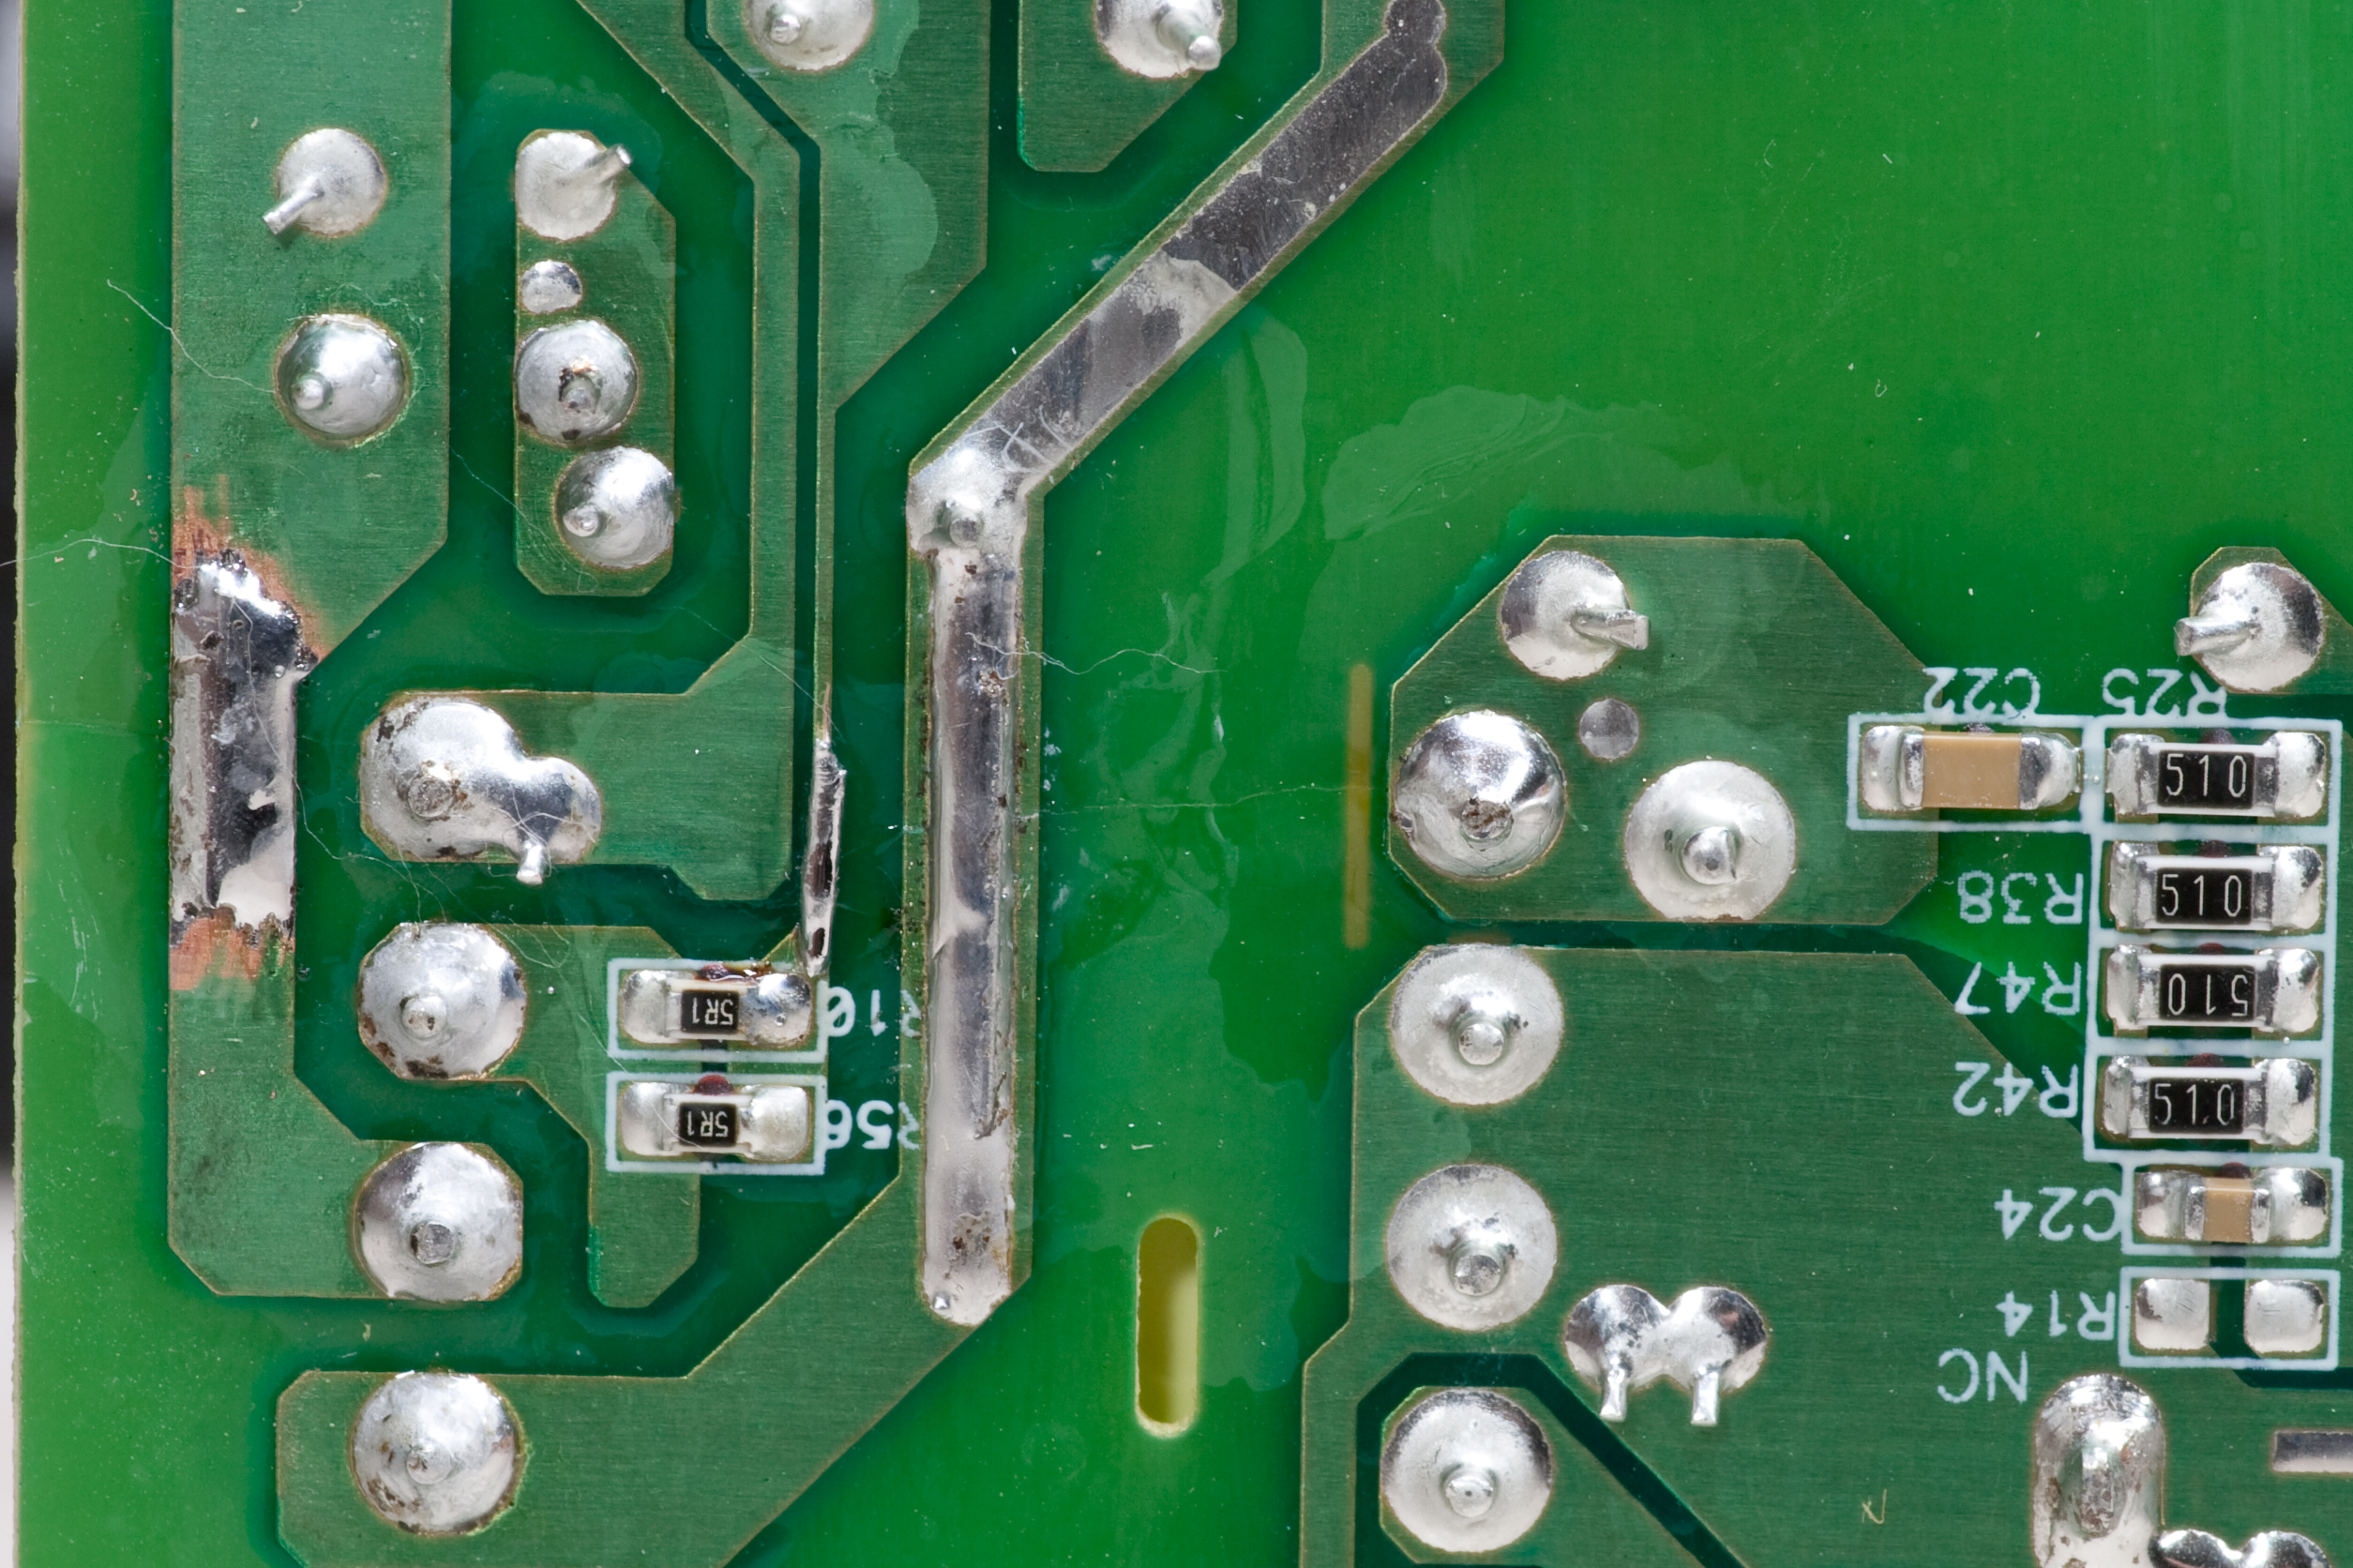
Broken traces / board in a friend's Tivo HD power supply, model ST7002-BW0G.

Question: How long will a defective power supply (model ST7002-BW0G) last in a TiVo HD?

Answer: Just until the parts warranty expires.

Yesterday some friends of mine dropped their TiVo HD (TCD652160, manufactured 11-Jan-2008) off at my house so I could try and figure out why it wouldn’t power on correctly. It was reported to me that tapping various parts of the power supply would make it power on and off intermittently, so I set to look at why this happened.

When removing the board from the chassis I’d noticed that the substrate appeared cracked around a central screw hole, but an initial check on the copper side of the board showed that this damage didn’t extend through the metal. However, after reproducing the problem and finding it isolated to the 5V and 12V rails, I flipped the board over and found that the crack ran all the way to the edge of the board, severing a few traces in the process.

This was fixed by removing (scraping) soldermask as needed and soldering salvaged resistor leads (from here, specifically) across the gaps. This, plus the extra solder surrounding the lead, should make for a nicely permanent fix. The fixed PCB can be seen here, from a different angle than the above image. After the fix was put in place flexing the PCB on the bench nor pressing / tapping on it while installed in the housing caused the power to glitch.

electronicsmaking things

Leads To Trim

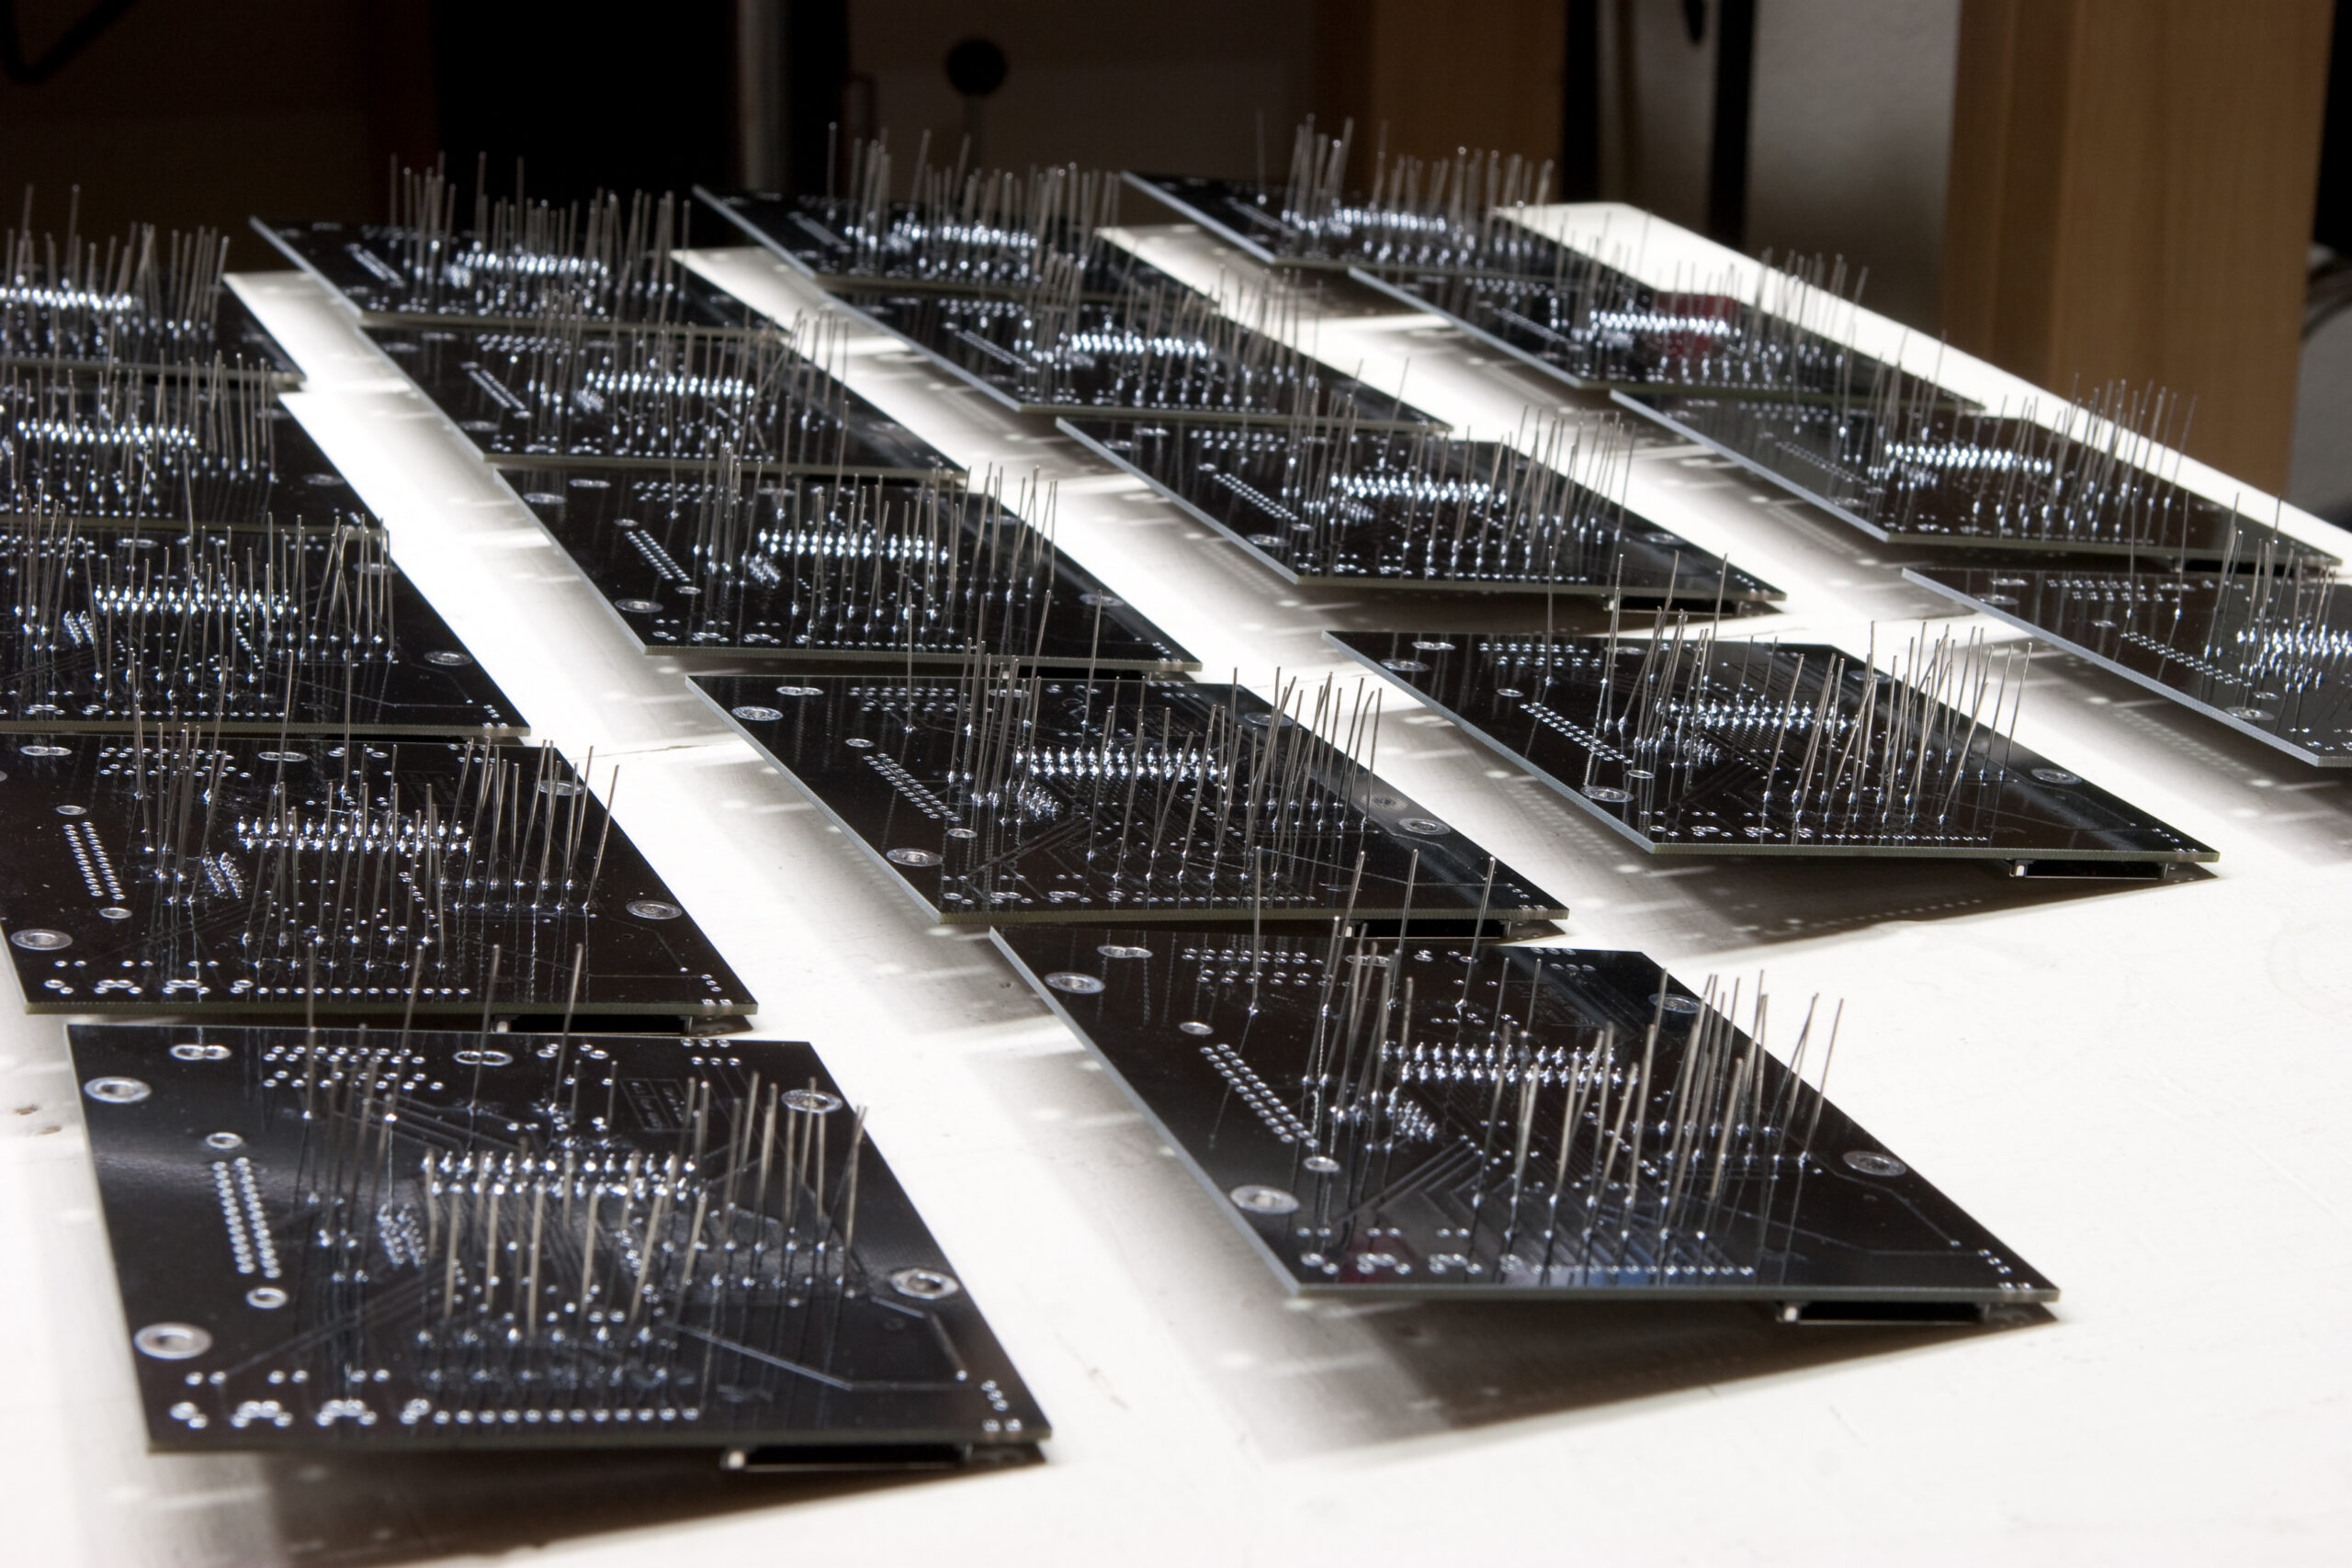
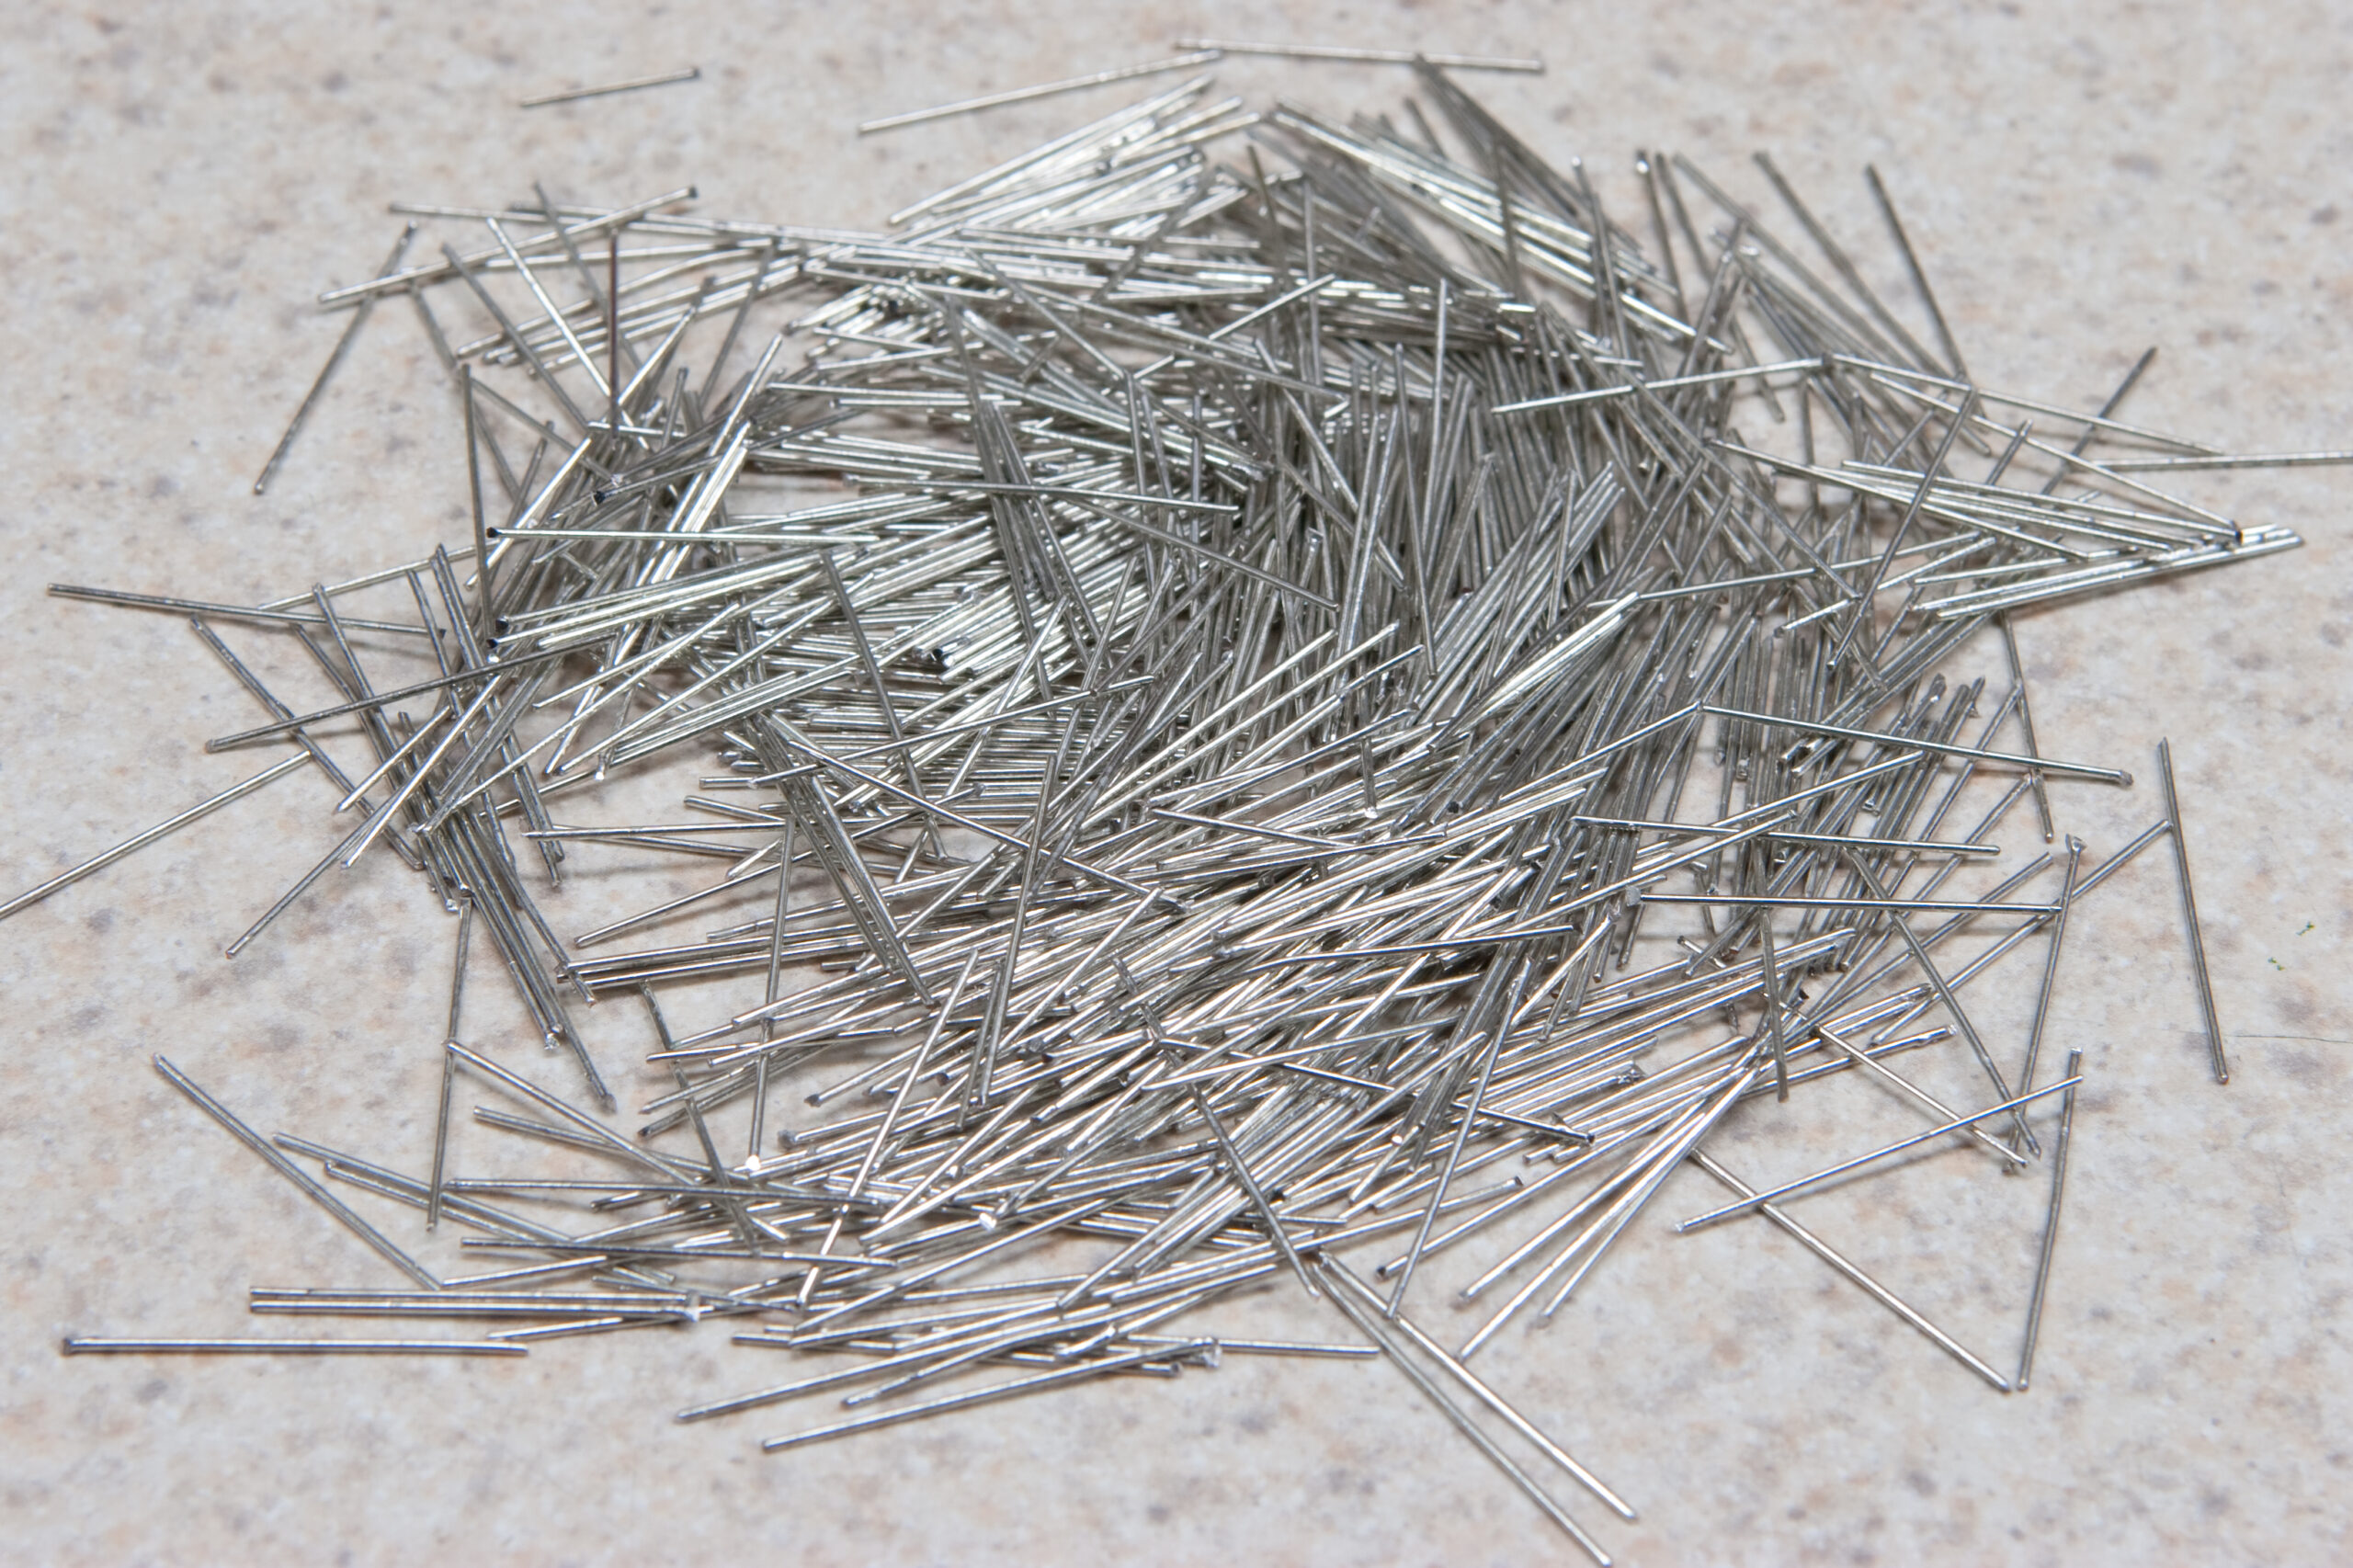
Leads from the resistors, crystal, and diode sticking out of the back of the production SDrive NUXXs. Time to trim these before fitting the capacitors.

After fitting the crystal, diode, and all resistors to eighteen SDrive NUXX PCBs there are lots of leads to trim before I can move on to the capacitors. Here is the pile of cut leads.

Leads are trimmed in batches as eventually there are enough sticking off the board that they get in the way. Next comes the capacitors, LEDs, and DIP switches before flux is cleaned off and the non-washable parts are fitted.

electronicsmaking things

Assembled SDrive NUXXs In Progress

Nineteen SDrive NUXX PCBs being assembled.

After assembling the first SDrive NUXX v1.1 (Production) PCB and ensuring that it worked as expected I started assembling the other eighteen PCBs. I only managed to get the SD slots and DIP28 sockets fitted before calling it an evening, but it’s coming along nicely. Hopefully by the end of the weekend I’ll have a good bit more done.

It’s really nice to have a final / complete PCB which doesn’t require any jumpers or other hacks to work.

electronicsmaking things