AMB Mini³

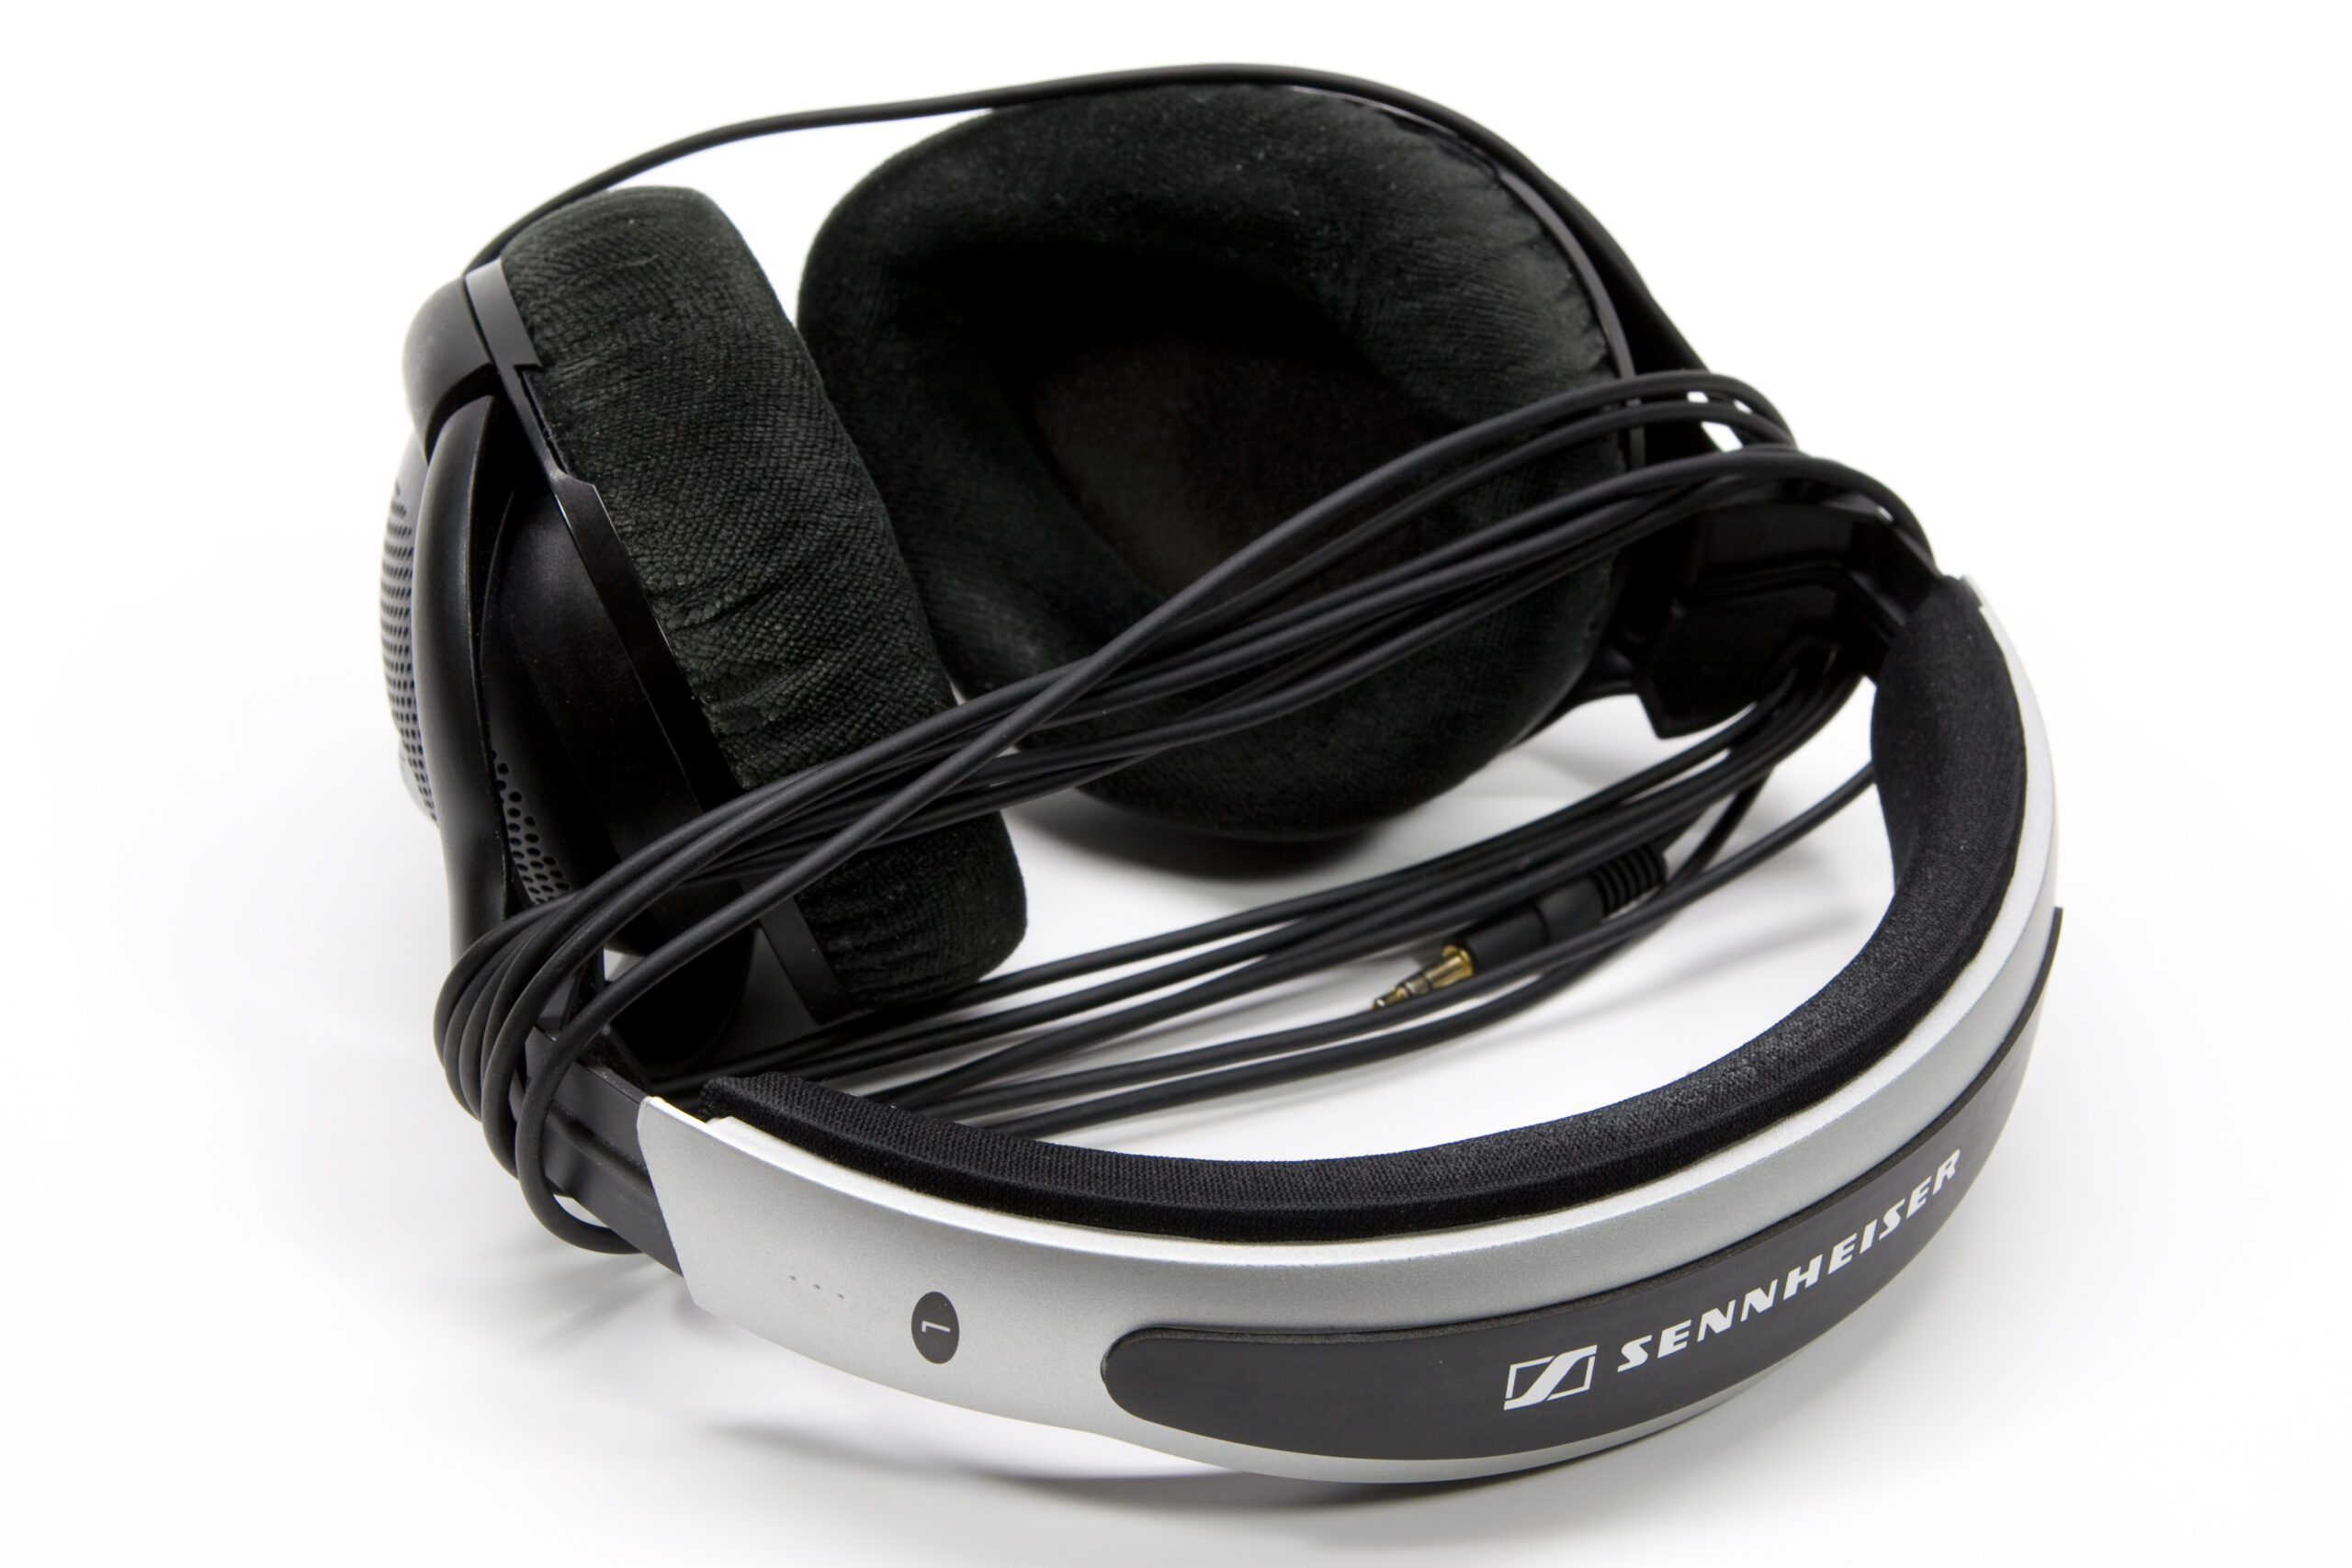
Today the PCB and other parts that I ordered from from the AMB audio shop arrived, so this evening I assembled an AMB Mini³. This is a rechargable battery powered, credit card sized headphone amp does a great job of driving my Sennheiser HD570 headphones.
While I didn’t take any photos of the assembly or inside of the enclosure (I just wasn’t in the mood tonight, for some reason), the assembly went very smoothly. Part of the assembly suggested that one put thermal grease on the underside of the AD8397ARDZ op-amp to help transfer heat from the chip to the PCB. Wanting to wash the PCB I didn’t want to do this, and I instead found that scraping a bit of solder mask from the heatsink trace allowed me to reflow the underside of the chip without much difficulty. After that SMT pads themselves went nicely, and everything else was through-hole. I had a few problems with battery clearance in the case, but adjusting the battery contacts slightly made everything fit comfortably snugly.
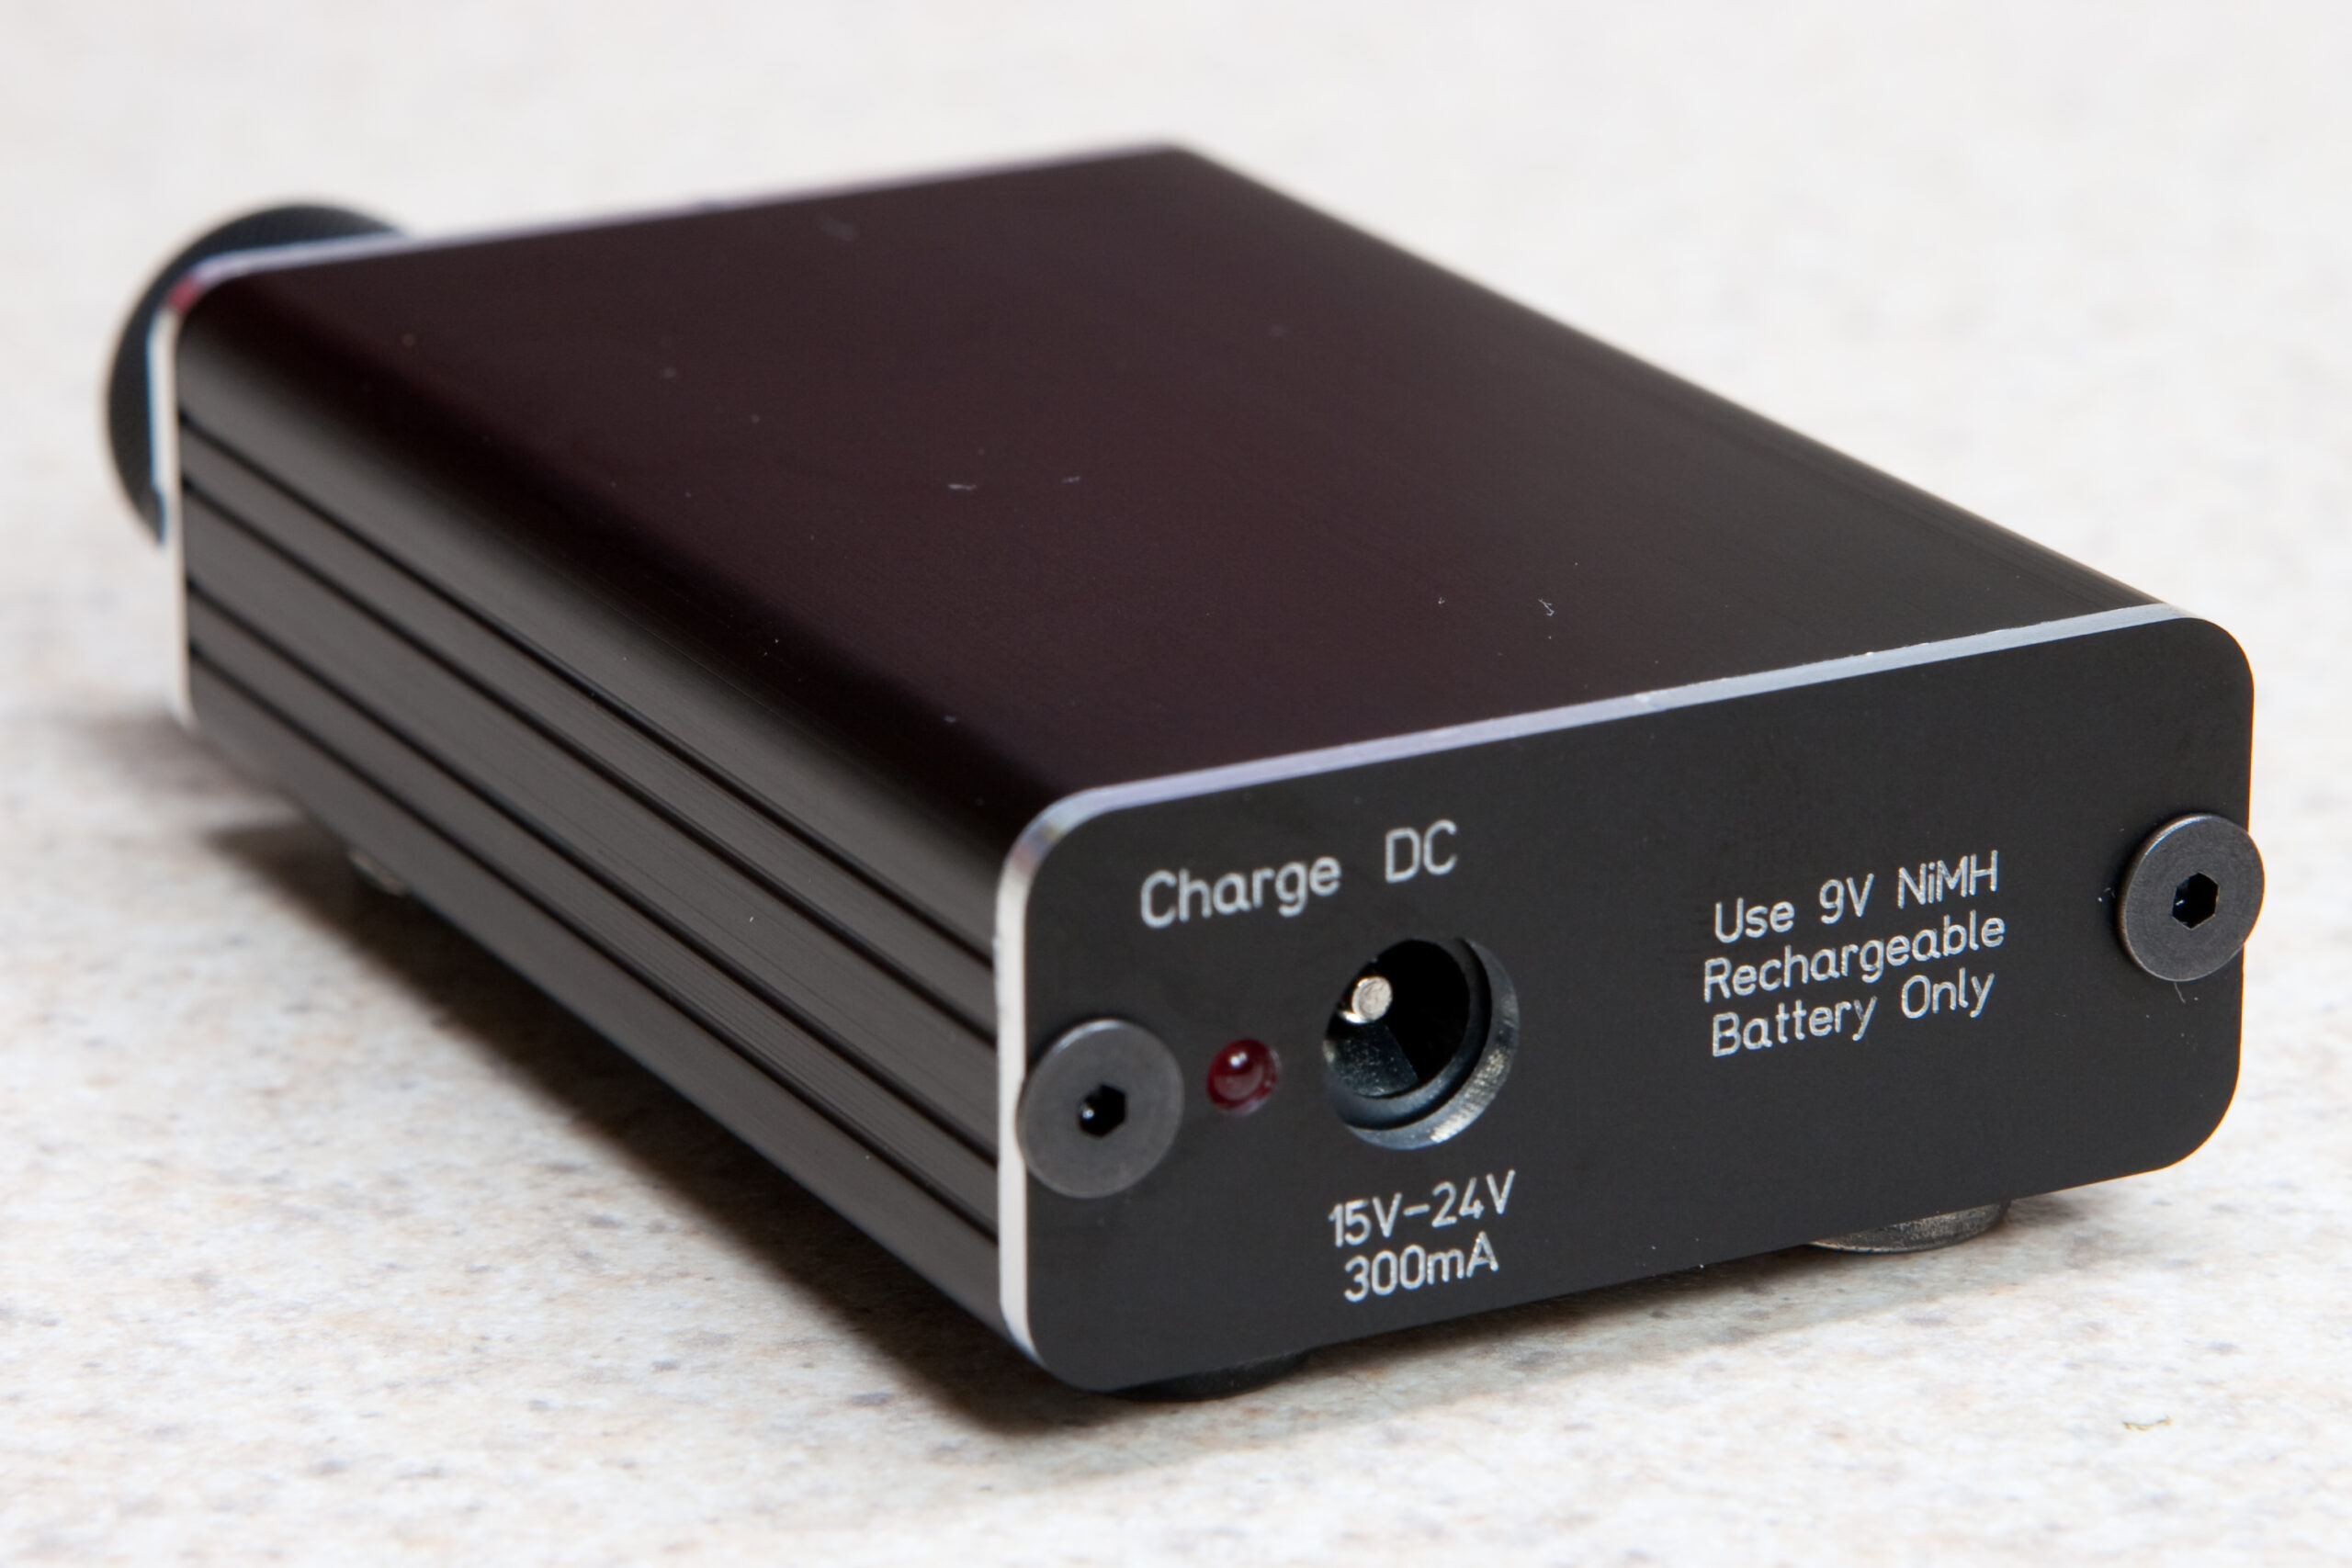
Everything was built as-specified for the high-performance version, except that I used a different knob and LEDs. The knob is a Kilo International OEJL-75-4-7 (Digi-Key p/n 226-4094-ND), which was the only 6mm shaft knob that I had laying around the house. The power LED (LED2) is green in place of the standard blue, and the rear (LED1) is a red, and matches the power LED brightness-wise. The LEDs are Mouser part numbers 630-HLMP-1790 and 630-HLMP-1790 and 630-HLMP-1700, respectively. To properly fit the LEDs, R6 and R7 were changed, using 5.1K Ω (Mouser 270-5.1K-RC) and 7.5K Ω (Mouser 270-7.5K-RC) resistors, respectively. I’m happy with the LEDs as they are visible in a normal room, but not particularly bright, even in complete darkness.
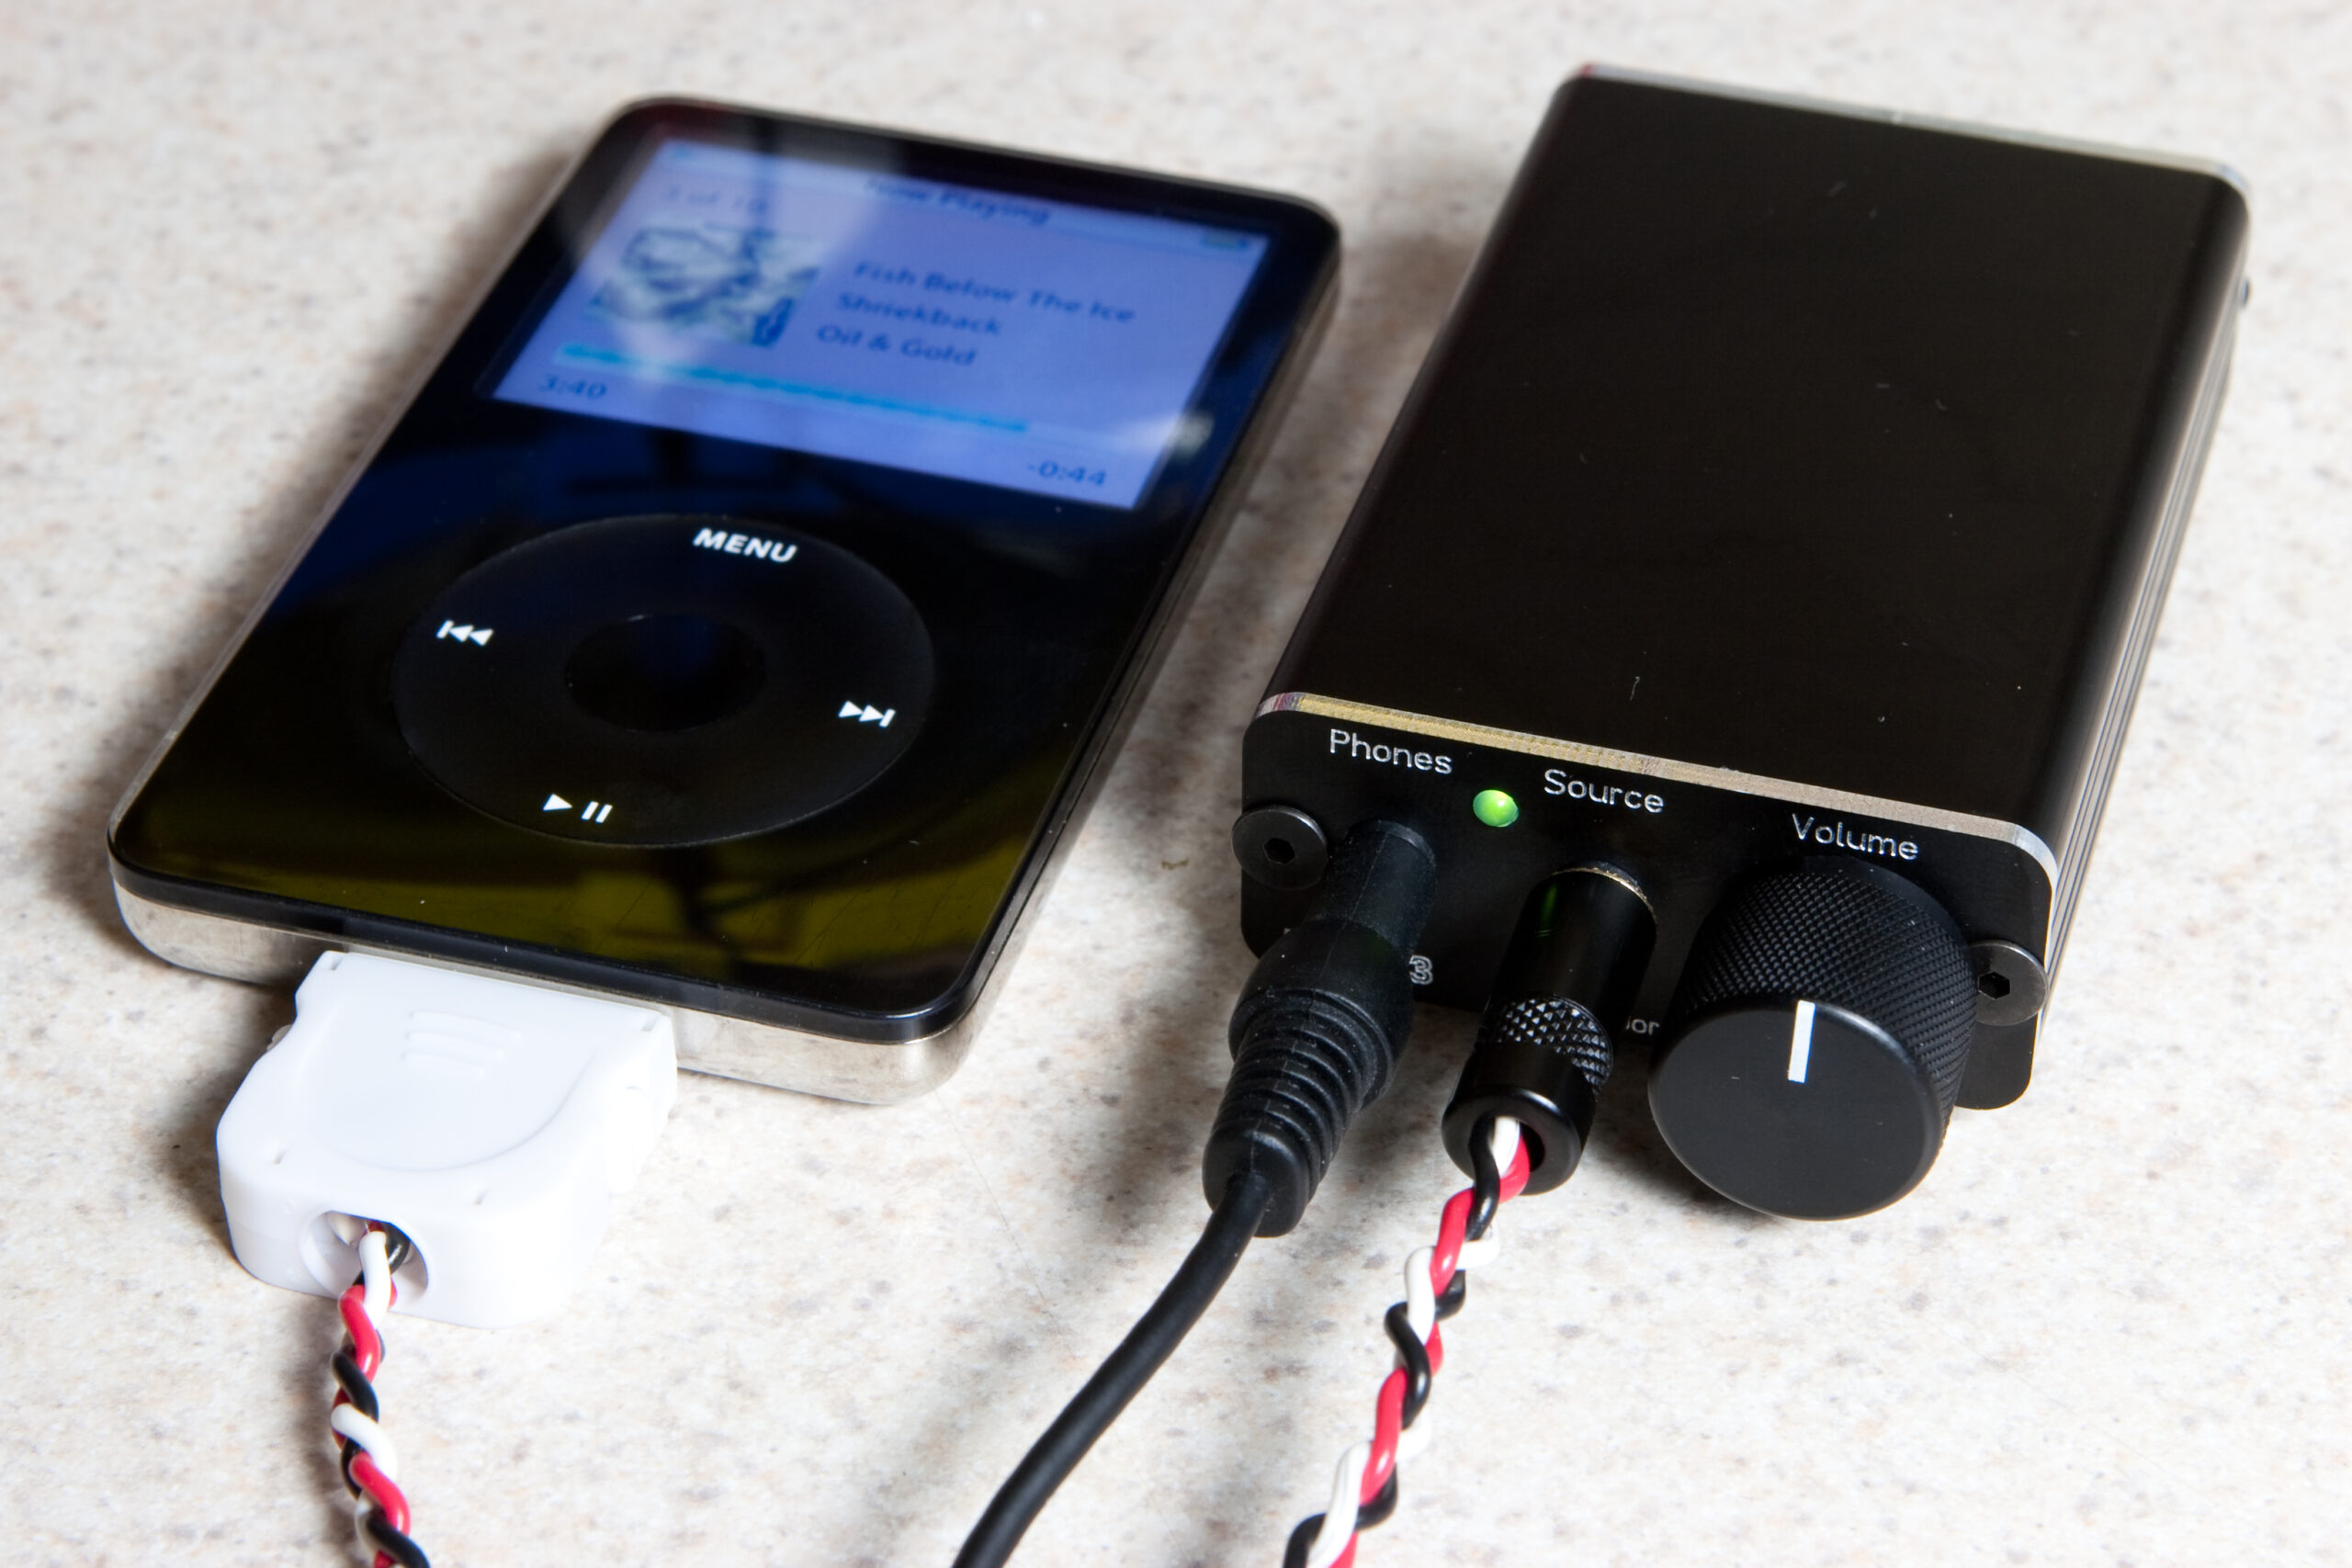
Using the iPod dock to 3.5mm (1/8″) cable that I made last week I connected my iPod to the amp and gave it a go. In short, I’m really happy with it. My headphones finally sound as they should with the iPod. Right now it’s charging on the kitchen counter, and tomorrow I’ll give it a full go at work.
Abnormal for me, I didn’t take very many photos during the assembly of the Mini³. For some reason I just wasn’t in the mood to document it as I normally do, so I only took the following three photos:
· AMB Mini³, from the front, fitted with a slightly non-standard knob and a green LED instead of the standard blue.
· AMB Mini³, from the rear.
· AMB Mini³ connected to my 5G iPod Video.