
When the day came to begin the training plan leading up to Lumberjack 100 and do an LTHR test, I balked. I set out to do the test, was having a very bad day, quit, and went home. Then, within the week, I decided that I didn’t want to follow the training plan, sold my entry, and changed my plans so that I’d instead head up to ride the NCT, volunteer, and hang out at the race. Since I liked how riding a lot last year made me feel I still tried to ride a bunch, doing the Fun Promotions 6 Hours of Stony Creek race and a bunch of fun/long rides, but I had no intention of doing anything more at Lumberjack than riding one lap as a course marshall and then hanging out. The obligation of following such a plan for a third year was too much.
Without the stress of months of goal-oriented training before the race I wasn’t stressed about the weather, a training routine, or any of the other usual pre-race things.
Fast forward to early June, after I’d put in a number of long rides, and my friend Nick began teasing me that I was going to purchase an entry anyway, just to get one at a discount. I had no intention of doing so, but then a friend of mine informed me he wasn’t going to use his entry, making me an offer I couldn’t refuse. That was it, I figured I’d give the race a go. I simply planned on heading up to the race, giving it my best, and seeing how it went. If I dropped out after a lap and sat around for six hours drinking beer watching others finish, that’d be fine. If I rolled in at twelve hours, that’d be fine as well. I just wanted to have fun on what I feel is one of the most beautiful trails in the state. I headed up to my reserved cabin at Camp Mana-Pine on Thursday afternoon, got settled in, and Danielle and Roxie joined me on Friday evening.
The day before the race was a constant downpour, but with the sandy soil in the area it ended up being a blessing. I lined up mid-pack at the start, filtering back to the last third by the time we reached the single track. This worked out well, as the trail was well packed by riders in front of me, and my position even resulted in my meeting the person I’d sold my entry to. Sylvia and I rode a good bit of the first half of the course together before parting ways on one of the climbs. Save for a bit of slowness at the start and my being really impressed at the backwards course layout (I like it a lot more) the first lap was quite uneventful until the end. While I really enjoyed the backwards route, it meant that the last five miles involved some of the most frustrating climbing, and in the midst of this on lap one I started to think about quitting. Then, after the long/fast downhill back to the start, I suddenly felt good. I refilled my pack, grabbed some more bottles, and set off.
 Laps two and three were also great, with my race alternating between extended periods of riding alone and being with people, most of whom were great to chat with. By this time Danielle had reached the aid station so I was able to stop briefly, see her and give her a kiss, then carry on. At one point I was riding along with a single speed guy (#89) from AUXILIARY Design & Advertising when I slightly overshot a downhill sandy corner (just after Porn Ridge) on lap three fell over. Thankfully it was no big deal, and I was able to get up and carry on without any problems. I rode away from him on a road section, but he passed me when I stopped to pee, and I didn’t see him again until the end where he had finished 50 seconds faster than me — probably right about the time I was standing at the side of the course.
Just after setting out at on lap three I noticed that I’d done fairly consistent 3:20 laps, and found that if I pushed a little bit I just might, maybe, be able to do a sub-10 hour Lumberjack. Having not finished in 2012 and done 11:03 in 2013, cutting more than an hour off my best time would feel great, so I went for it. I ended up coming in at 9:51:41 and didn’t get lapped by the leaders. My specific lap times were 3:18:05, 3:25:11, 3:08:26, but the first and second lap times both include the time spent in the pit area, because this was before the lap crossing. (According to these times I technically was lapped by the leaders, but I was at the tent after my second lap and watched Christian Tanguy finish, so I don’t consider that a lapping. After my second lap I took time to lube my chain, so this extended that lap even further. I suspect that my laps were otherwise pretty consistent.)
I’m really glad I didn’t get lapped. While it’s not really disheartening for me (those guys are seriously fast), I didn’t want to get in the way. At one point near the end of my second lap I saw Jorden Wakeley’s dad along the trail a few miles before the end and asked him how the leaders were doing. He let me know that they were about ten minutes back, so I began constantly checking behind me to see where they were. With the long/fast downhill at the end, the last thing I wanted to was be in their way during some manner of sprint. But, it didn’t happen and that was great.
Not long after half-way through the race my Garmin Edge 510 once again had issues, losing ANT+ connectivity just as had happened back on May 4th. I took this as a bit of a challenge and went rode, making sure I felt like I was pushing, but not too hard. RPE, I guess. This had done well for me at recent Barry-Roubaix and Iceman races, so I figured I’d give it a go here, and it worked. I finished, I was happy with my time, and I was sore but felt good at the end. This race was (again) the hardest thing I’ve ever done physically, to the point at which I’ve now got some manner of cold/flu that likely set in with a weakened immune system. Still, I loved it.
I really don’t know if I’ll do the race again next year. This year I loved it, but I loved it because it wasn’t the obligation it had been in years past: it was something I went and did because it’s fun and great and hard. I got to hang out with friends before, during, and after the race, I met a bunch of great new people, and I got to spend a day outdoors doing something I love surrounded by beautiful northern Michigan forest. Ideally next year will be the same, but maybe it won’t. I’m hoping to keep riding hard and do even better next year, but who knows what’ll happen… As long as I keep having fun I’ll be happy.

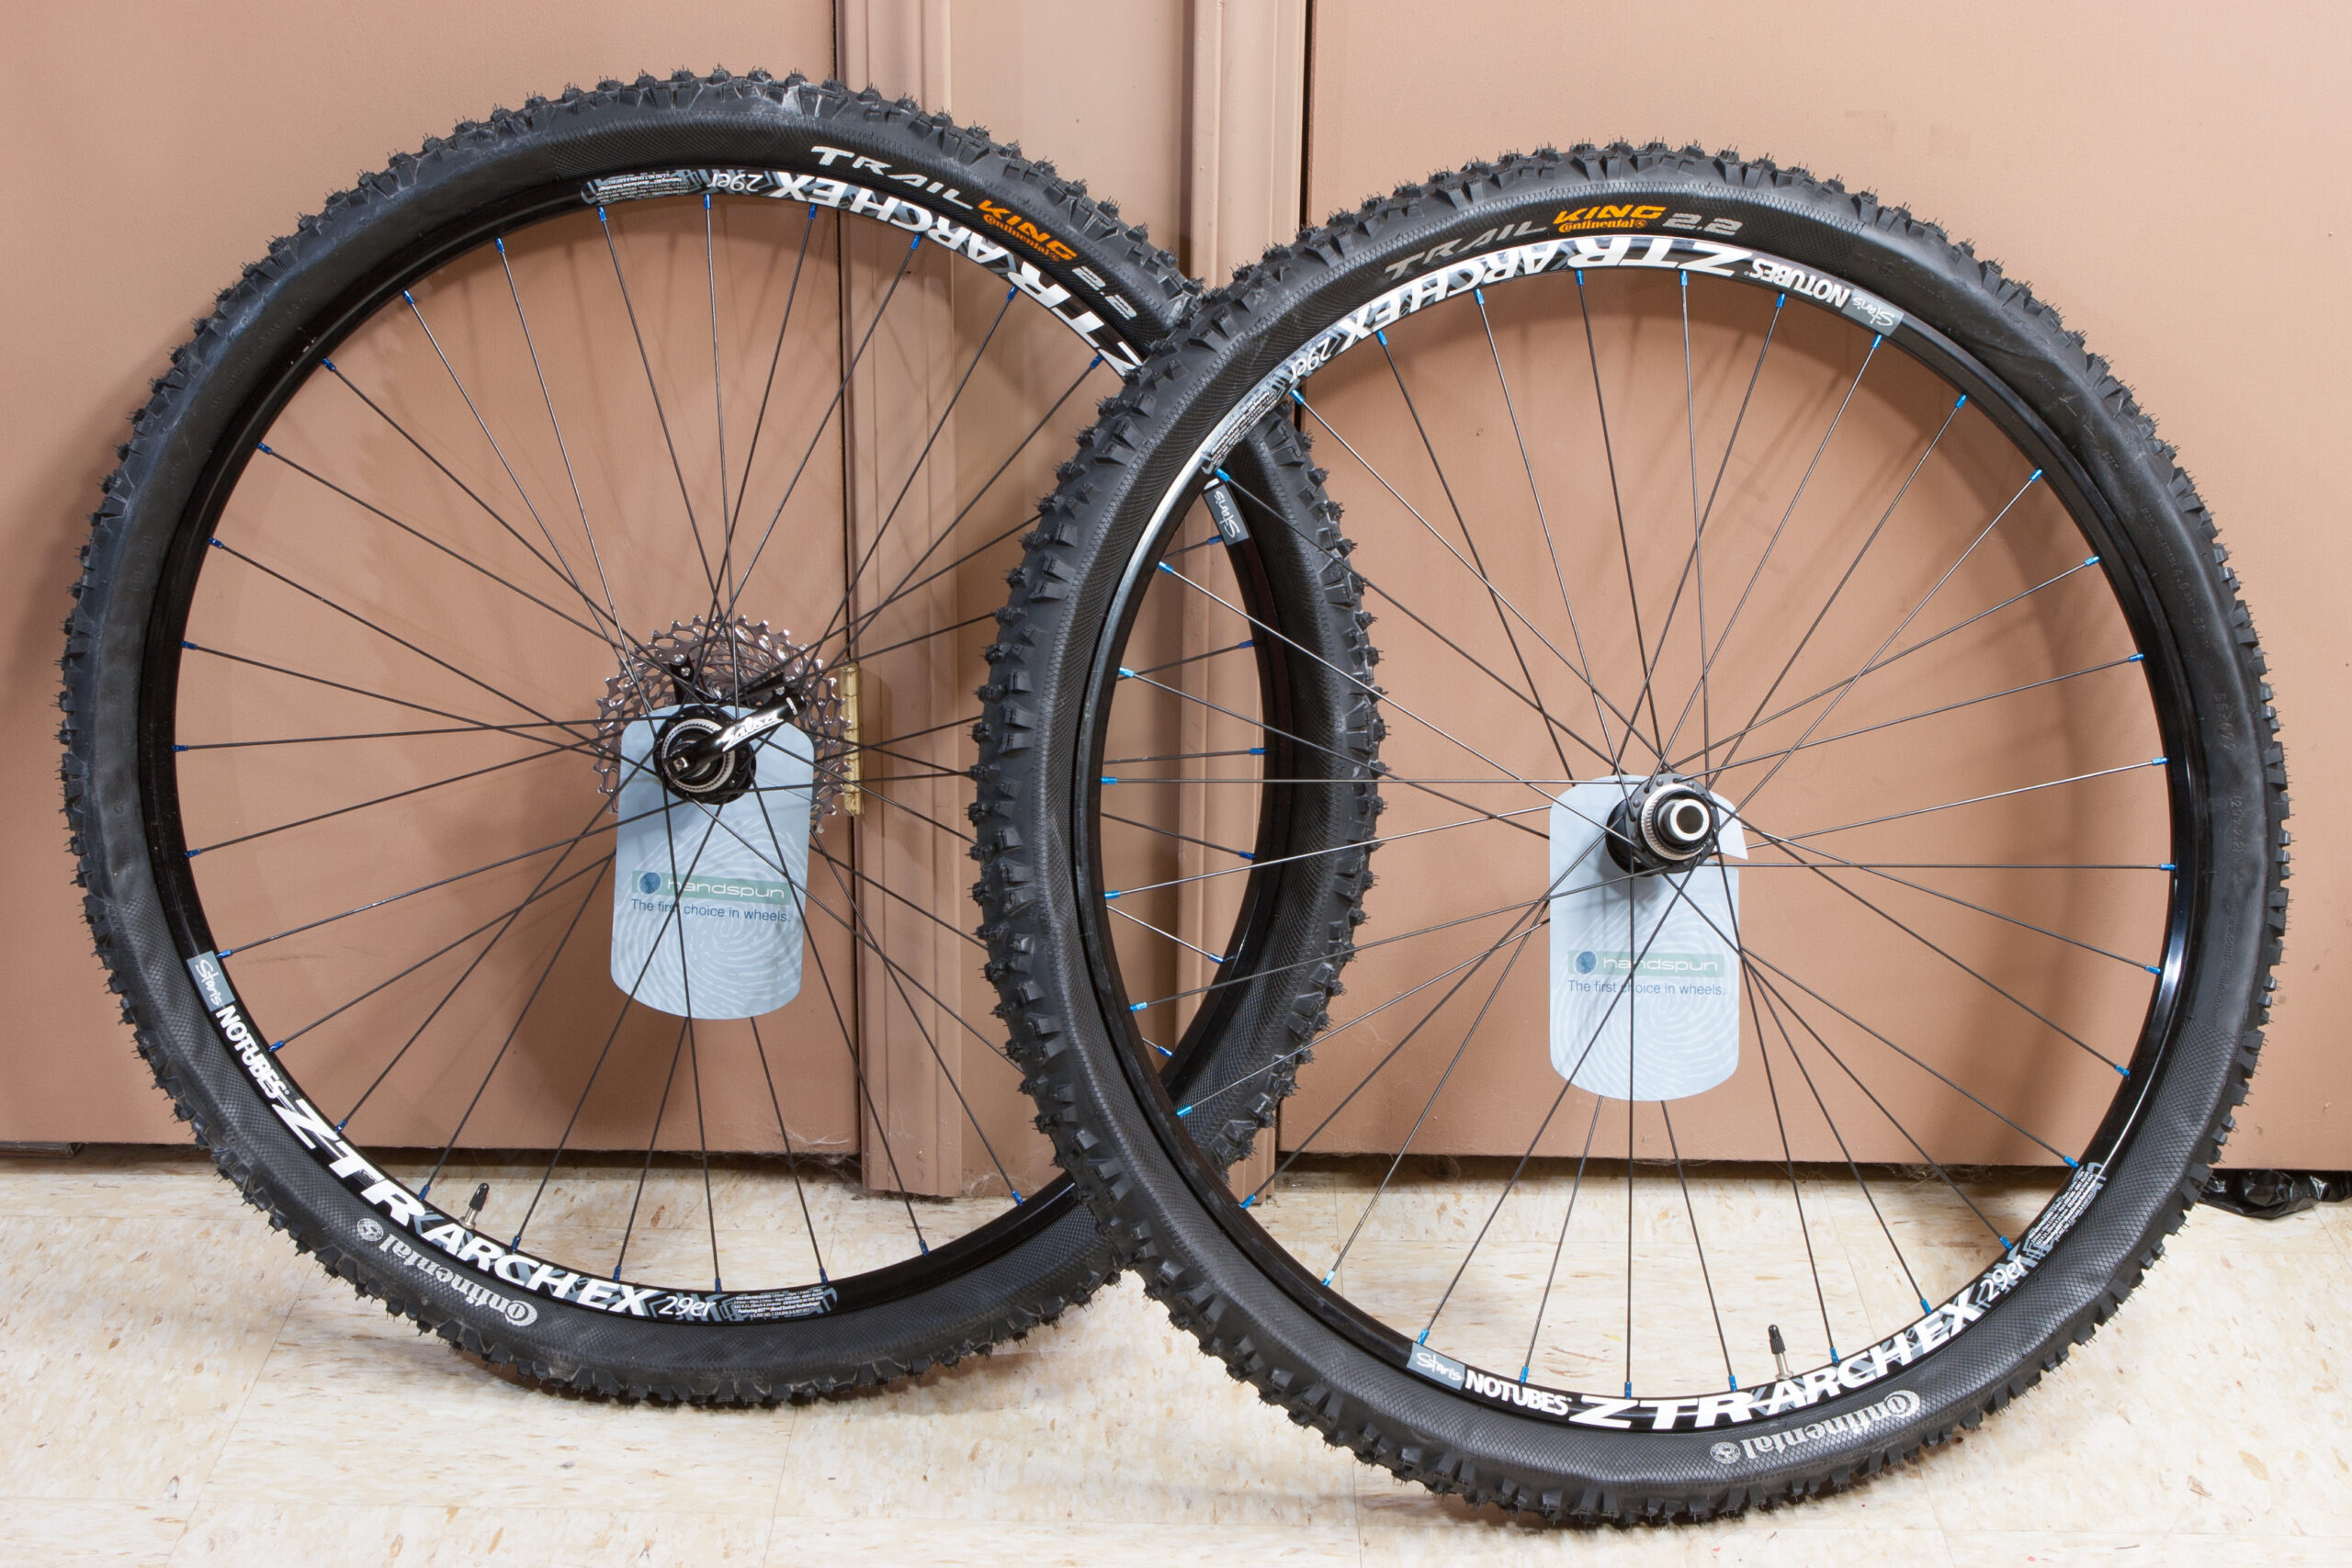
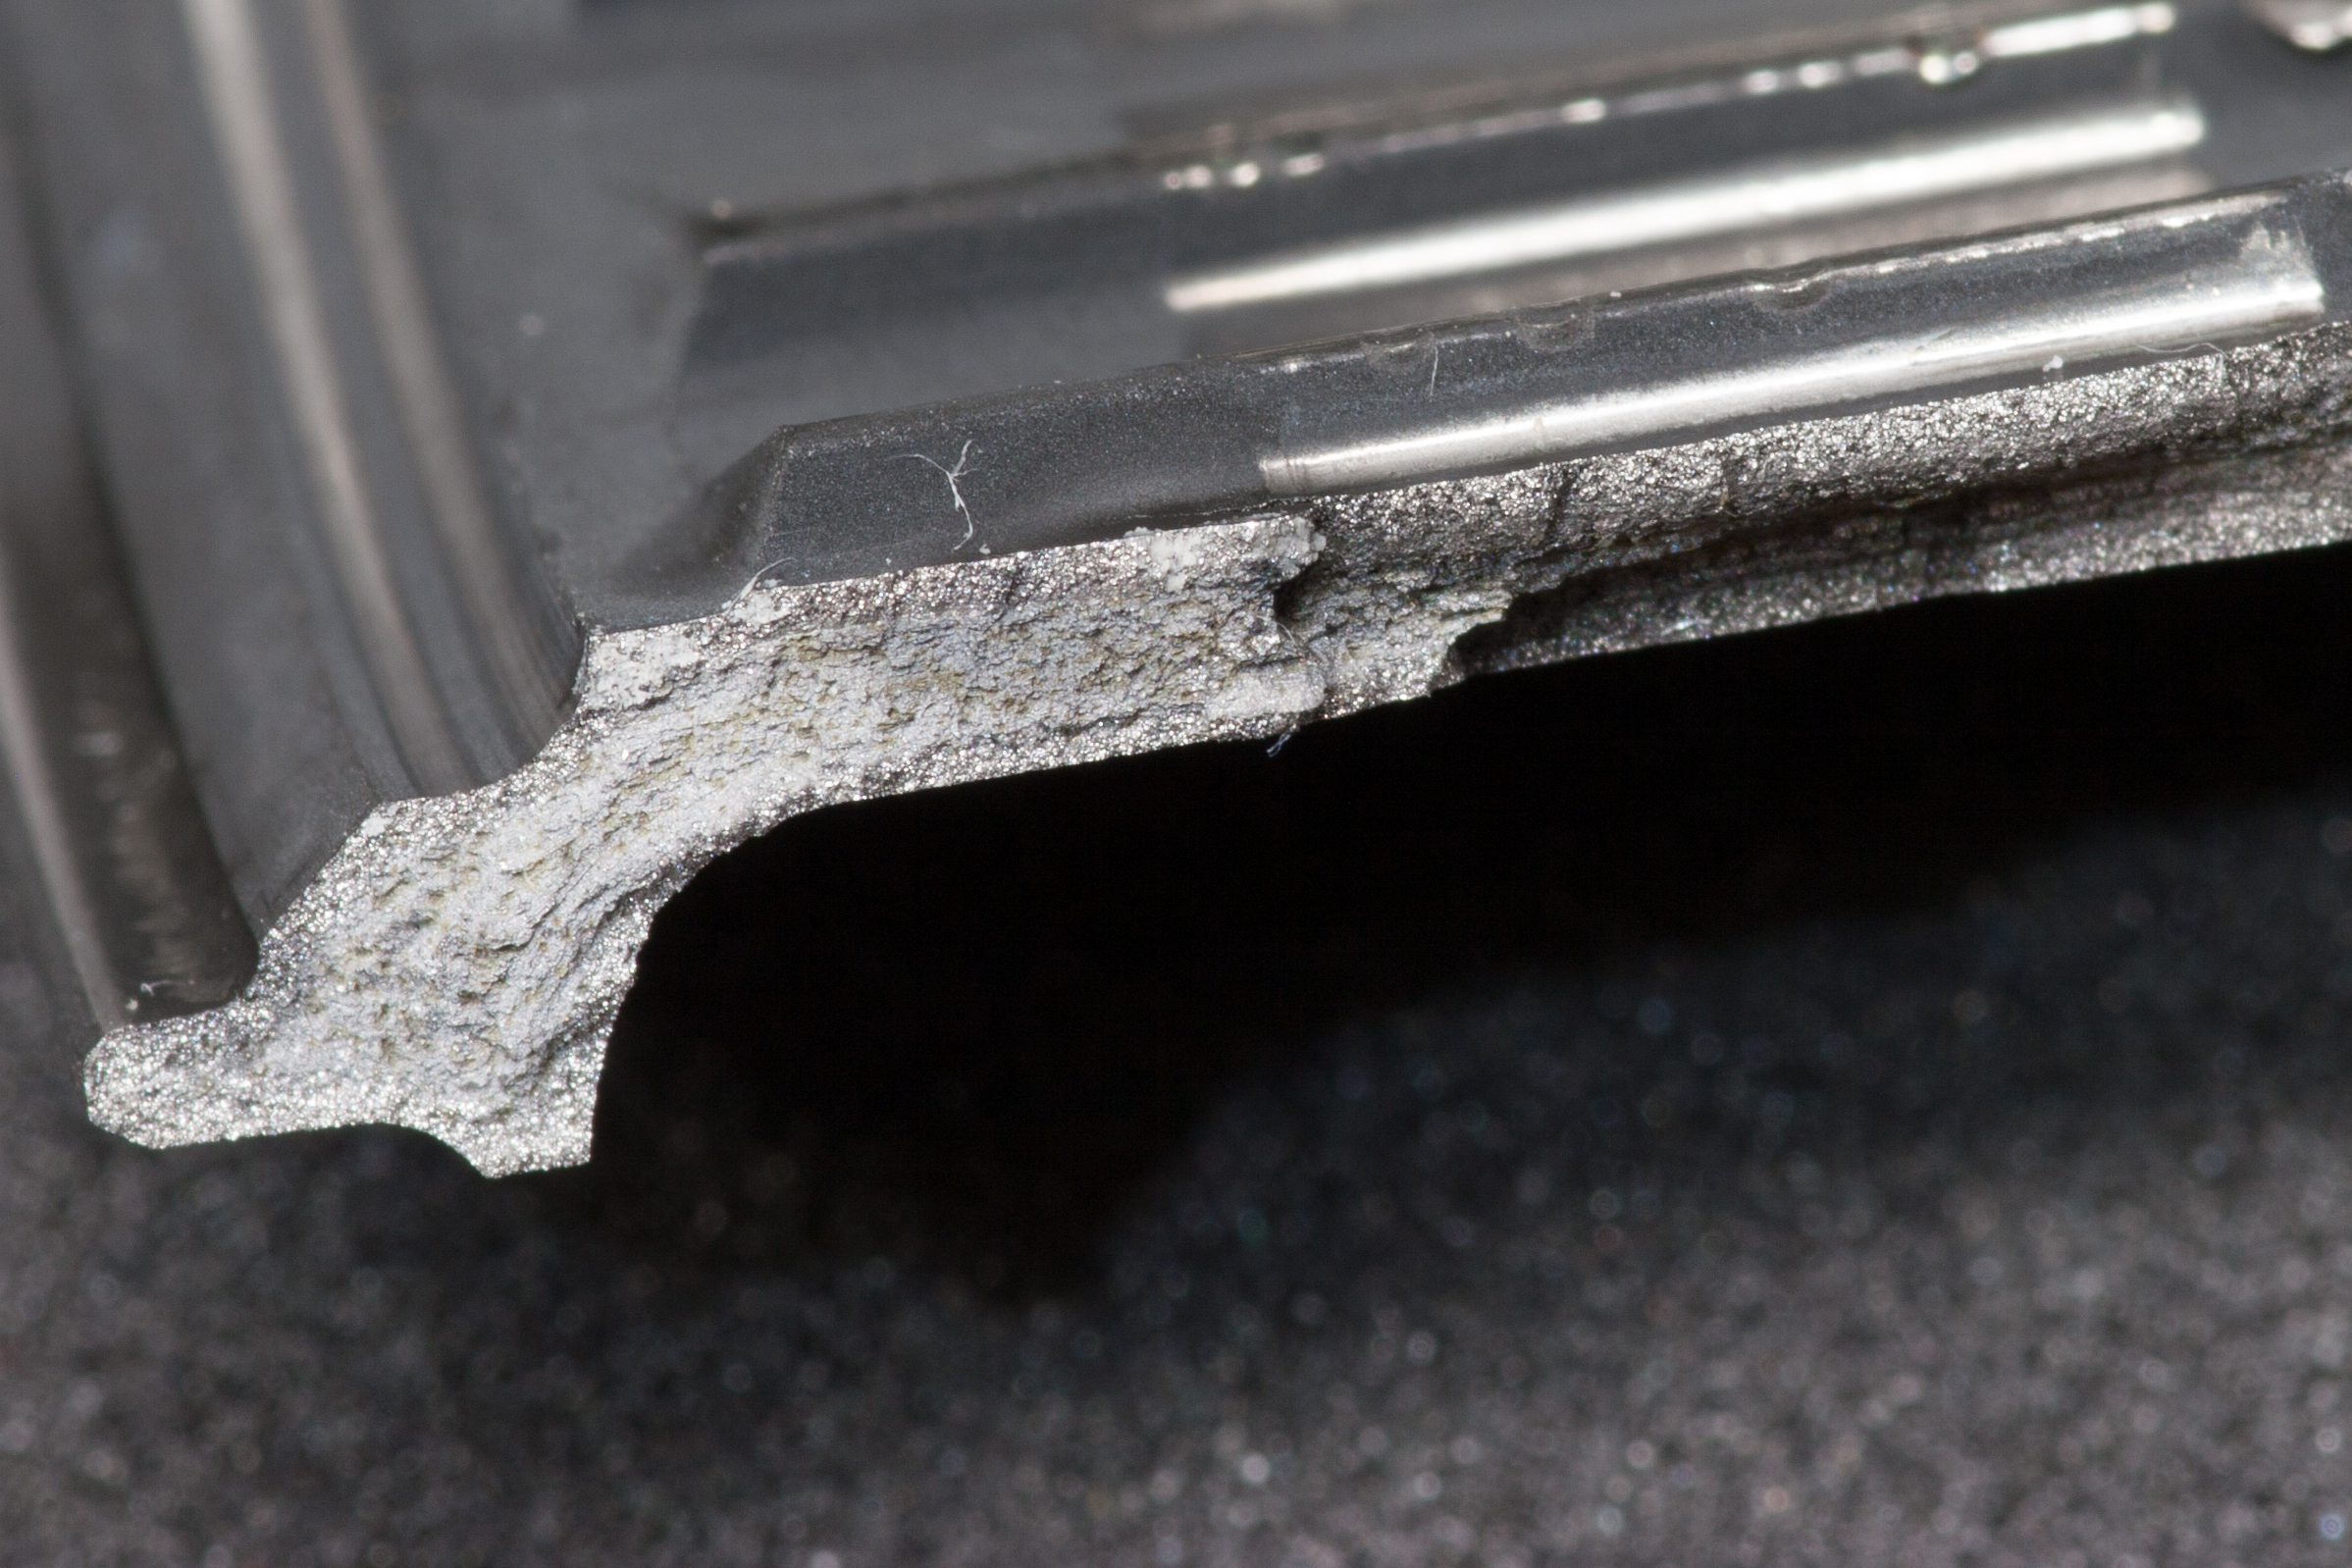
 on a Light-Bicycle 35mm hookless rim.")


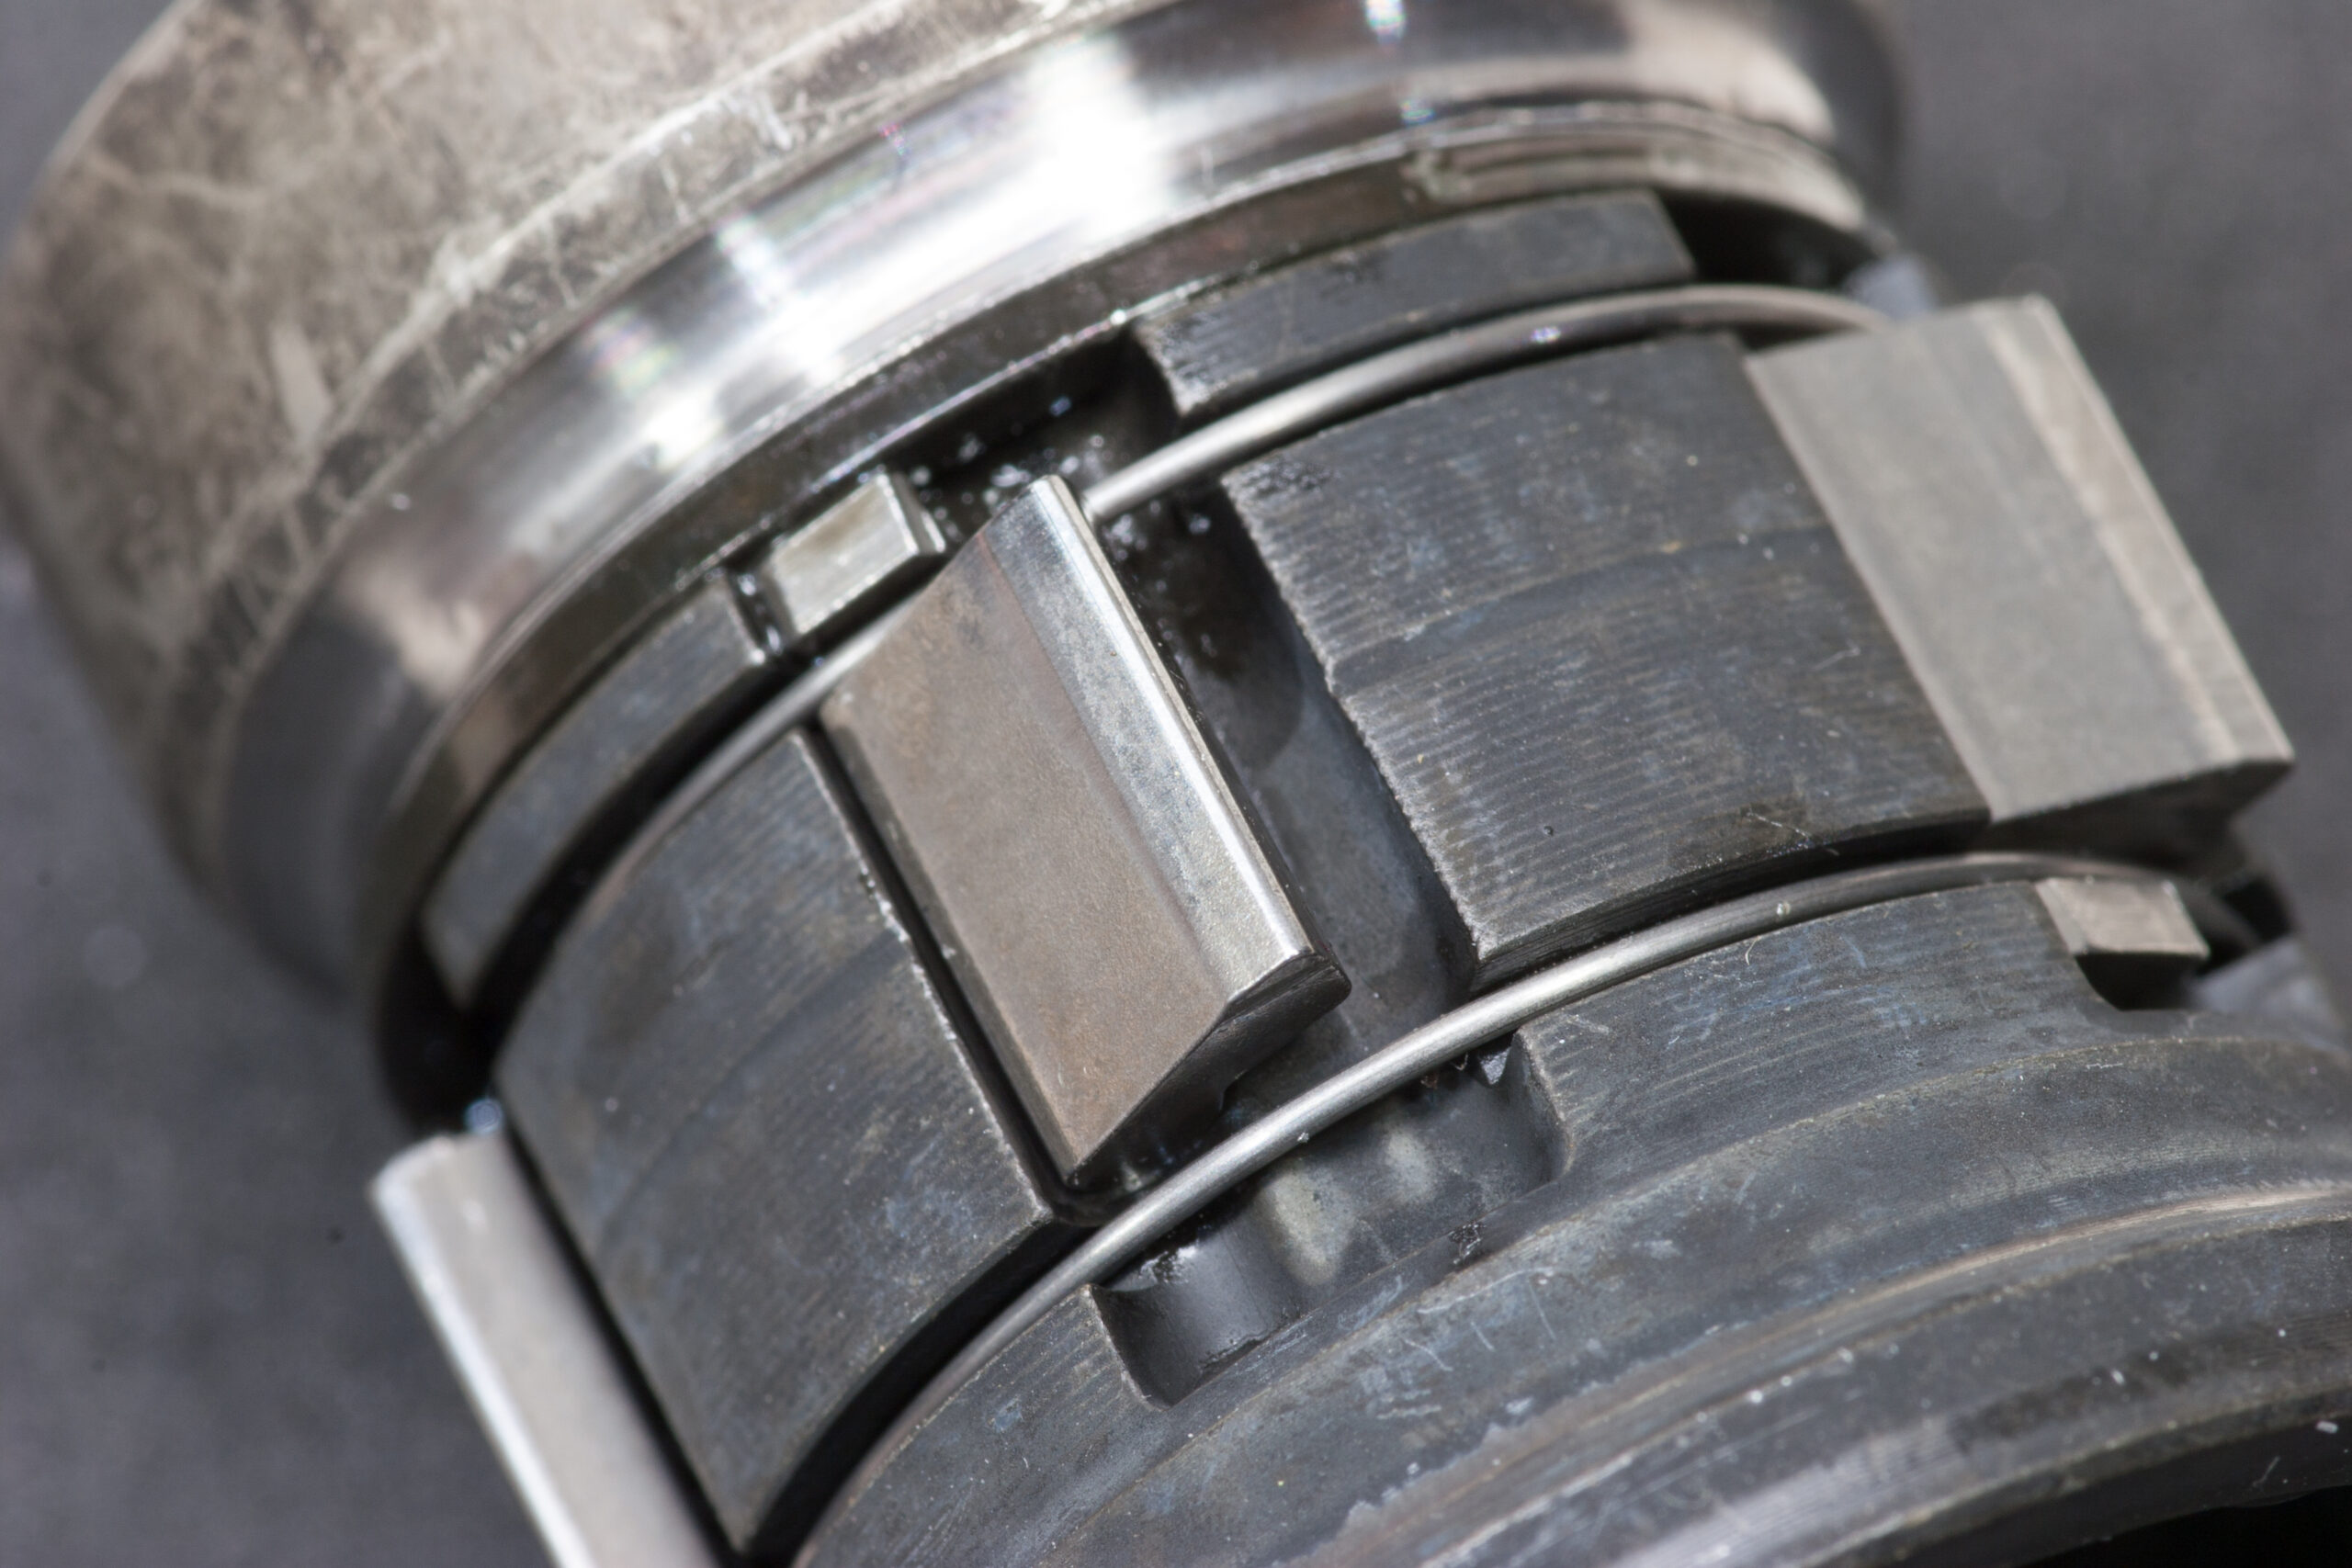
 freehub could be removed.")


