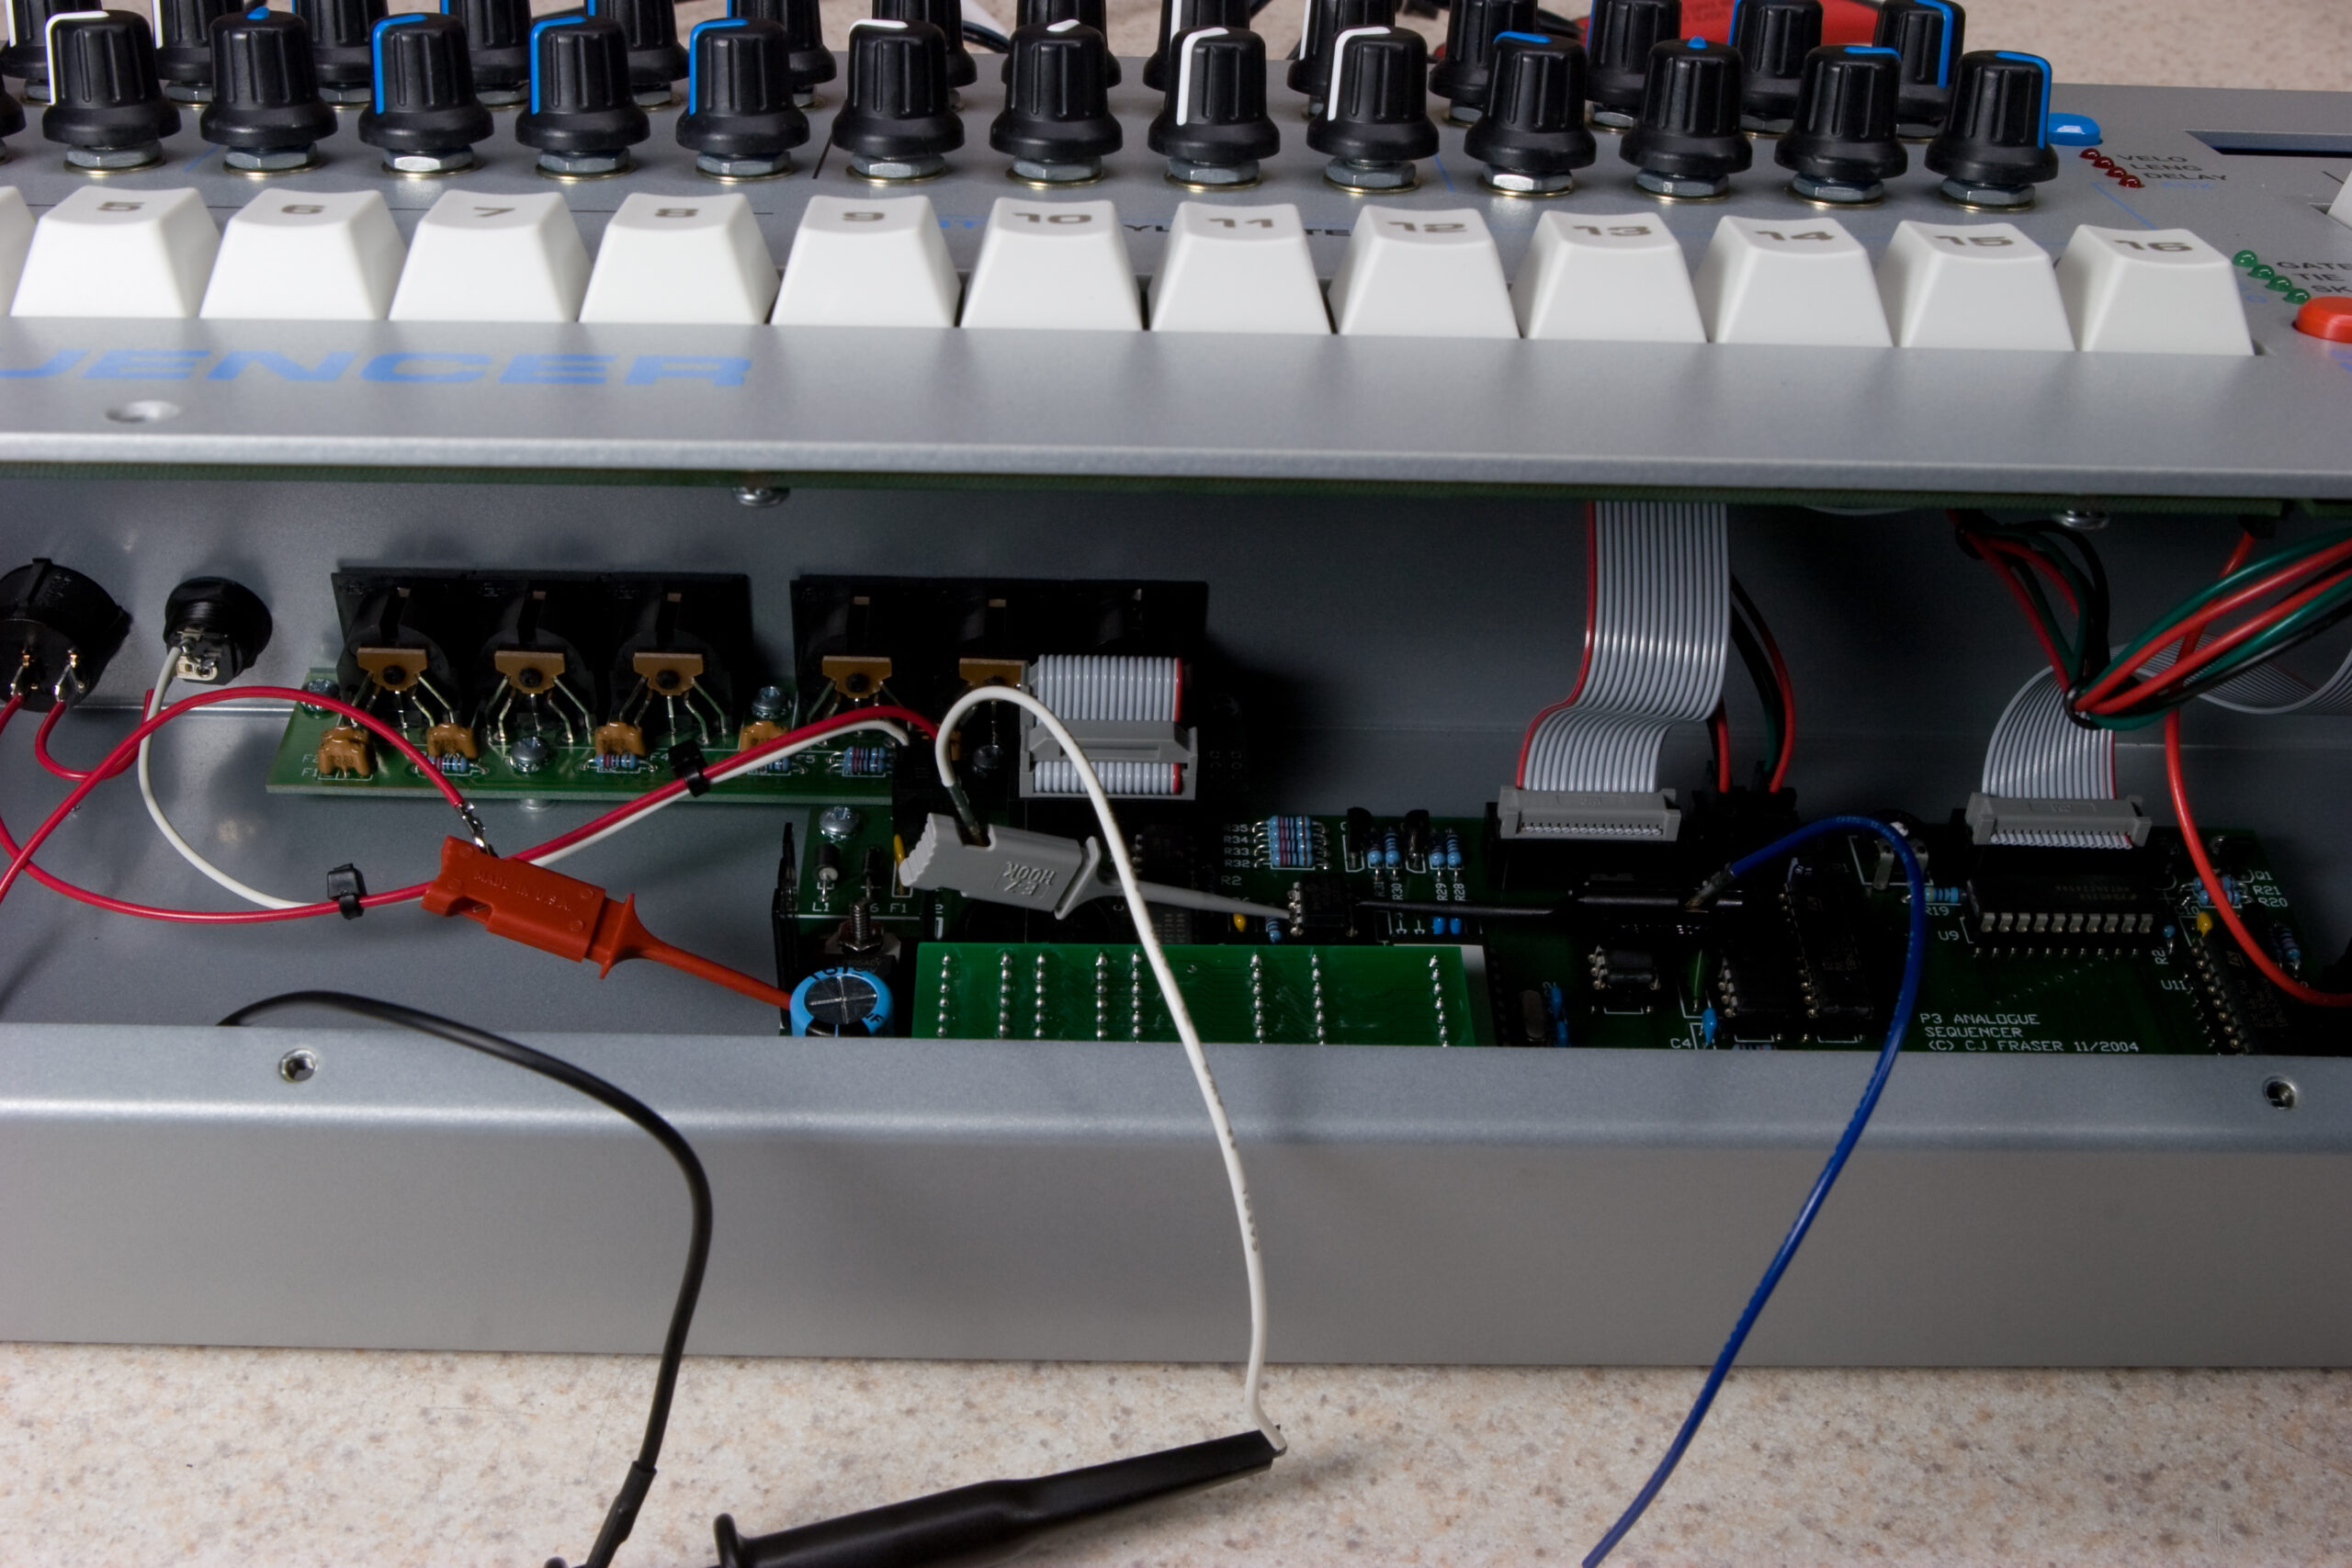
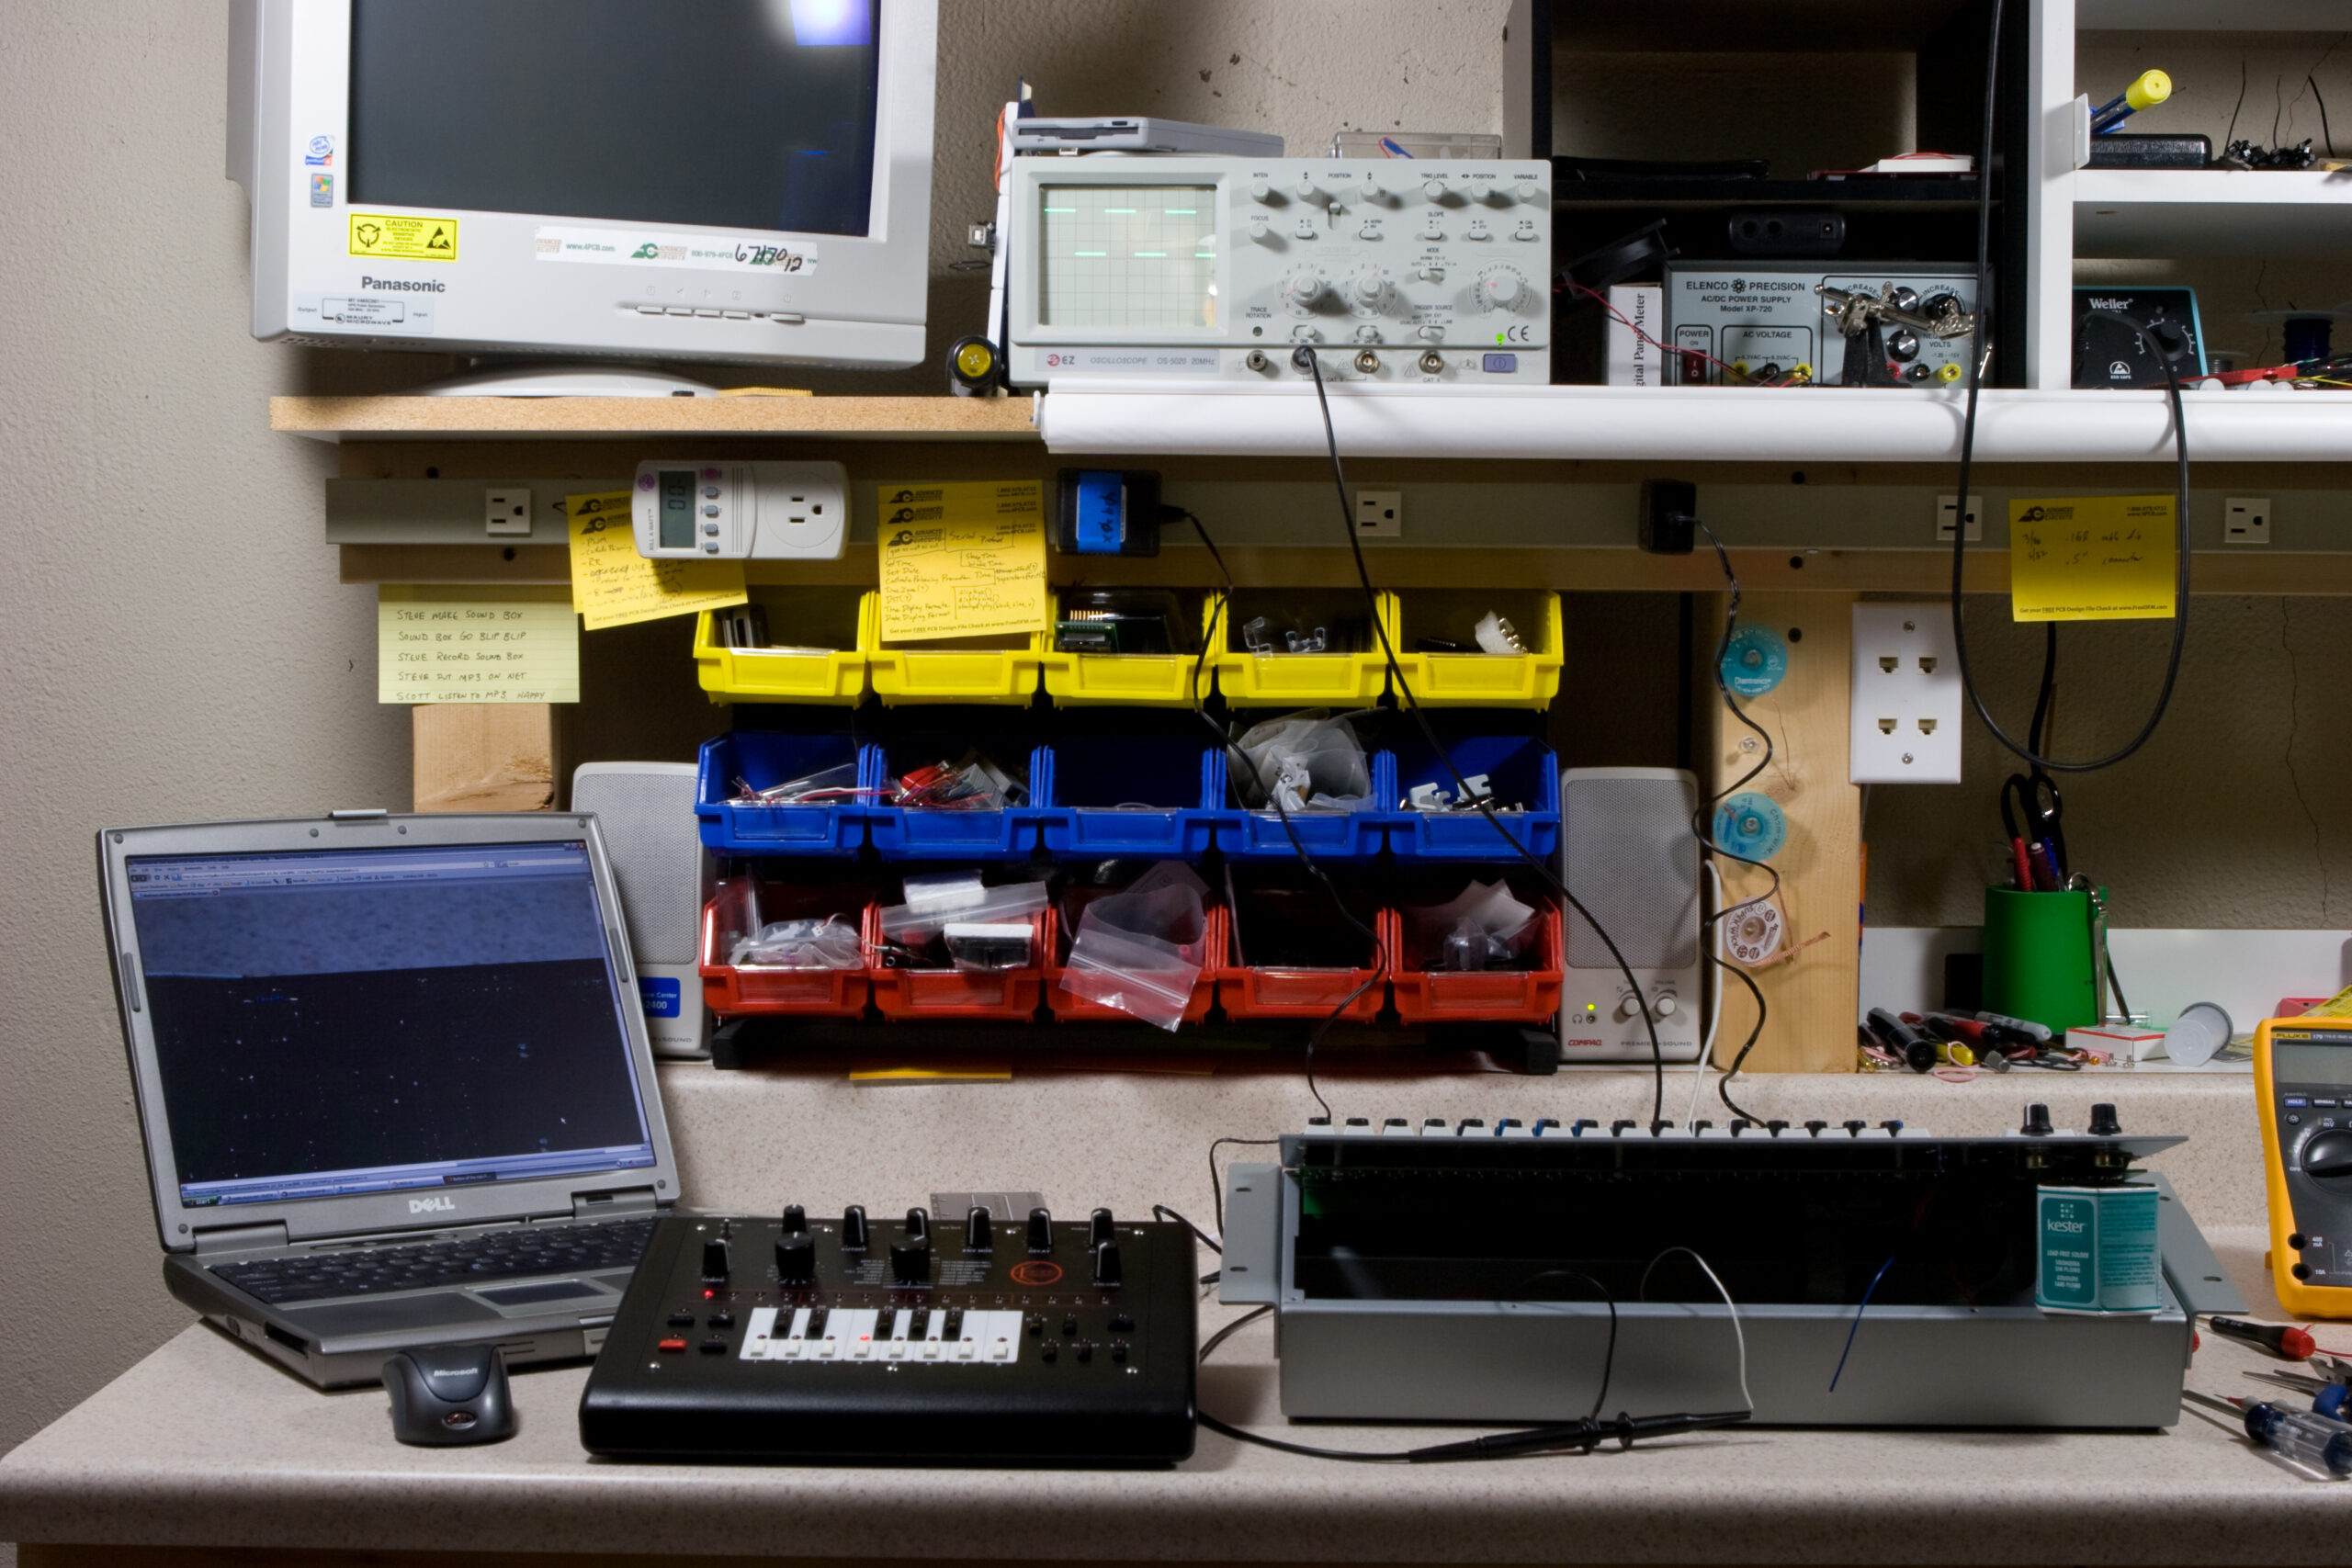
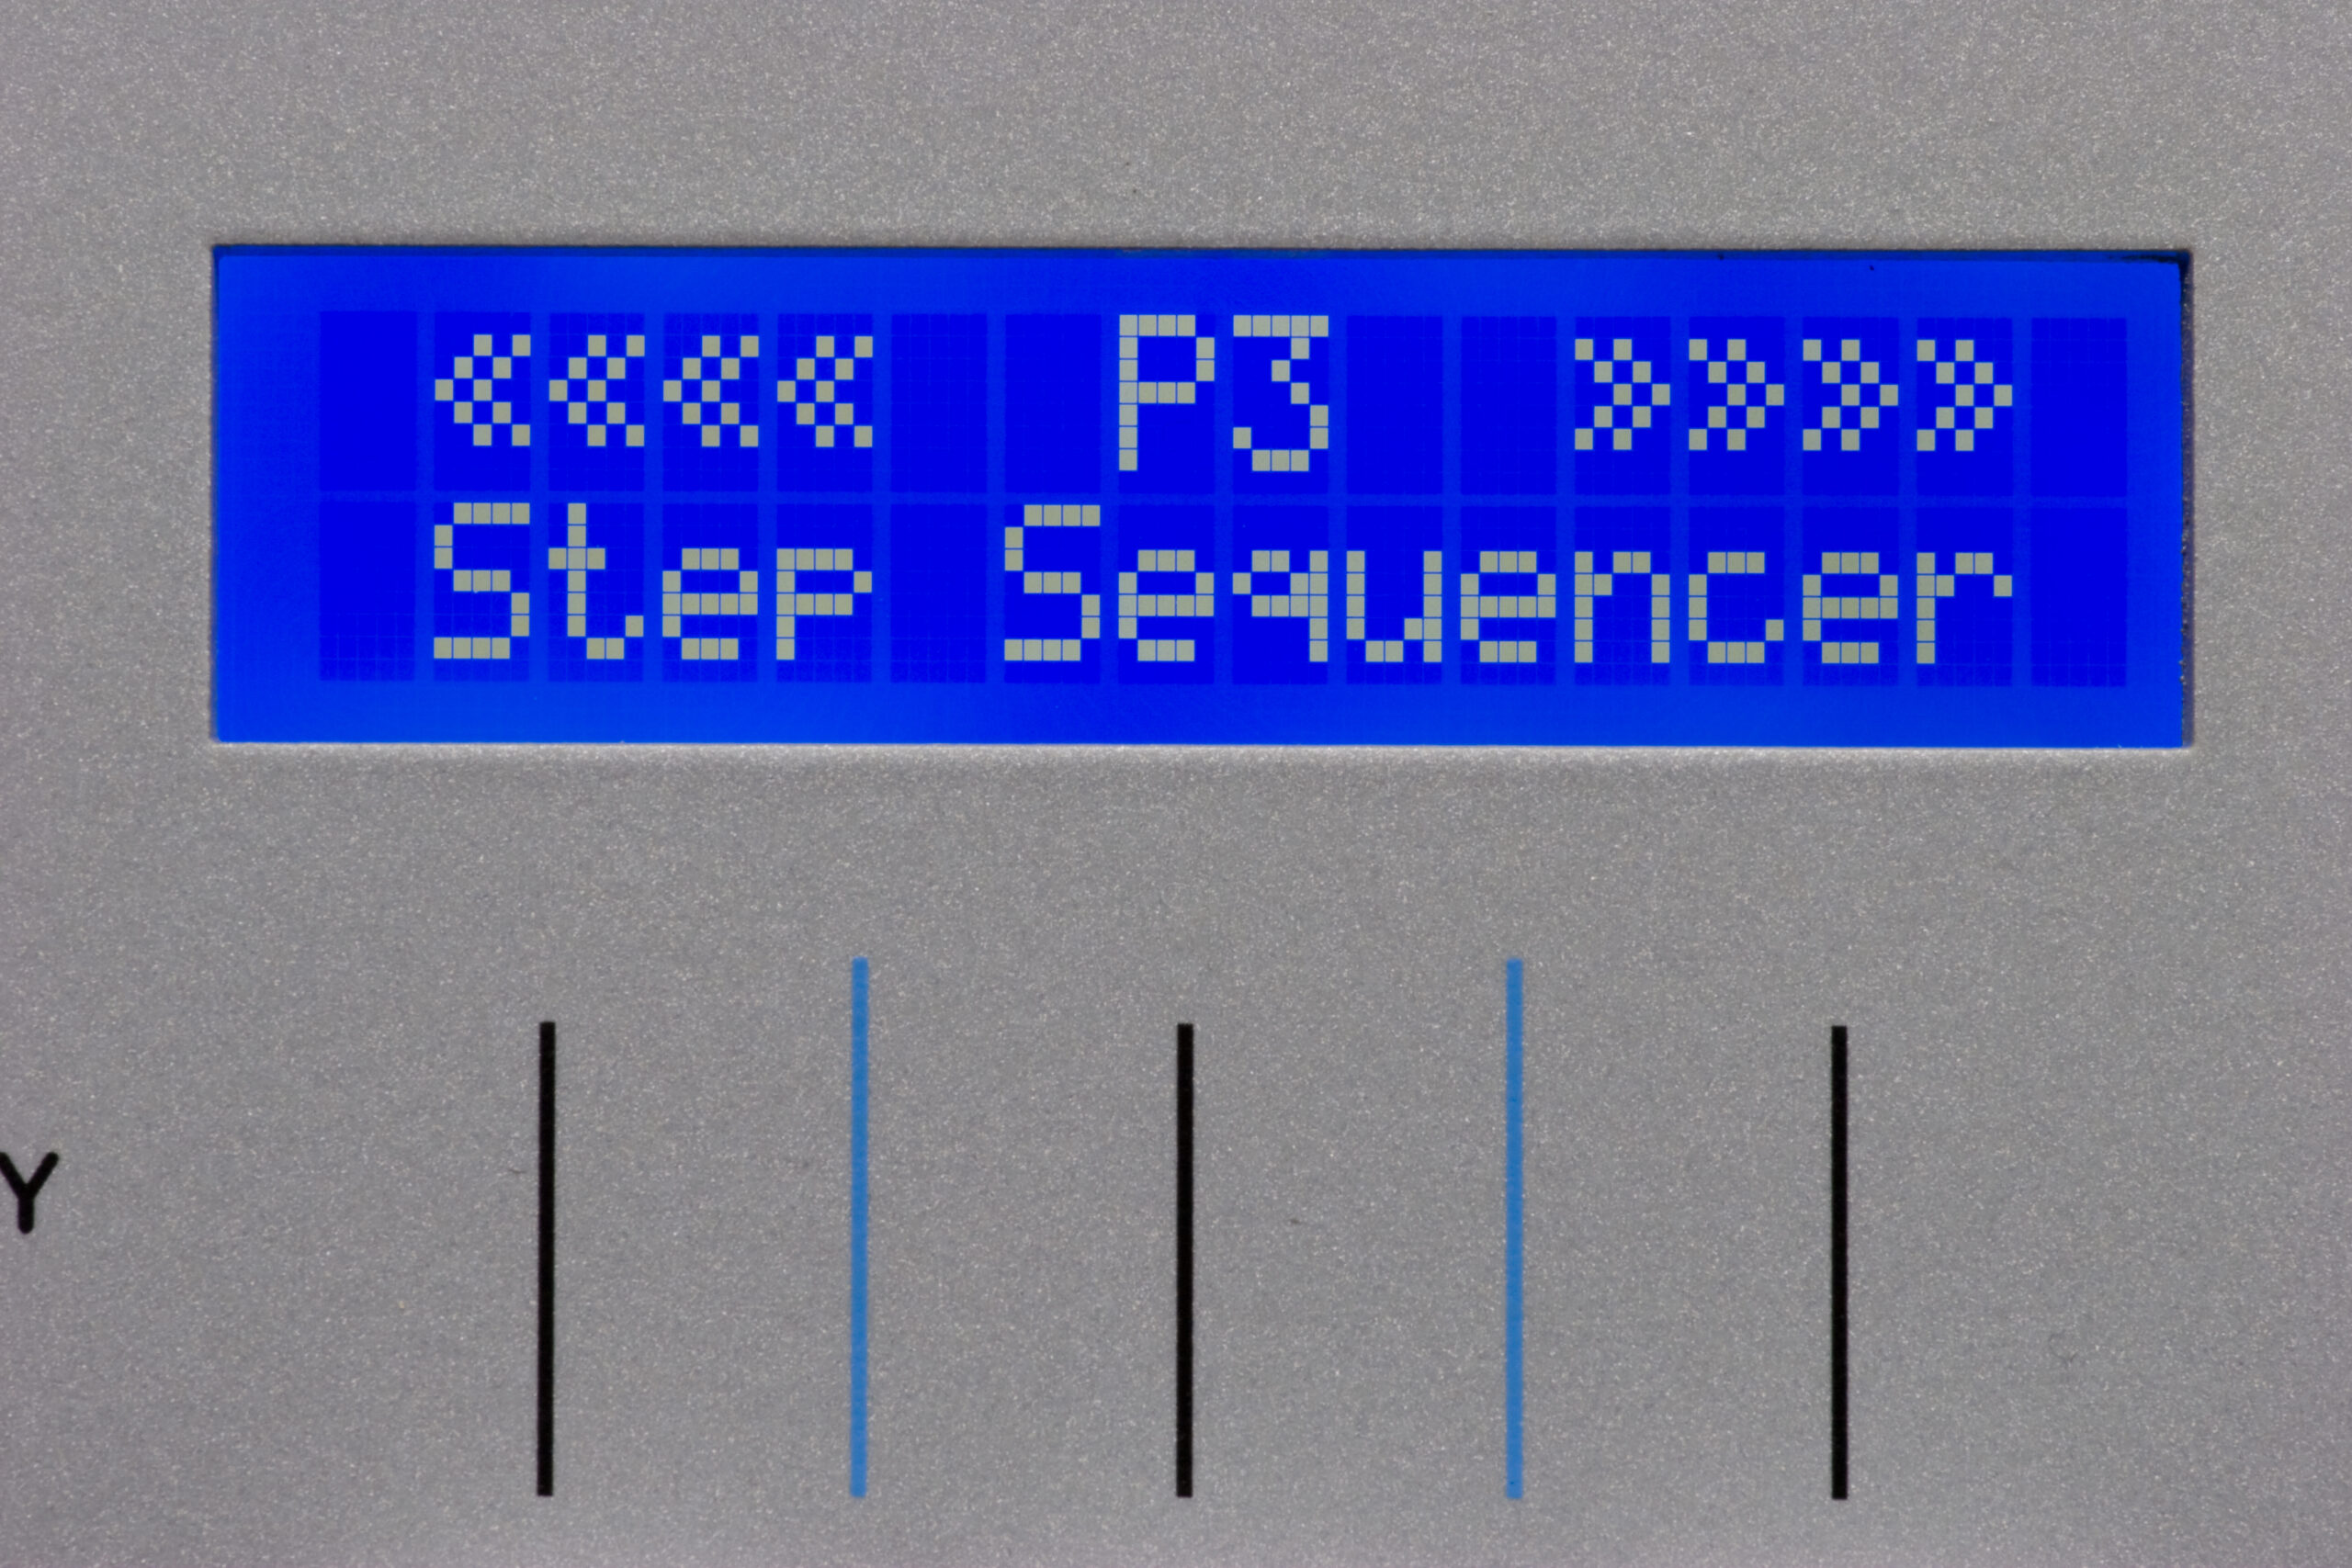
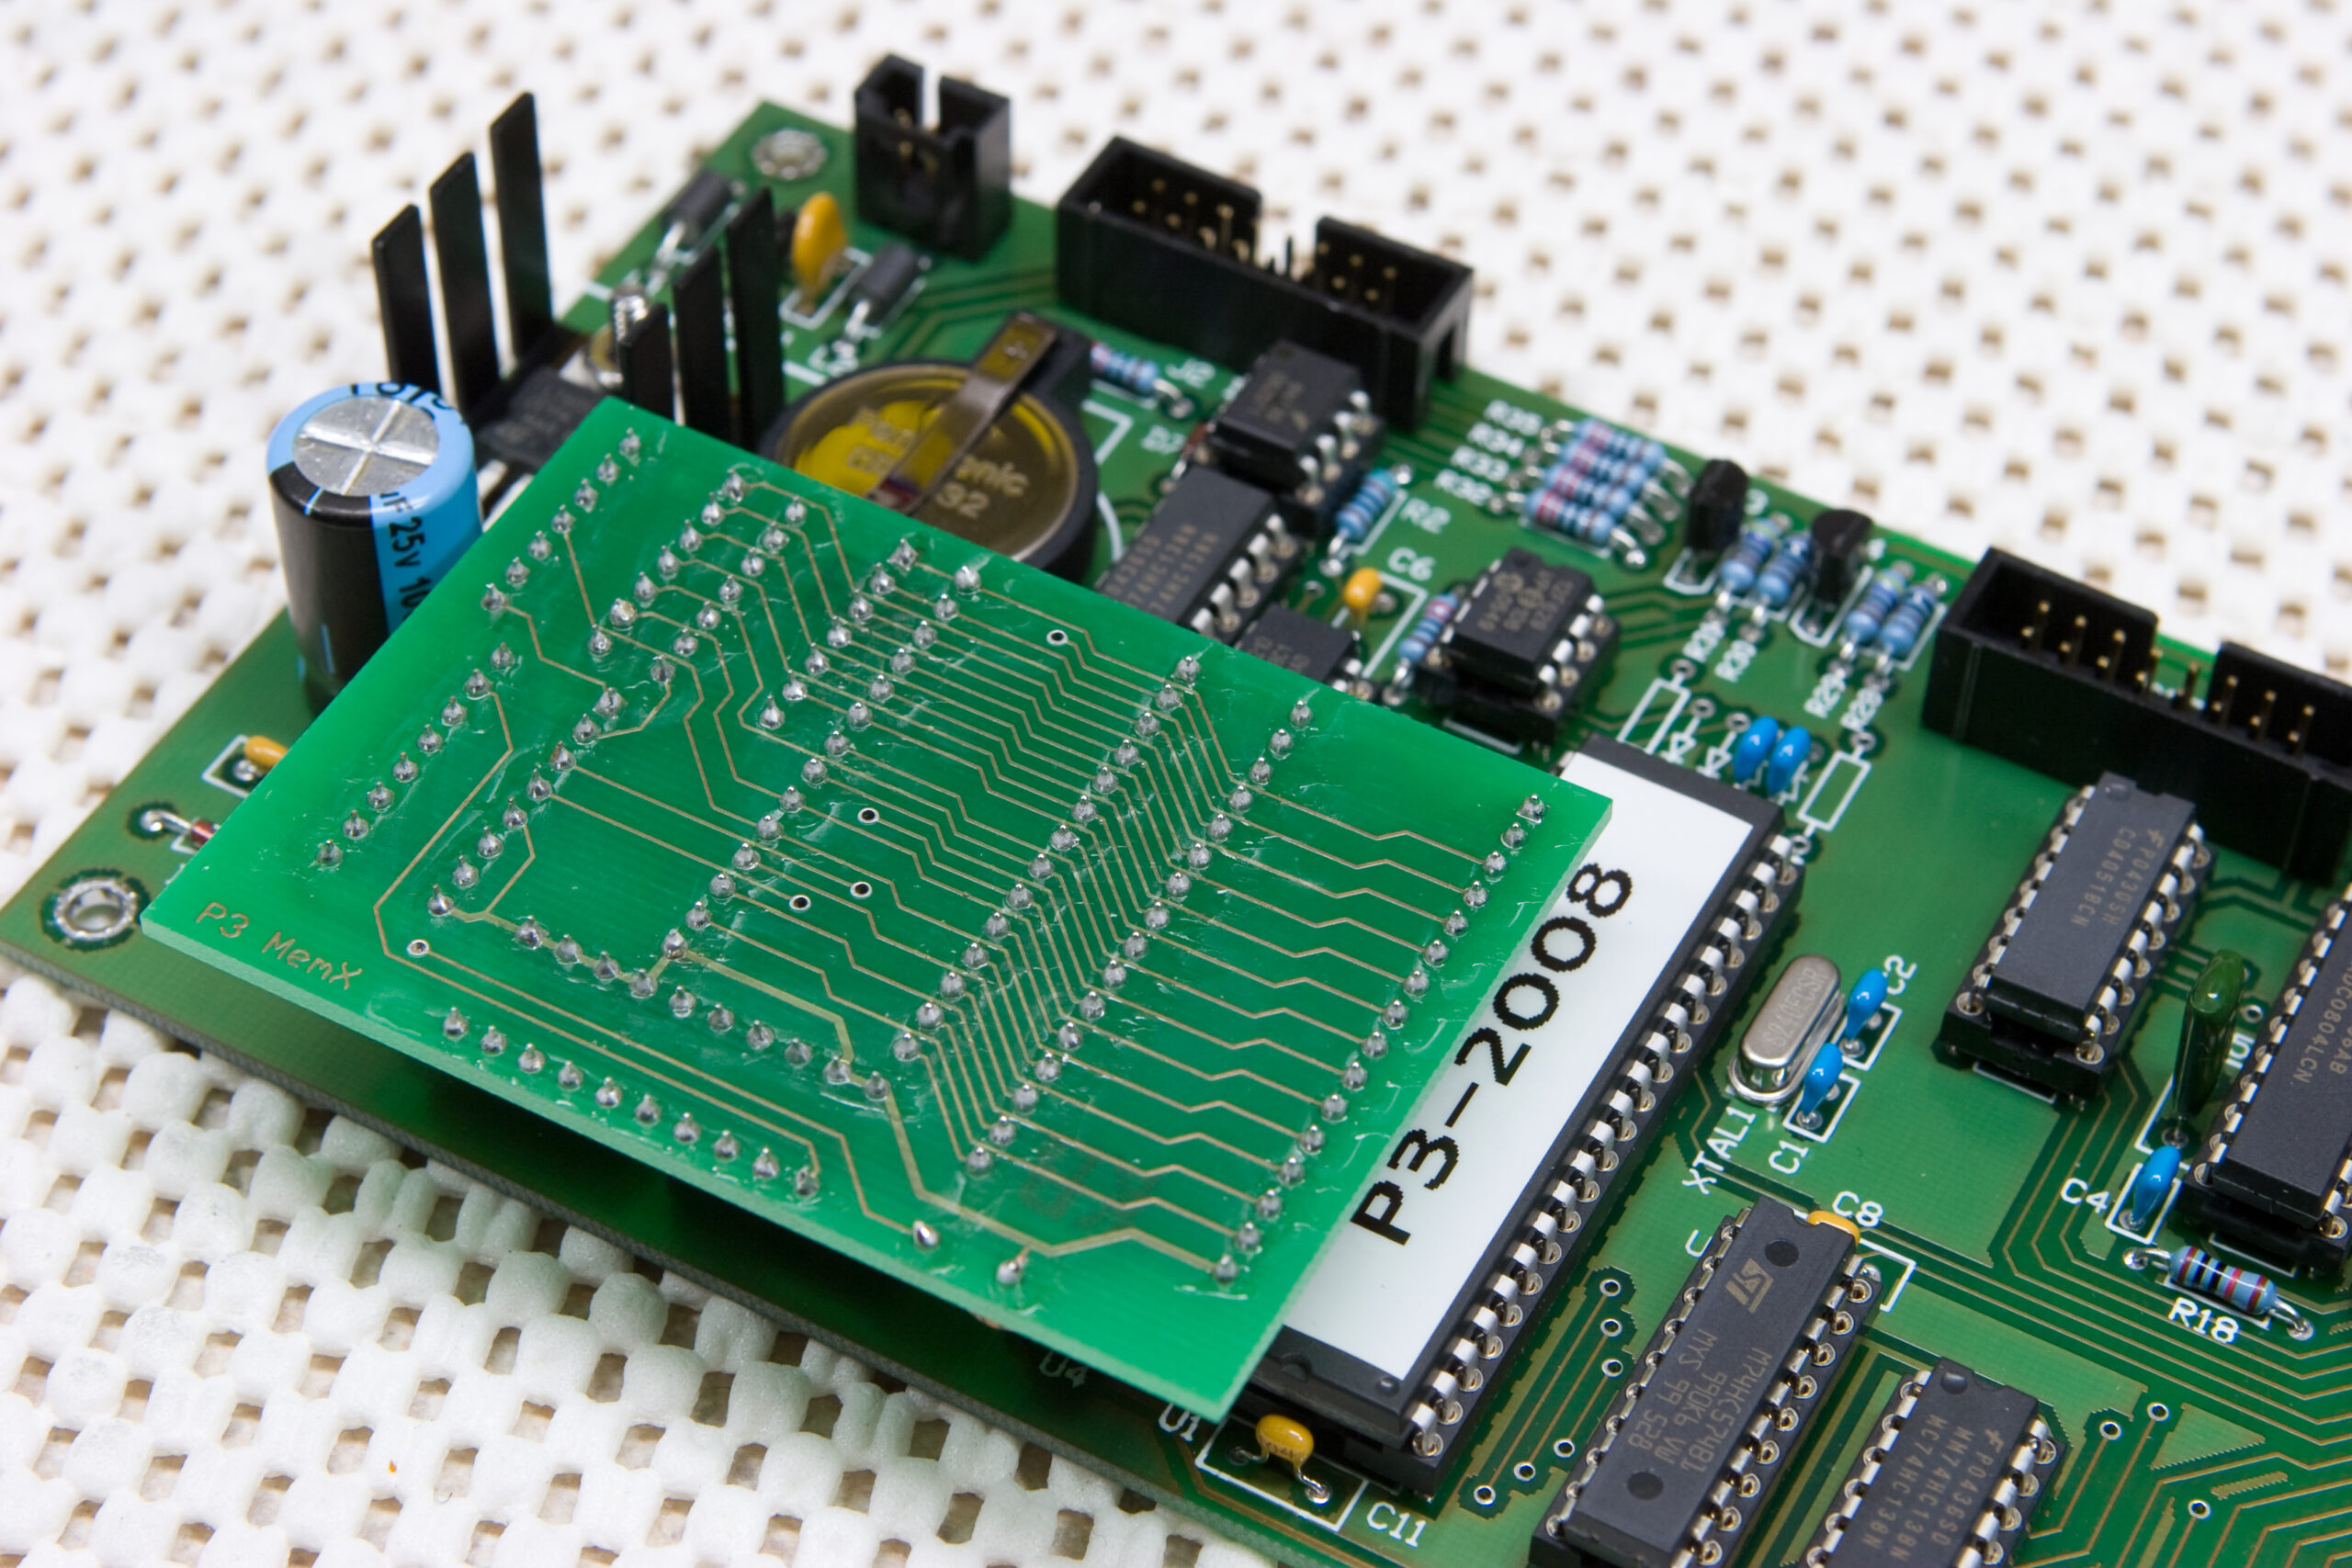
So, in wrapping up the testing of Ivan’s P3 (photo gallery retired) I found one more problem: MIDI Sync output isn’t working. I think I’ve narrowed the issue down to the software running on the PIC which handles this. Here’s what I know as of last night:
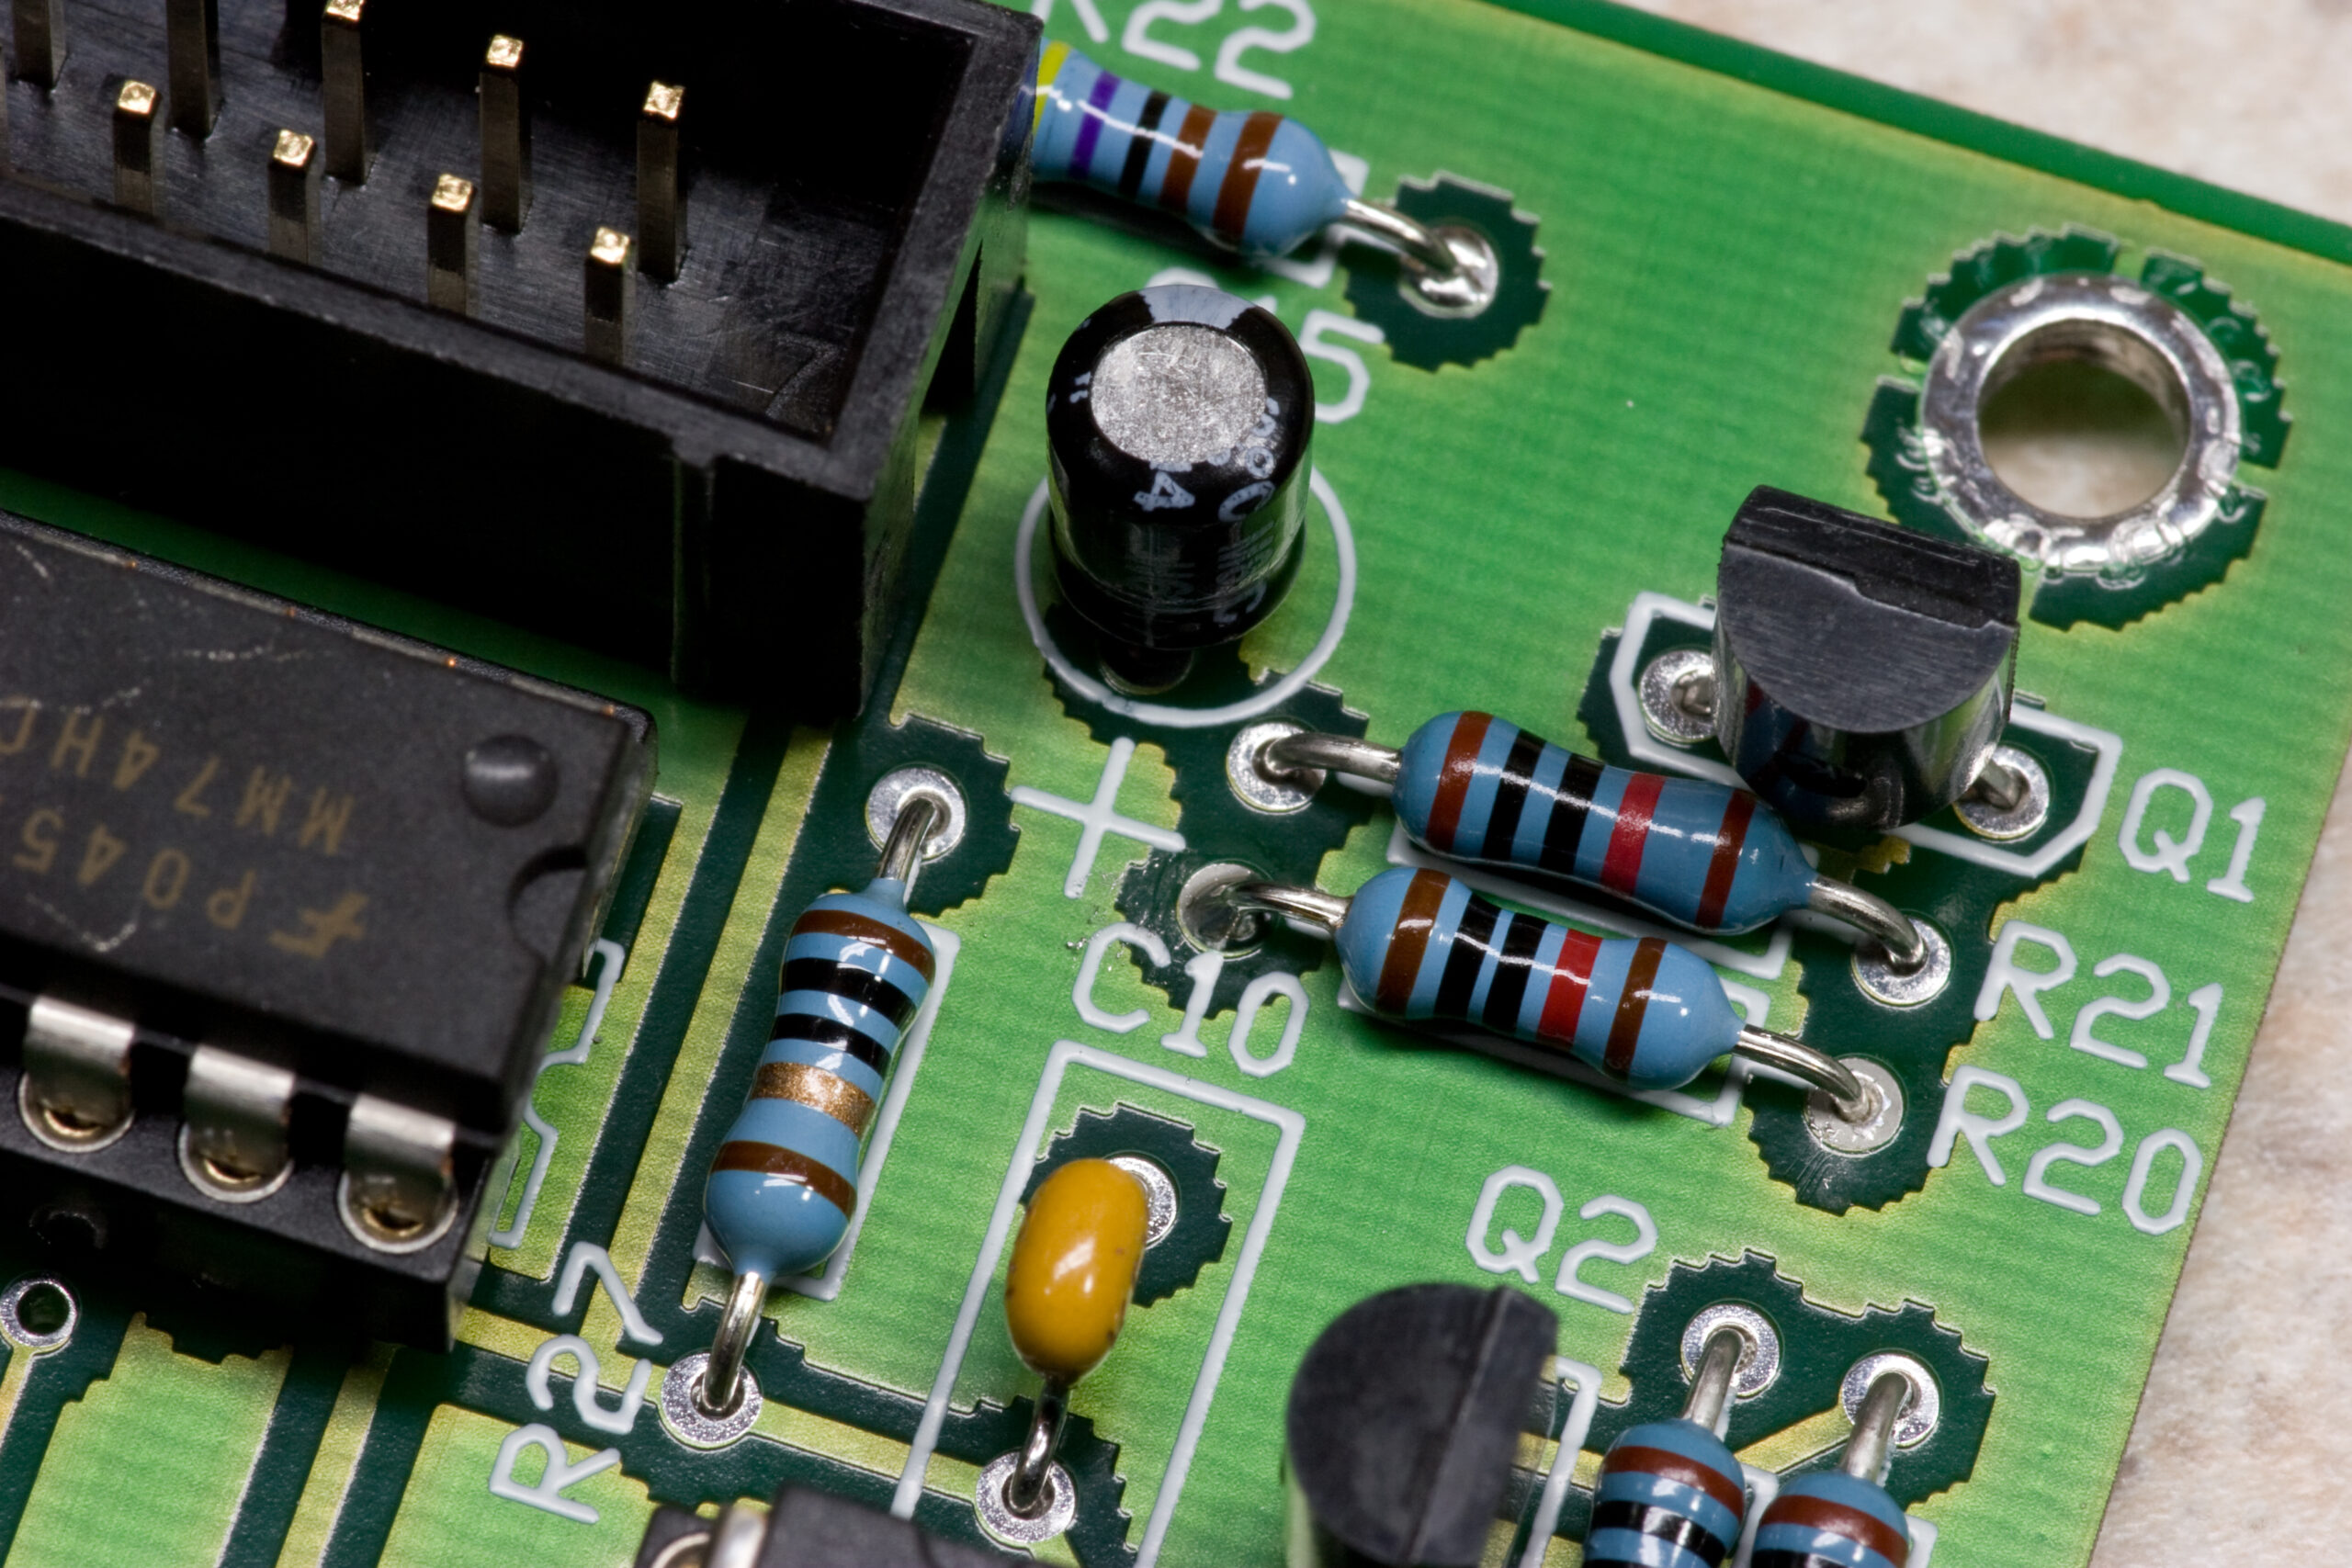
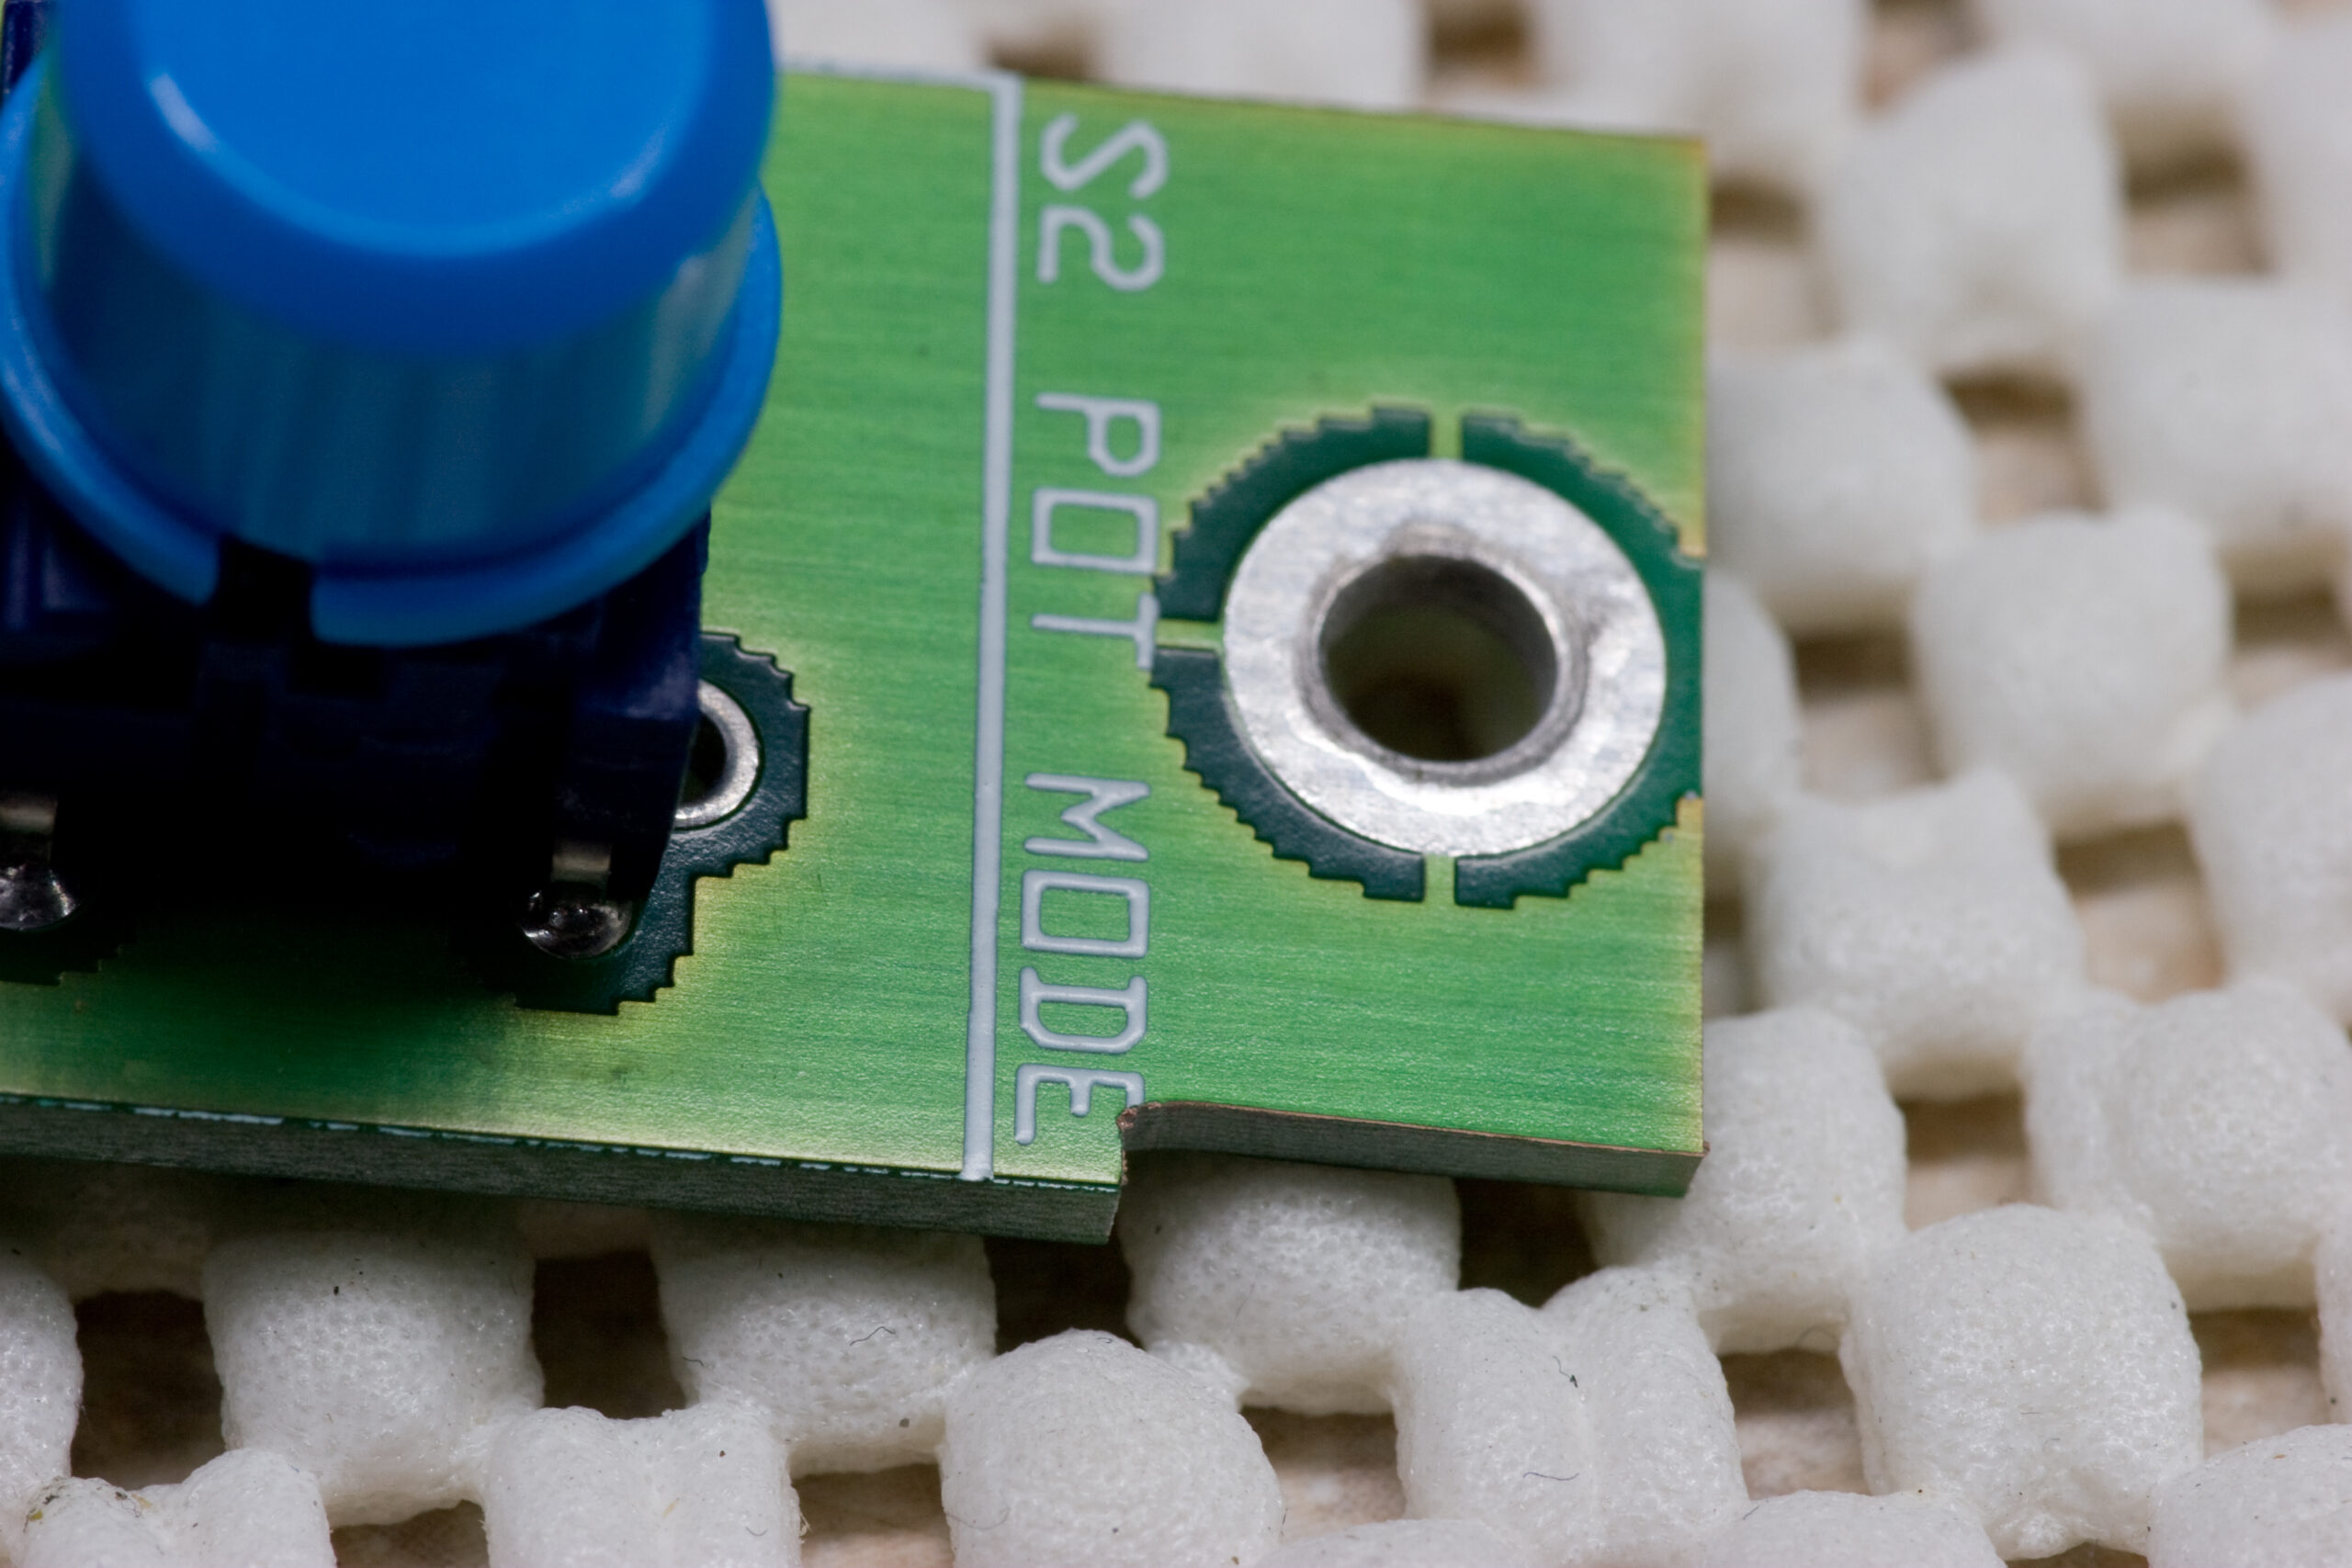
· U1, the main CPU on the P3, has two lines coming out of it which either connect directly to the DIN sync port or to U19 used for conversion to MIDI sync.
· I am seeing nice square waves on the PIC’s GP4, and these pulses change width with tempo change.
· The line running from U1 to the PIC’s GP5 goes high when the sequencer is running, then low when it isn’t.
· I don’t see any data coming out of the PIC on GP0, which is what connects through a 220Ω resistor eventually through to the MIDI port.
· There are no shorts on any of the lines.
In troubleshooting the PIC itself I have:
· Read out the firmware from the PIC, and received new firmware from Colin (the designer) for the PIC. These did not match, and the new firmware did not resolve the issue.
· Tried a spare PIC which I had sitting around in my parts pile.
· Wrote a test program to blink all GPIO lines on and off and successfully ran it on both PICs.
· Confirmed that the PIC is connected to power and ground and other lines, as expected.
After this, I pretty much have run out of ideas. This morning I threw the firmware Colin had sent me into a disassembler, and while I’m not very good at reading assembly, I think I’m that GP0 and GP1 are used as inputs and GP2, GP4, and GP5 are outputs, confirming that the firmware I was sent is for the v1.6 PCB. There is lots of BTFSS GPIO,0 and BTFSC GPIO,1 which are used for reading pins, and lots of BCF and BSF on GPIO,2, GPIO,4, and GPIO,5. GP2 (GPIO,2) seems to be used the most in the program, so I think it’s the MIDI port, and this would match what I see in my old photos of the v1.6 board, as GP2 connects through a 220Ω resistor to the pin header. GP4 and GP5 probably mirror the input received on GP0 and GP1, but I’m having difficulties confirming which pins are sync and which are enable.
I just pulled apart the older file which I had read out of the PIC previously and it seems to read from GP4 and GP5, with MIDI data going out of GP0. These port uses match my observations of the pinning of the v1.5 board, so I think that the older firmware looks somewhat right. That said, it clearly wasn’t working, otherwise I wouldn’t be posting this.
I think tonight I’ll try to write the originally-read firmware back into one of my new PICs, then I’ll drop it back in the P3, just to see what happens.
Oh, and for what it’s worth, this is my understanding of what the PIC12F629 on the P3, U19, does (or is supposed to do) on the the v1.5 boards: It watches for when GP5 goes high (an indication that the sequencer is running) and when it does, it sends out a MIDI clock message with each pulse it sees on GP4 (not sure if this is done at the rising or falling edge). It then stops sending these clock messages when GP5 goes low. On the v1.6 boards it seems to do something similar, but since it has three outputs I believe it also sends the DIN sync output as well.
There are also more photos of last night’s work at the bottom of this page (photo gallery retired) in the last two rows.
UPDATE: One thing I didn’t test was input on the pins and the internal oscillator. I make a quick change to the blinky LED program to run from the internal oscillator and another version which I can use to test if all the inputs work. I’ll try that tonight. At this point it’s almost not enough for me to fix the problem, I want to know what wasn’t right.


