Maglite LED Upgrade Module
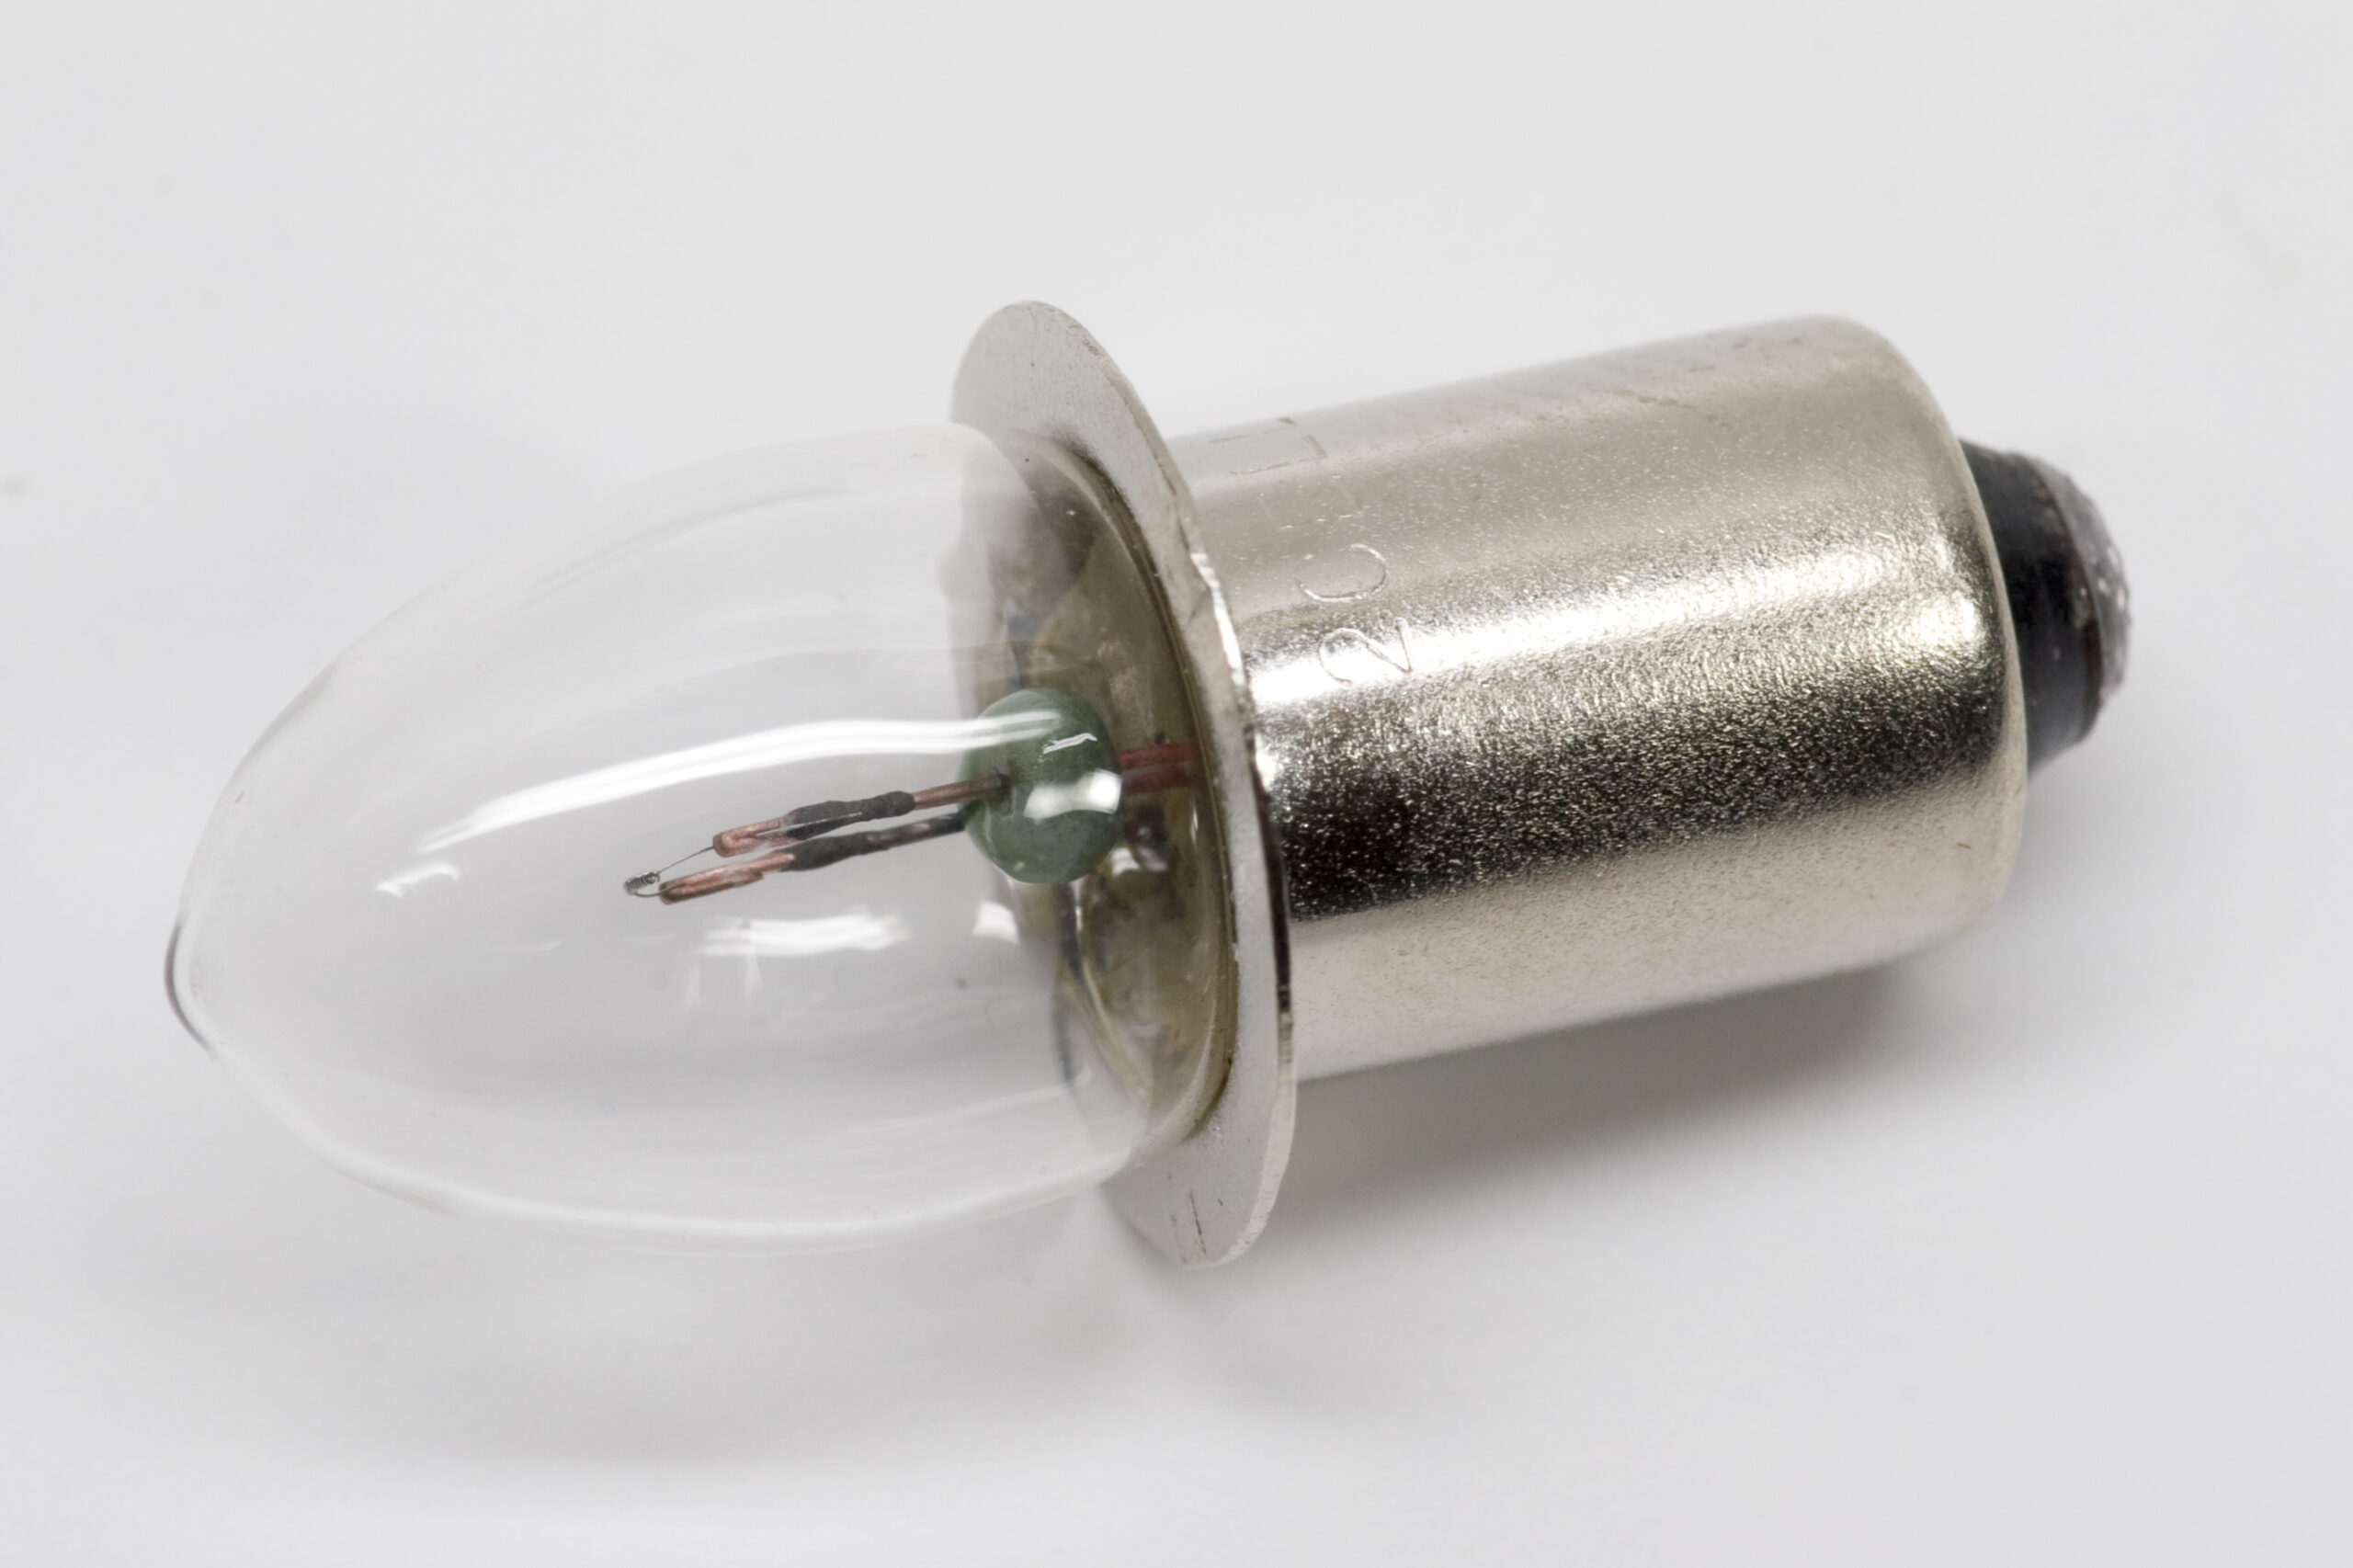
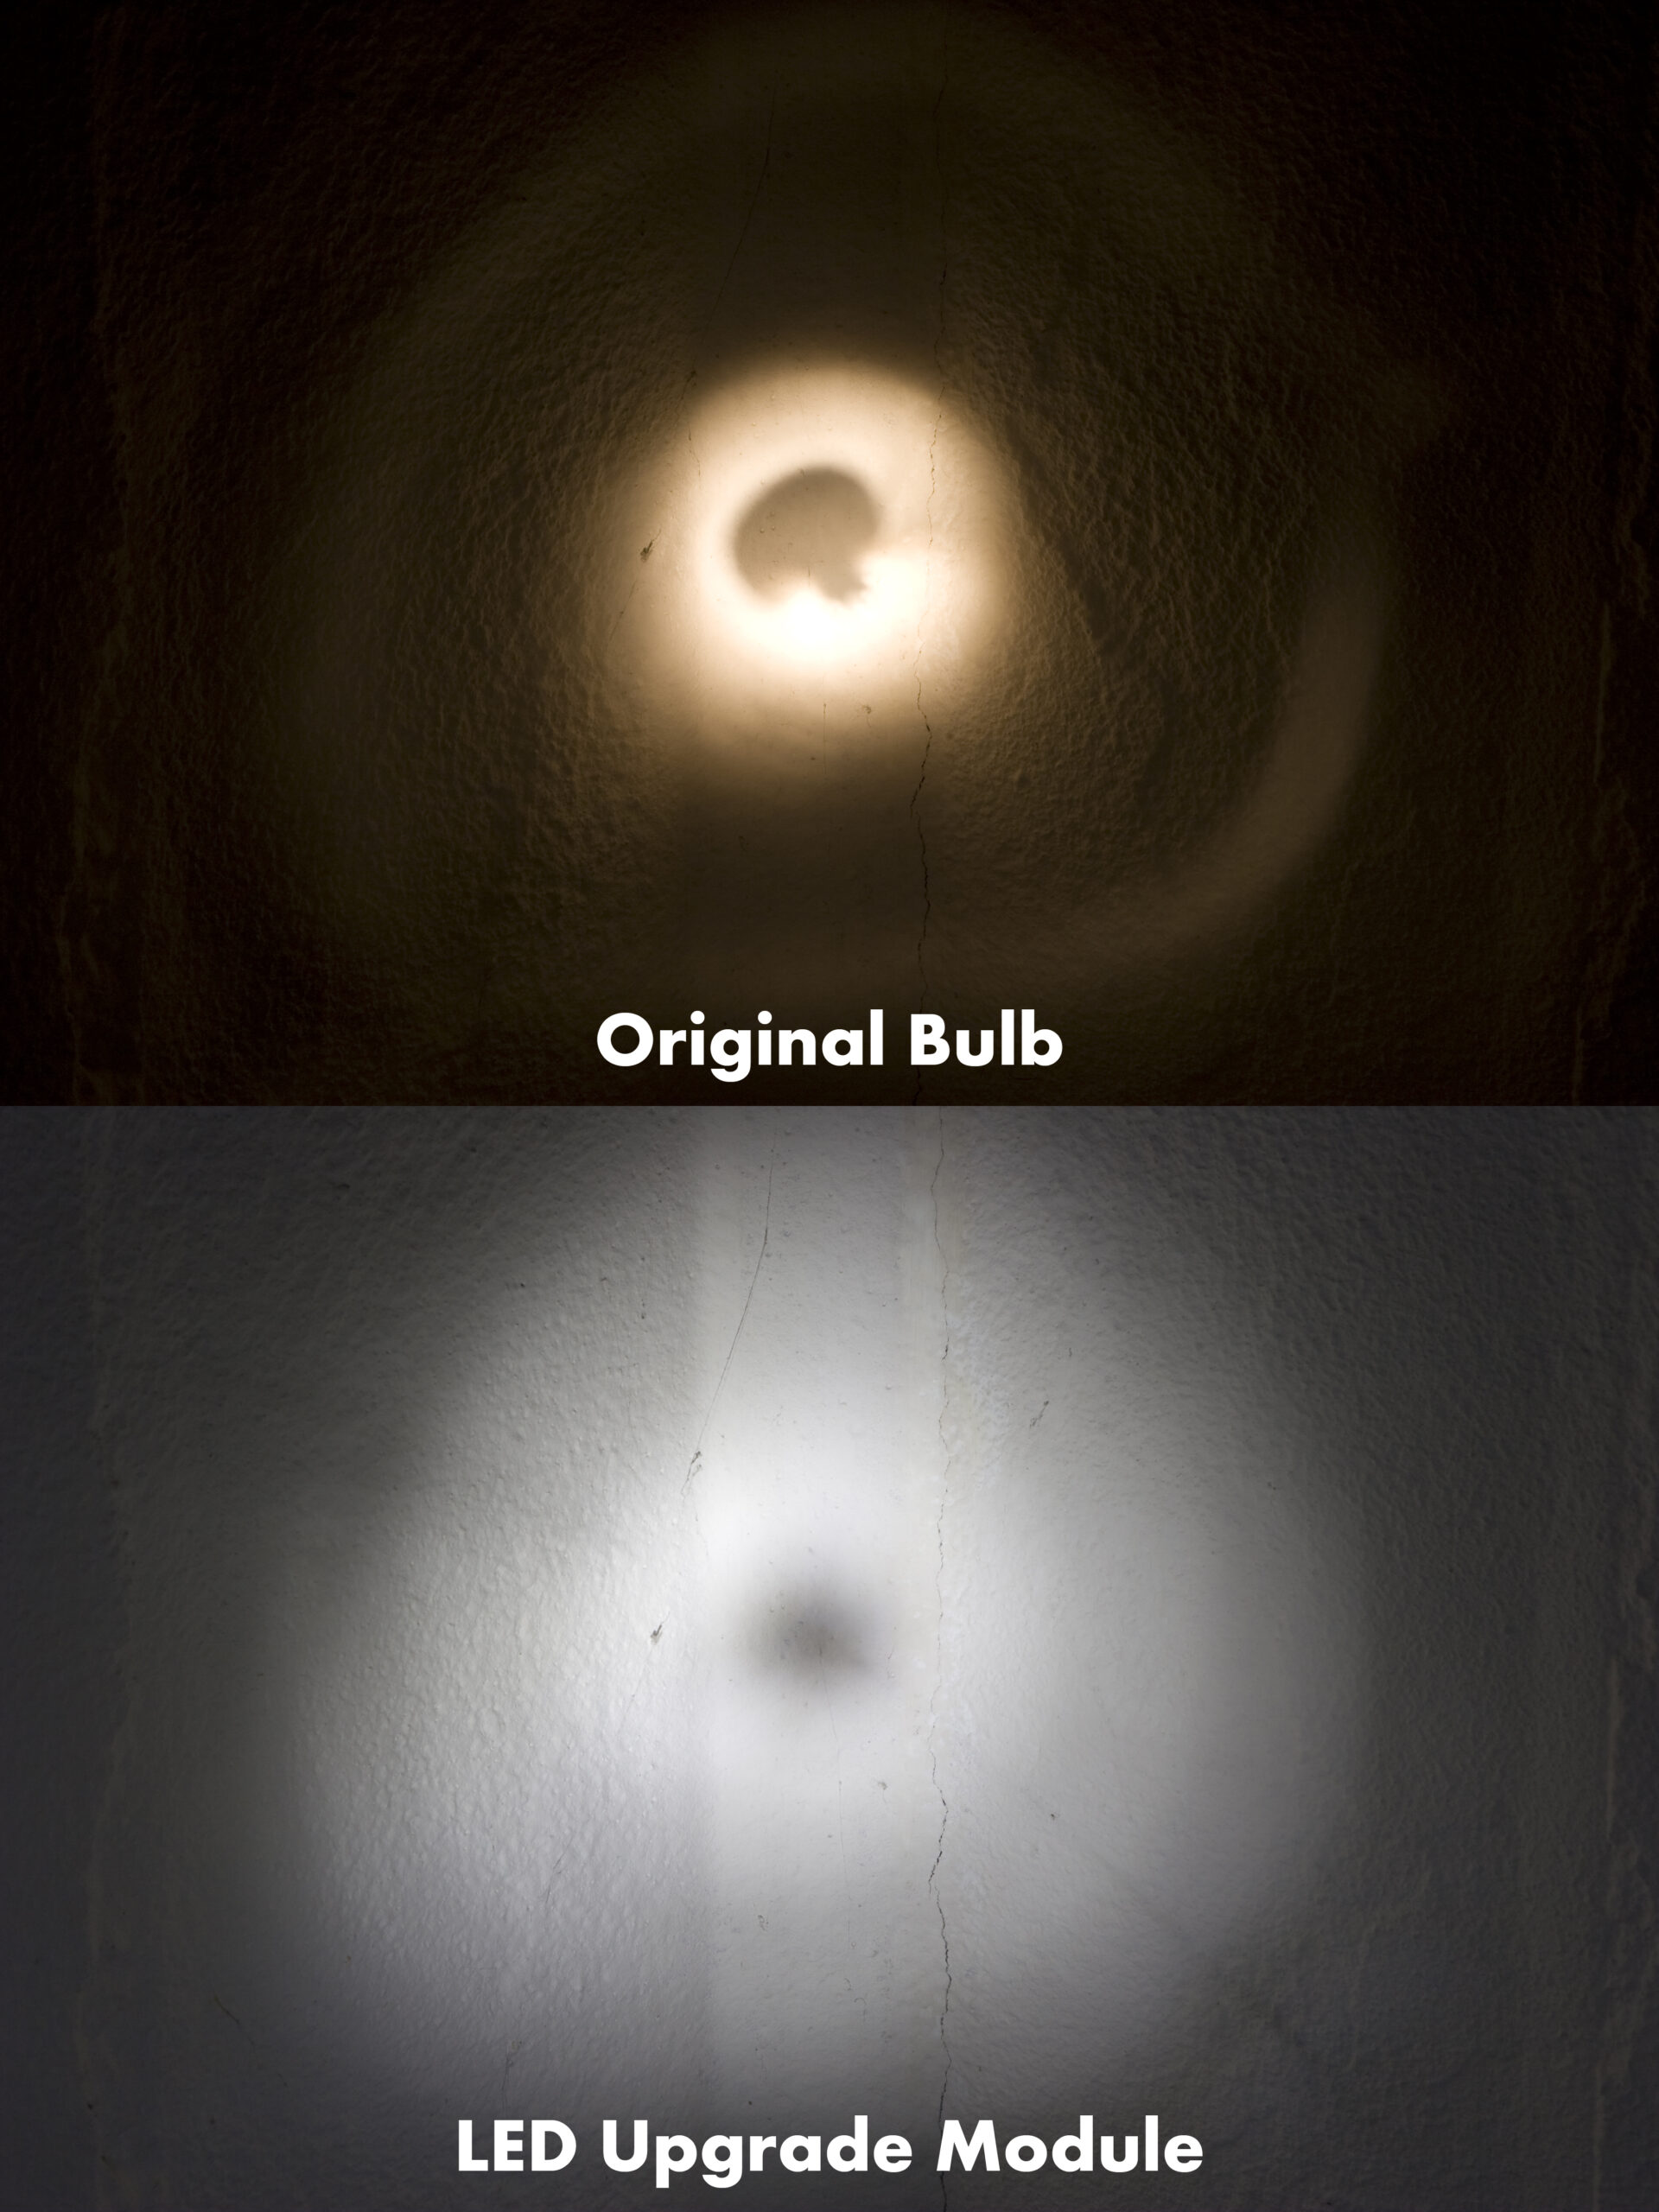 Incandescent vs. LED Lamp in Two D-cell Maglite
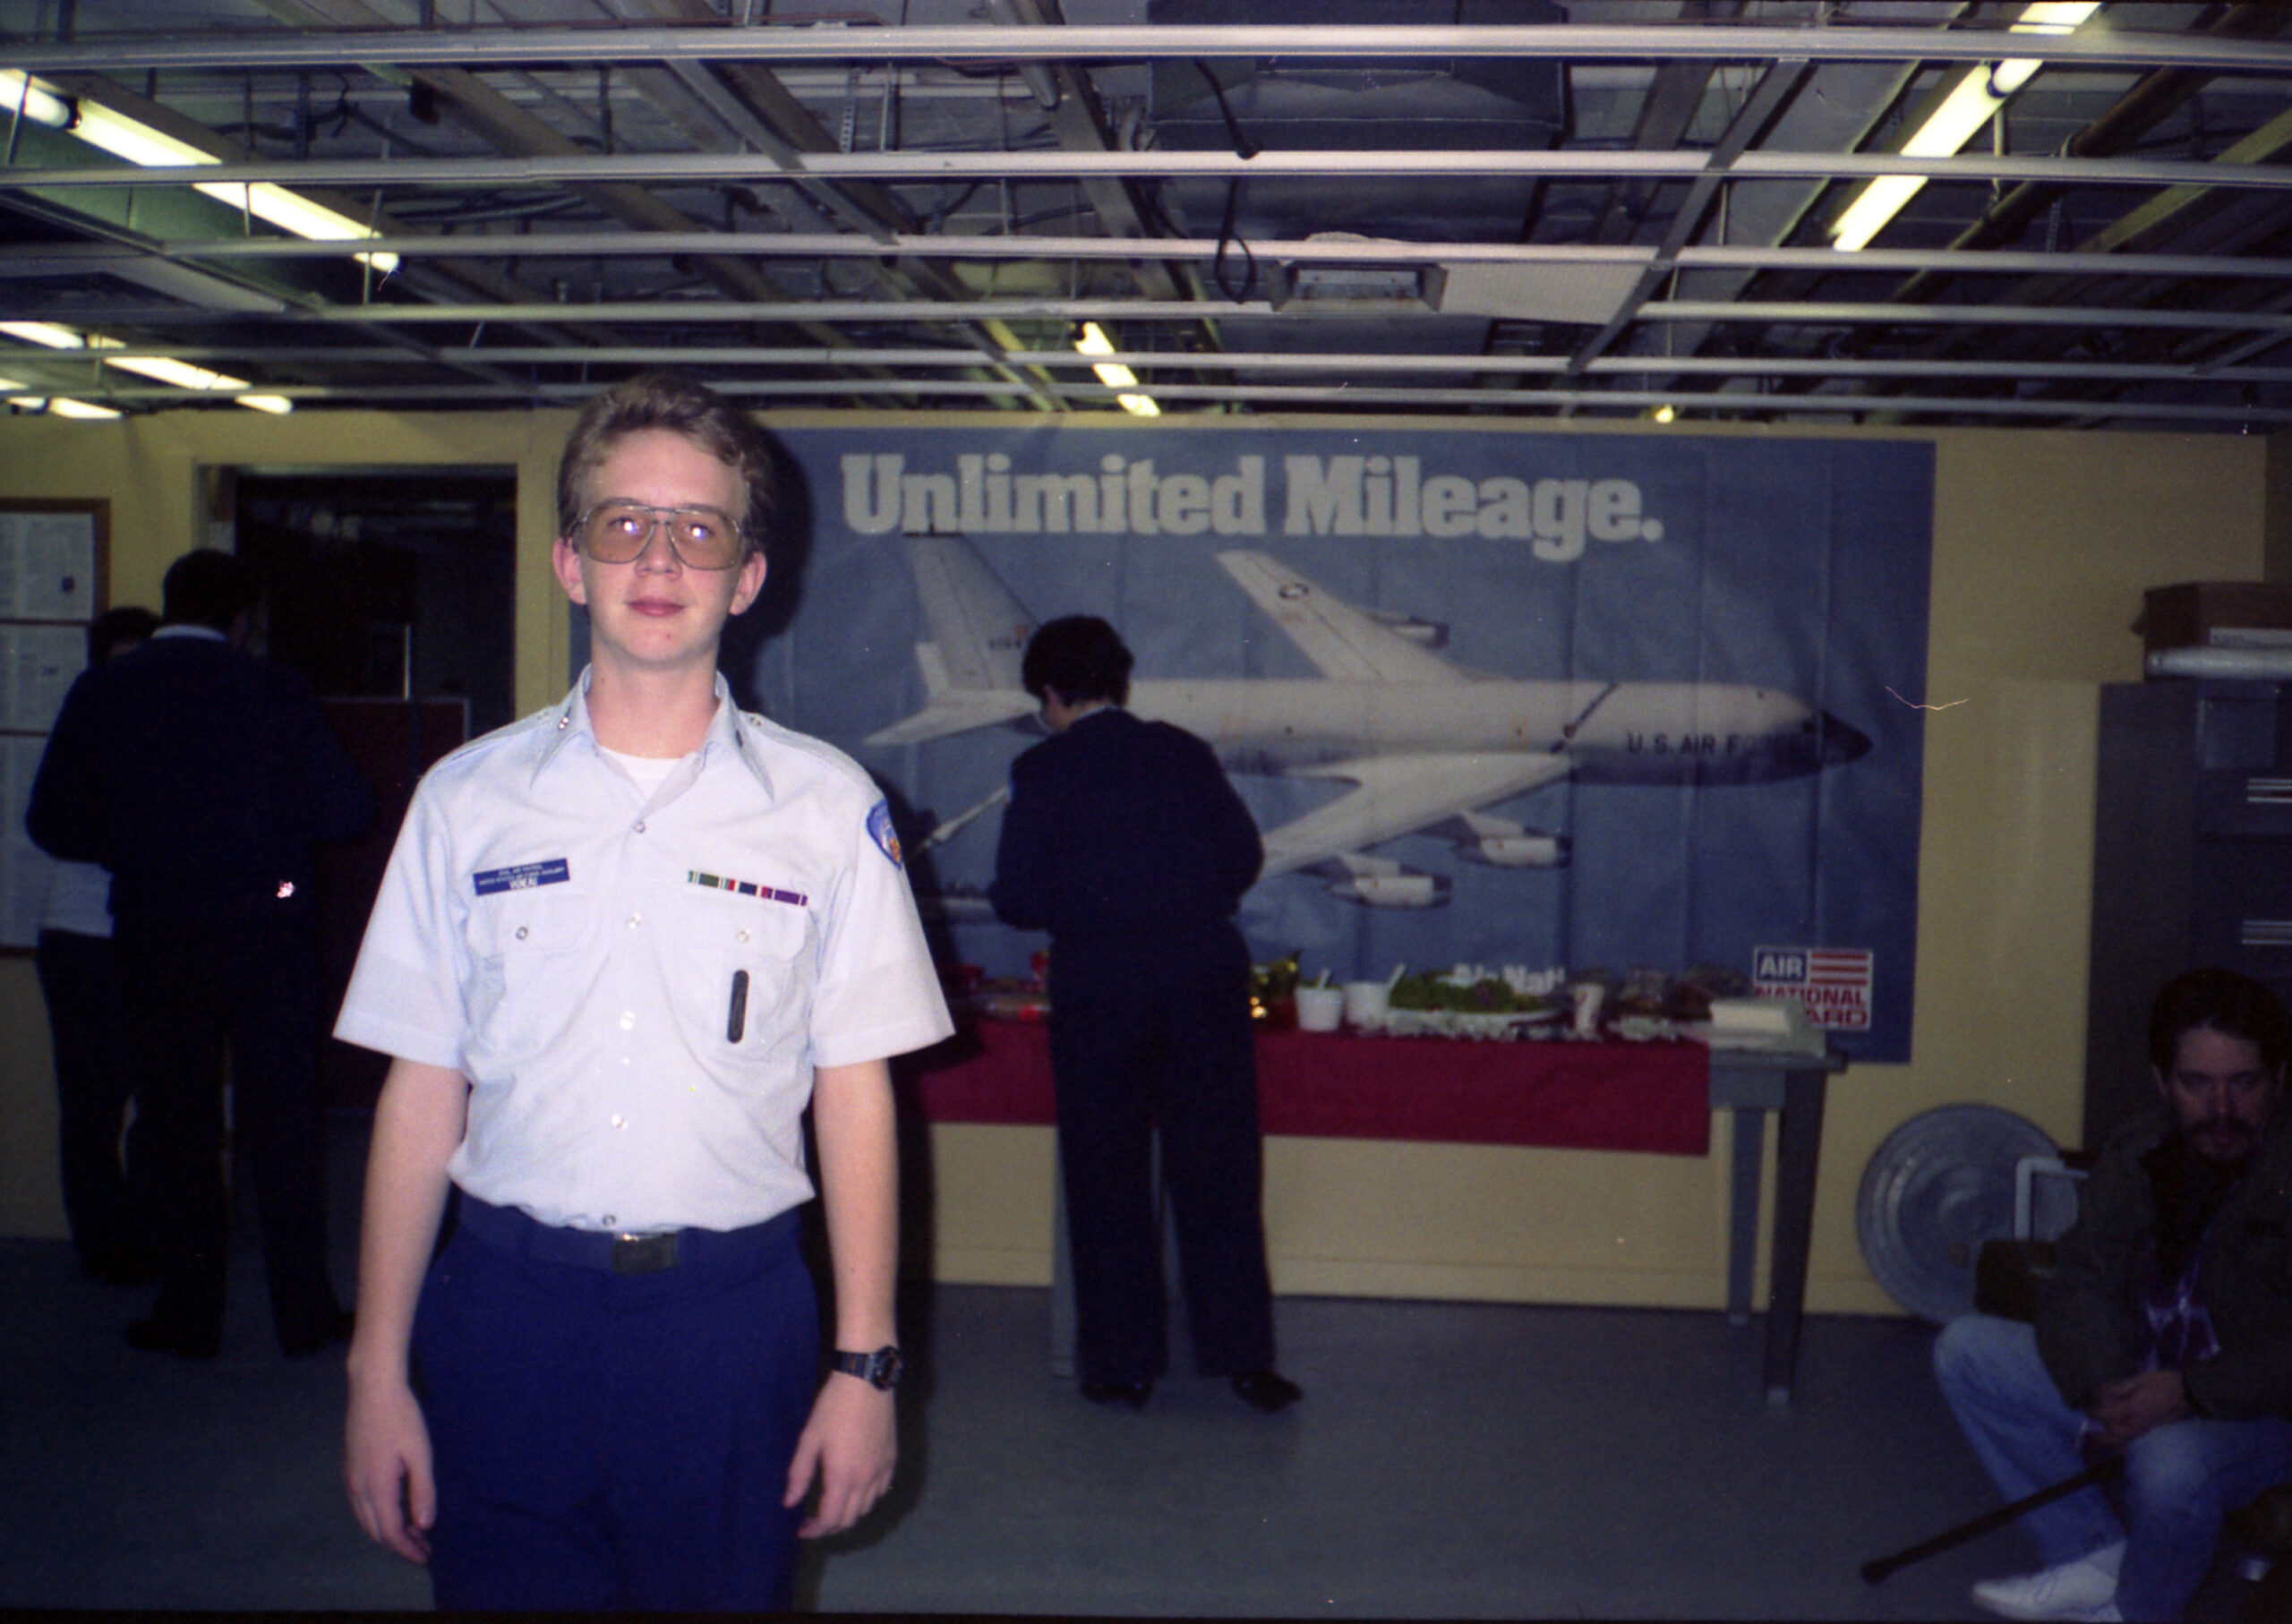
I’ve been wanting an LED flashlight for a while, and yesterday when Danielle and I were at REI I saw that Maglite offers LED upgrade modules for their existing flashlights. Years ago when I was in Civil Air Patrol I had acquired a two D-cell Maglite for various encampment / search and rescue / utility purposes. Despite its age (and wear, including being thrown at someone as they ducked into a fire escape) it still worked great, so I figured that a new LED bulb for it would work out great.
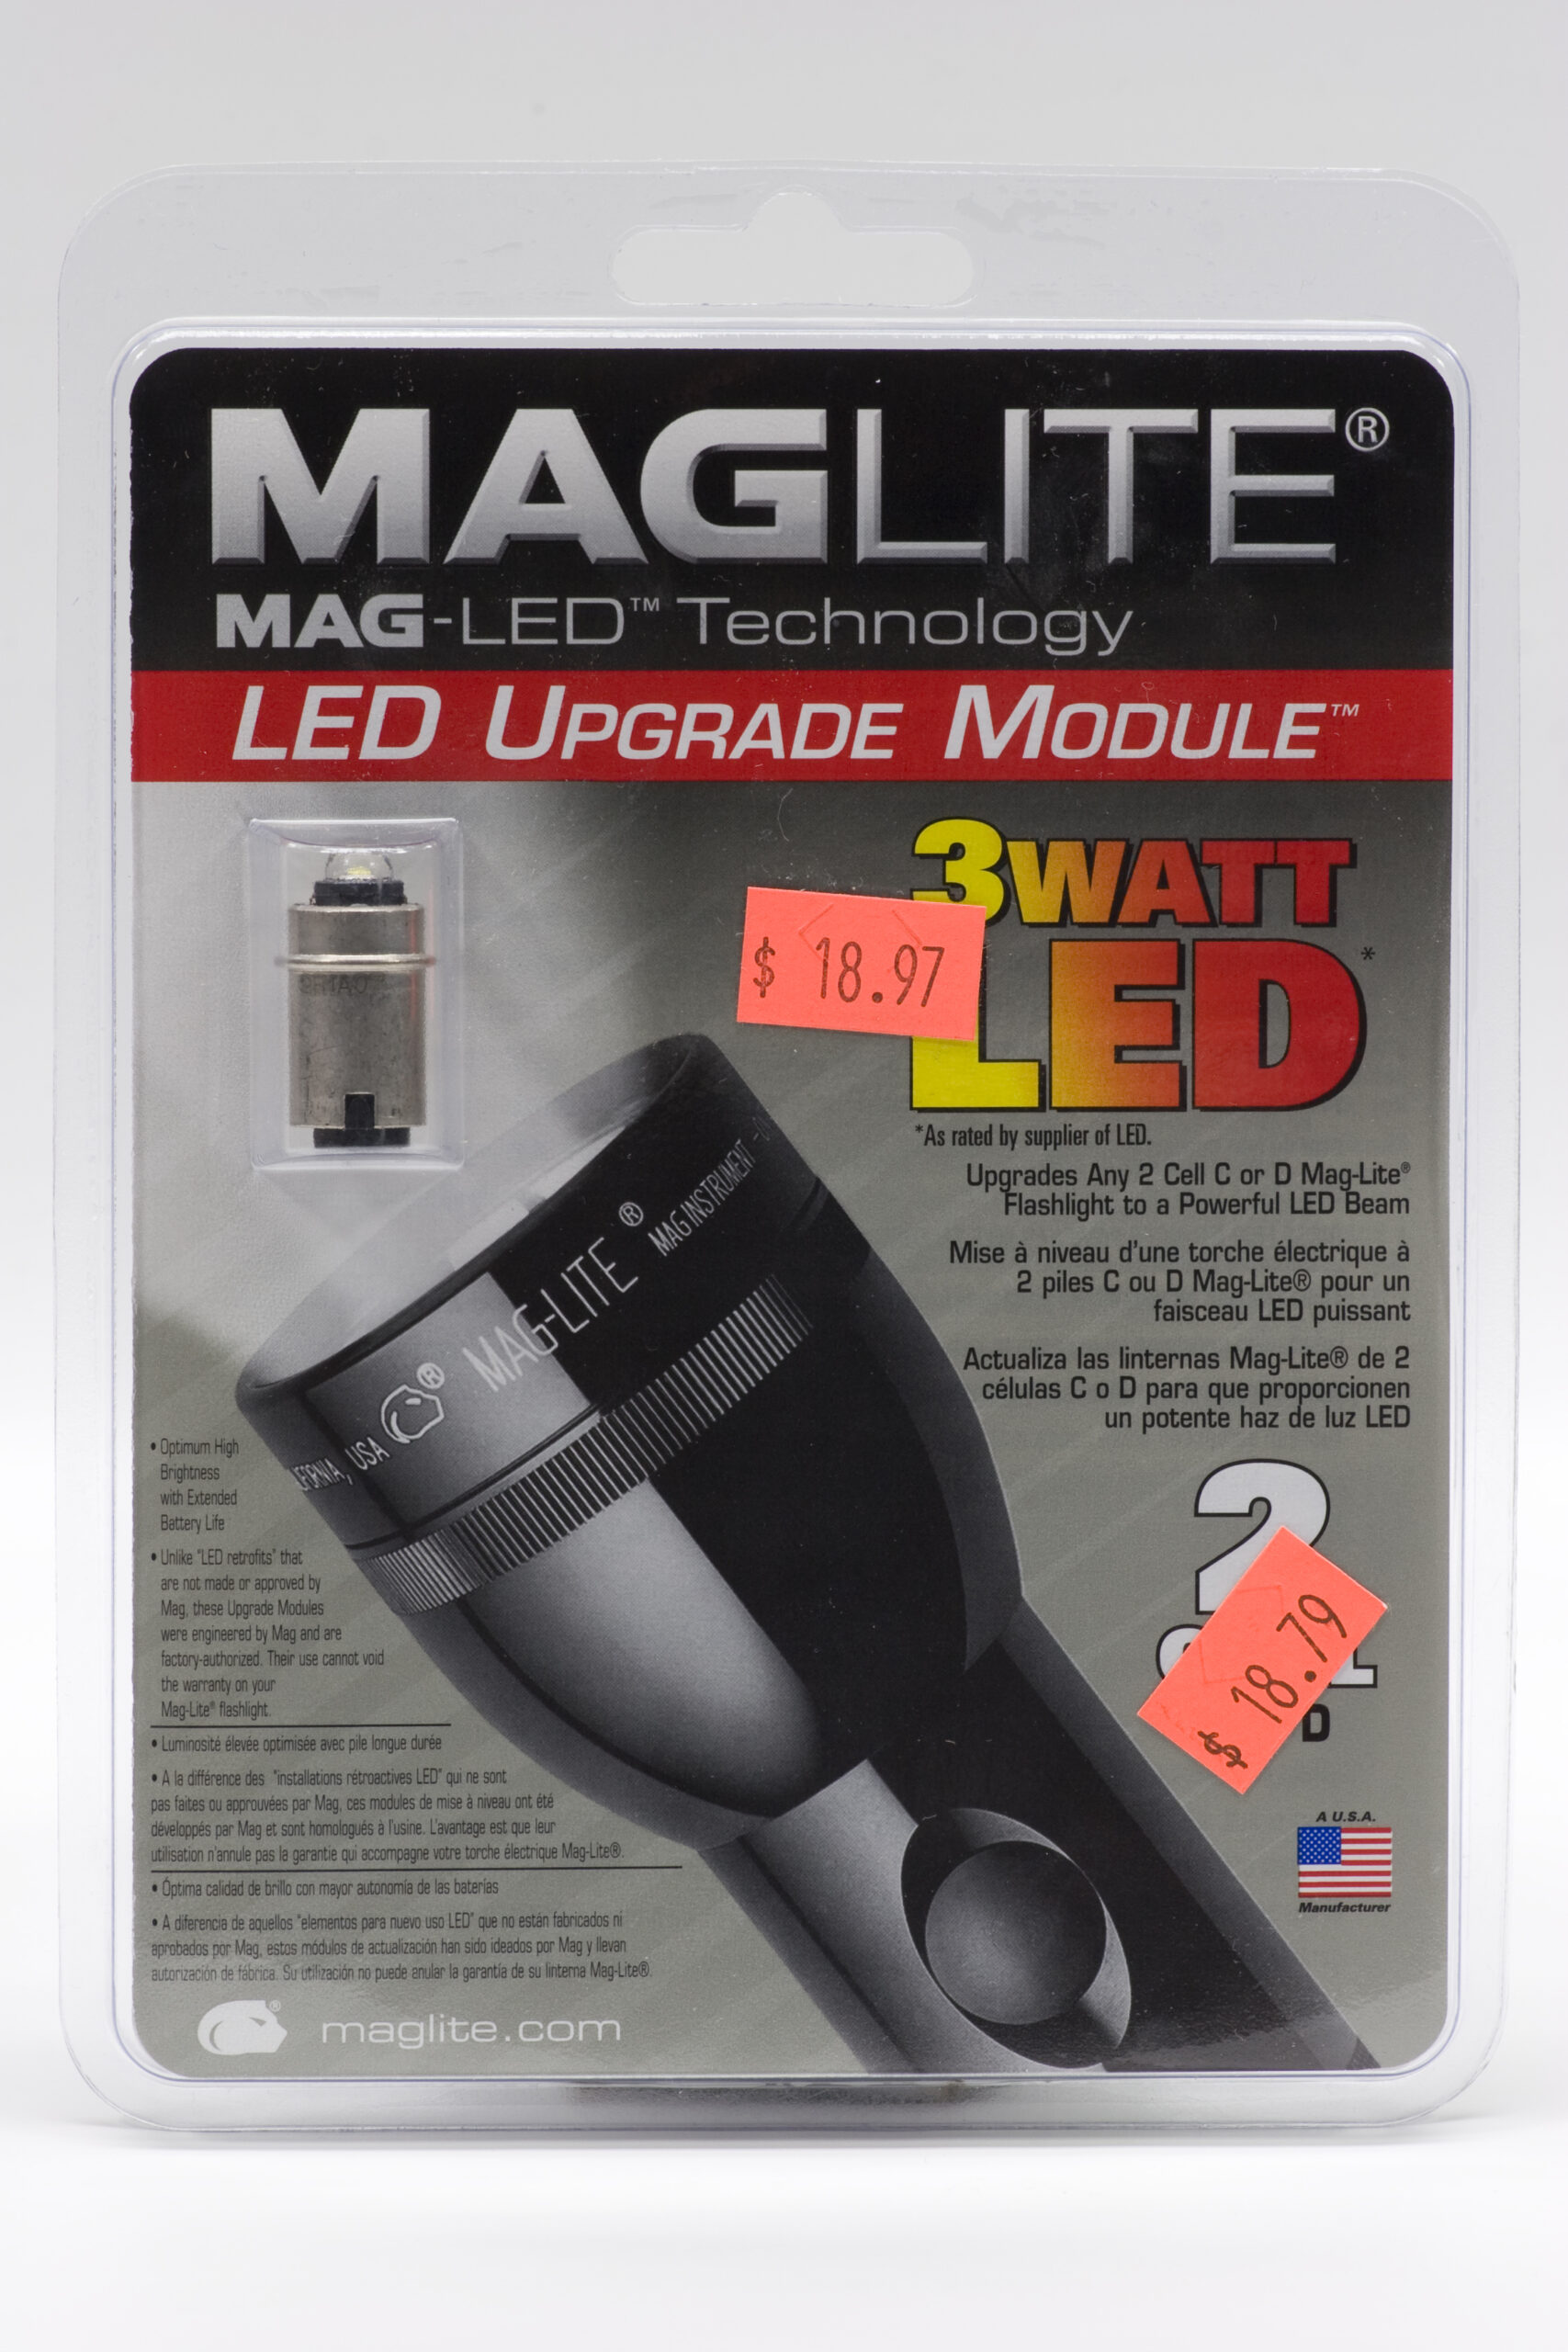
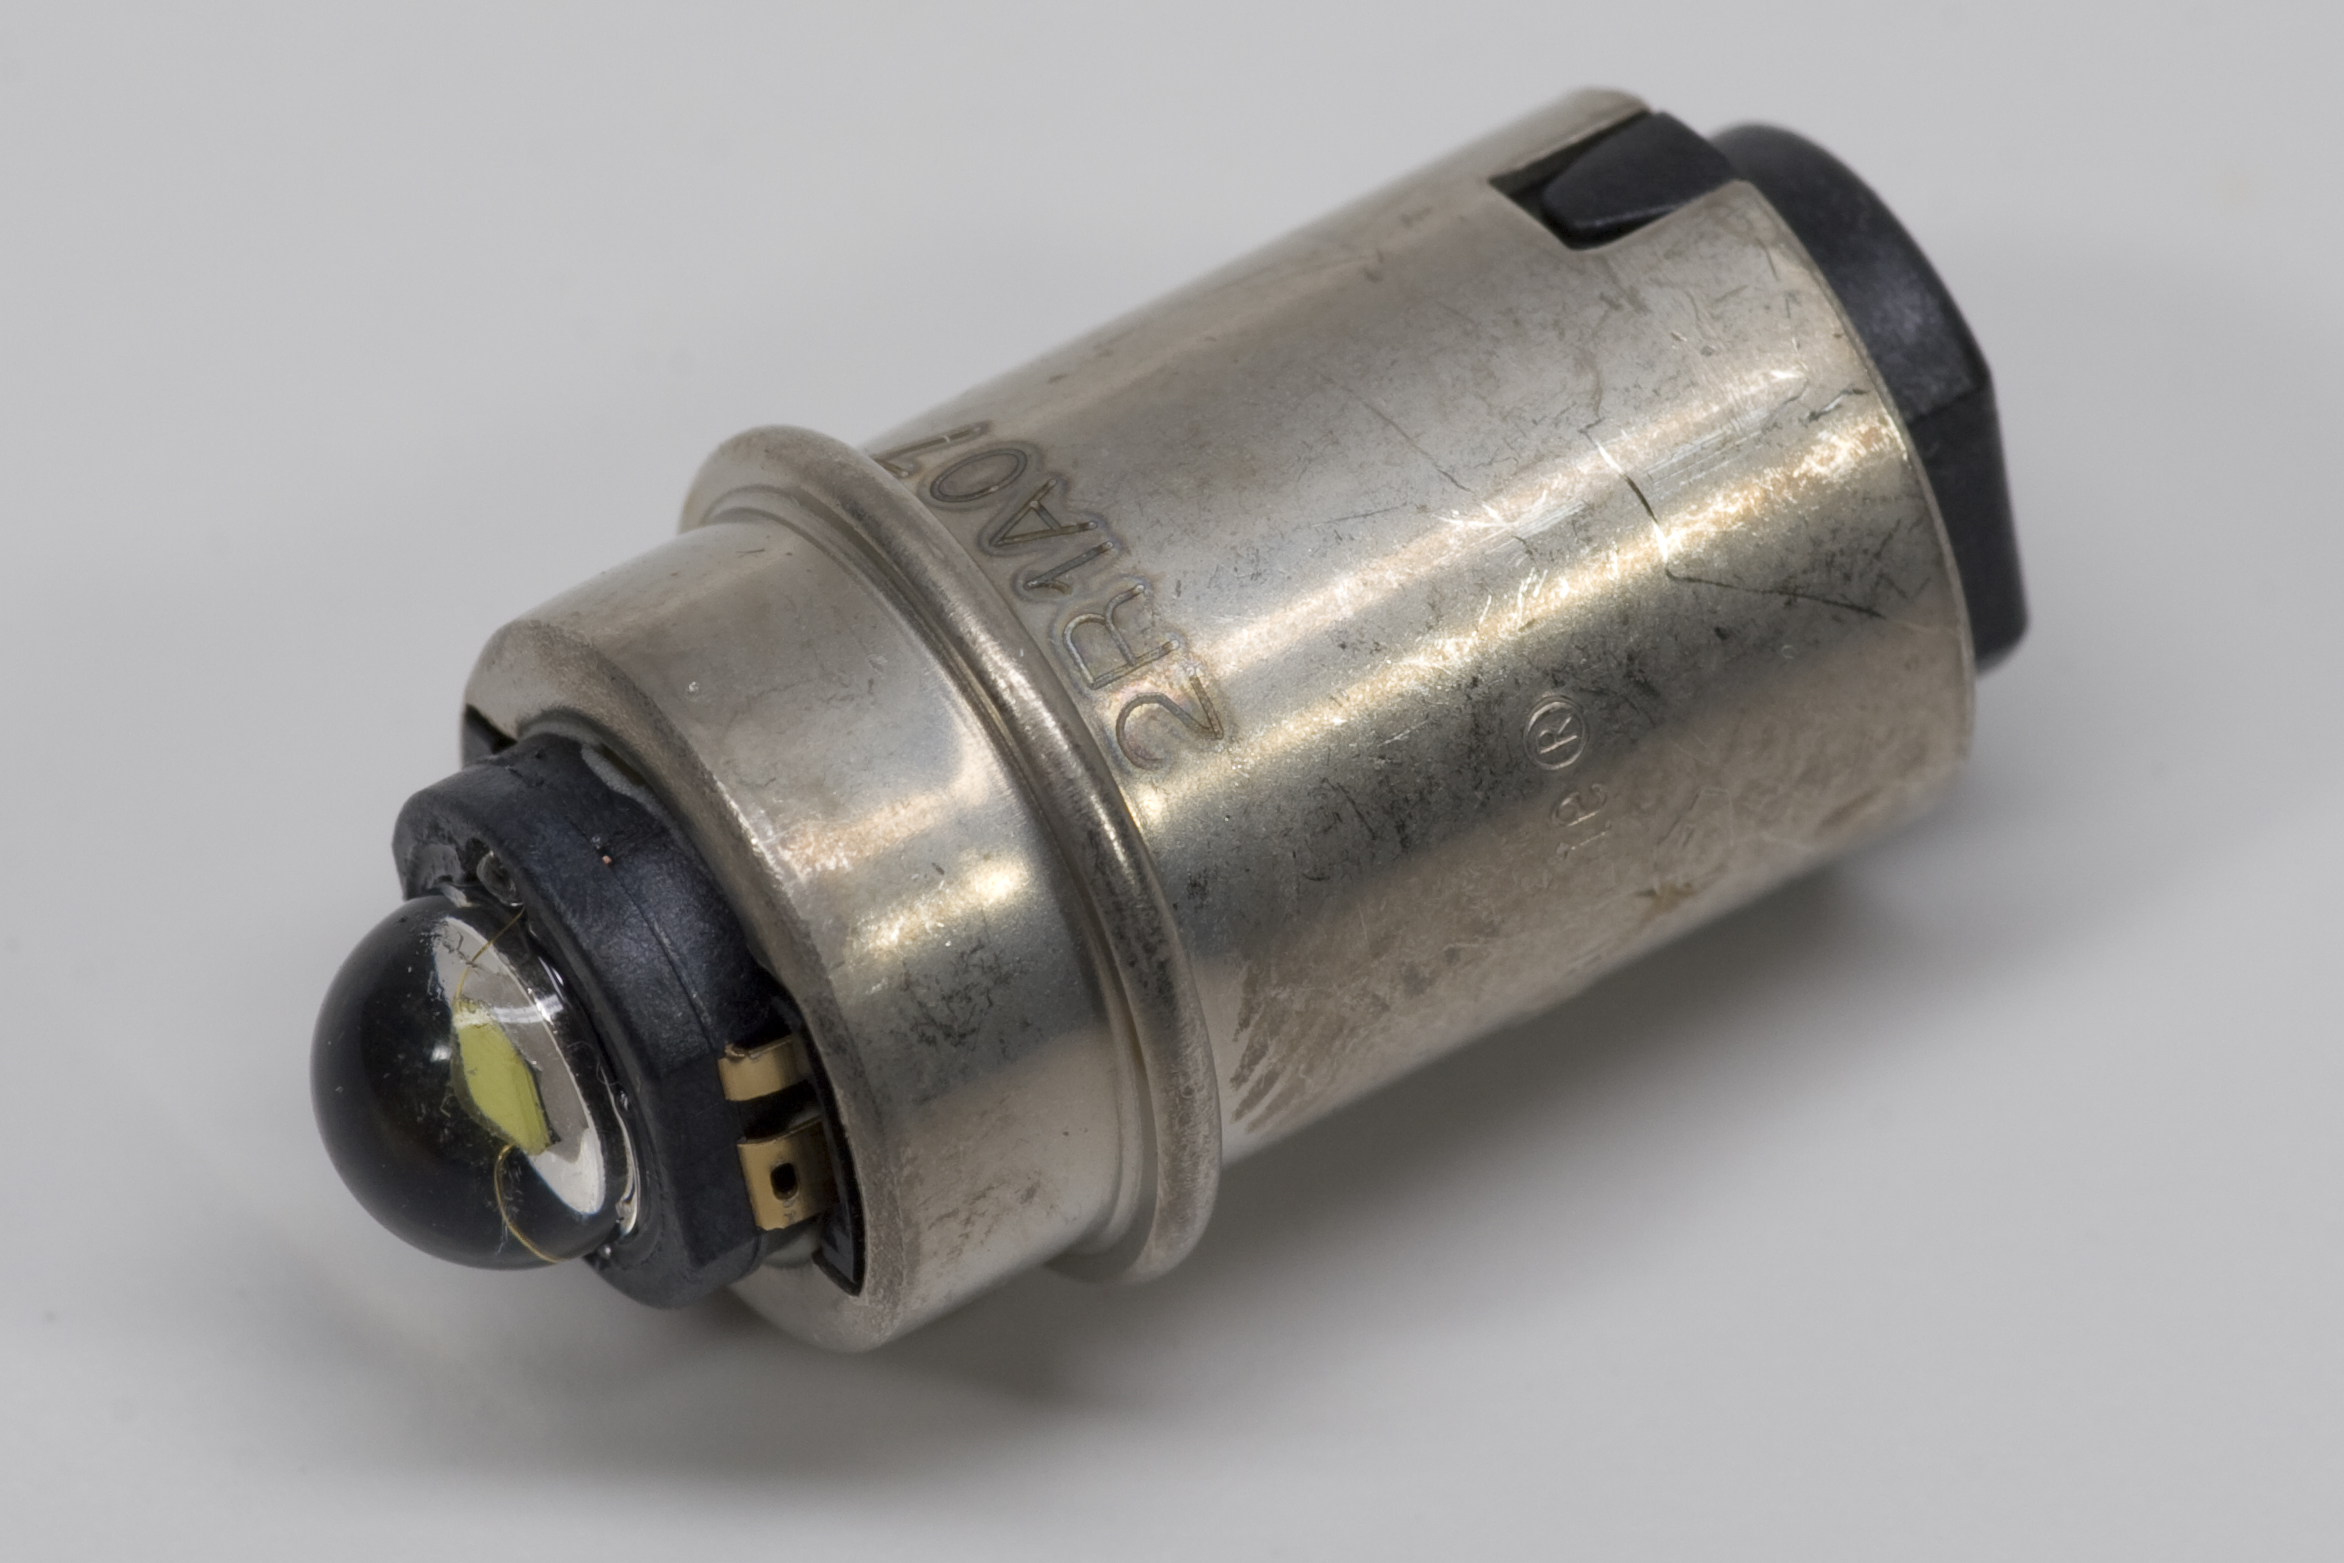
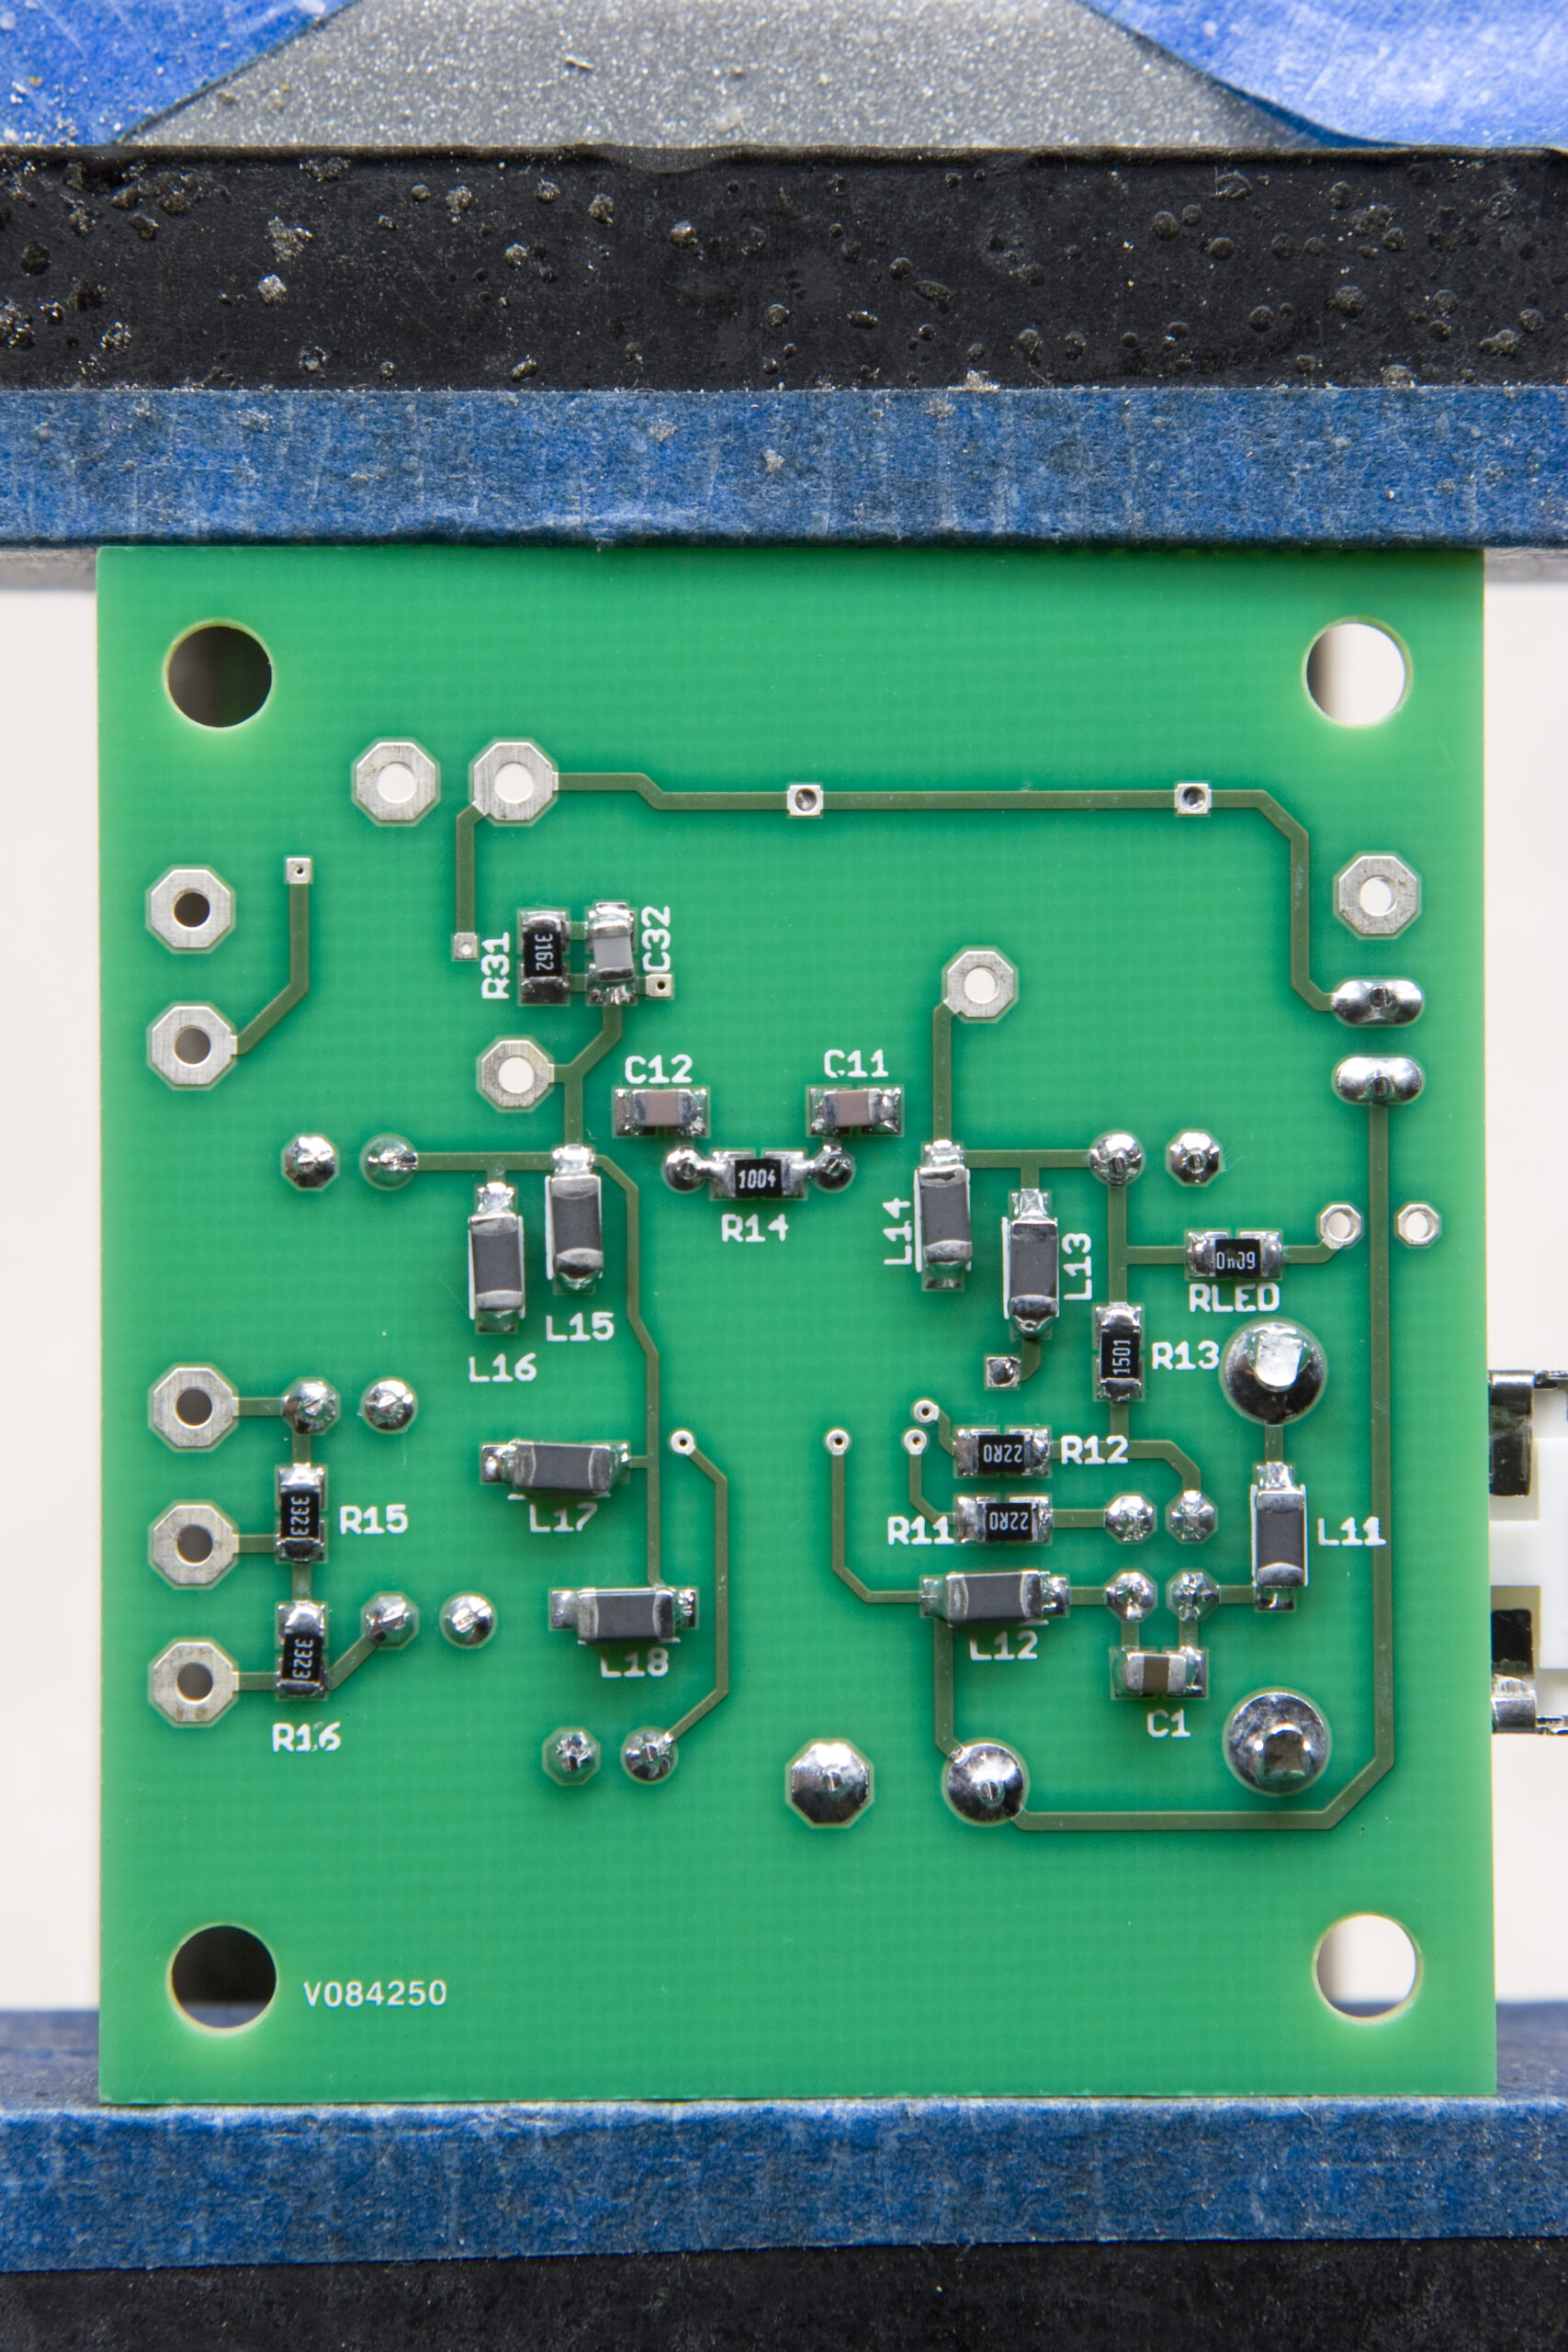
While out and about today we stopped by Home Depot and I picked up the Maglite LED Upgrade Module (Model SH32DCW6J, Part 108-000-701), which is advertised as being fitted with a three watt LED. A bit of research showed this to be a Luxeon 3W LED, presumably part number LXHL-PW09.
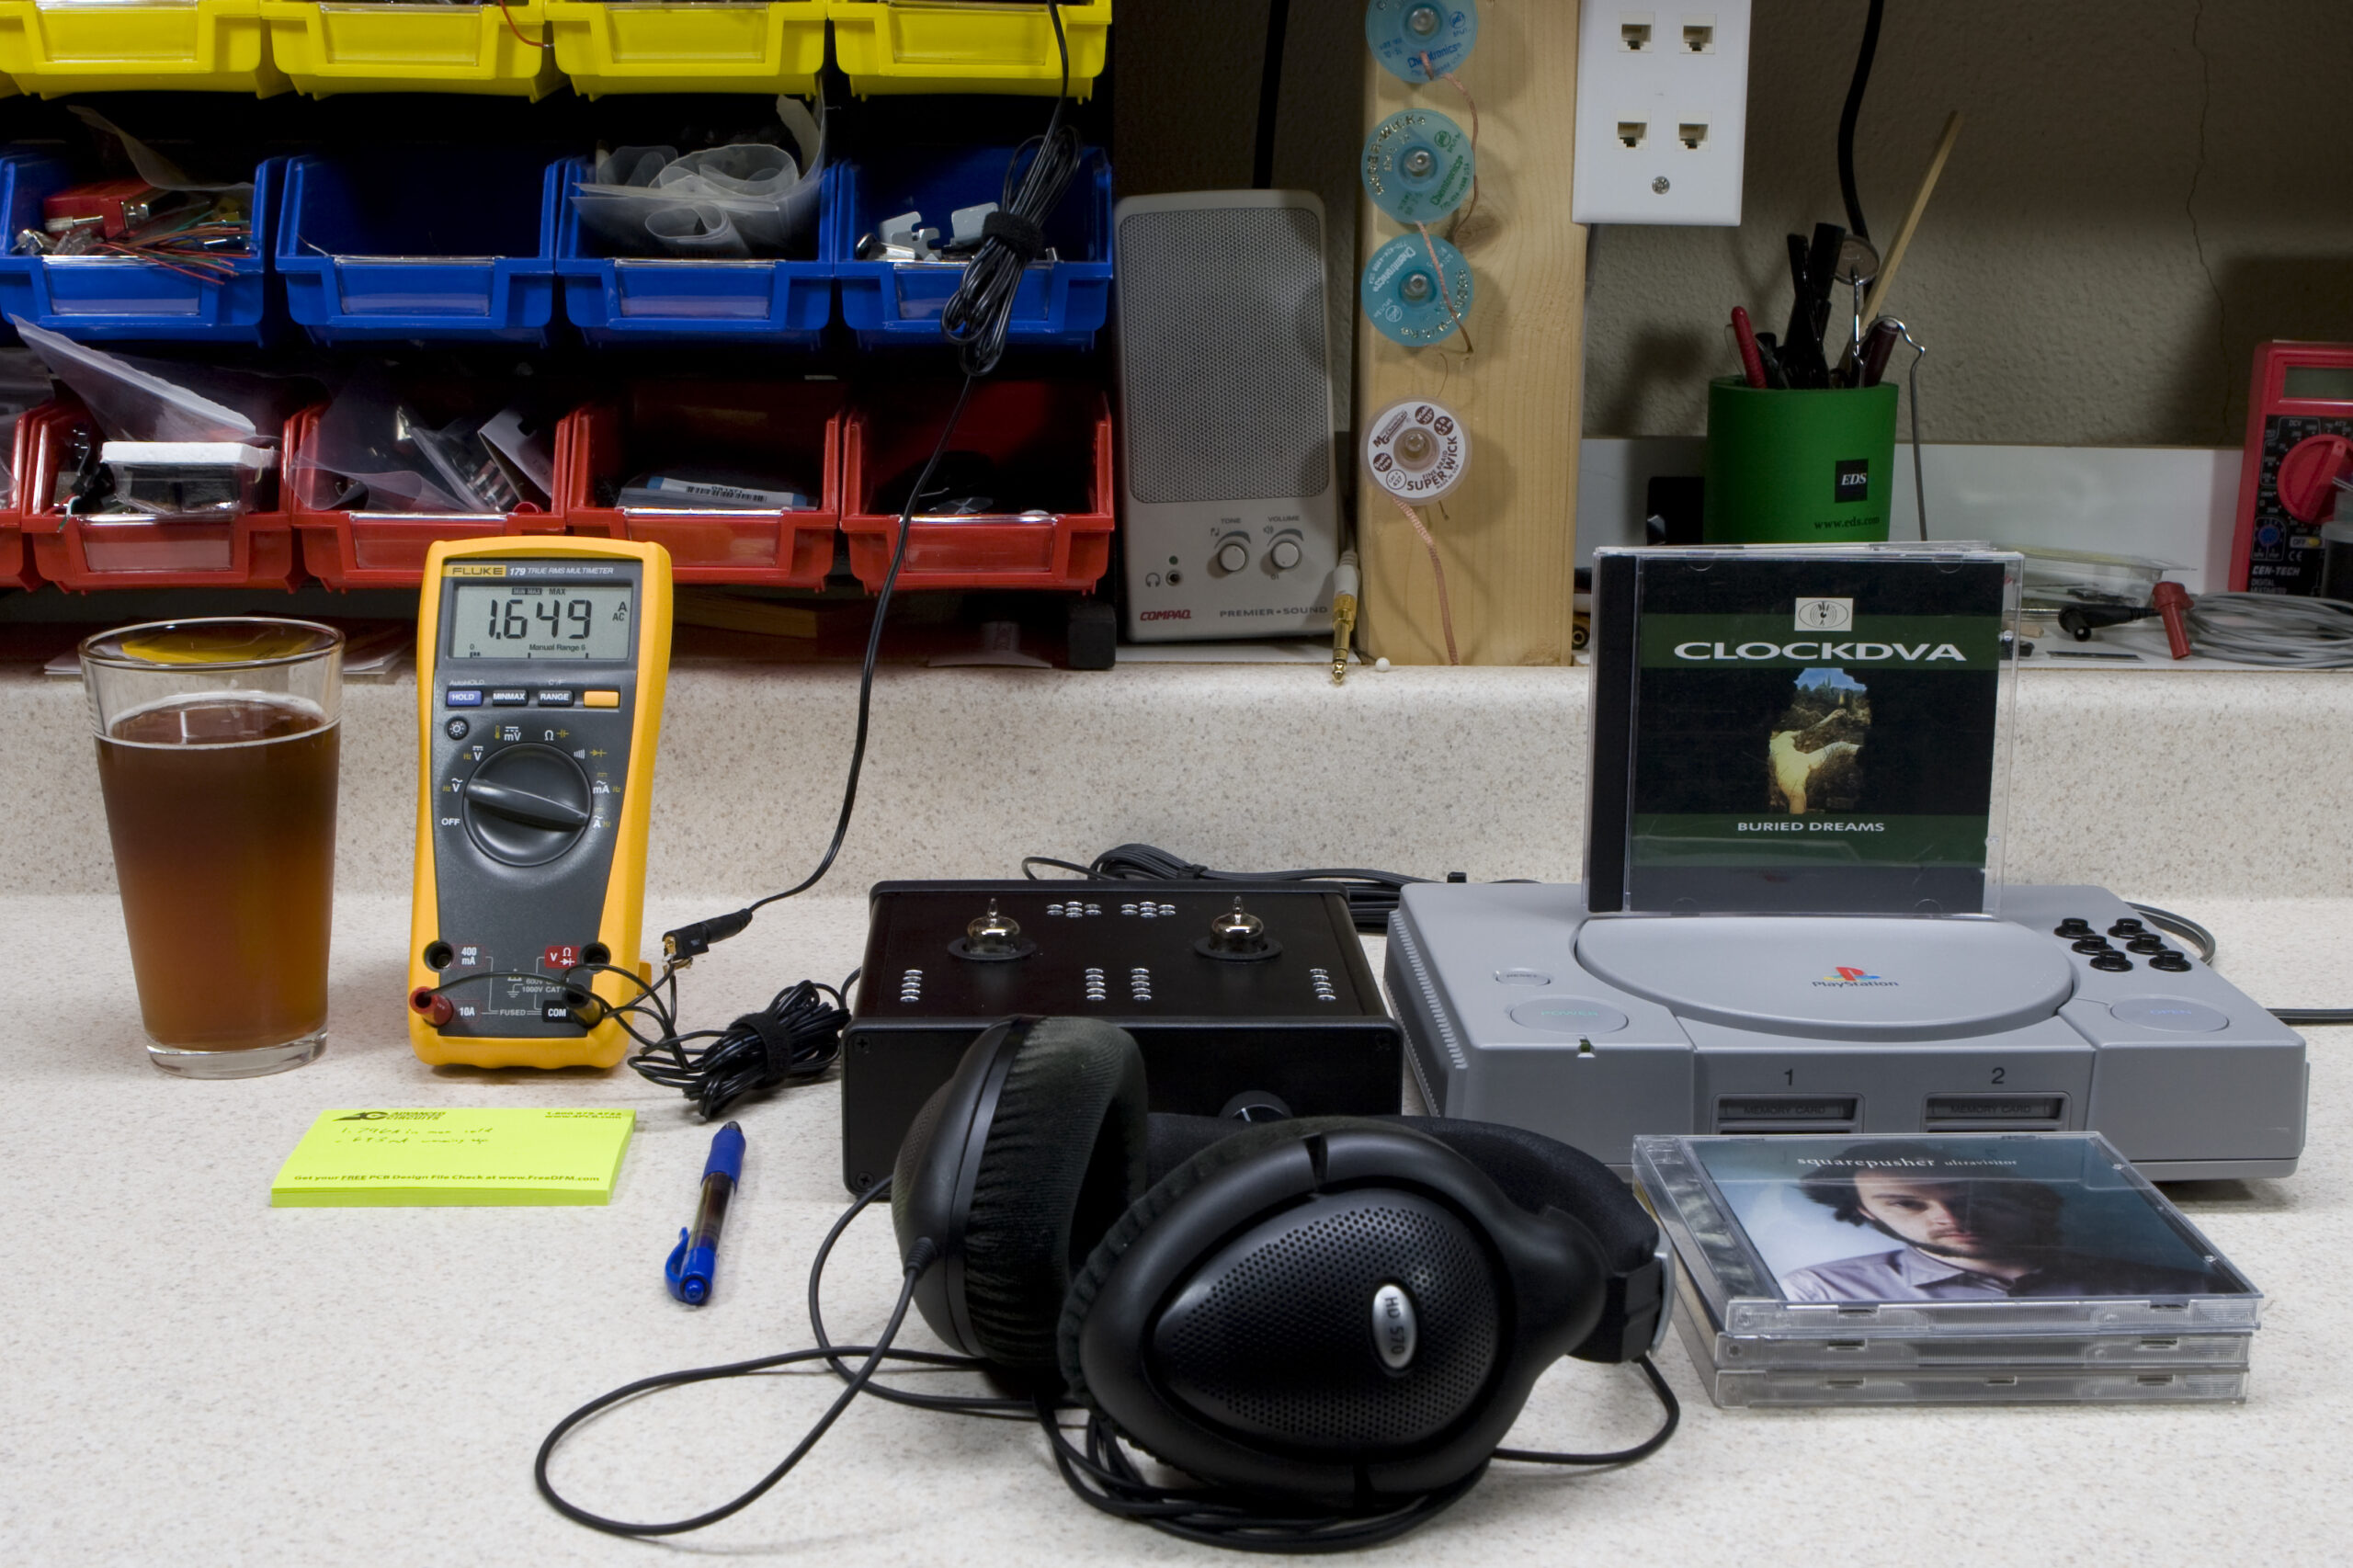
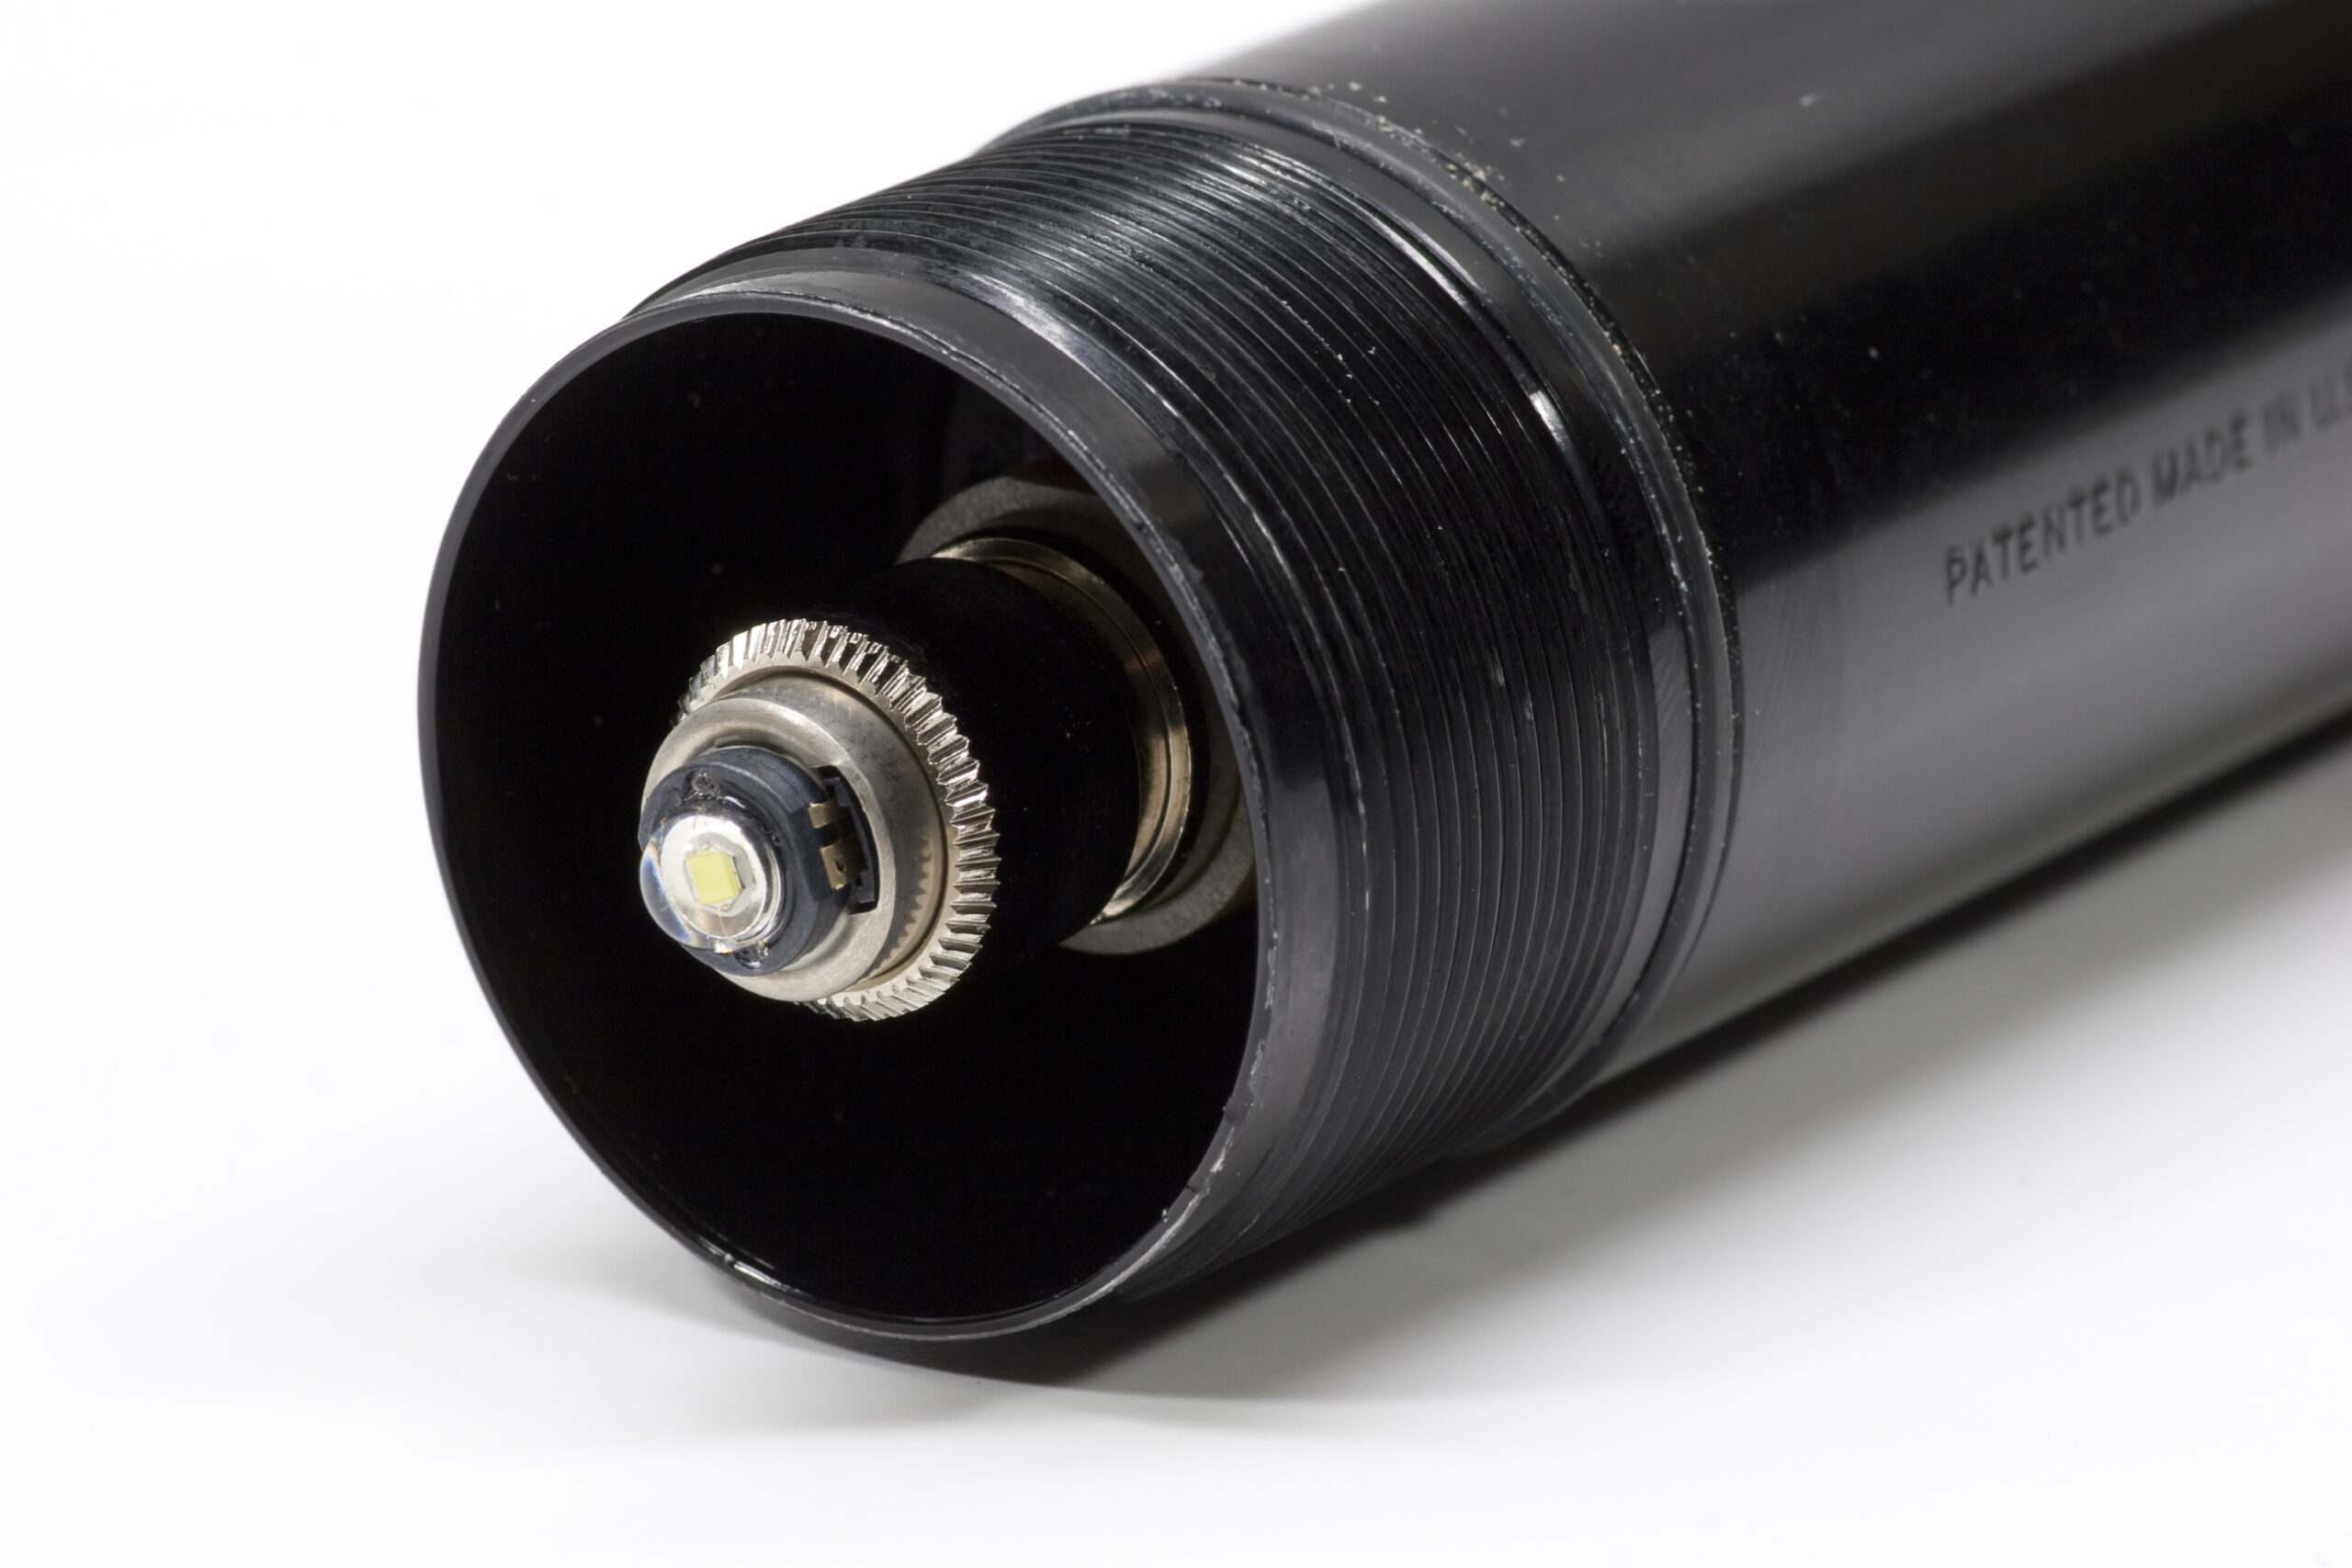
The lamp itself had no problems fitting into the flashlight just like the incandescent lamp. Once it was installed I shined it around the basement with the lights on and I wasn’t completely sure that it was brighter, but one look at the comparison photos taken in the dark showed that the LED is quite a bit brighter. (I tried to keep the focus as similar as possible on those two, and both were shot at ISO 100, f/11, with a one-second exposure. Locations for the tripod and flashlight were both marked with tape for consistency between shots.)
The part cost US$18.97, but I figure this is worthwhile. It should also help save on batteries. I’m not sure if the LED is being powered in a way which allows the LED to dissipate a full 3W (probably depends on the circuitry in the bulb housing, but it still seems pretty good. Hopefully this will come in handy while camping next weekend.
