Switching Power
The LM2574 looks like a good switching regulator to get 24VDC down to 5VDC. The data sheet is very informative, too.
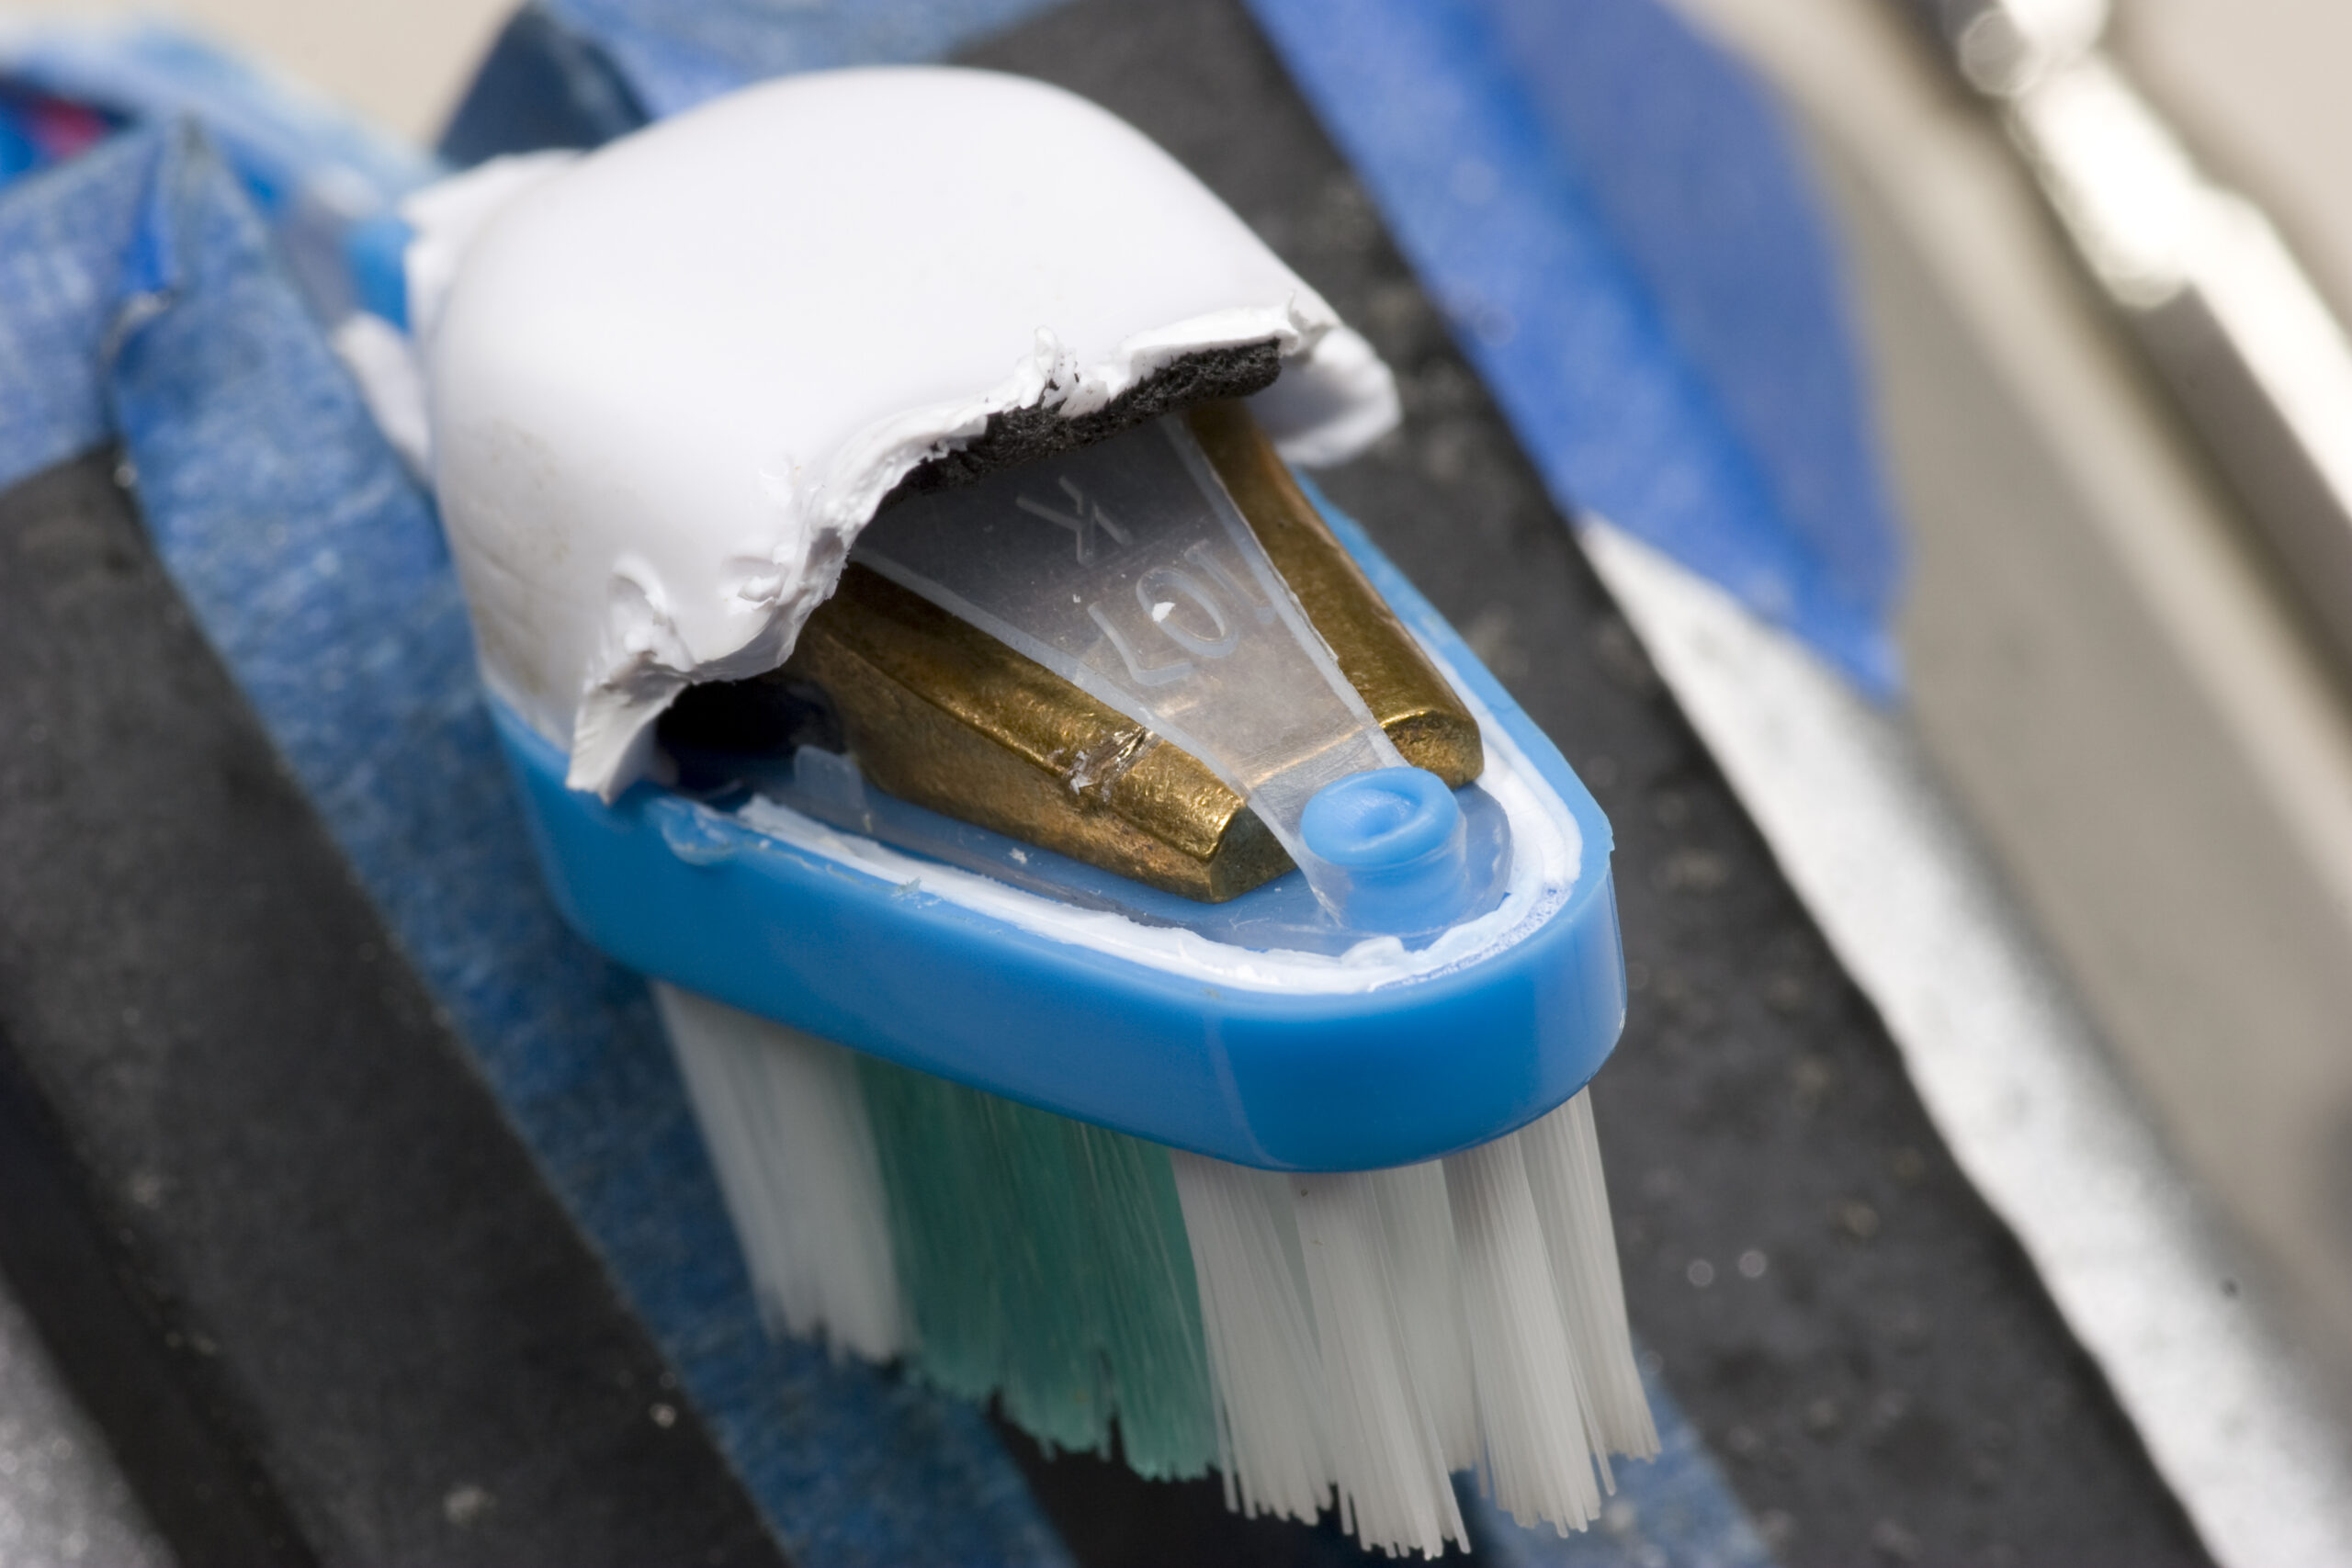
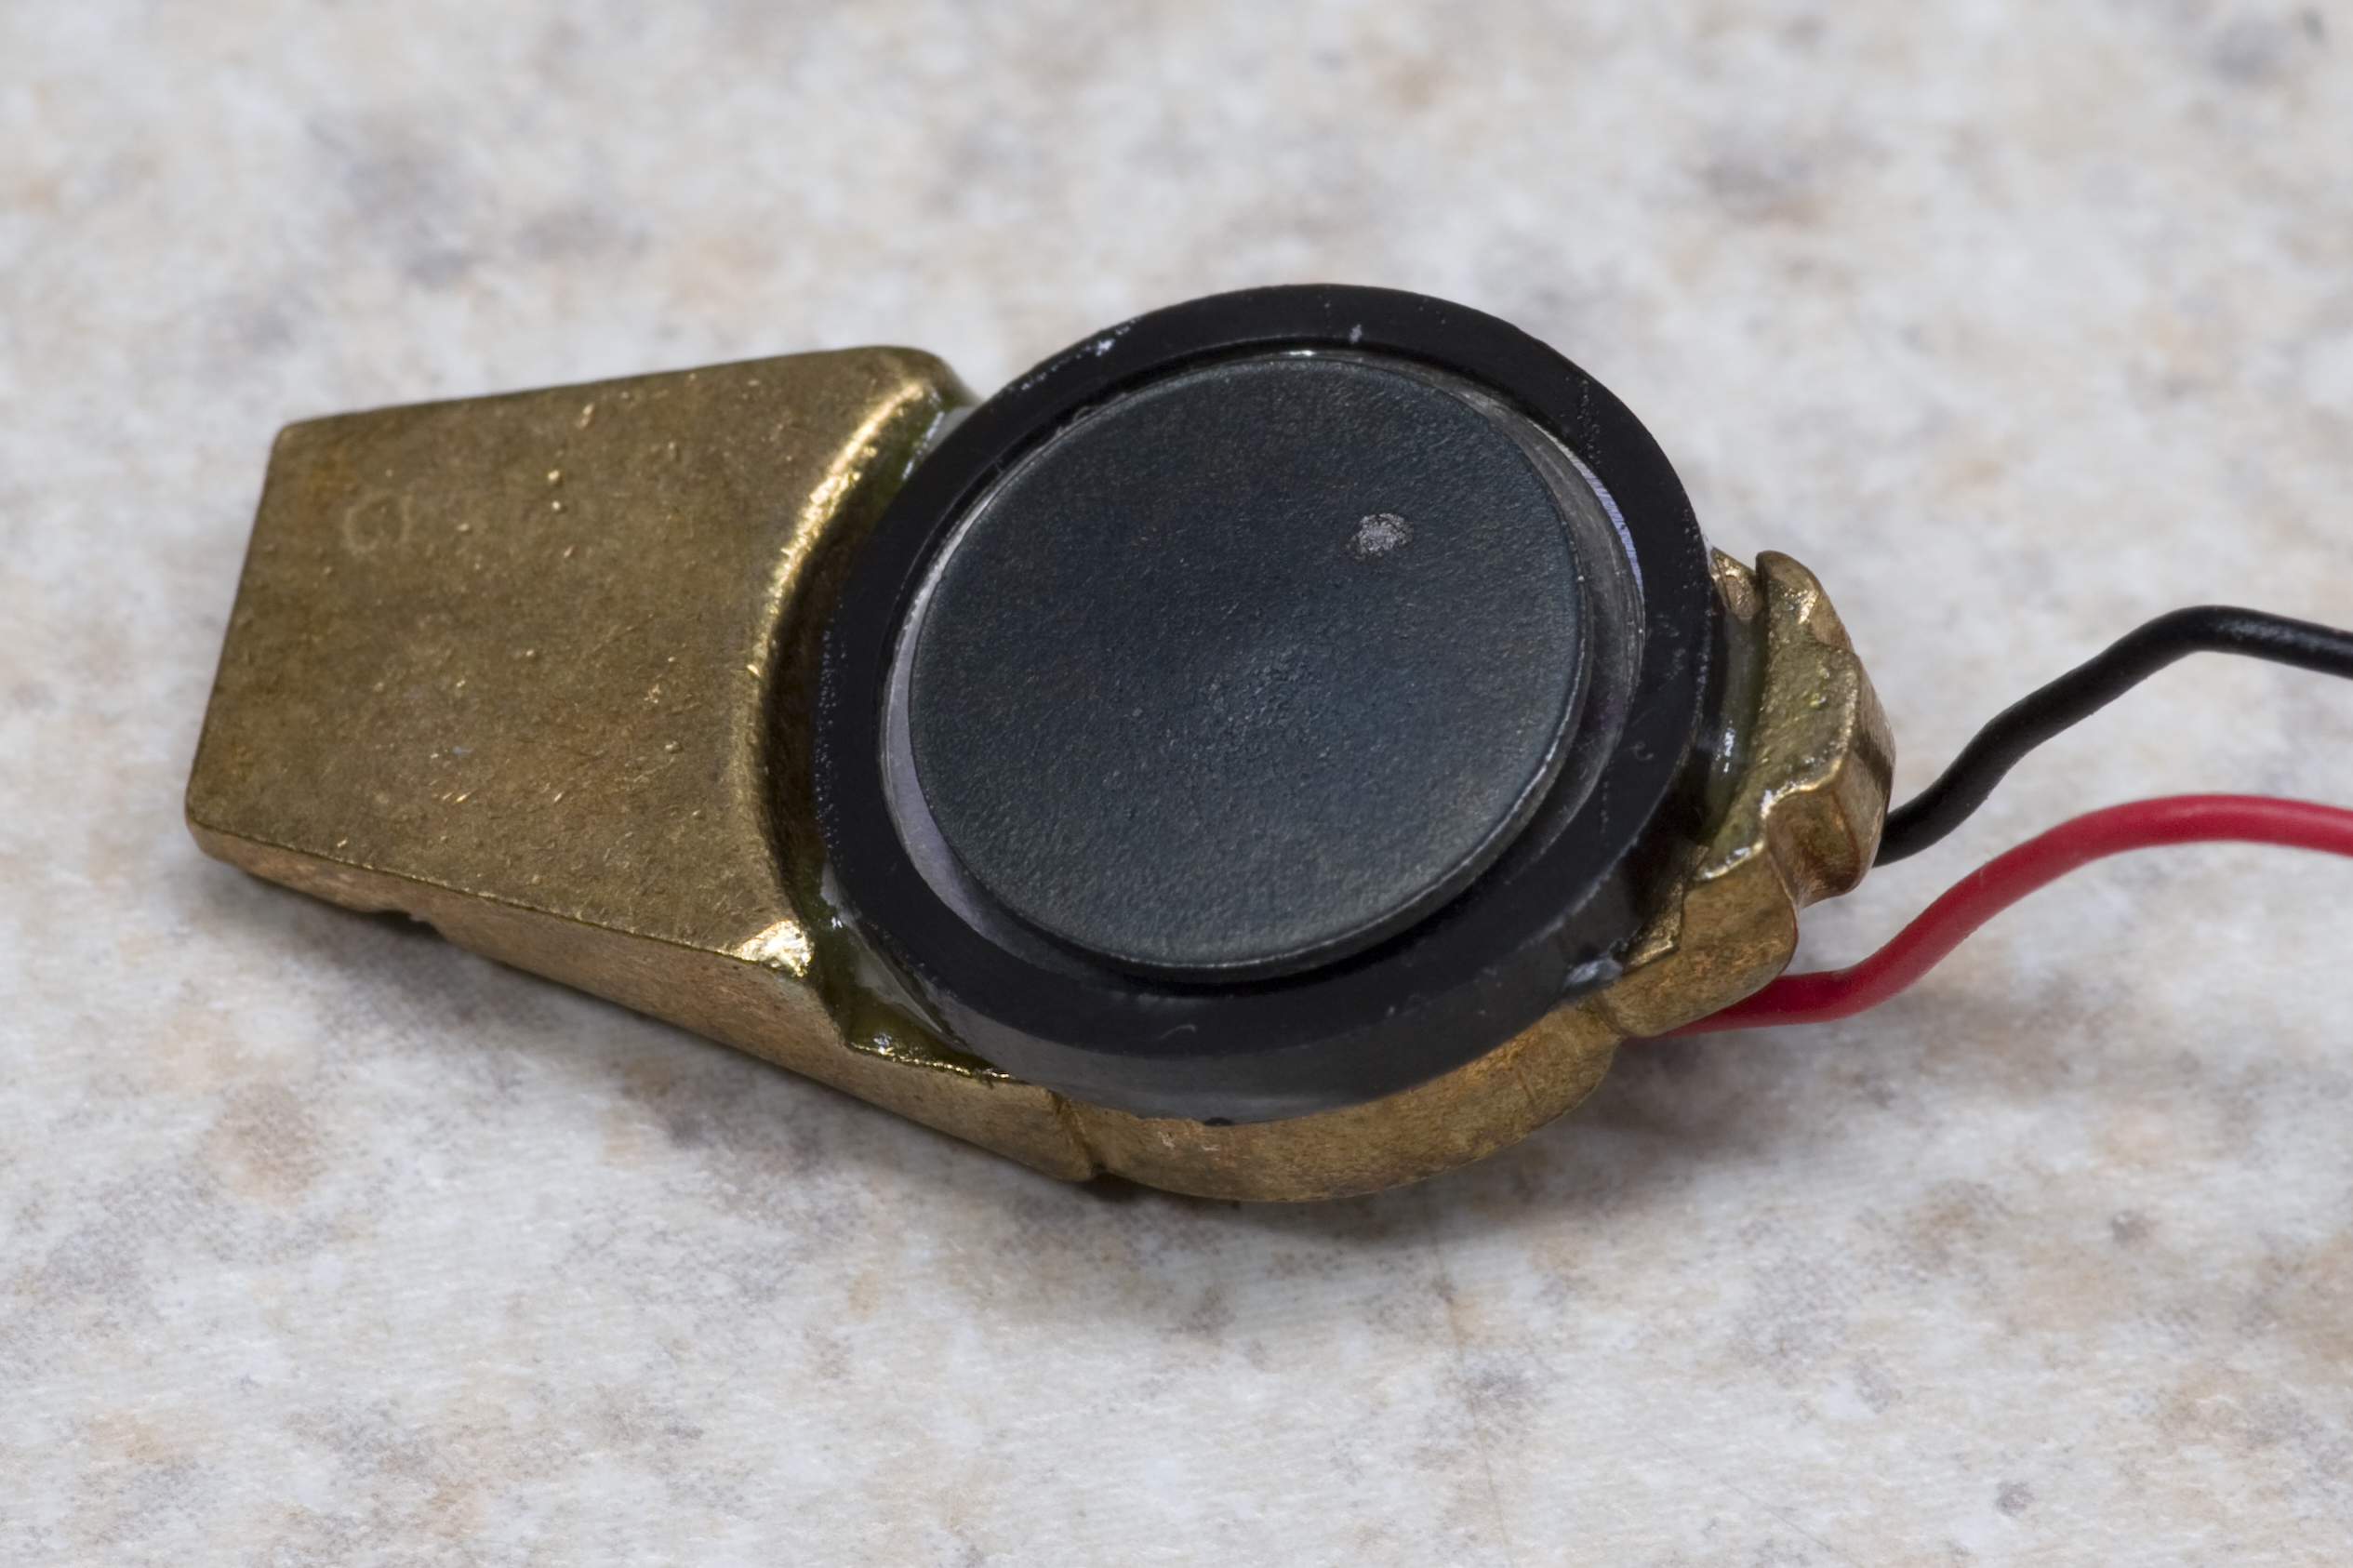
Transducer in the head of a Toothy Tunes Musical ToothbrushAs mentioned earlier I had hoped to stop on the way home and pick up a Tooth Tunes Musical Toothbrush. Well, I did. For US$8.99 I grabbed a Tooth Tunes which plays Queen’s We Will Rock You. While I can’t stand that song, it was one of the few recognizable songs on the available brushes, with most of the others being tweenpop.
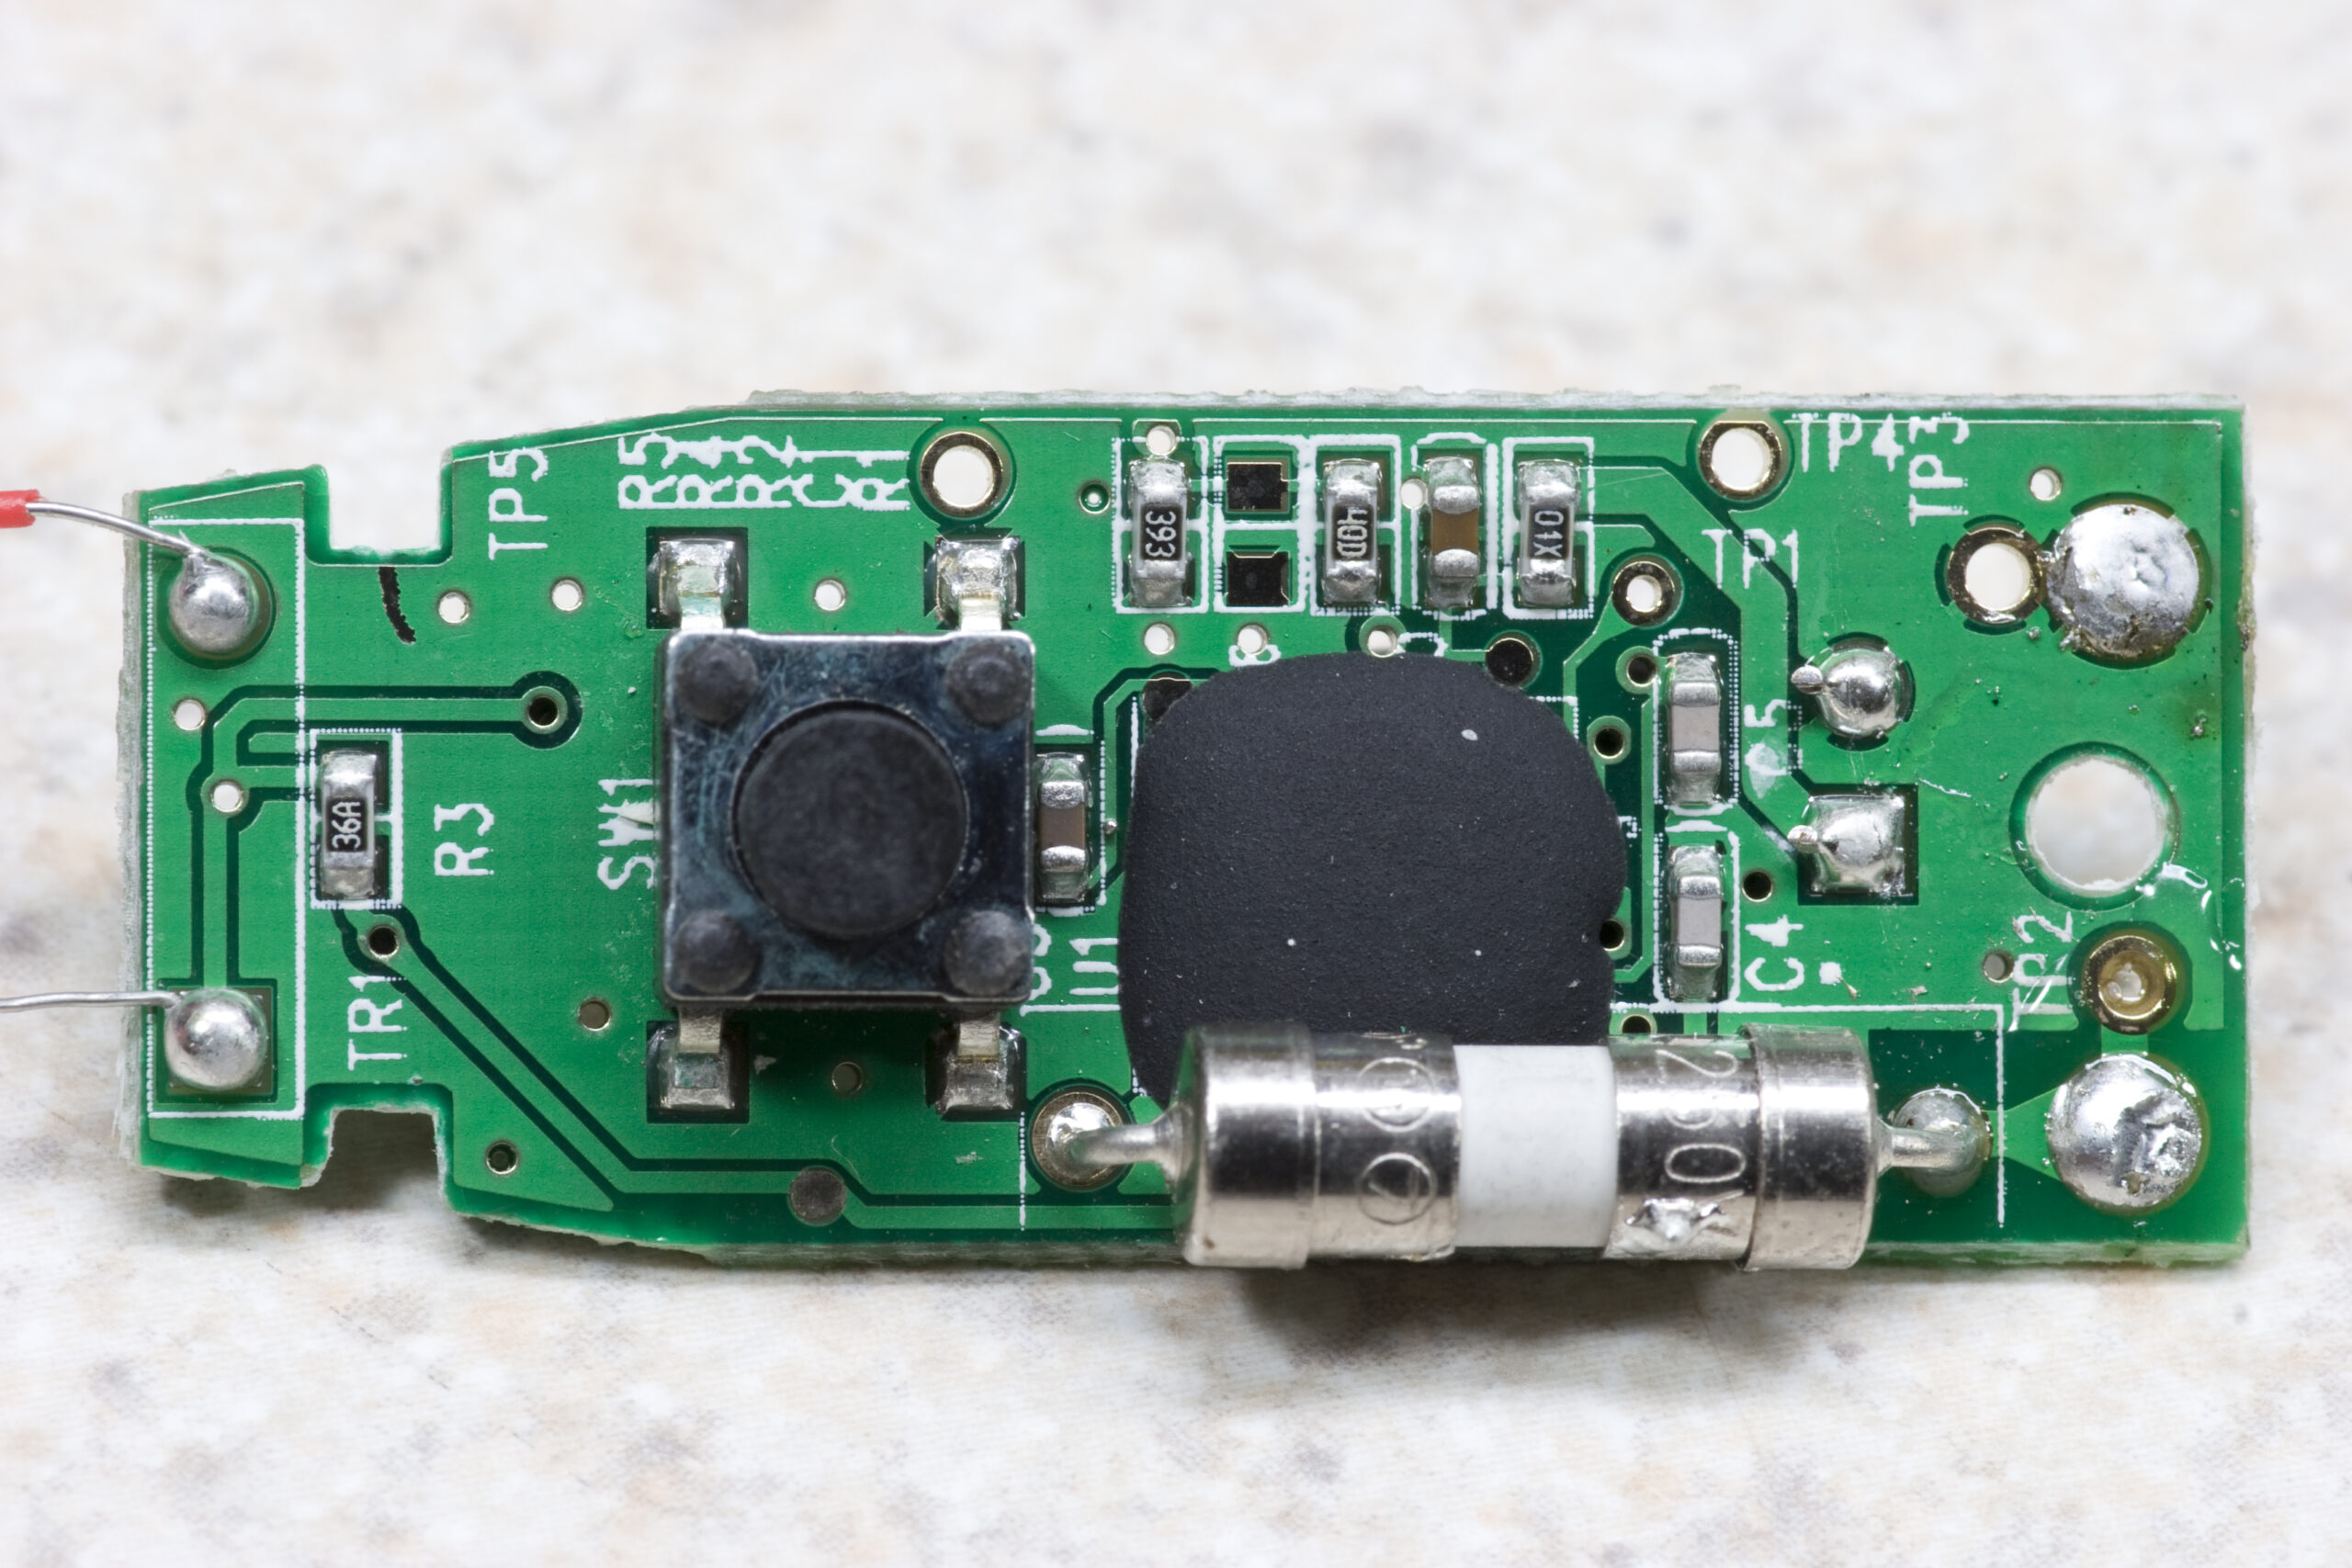
After eating dinner and playing a bit of E4 I decided to dig into the toothbrush. It definitely wasn’t designed to be easily taken apart, with a metal rivet holding the O-ring sealed bottom in place, and the solid plastic pieces ultrasonically welded together. This meant that most of my disassembly was pretty destructive, but I was able to keep all the electronics inside intact and poke around with them a bit.
The only real problem I ran into is that the IC which holds the audio (and can presumably be reprogrammed) is potted, so it’ll be very difficult to get to. The transducer itself is pretty nifty, and pressing it against my teeth or head or the workbench made the audio quite audible. It doesn’t sound too great, but it at least works.
Anyway, if you’d like to see photos which have better descriptions than the little glossed-over stuff above, just take a look here: Tooth Tunes Musical Toothbrush Dissection (photo gallery retired)
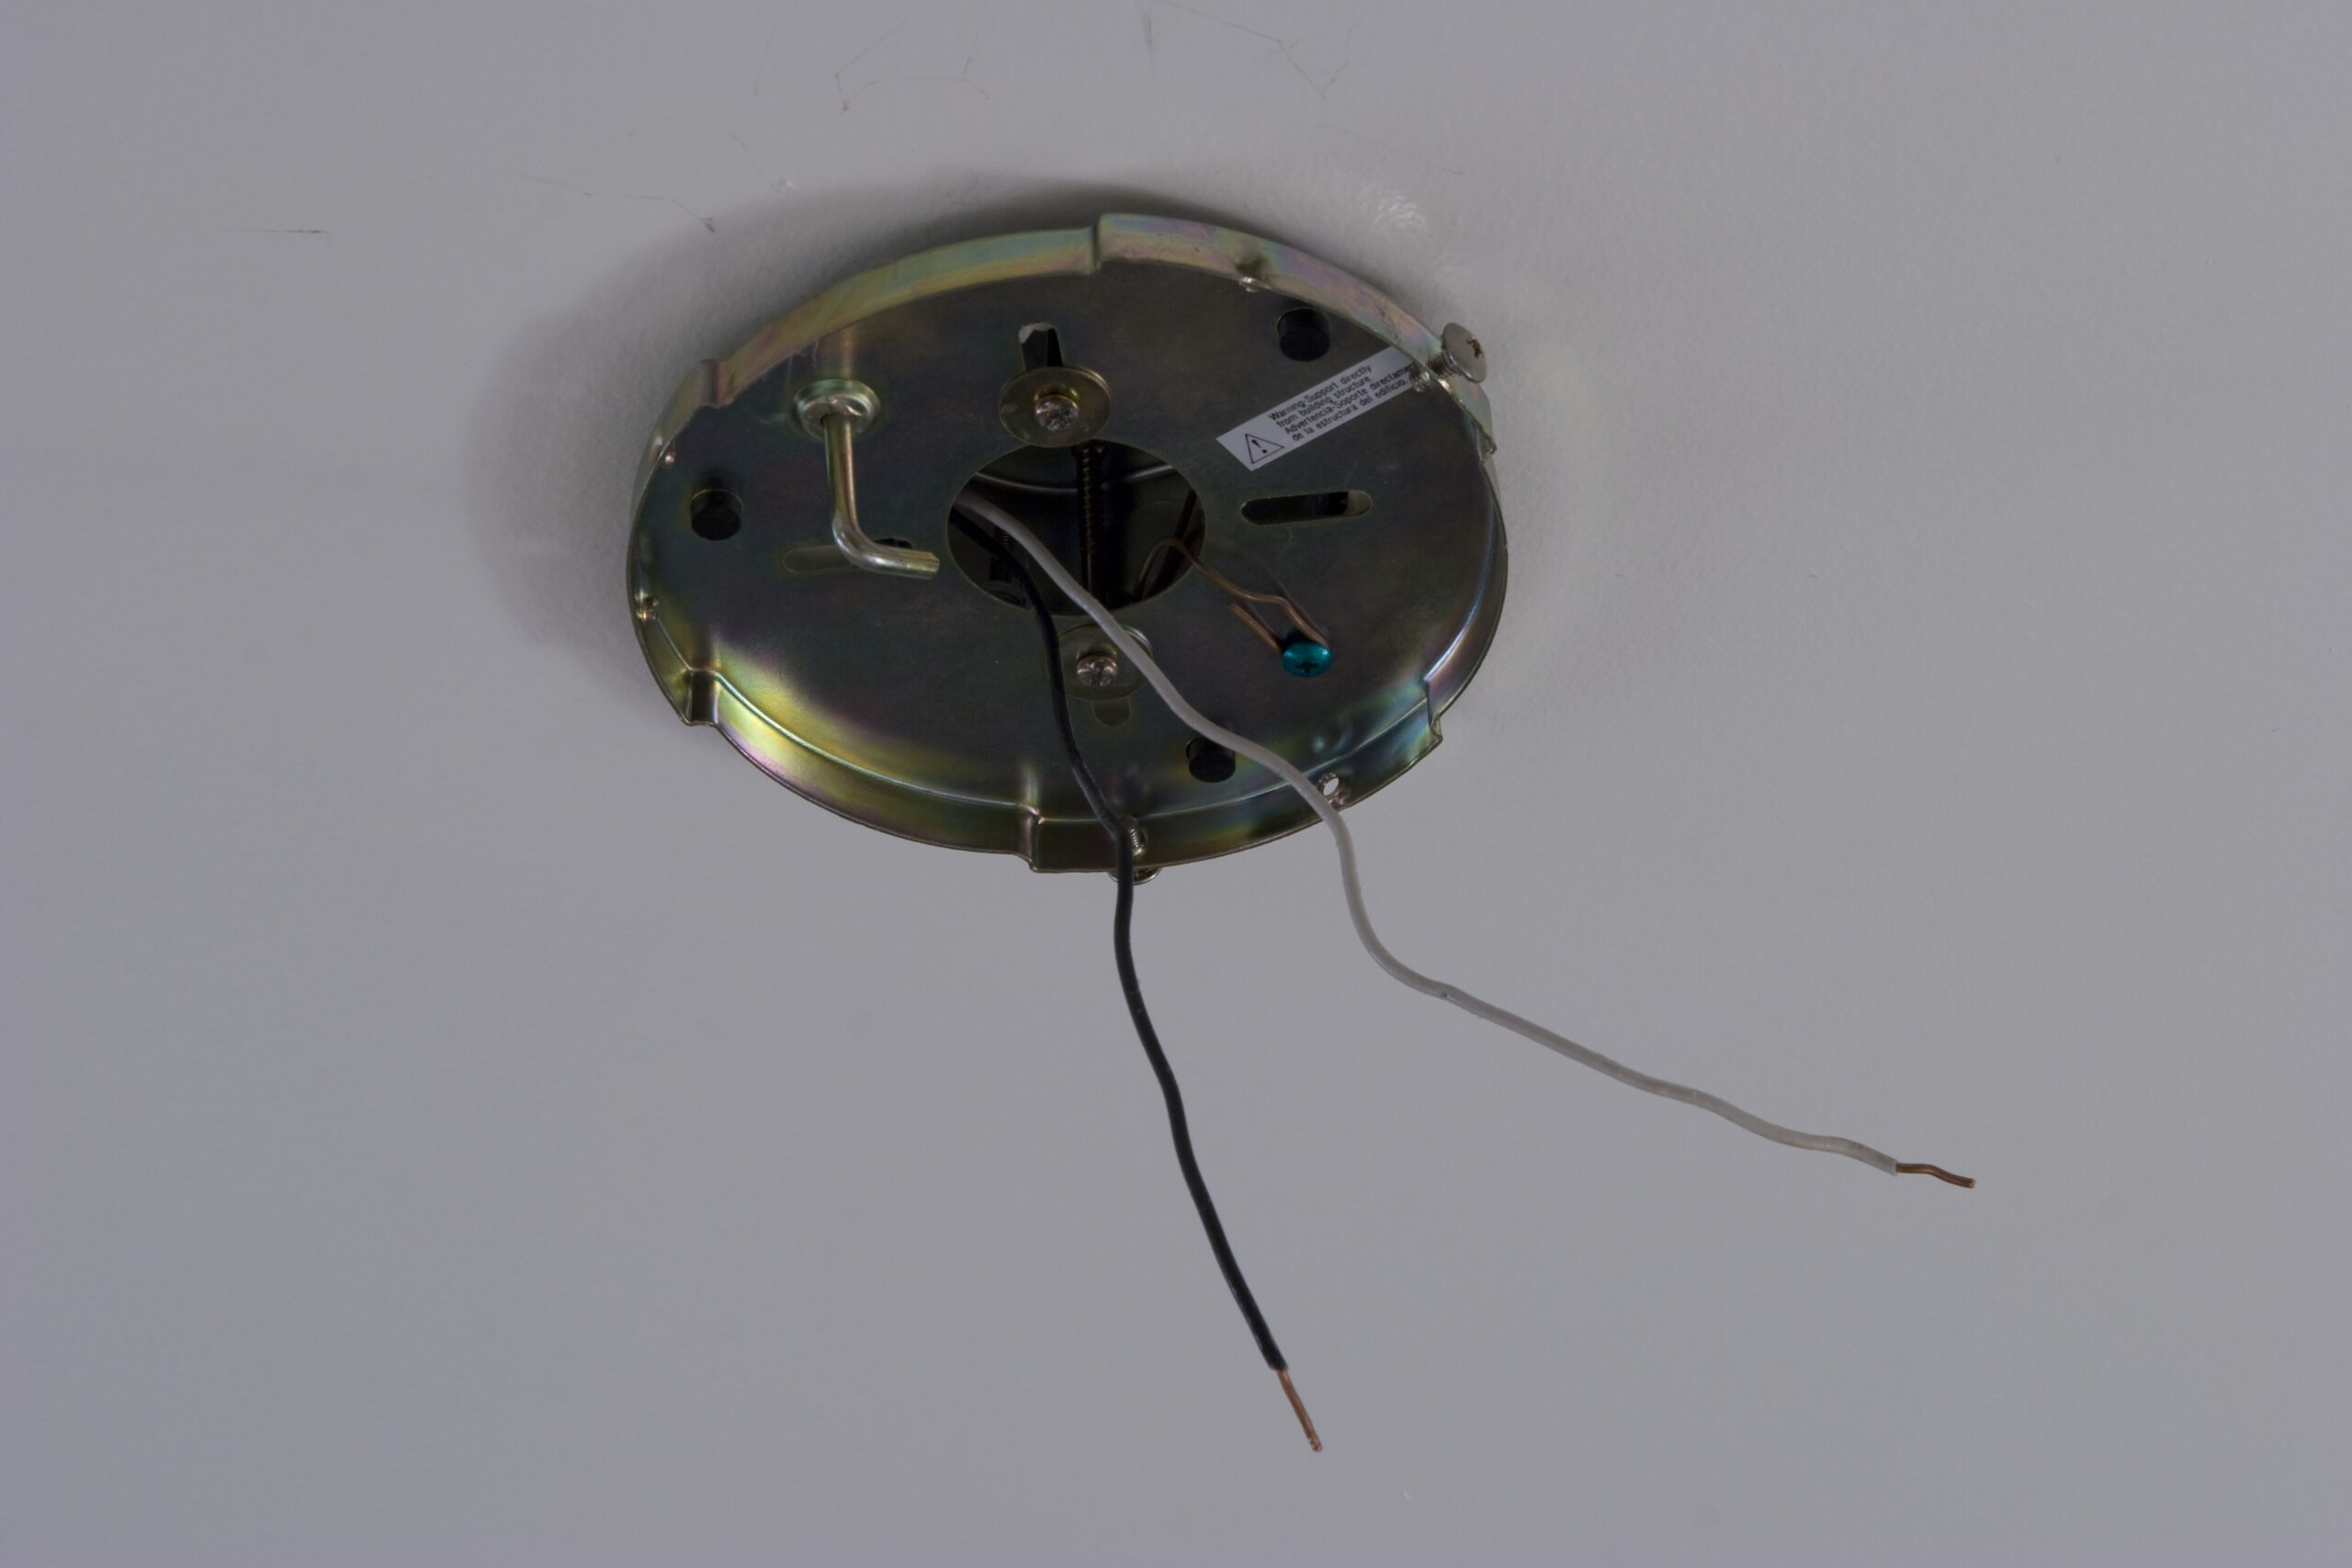
Upon returning home from up north this past Sunday I found that the microwave’ clock was reset and the ceiling fan / light in my bedroom would no longer turn on. This light/fan combo is controlled via an RF remote which triggers some things on a receiver board to set the fan speed, turn it on and off, etc.
If I can’t readily identify a bad component on the board I think I’ll just replace it with a dual wall switch (one for fan, one for light) and a on-on toggle switch, limiting the fan’s settings to low and high, always in reverse mode. I never use forward mode, and I either want the fan blowing slowly while I sleep, or really fast to stir air around before going to bed.
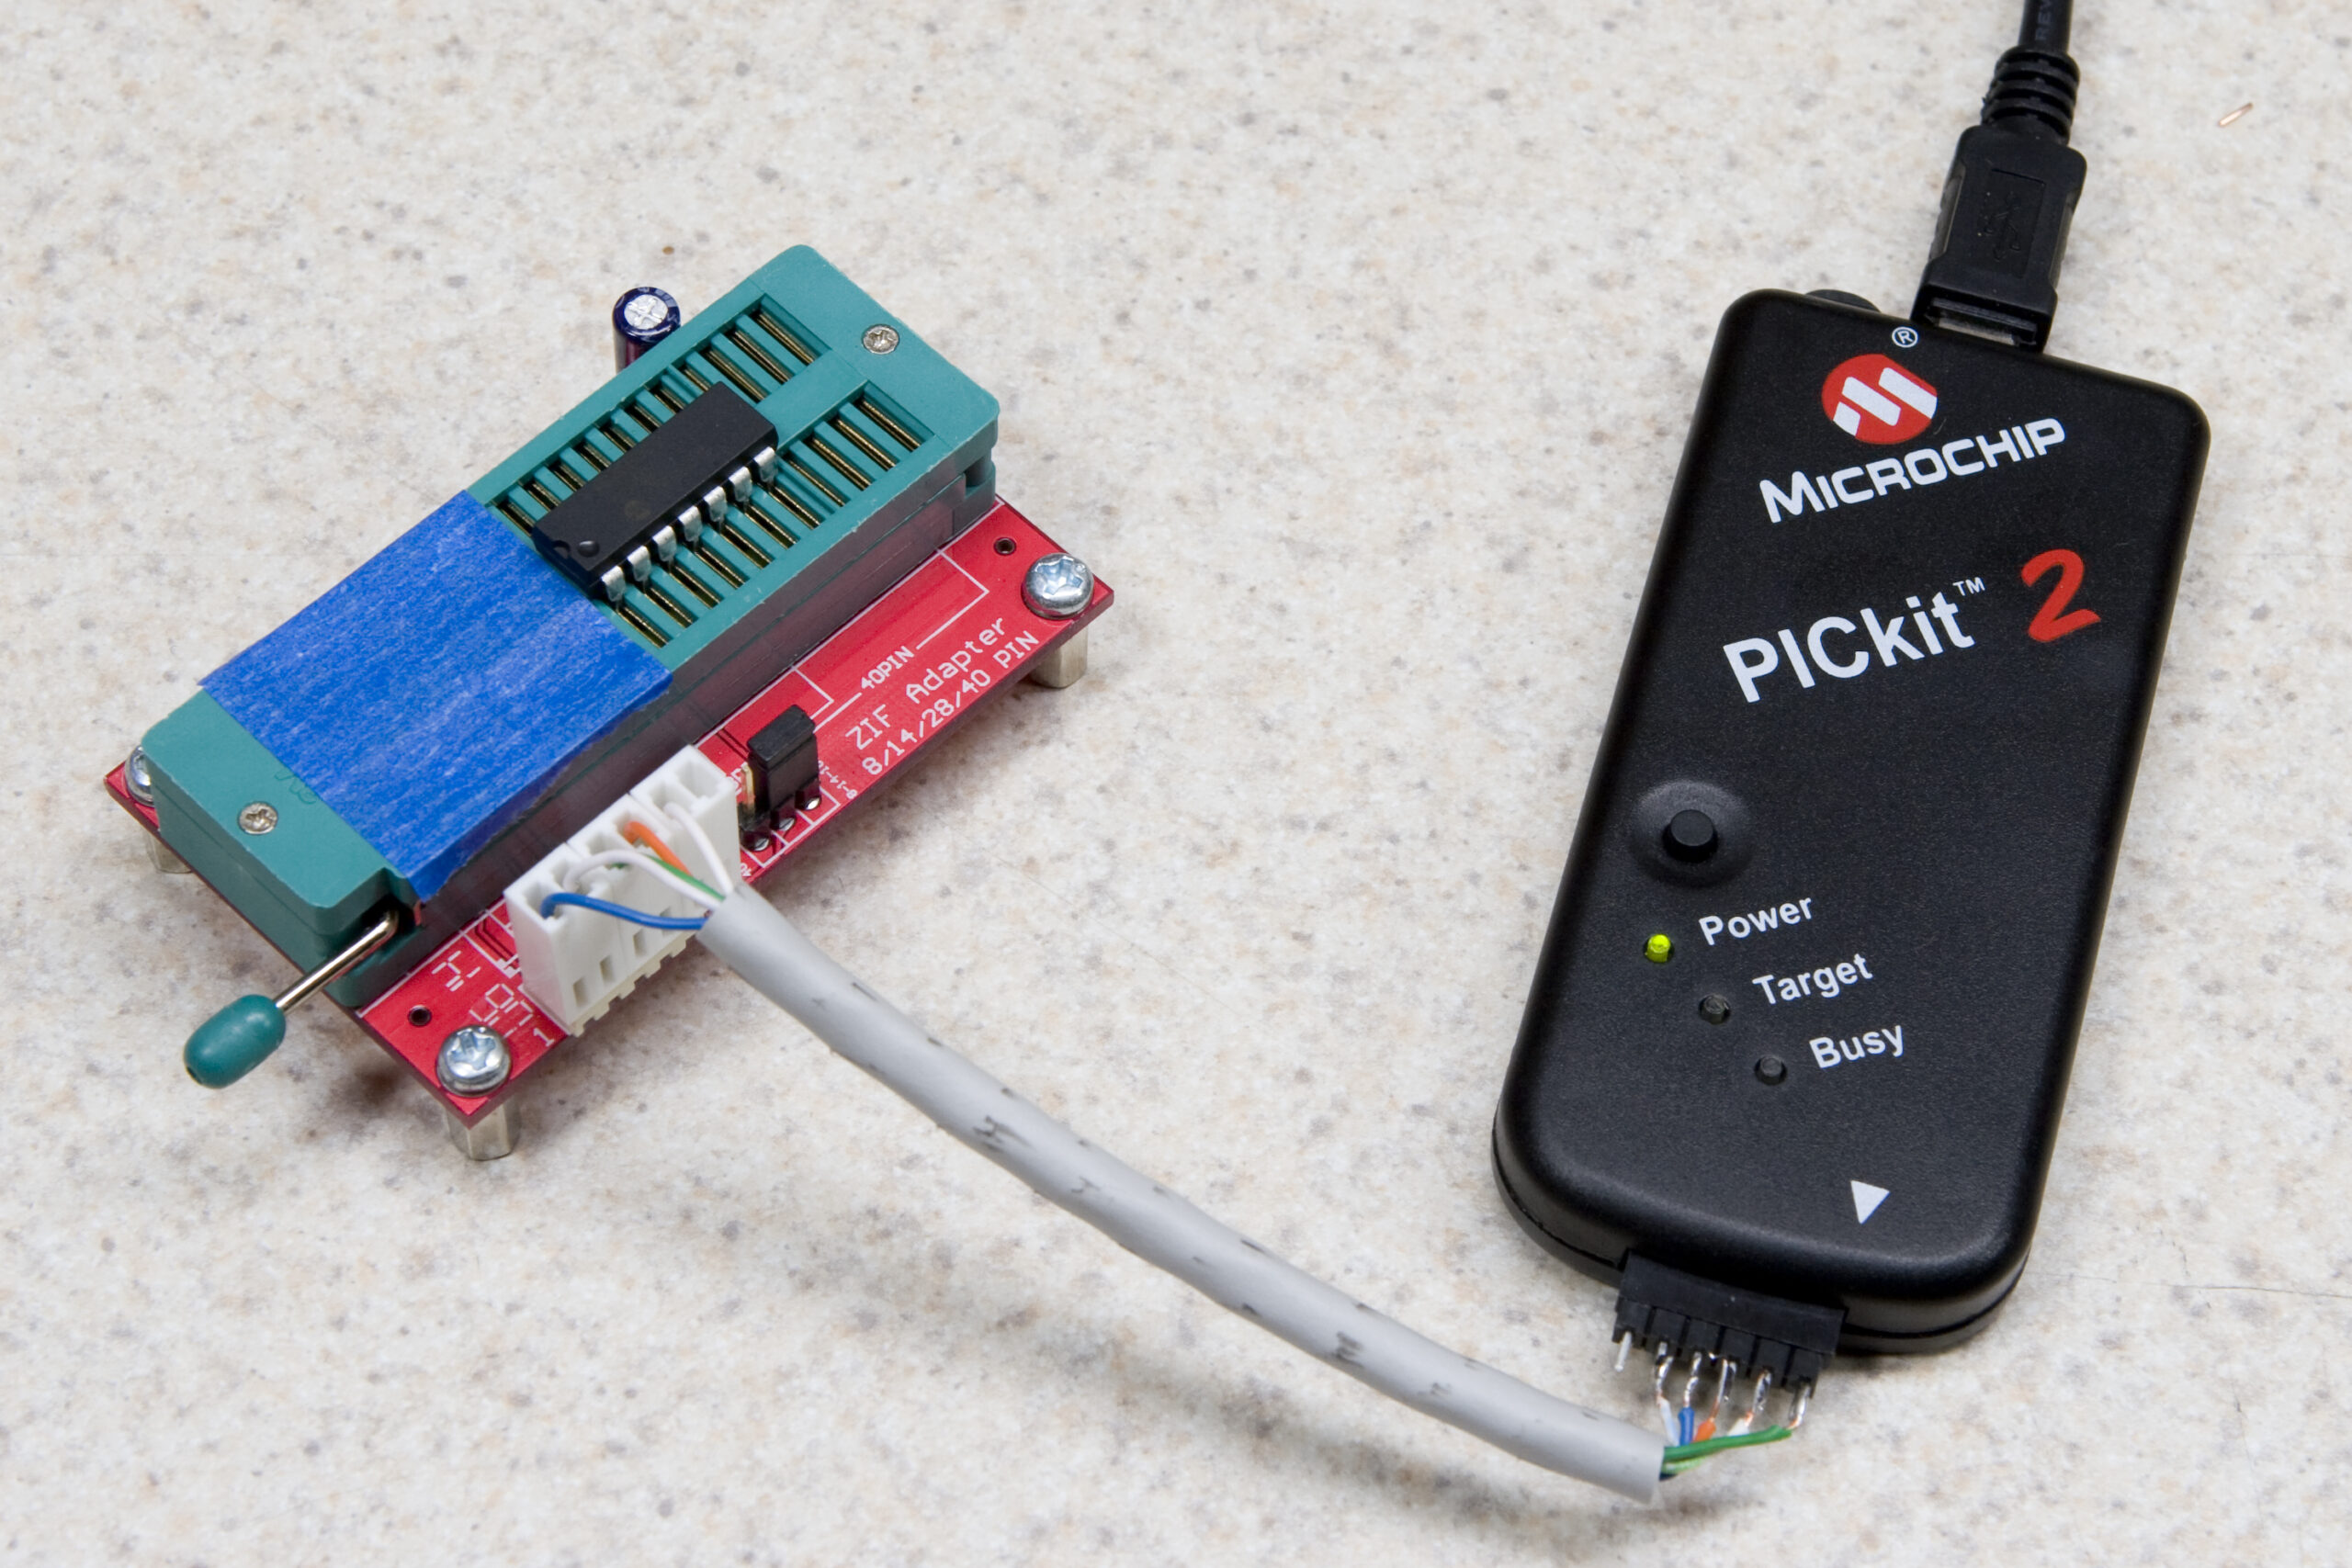
PICkit 2, ZIF socket from ICD2 clone, and cobbled together cable.Well, it’s no gang programmer, but with that cable being reasonably solid I should have no problem using that setup there to program all the PICs for the forthcoming nuxx Audio Input Switch group buy. See, I’ll be offering up PCBs and programmed PICs to whoever wants them (and reserves them within a limited window) at cost as a favor to the DIY audio stuffs community and I want programming the PICs to go as easy as possible.
When I got home from work I cobbled together this cable from a spare 1×6 .100″ header, some 2 place Molex KK connectors, and an old piece of CAT5. With the PICkit 2 software now featuring a function to program (and verify) the part when the button on the programmer is pressed, so I should now be able to just drop a chip in, hit the button, wait for the box on the computer to turn green, then do it again. Even doing 100 parts (if that many people are actually interested) shouldn’t take very long at all. Yay!
[This is a cross-post from here at diyAudio Forums:]
Well, the first five PCBs were ordered from PCBEX.COM a few minutes ago. The biggest changes since yesterday were moving the smoothing capacitor before the voltage regulator to 1000uF (13mm diameter, 5mm lead spacing footprint) which required a good bit of shuffling of parts in the power supply. (Some configurations, particularly those not needing to use the 5VDC output, can use a much smaller cap here. I’m recommending this value as a best-fit.) As part of this I also ended up moving all of the connectors to the front edge of the board, which I think is a rather good thing.
The boards are five-day turn, so I figure they’ll ship sometime around the end of next week. As PCBEX.COM batches their boards out to China I expect it’ll be another week or so before I have the boards.
Here’s how the part prices from Mouser breaks down:
All parts, except PCB, heatsink, relays, and audio terminals: US$10.46
5x 4PDT Omron relays and 5 place Phoenix terminals: US$57.10
5x DPDT Omron relays and 3 place Phoenix terminals: US$25.45
1″ Tall Heatsink: US$1.14
1.5″ Tall Heatsink: US$1.06
Of course, you can cut these prices down if you do things such as not fitting the boards to switch all five inputs, leave out some of the onboard power supply parts, etc.
The PCBs cost about US$16/each after shipping from PCBEX.COM. If I were purchasing for a group buy or something I imagine the price would be a good bit lower, although that obviously depends on the quantity.
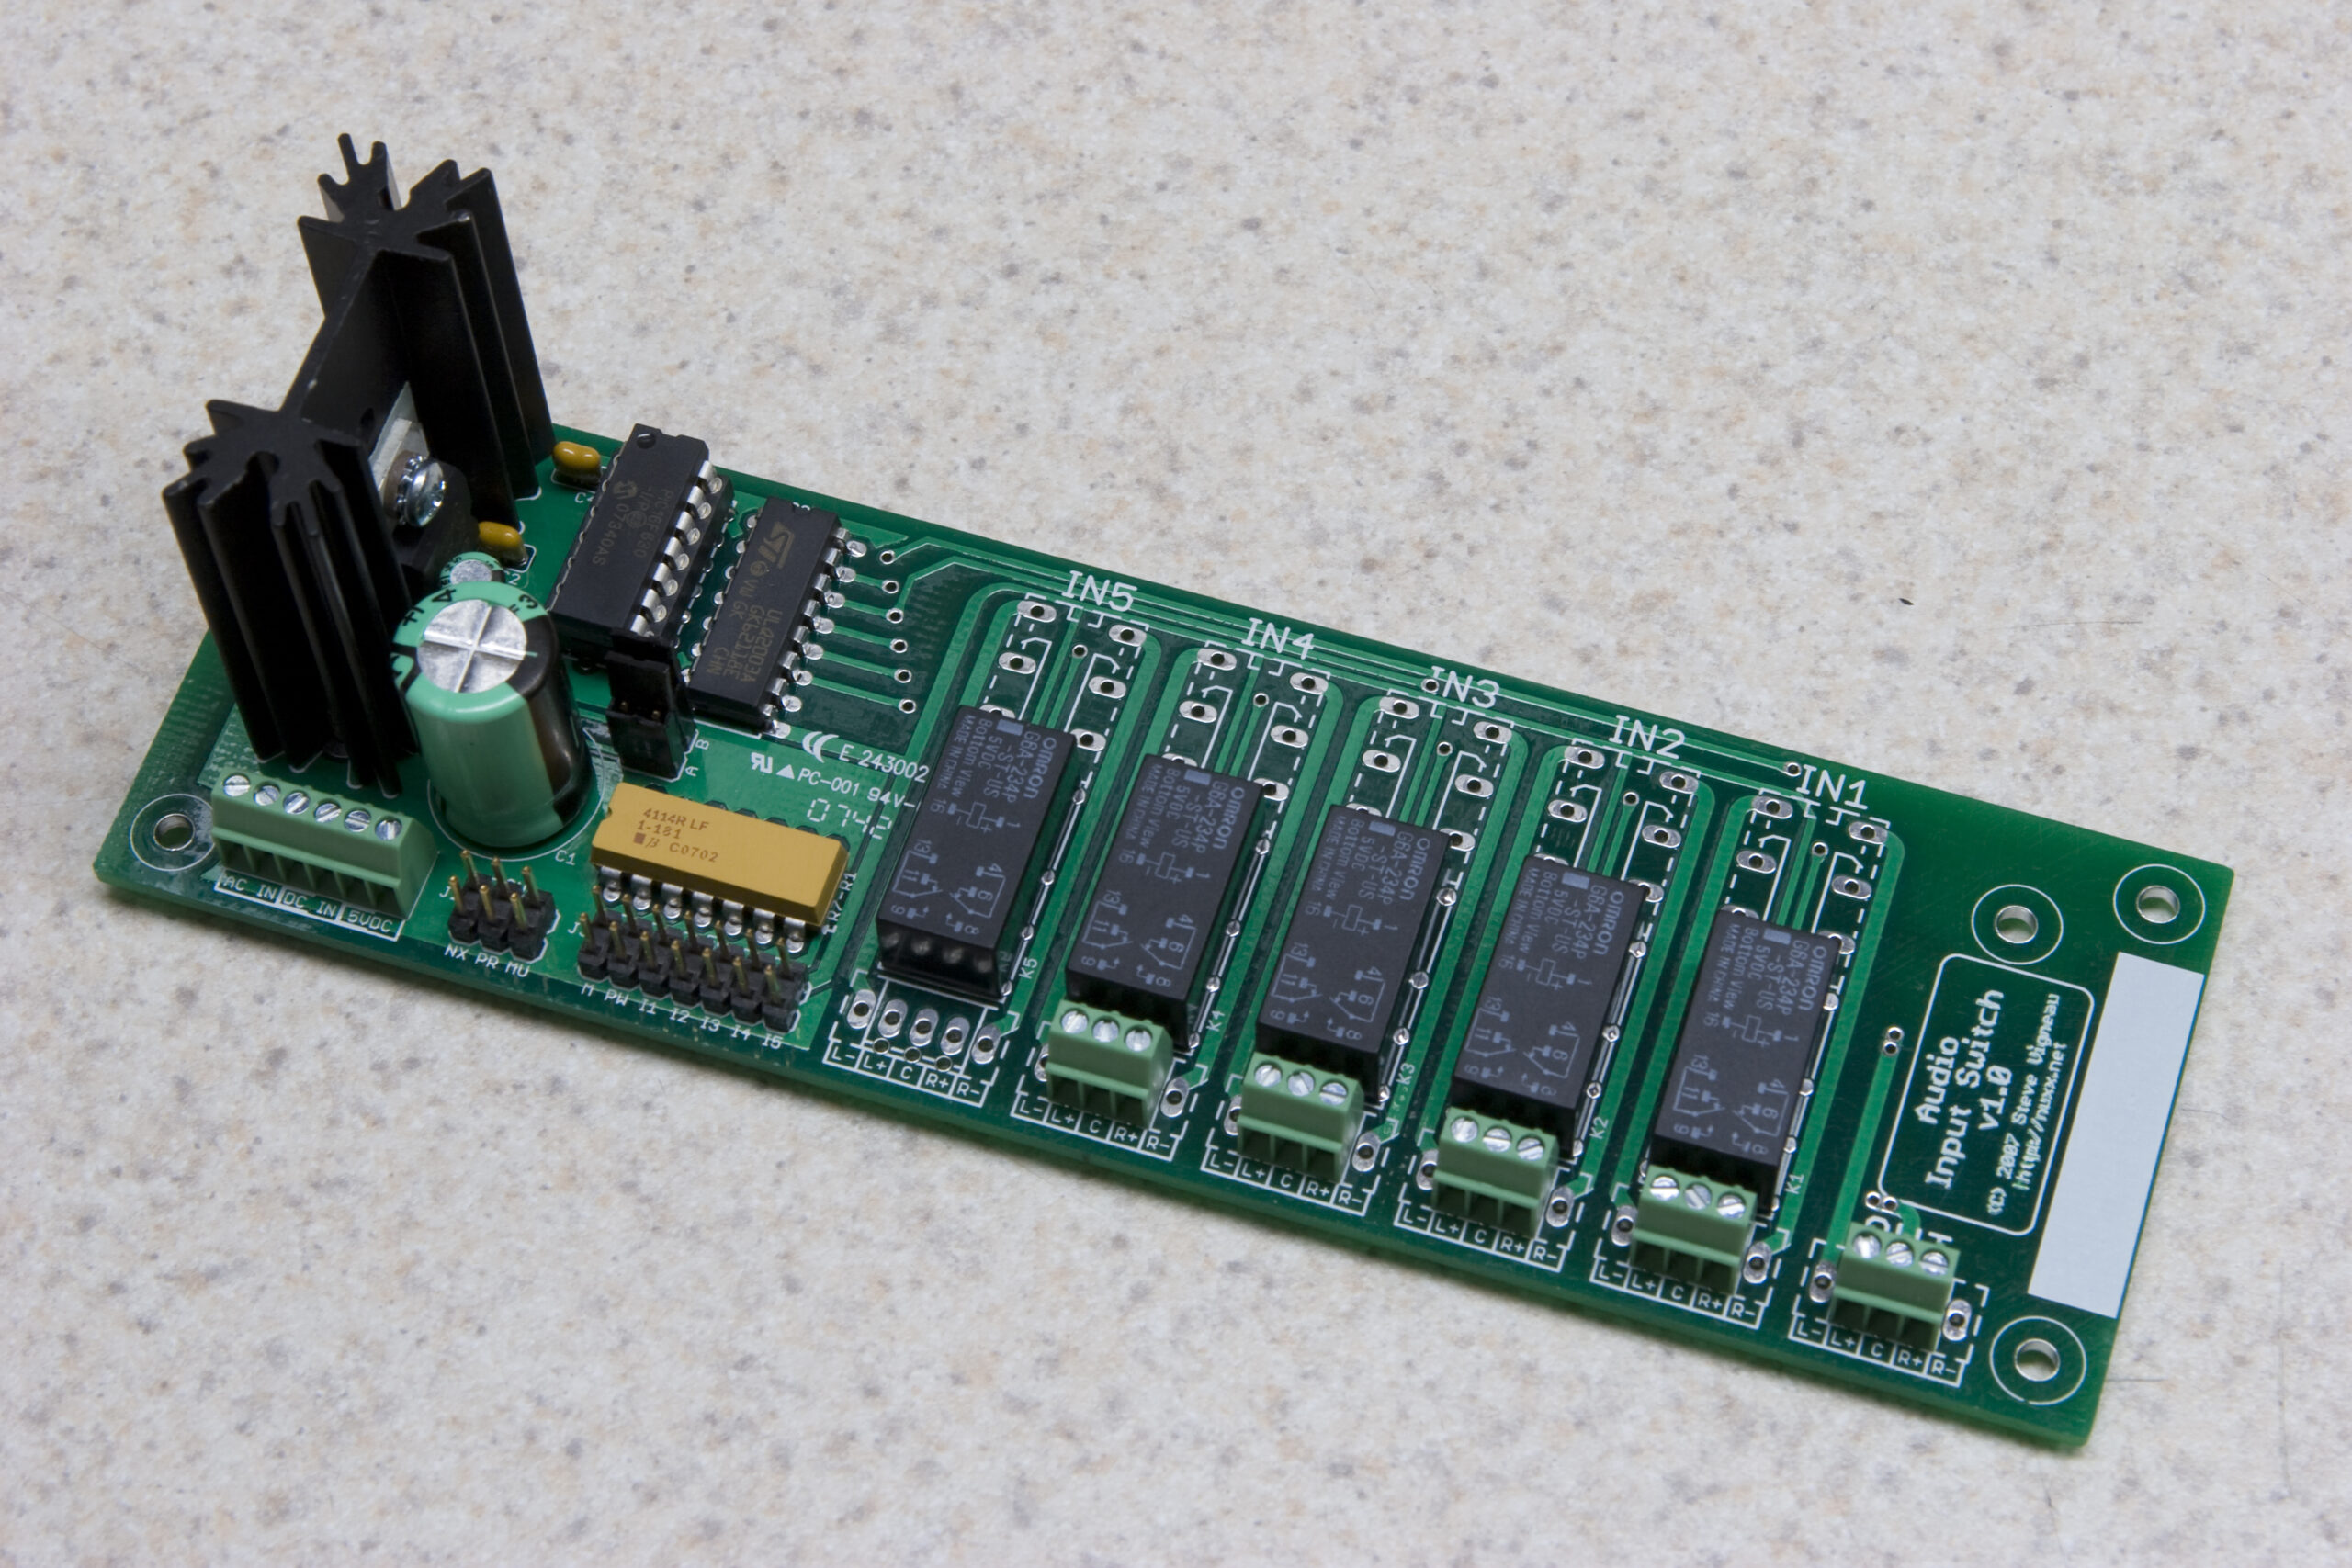
So, I guess that’s about it for now… There is more info over at the main nuxx Audio Input Switch (as the device is now known) page.
One final question for everyone: Are any of you interested in purchasing some of these PCBs in a group buy?
I figure that I could probably handle doing a group buy for some folks. I’d provide a PCB and programmed PIC, and you’d just have to order the rest of the parts. Everything in there is very standard, so even if you can’t order from Mouser you shouldn’t have a problem sourcing the same (or compatible parts. I’m not in the position to offer kits or assembled boards.
Off the top of my head I’d estimate the total cost at being around $20, to cover the blank PCB, PIC, packing stuffs, PayPal fees, etc.
Anyway, that’s it for now…
1) I should be in bed.
2) The vent on an electrolytic capacitor is called that for a very good reason. That said, I’m surprised how long the 470uF 25V Nichion audio cap worked for while backwards. It even somewhat worked while backwards, which is probably why I let it go for so long. Whoops!
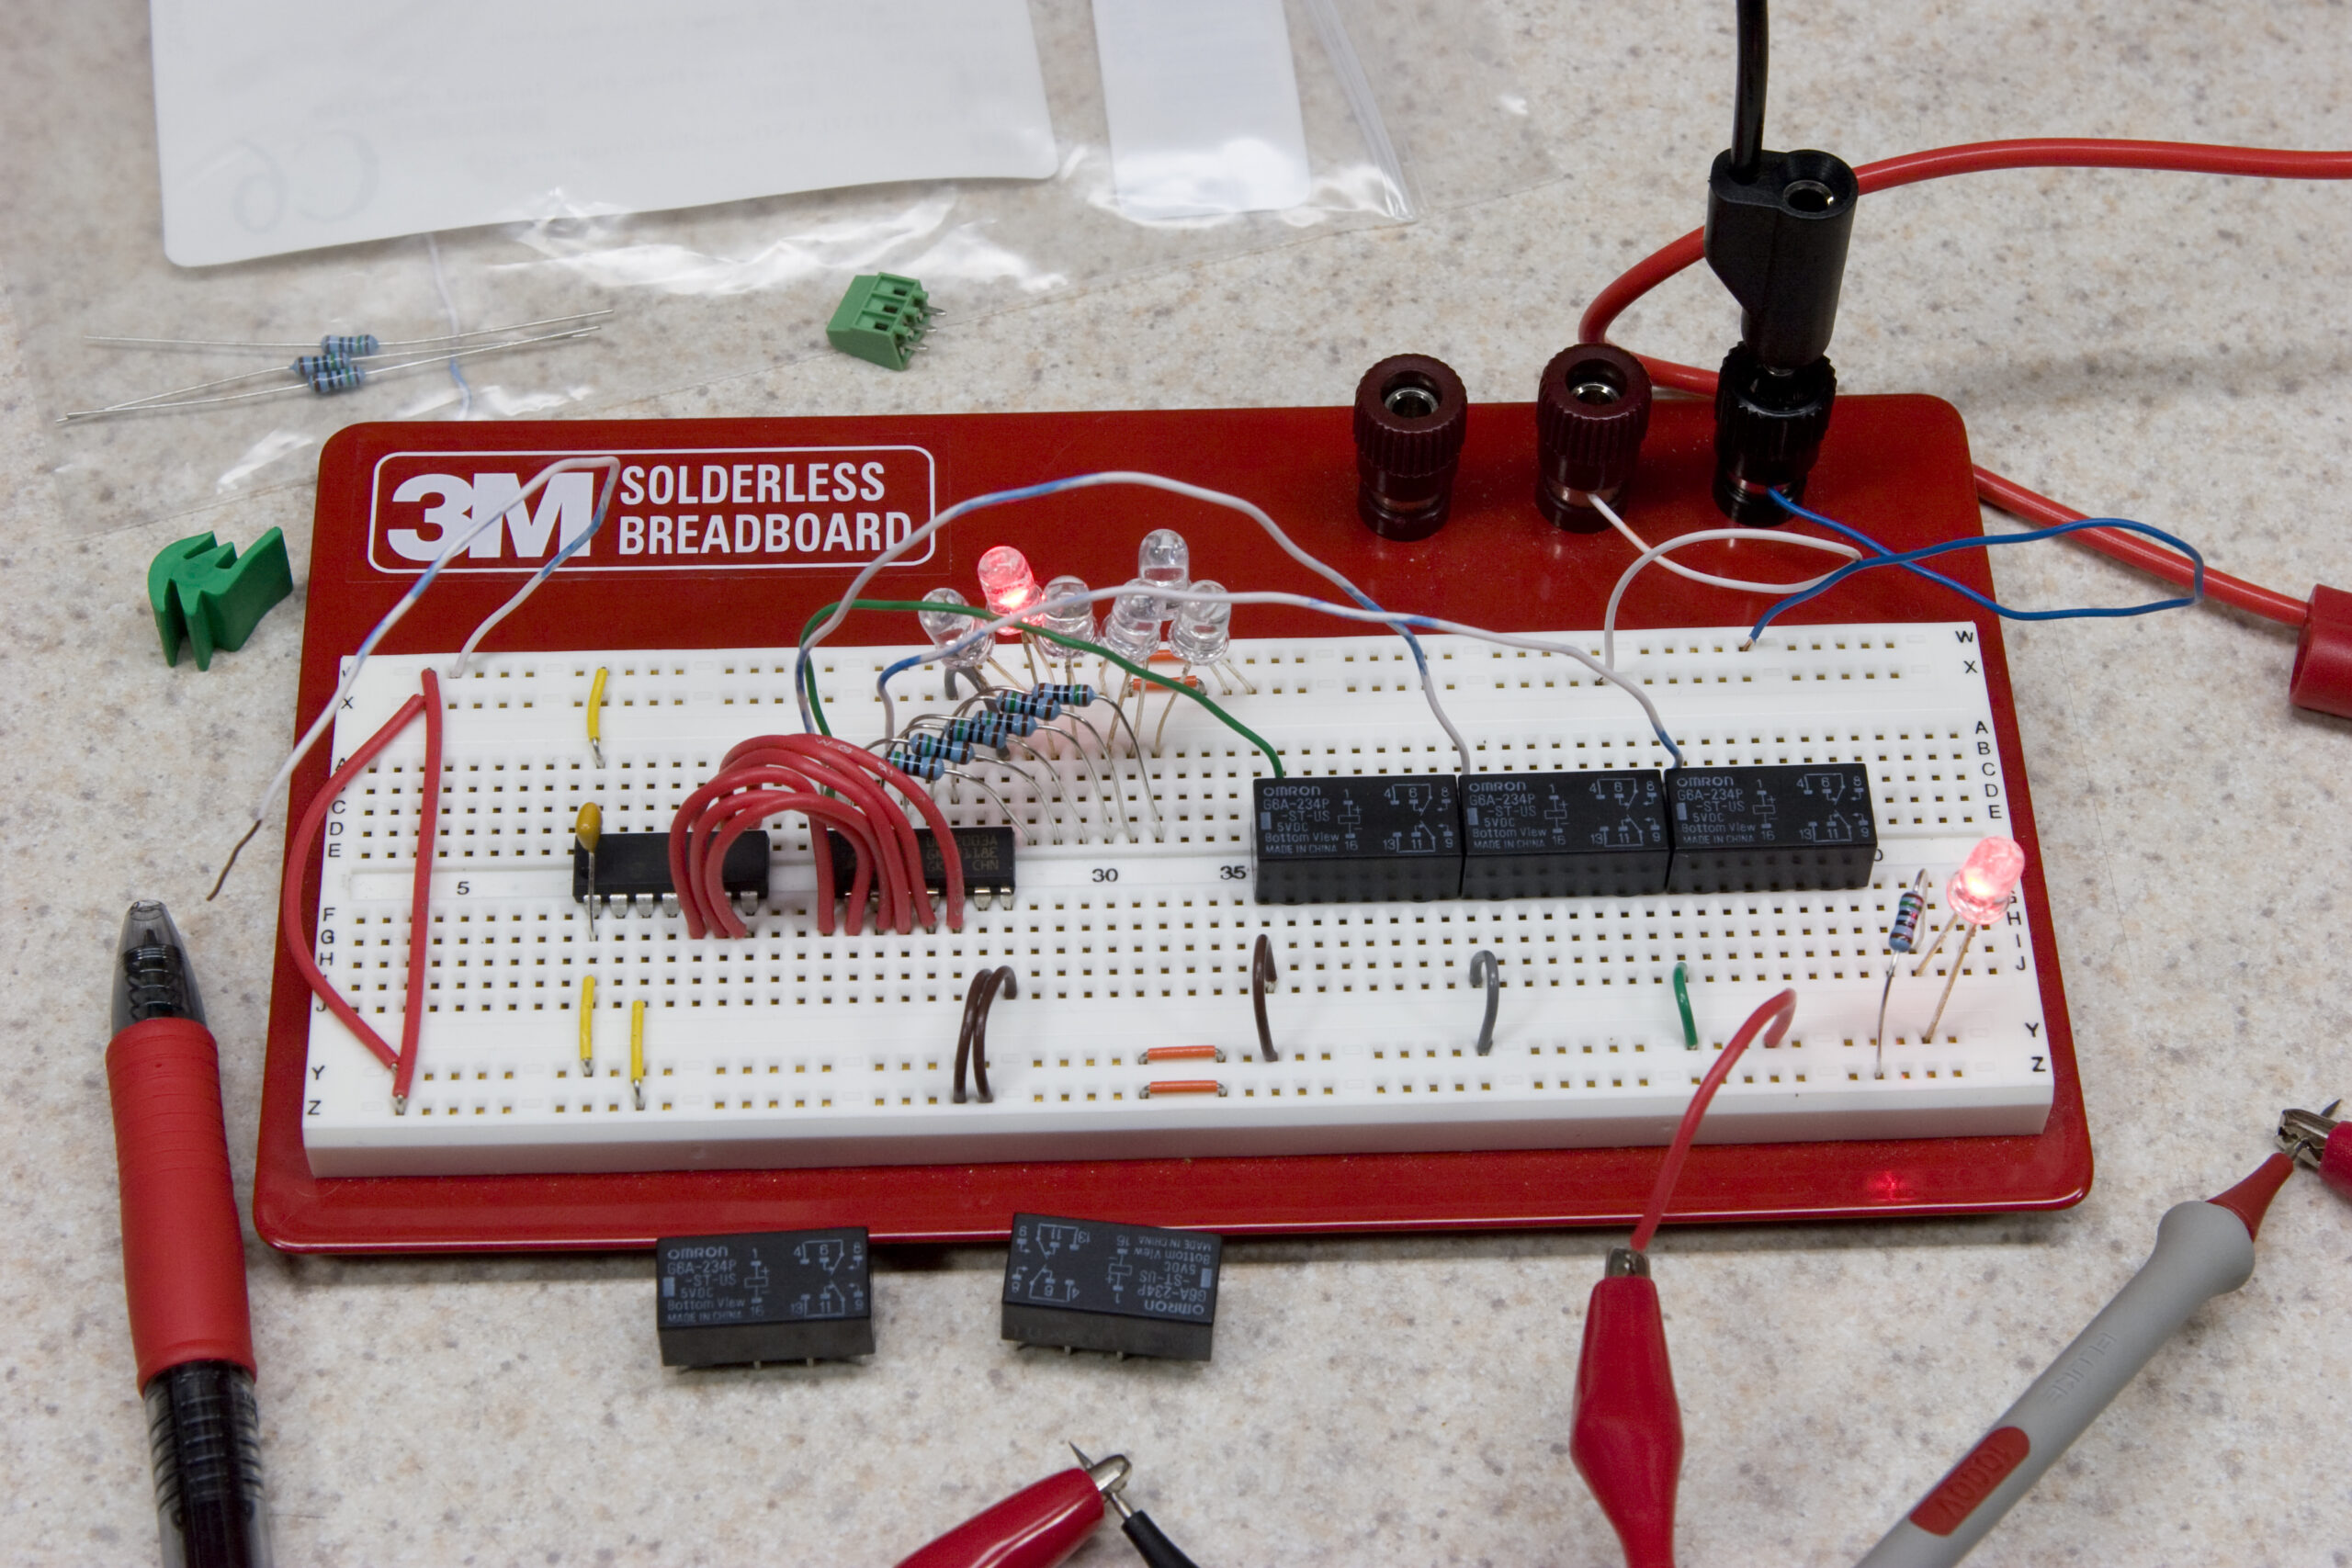
nuxx Audio Input Switch on a BreadboardWell, that’s that. The nuxx Audio Input Switch is coming along nicely and things are working as expected. Except for not realizing that MCLR has to be externally pulled high (or disabled), causing me about half an hour of head scratching, the software has worked as hoped for.
I had to learn a bit more about how the driver works and thusly redraw parts of the PCB, but I think it’s all sorted out now. If you’d like to see the board layout, just take a look here. Of course, you’re also welcome to read through the nuxx Audio Input Switch page, which currently has a fair bit of misplaced / inaccurate information in it.
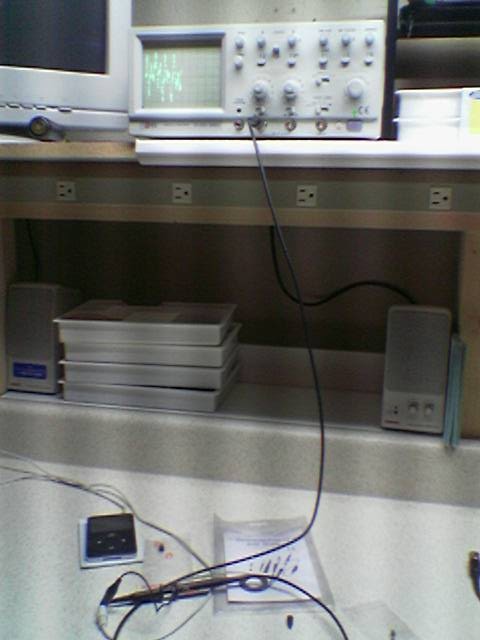
So, I’m really tempted to pick up a new scope. I’ve got a piece of crap Goldstar (I believe) analog scope I picked up off of eBay for $70 shipped a few years back. While it’s okay for making pretty pictures I’ve been having problems actually using it to test things. For example, when checking out the Alien DAC (photo gallery retired) I couldn’t really see the test patterns I was playing through it over the noise from the scope and probes.
I’ve been looking at one of the new Tektronix TDS1002B scopes. It is a 2-channel, 60MHz, 1GS/sec scopes with monochrome LCD display (image). It’s also got USB ports with support for dumping images to mass storage devices or printing straight to PictBridge compatible printers. (Also, the first good use I’ve heard of for PictBridge… Normally I think of it as a digital camera feature which no one really uses.)
The price for the TDS1002B from Tequipment.net is $1009.80, and I’d probably need to pick up a probe or two as well. I’m still poking around Tek’s site to see if the scope does everything I want, in particular communication with PCs to make sharing of the data easier, but it looks like it will.
Now I’ll just need to budget for it.
Here, have a PCB layout that I think it almost complete. I need to validate some parts and be sure the drivers work as I expect, but beyond that it should be all set.
Now I’ll be able to switch inputs on a headphone amp without plugging / unplugging things. Yay!