nuxx.net
Making, baking, and (un-)breaking things in Southeast Michigan.

Category electronics

Part Identification

(UPDATE: This has been reworded to not sound like crap.)

I’m looking for an IC, but having a hard time figuring out exactly which one does what I need.

Here’s what I need it to do:

Have five inputs which are connected to five pins on a microcontroller. Have one common input connected to +5VDC. (This could be common with Vcc for the IC.) When one of the five input pins goes high or low, the common input is connected to or disconnected from the output. The point of this is so that I can provide / sink more current than the microcontroller can handle.

My original idea was just to use five NPN transistors, but I figured I could find something in the form of a single IC and make assembly easier.

This is going to be used to drive some relays and LEDs. I could do it with discreet transistors, but that seems clunky and harder to solder.

What sort of part do I look for, or which data / catalog sheets can I pour over to find something like this?

electronicsmoved from livejournal

Audio Input Switch

Yay! I just finished porting the software for my PIC-based audio input switch to the PIC16F630. Earlier this afternoon I got it feature-complete and worked out all the bugs I could find, then in the last half hour or so I got it running on the new chip.

Tonight I hope to get it working with internal pullups (should be trivial) and then I’ll give the power supply design some thought, along with initial parts selection for the PCB itself.

Since I haven’t mentioned it here before, it’s:

– 2-5 input audio selection switch (configurable via jumpers)
– Relays for switching audio
– Fail-safe design
– Switches balanced or unbalanced audio
– Next / Previous buttons
– Mute function
– Saves input to ROM so that last state is restored at power-on
– MIT-licensed software

I’ll post more info later. Now it’s time to go home and meet up with Danielle for dinner.

electronicsmaking thingsmoved from livejournal

Splitting Ground

Here’s a quick electronics question:

How can I couple two groundplanes together, but isolate noise between them?

The reason I ask is because I’ve got a really noisy USB connection coming from my work laptop, and while I can feed it’s data lines right into the DAC, the ground connection for it is the same as the one for the outputs. I’m trying to figure out how one can couple those two grounds together, but cut off noise between them.

Best I can tell that’s just done with a ferrite bead… Is that right?

electronicsmoved from livejournal

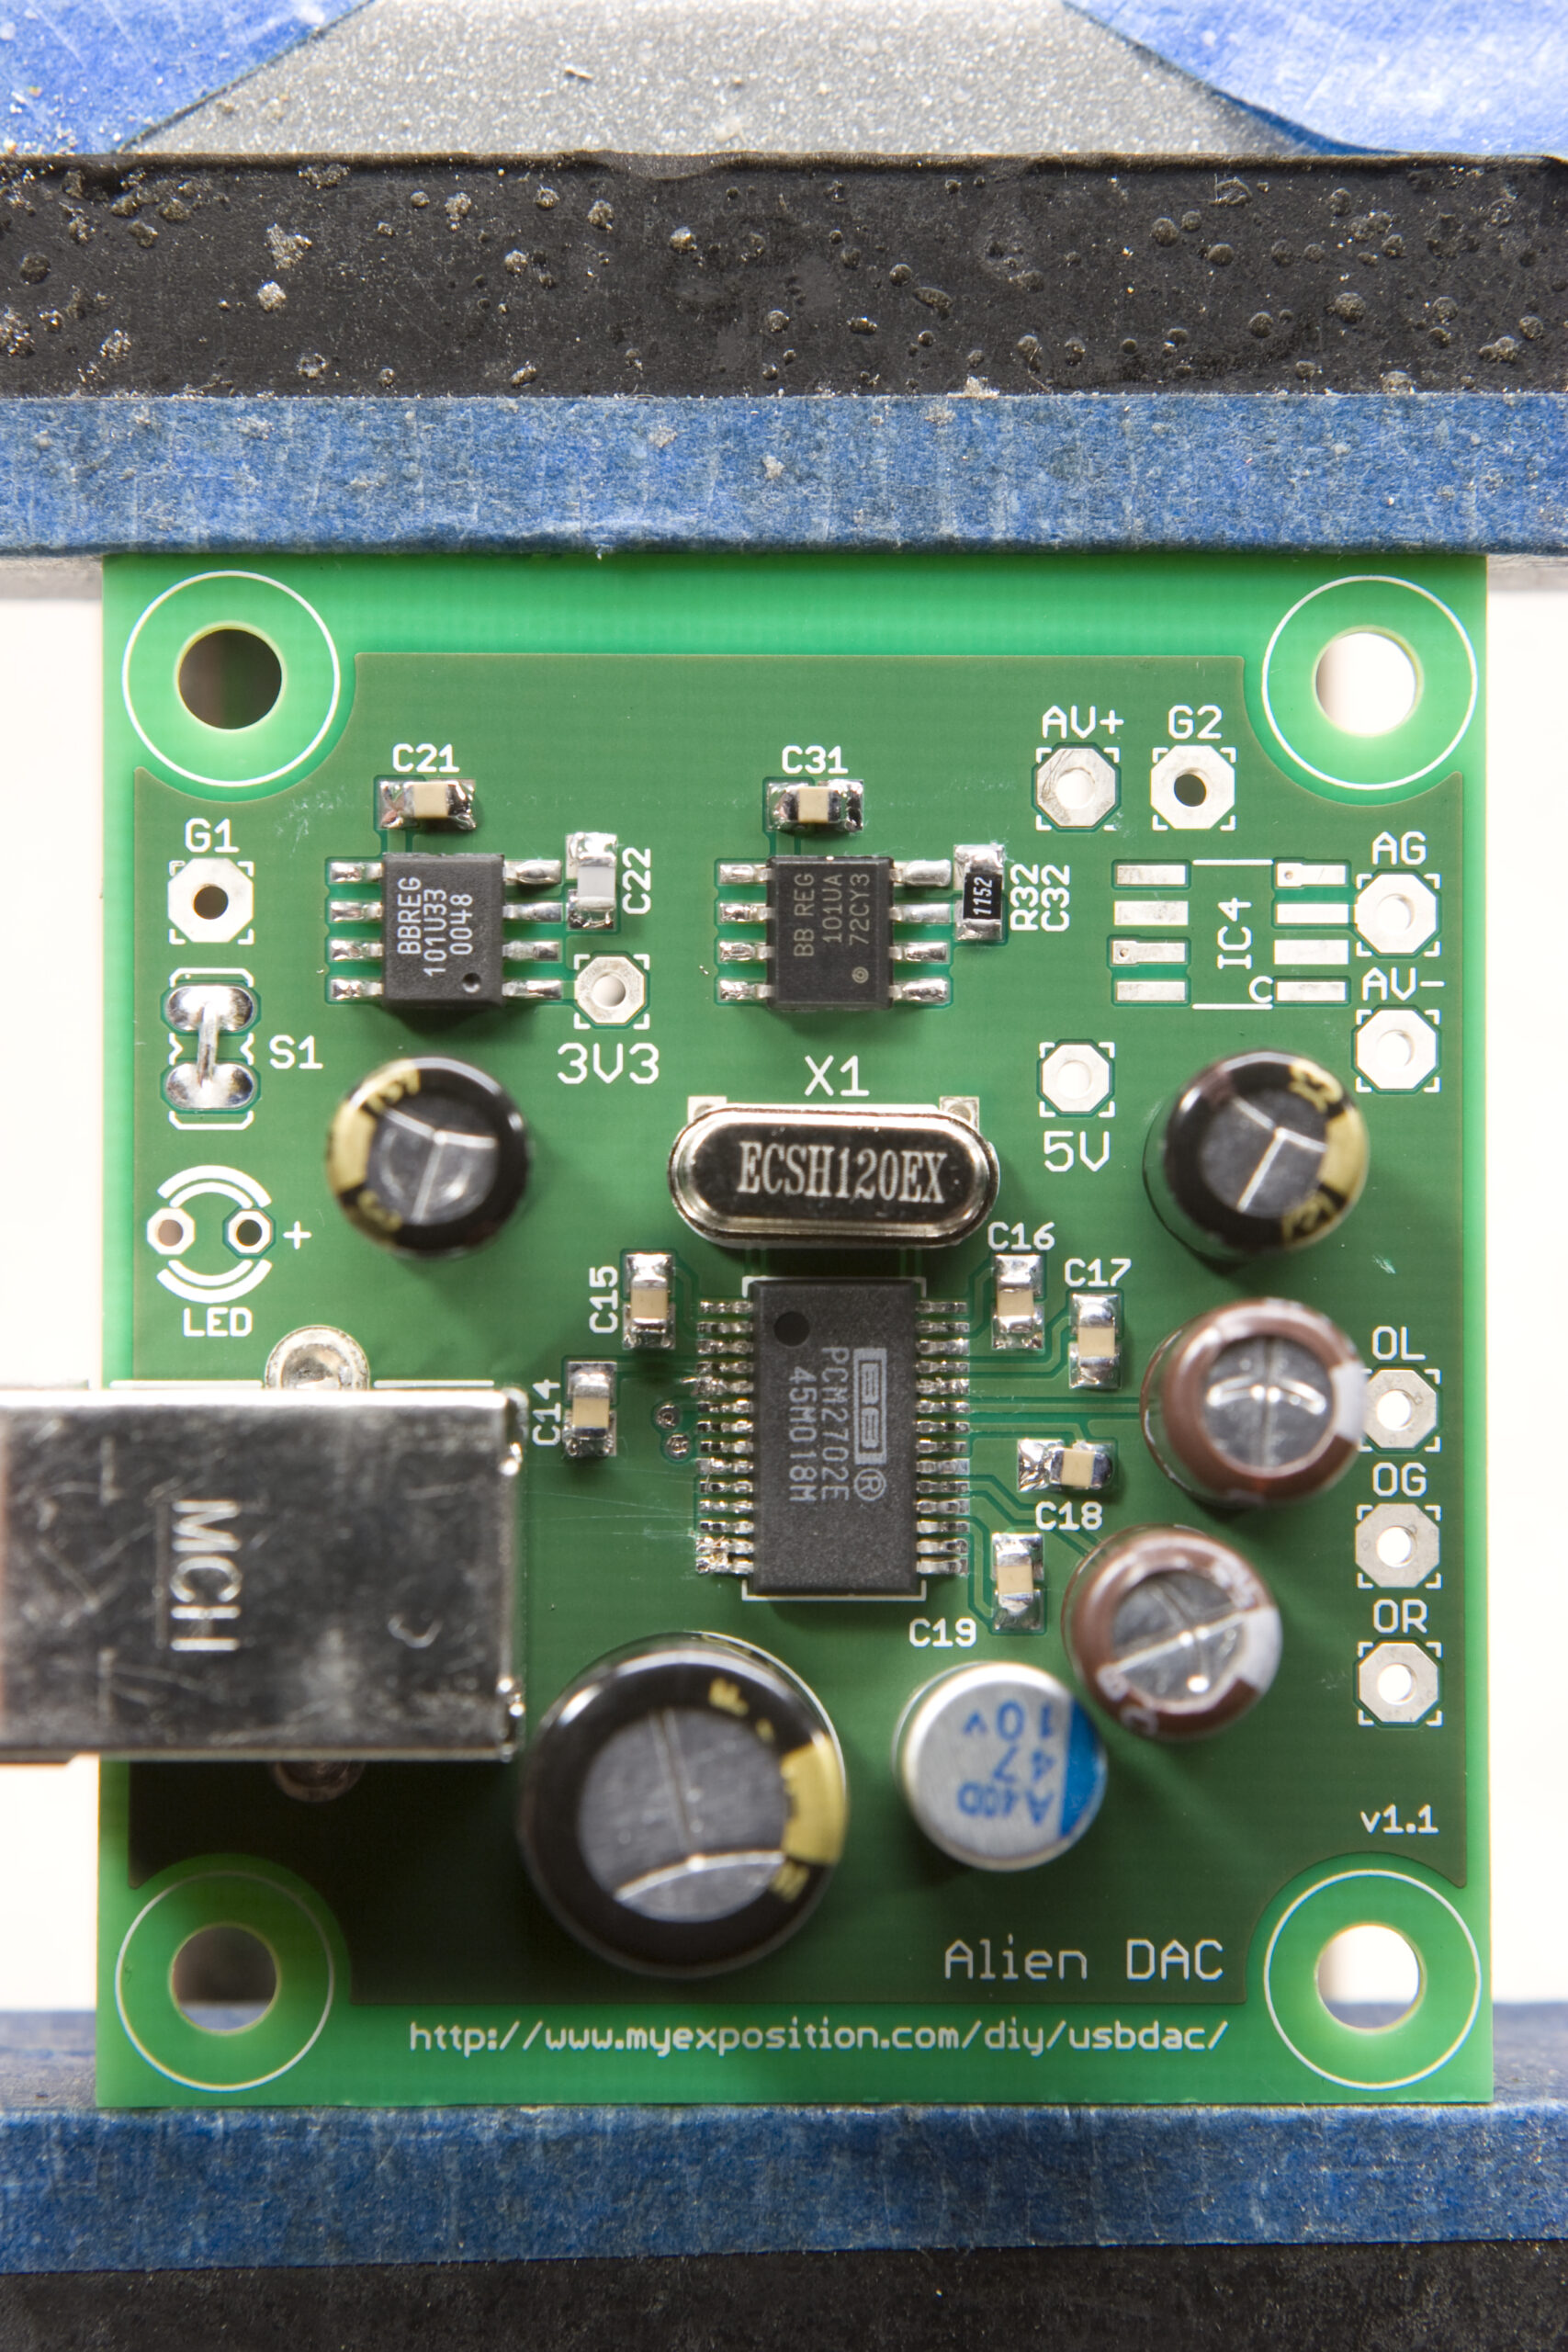
Alien DAC: Built

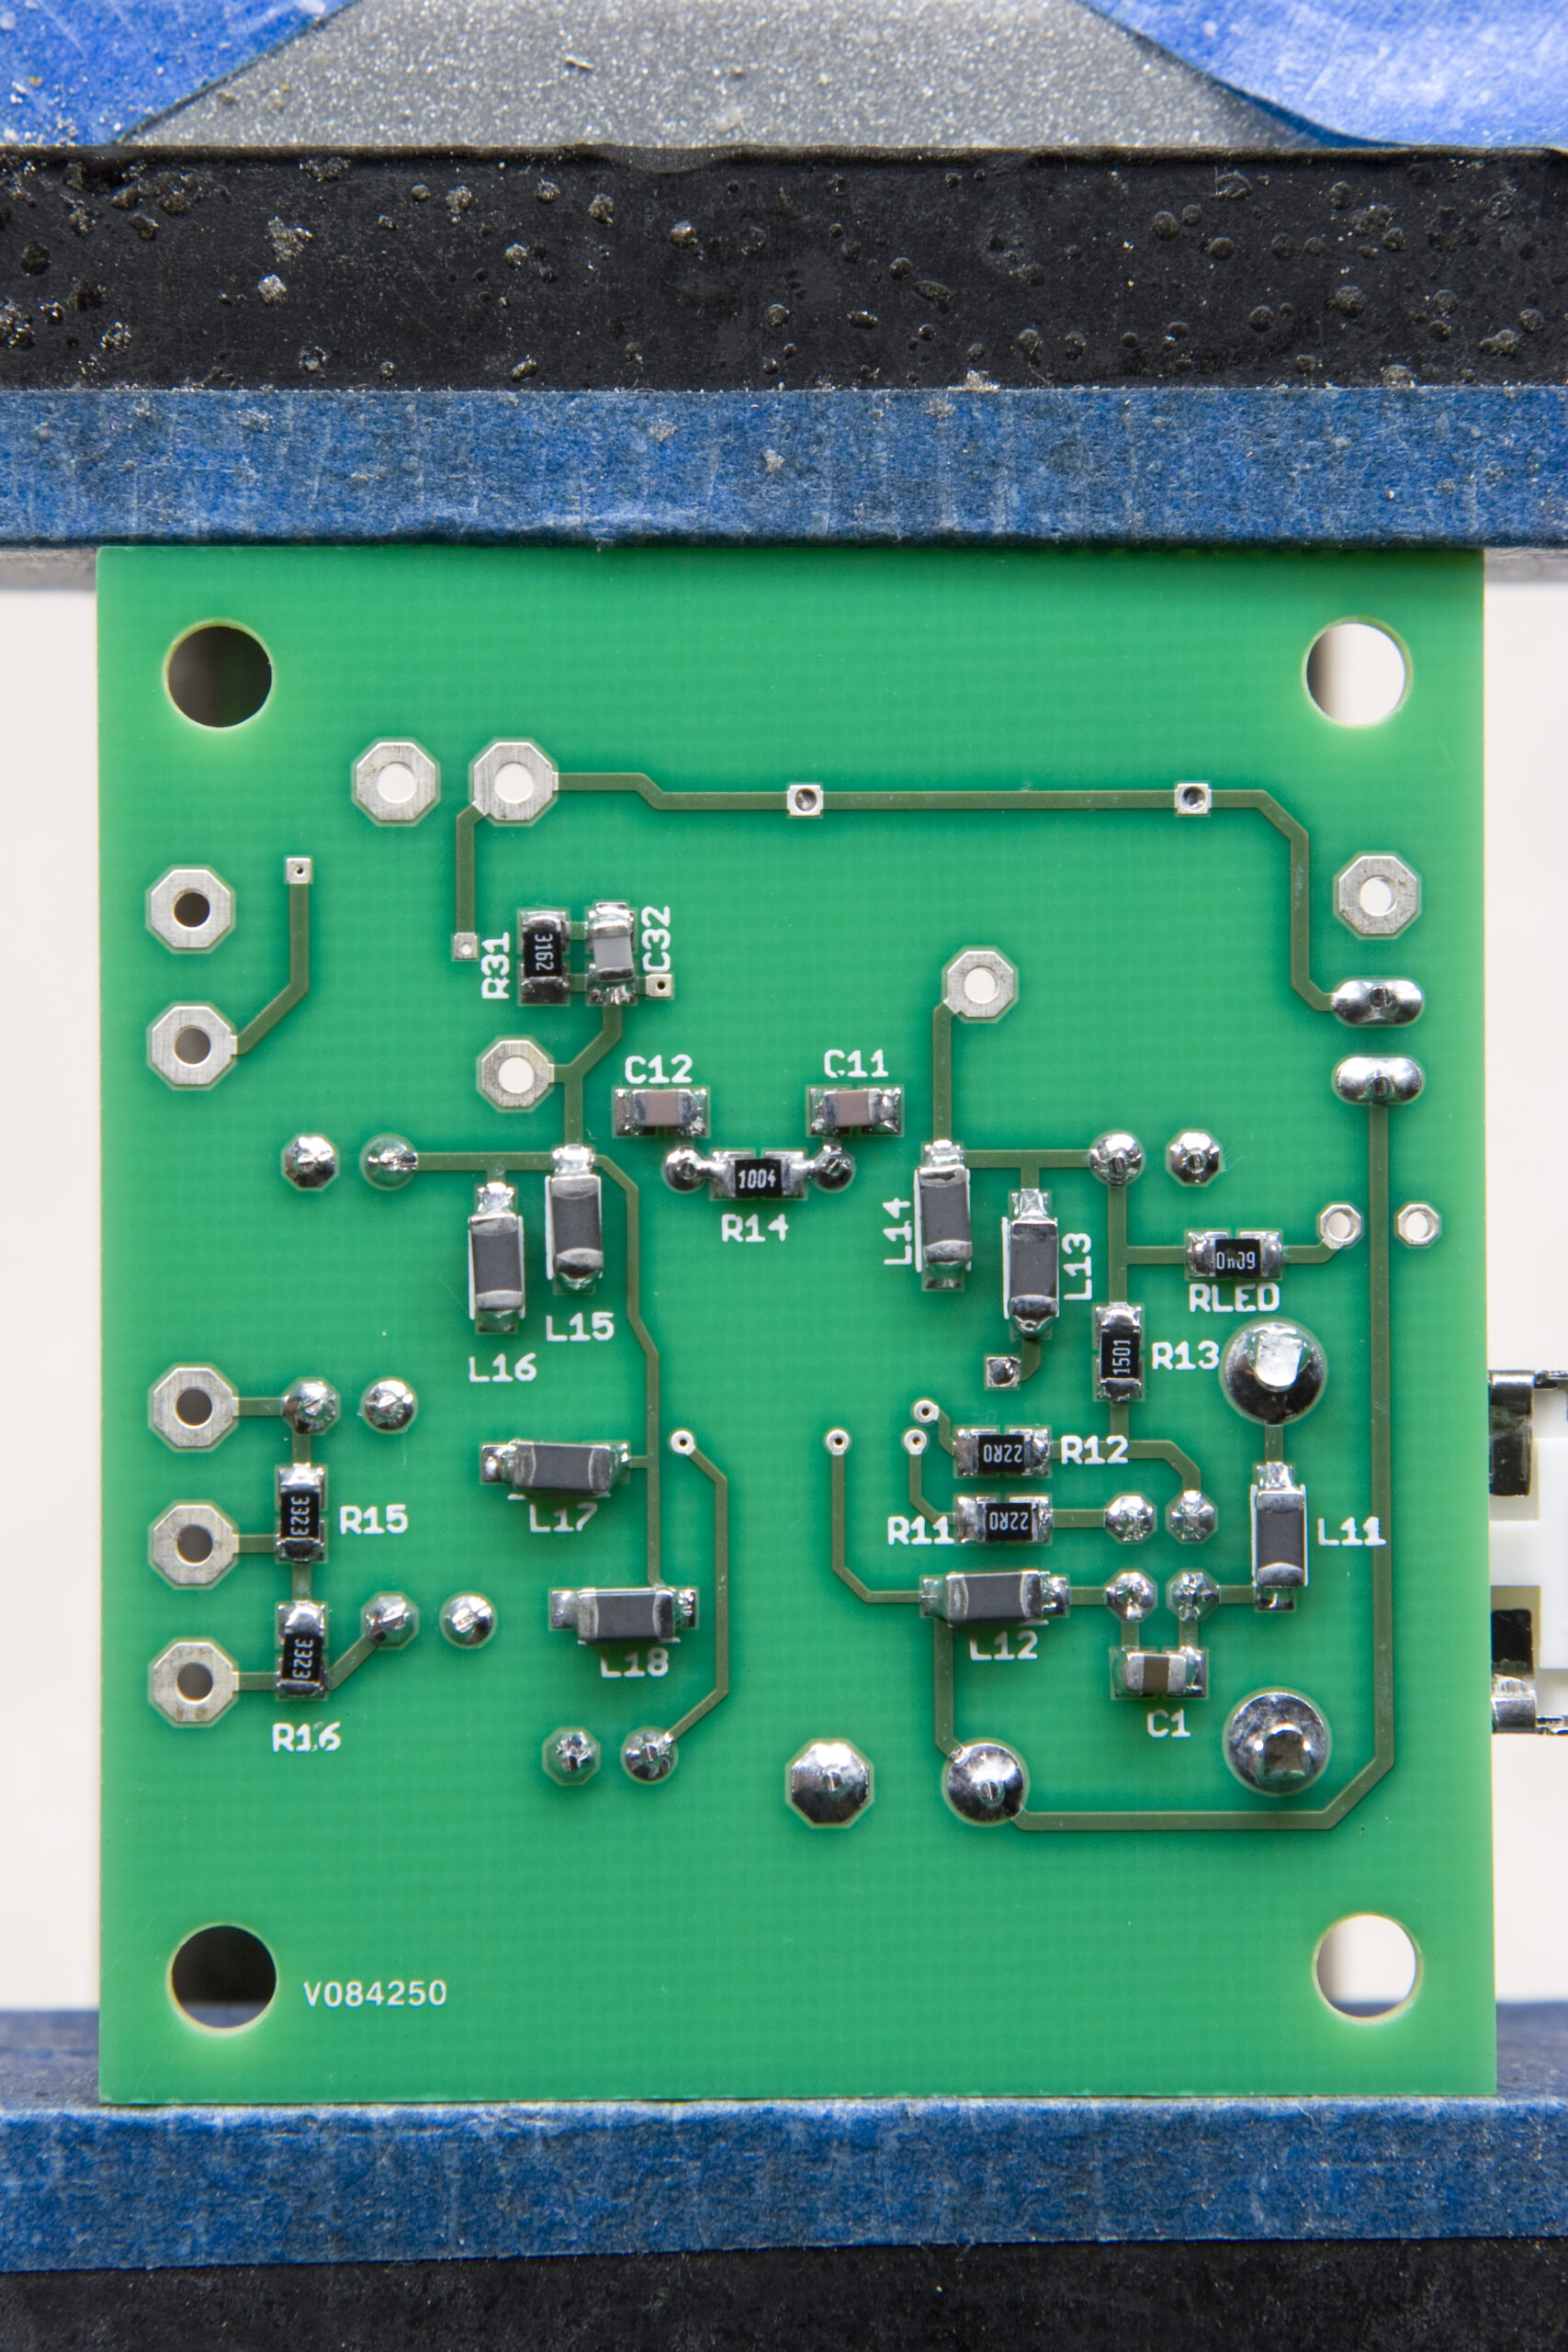
Assembled Alien DAC w/USB Power (Top)
(Click for more photos…)

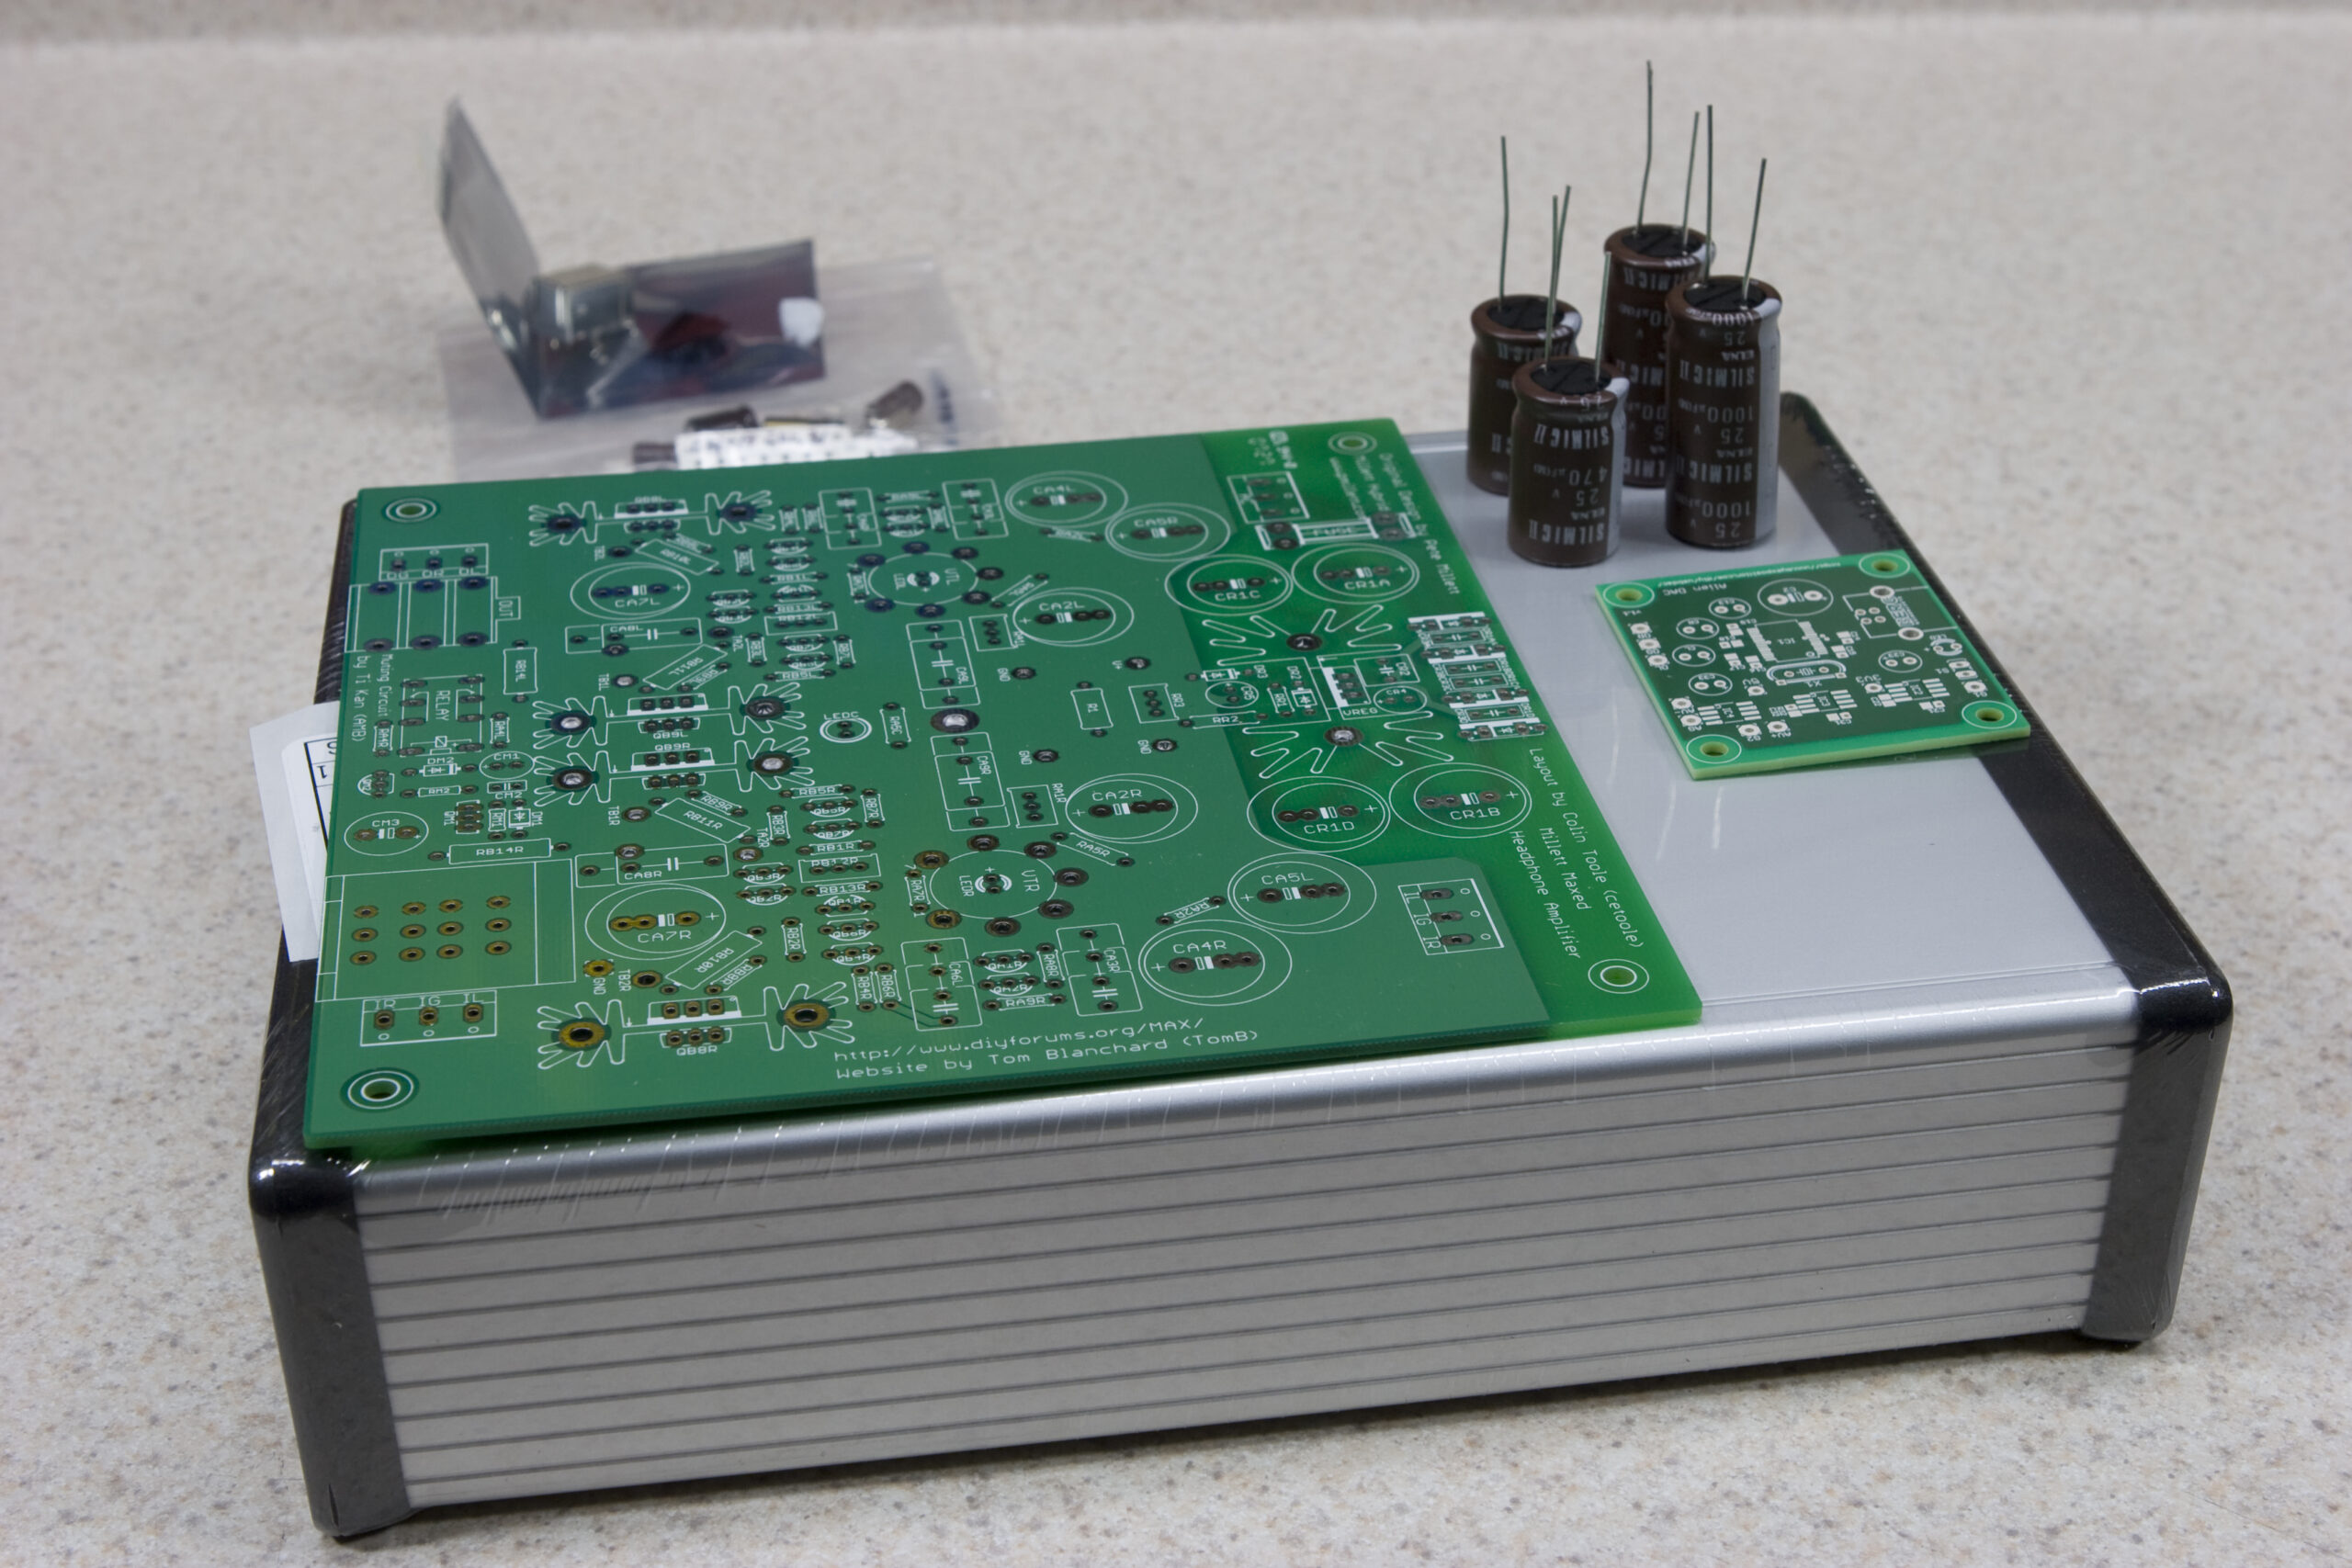
I decided that I’m going to build another one of those Millett Hybrid Maxed headphone amplifiers, except this time I want to build one using a bit more specialized parts, stick it in a case with wooden end panels, and fit both a USB audio adapter and input switch in the housing. As you can see here, the two PCBs will easily fit in the case. (The Elna RFS / Silmic II capacitors can also be seen there.)

Today the Alien DAC kit arrived from Glass Jar Audio, so I set to work putting it together. It really wasn’t too difficult, most of the parts were either through-hole or 1206 / 0805 SMT. The SOT-8 voltage regulators were real easy to solder as well, and I had very little trouble with the SSOP28 PCM2702E. The board is reasonably well laid out, but there are a couple of things I would have changed. I’m really not sure what the designer was thinking (I think he wanted to save space / make things more compact), as hand-soldering SMT IC legs to ground without thermals is a huge pain in the ass. Regardless, it worked out.

Oh, and the bottom of the board can be seen here.

electronicsmaking thingsmoved from livejournal

Xbox 360 Chatpad Disassembly

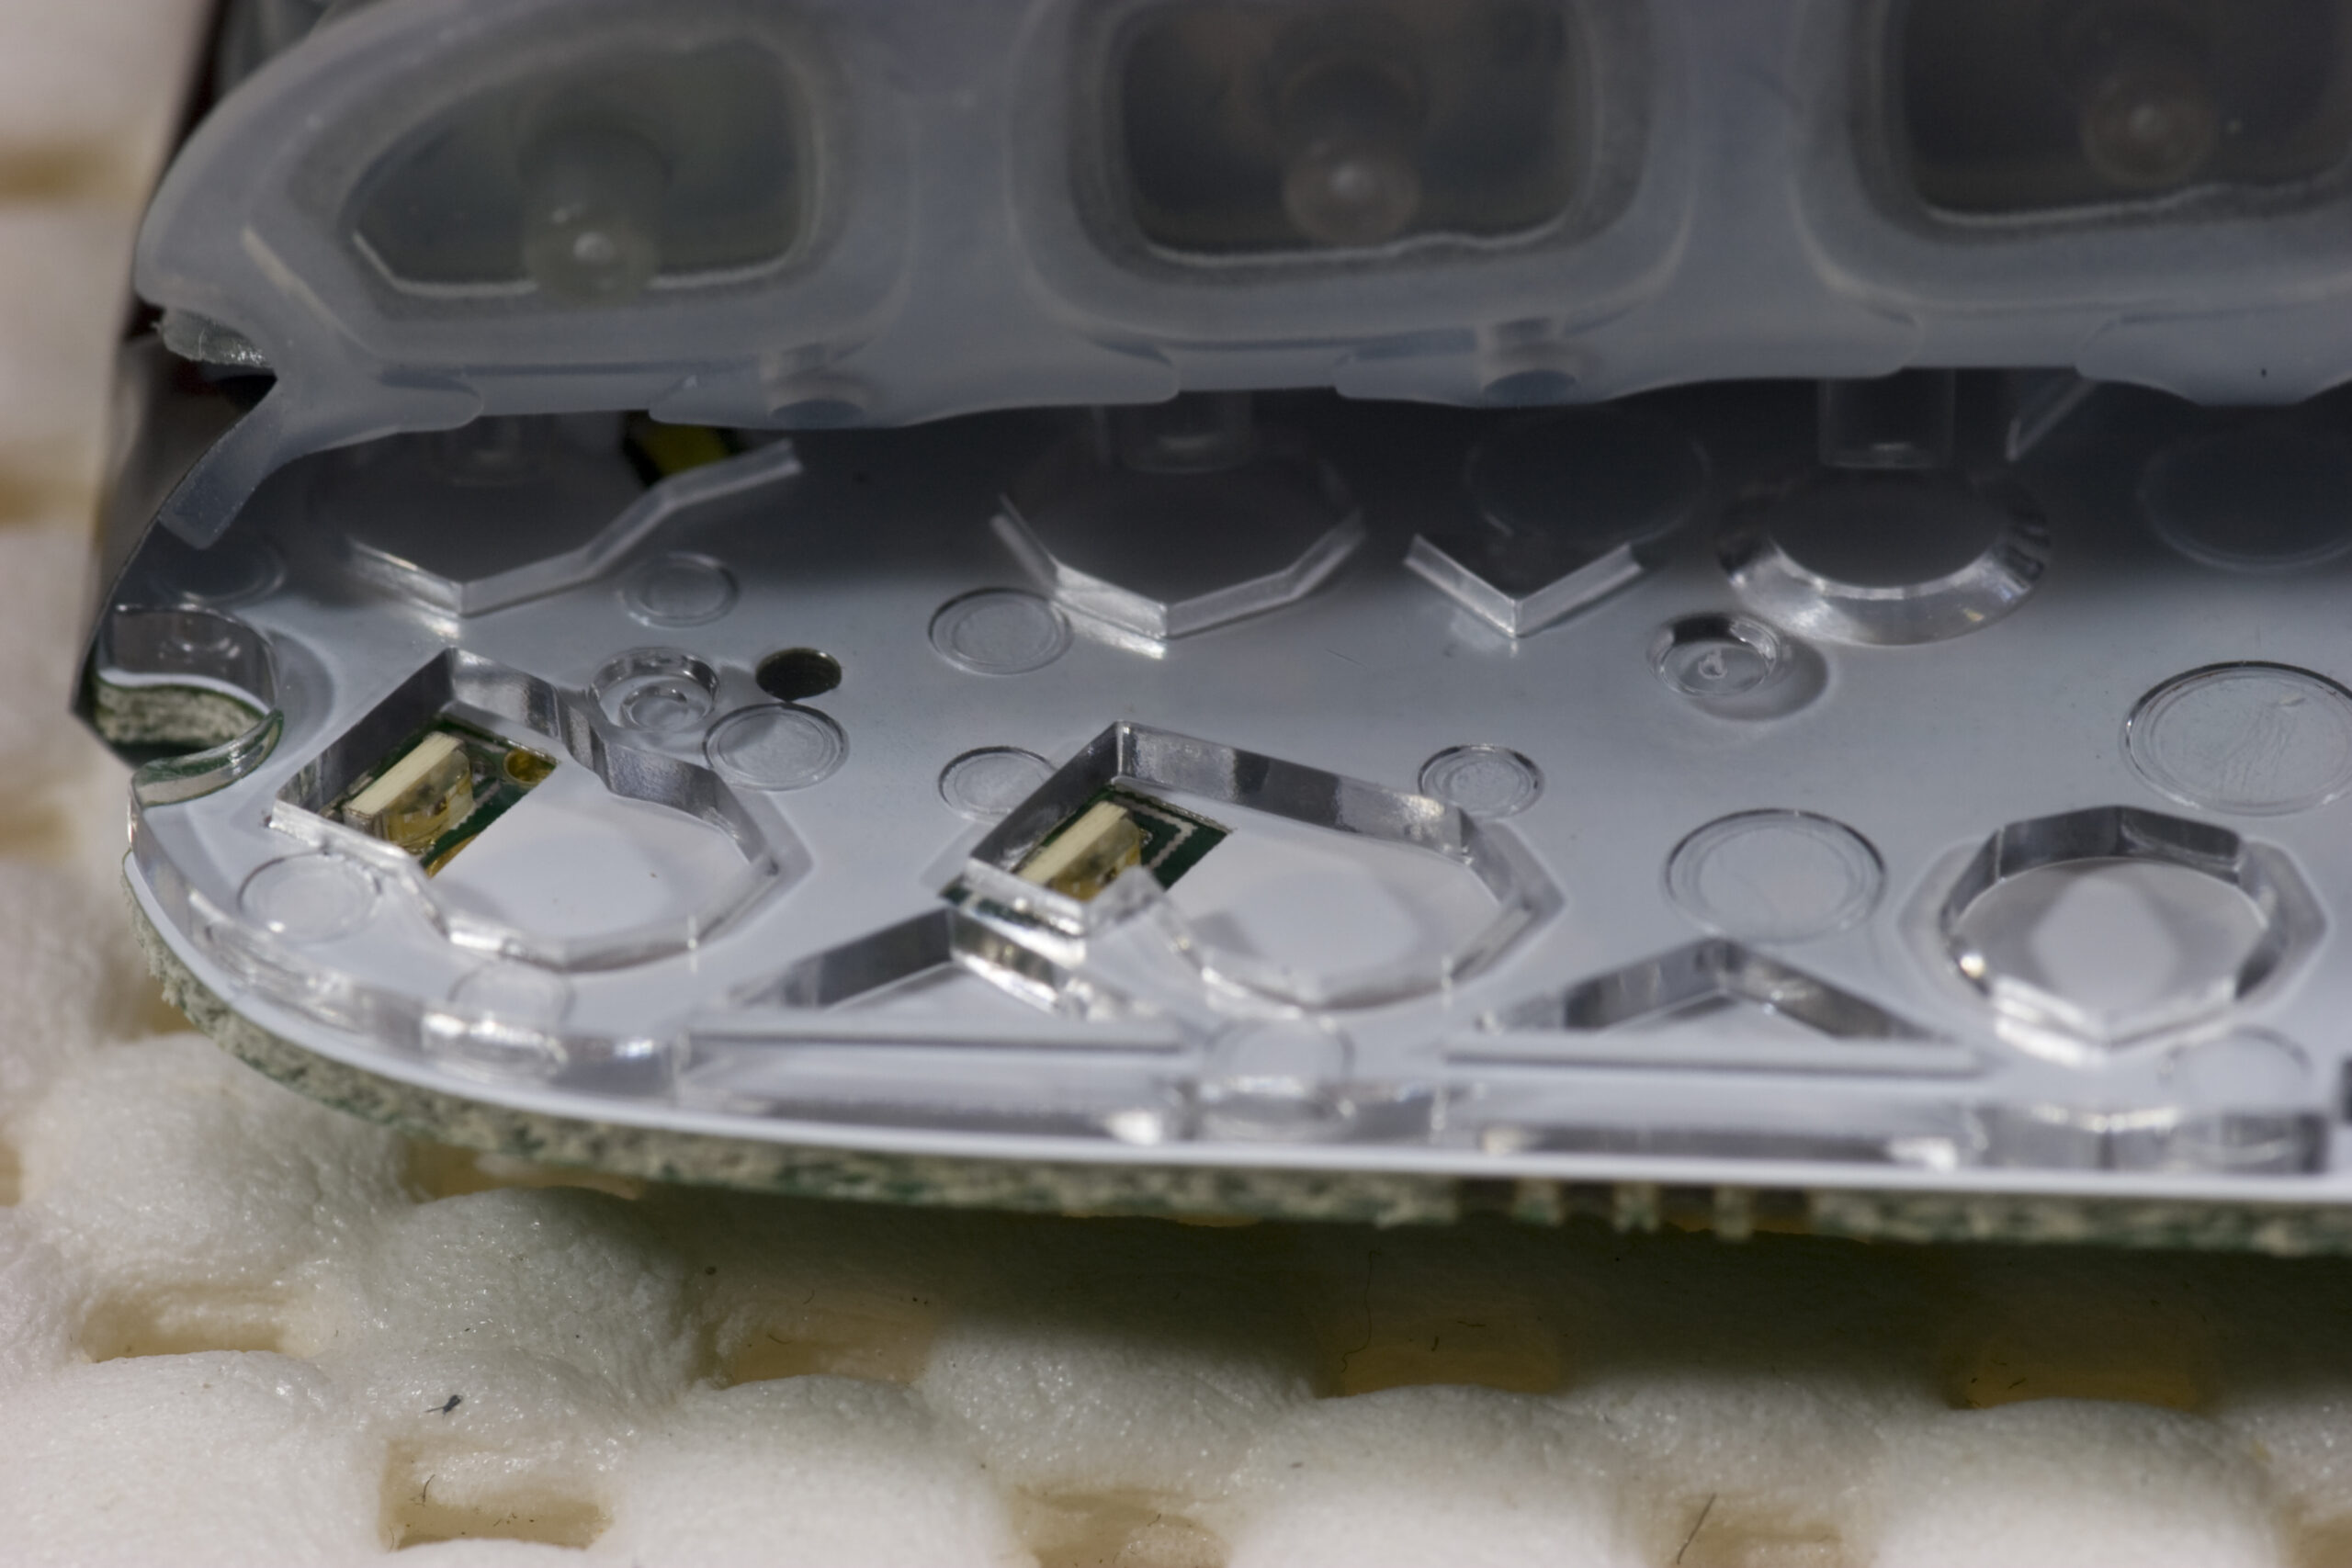
Xbox 360 Chatpad LEDsLEDs in the Xbox 360 Chatpad
(Click for more Xbox 360 Chatpad disassembly photos (photo gallery retired)…)

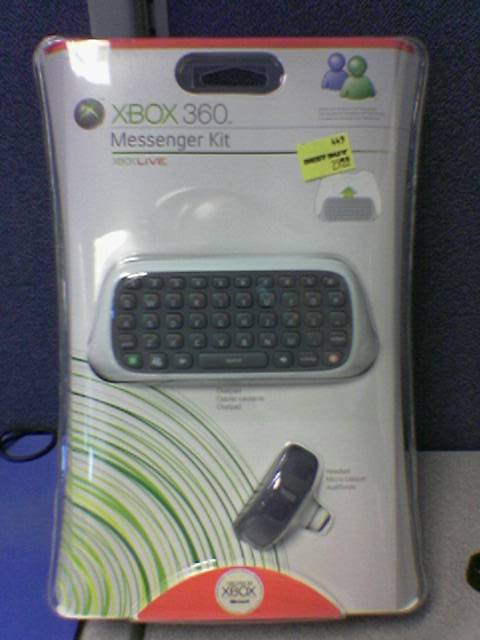
While out at lunch today we swung by Best Buy where I was both was hassled by loss preventionand where I acquired an Xbox 360 Messenger Kit. This small keyboard which snaps on to the bottom of the Xbox 360 controller (wired or wireless) is a pretty nice accessory and makes typing messages and filling out forms on the 360 far easier than using the on-screen keyboard.

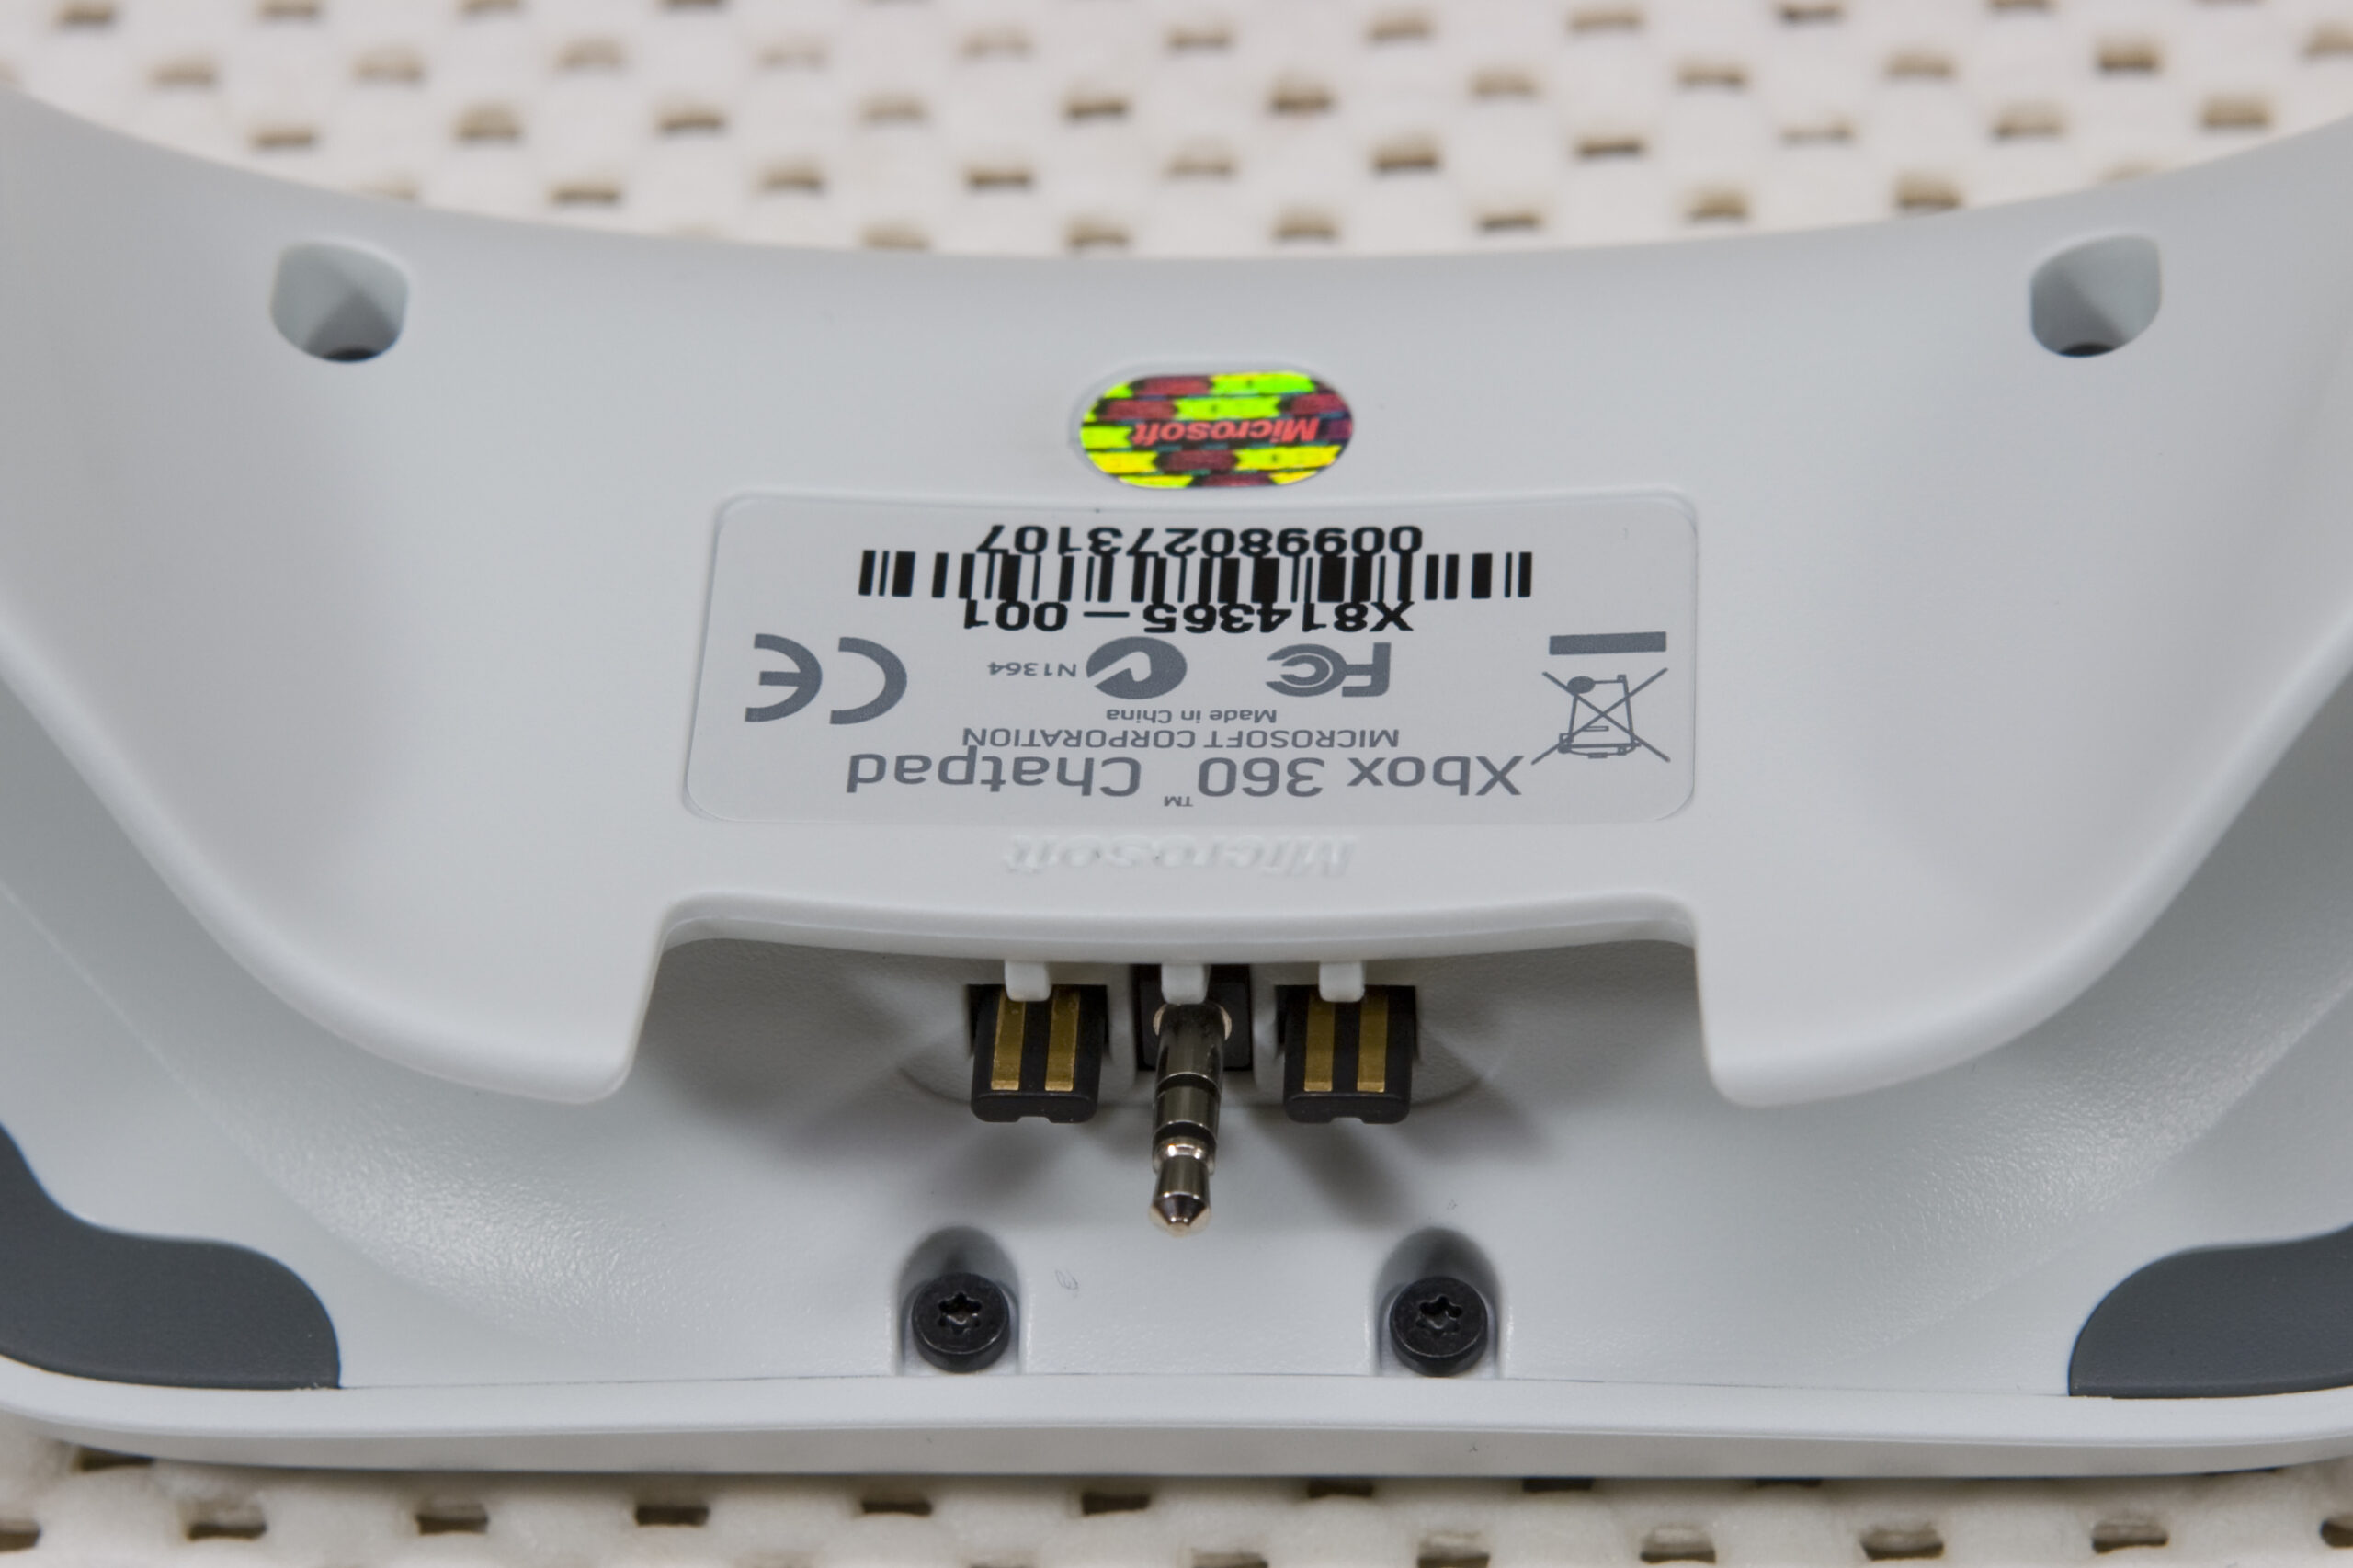
After looking at it for a bit, I realized that the Chatpad has four data lines, leading me to wonder if it is really a USB device and if the controller contains a USB hub. So, what did I do when I got home? I tore apart my brand new Xbox 360 Chatpad (photo gallery retired).

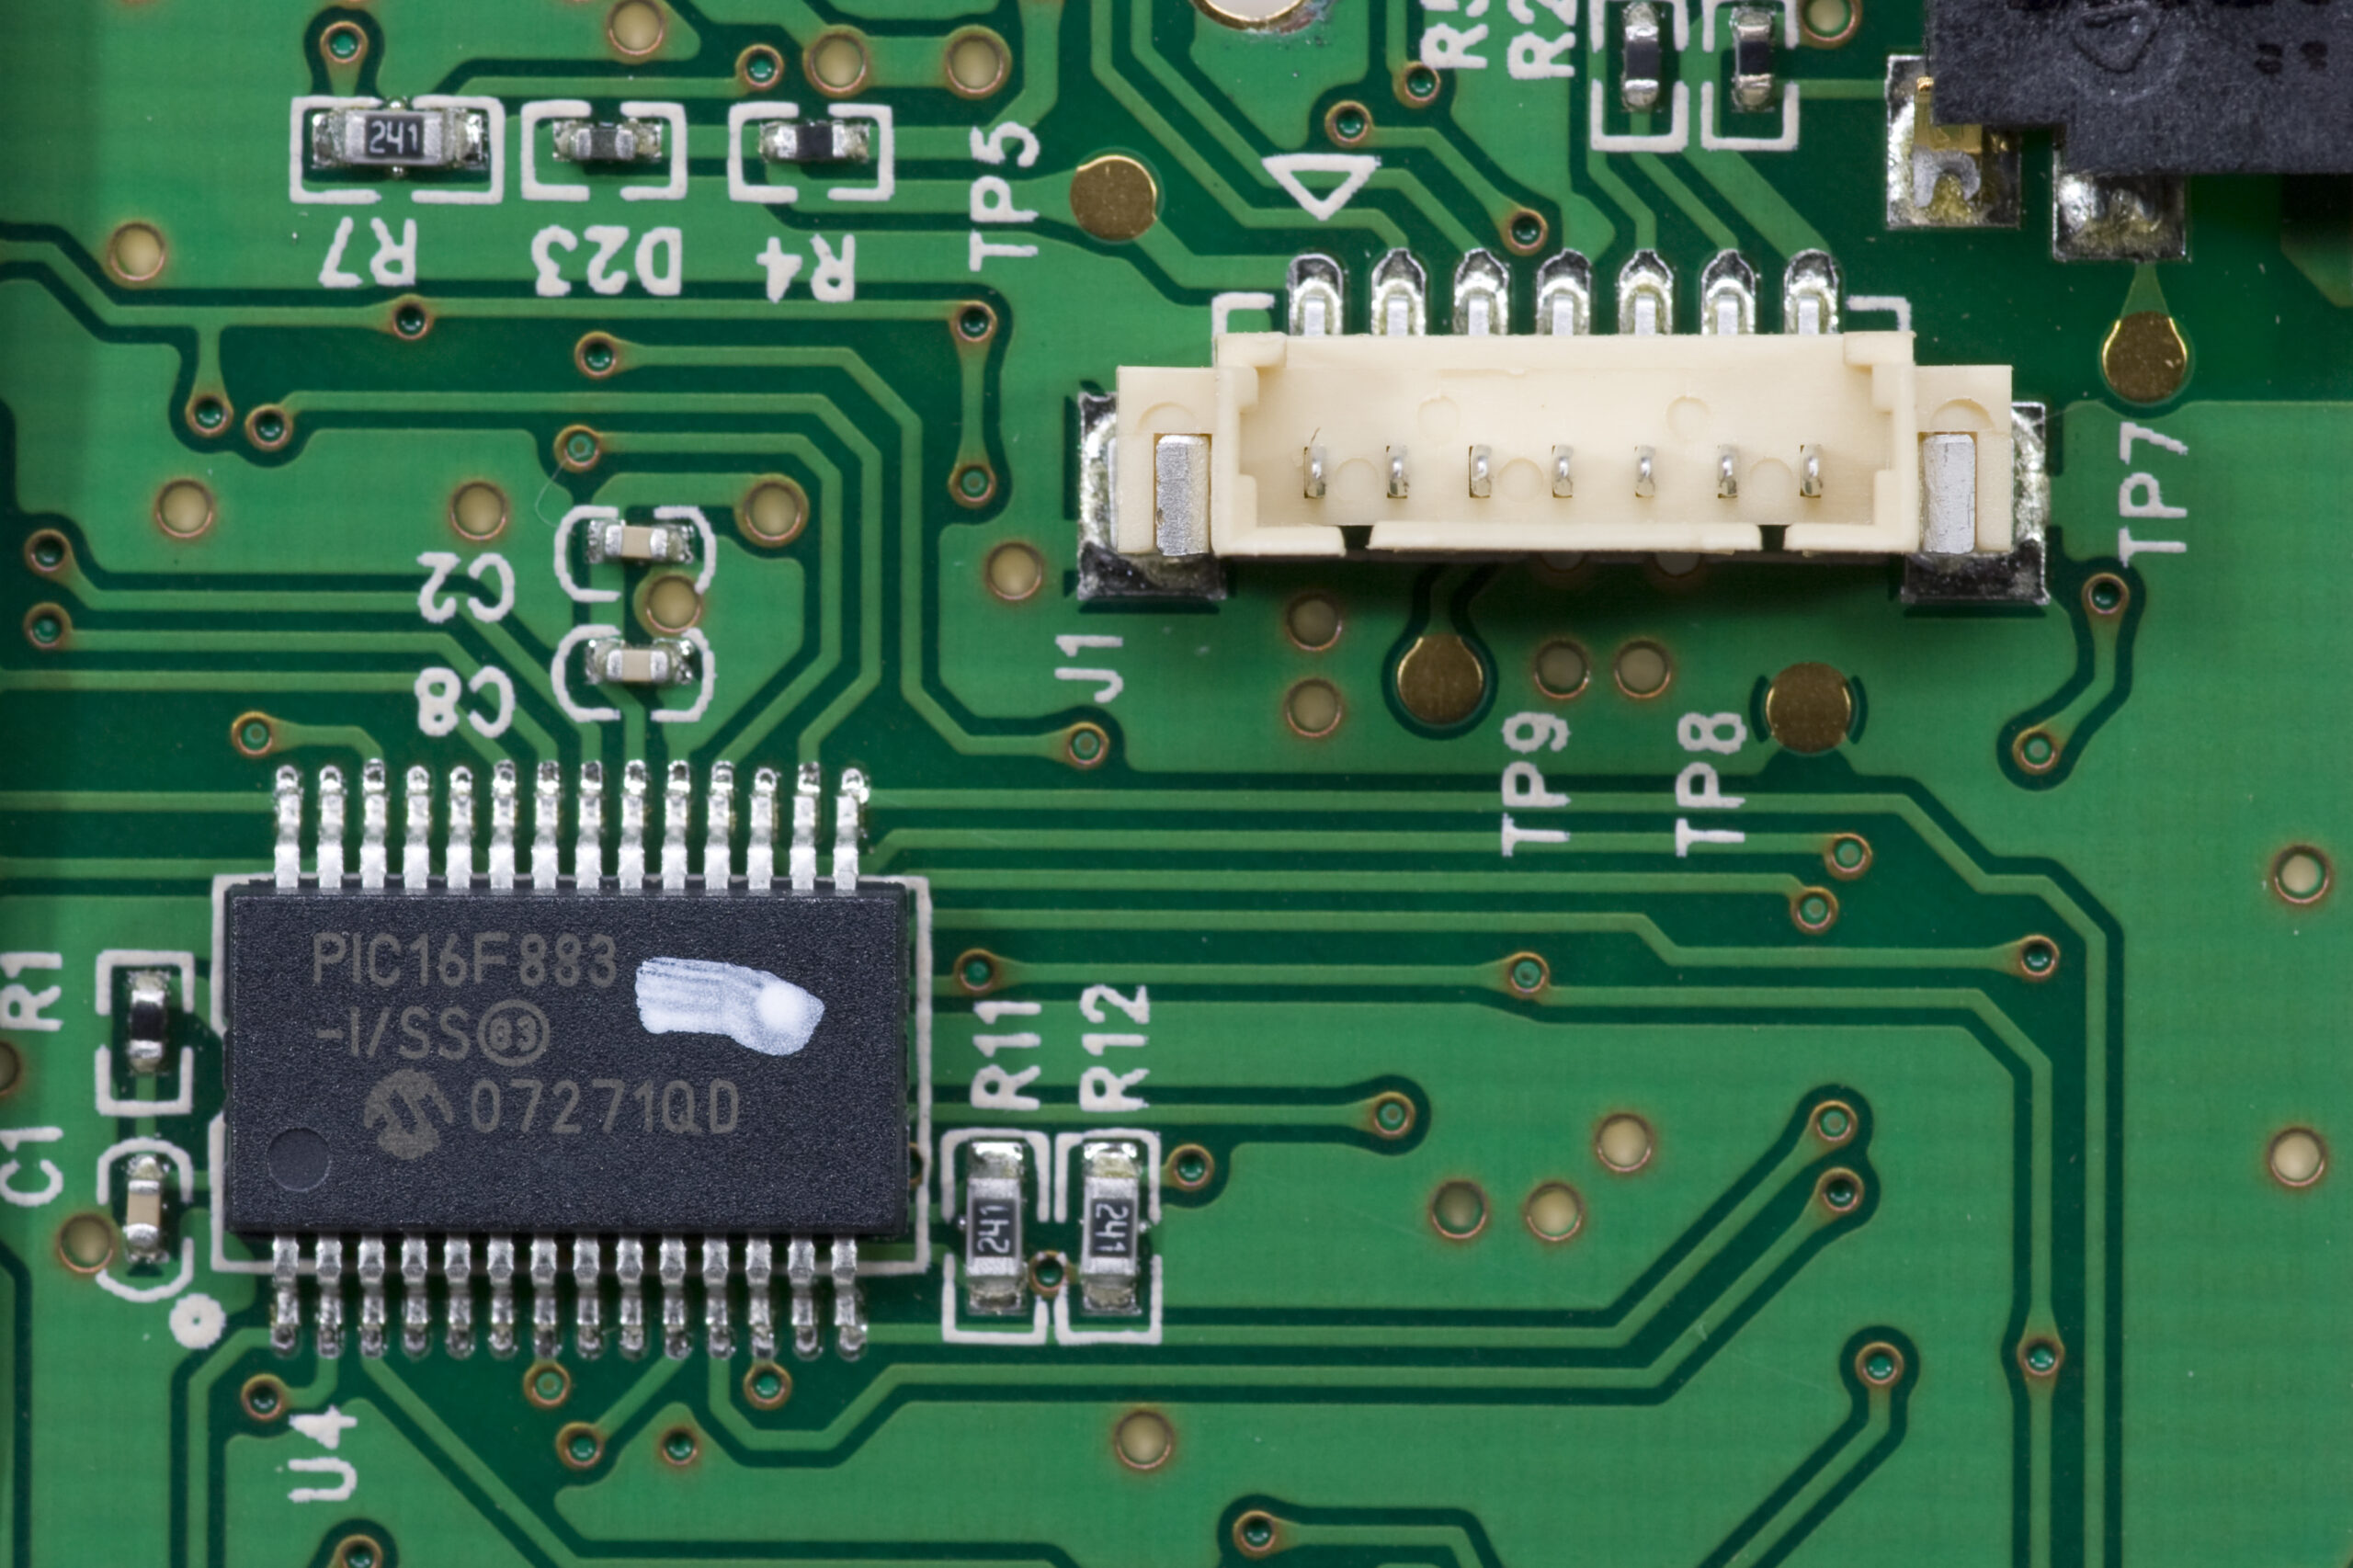
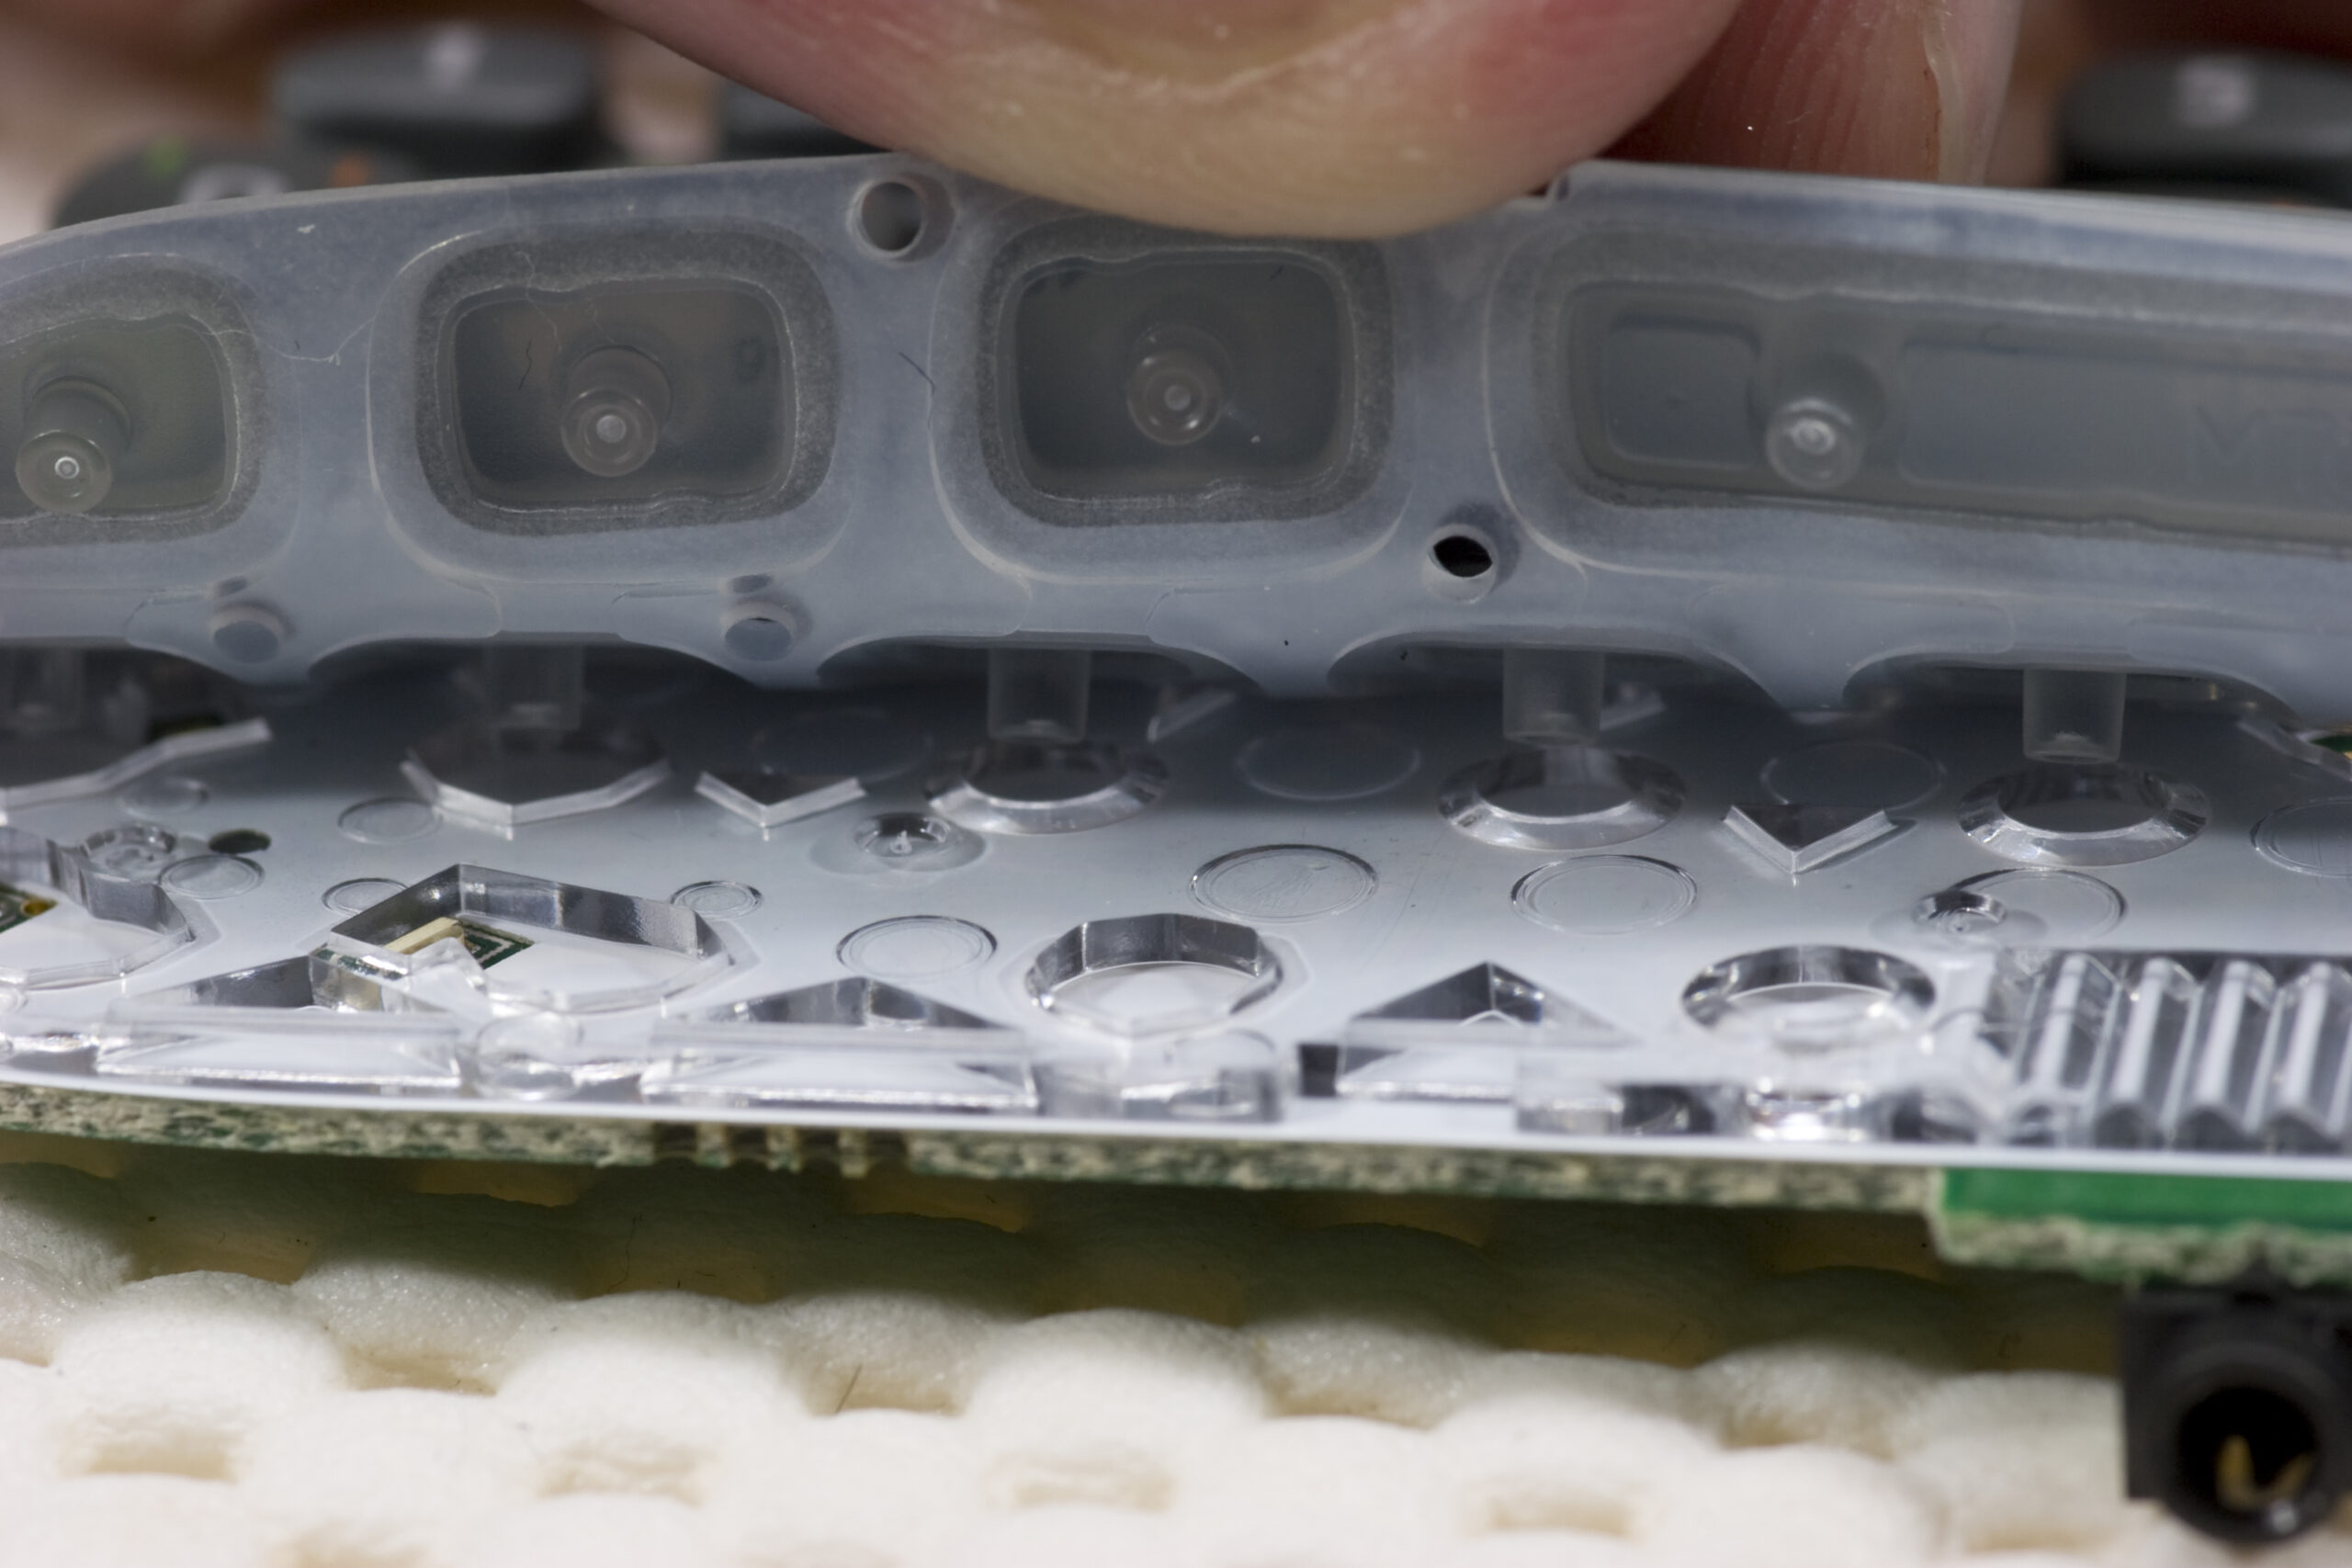
All of the photos can be seen here (photo gallery retired), but the most notable ones are the ones which show its PIC16F883 microcontroller, the individual key LEDs for specialized keys, and plastic peg / inverted dome key design.

When leaving the Loss Prevention asshat demanded to see our receipts, and after questioning him briefly as to why he needed to see it, I took it out just to be nice, when he grabbed it from my hand, thoroughly checked it over compared to what I was carrying, then explained to me how it’s something he “has” to do, and that he “doesn’t check all receipts”. When asked if he picks who to check, he answered affirmatively, and when I asked why I was singled out for a subjective check he just walked away.

I’m still not quite sure how to deal with it from here, but what I should have done was simply not show the receipt and walk out the door. I’m not sure why I didn’t… Probably because I was talking with my coworkers who were standing there as well, and I couldn’t have just walked out to my car.

I partially feel like an ass for not doing what is right, and partially for having to deal with a jackass LP tool at Best Buy.
acquired thingselectronicsmoved from livejournal

De-Lighting a Sandisk Cruzer Micro

SanDisk Cruzer Micro 4.0 GB from Costco (SDCZ6-4096RB) disassembled into its four major parts.
(Click for more photos…)

A few weeks back I received a coupon in the mail from Costco for $10 off (amongst other things) a 4GB SanDisk Cruzer USB flash drive. Yesterday at lunch my coworker Brian and I went up there and I picked one up for a total of $32.39 after tax.

After getting back to work and running the U3 Uninstall stuffs (I have no need for such portable apps) I started to become annoyed with the light on it. See, where the drive best plugs into my laptop the bright amber LED in it was generally shining up towards me. This LED is illuminated whenever the drive is connected, so there was pretty much a constant amber beacon, brighter than my laptop’s display, fighting for my attention. This had to go.

So, I started looking at the drive and grabbed a thin razor blade to use as a pry bar and started figuring out how to release the plastic latches along the edge of the drive. Despite accidently nicking the case once and tearing out out a couple of the retaining holes along the edge of the case I didn’t have much of a problem getting it open.

Inside I found exactly what I expected: a fairly large (1206, I believe) surface mount LED. After getting home I simply desoldered the LED and put it back together. The result? no more ugly, bright, distracting amber LED. Yay!

(All of the photos of the LED removal from the SanDisk Cruzer Micro 4.0 GB (photo gallery retired) can be found here (photo gallery retired), including shots of the top and bottom of the PCB.)

acquired thingselectronicsmaking thingsmoved from livejournal