
I’ve been working on much of the behind-the-scenes stuff for the Michigan Mountain Biking Association (MMBA) website for a few years now. This started with a group of us moving from a broken phpBB2-based site to a Joomla site and a phpBB3 forum. After a couple of years the Joomla site was replaced with the more manageable and updatable WordPress.
Back when on Joomla there was a decent page that presented a Trail Guide that Rob Ritzenhein had built for Joomla which was a searchable list of mountain biking trails within the state along with a ZIP code-based proximity search. With the move to WordPress I had to drop this searchable trail guide and replaced it with a basic, text-based list that had been generated off of the old trail data. After two mis-starts and incomplete attempts to find a replacement during 2012, I was a bit concerned that I wasn’t going to have much luck finding someone who was able to write such a guide.
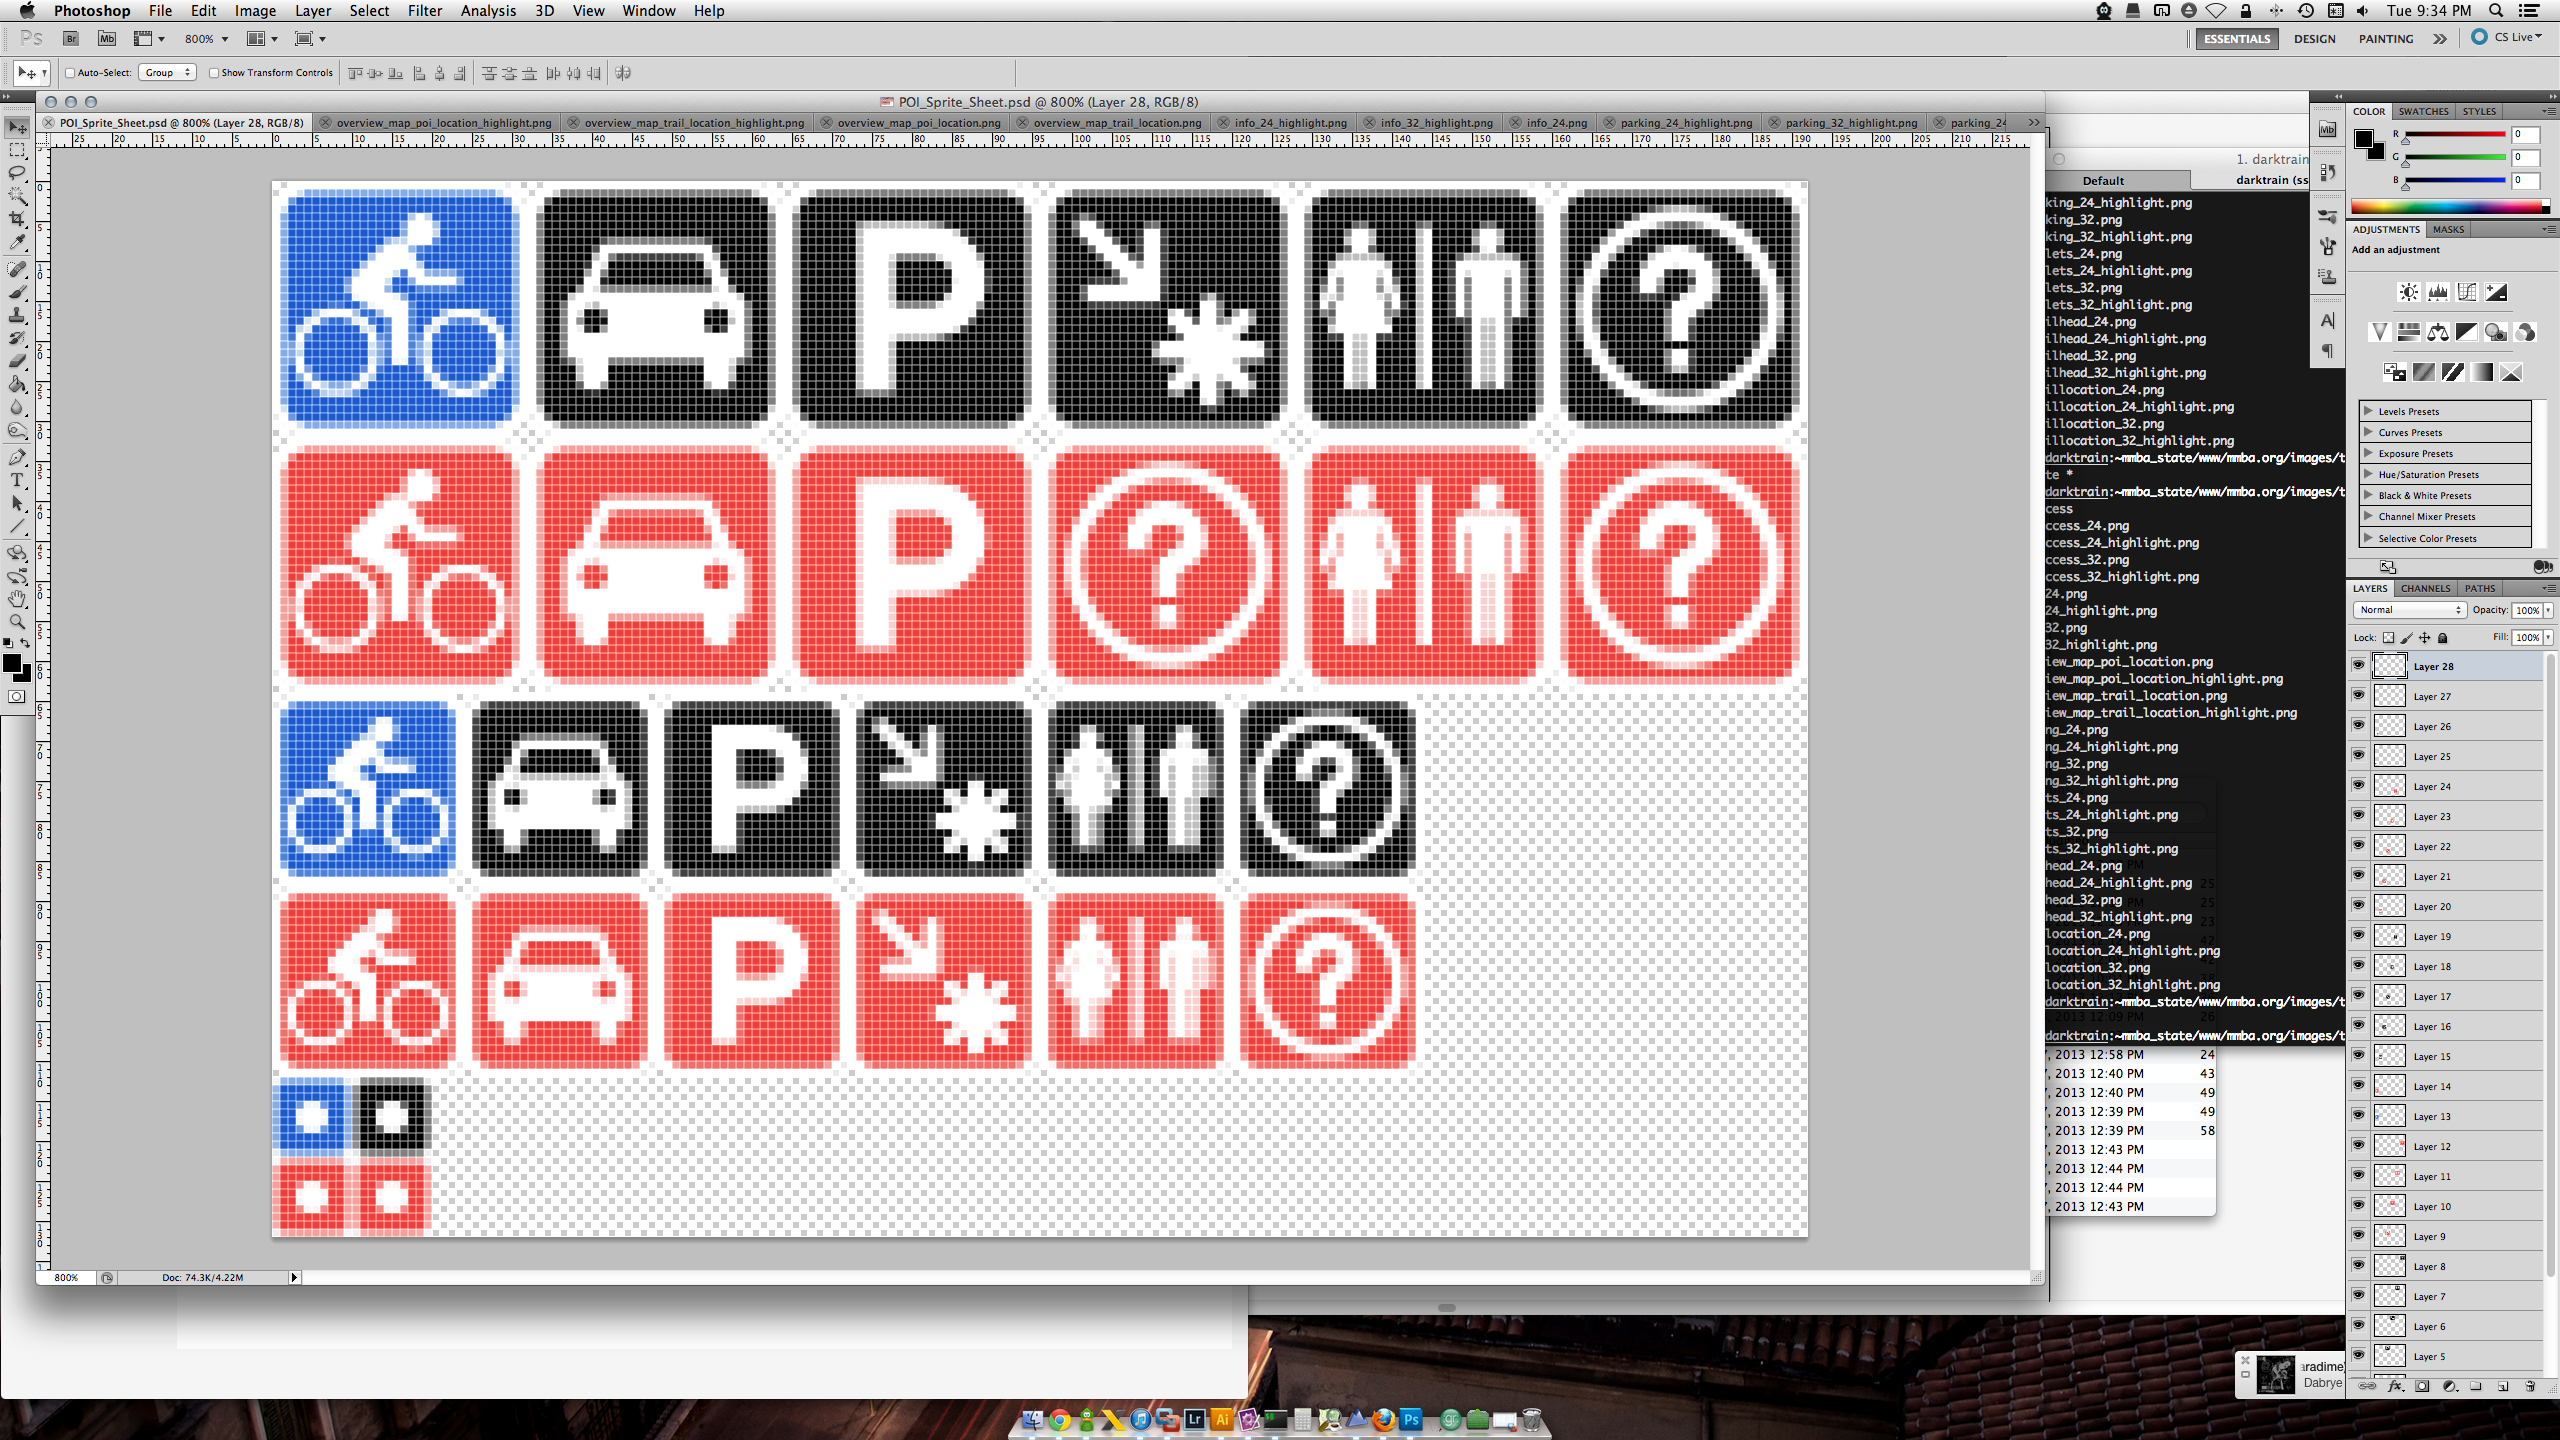
Out of the blue in late January 2013 I received email from a guy named Jeff Lau who said (in much more polite words) that our existing guide sucks and that he’d like to have a go at making something better. He was very right, and after he showed a very promising proof of concept I was really impressed, so he and I met up and things got rolling. Fast forward a couple weeks and he had software nearly ready to go. I was able to help out with some graphics stuff (made my first sprite sheet) and get the old trail data adapted to the new format and loaded into the site, and get a bunch of interested volunteers to proof and submit updates to the data. Following a few rounds of testing and small tweaks it was ready to release.
Last night Jeff and I were able to launch the site publicly, and thus far it’s been very well received. The guide is no longer an impenetrable wall of text, but instead a dynamic, flowing, zoomable Google-based map paired with a list of trails and their details which simply feels nice to use. Updates are easy, done by putting data in an OpenOffice.org Base database and running an SQL query which generates the CSVs, then uploading them to the trail guide’s data directory. Everything seen by the user is client-side JavaScript with the actual data stored in simple CSV files, so it all runs in the user’s browser and requires nothing special on the server.
I’m really impressed with the work that Jeff did in writing the Trail Guide software. He said he wanted to do something, did it, and turned it around very quickly, just in time for spring. The weather is just starting to warm here in Michigan, and getting this kind of guide ready before people look for it is key. I believe that this guide is one of the most important publicly accessible Michigan mountain bike trail advocacy tools that has been put forward in a while.
I strongly believe that one of the best ways to ensure trails remain good for and open to biking is to keep people using them. Once they reach a critical mass they become self-maintaining (users remove much of the deadfall themselves), and the chance of them becoming closed to bikes diminishes because they are well-used and known cycling areas. Giving people a guide to help them find trails increases usage by increasing accessibility.
This cost of this guide came in at a cost of about 120 hours of Jeff’s time, and 40-50 of mine. (While he kept detailed records I did not, but I did have a few 6 hour evenings of researching trails details for accuracy and entering them in the database one at a time.)
The official announcement of the new trail guide can be found here on the MMBA website, and the trail guide itself can be found here: http://mmba.org/trail-guide


 x 8mm (thickness) neodymium magnet placed on the end of the pedal spindle, intended to trigger a Garmin GSC-10 cadence sensor.")


