
About a month ago ran out of beer in my Kegged Beer Cooler (photo gallery retired) and I hadn’t really gotten around to refilling it. This past weekend I was ready to rack some new beer in, but I noticed that the lines had some residue in them, so I wanted to clean them out. (This is good practice, as it keeps the lines clean so the beer doesn’t become fouled by whatever might have ended up in there.)
A bit of online reading showed that there are generally two ways to go about doing it, either something to push the liquid from one end through to the other, or a pump to recirculate the liquid. Being a bit lazy I figured the pump would be better, as I could set it up and let it run for a while instead of having running a few containers full of liquid through the system.
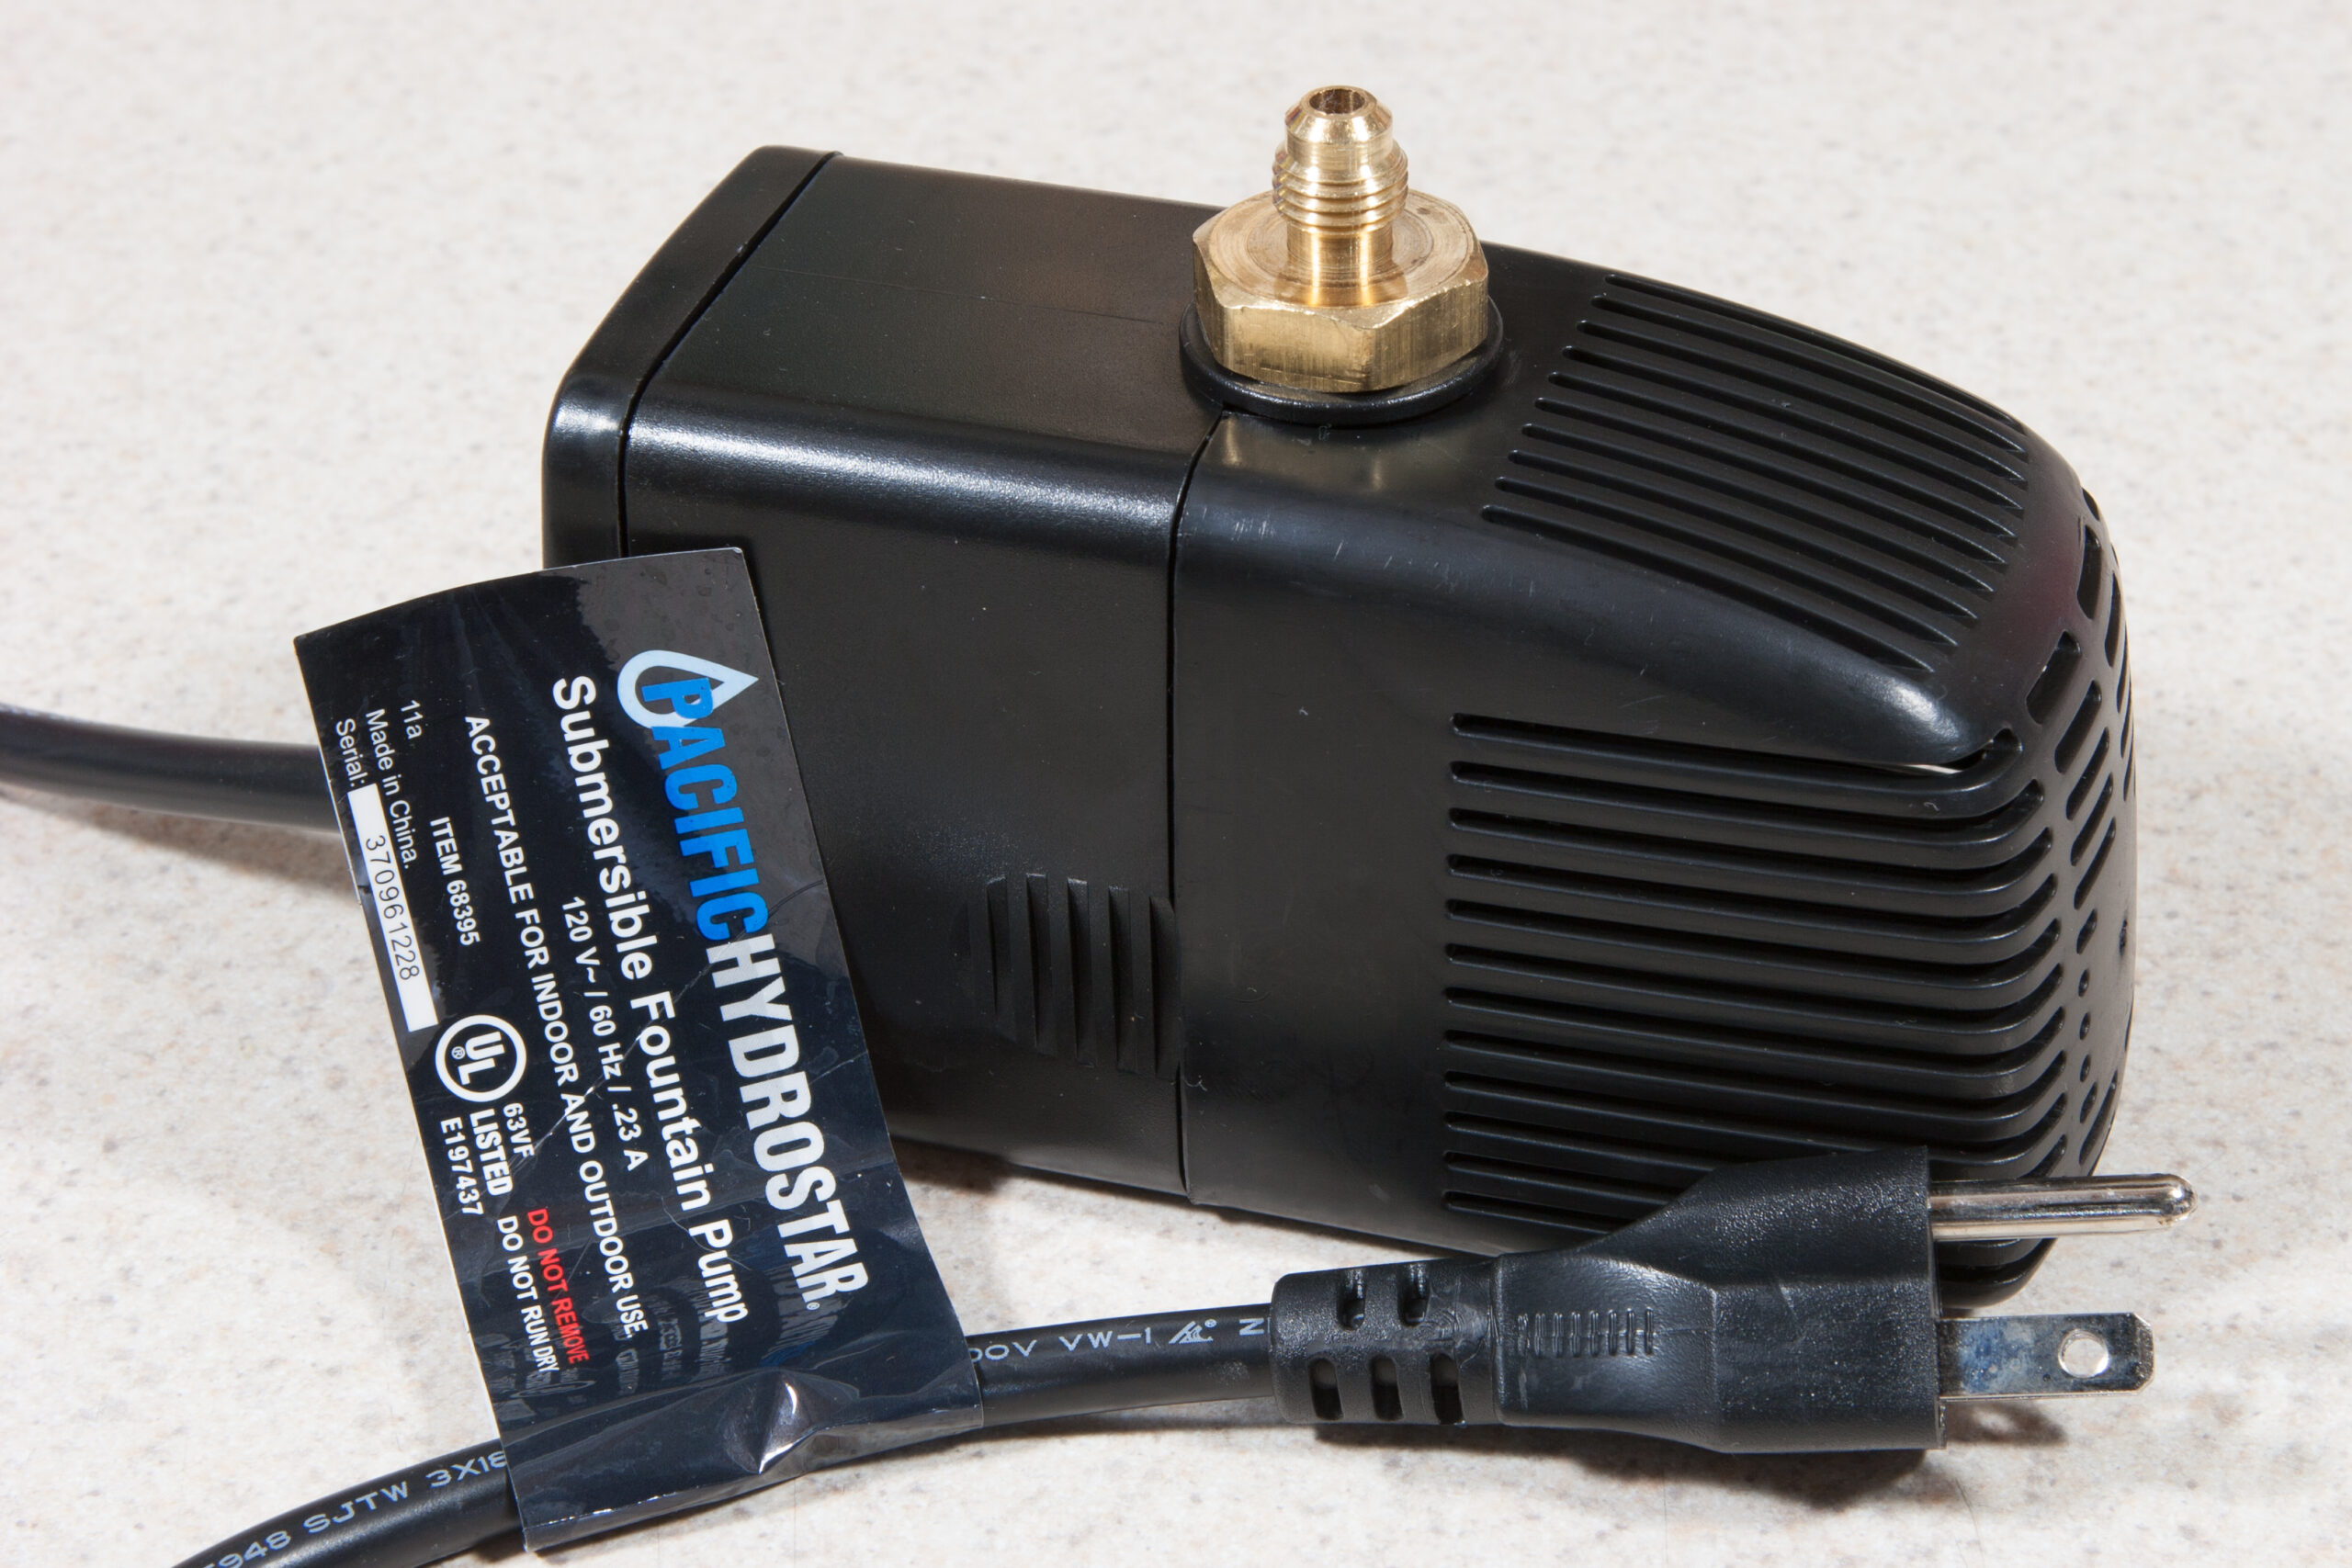
I ended up purchasing a cheap Pacific Hydrostar (read: house hydroponics brand) submersible pump from Harbor Freight, fitting it with a 1/4 flare to 1/2 MIP brass adapter from Warren Pipe and Supply. This allowed me to connect the screw-on ends of the beer lines (after removing the ball lock fittings) right to the pump and push the cleaning solution through them. Doing so required ignoring the warnings about not pumping hot liquids nor cleaners, but the pump didn’t have any problems doing so.
Prior to using the pump for cleaning I removed the suction cup base and inlet filter material, as I figured these wouldn’t provide any benefit, and might just foul things a bit more if the soft rubber and plastic had issues in the caustic cleaner. I then ran the pump for a few minutes in a sink full of Oxyclean and water, then in another rinse of straight water to clean it out. This made a noticable difference, as the plastic no longer had an oily sheen and lost the typical Harbor Freight cheap Chinese machine oil funk that permeates the store.
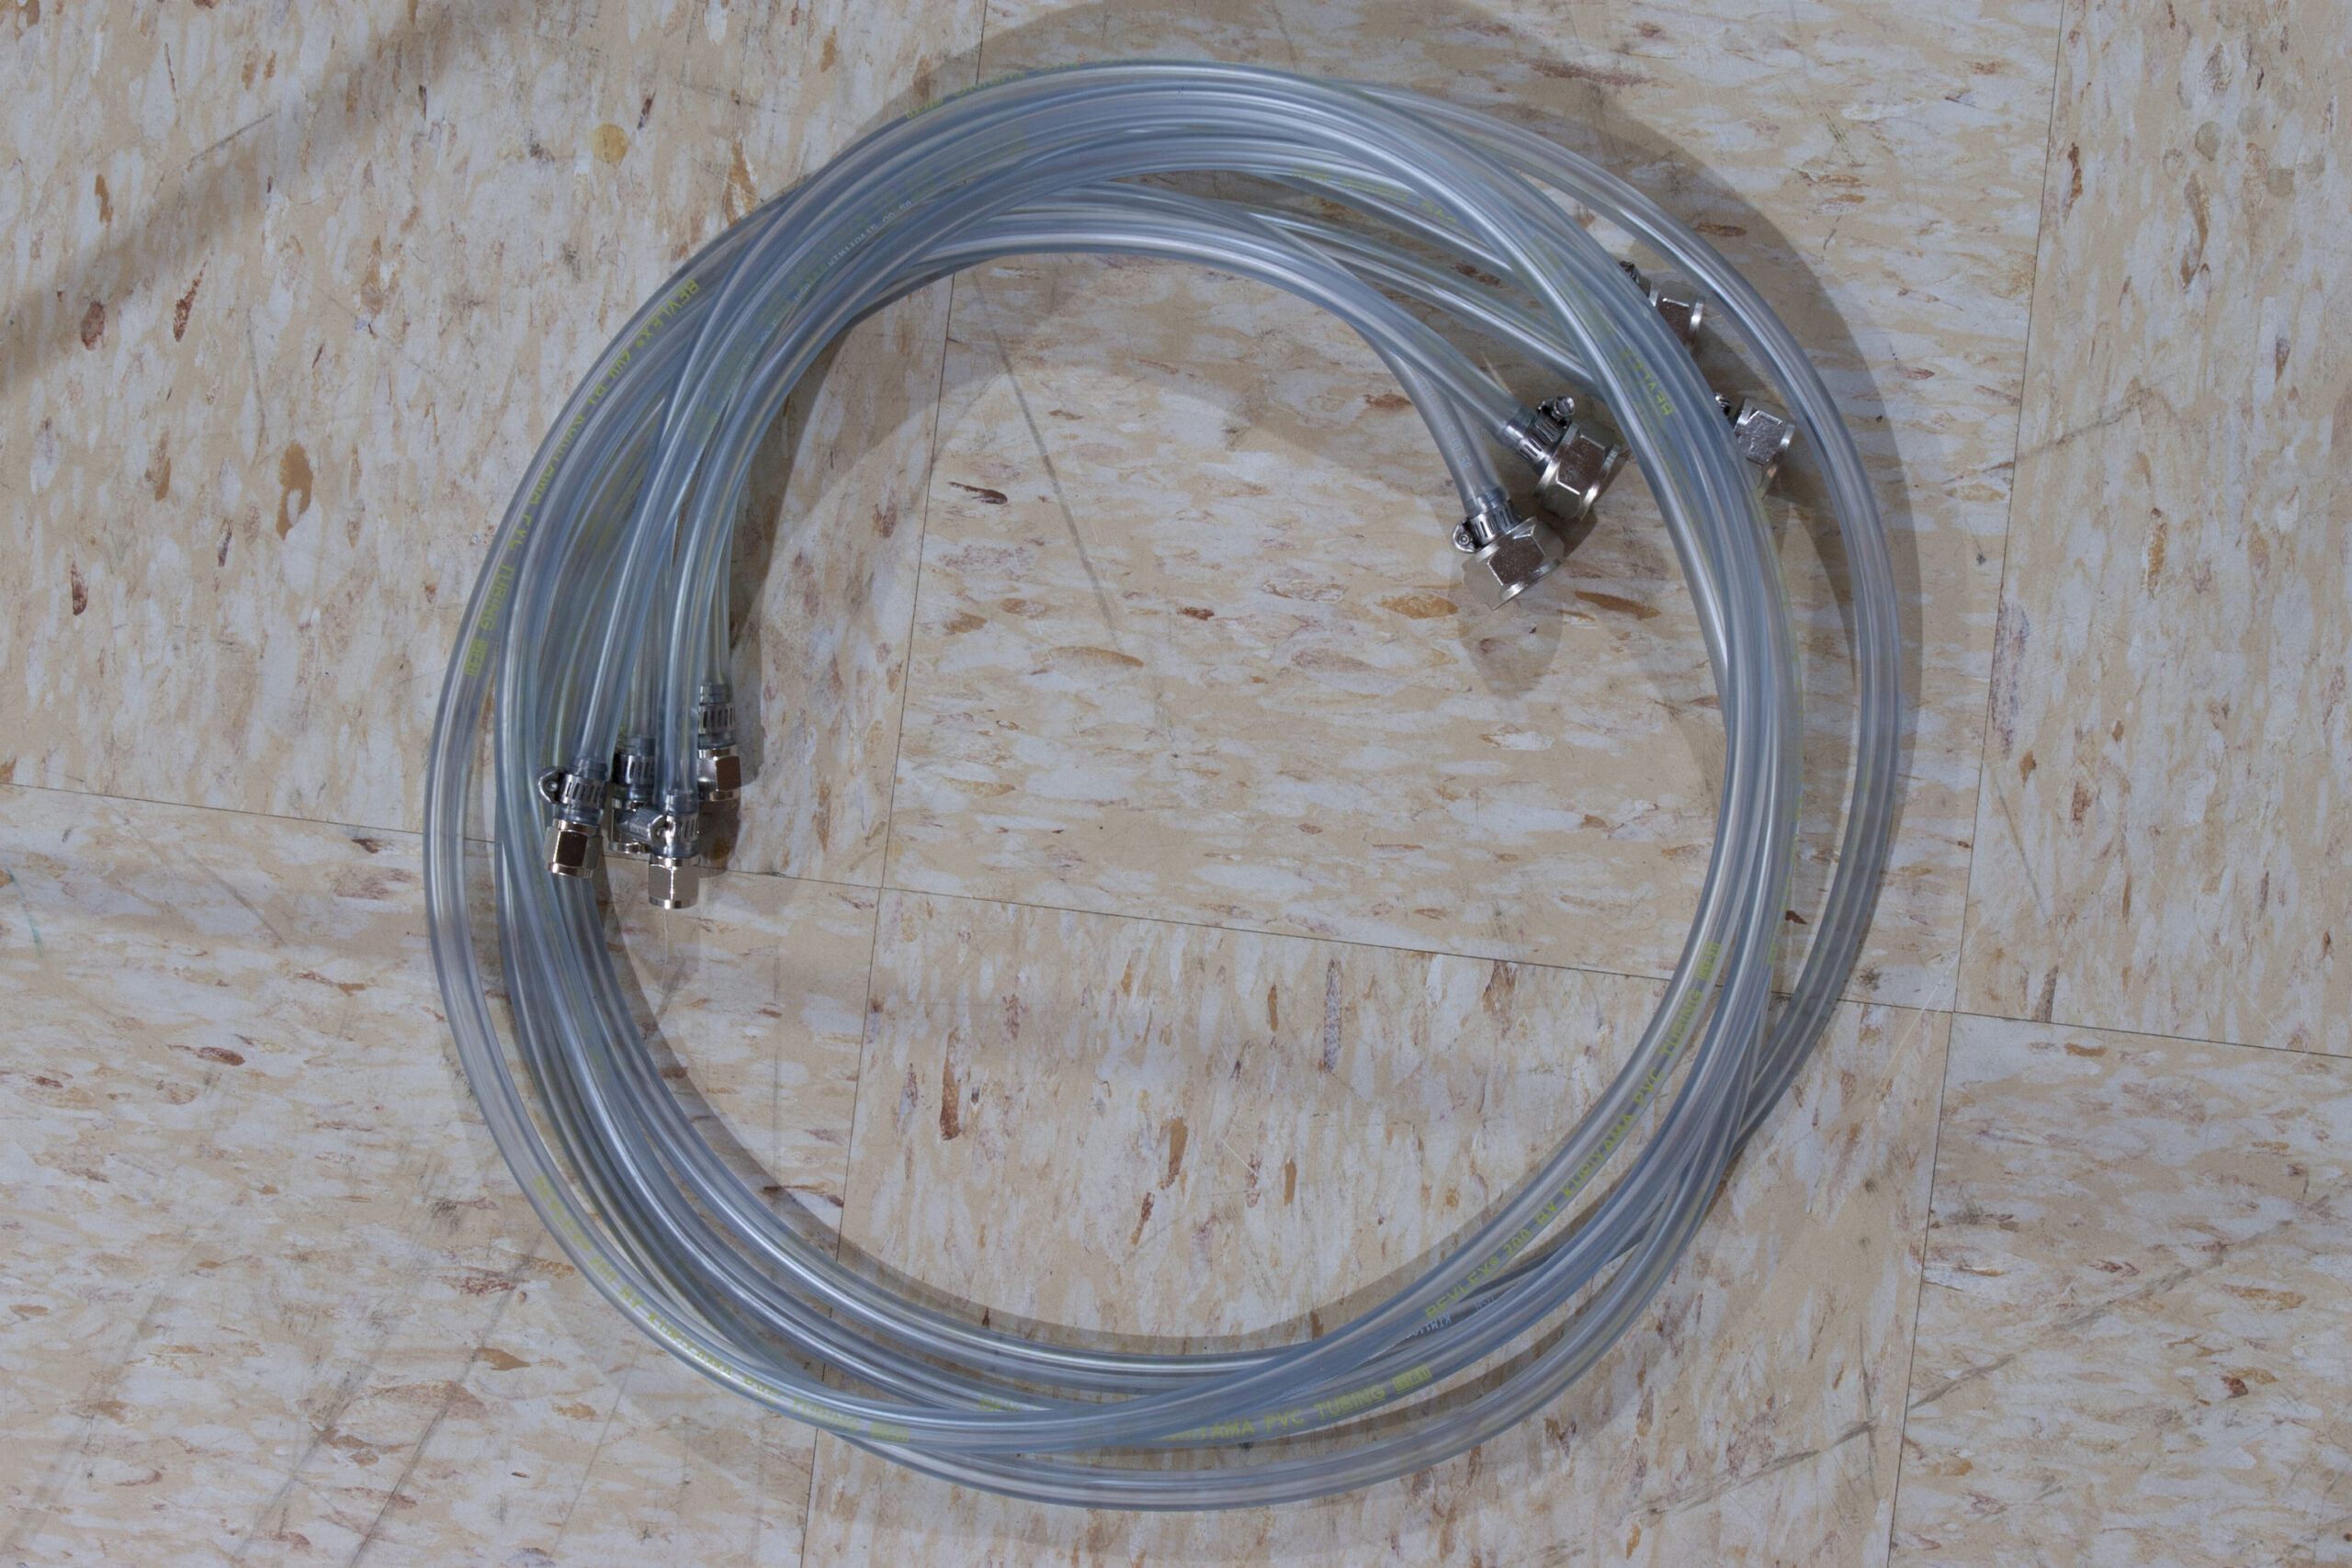
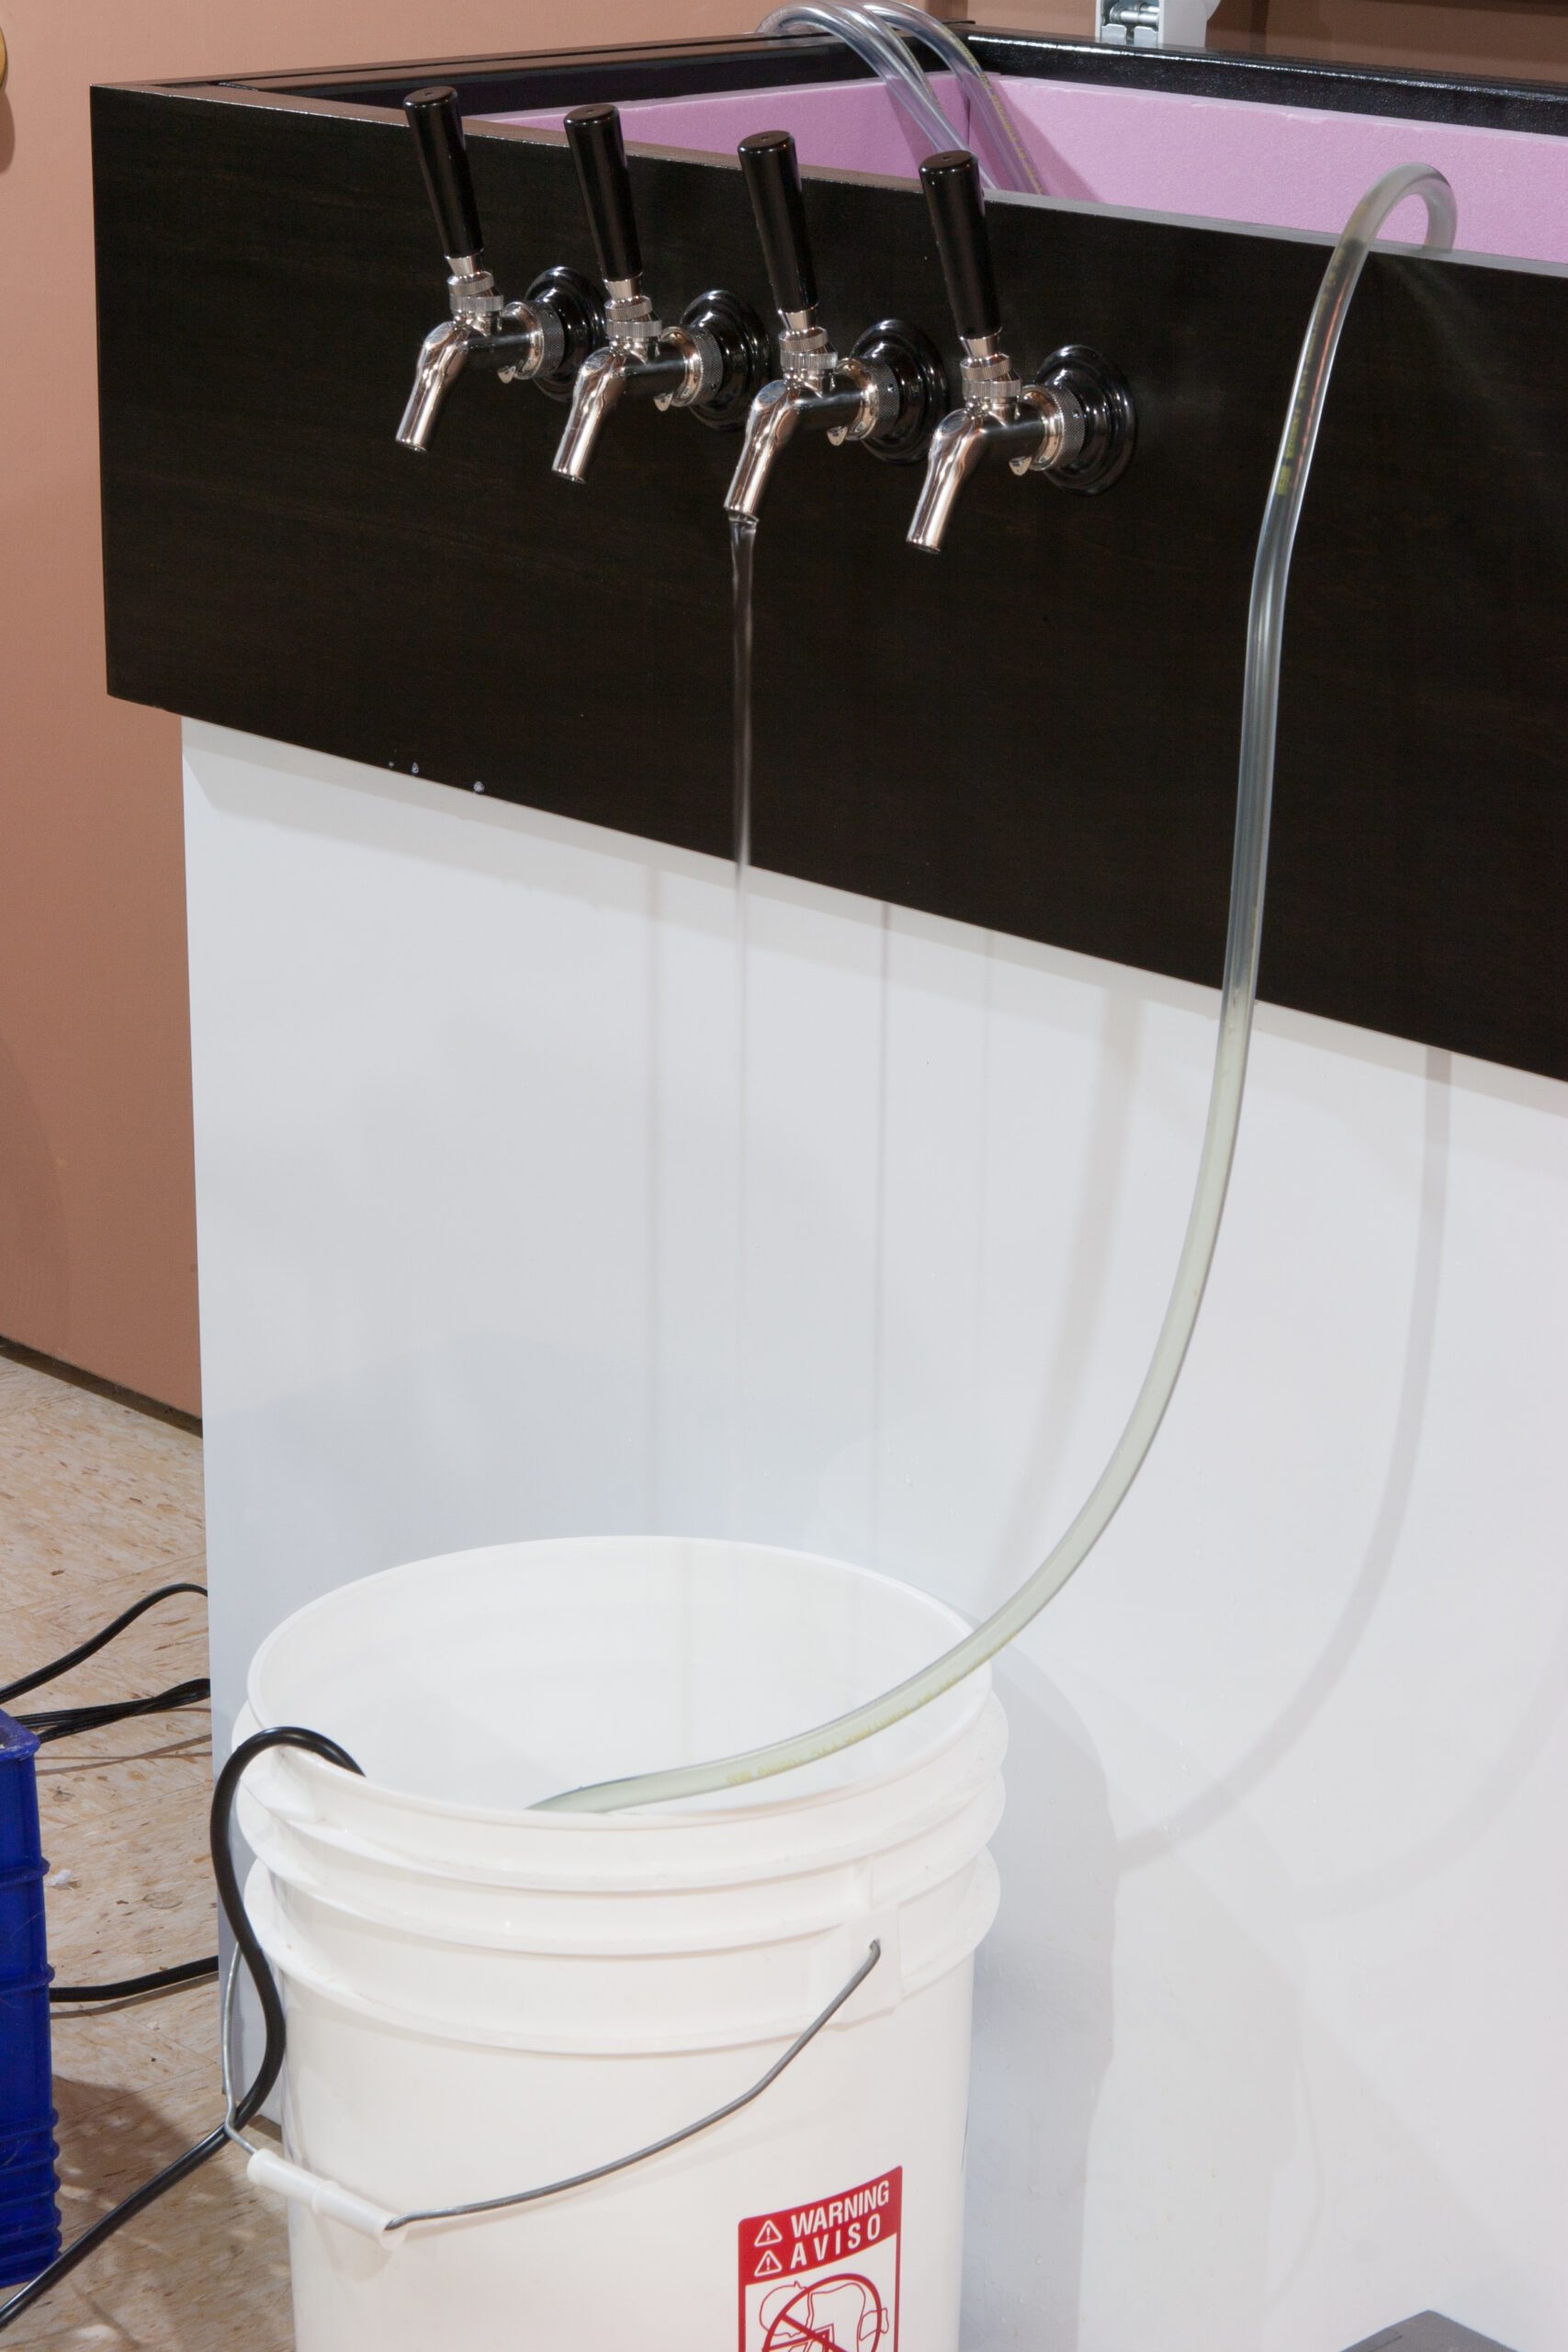
After connecting the pump to a beer line, I then submerged it in a bucket of BLC Beer Line Cleaner, fit a return line (1/2″ thinwall) to the end of the tap and back into the bucket, and powered it up. A few times during the cleaning process I’d cycle the tap handle to be sure the cleaner found its way into the nooks and crannies around the shut-off ball and O-ring. Each line was cleaned for 15 minute and leave the lines looking practically new.
Once the lines were all clean I wanted to sanitize them, but with the cleaner being a base and the sanitizer acid-based, I thought it best to rinse the system with water first. So, a brief cycle of water went through each before I ran the sanitizer through, with a bit more tap handle cycling to be thorough.
After this the lines were great, so I hand-washed and sanitized the liquid out ball lock connectors and put it all back together. Now it’s ready to dispense more beer!
Here’s a few photos of the cleaning process and pump:
· Harbor Freight’s Pacific Hydrostar submersible fountain pump with a 1/4″ flare to 1/2″ MIP adapter, ready to connect to beer lines.
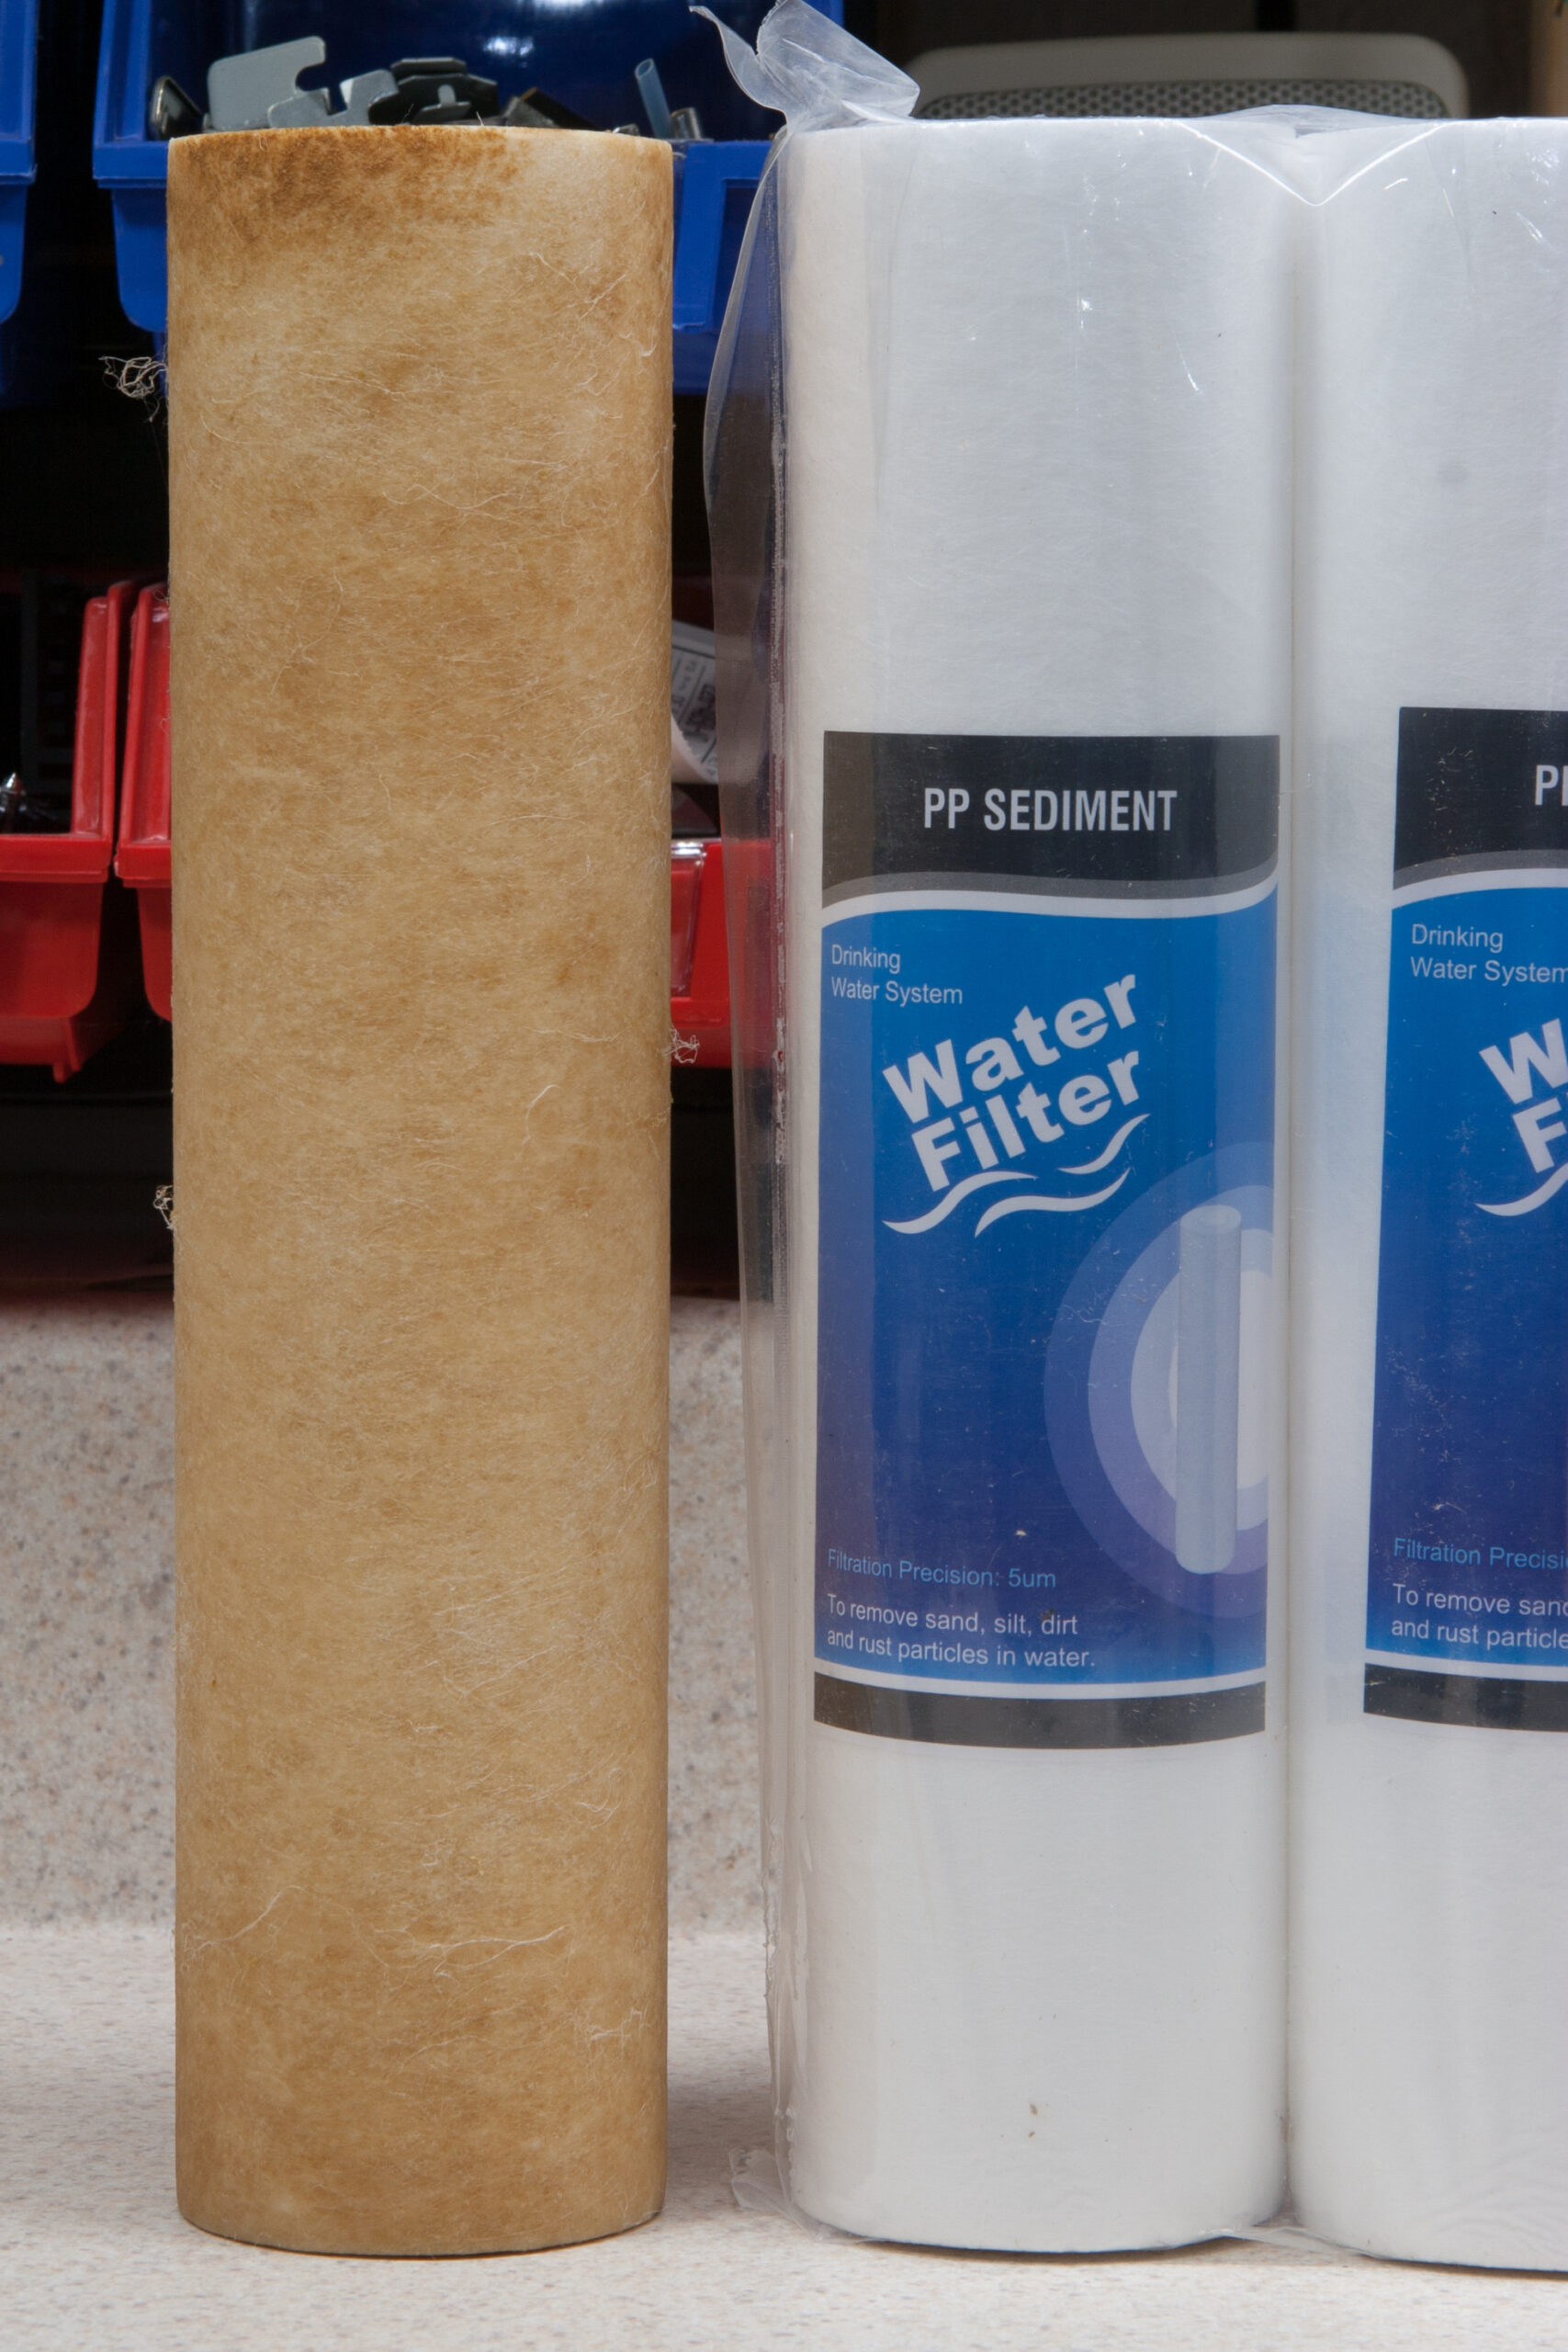
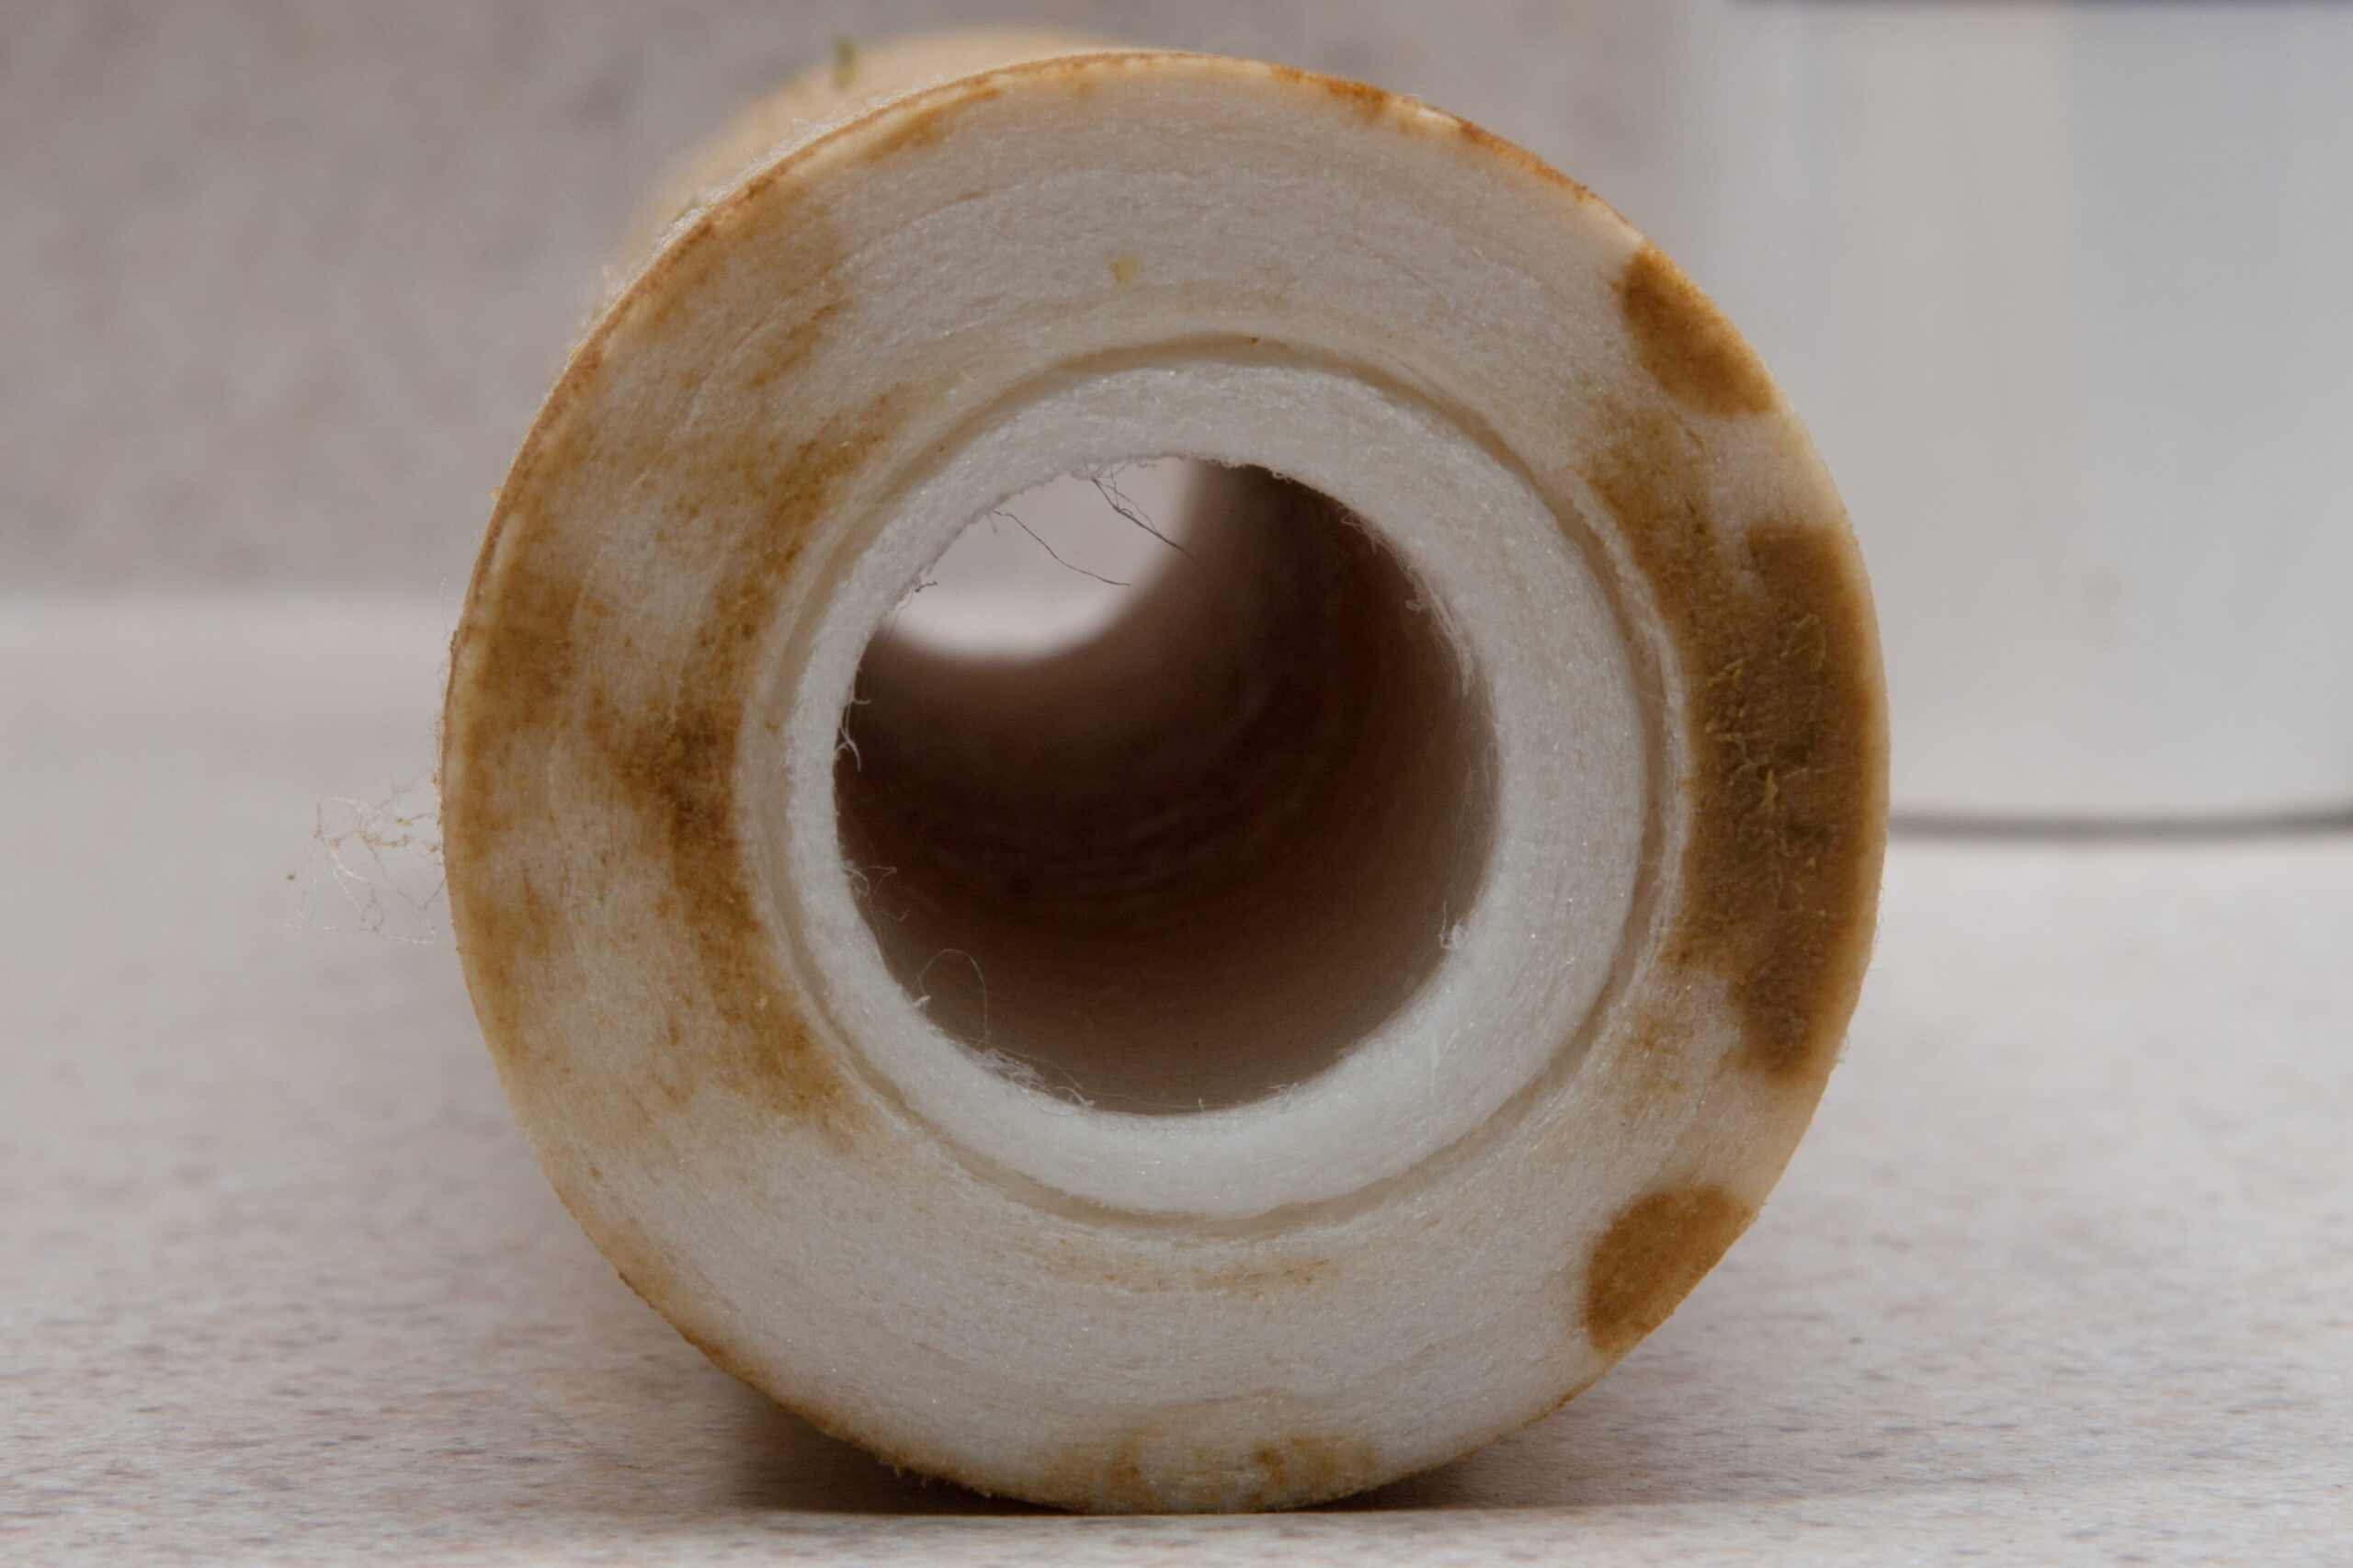
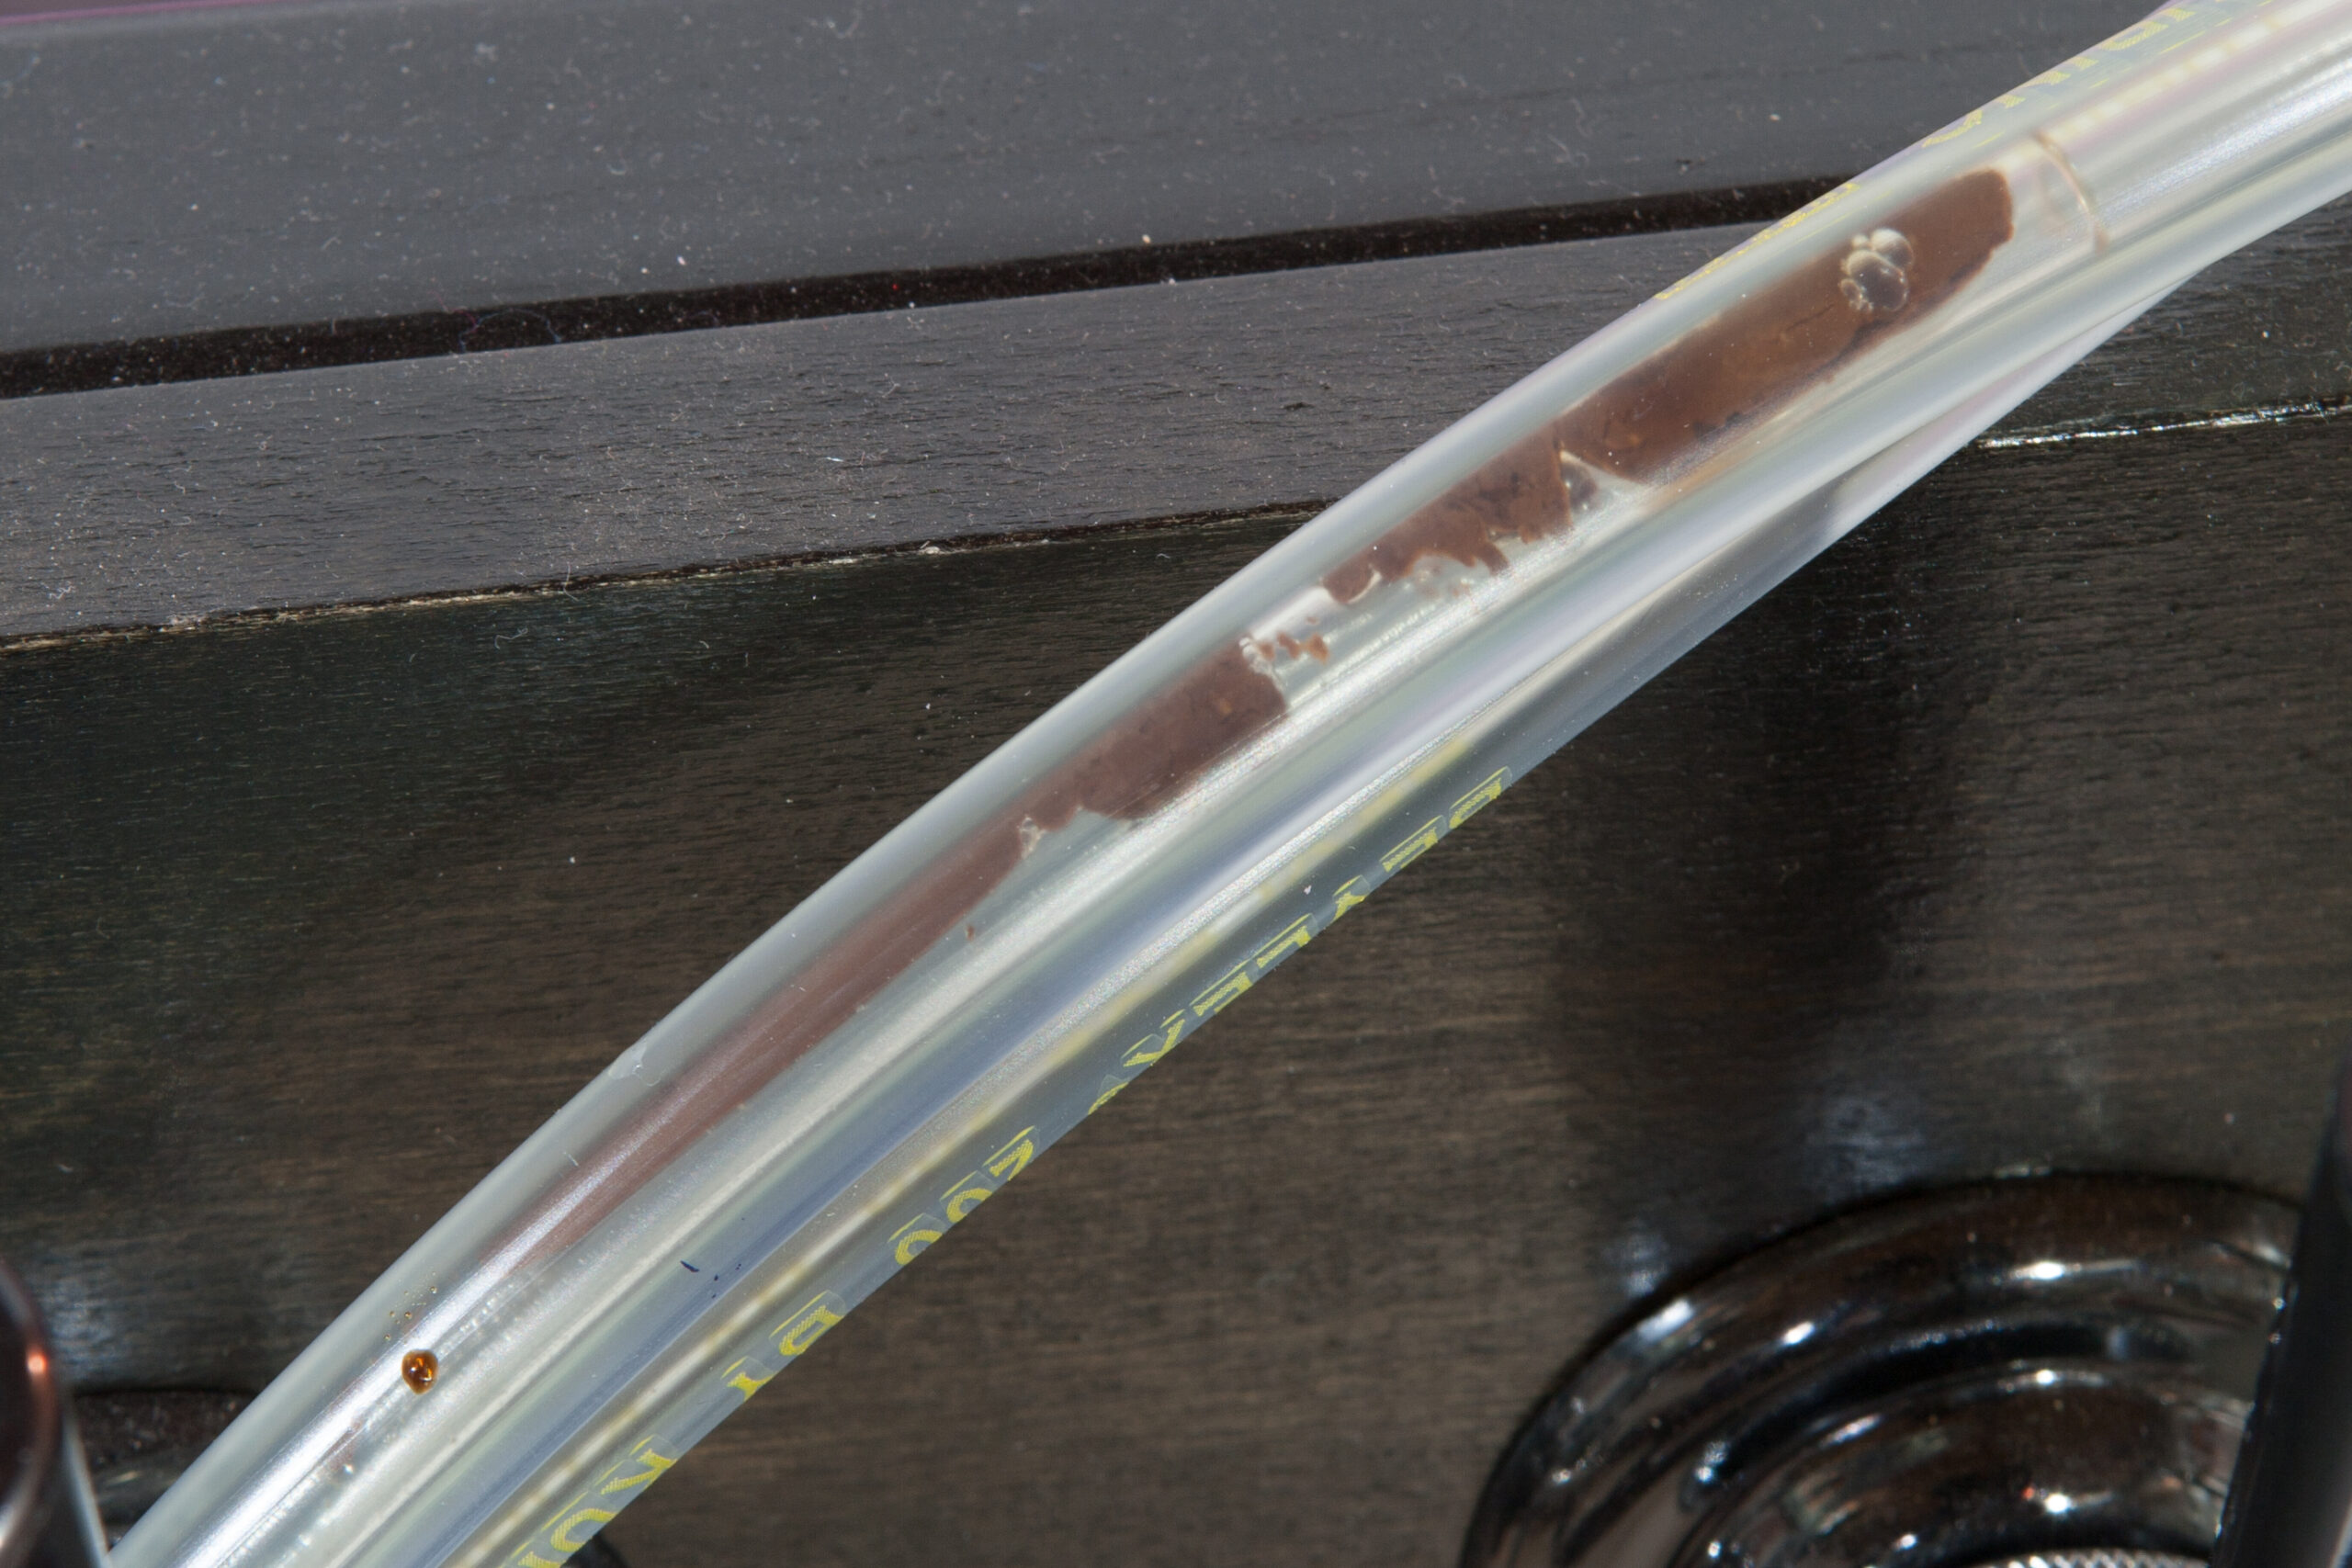
· Detail of the gunky residue that had built up in some of the lines.
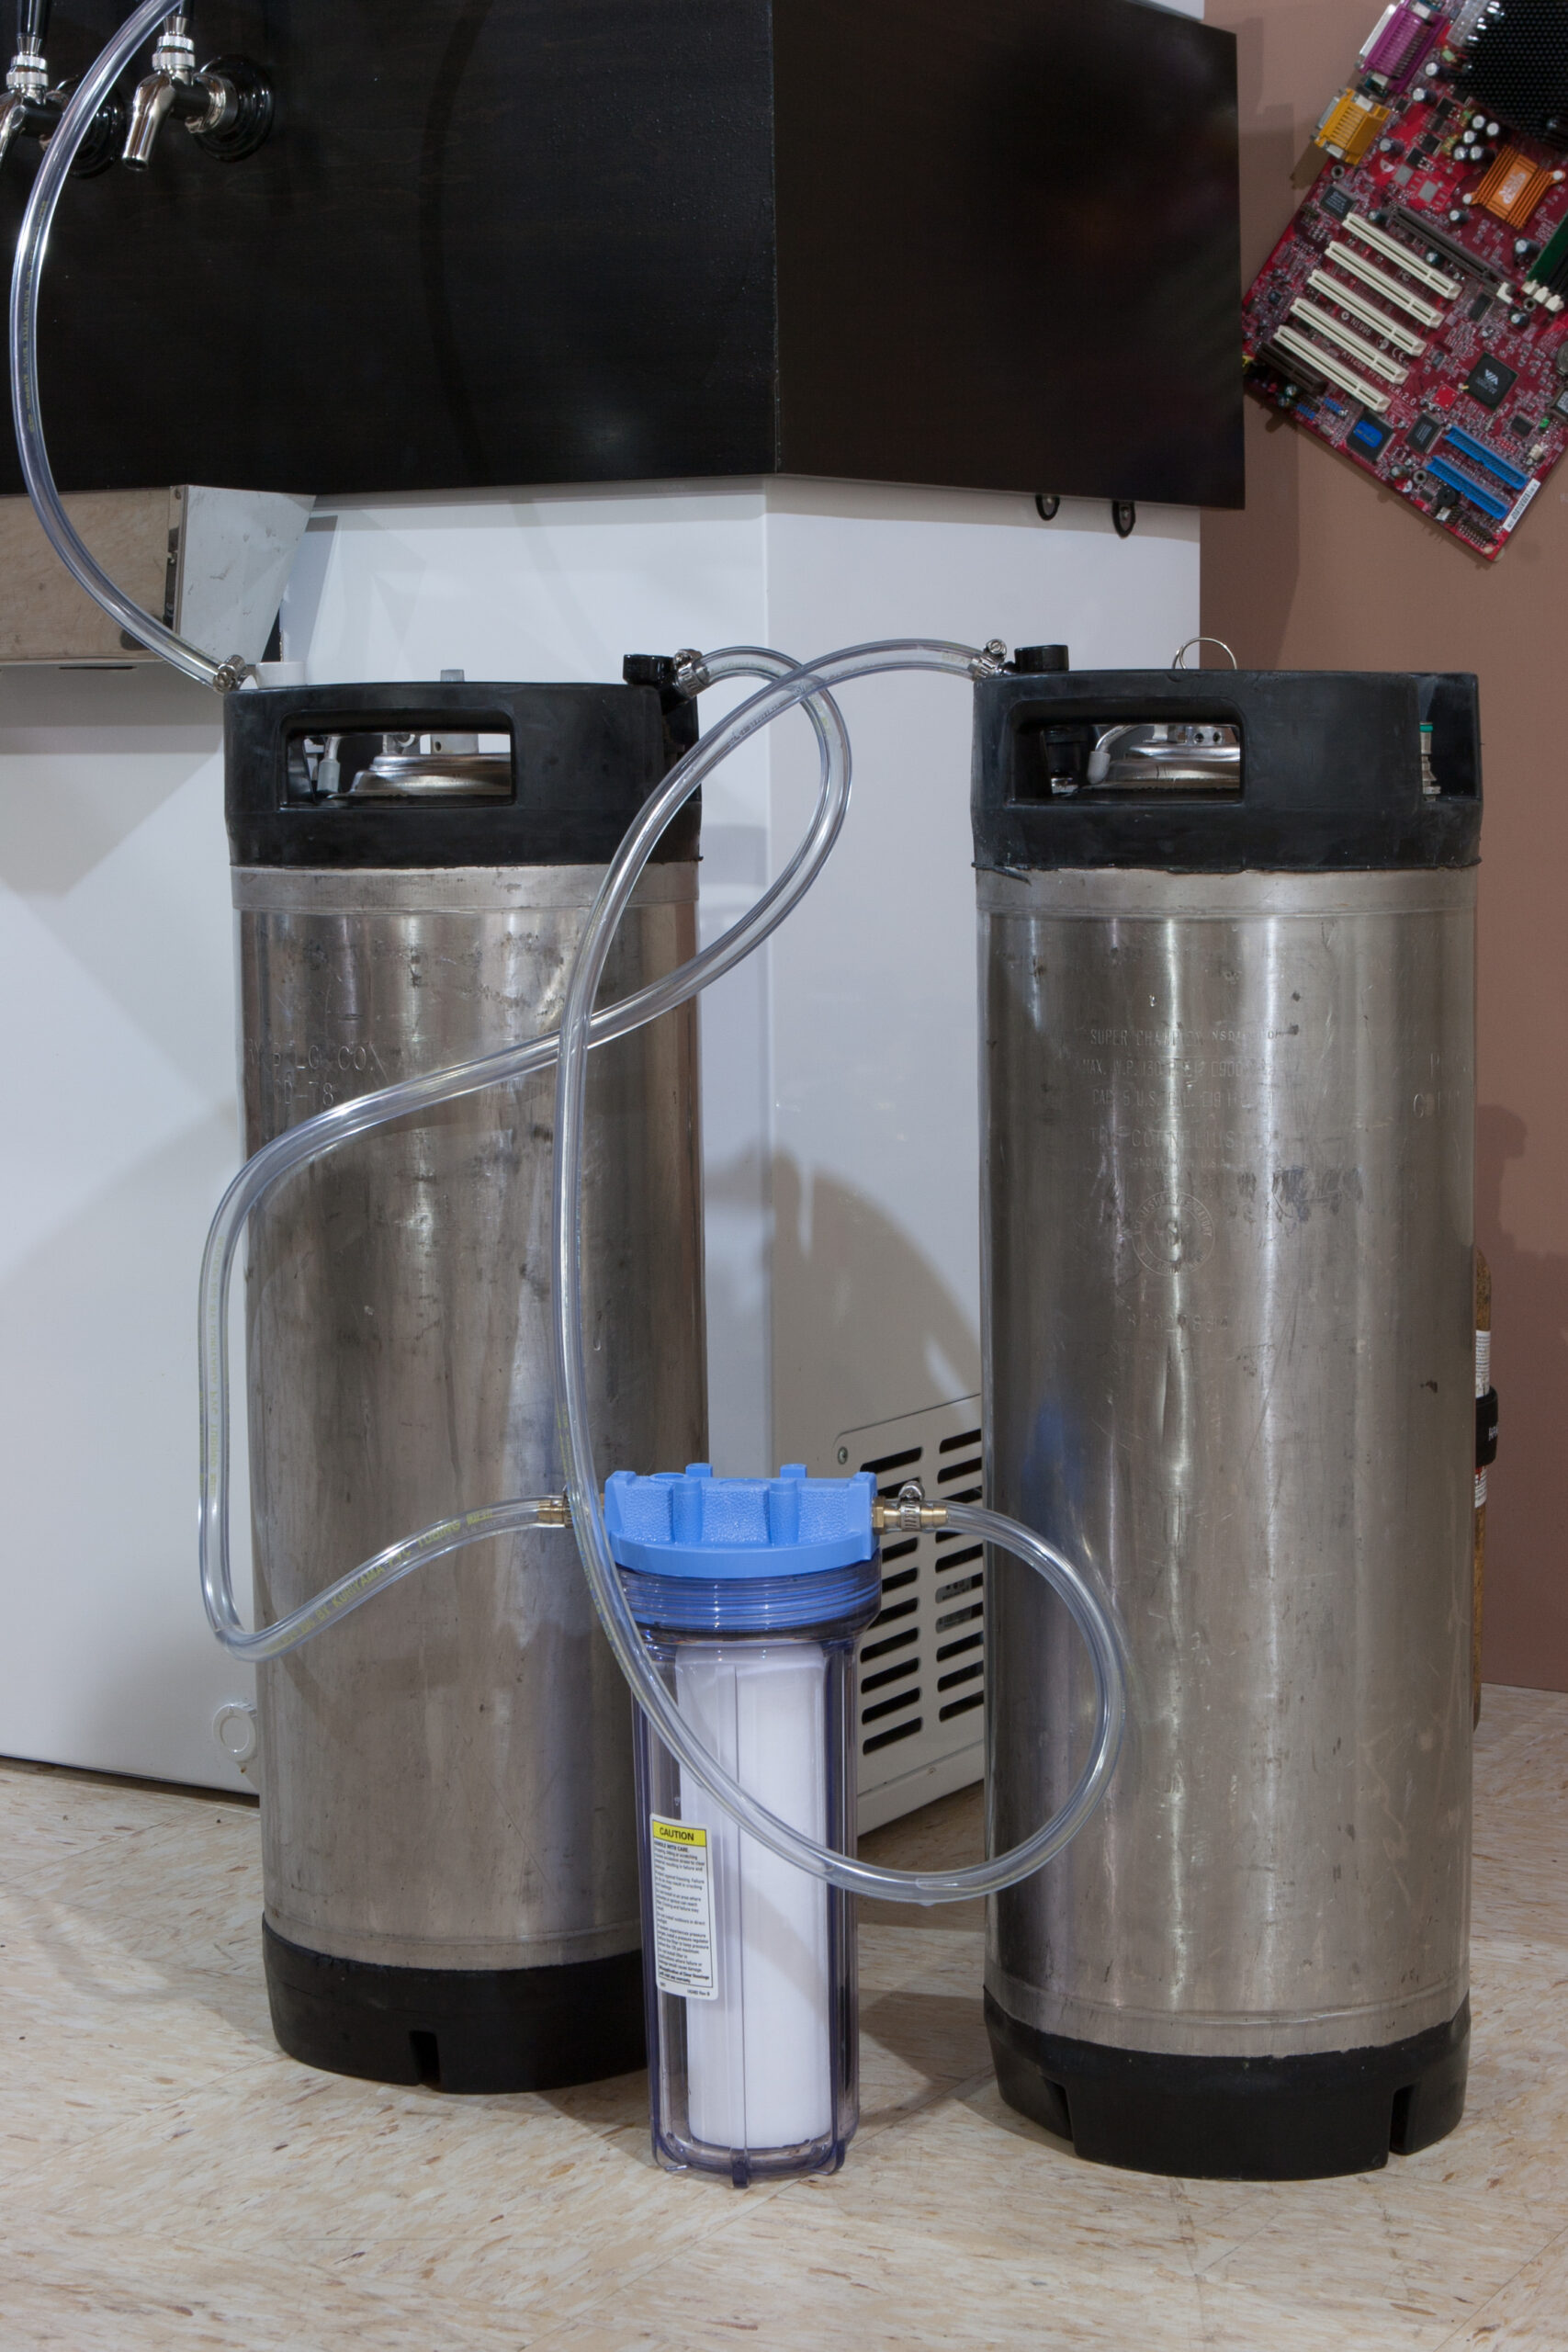
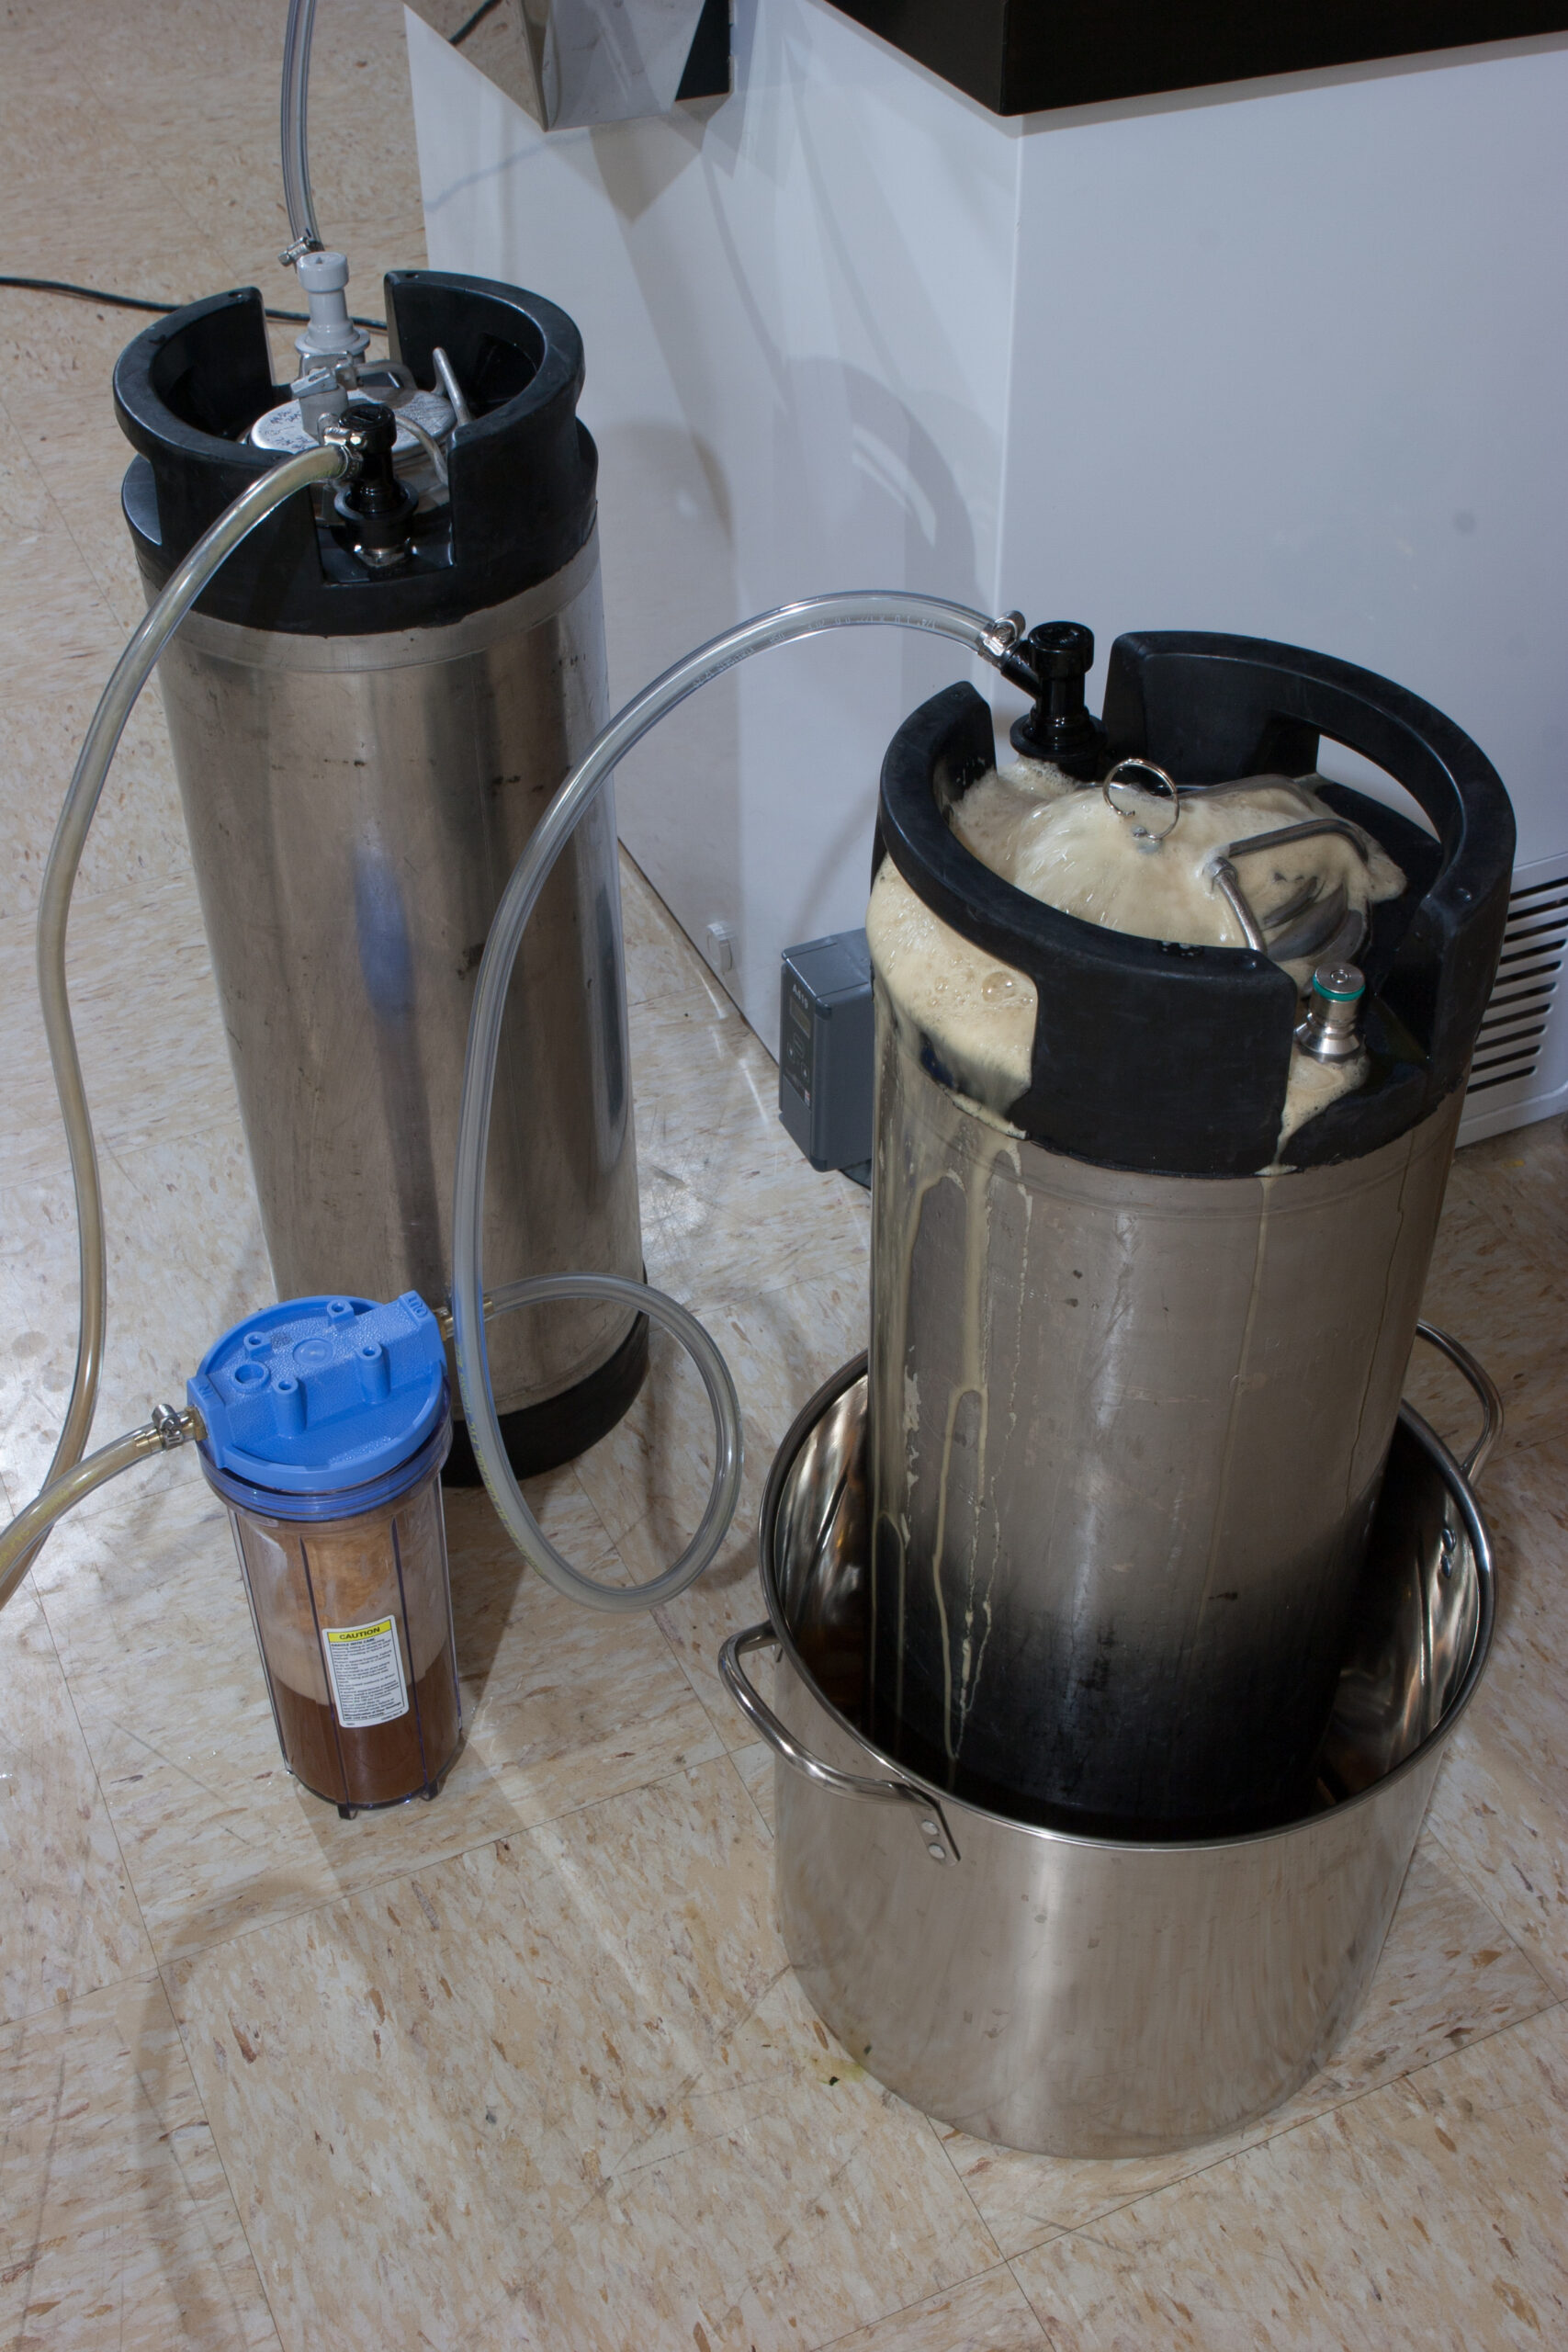
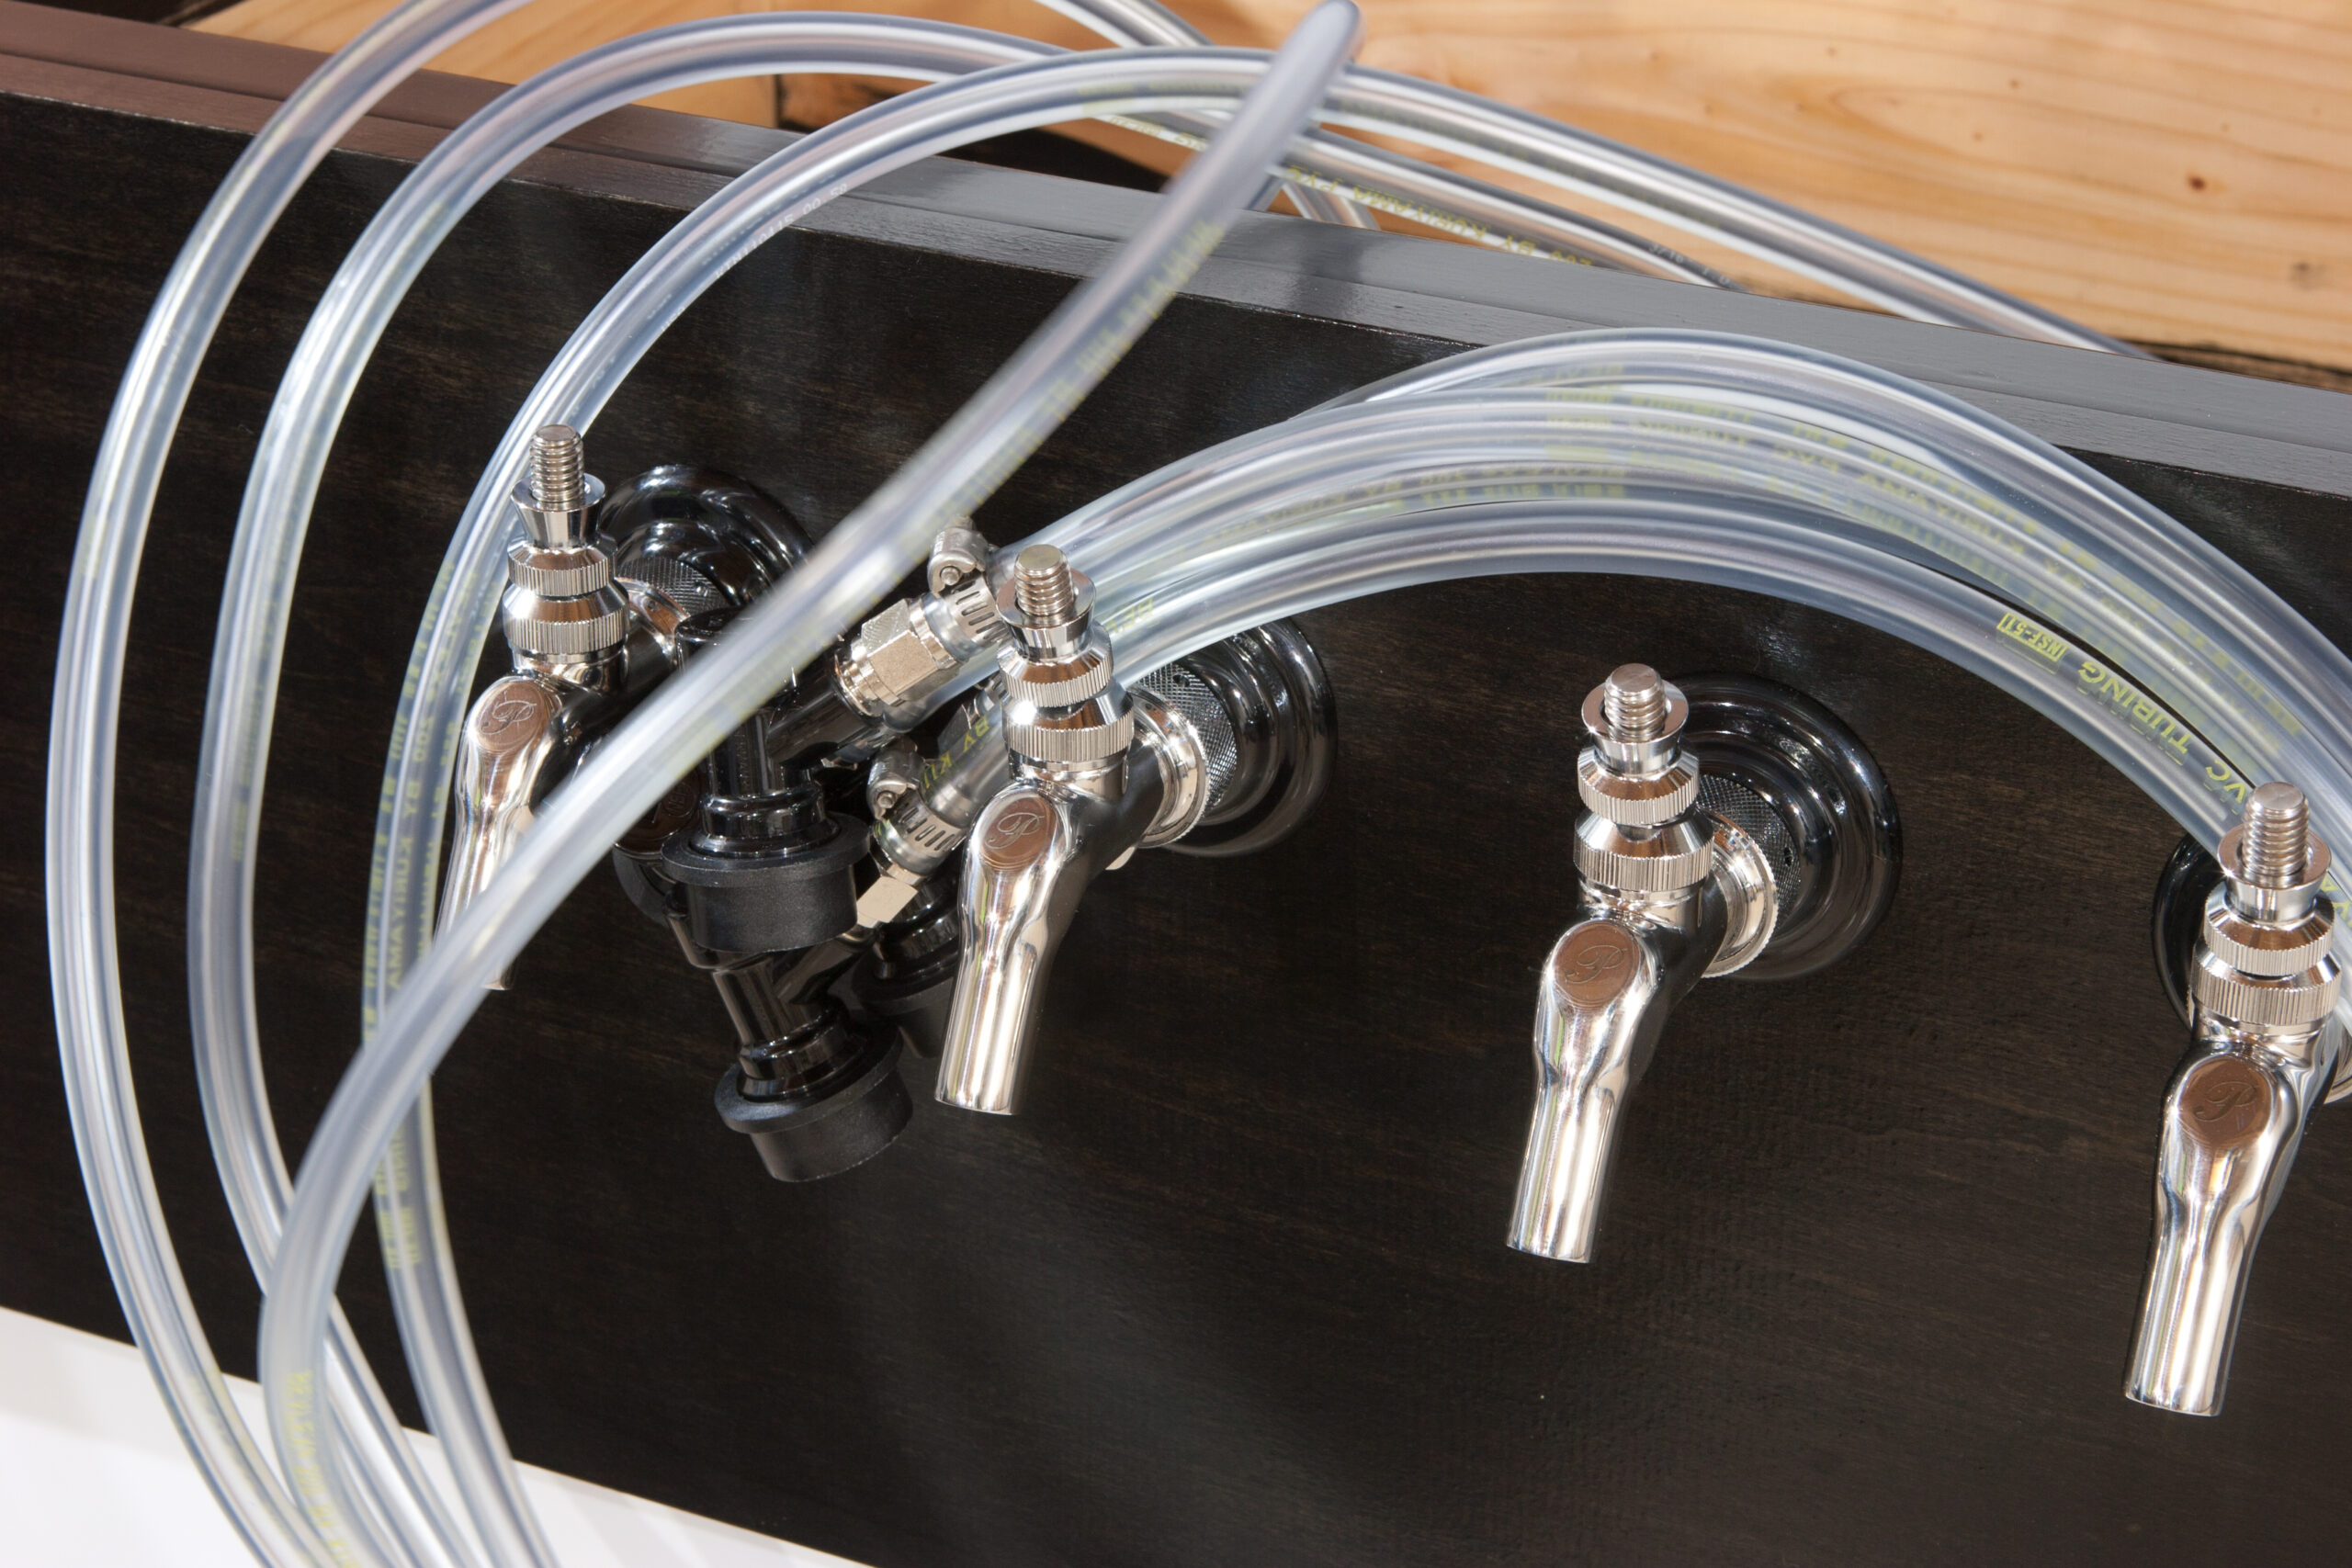
· Cleaning the lines with a submersable pump connected to the beer lines, return line connected to the tap, and some warm caustic Beer Line Cleaner.
· Using the pump without a return line to rinse the taps with sanitizer.


