iSight Tripod Mount Article
February 4, 2006
Yes! My article is finally being published!
iSight Tripod Mount: http://makezine.com/05/diy_tripod/
Yes! My article is finally being published!
iSight Tripod Mount: http://makezine.com/05/diy_tripod/
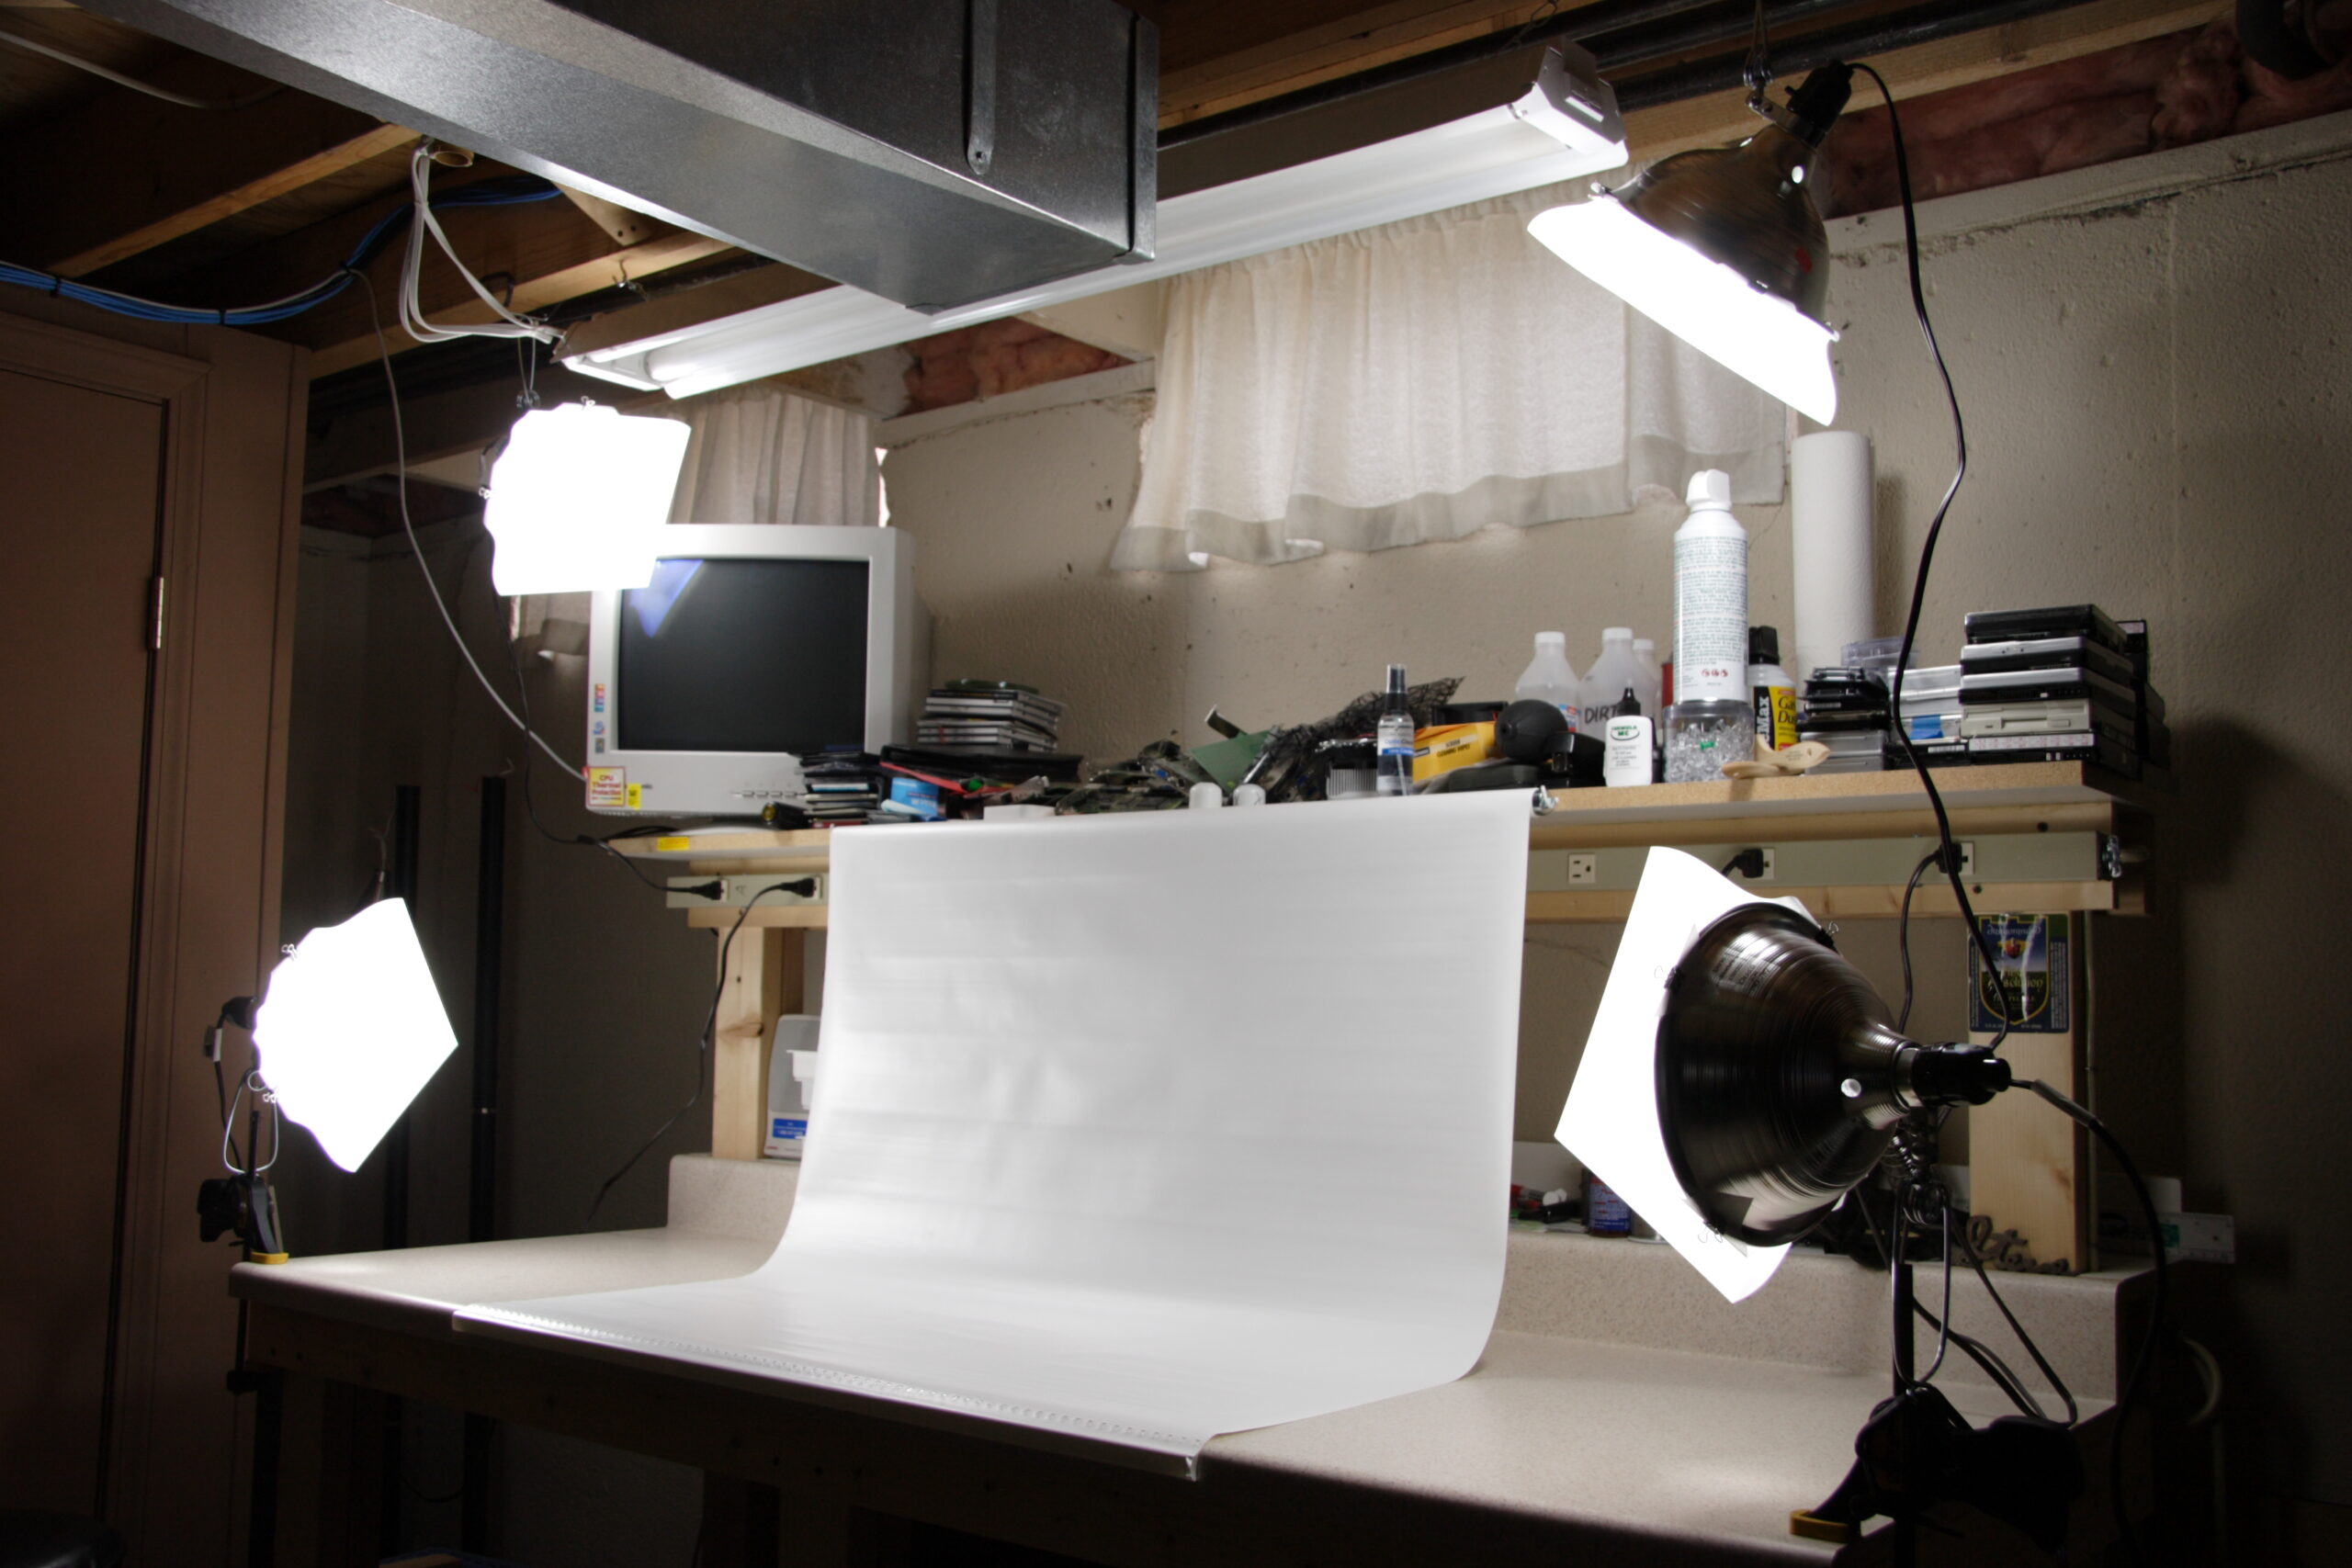
Well, one of the other things I did today was get my hacked together lighting rig (photo gallery retired) put together and give it a try. Well, it seems to work. (The photo in my last post was taken using it.)
In the end, I have a setup which I metered (using the Photoshop Camera Raw plugin and a grey card) at 4900K, which is just great for my purposes.
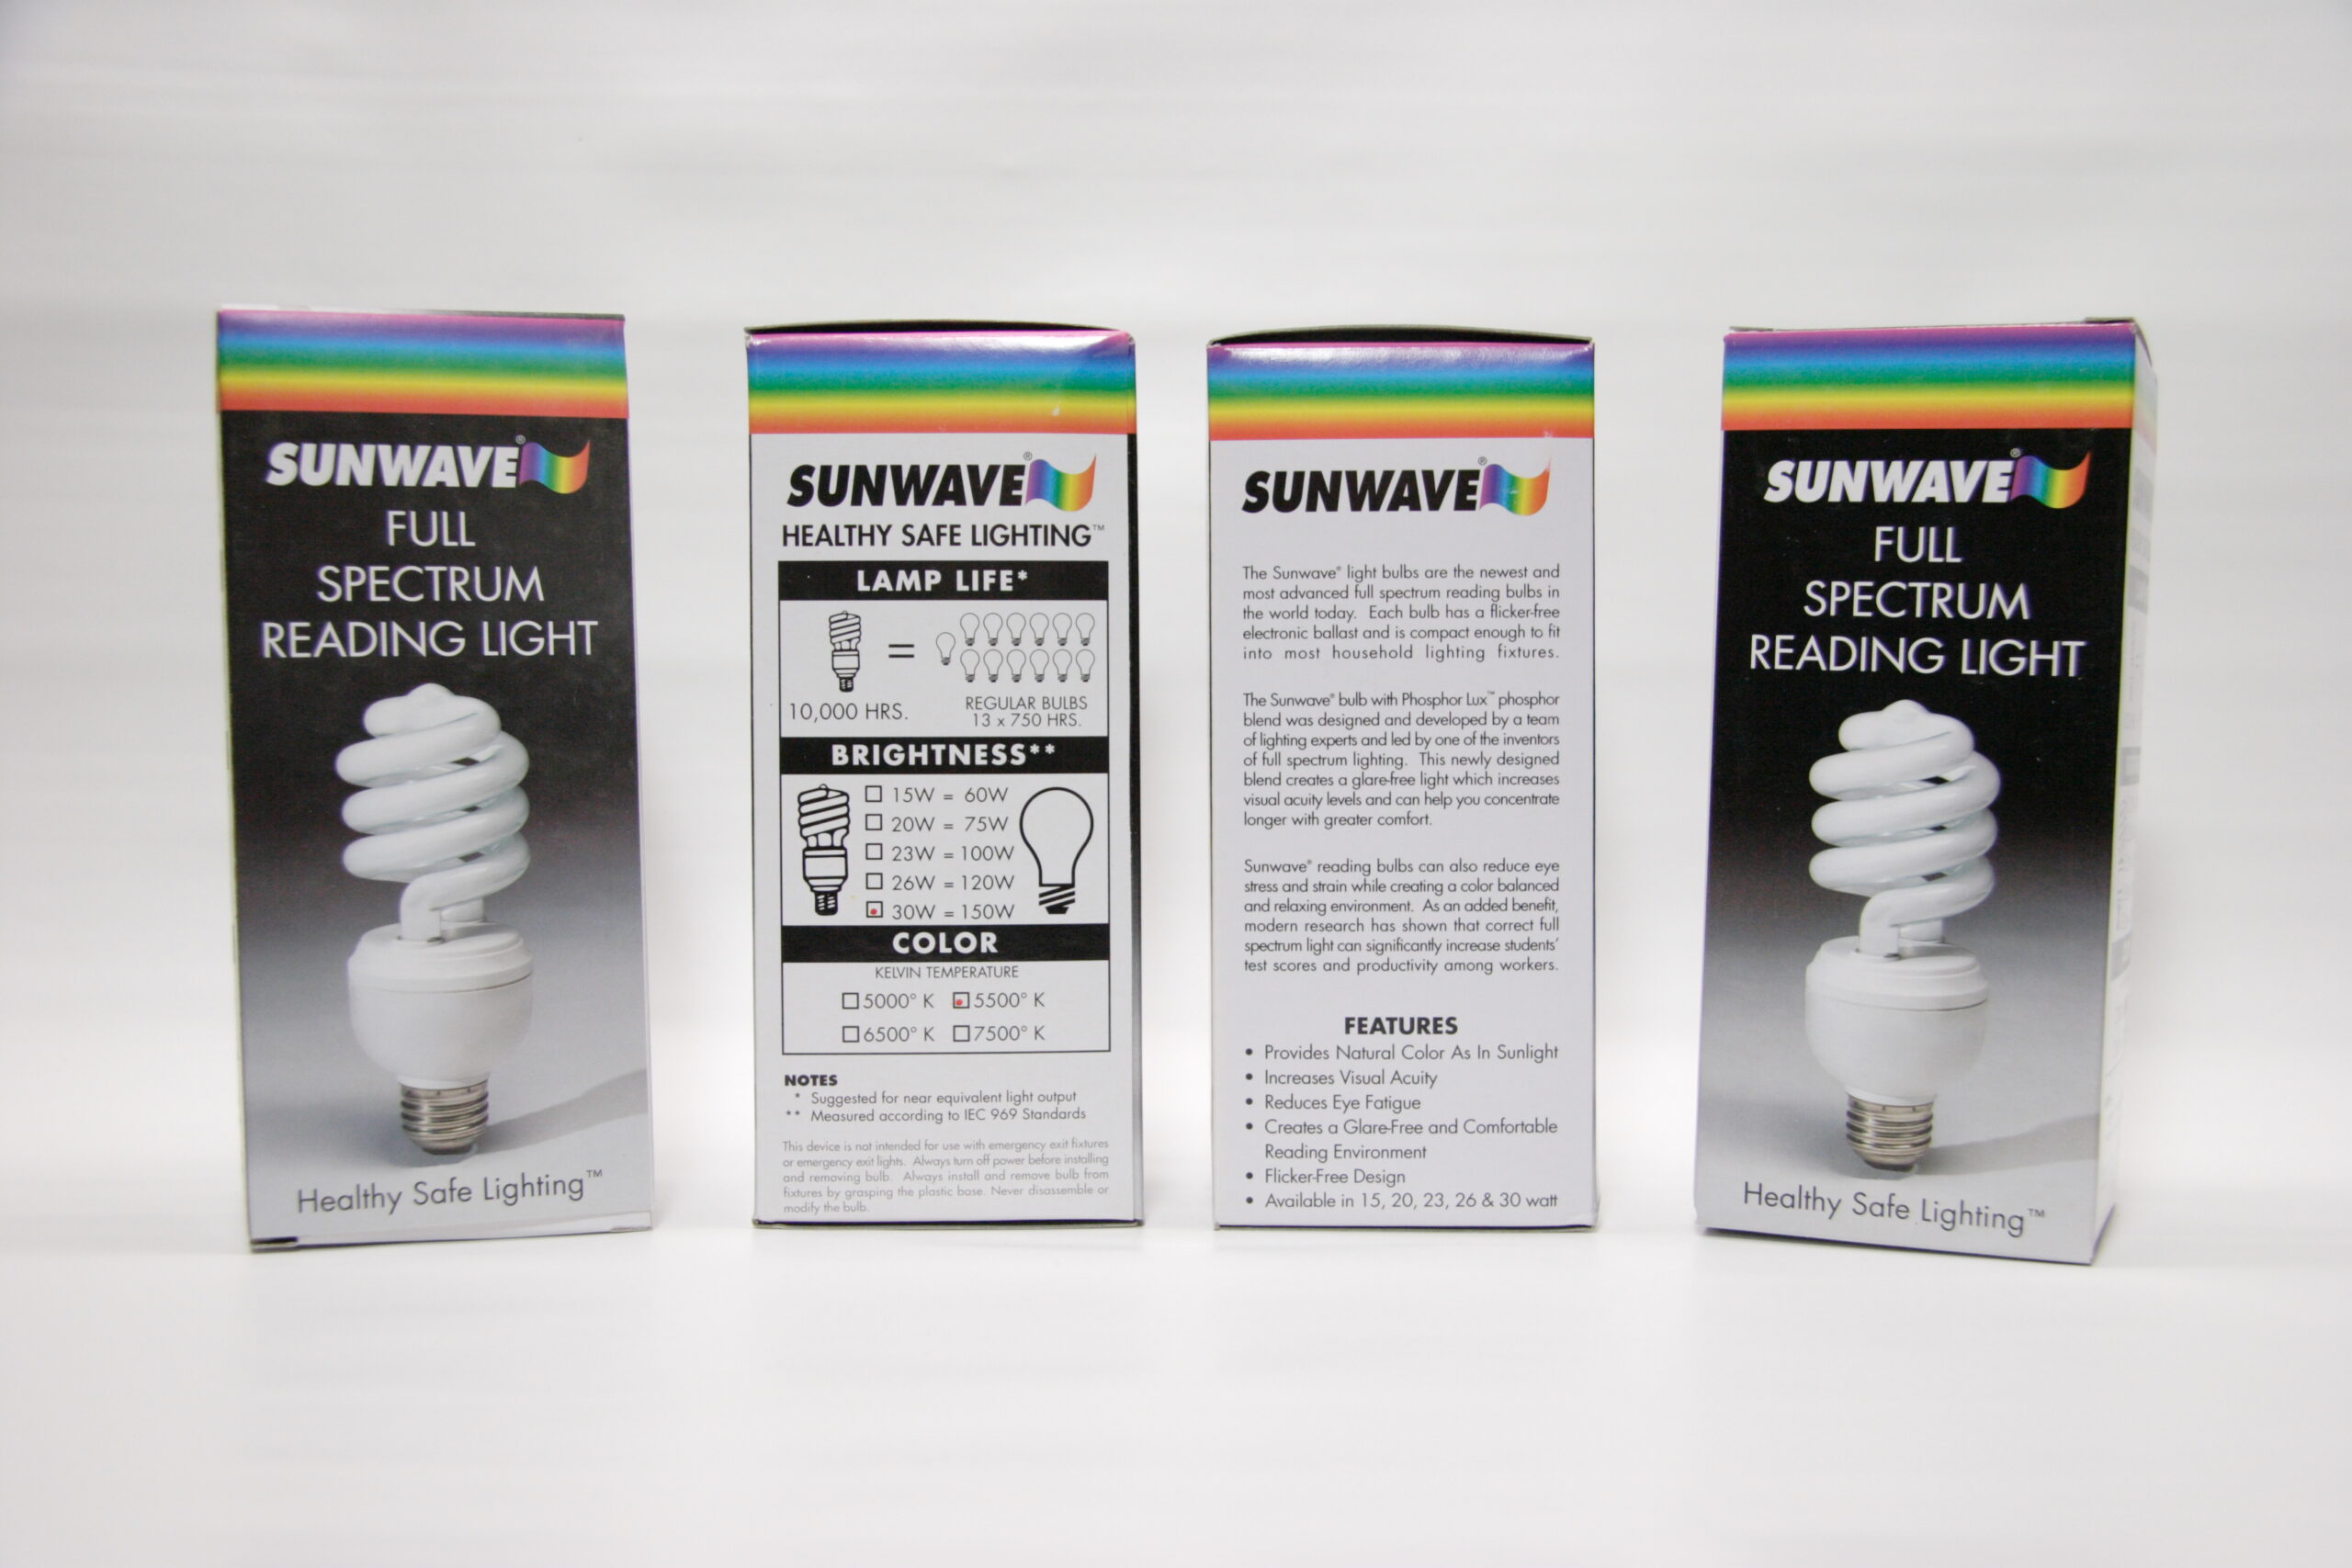
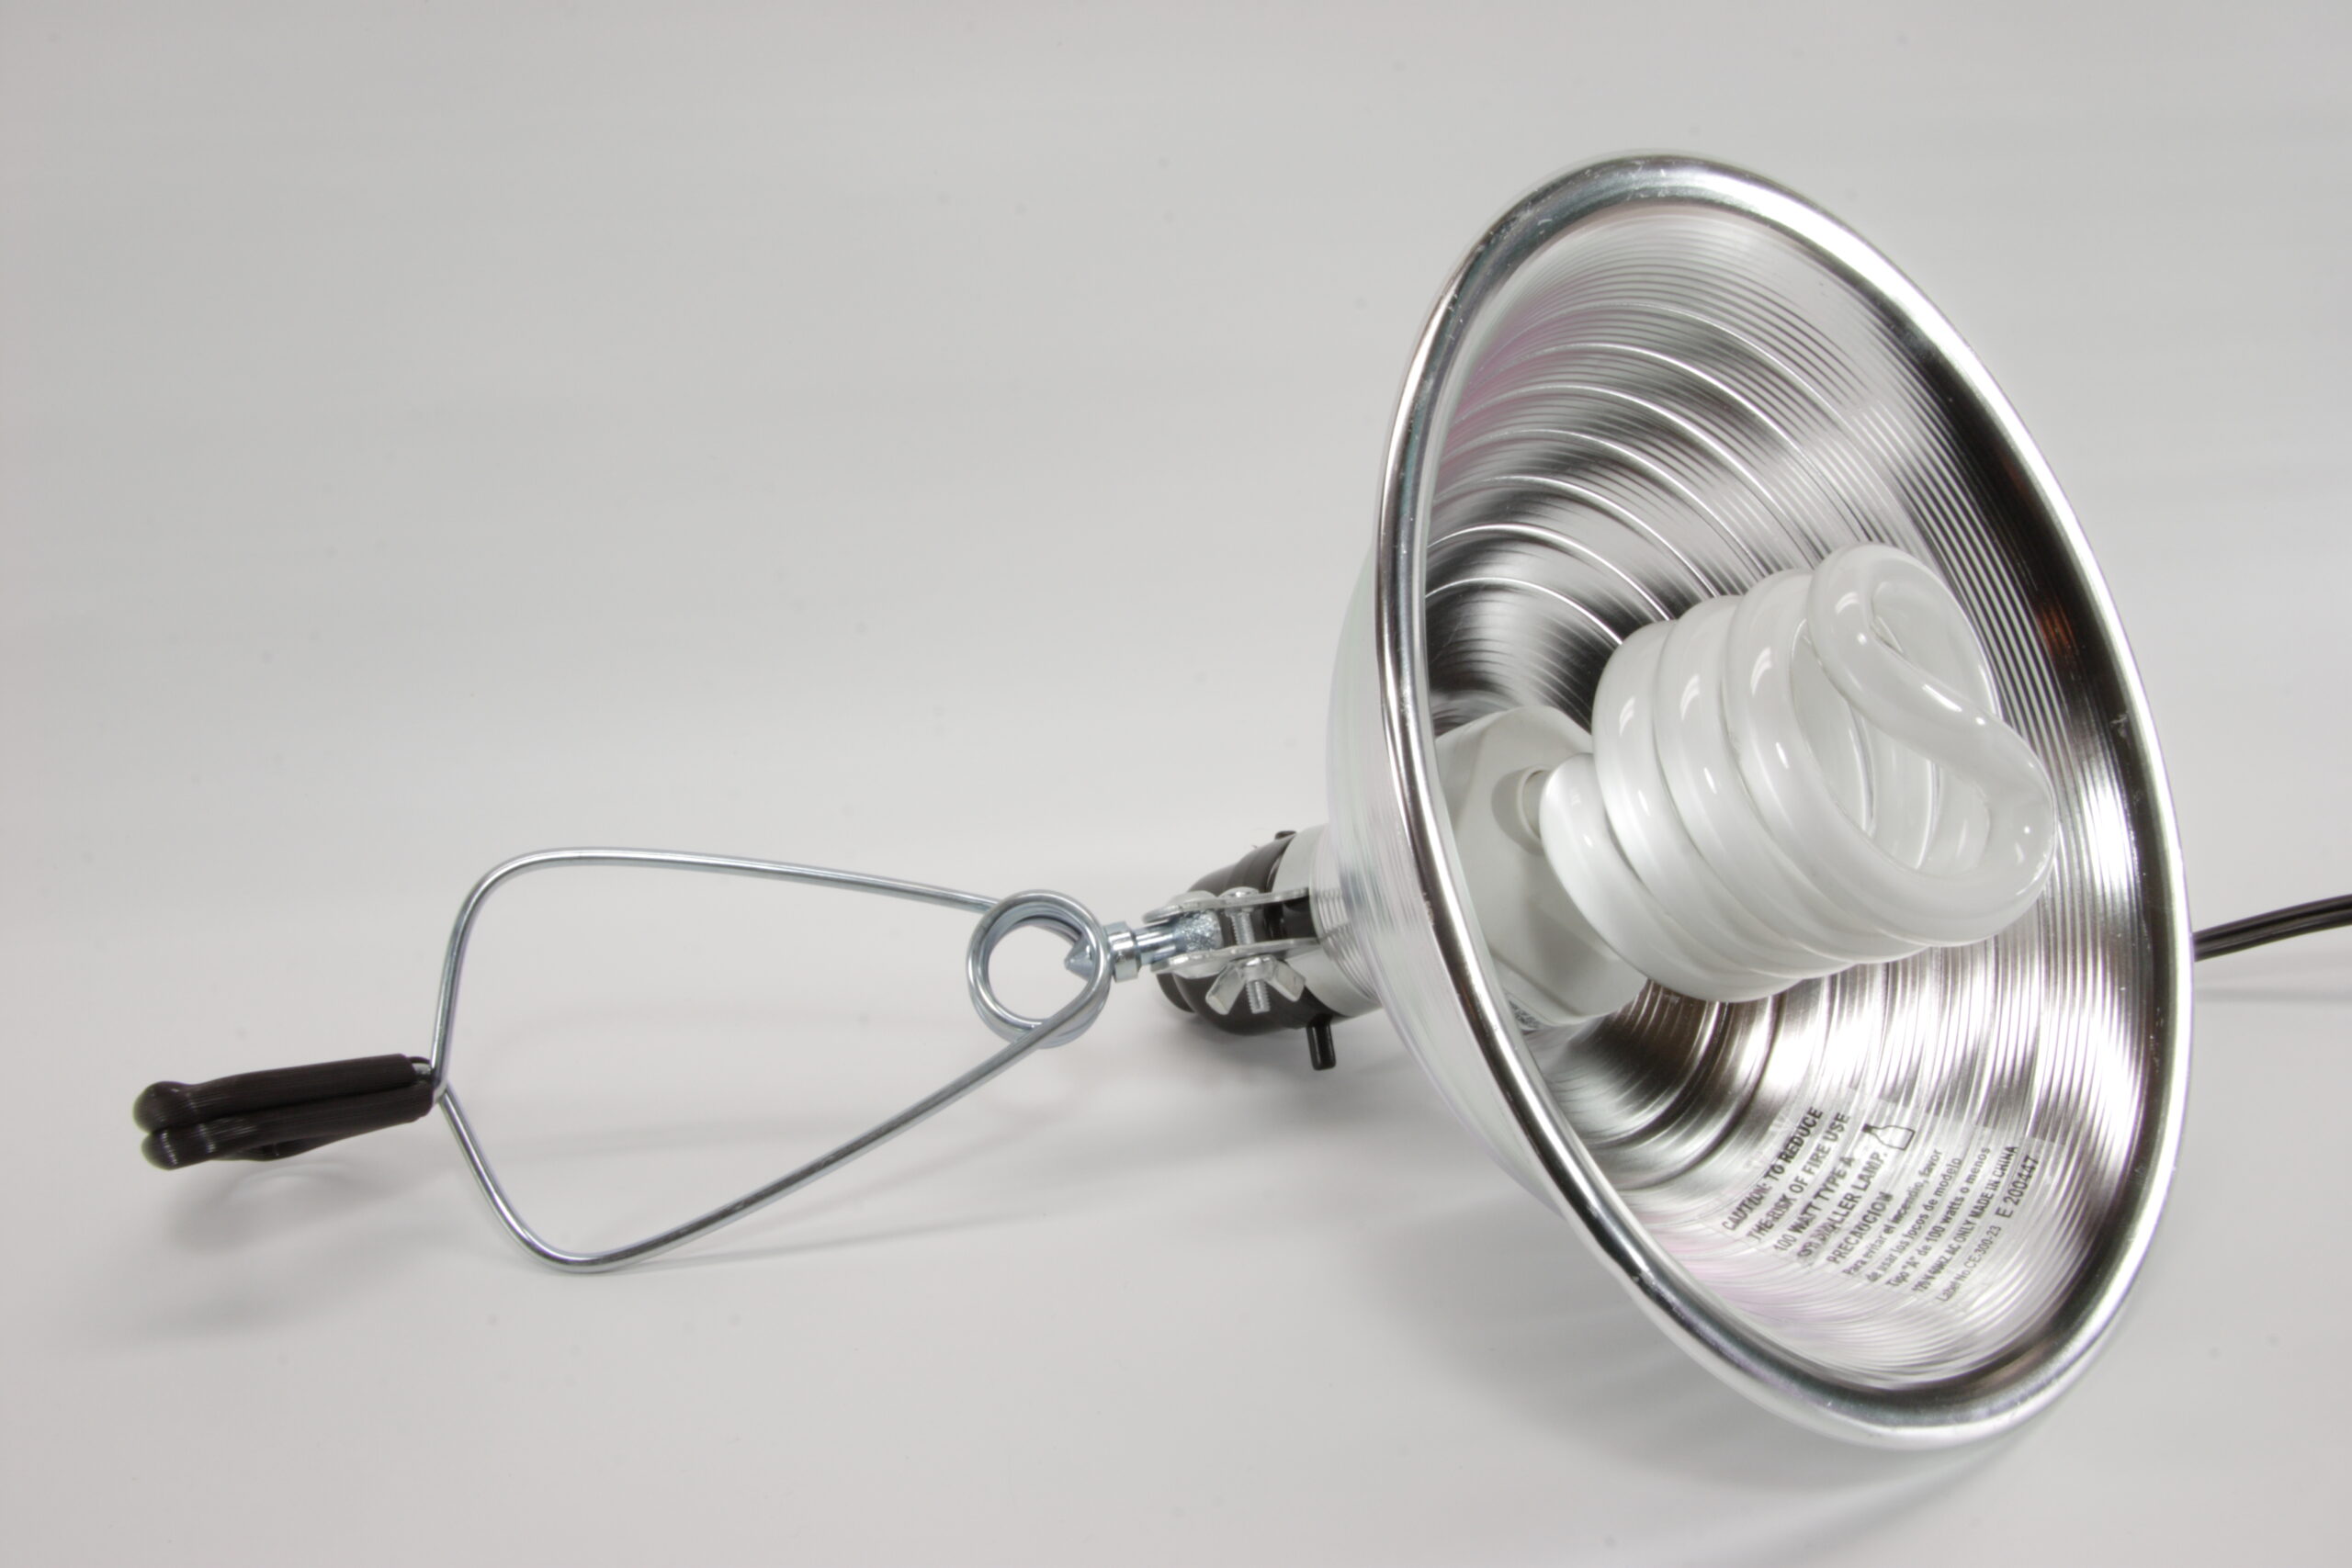
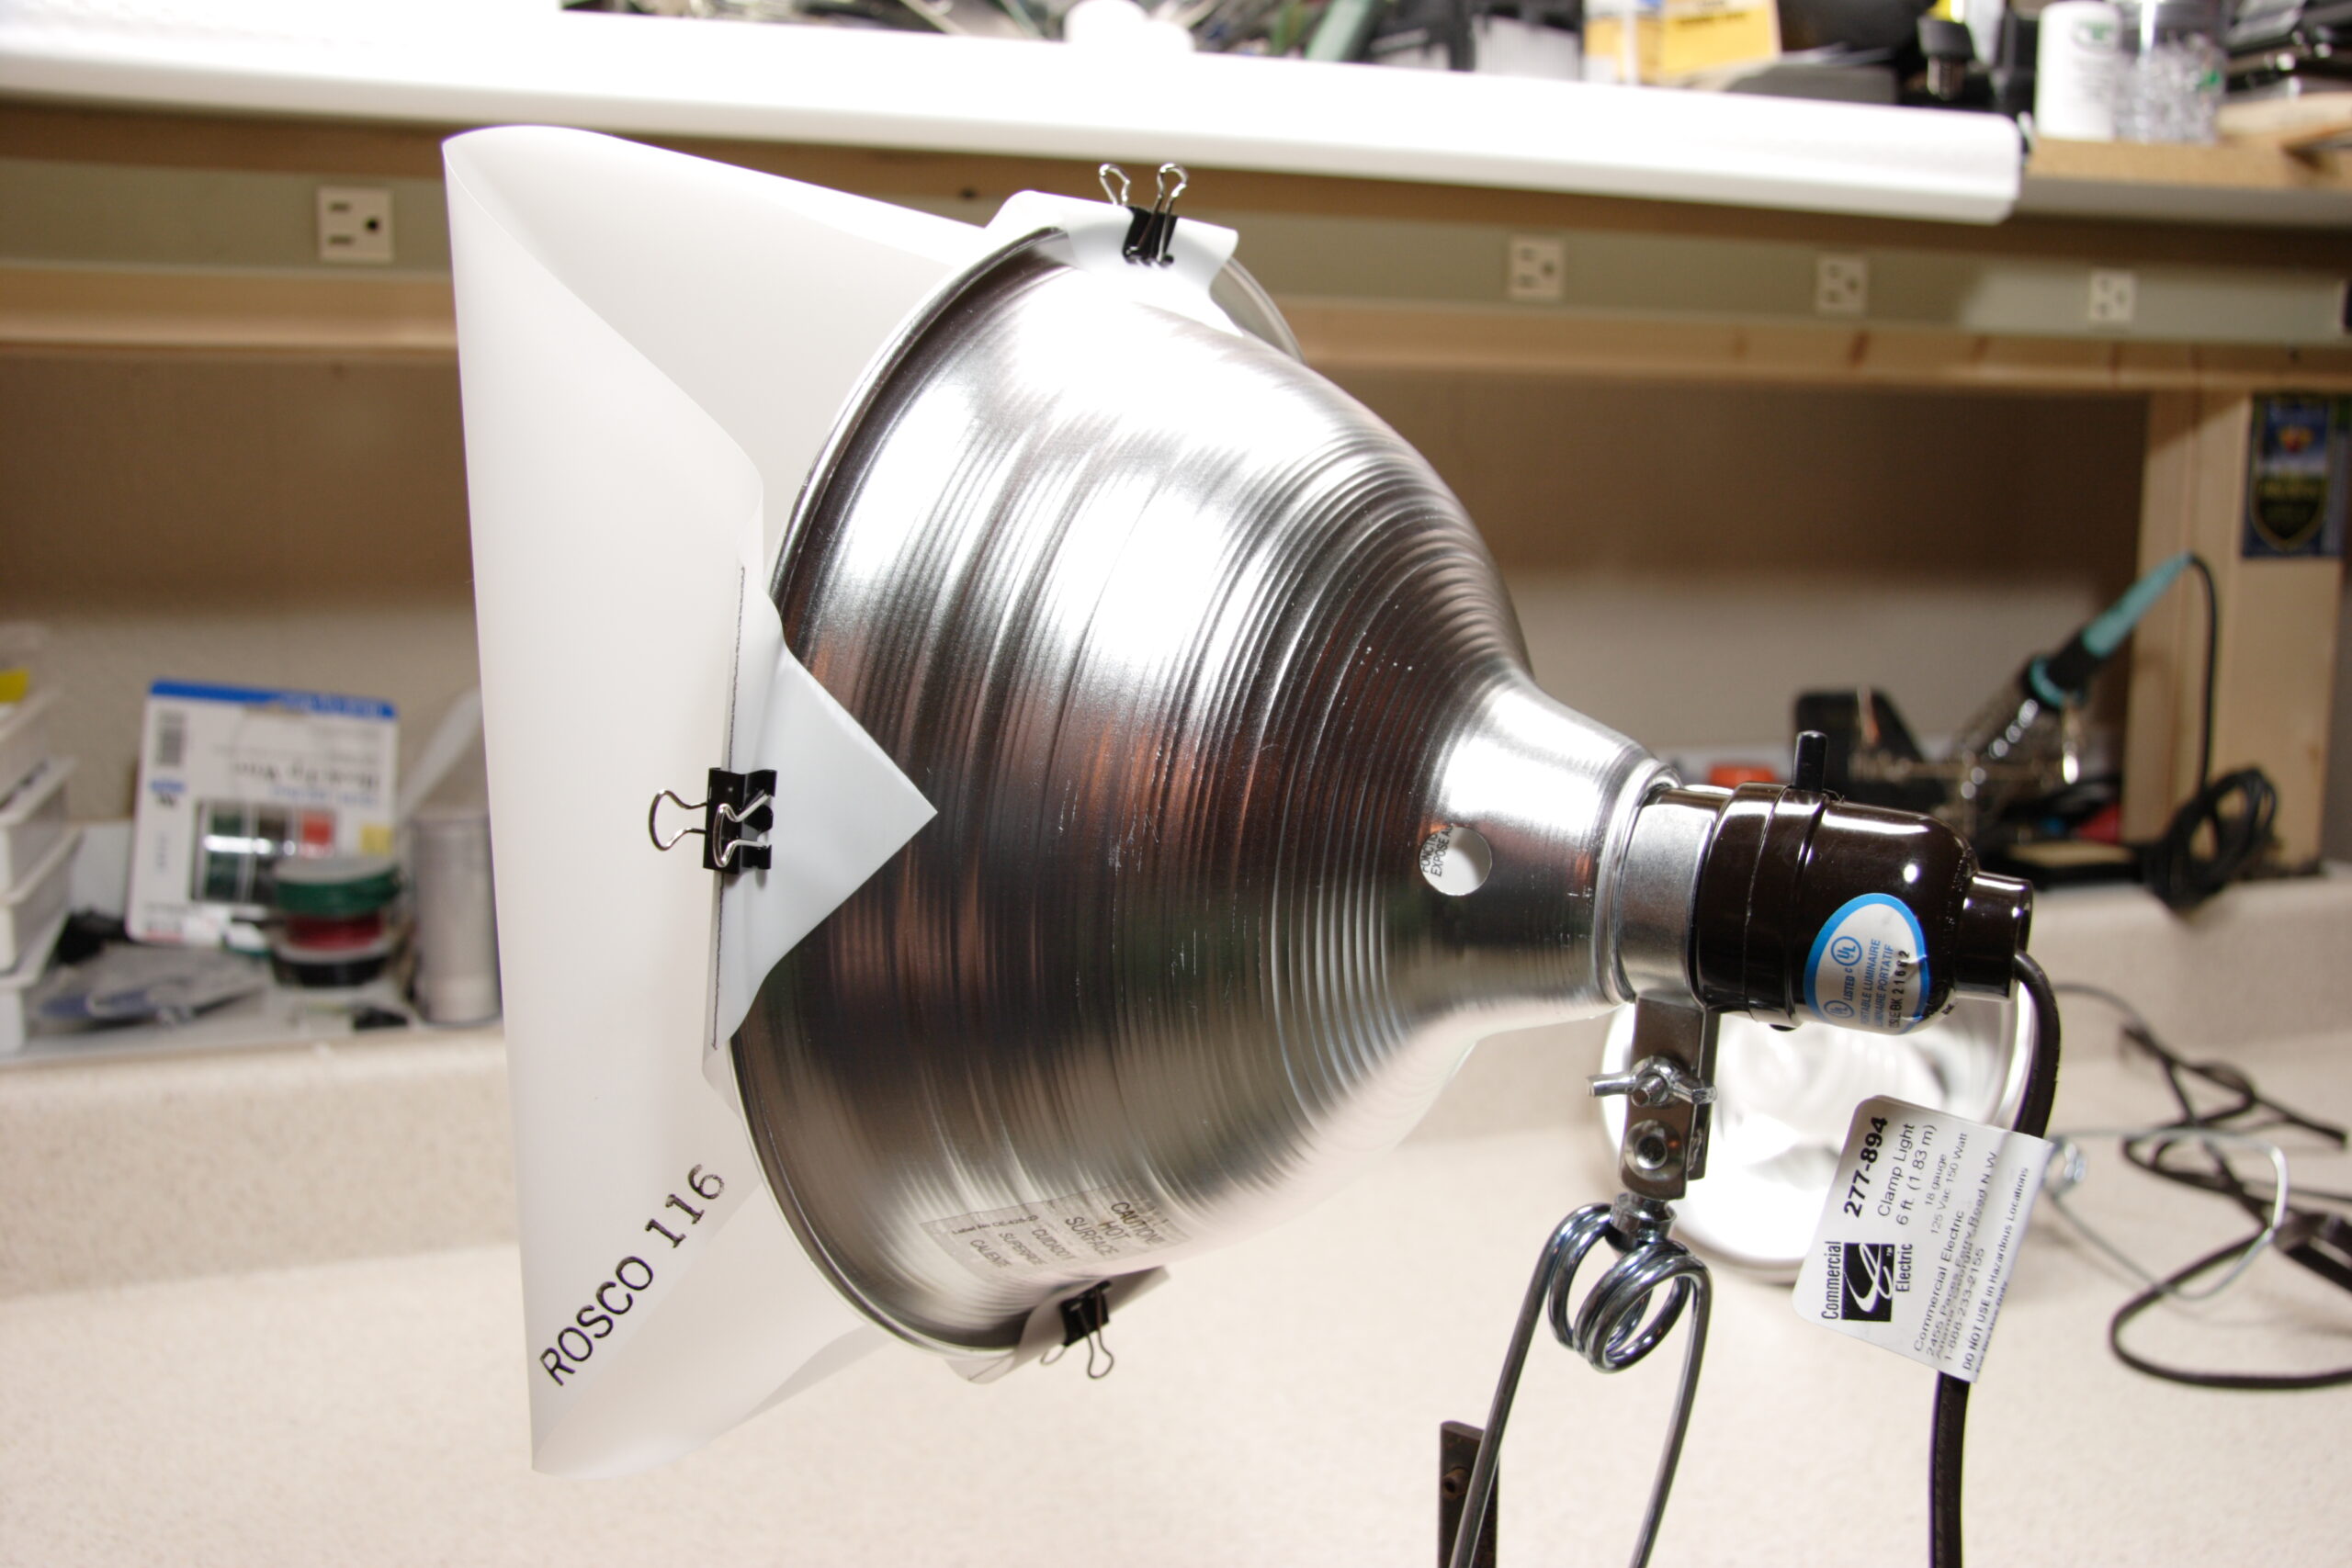
The setup was made using four Sunwave 30W compact fluorescent bulbs which I’d ordered ordered from Cindy at Cloud Dome for a pretty reasonable price. The bulbs are fairly large and well made, and fit fairly nicely into the clip-on flood lights I purchased from Home Depot.
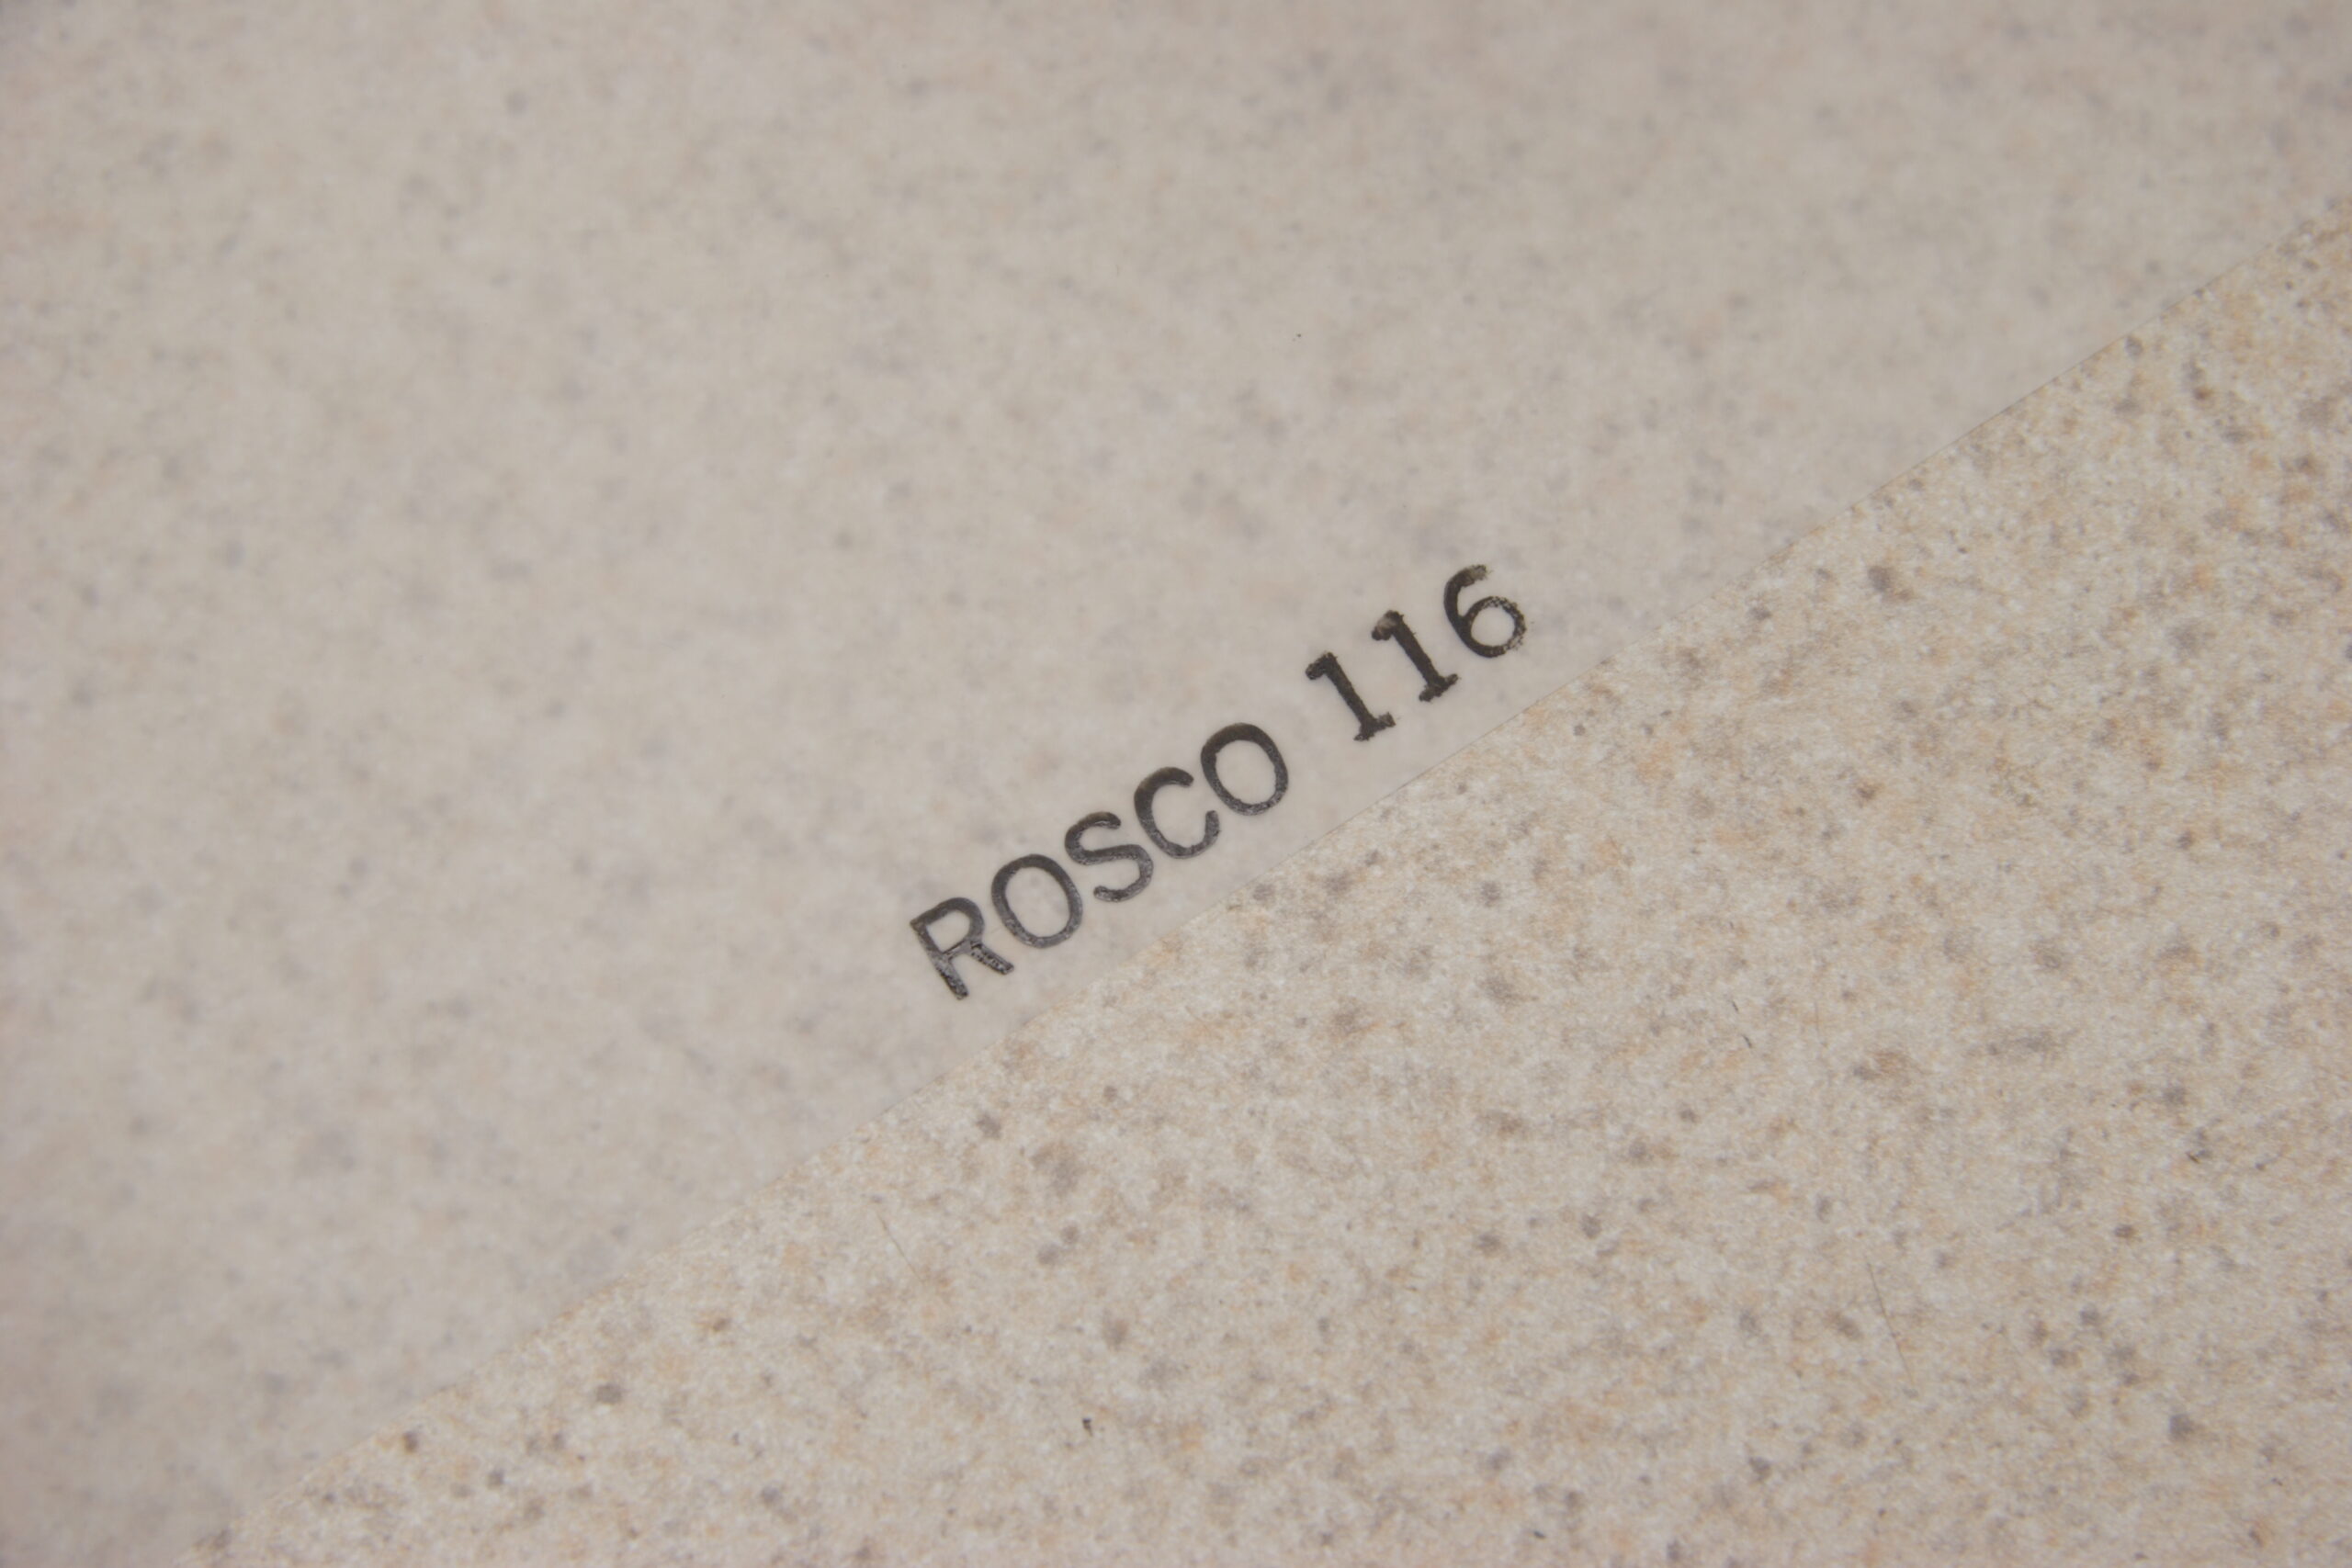
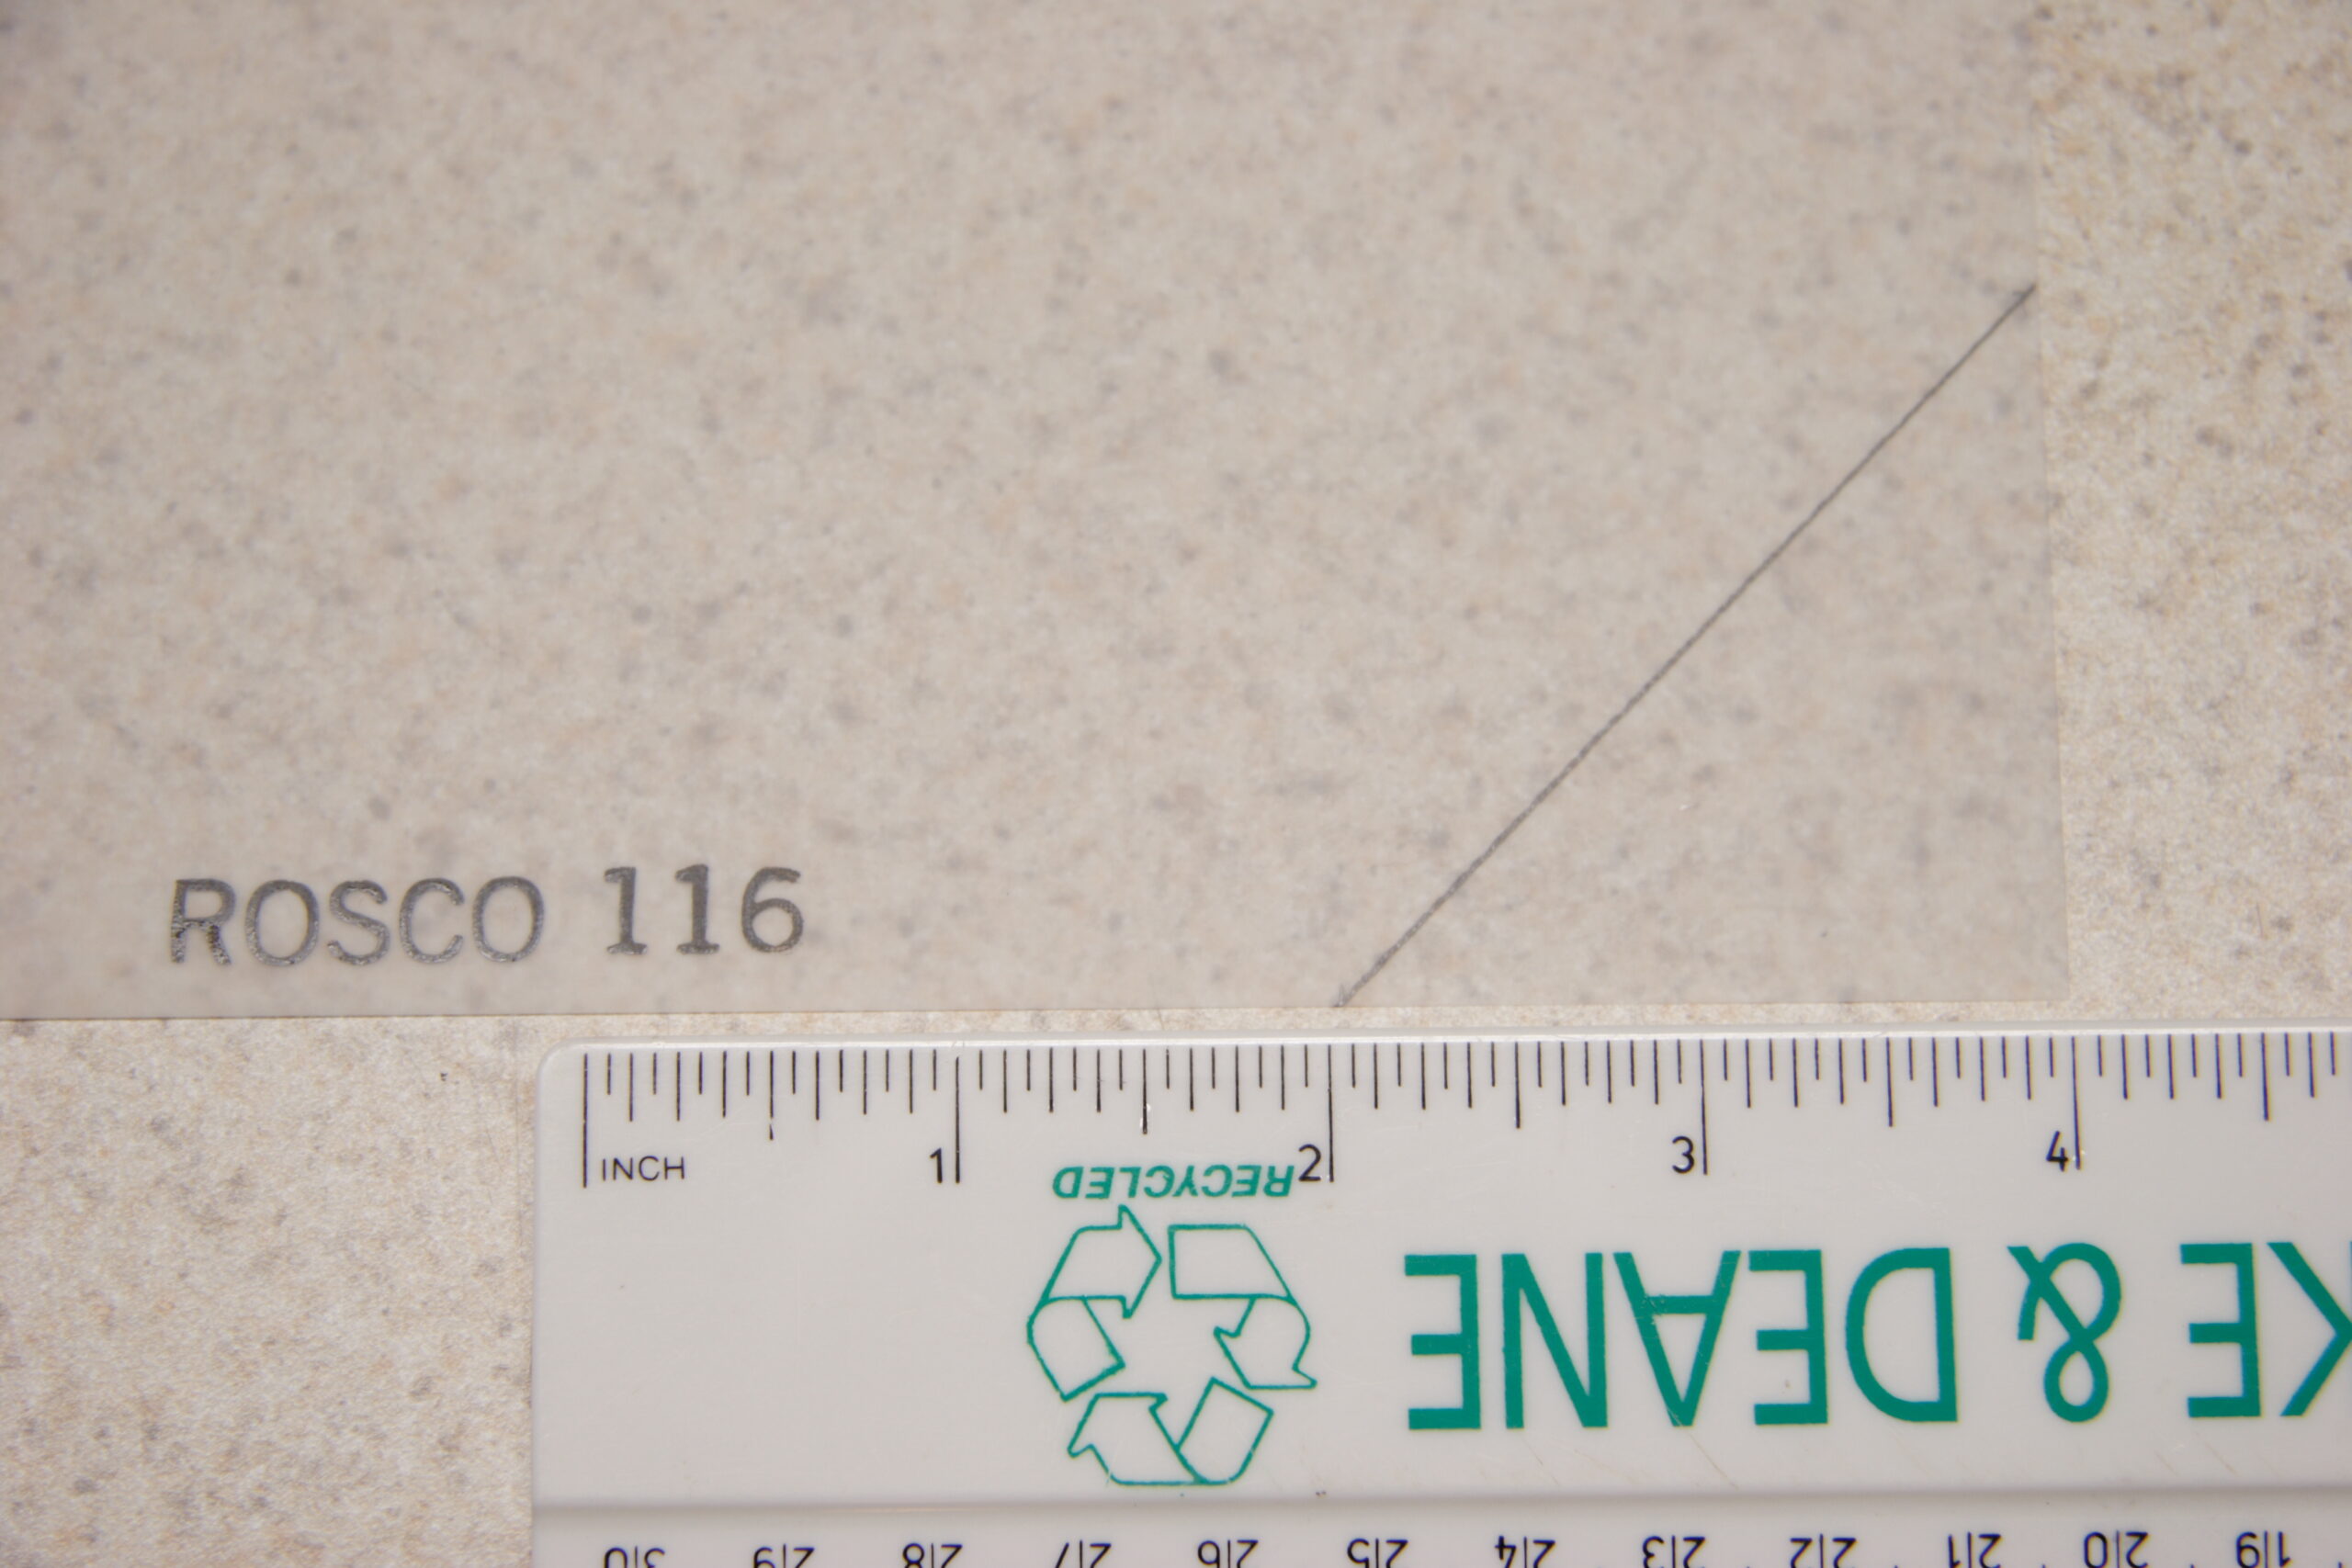
To diffuse the light, I took four sheets of Roscolux 116 ‘Tough White Diffusion’ gel, cut them down to 12″ x 12″ squares, and clip them in front of the lamps by the corners, forming a puffed out box. I found that if make marks 2″ in from the corners and clip along the line formed between these points, things work out rather well.
In the end I’ve got four rather workable lamps which seem to provide some pretty even lighting. I may want another four down the line, but at a total of about $100 for all the parts needed to make this (the lamps themselves are by far the most expensive and inaccessible parts) I’ll have to hold off on this for a bit.
The only other change I may make is in the size of the gels used. I think that I may be losing some light to the sides and rear of the fixture with the gels billowing out slightly as they do. I imagine if I used 10″ squares instead, I may get more light on the work surface… Oh, and then I’d also get all four pieces needed for a project like this out of one 20″ x 24″ sheet of gel.
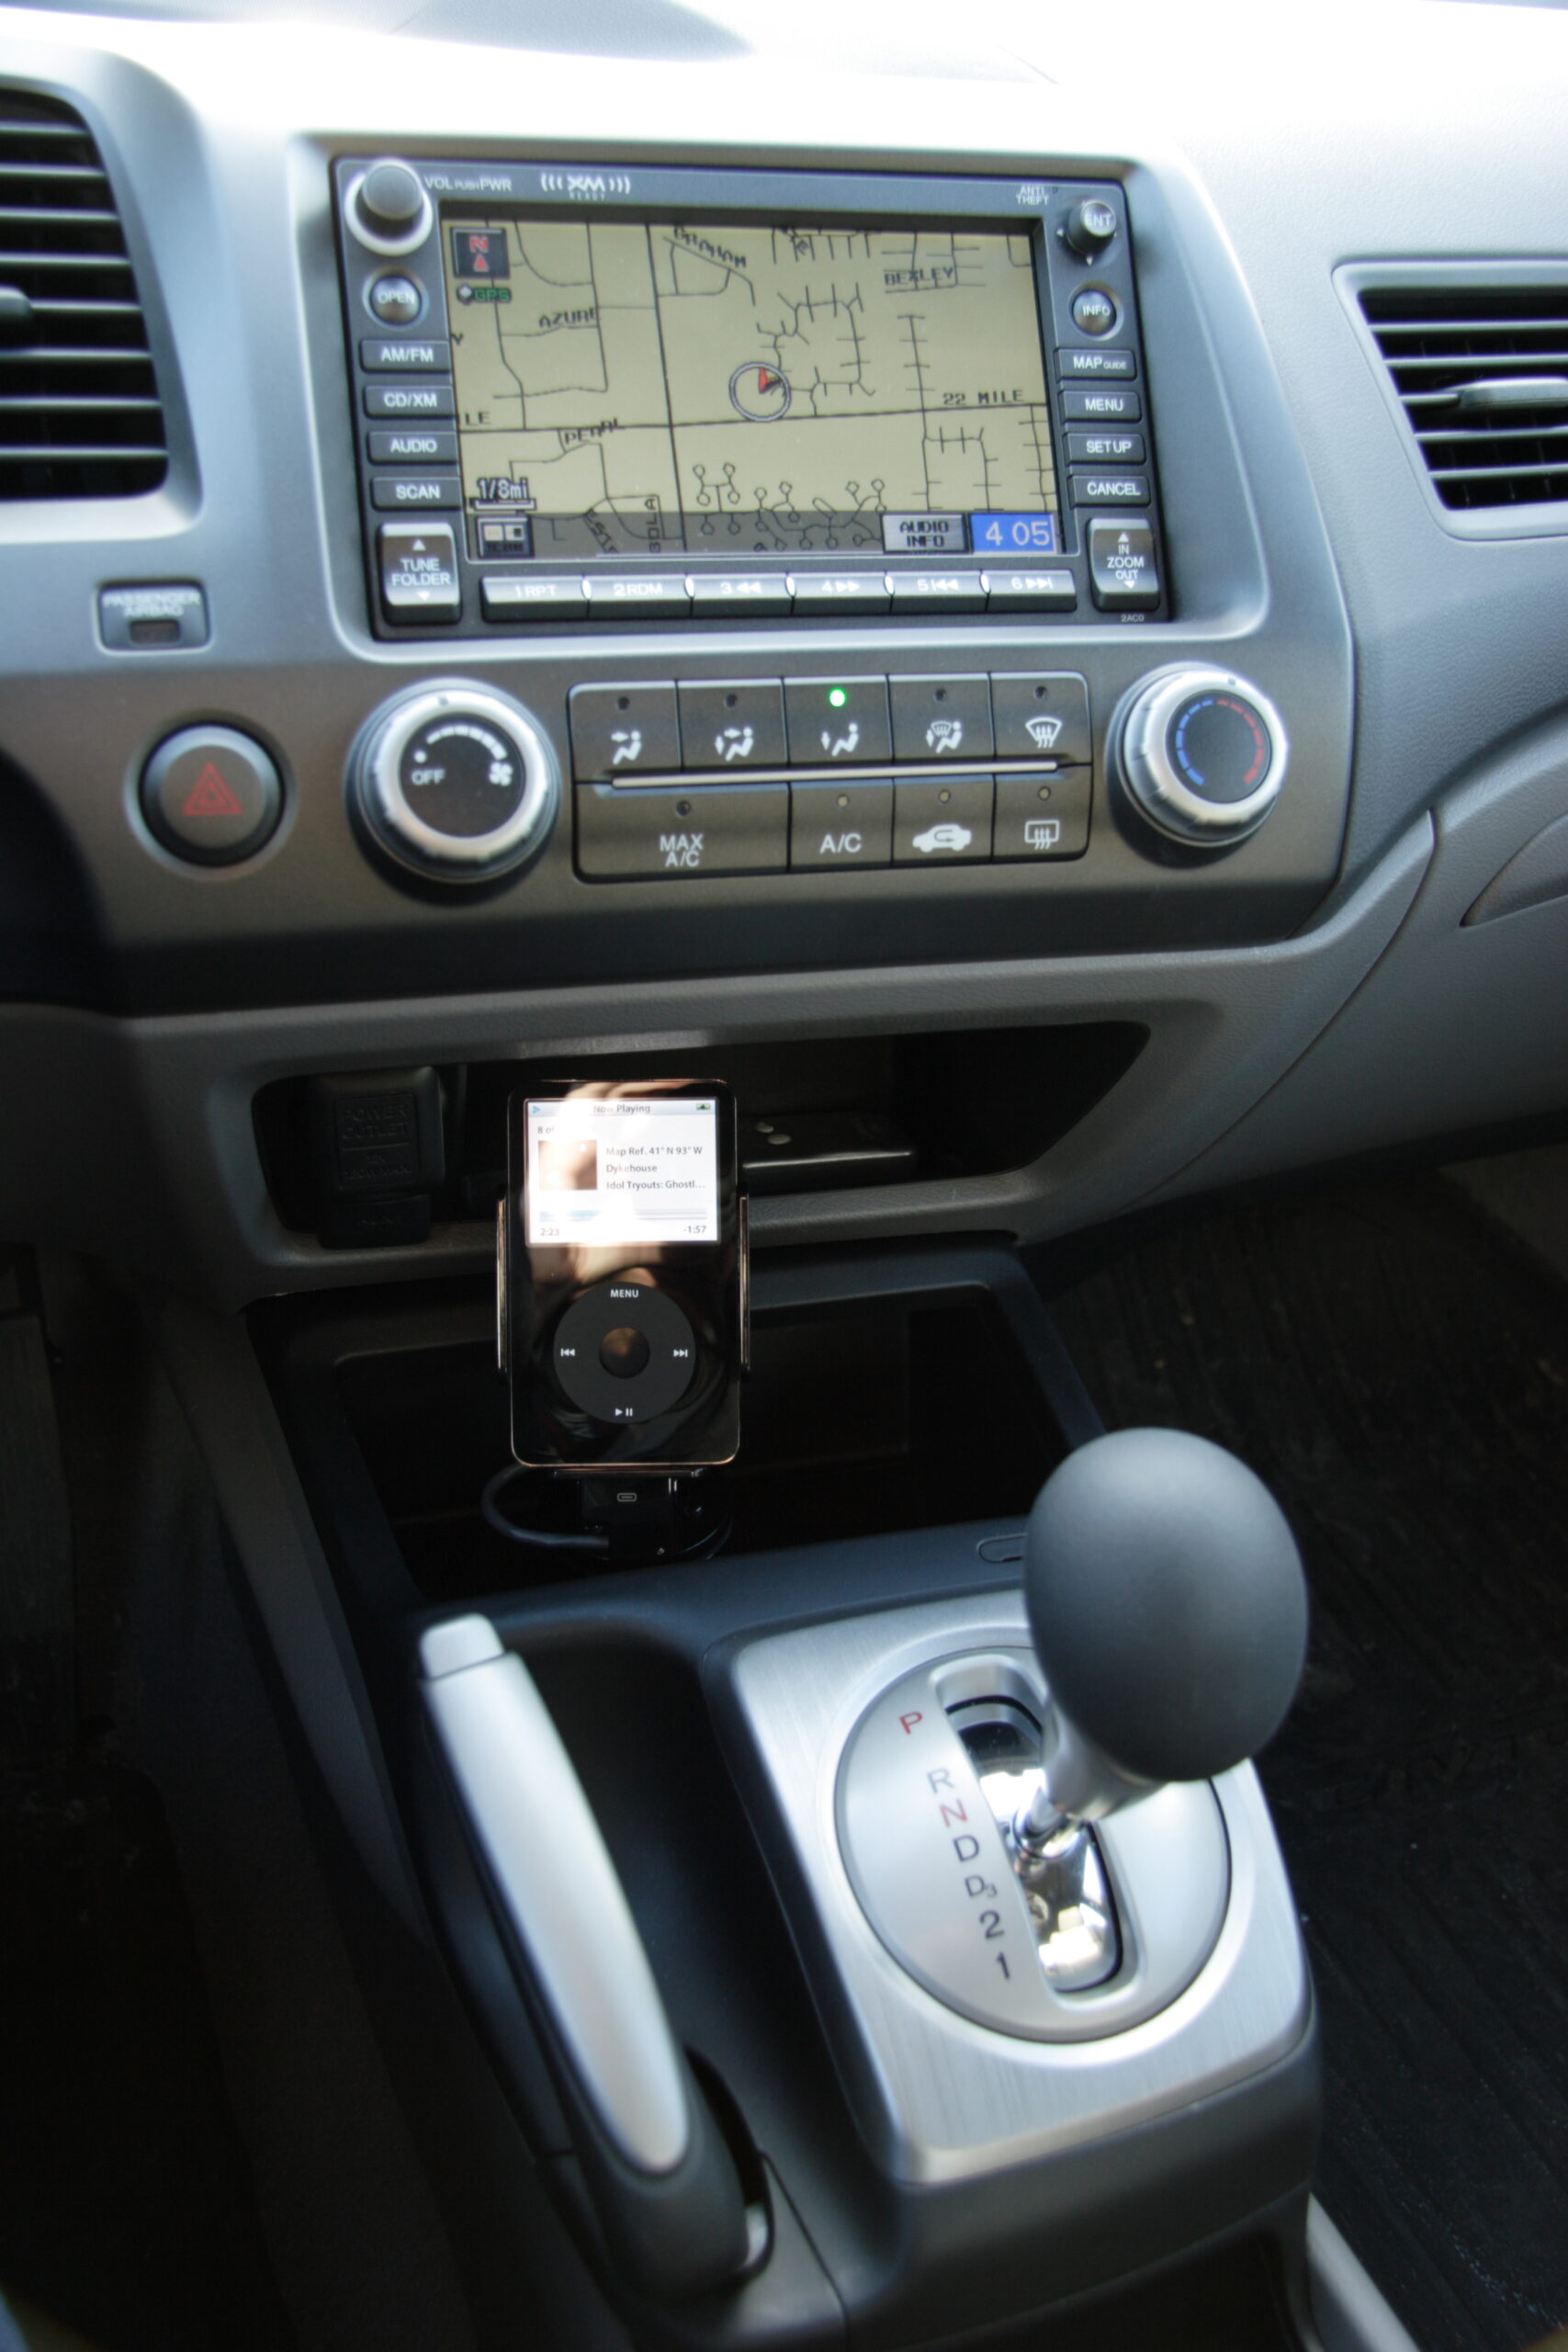
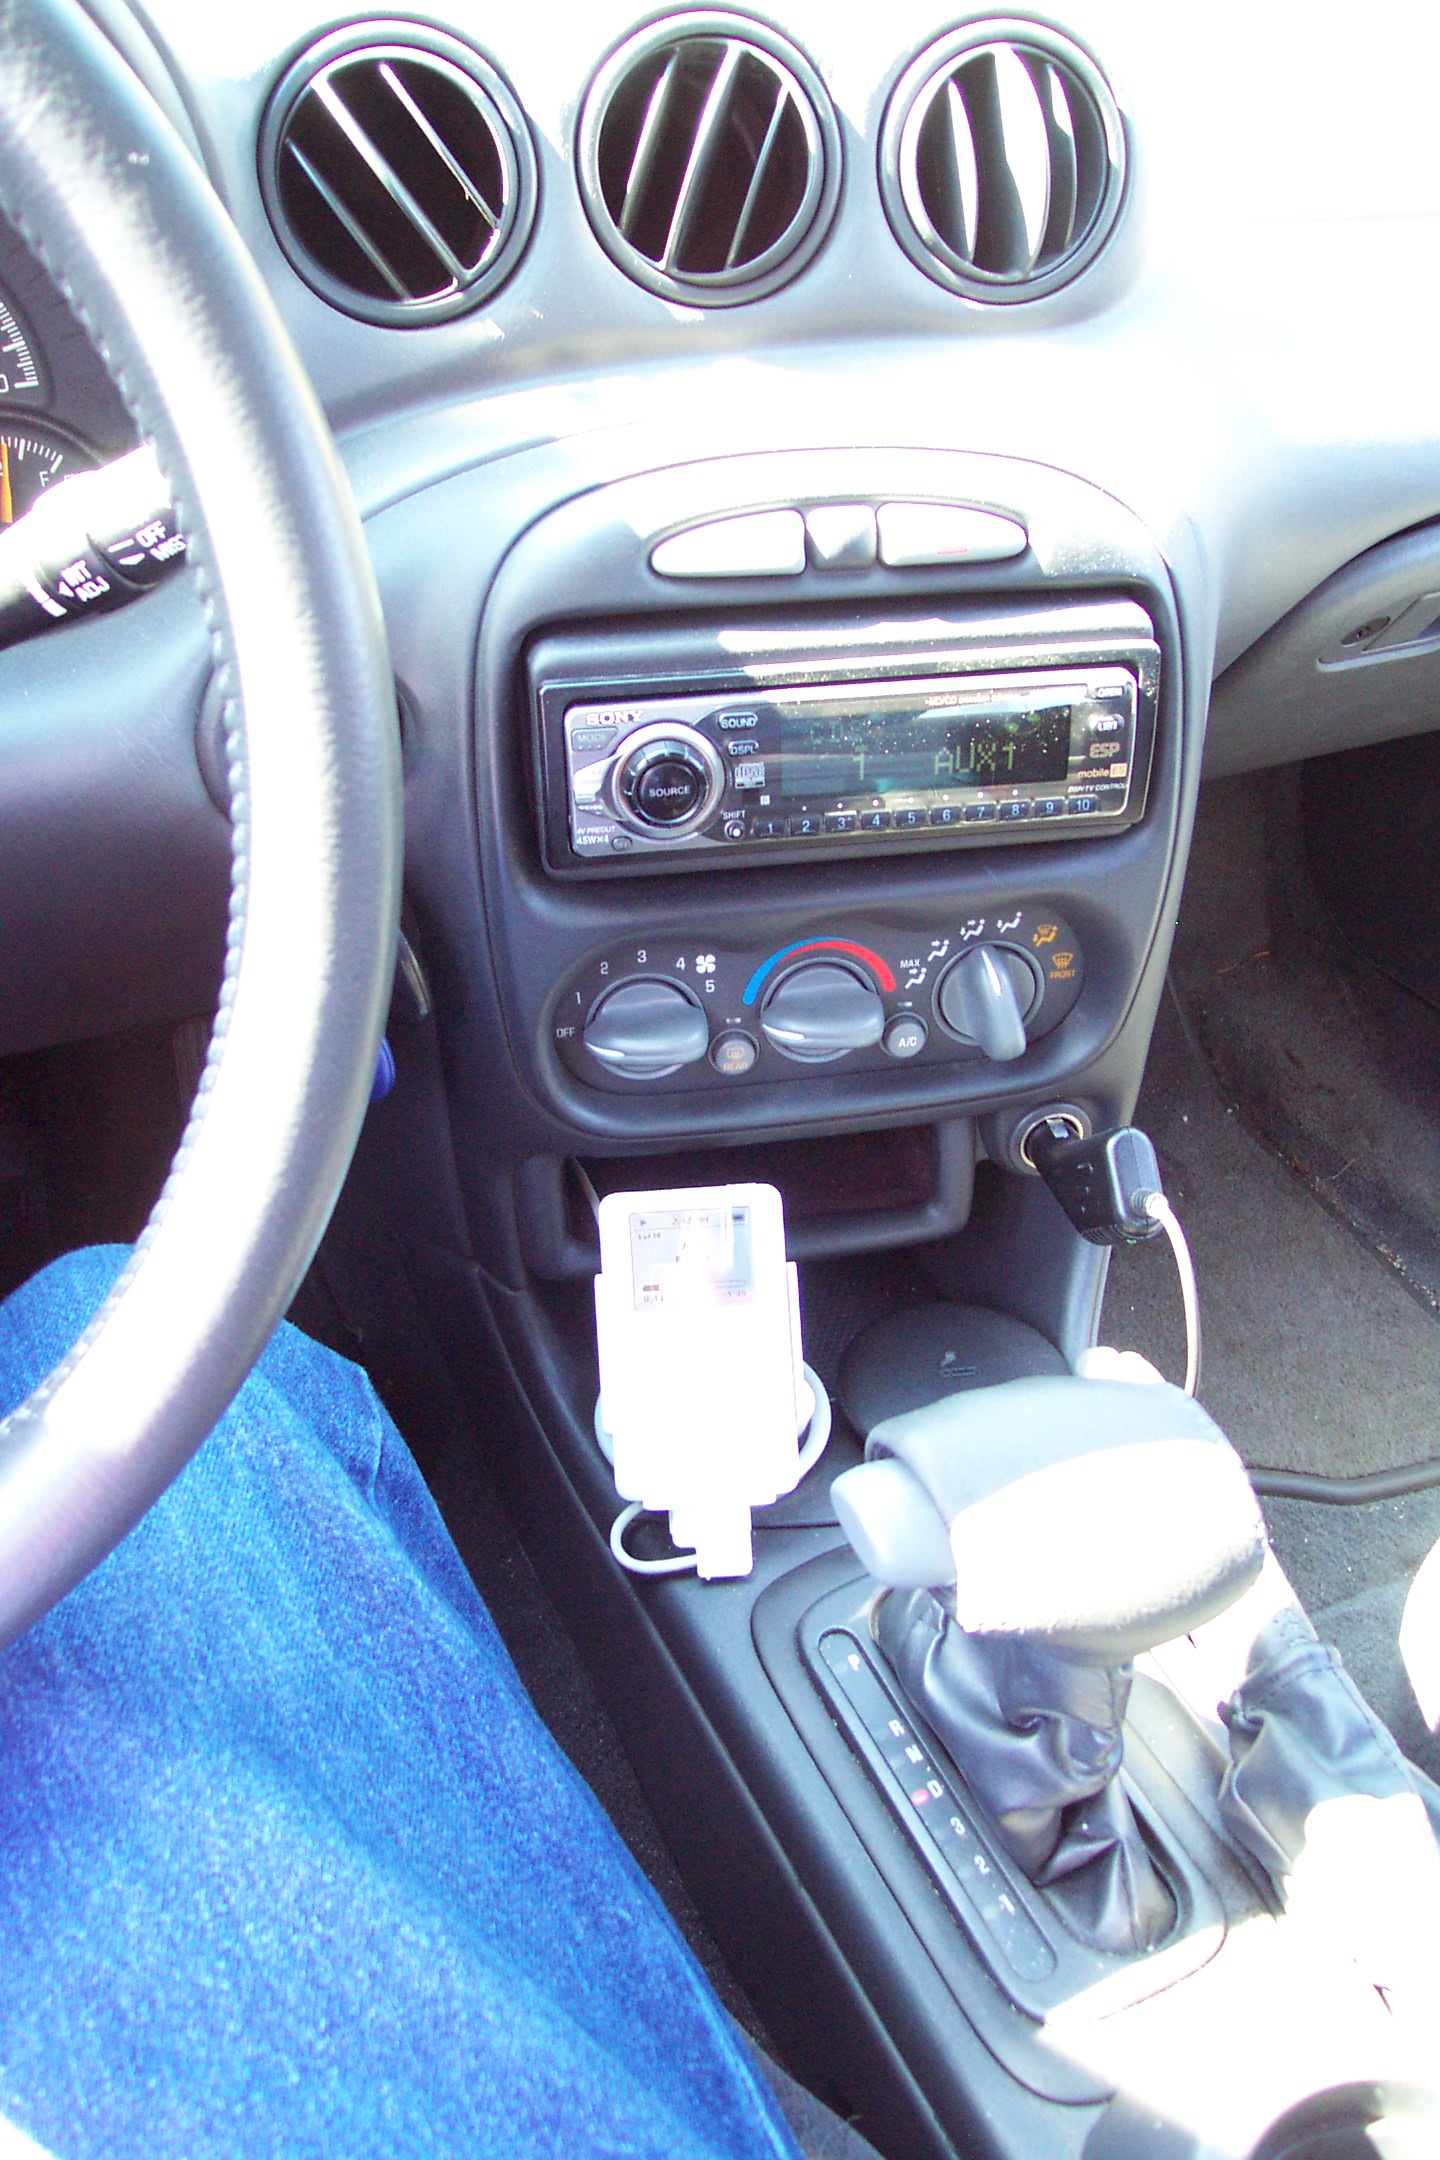
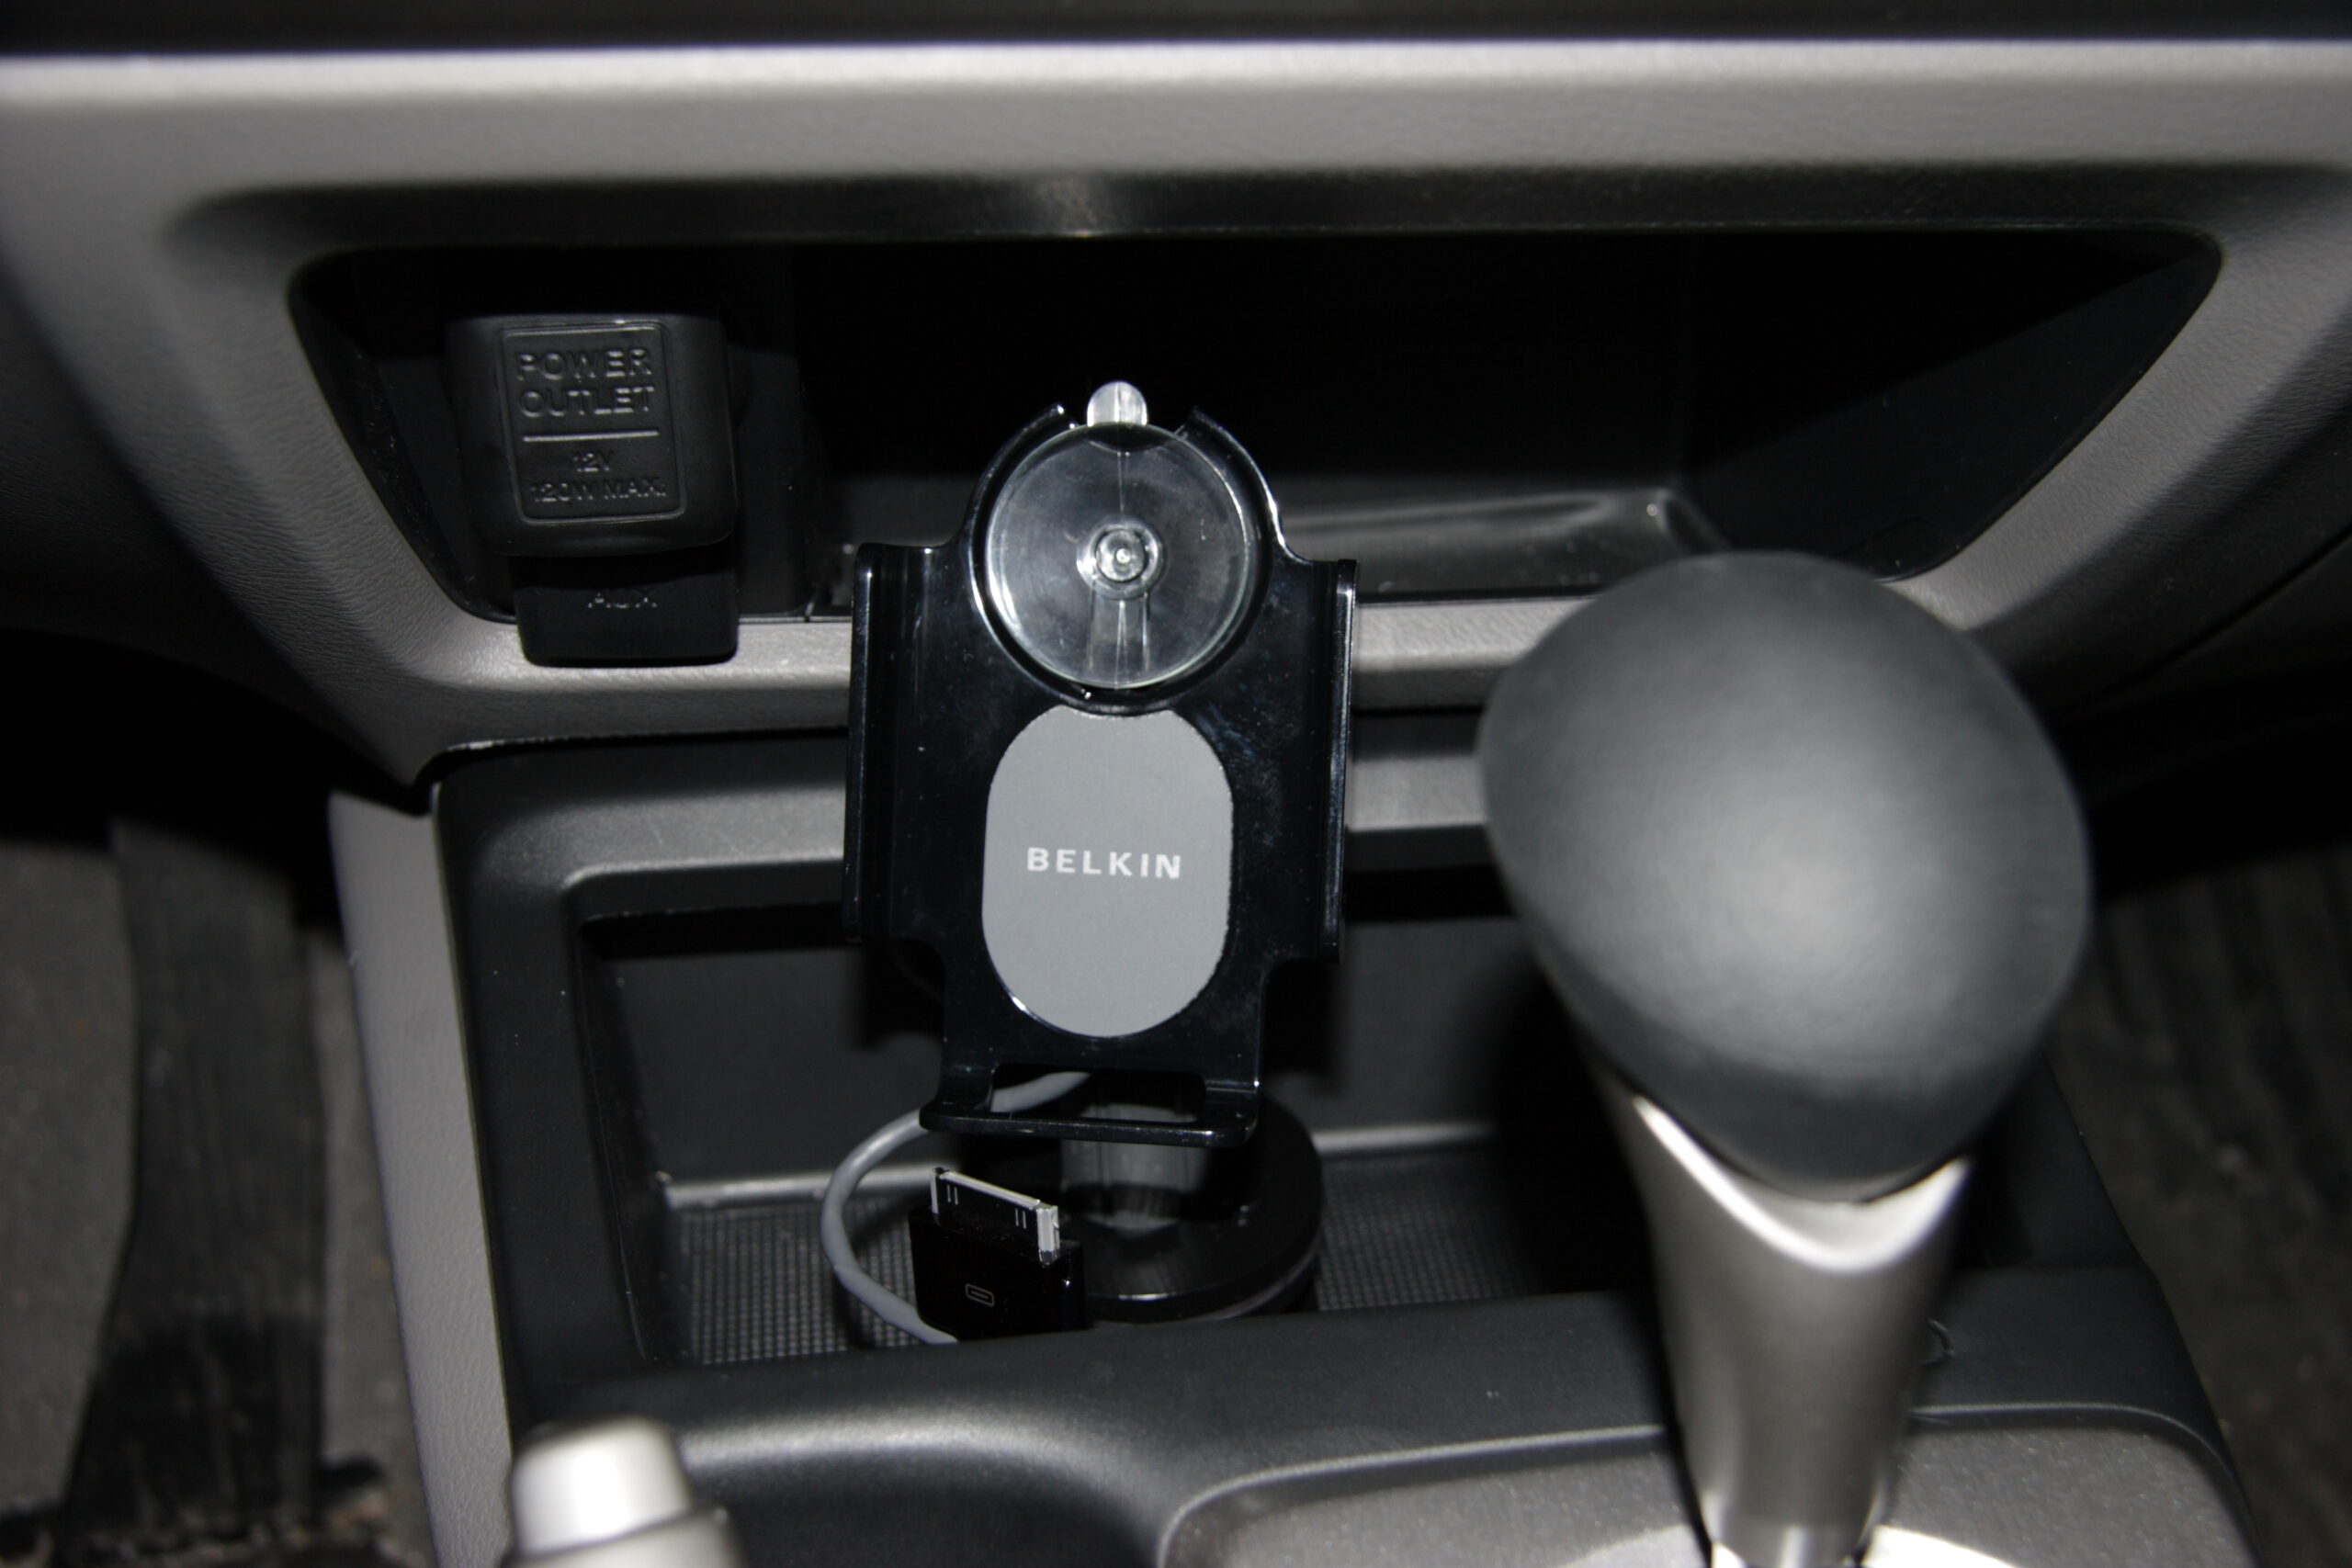
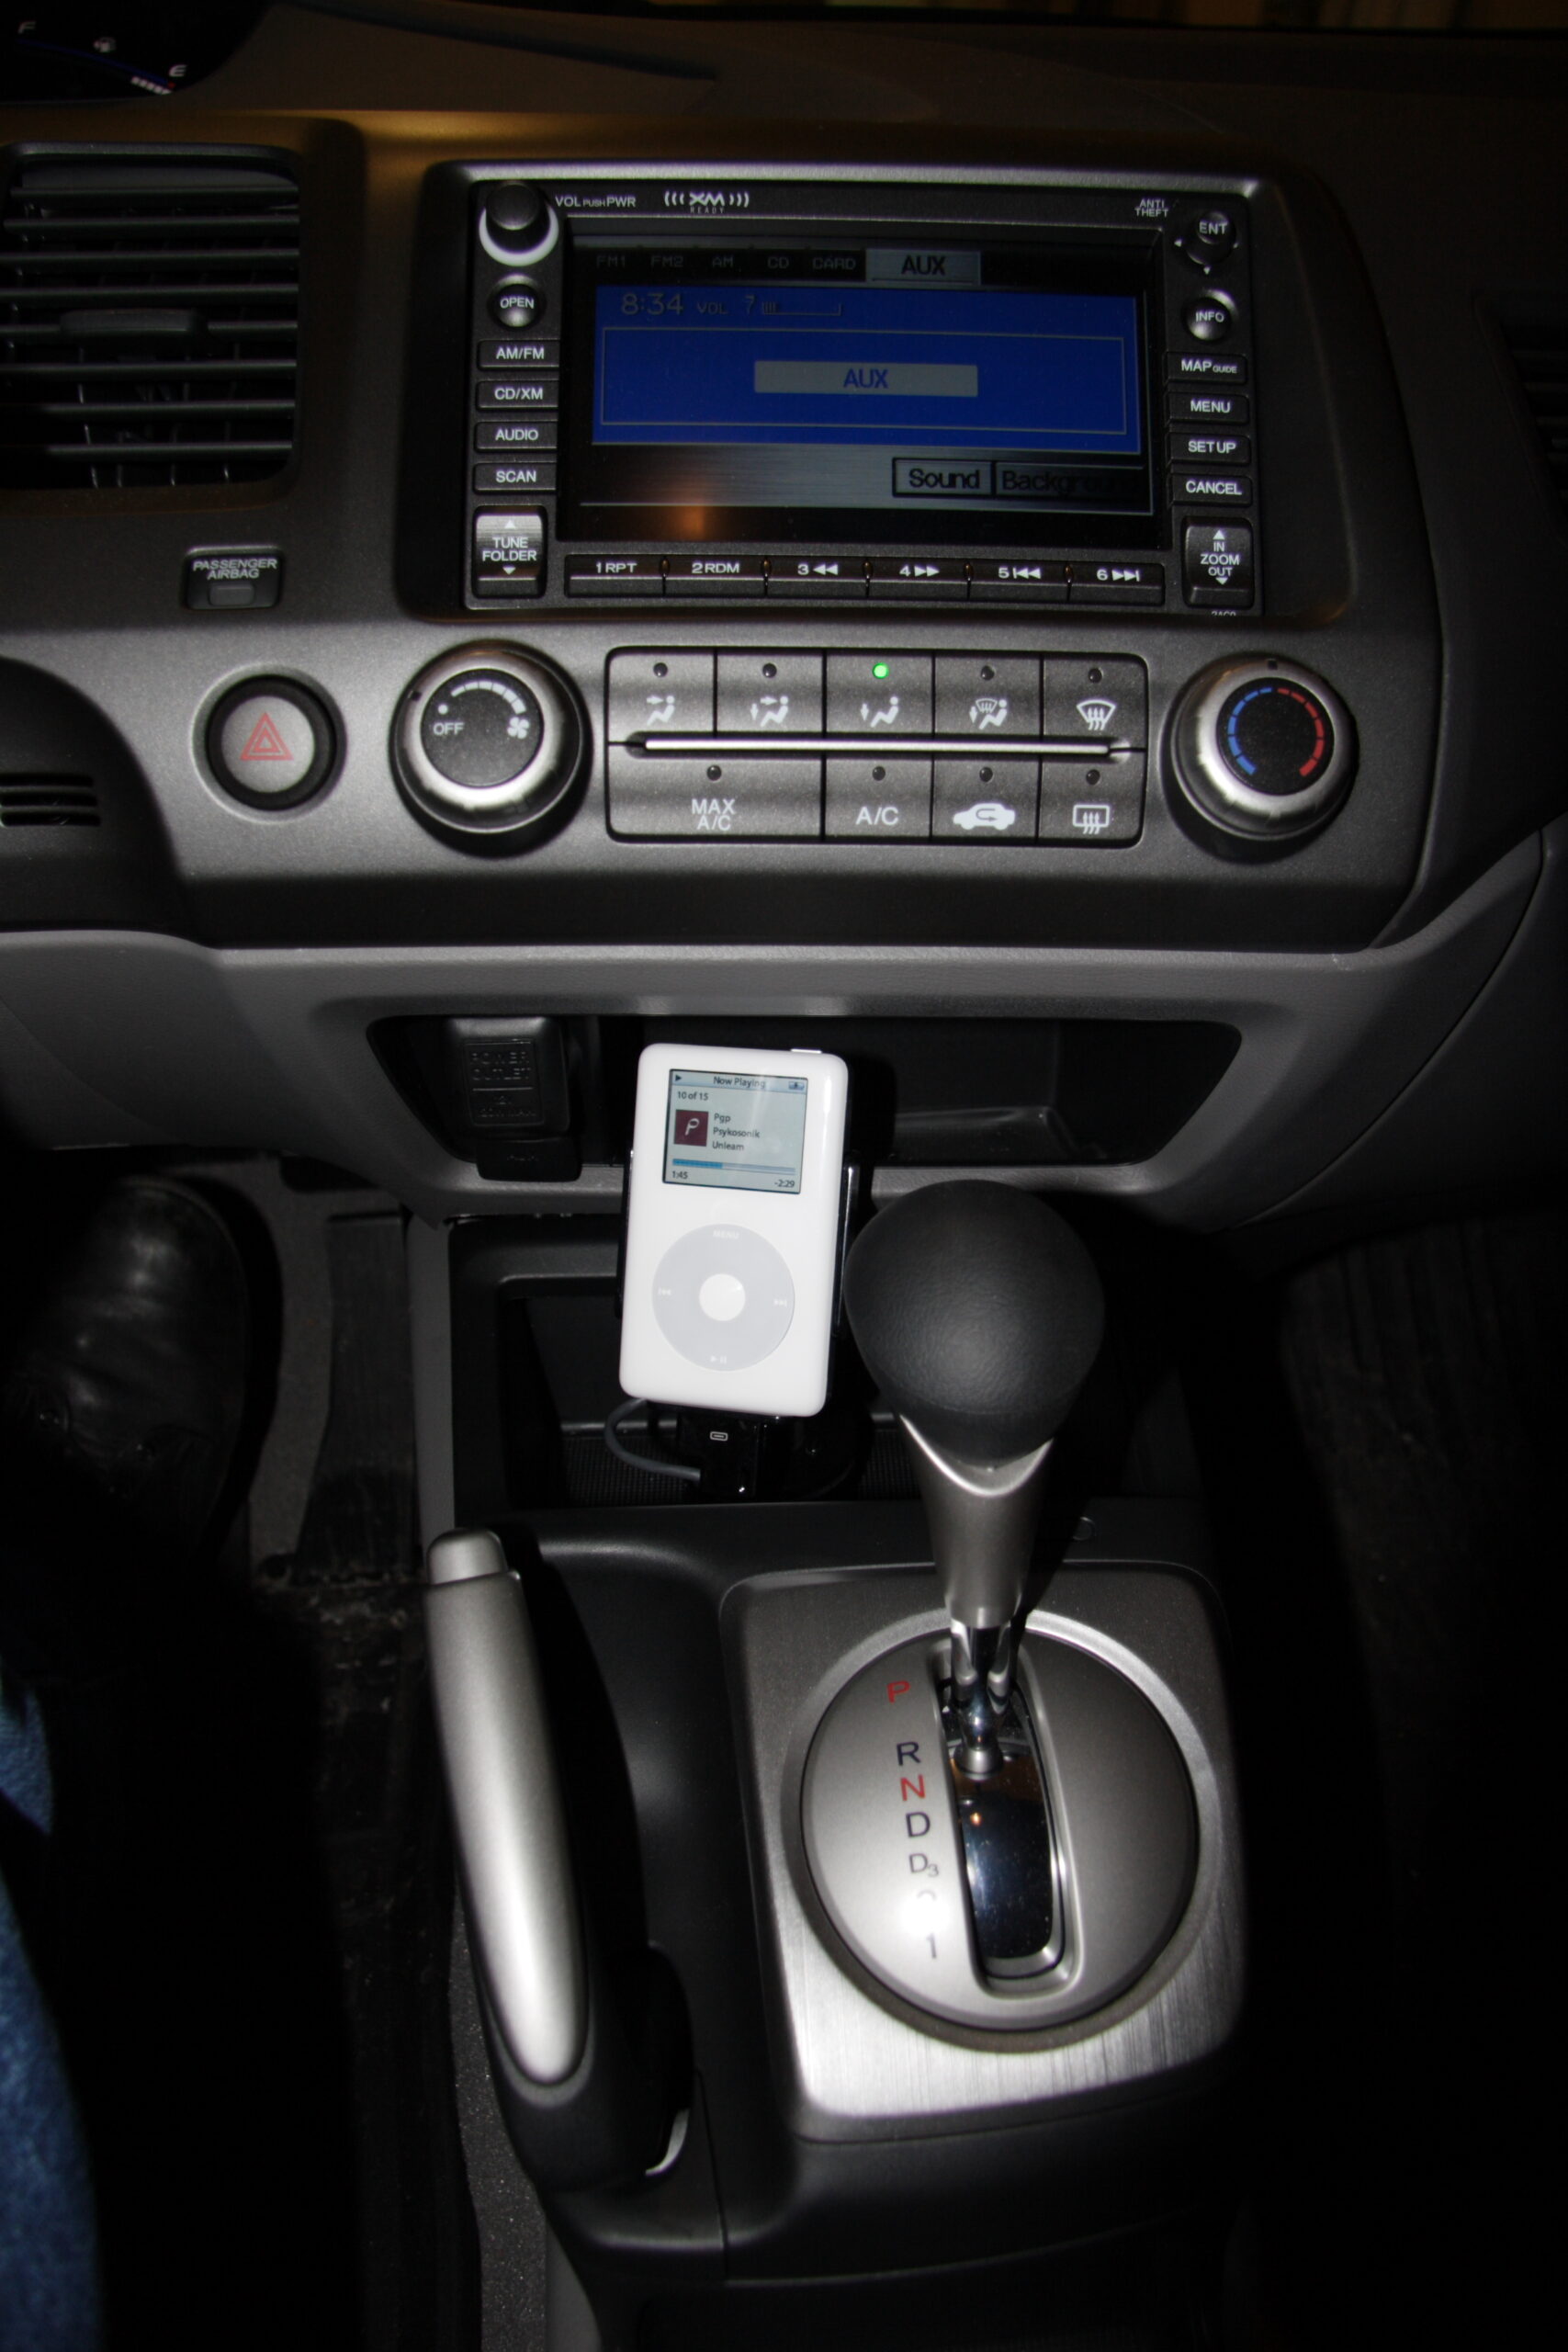
Okay, I just wanted to share this picture to show that my iPod installation all finished, with the new iPod in place. I have to say, I think it looks quite nice. This view here is pretty much what I see while driving…
So, yeah. It’s all set. I’m happy. Now I just need to clean up my work area in the basement. I was going to do that today, but I ran over at Waveform, and then I spent other bits of time straightening up my office and getting a few random things done.
Now it’s time to relax.
Hrm, more thinking about bulbs is leading me to believe that the GE Photofloods which I purchased earlier today just aren’t right for the job. I came across these Sunwave full spectrum compact fluroescent bulbs, which look like they may be just about right. 150W equivilent, CF, 5500K, and a CRI of 93, which should be plenty good for my needs. The bulbs will run about $60-something for four, but the lifetime on them should be great. I’m now thinking this may be the way to go…
At least I can return these bulbs, having not even used them. < shrug >
Additionally, instead of replacing the disk tomorrow I just rebuild the array, including the failing disk. It appears to complete offline SMART tests properly, so it looks like it’s just beginning to have issues. I’ll replace it when I have more time… It seems to be working for the time being, though.
UPDATE: I just got off of the phone with Cindy from Cloud Dome during which time I ordered four of the aforementioned CF bulbs. I’m going to return the three GE BCA lamps to Camera Mart on Thursday, return the non-daylight ‘Daylight Plus’ lamp to Lowes, return the crappy CFs to Home Depot tomorrow, and pick up one more clip-on work light. This should work out well.
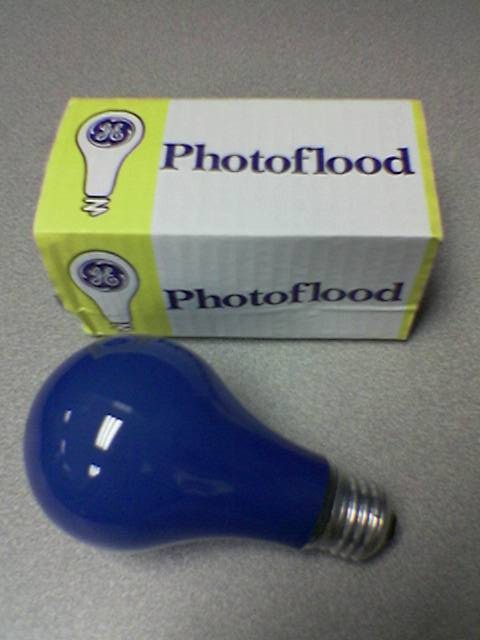
Well, as was suggested to me, I ended up going to Camera Mart at lunch and buying three of the 250W daylight GE Photofloods, product BCA. My only concern is that they are only listed as having a 3-hour life, but I’m hoping that means 3 hours at the particular temperature. As long as they drift uniformly, that should be fine with me. Price was US$3.99 each, so I figure it’s worth a try. May as well use the proper item.
UPDATE: It seems that one can also get compact fluorescent bulbs with a CRI of 93, and a temp of 5500K. They are probably going to be around US$15/each, so maybe I’ll order some of these for working with in a few weeks. For now I’ll play with these photofloods and hope I don’t burn any out. :)

Here is the first test image from my hackjob photo lighting rig. It has been white balanced, the saturation turned up to +2, and cropped somewhat. Best I can tell, (thanks to Photoshop’s Camera Raw plugin and clicking on a grey card) the lights are putting out ~2850 light, which I’m able to compensate for, even though it’s really, really low. Also, I can’t help but think I’m blowing out the side of the bottle with the way the lights are setup right now. I think they need to be moved or I need to get a soft box or something.
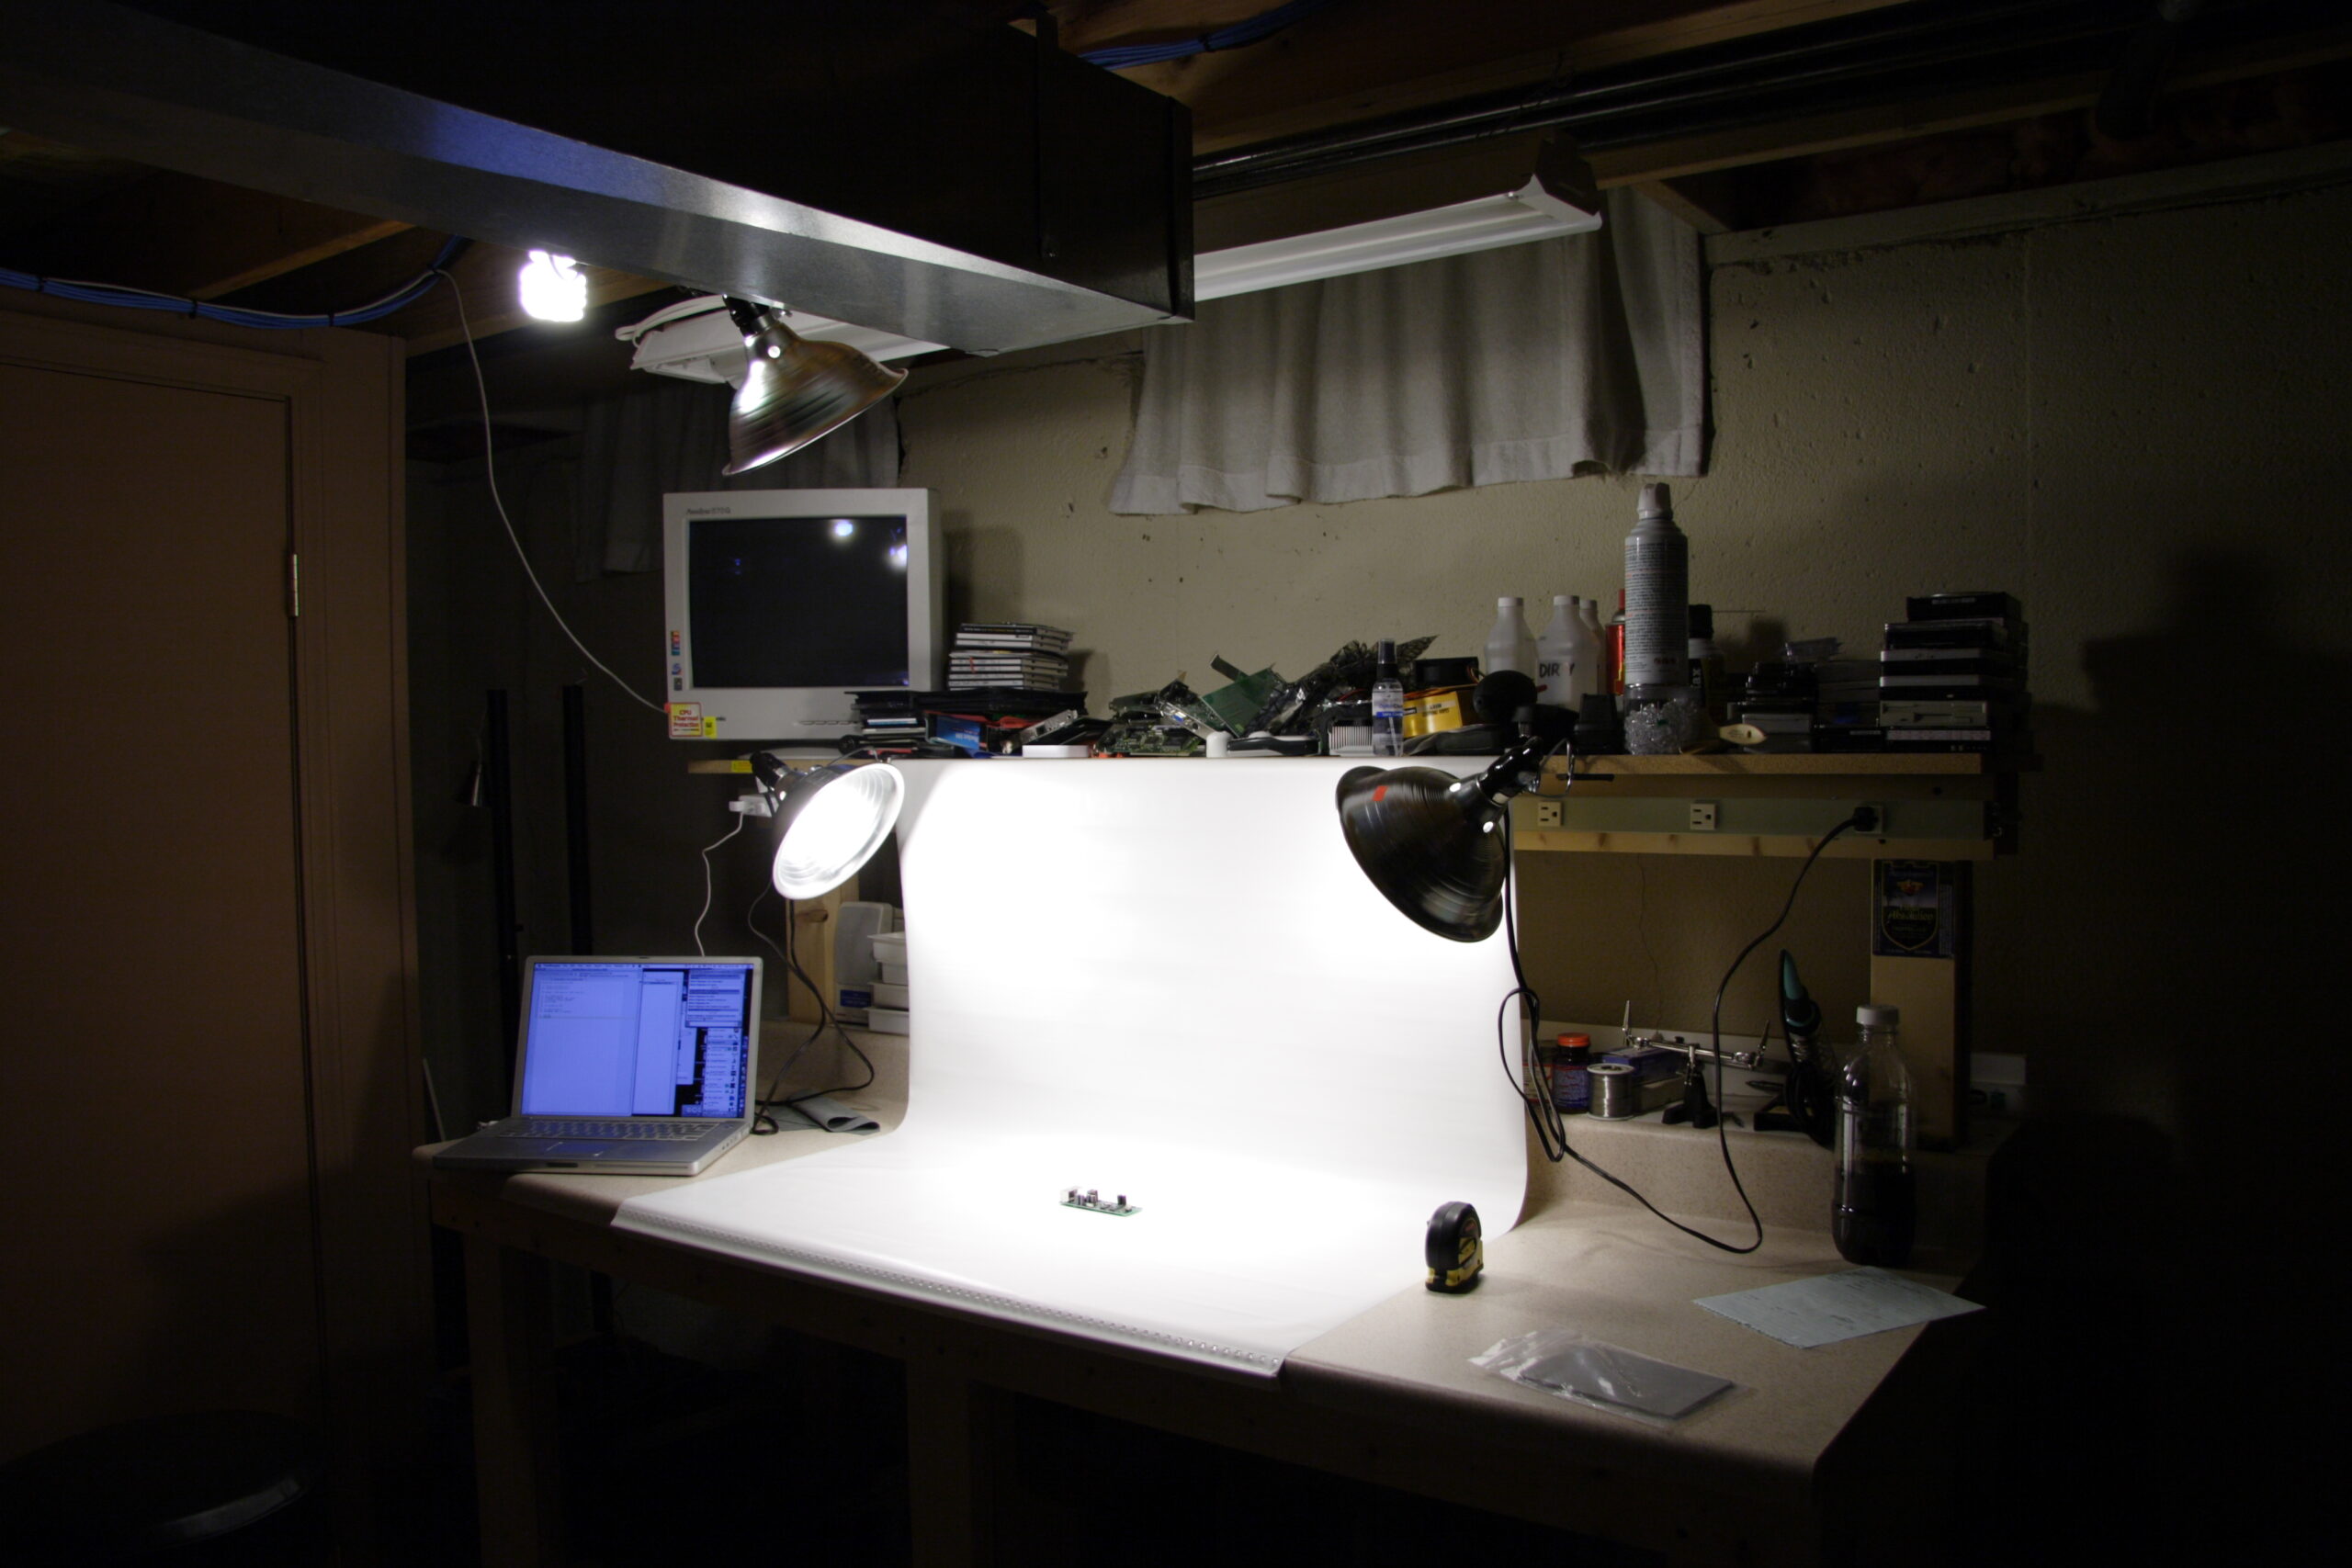
Anyway, if you are curious, this is how I have it set up for now, although I have tried moving the lamps around to the sides of the bench, and changing the angle at which the backdrop hangs. Most importantly, I think I first need to get decent temperature bulbs, then some sort of soft box, either for the lamps or to put the object being photographed in. We’ll see…
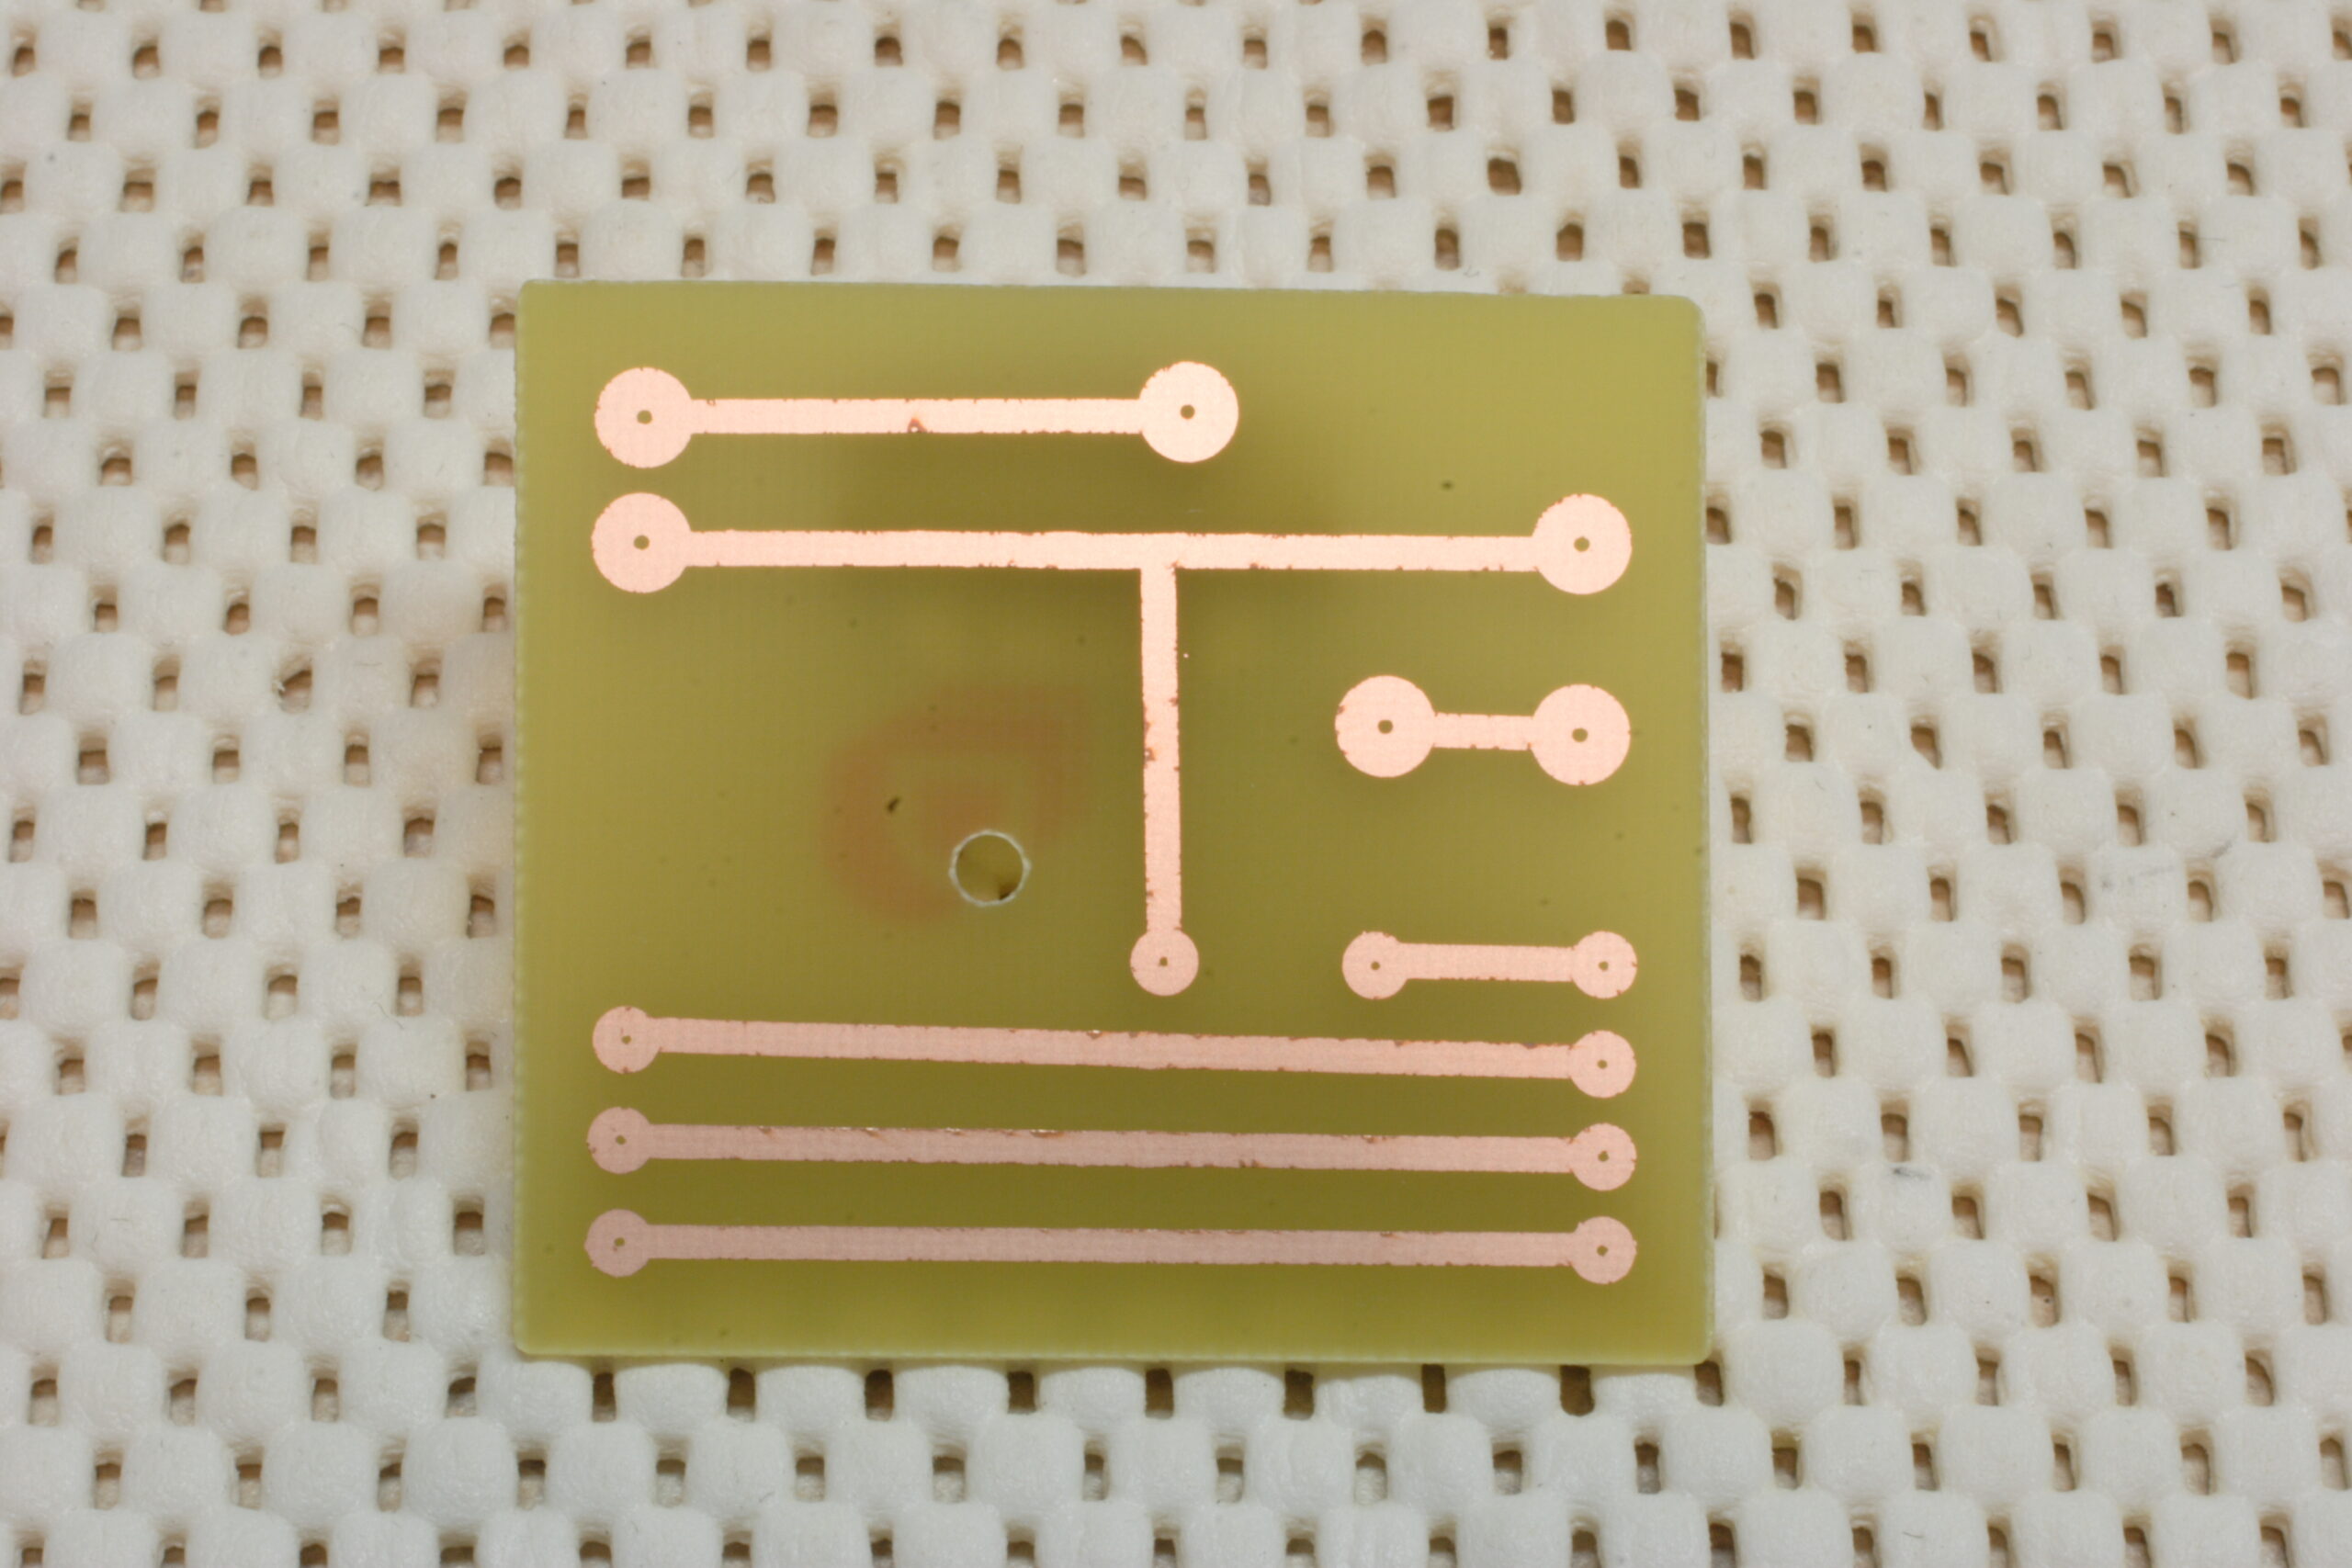
So I’m sitting here with a disassembled Honda Music Link interface box (P/N 08A28-1H1-1000-01) on the workbench. It appears that the PCB inside is double layer, so I don’t think I’ll have too much of a problem making a schematic from it.
Now I just need to find some good software for making schematics… I used to poke around with Eagle, but I haven’t used that in quite a while.
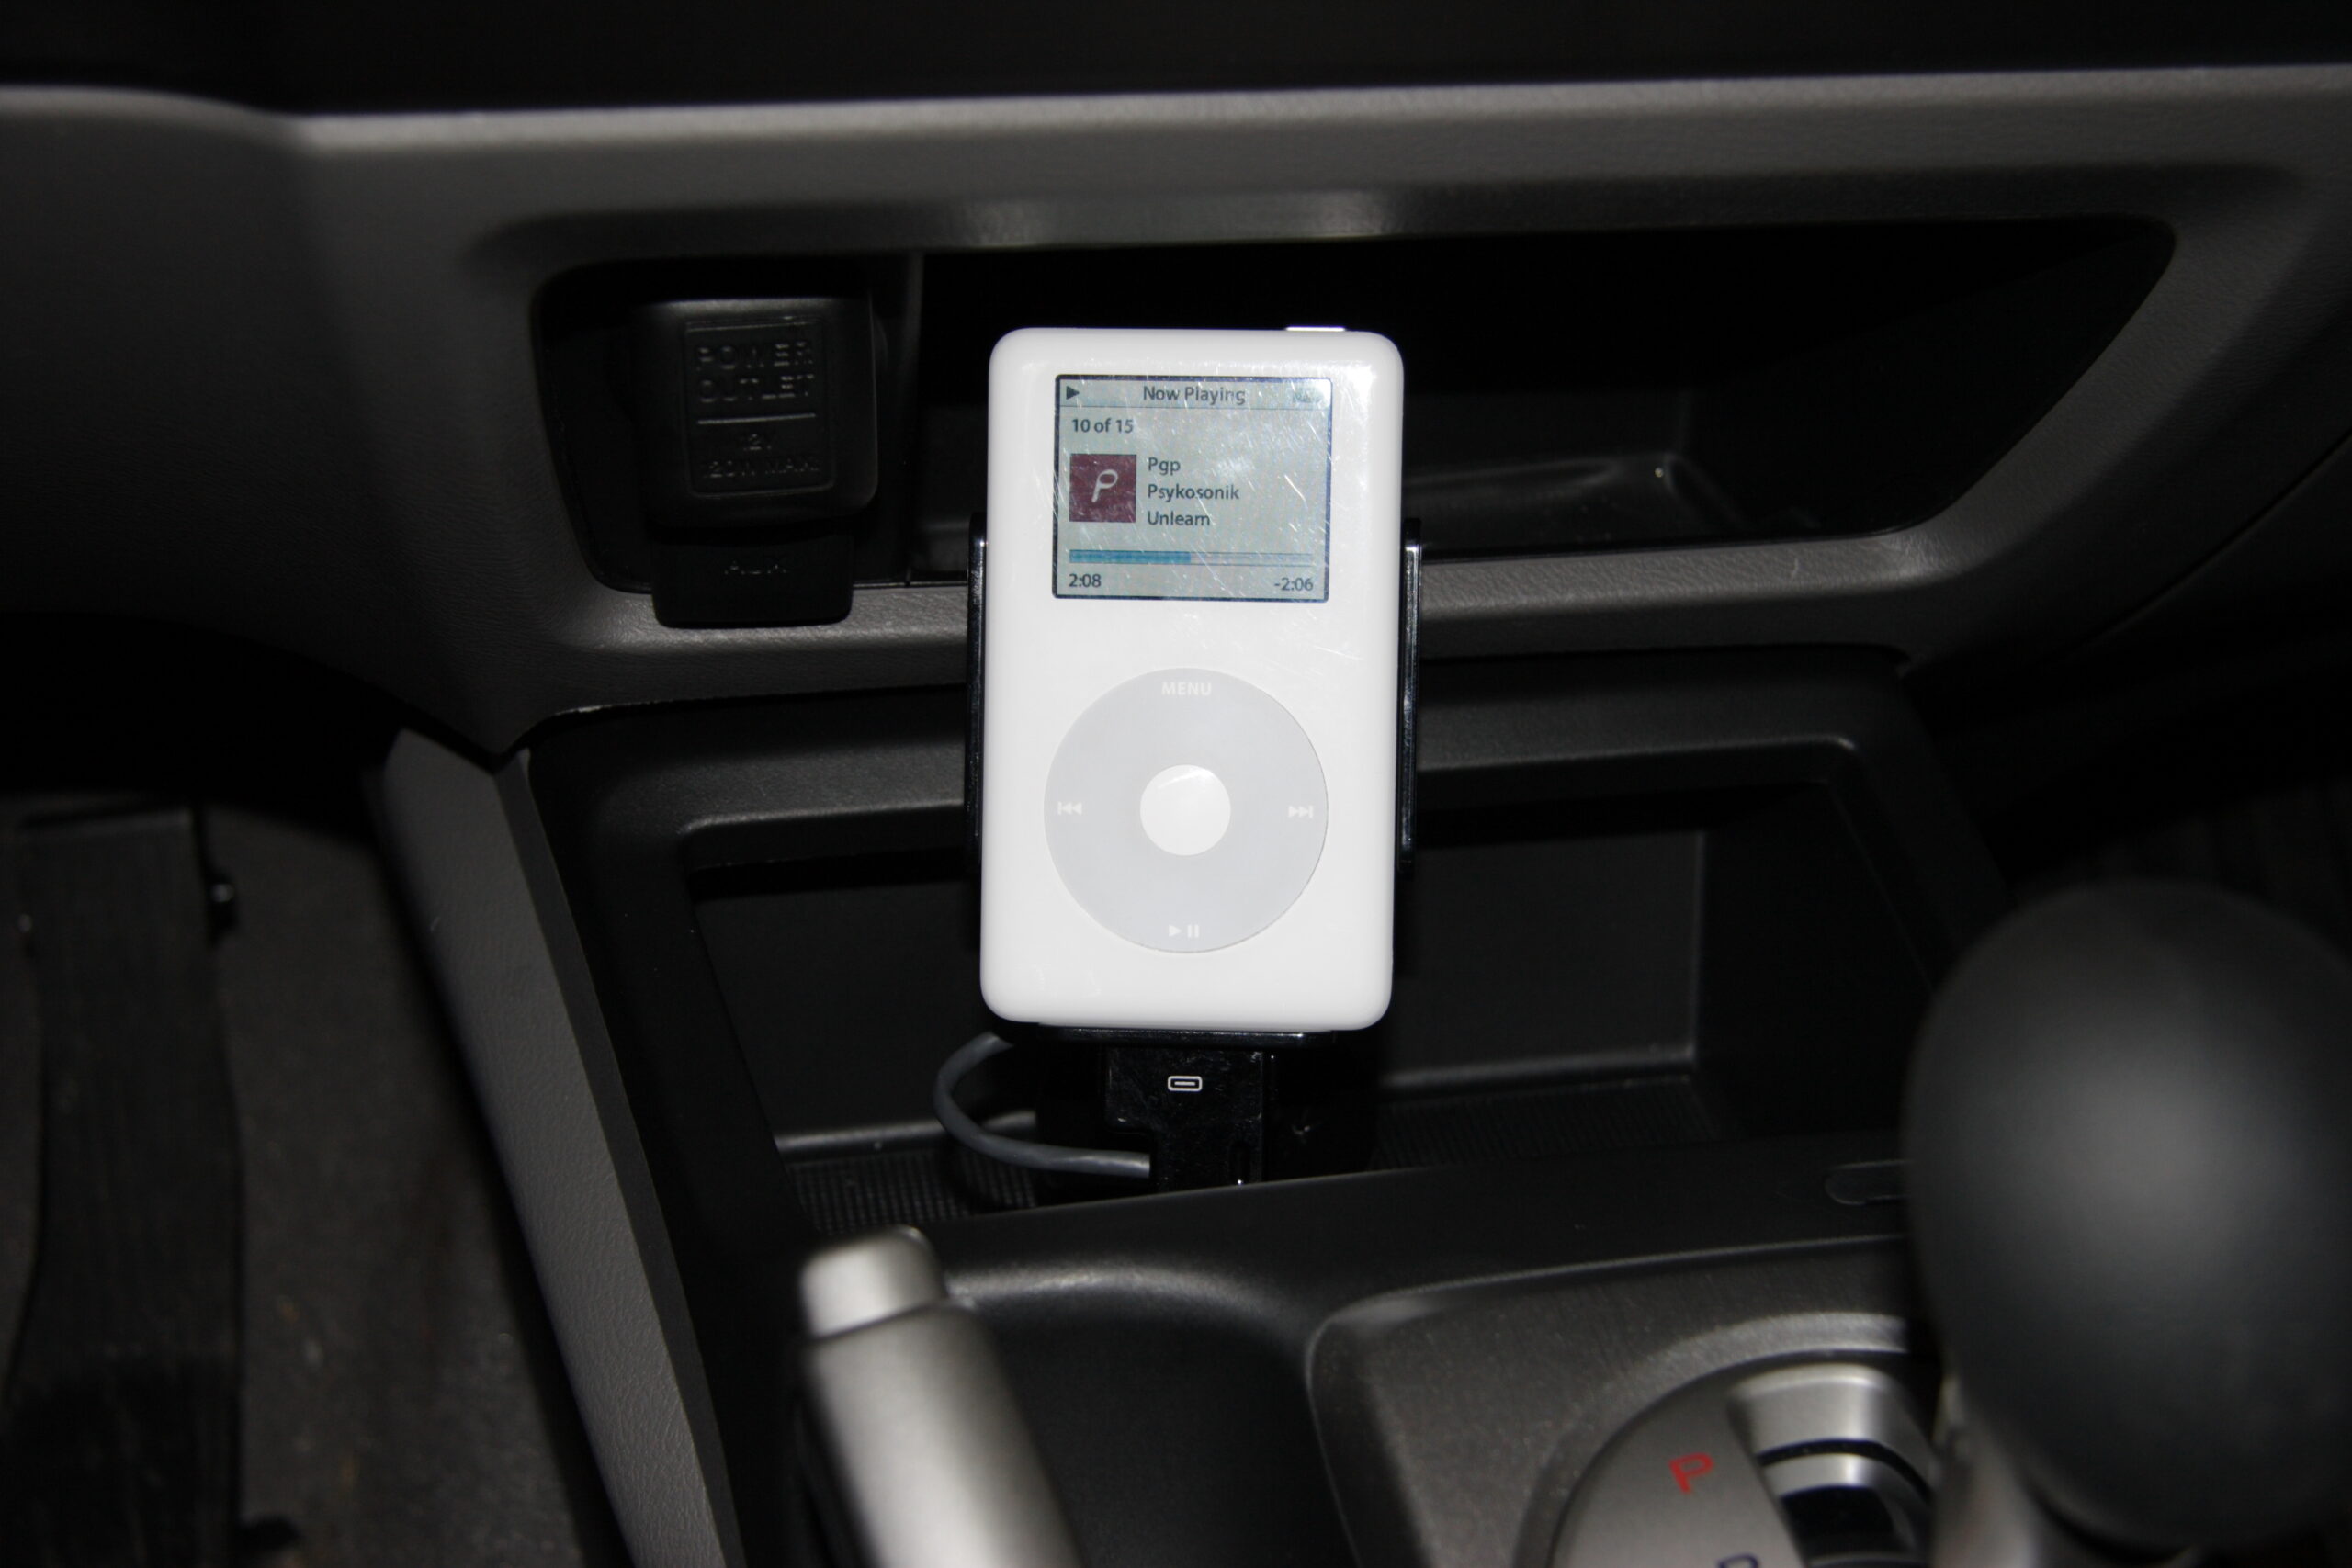
Well the white iPod stands out a bit in the all grey and black center console, that doesn’t stop it from working.
Yes, it’s done. Completely done.
That is, the iPod adapter I’ve been working on for a good part of the last week and a half or so has finally been completed. Designed as a replacement for the Honda Music Link which gave me so much trouble (photos here (photo gallery retired)) it does exactly what I want and works exactly as designed. It firmly holds the iPod in place, plays audio through the factory Aux In, is within arm’s reach of the driver, and keeps the display in sight at all times.
As was proven with the iPod setup in my previous vehicle, such a setup works very well. I had originally intended to make such an adapter right after I originally accepted delivery of my 2006 Honda Civic EX (photo gallery retired), I was convinced to wait for a factory adapter, the Honda Music Link, by the promises made in this press release. Most people who read this journal know how that ended up going, although I guess the events surrounding it made it much easier for me to make the adapter. With one person providing me some nice technical detail about the pinout in 2006 Civics, people to bounce ideas off, and just with it regularly being on my mind, things seemed to work out pretty good.
That all said, here’s a few notable photos from both last night and today’s work:
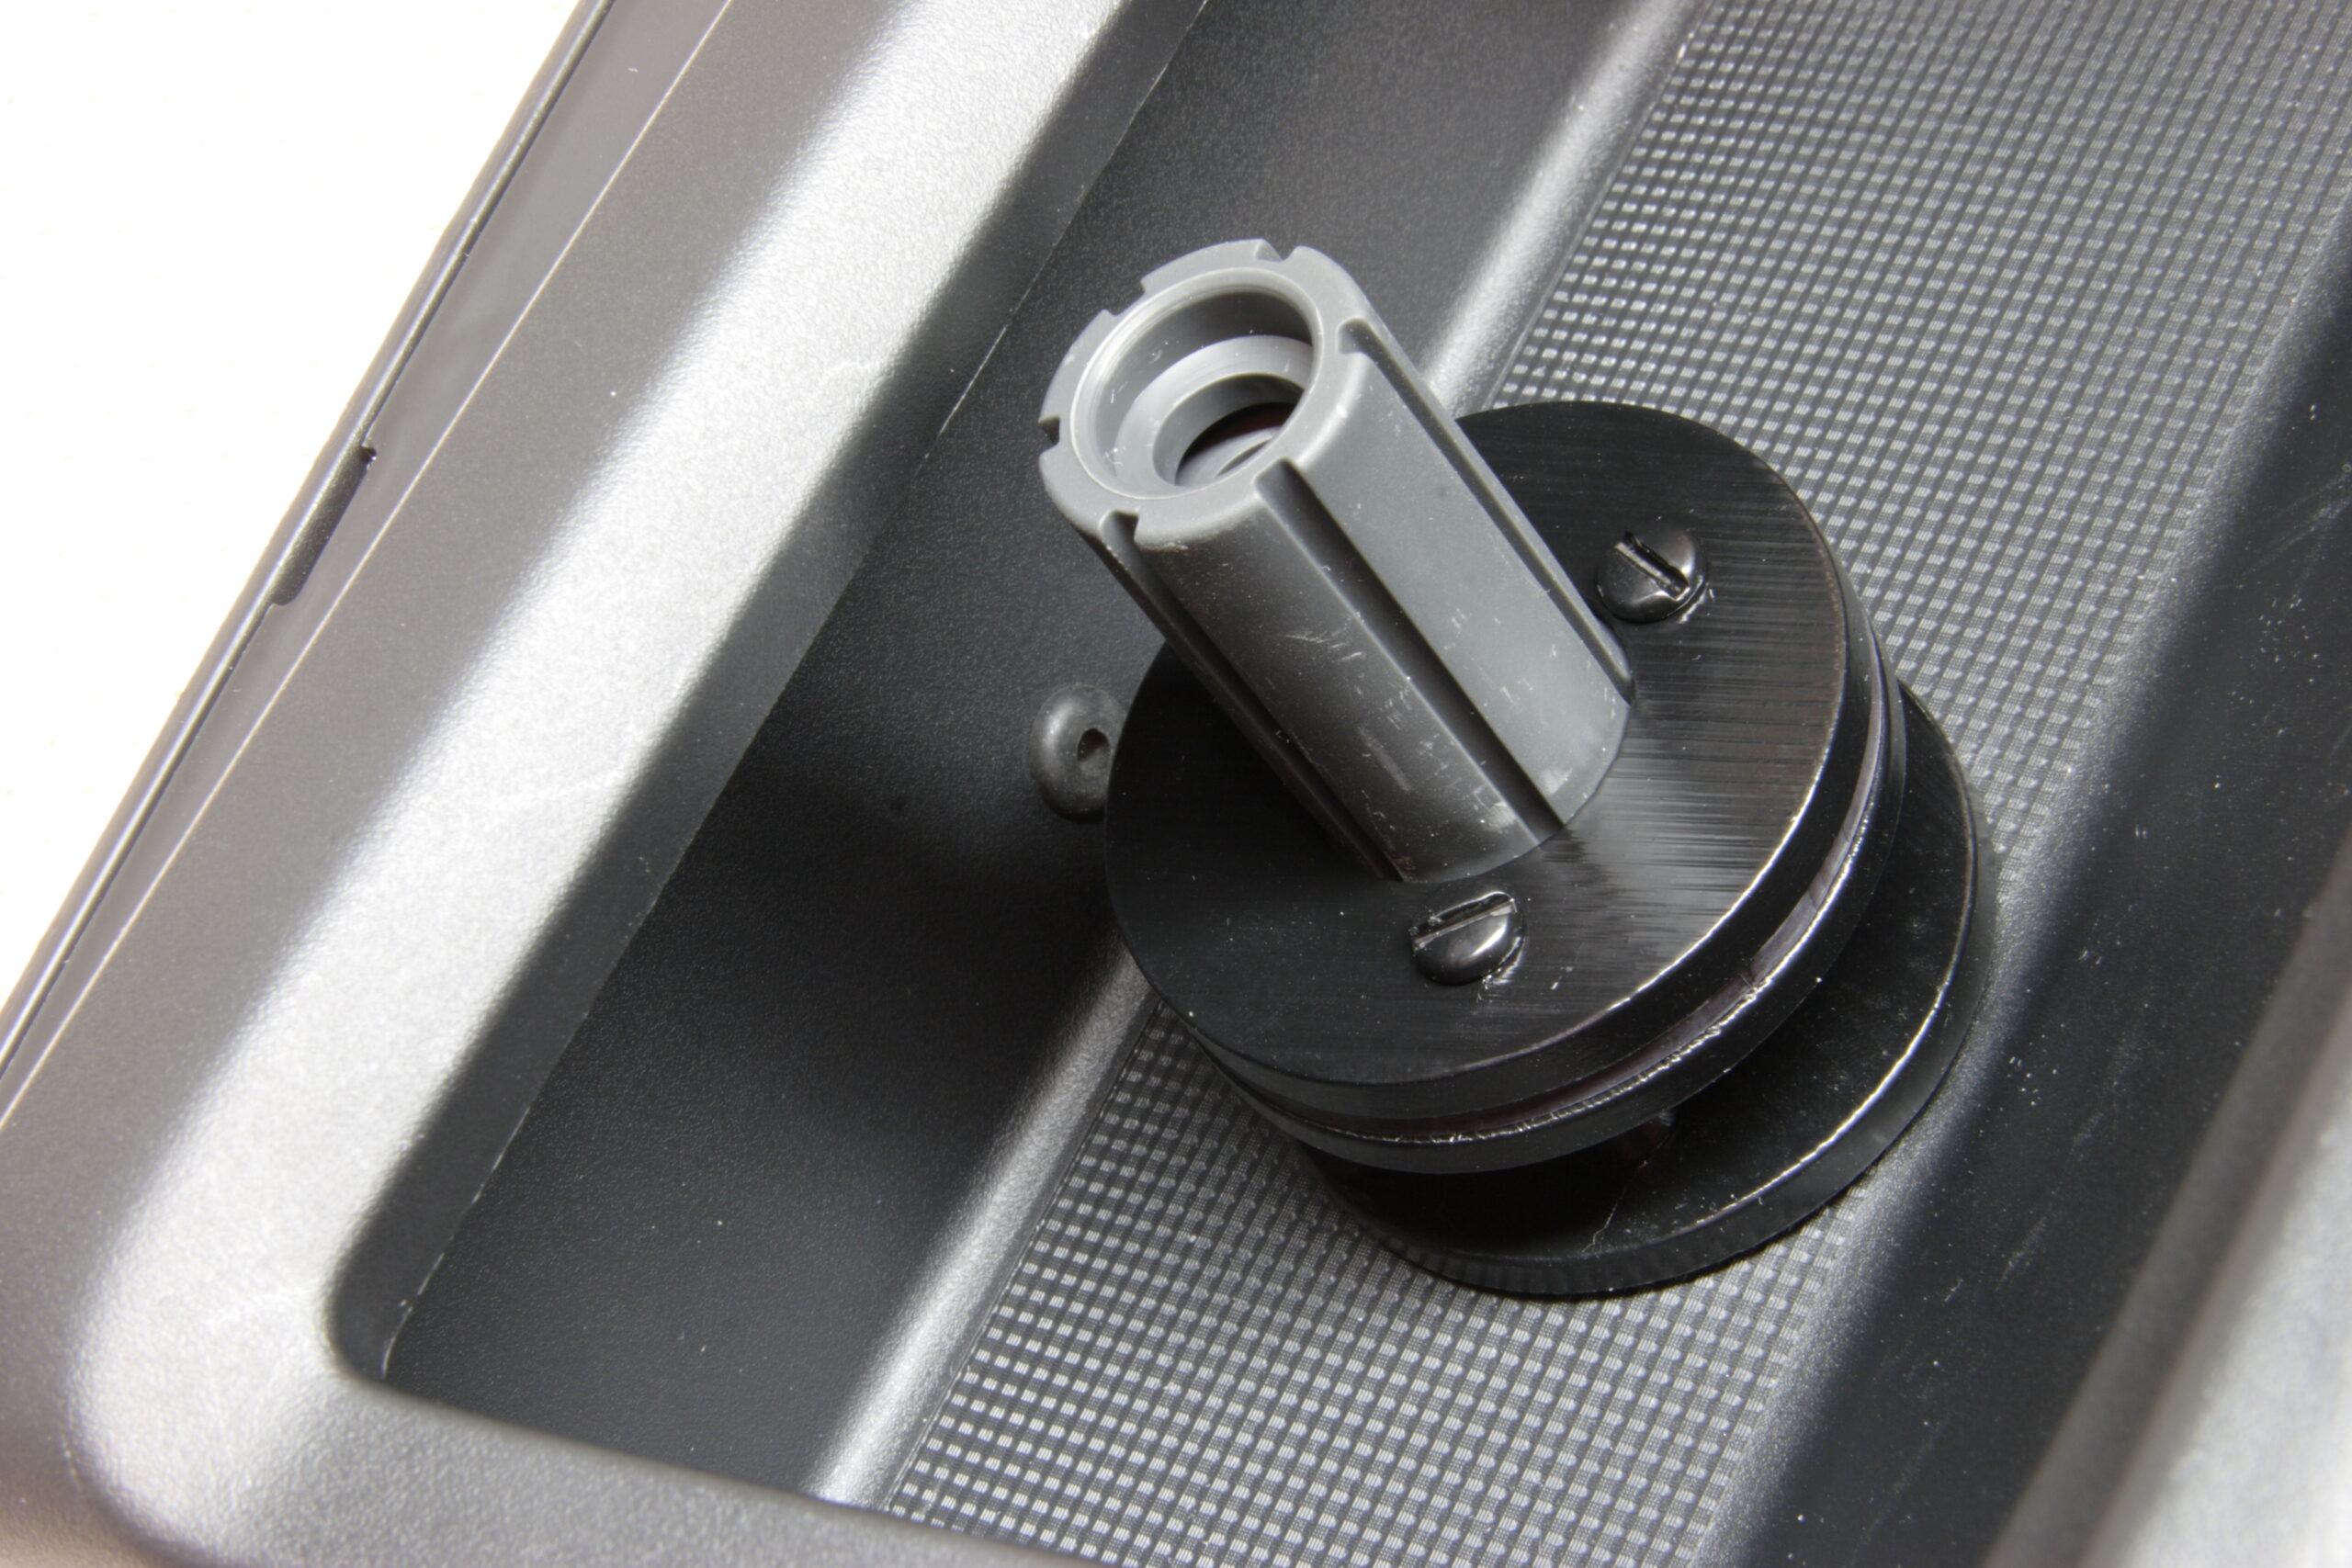
· The base of the iPod holder bolted into the trim piece from the center console.
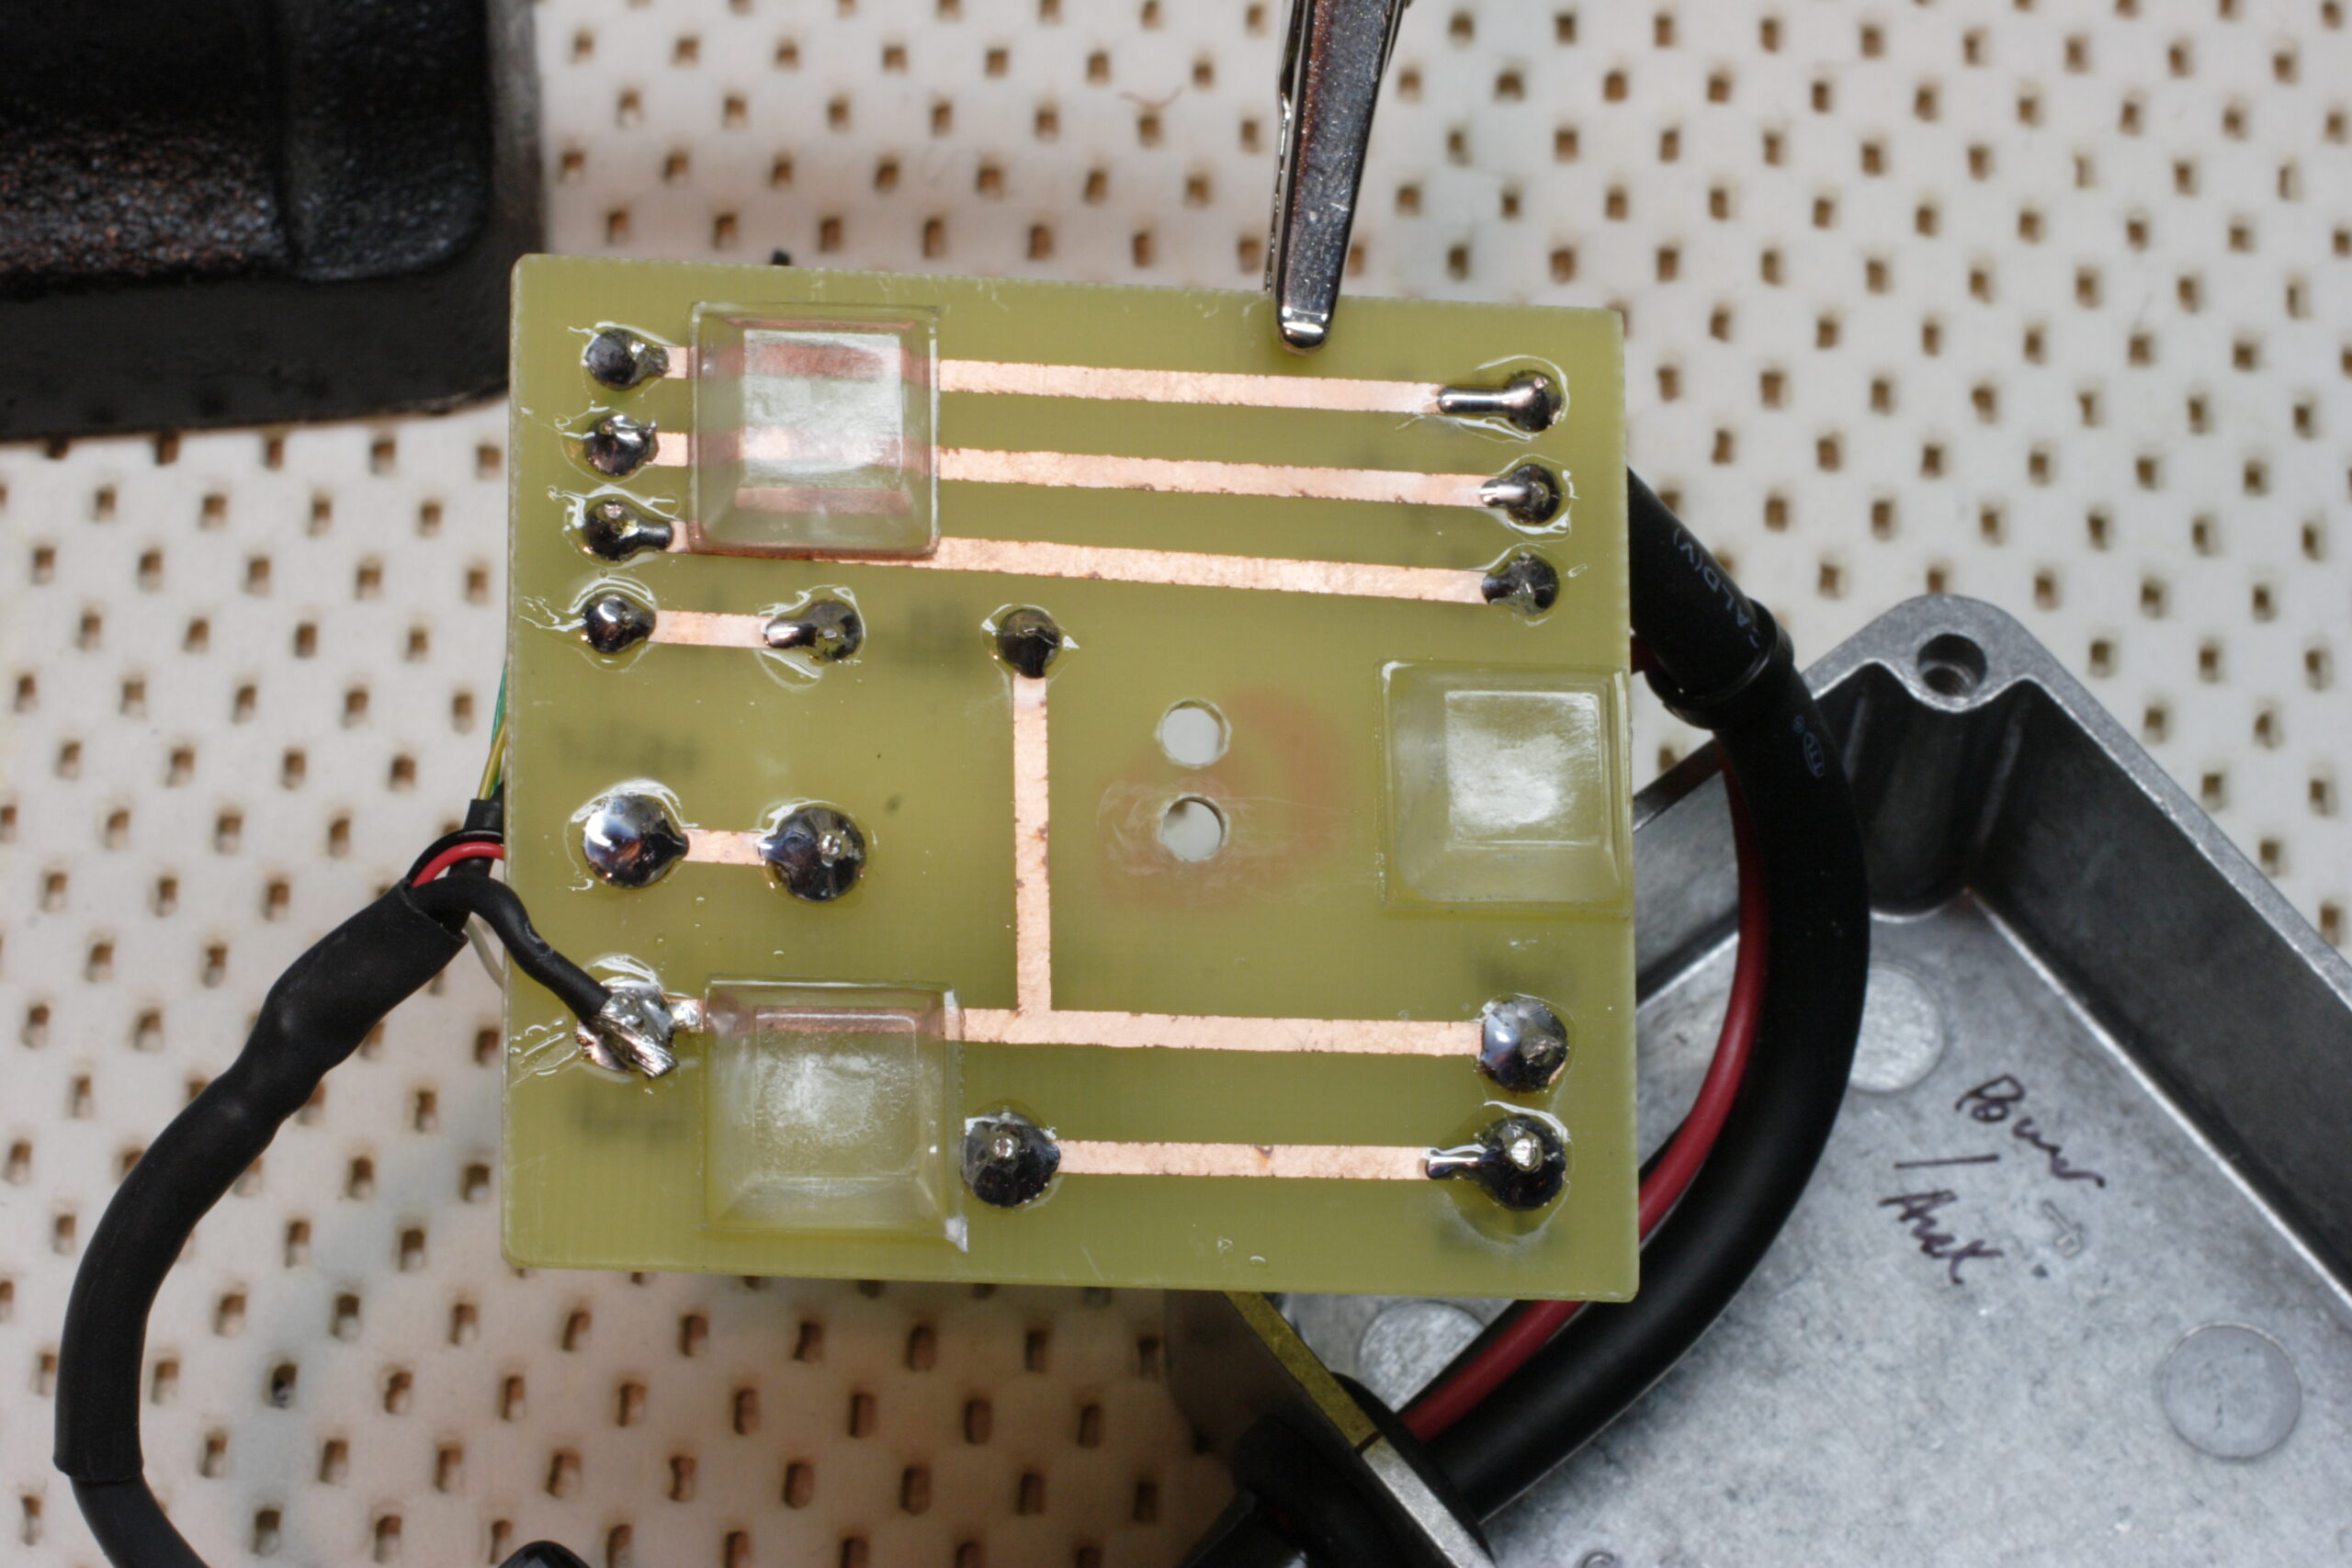
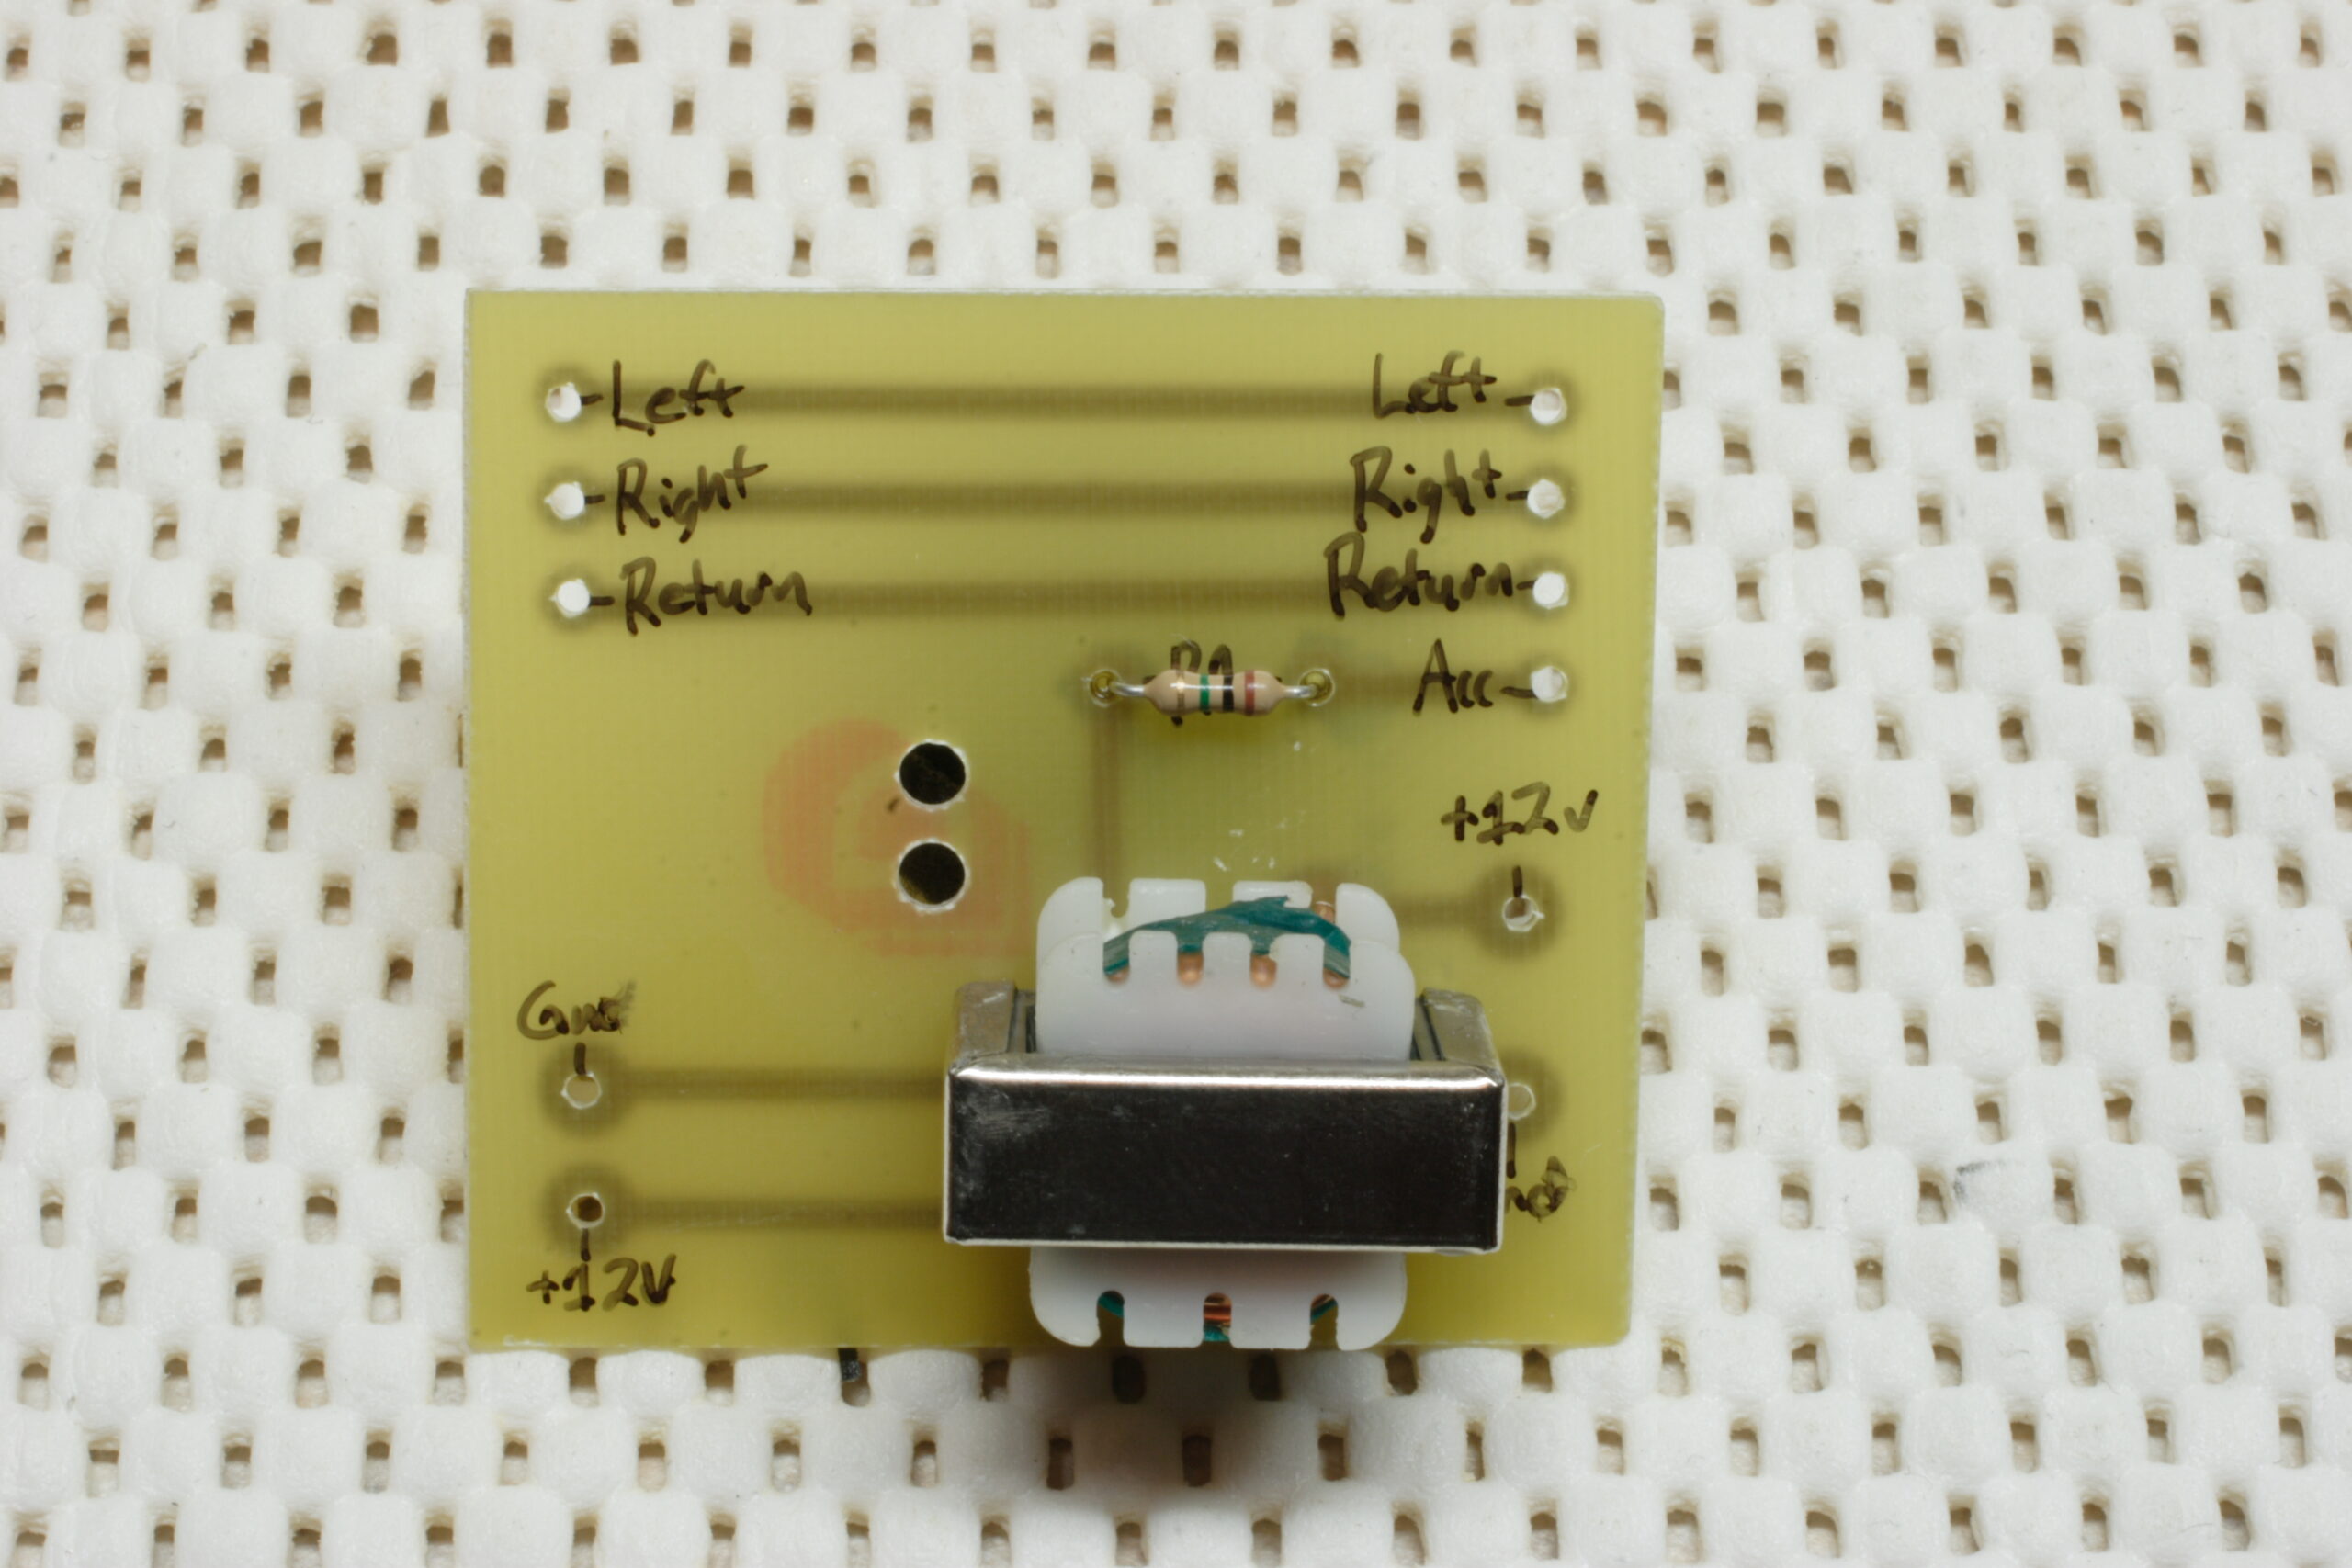
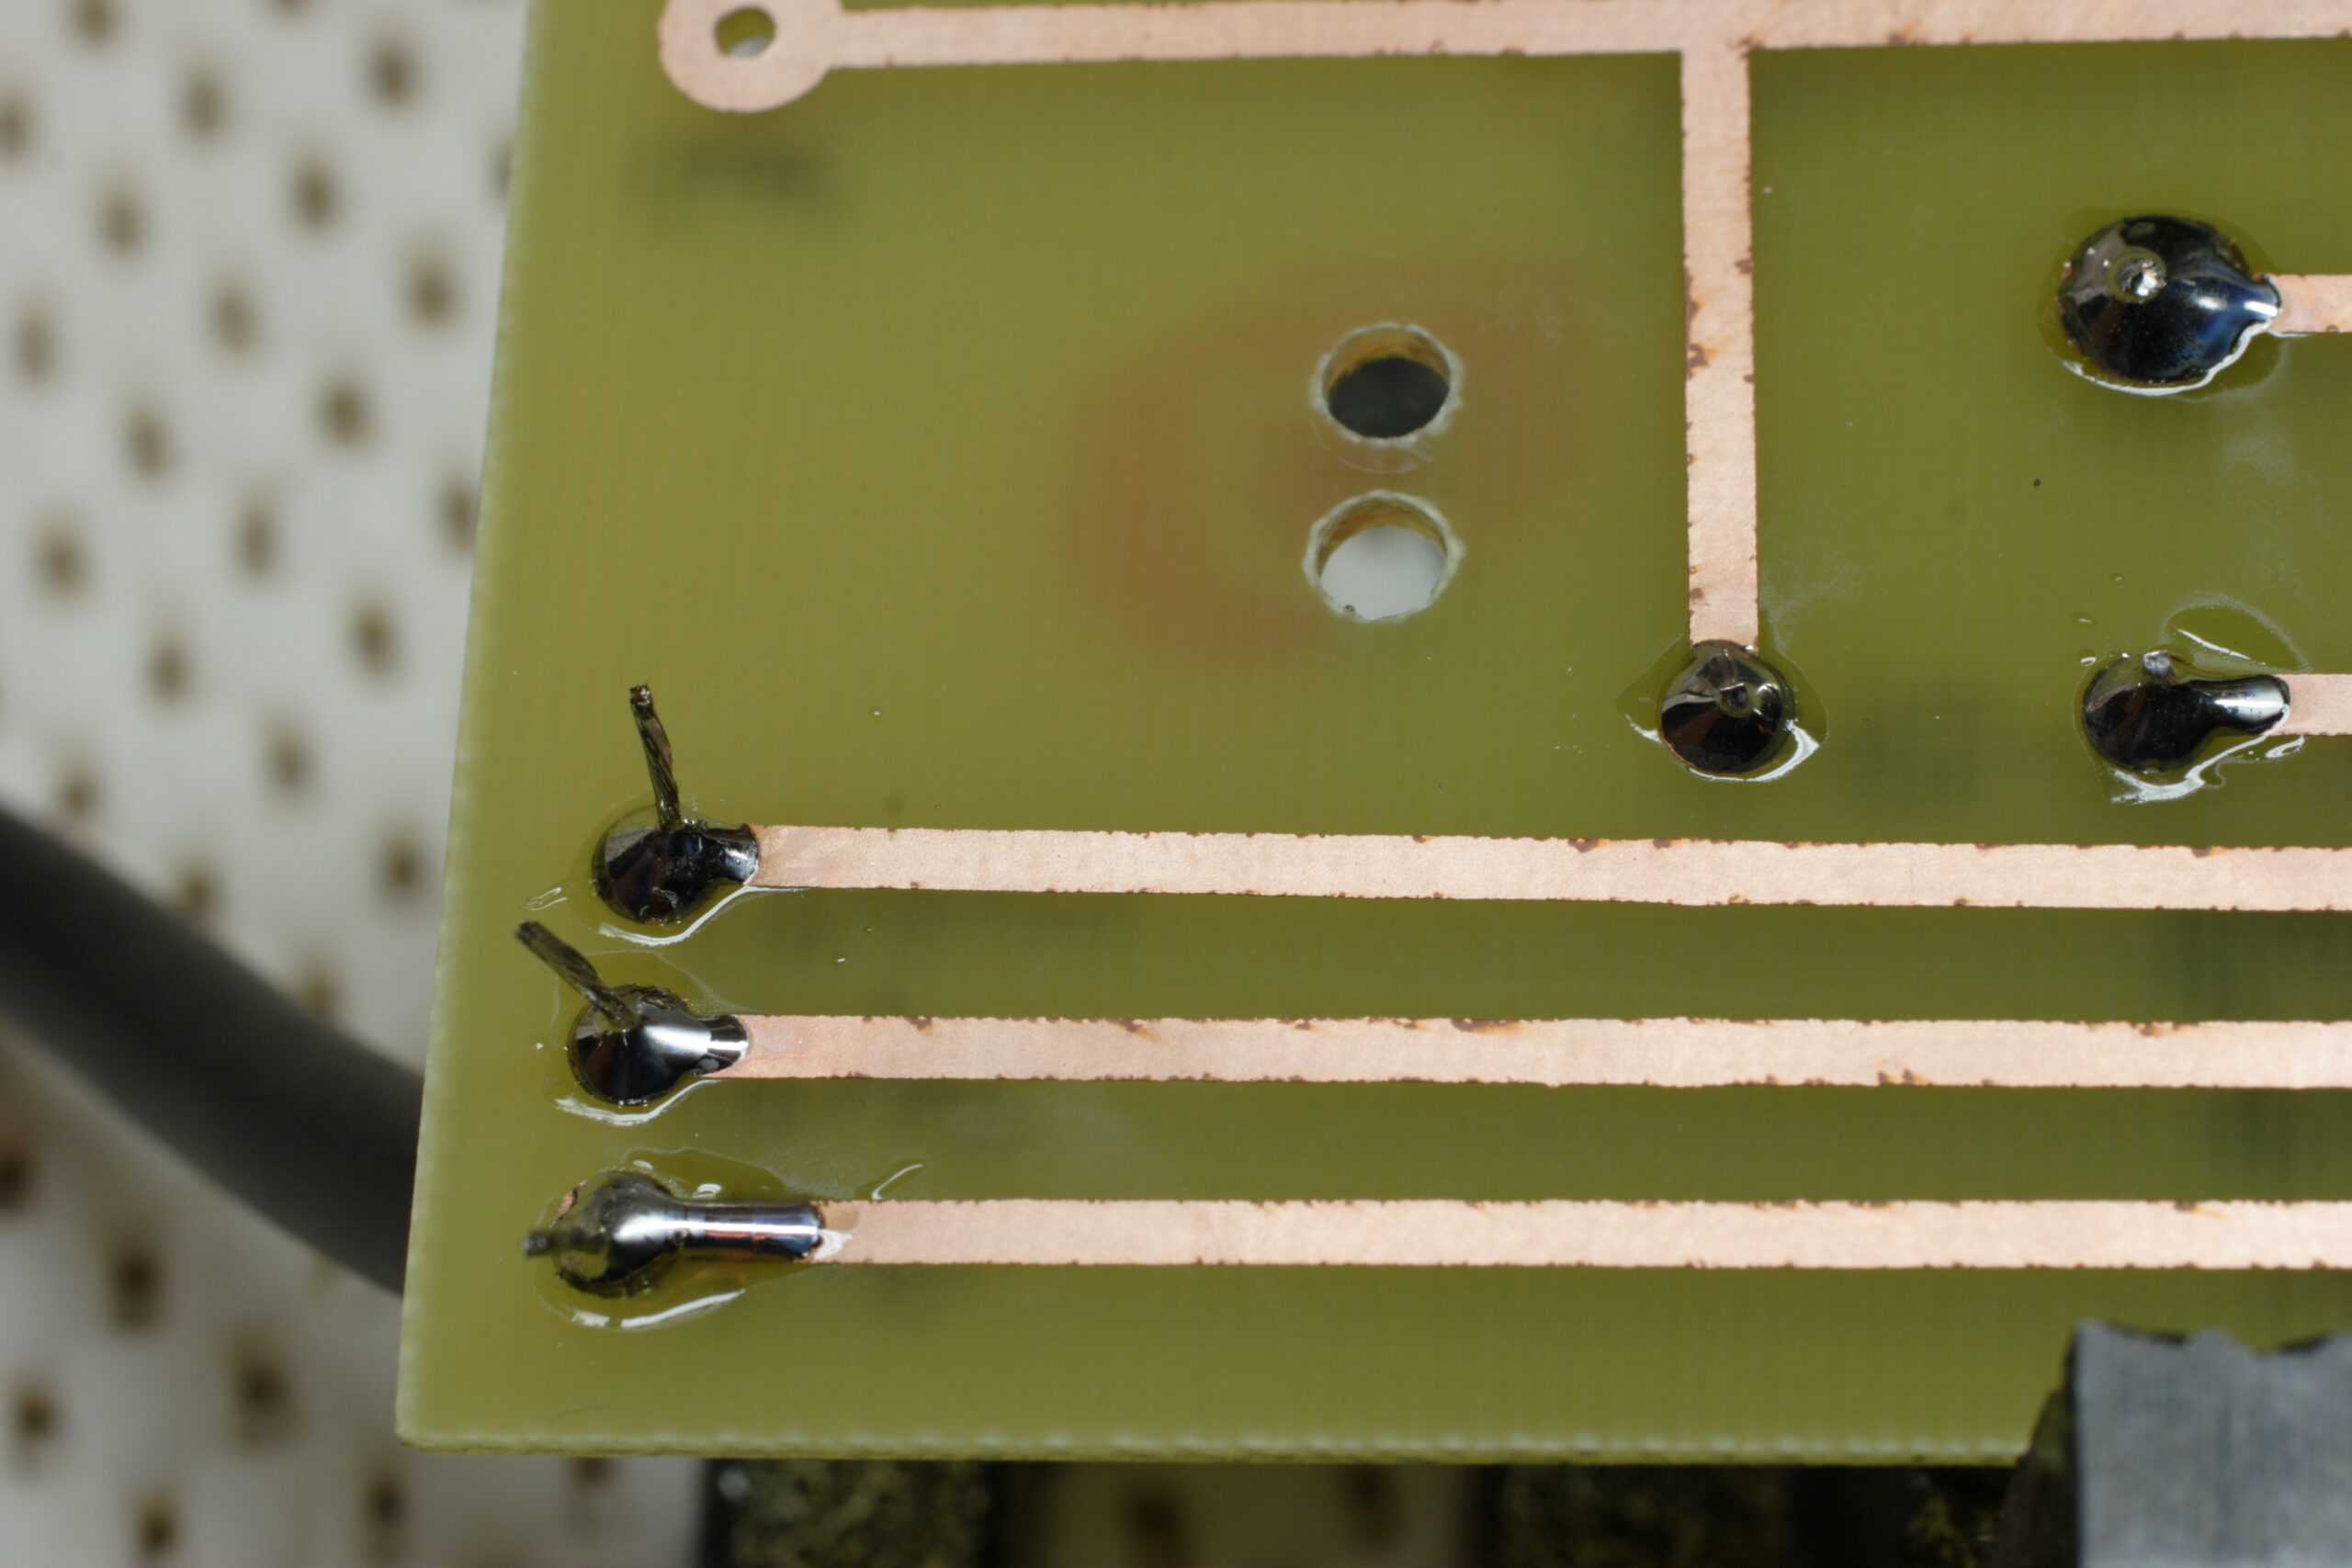
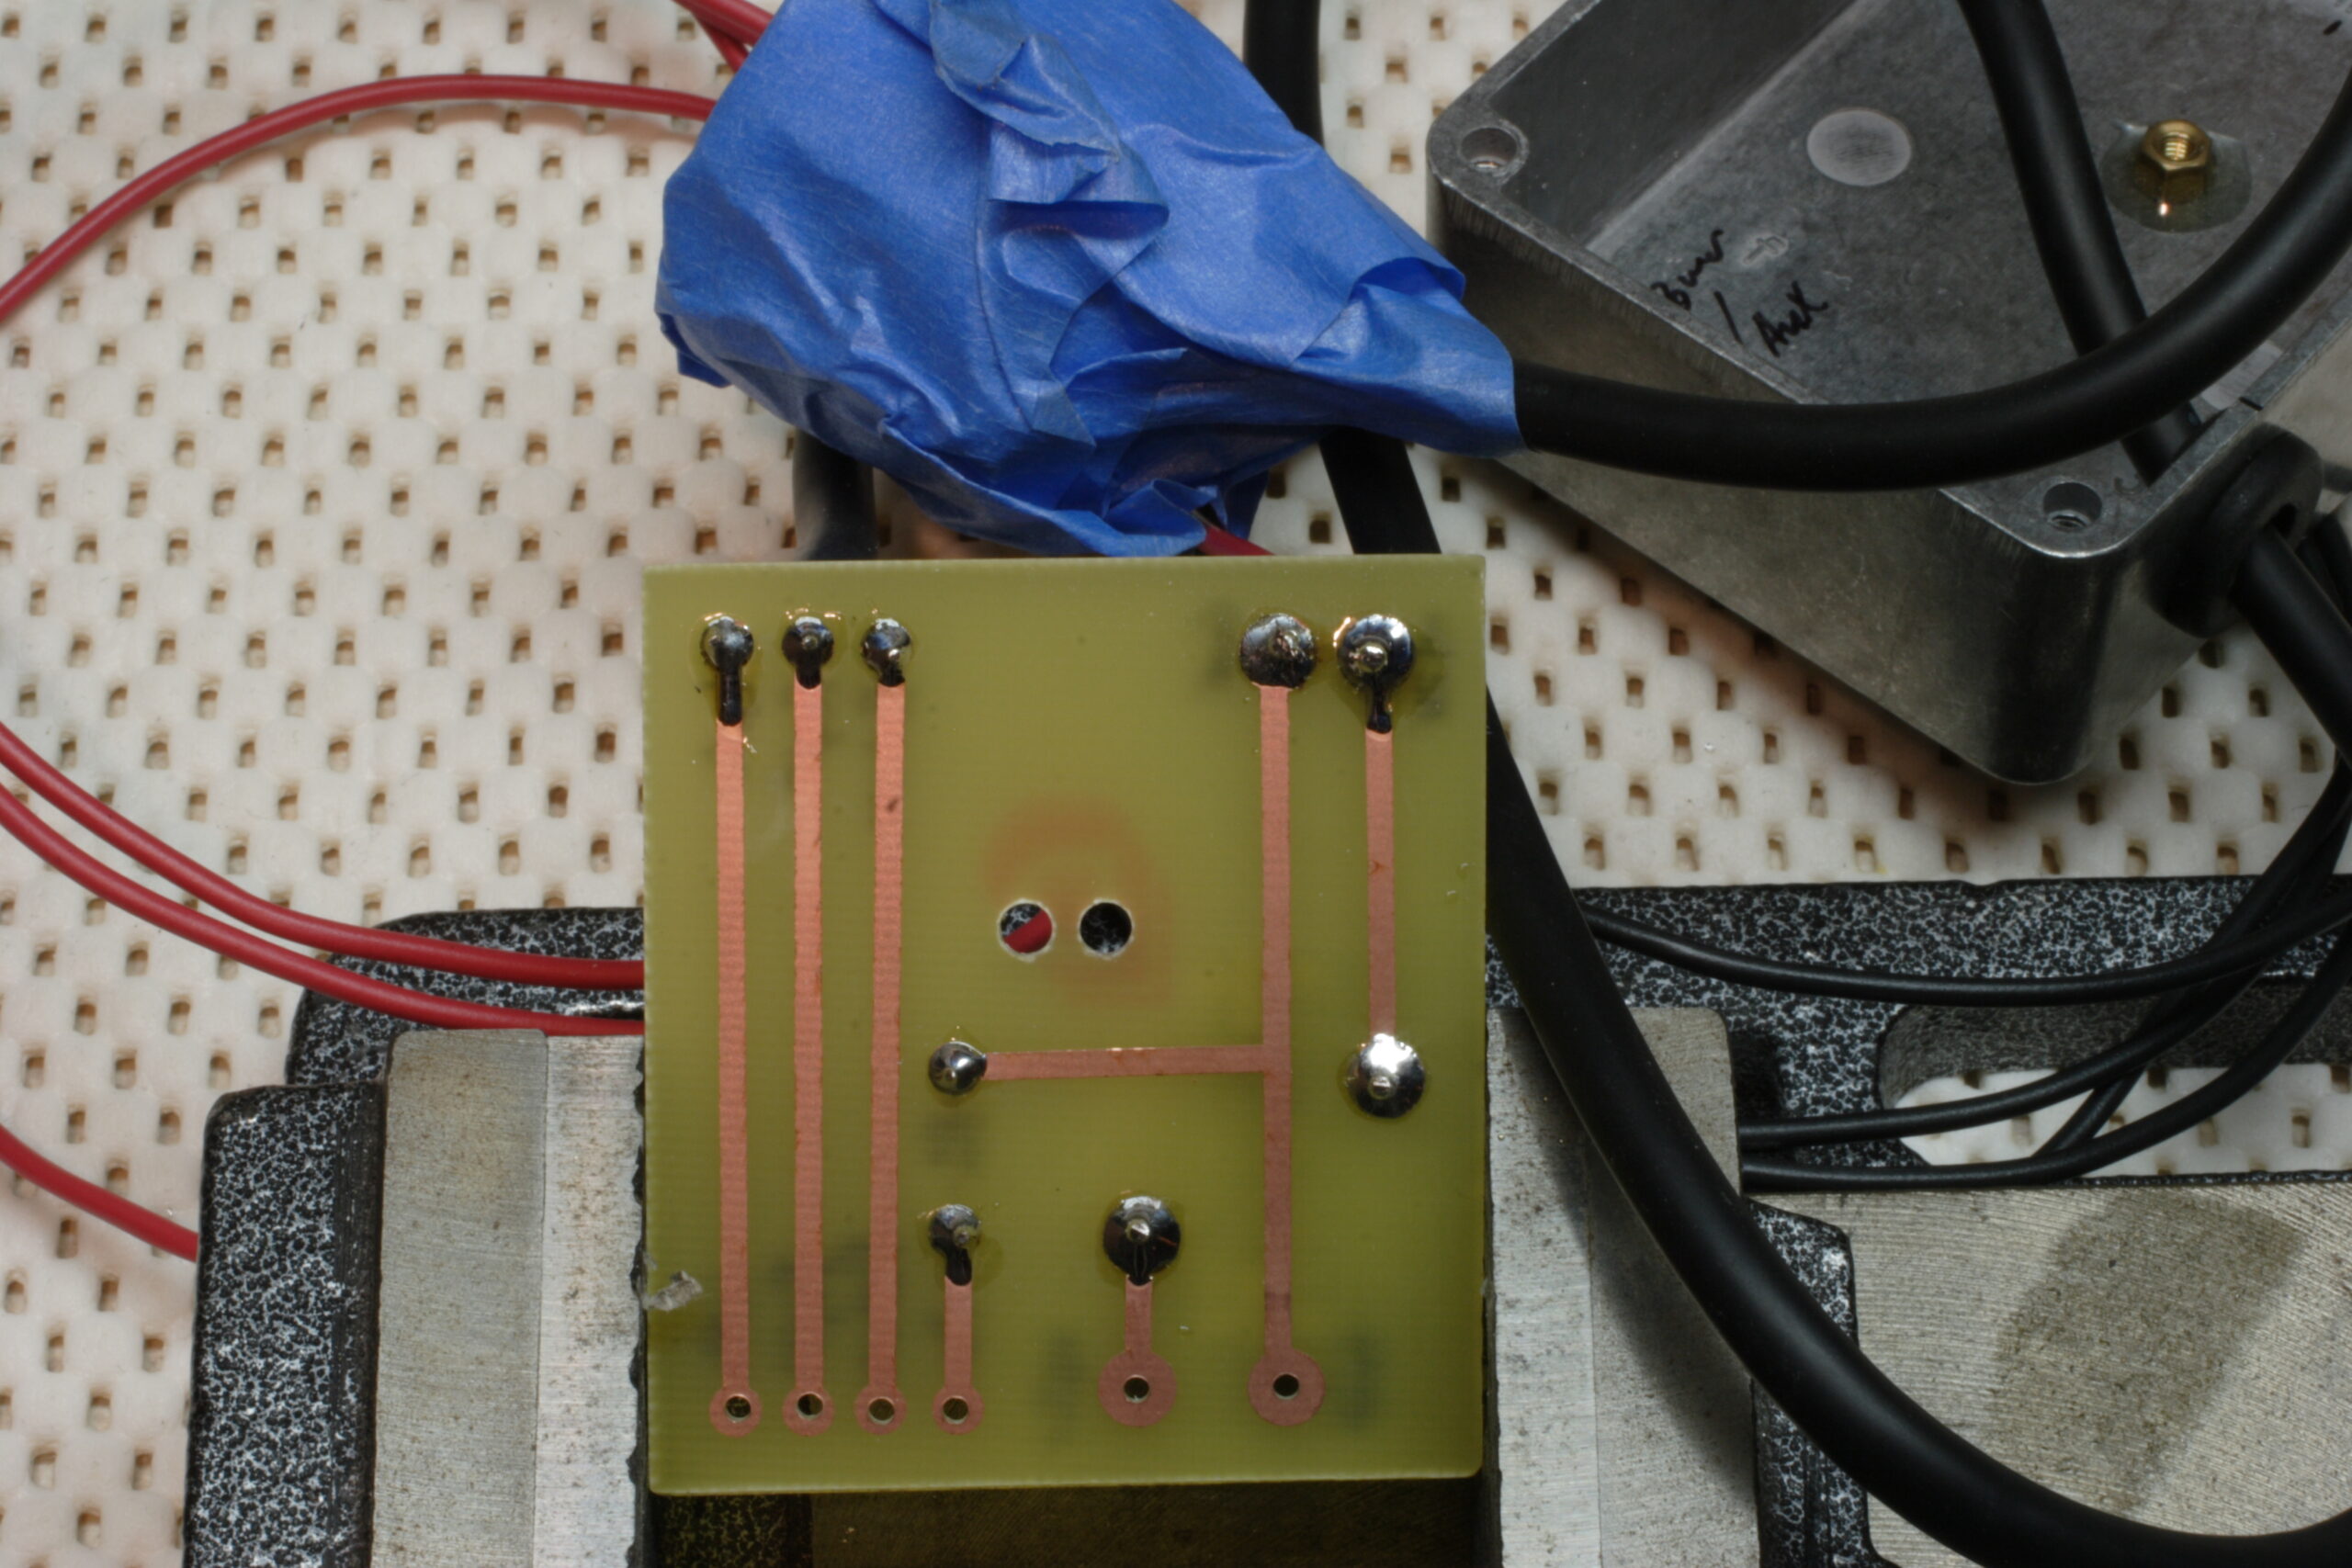
· The underside of the PCB, just before I closed up the box.
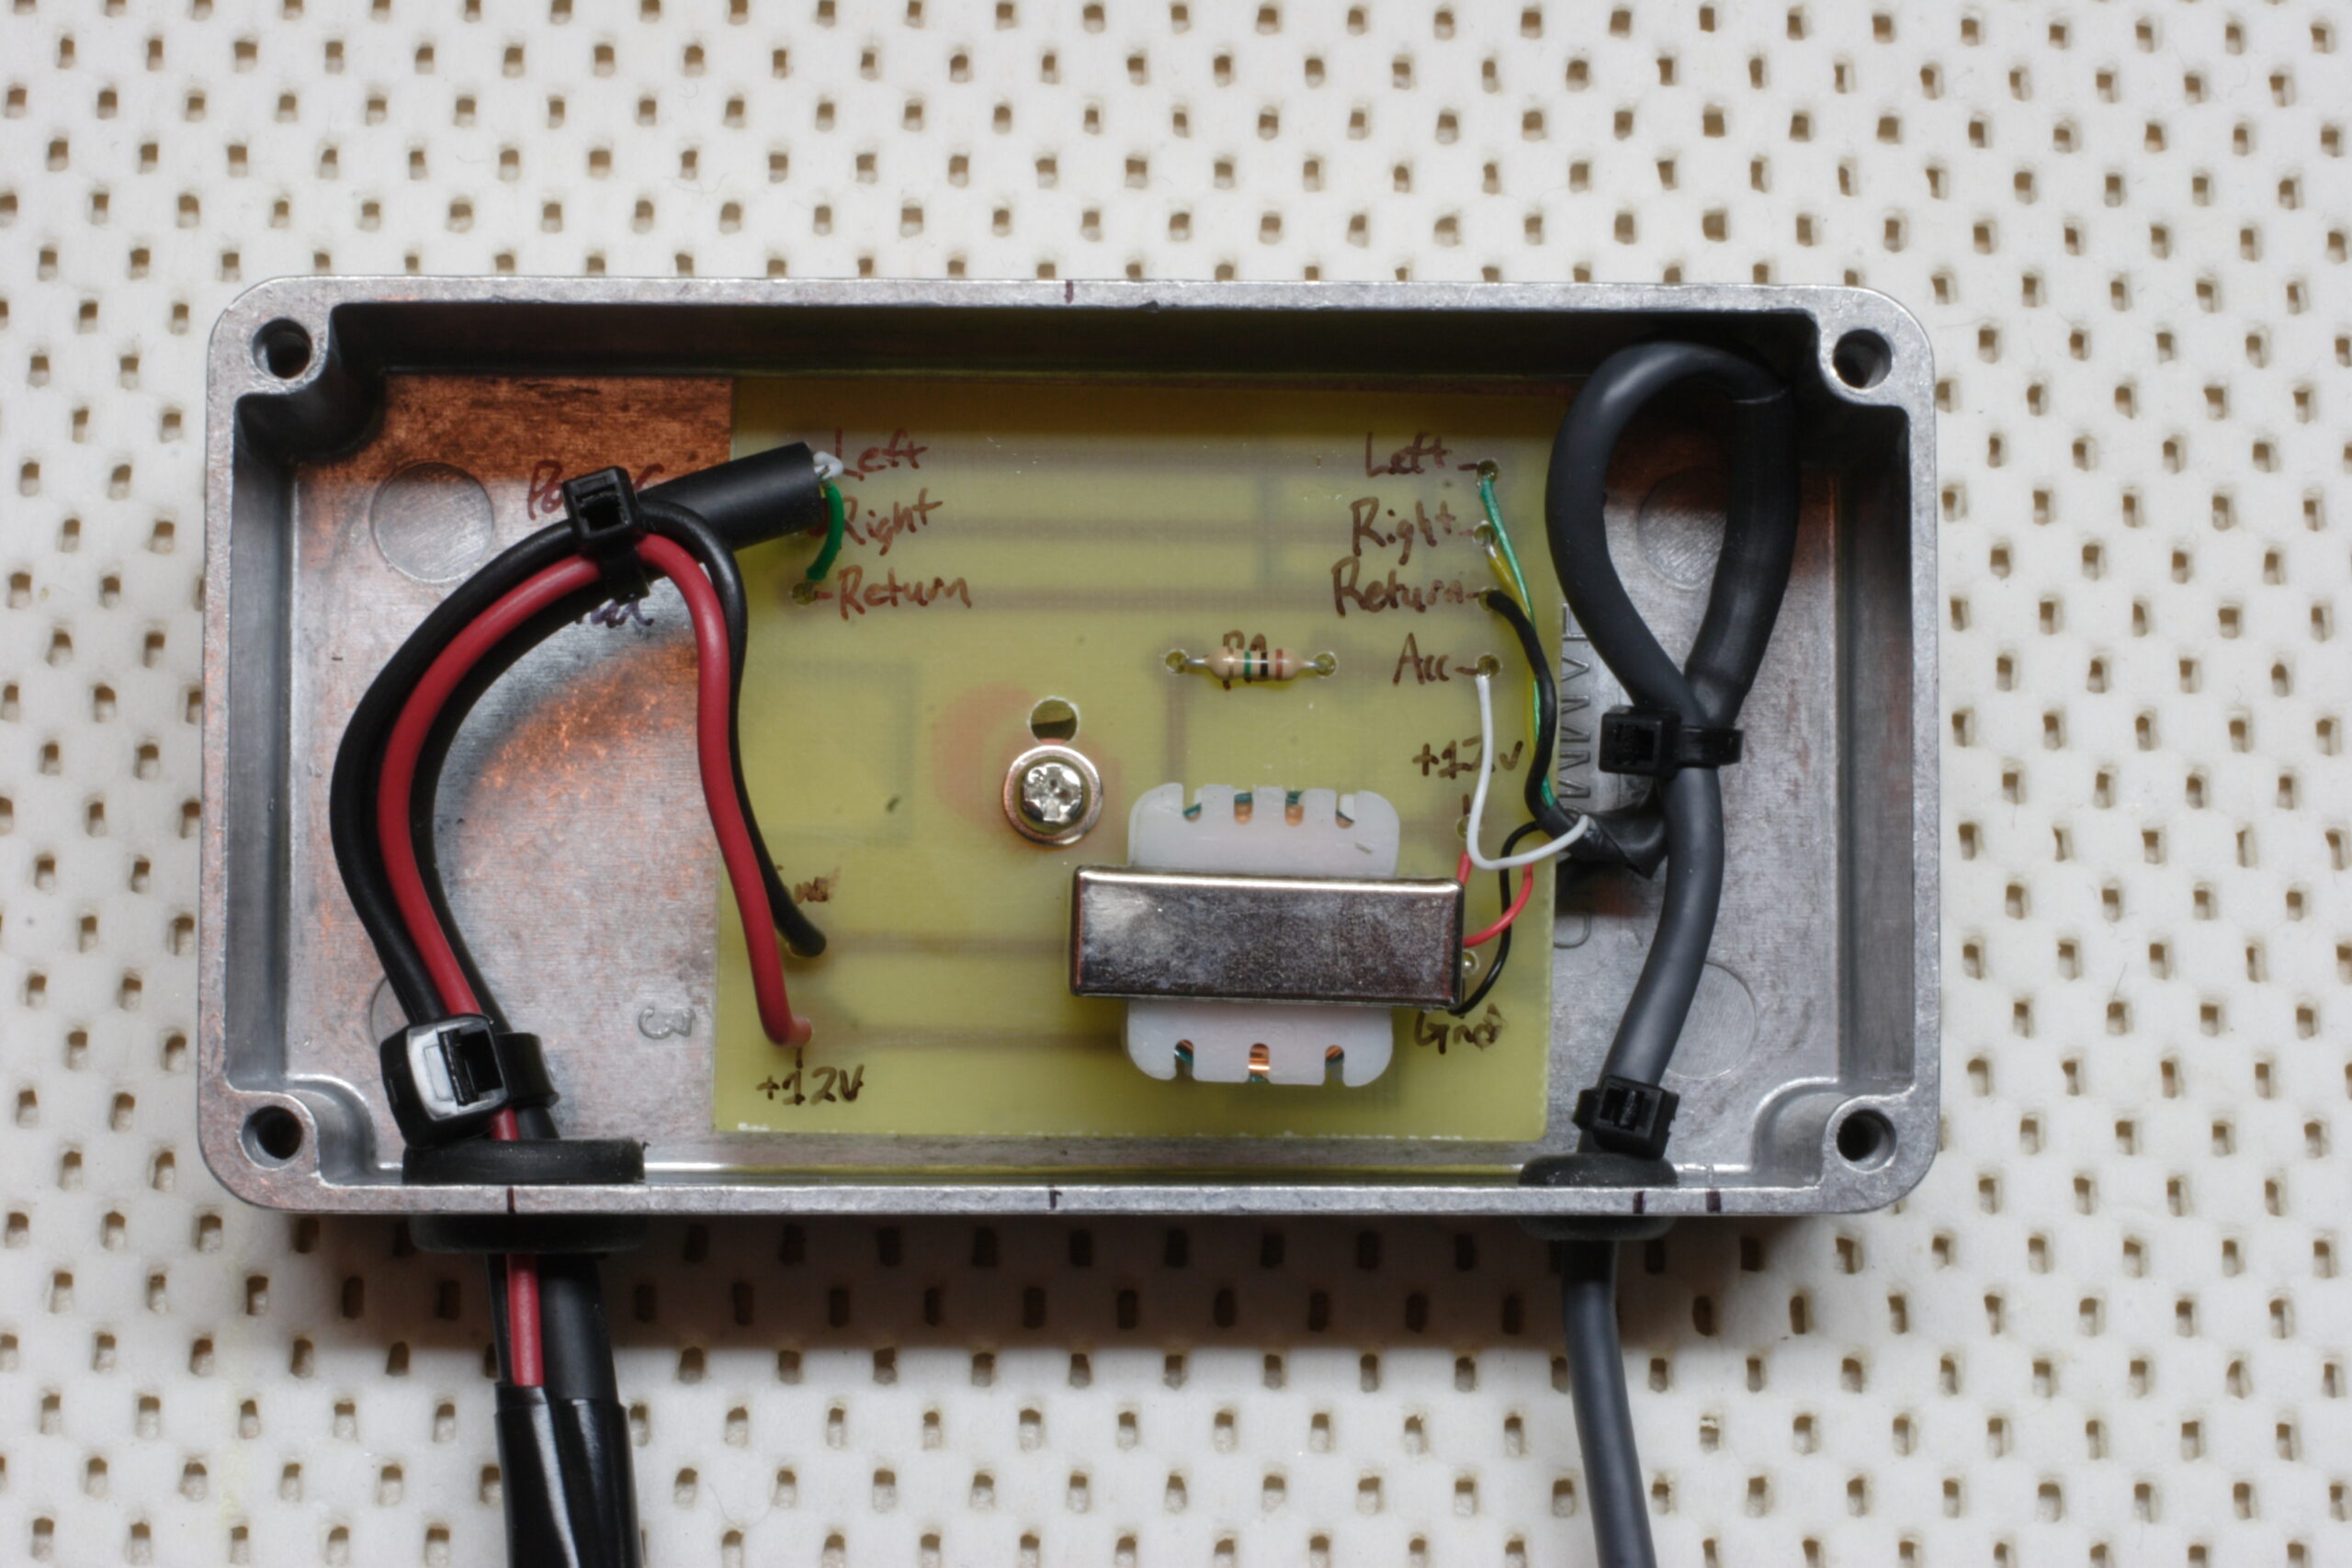
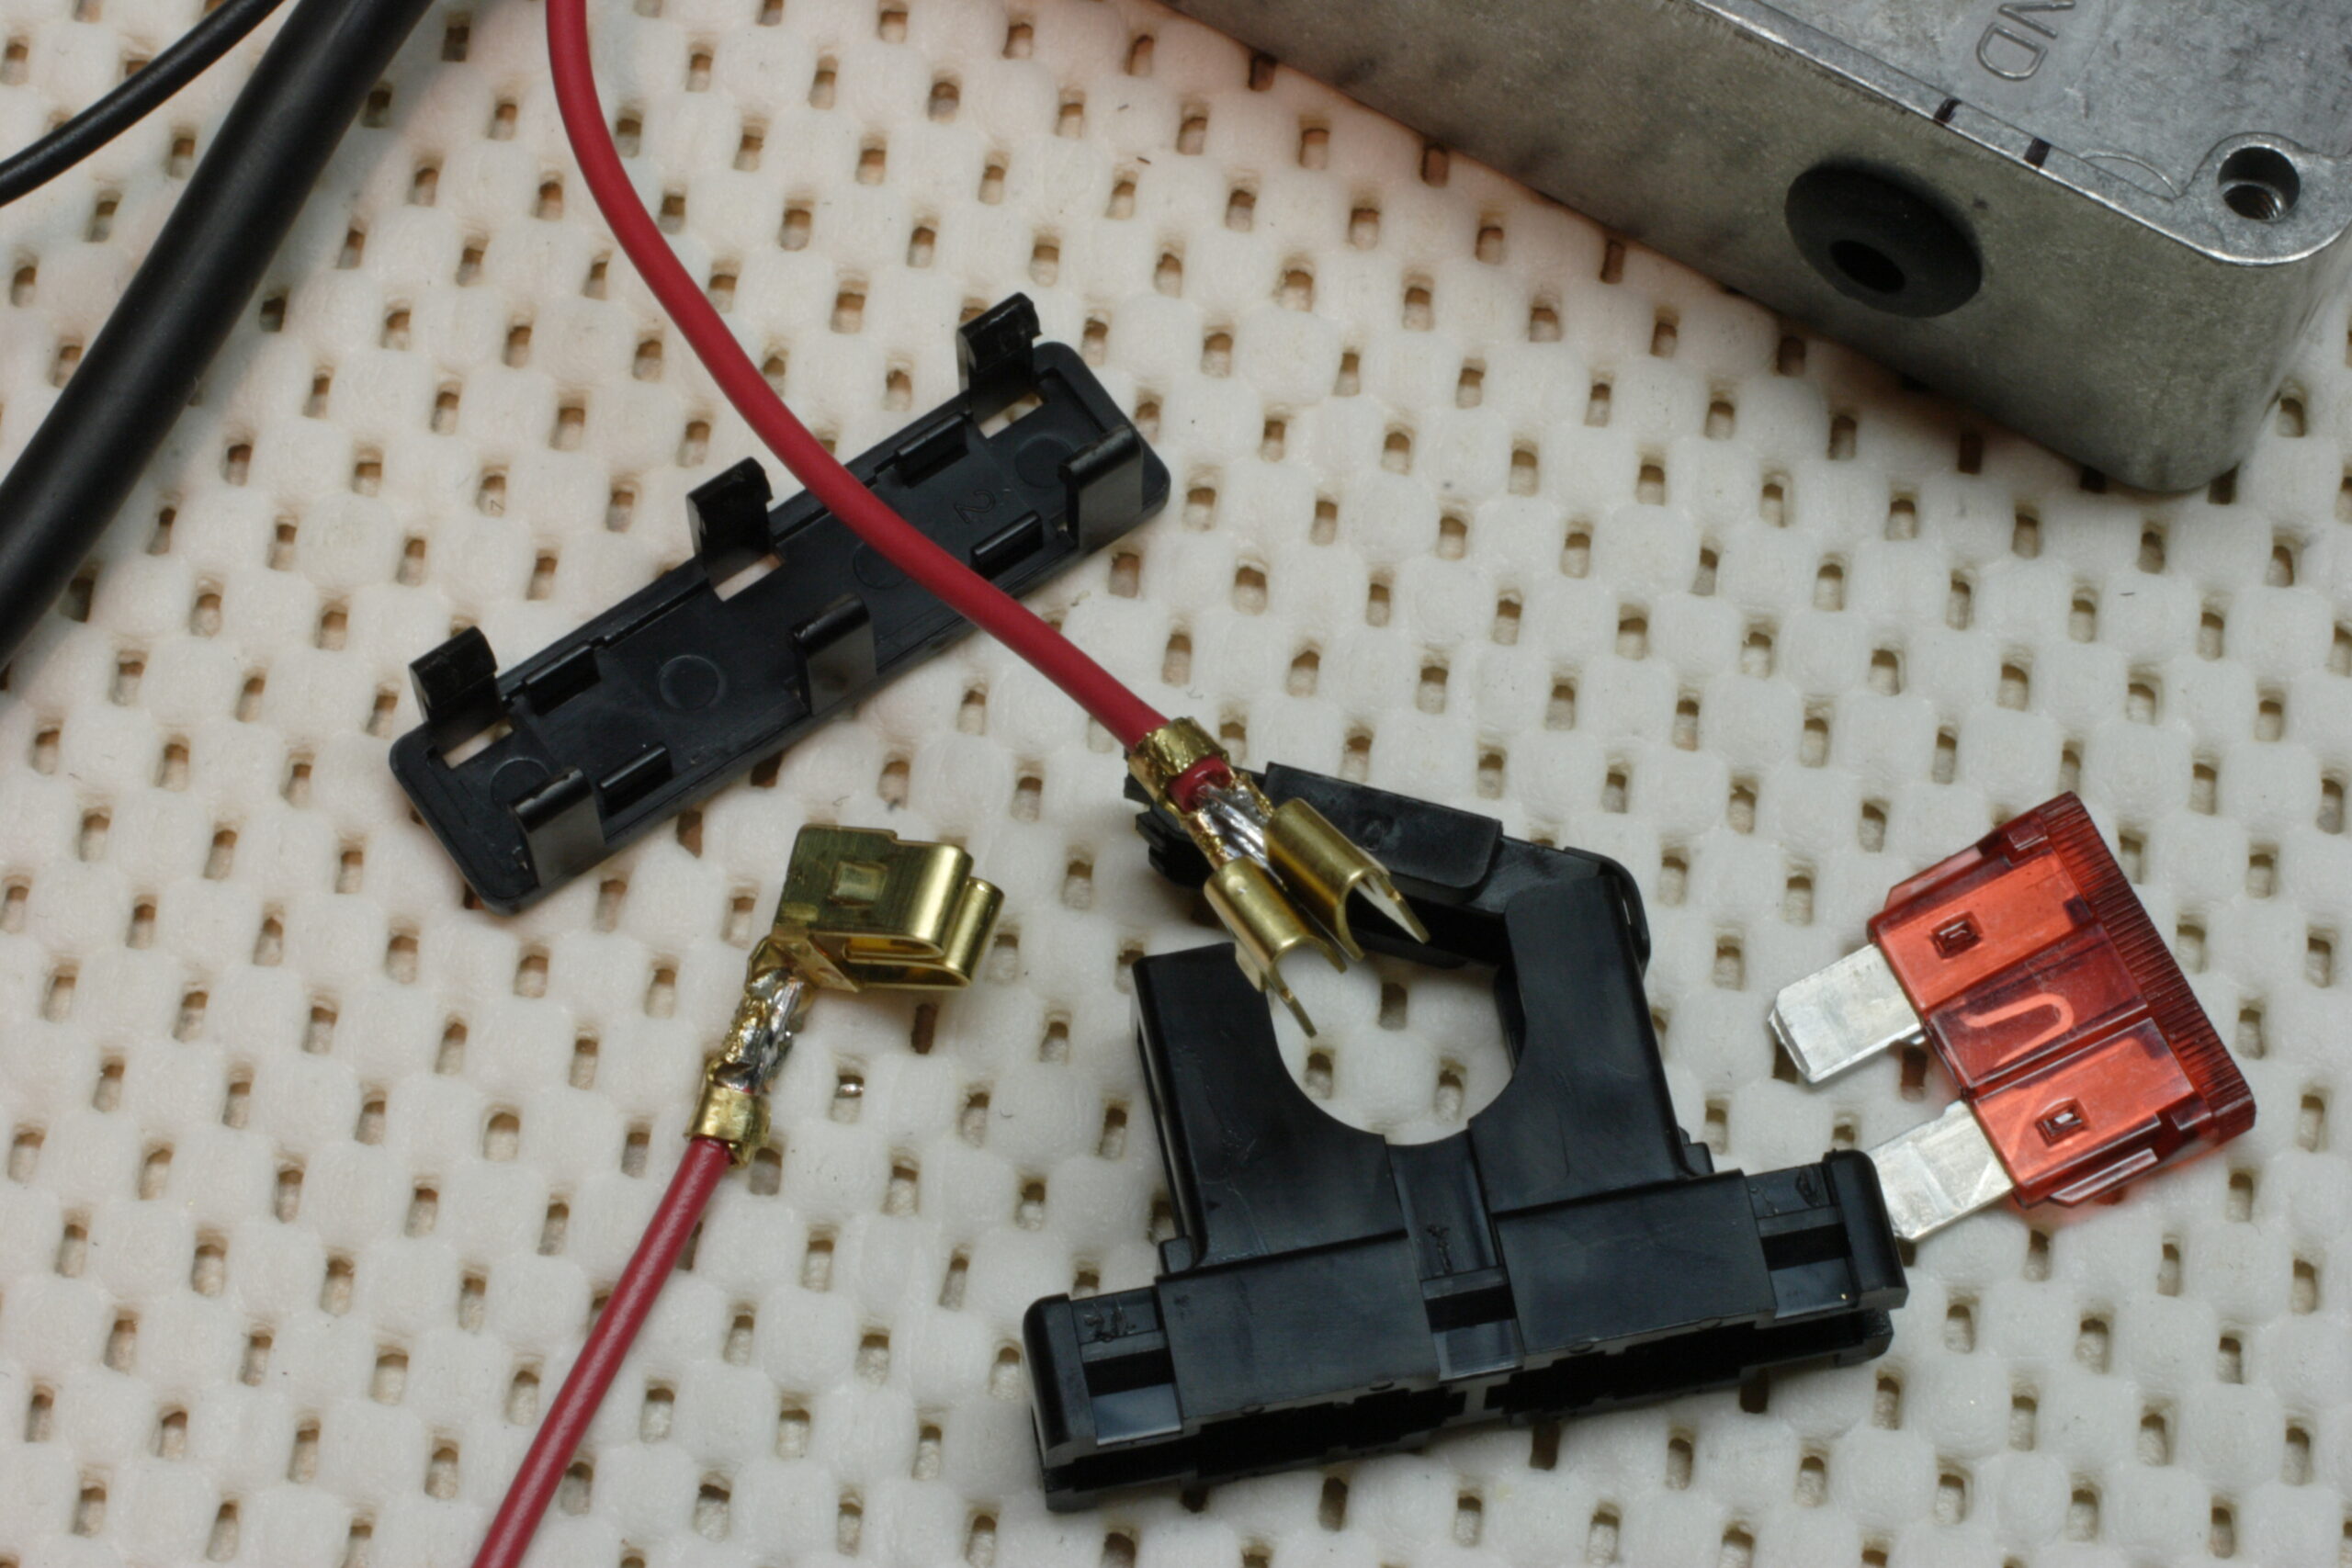
· All the parts in the interface box, just before I screwed it closed.
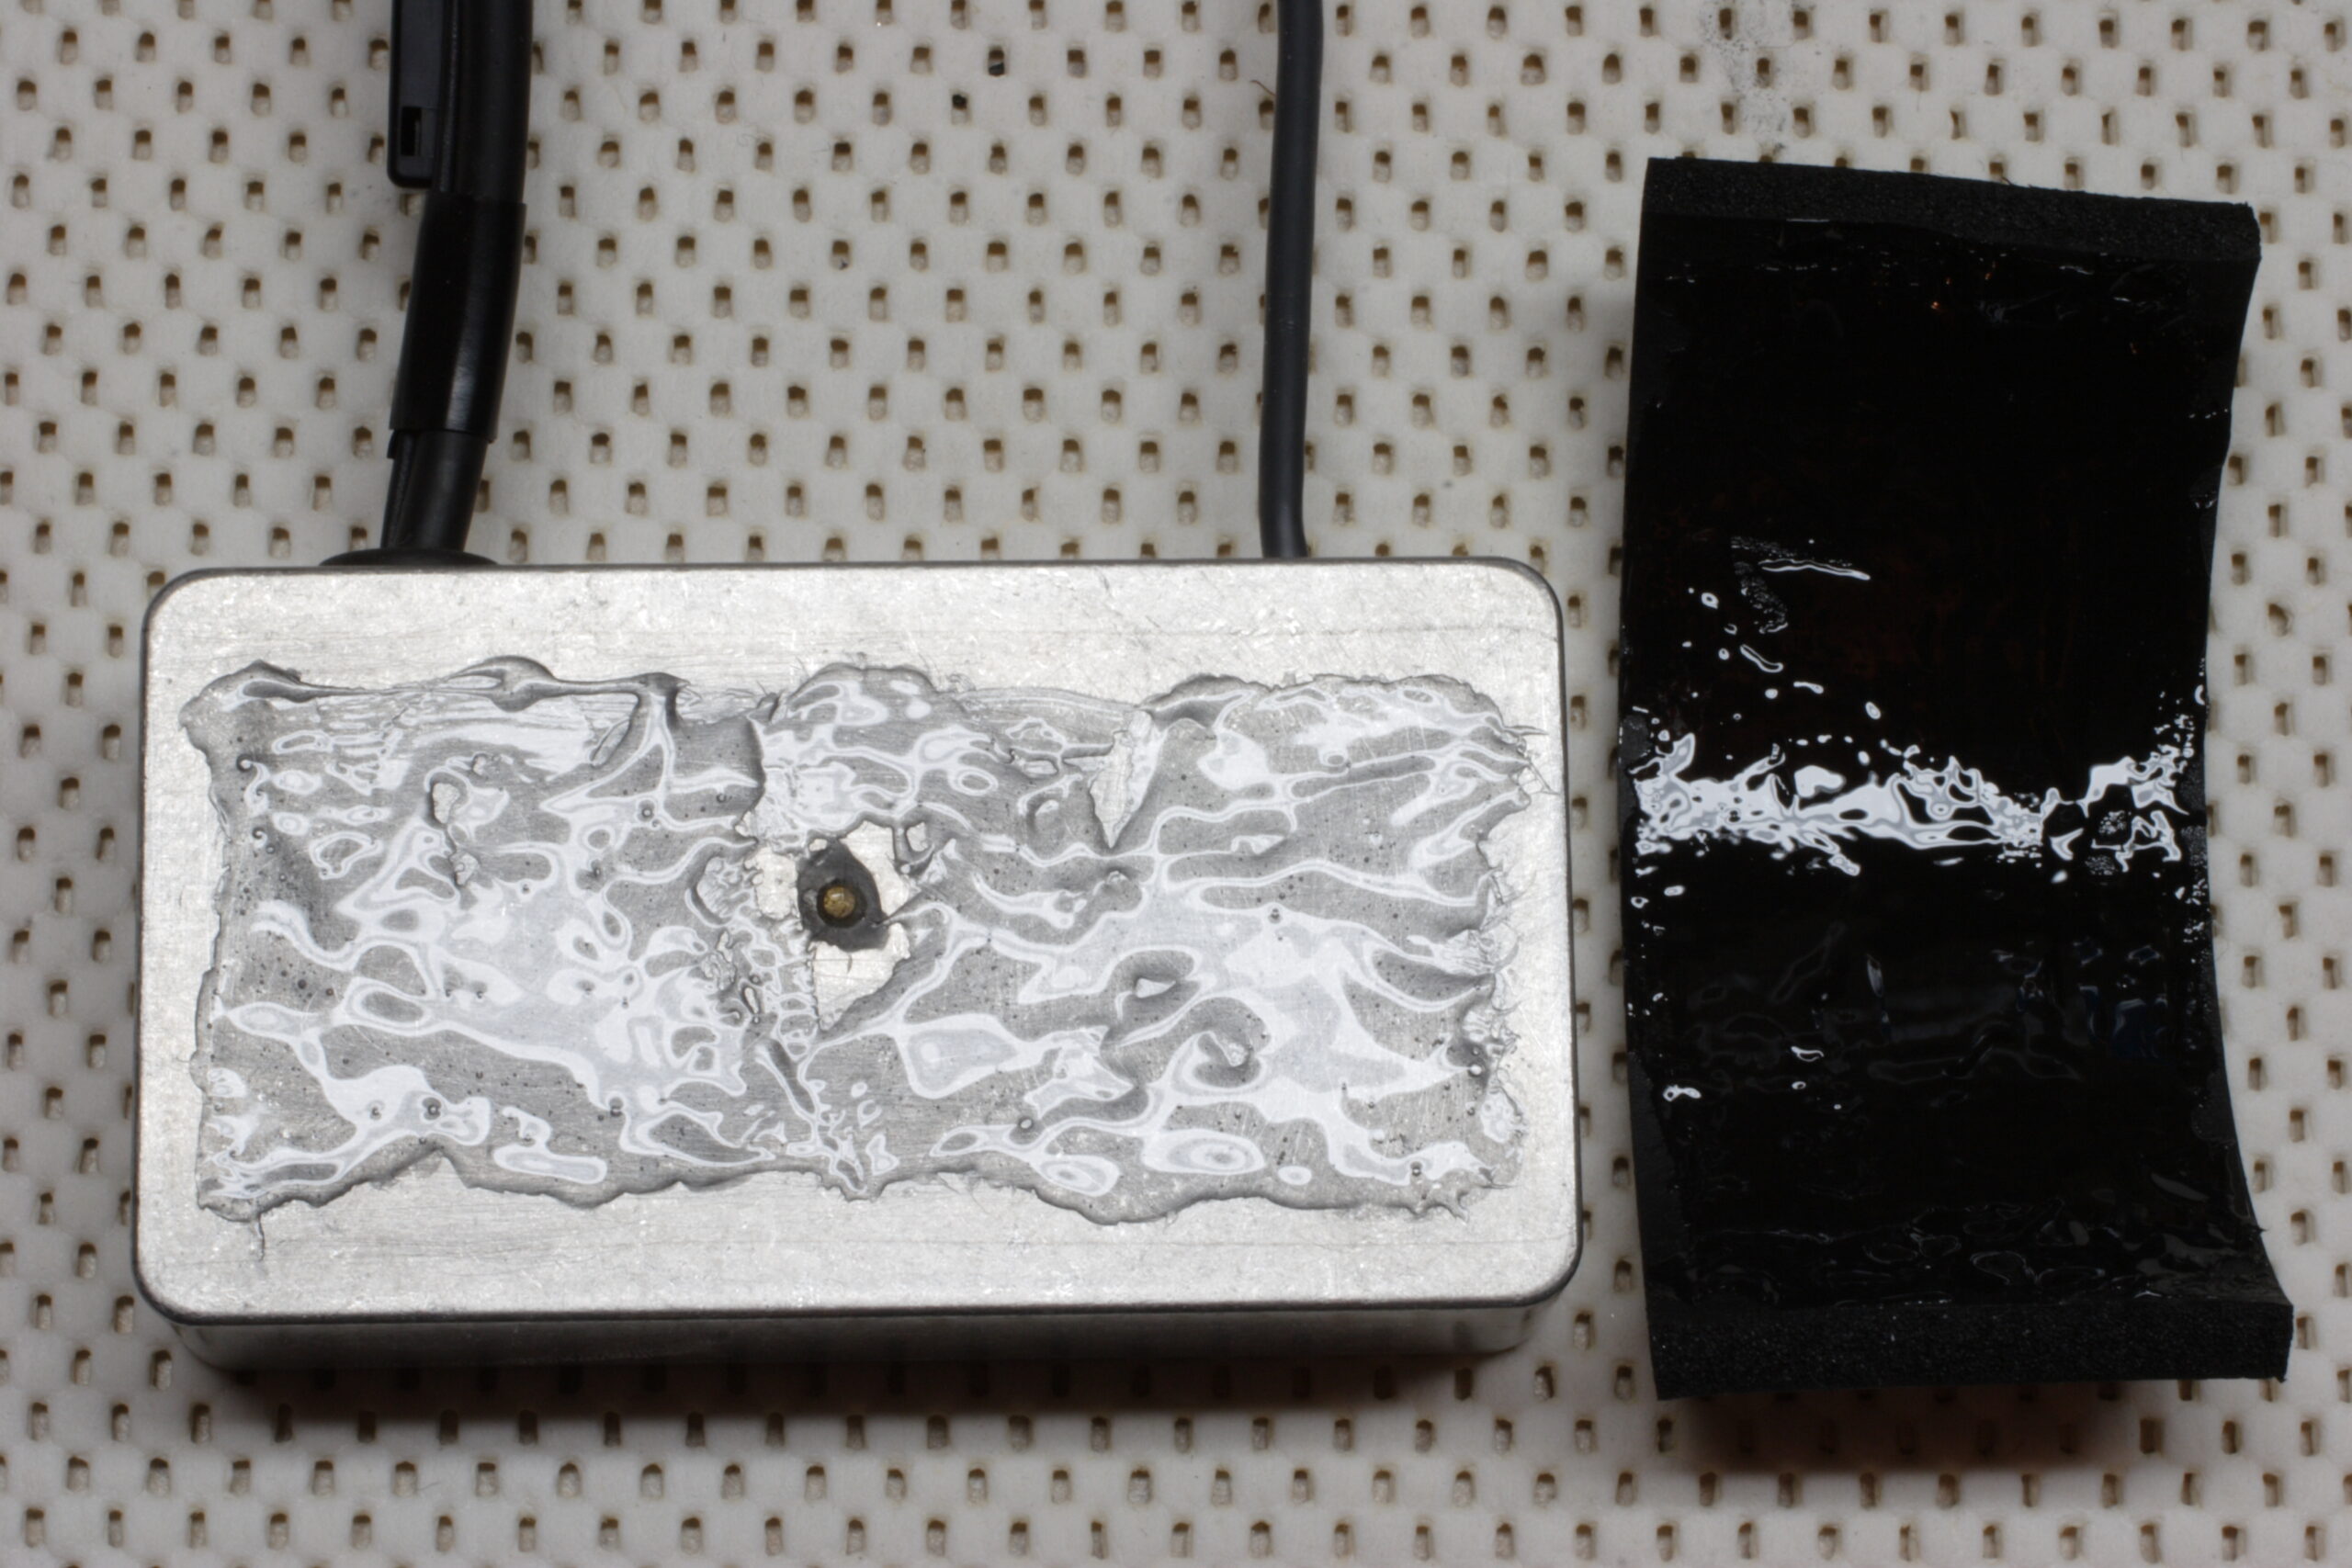
· Goop applied to the interface box and padding foam.
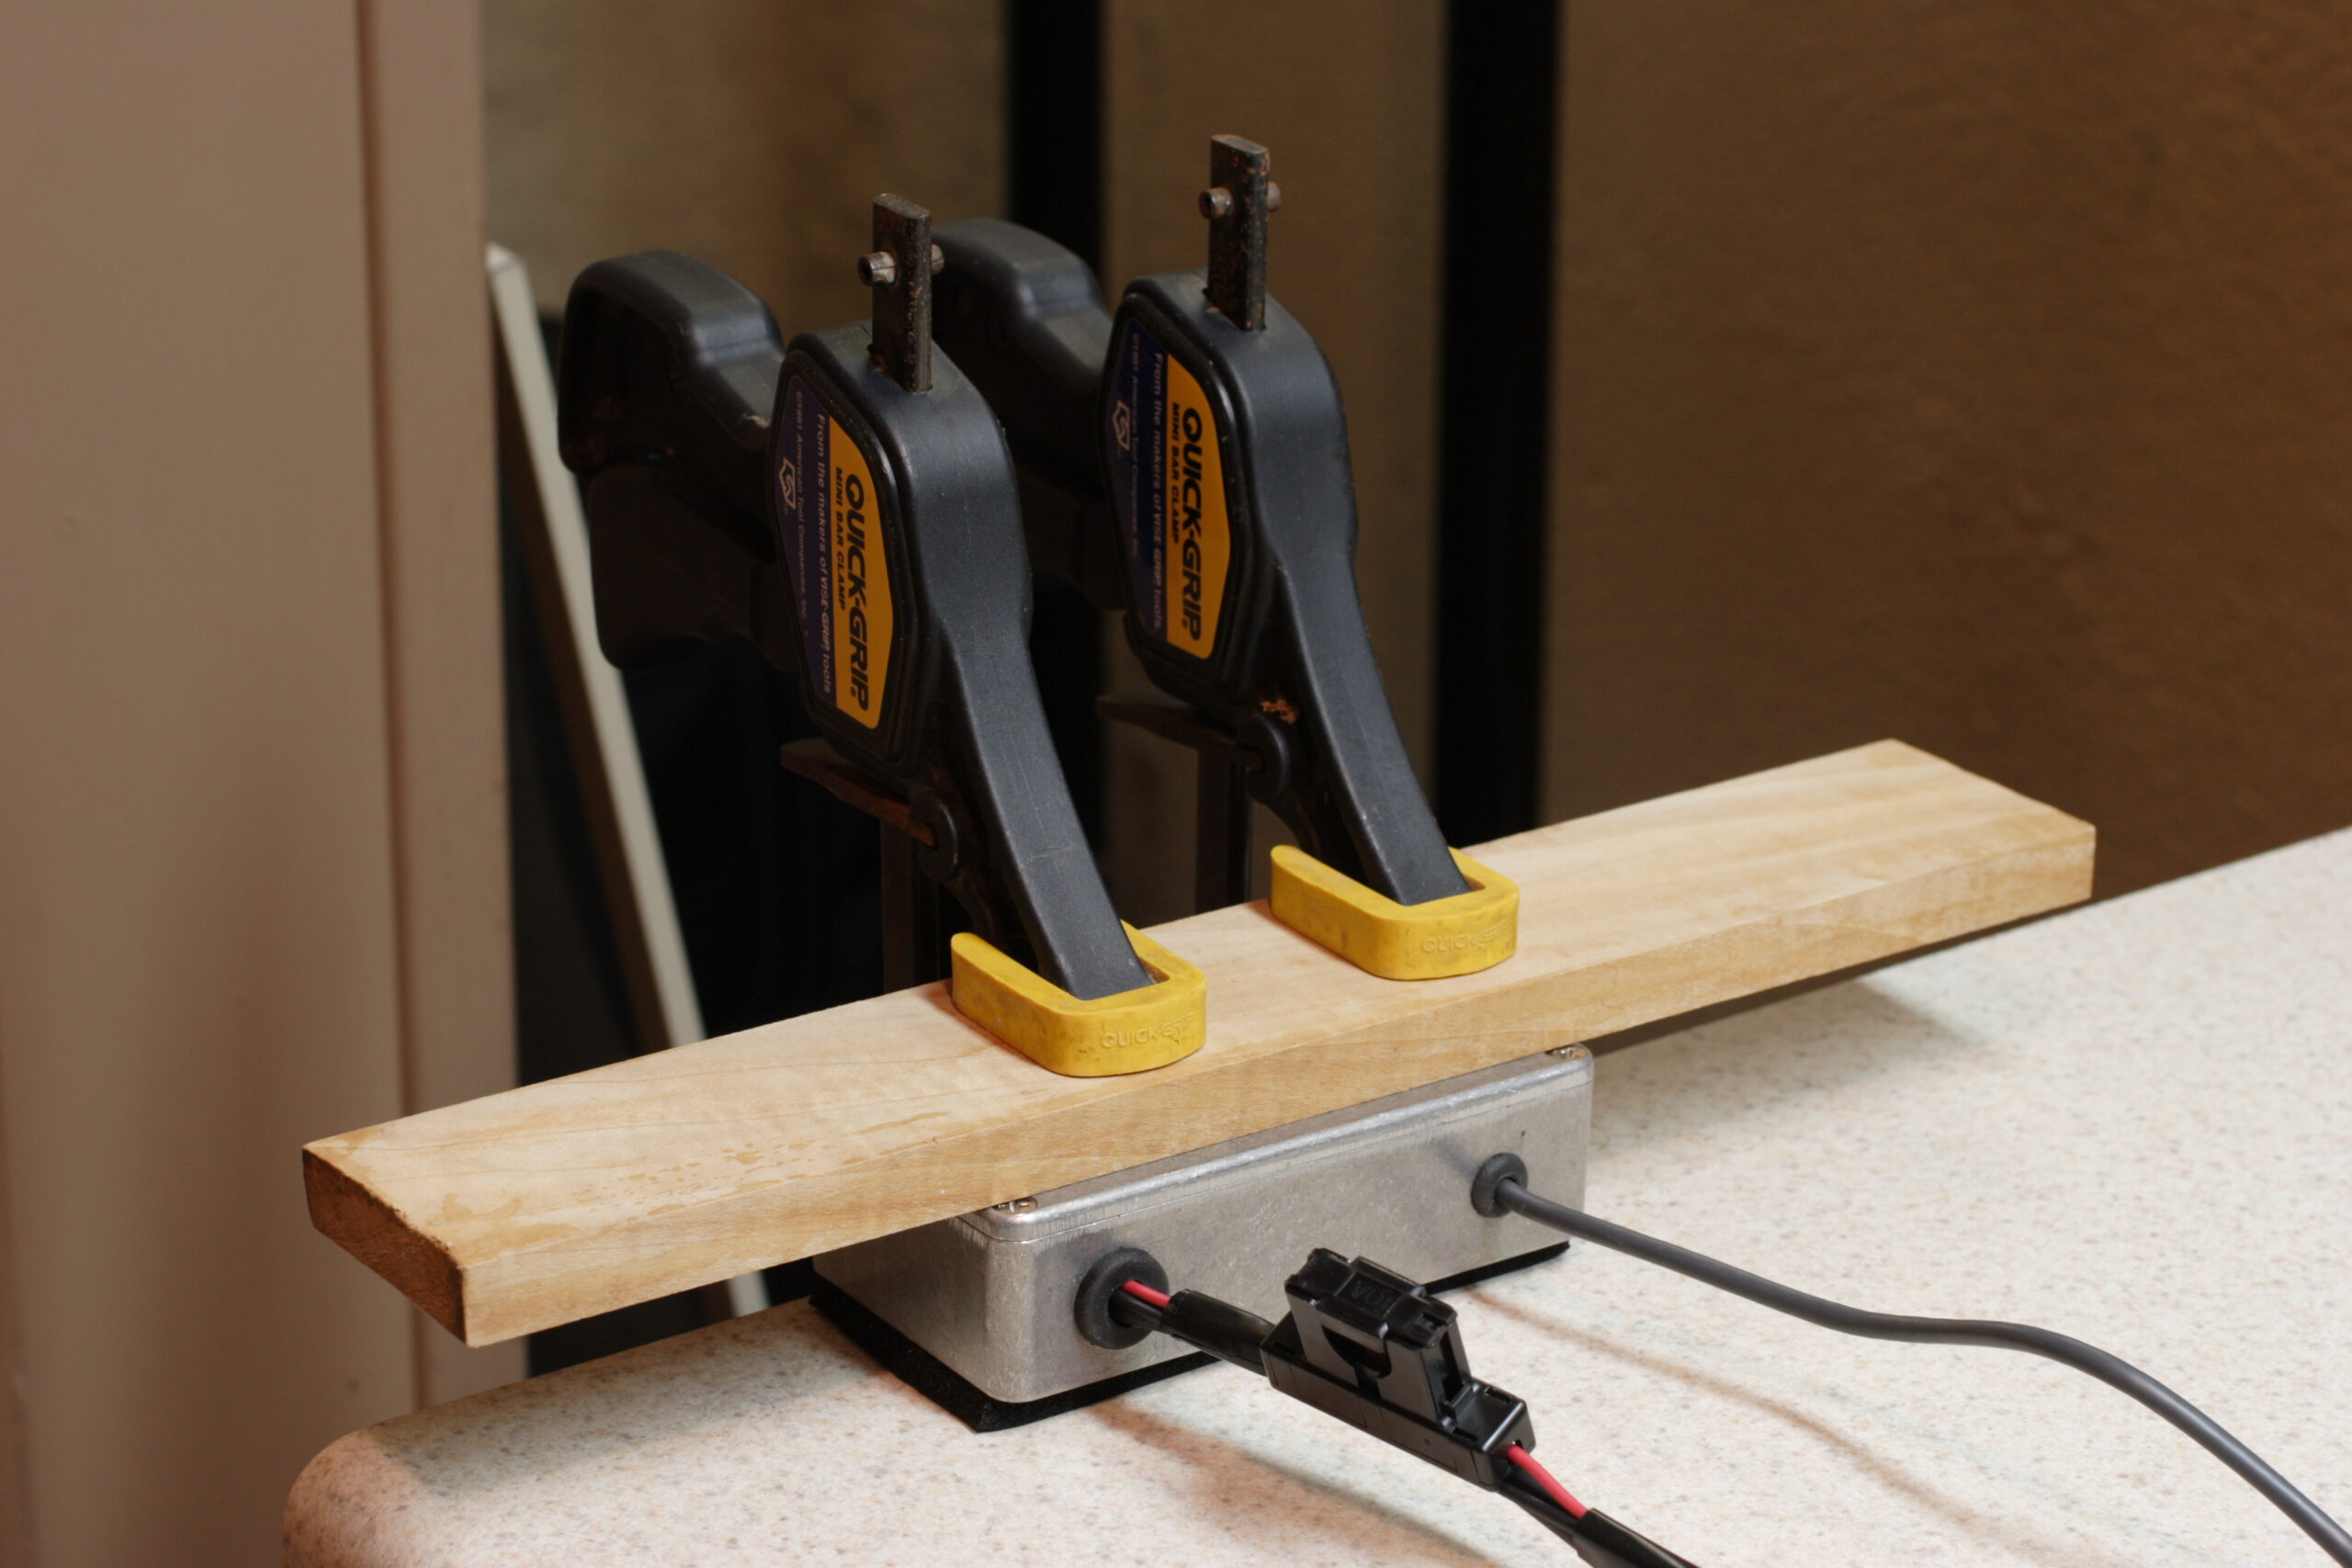
· Clamping down the interface box to the workbench to help the adhesive on the foam set.
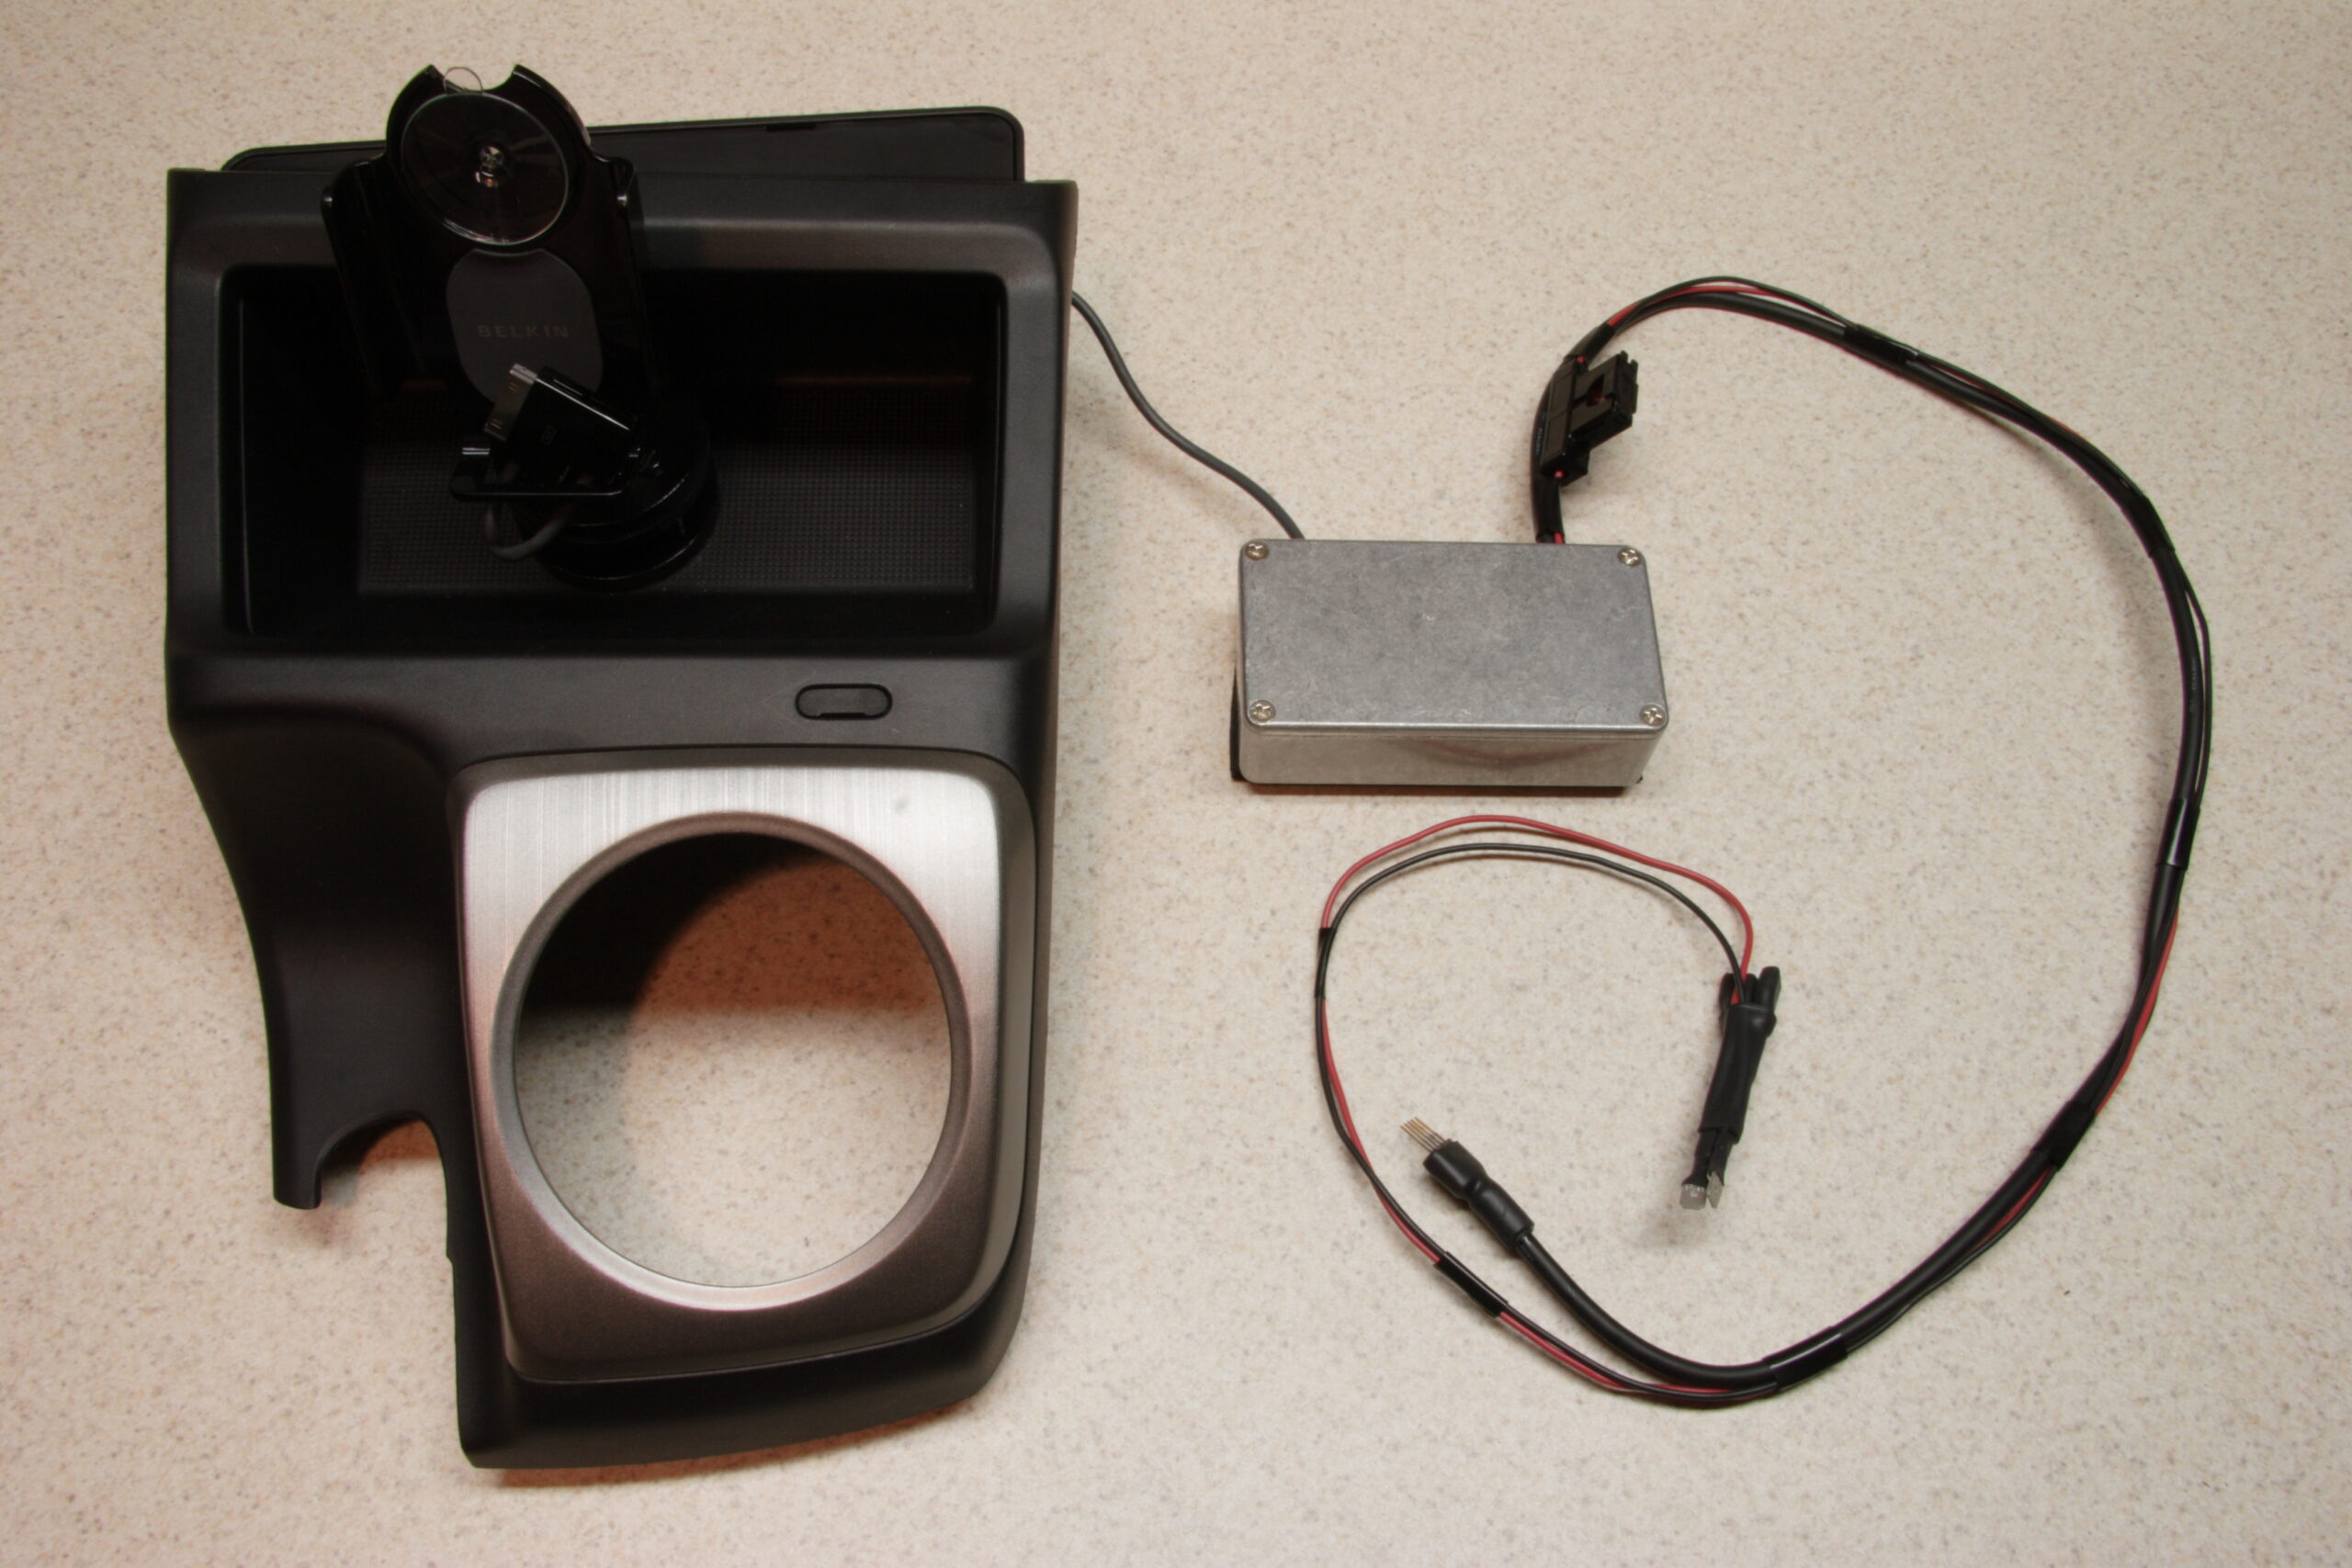
· The finished kit, ready to be fit into the console and dash of the vehicle.
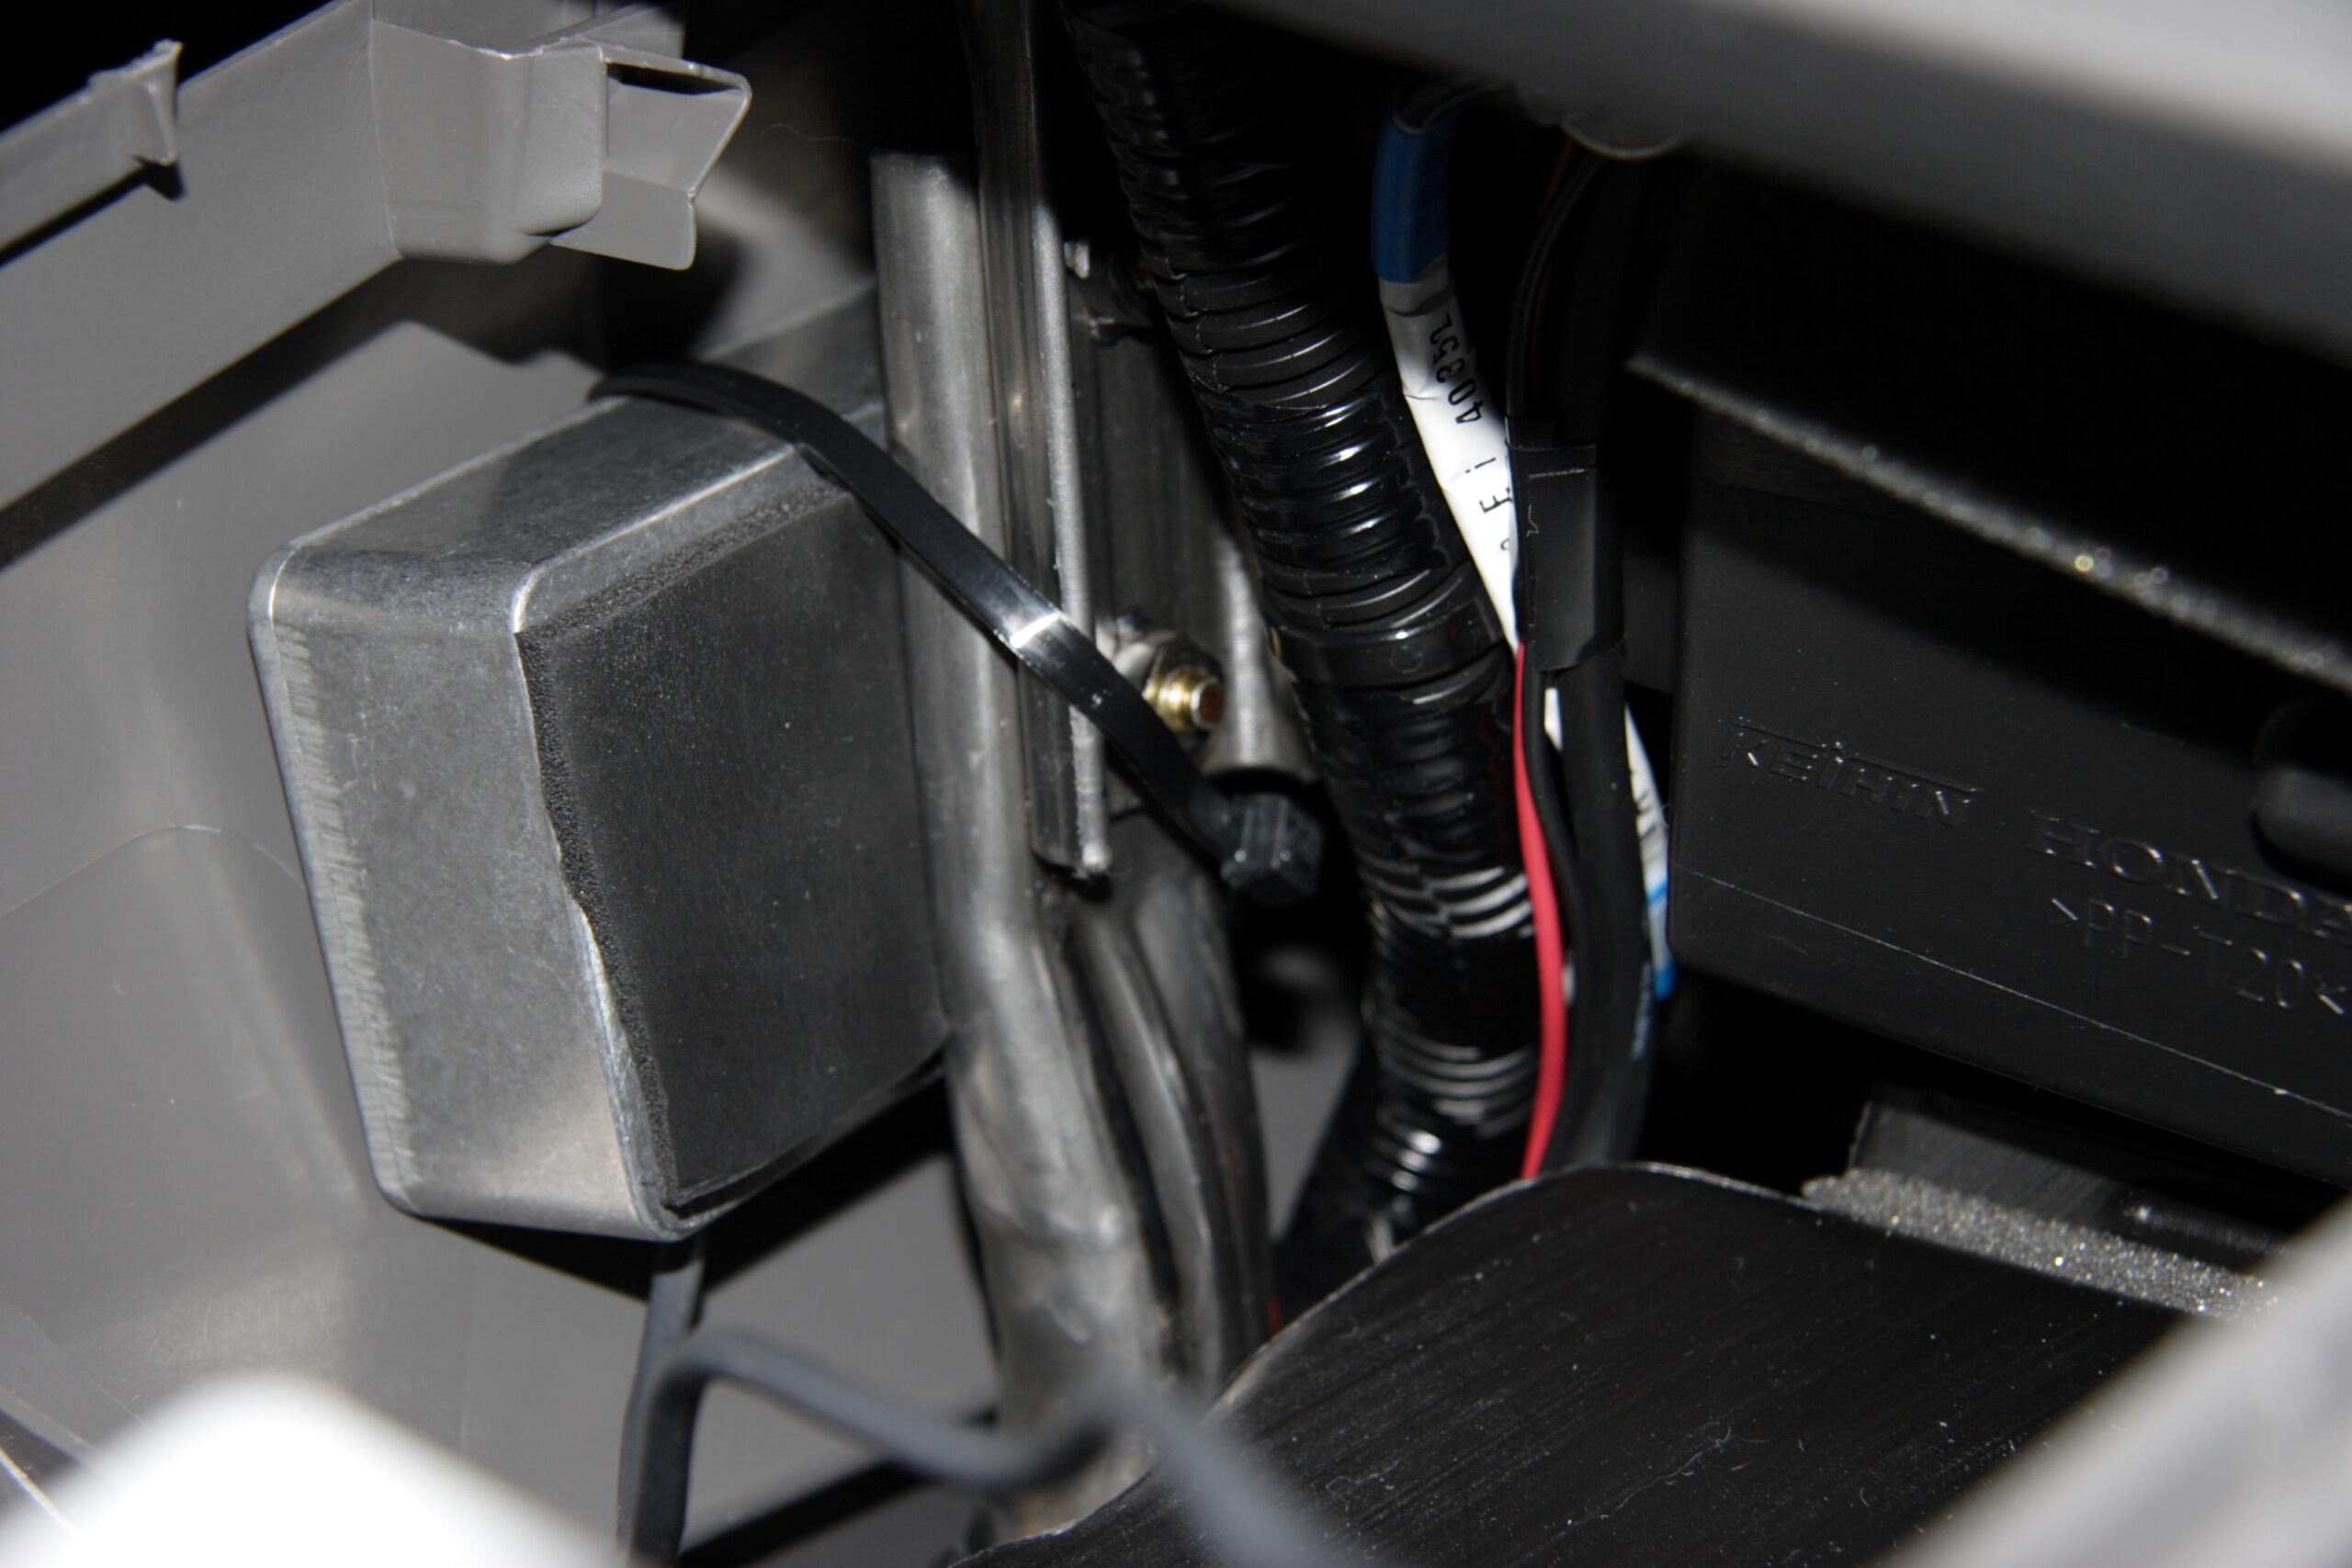
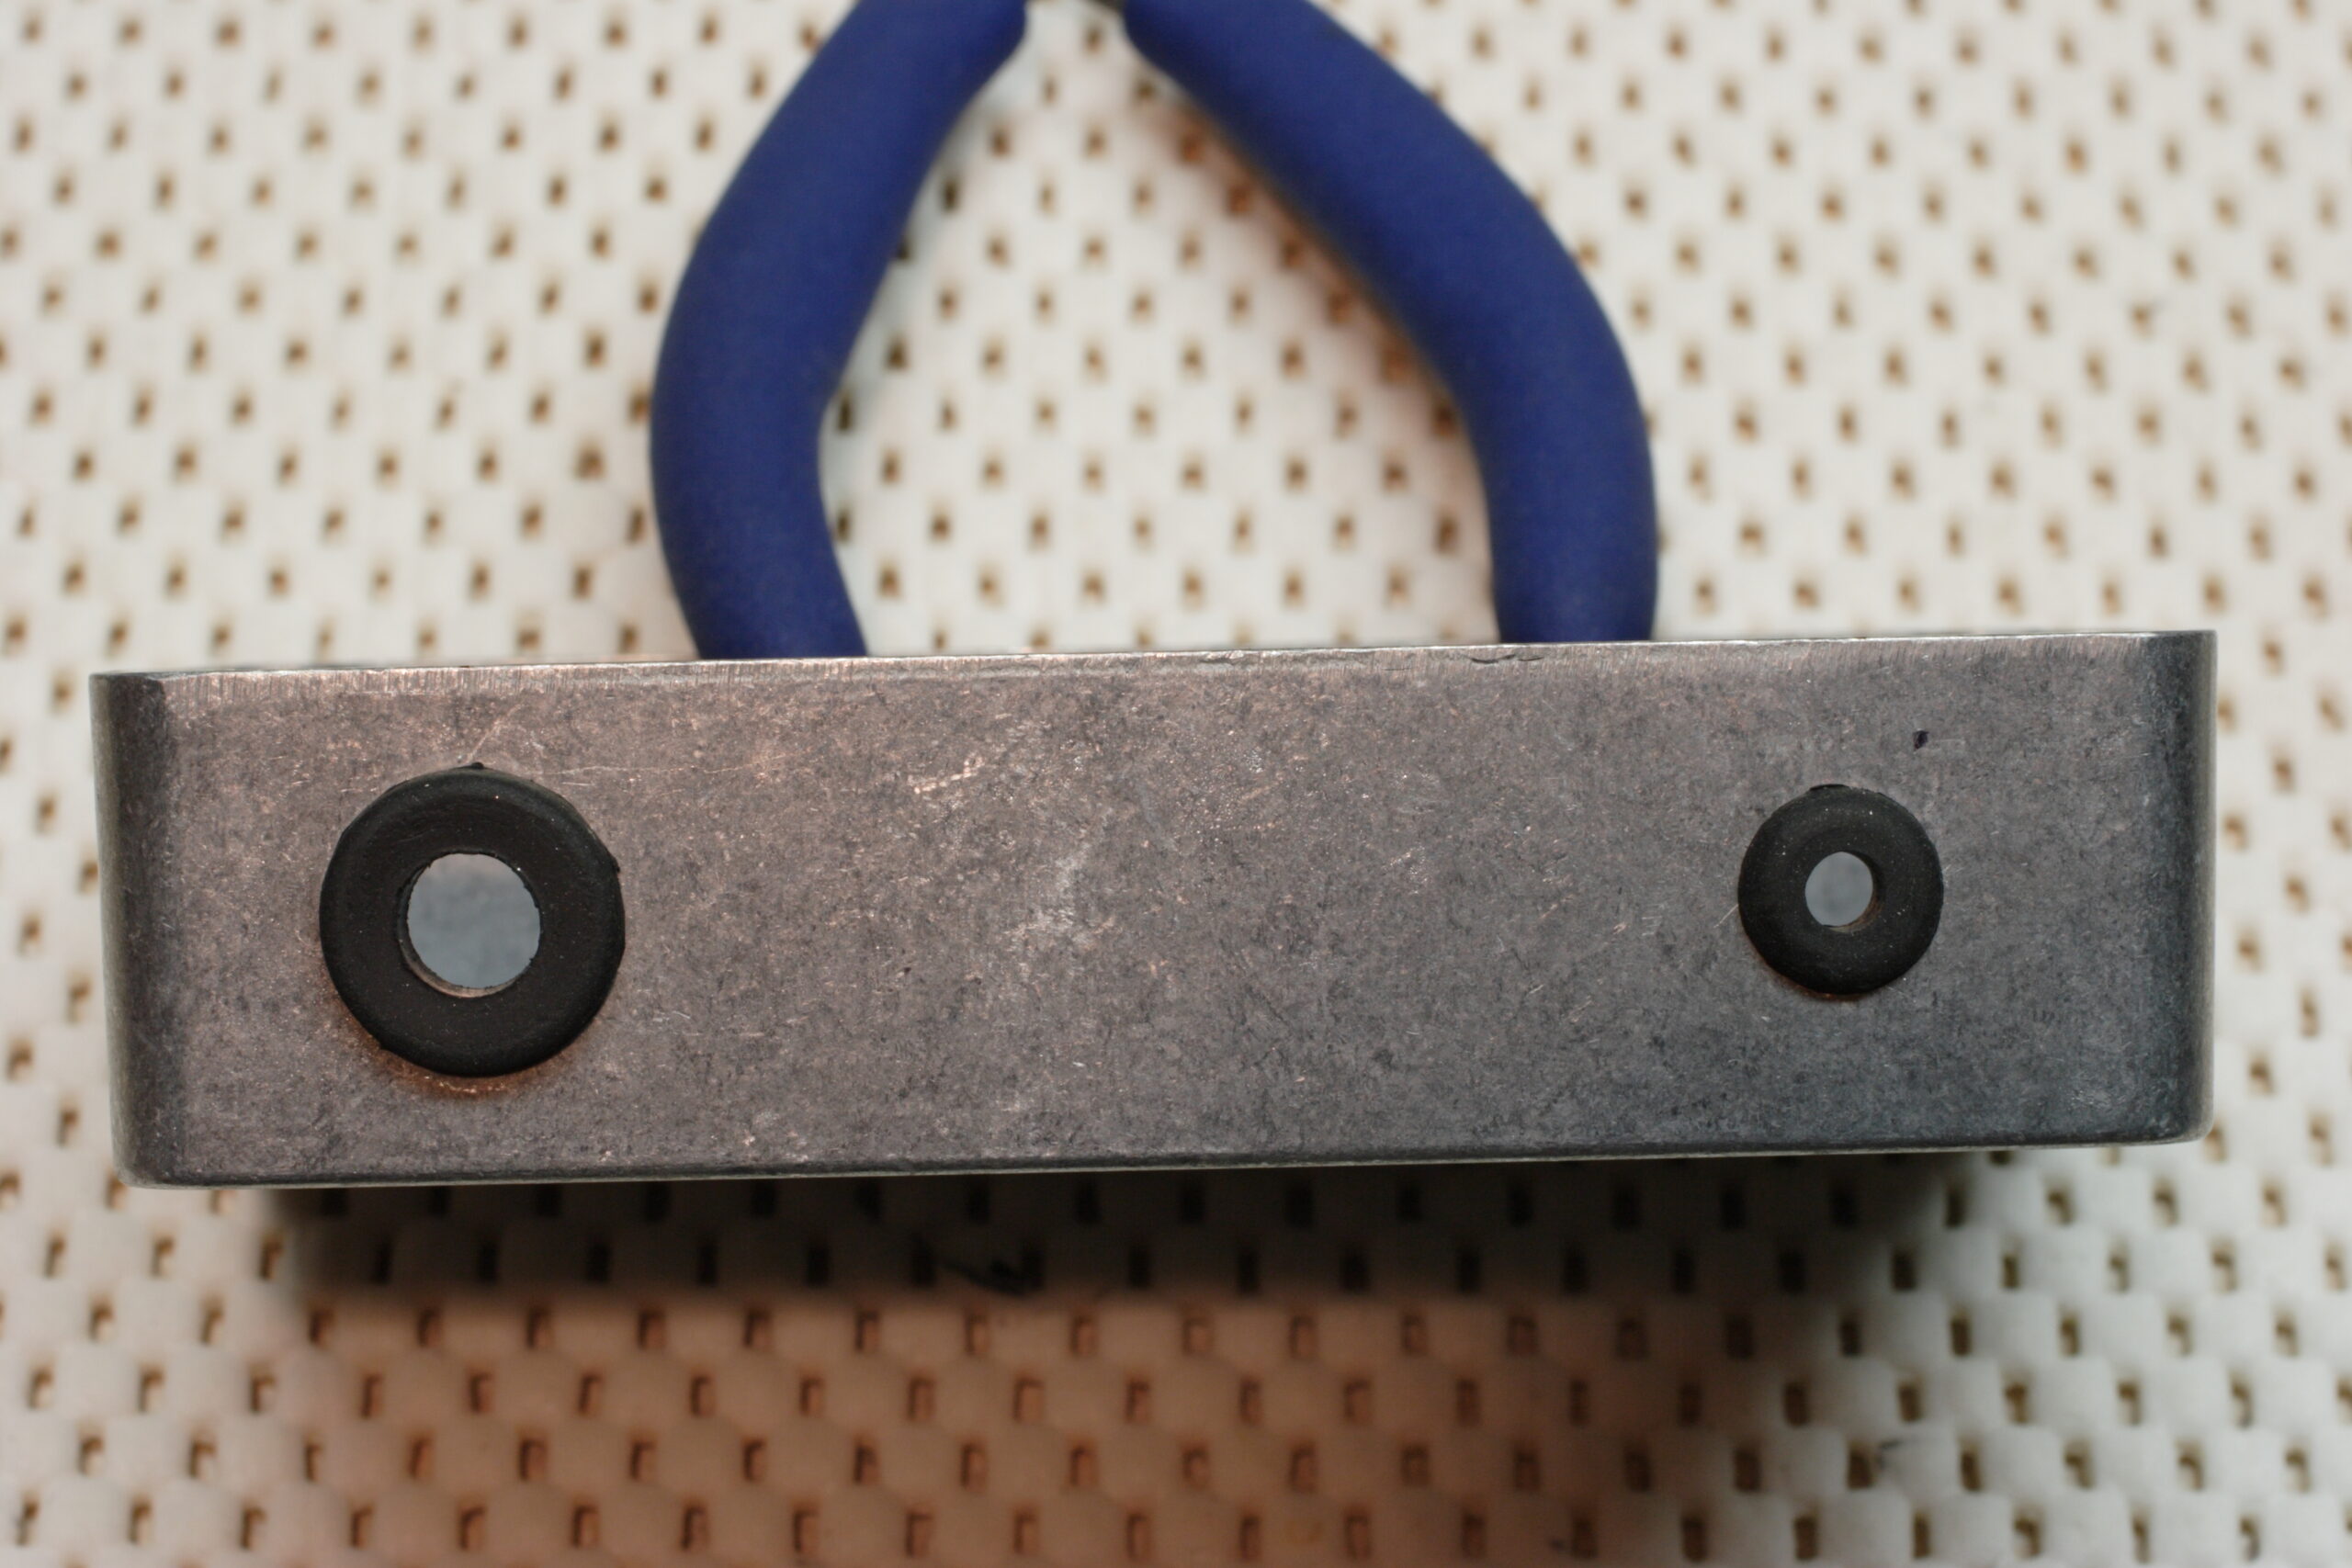
· The interface box strapped to a pipe inside the console.
· The holder and stand match the vehicle’s interior quite nicely.
· Larger view of the photo above, showing how the iPod fits amongst other parts in the console.
Of course, all the photos from this project are available here: iPod in 2006 Honda Civic (EX w/Navigation) » Second Version (Built-In) (photo gallery retired)
The only thing left to do is get my current white 40GB iPod Photo replaced under AppleCare (it has the problem detailed in these two H.264 videos: 1 – 2) and purchase a 30GB 5th Generation iPod Color in black. Then everything will match nicely… Oh, I’ll be selling the iPod, so you’ll likely see an ad here for it, if someone doesn’t pick it up first.
Now, to clean up my workbench and the table near by. Well, maybe I’ll do that tomorrow… Instead I’ll write another LJ post. Or something.
Yay! The physical iPod mount fits with no issues thus far! Now I just need to finish up the wiring… Maybe tonight, maybe tomorrow. We’ll see… Regardless, I’m really happy thus far. Pictures coming soon.
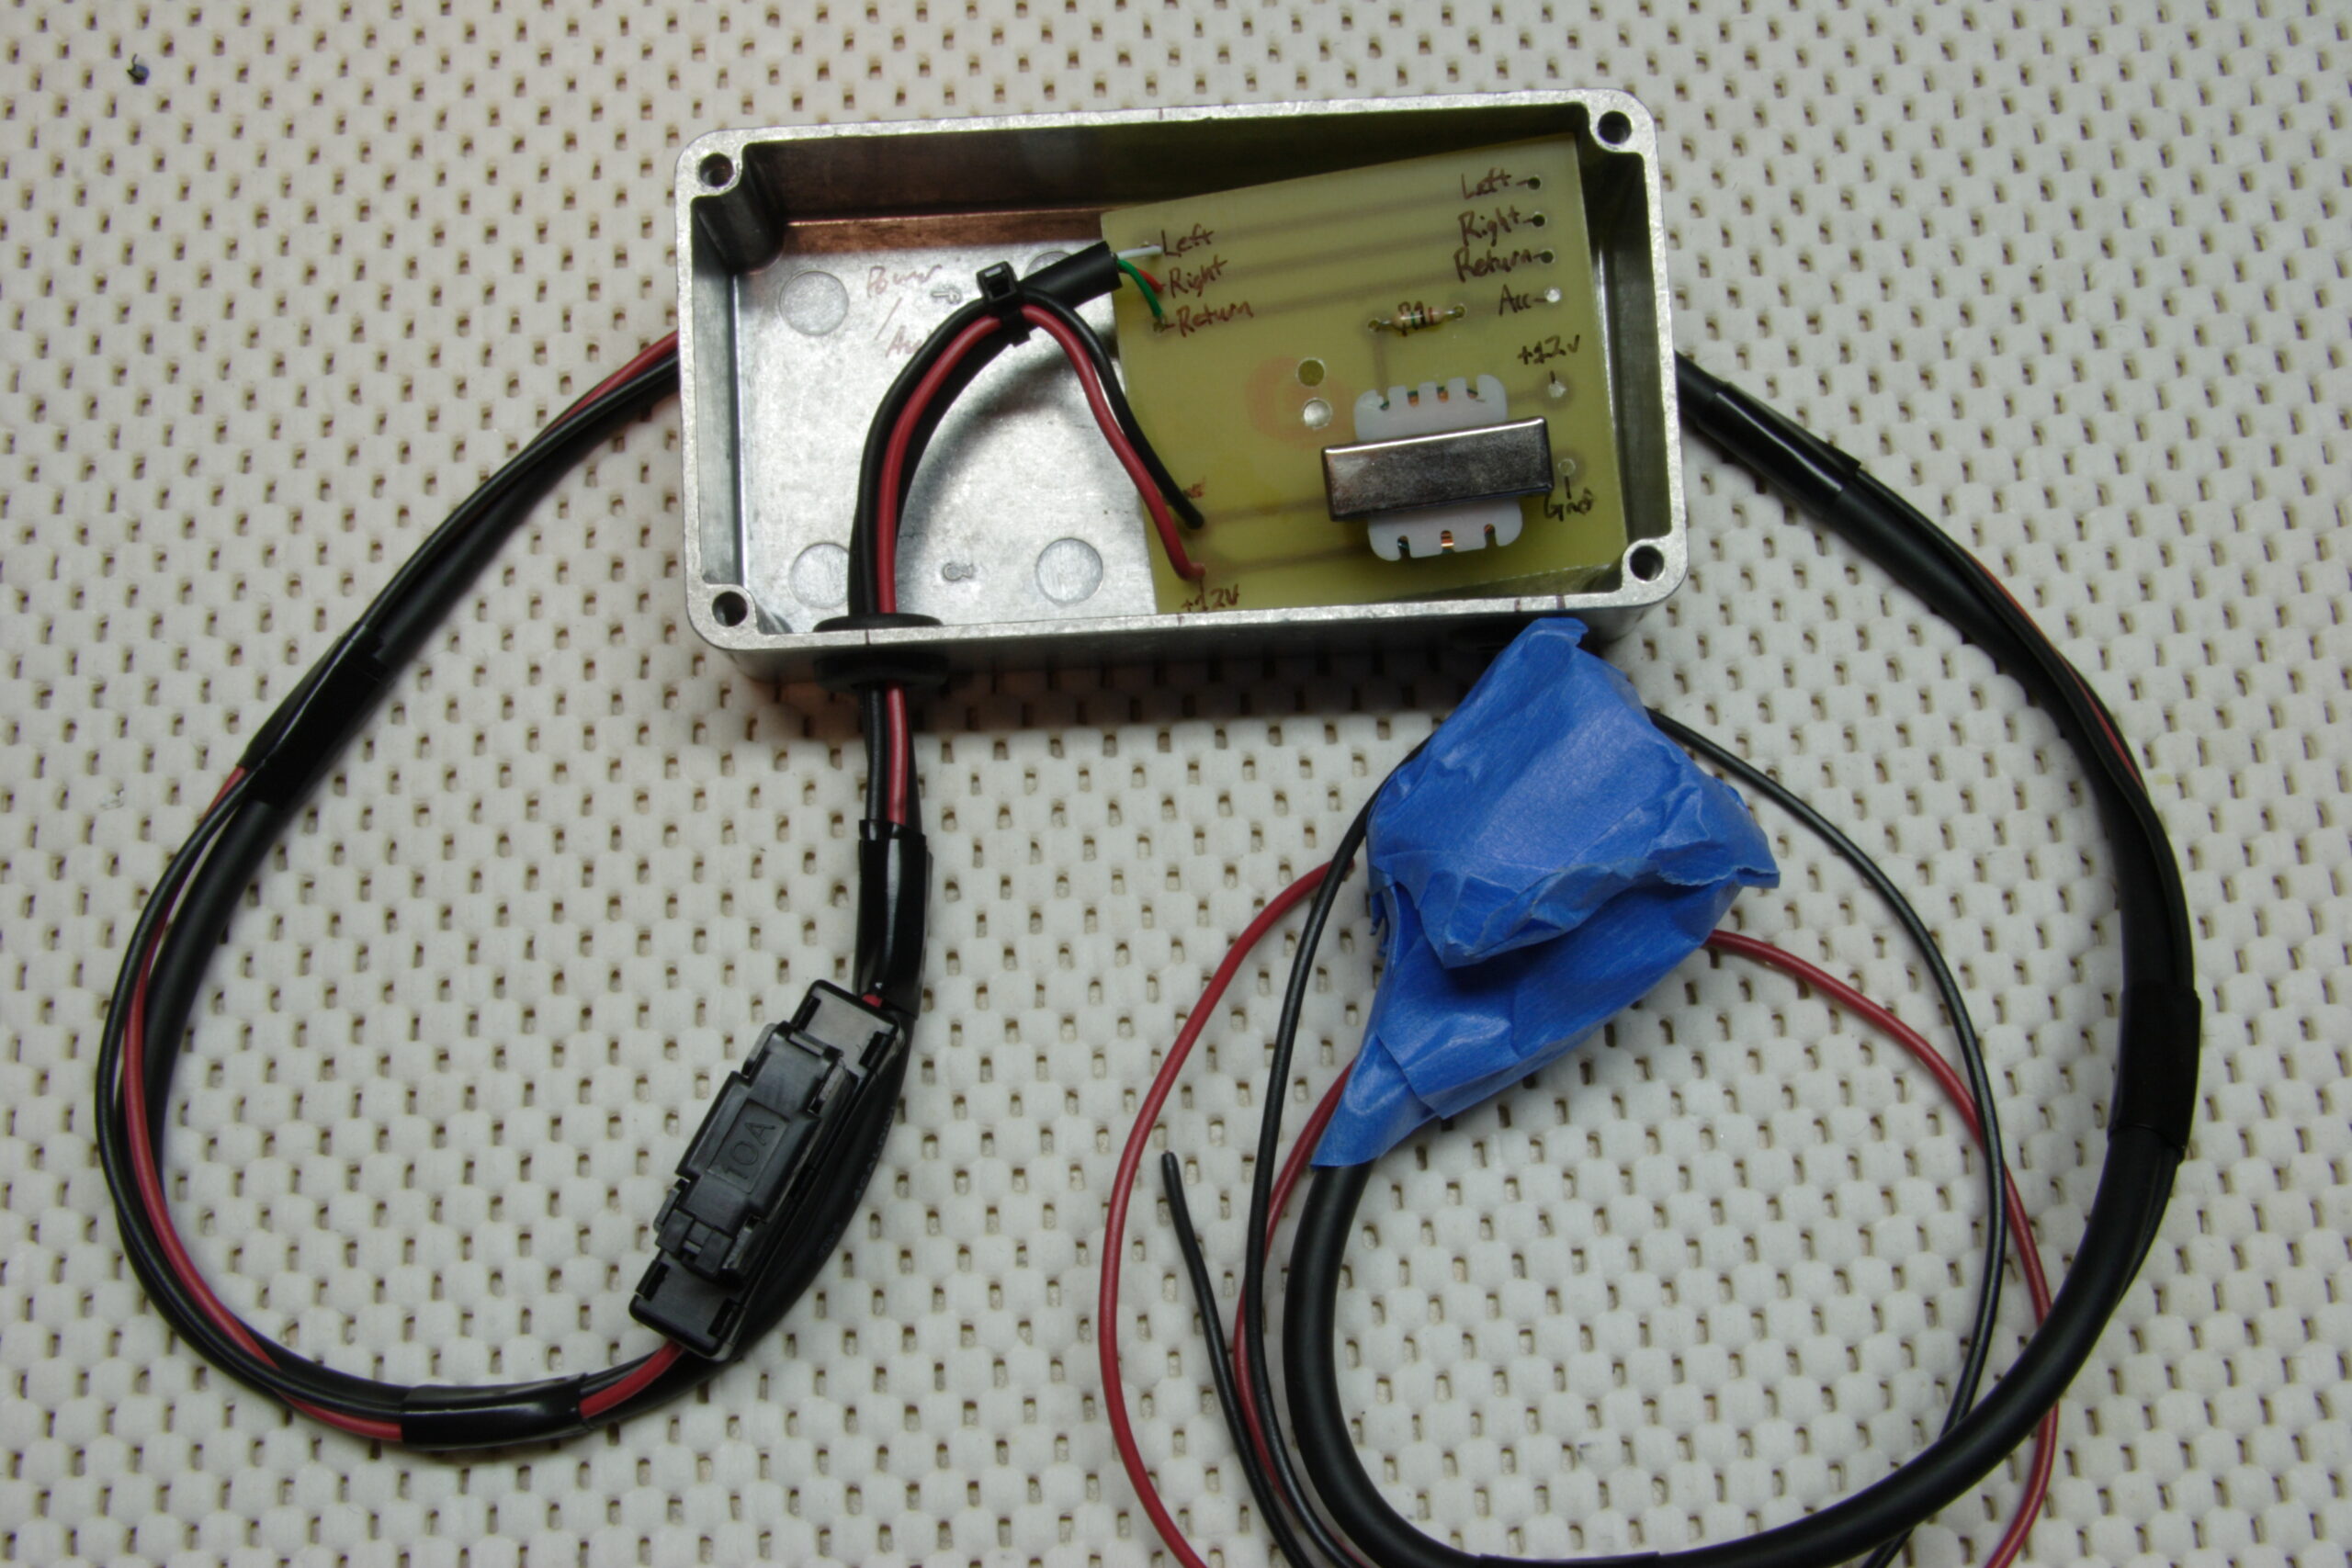
Yes, I know that’s not the most impressive photo, but that’s the completion of my work tonight. I ended up making a new and much better PCB with which to tie everything together, mounted the filter and resistor, installed the second grommet in the case, soldered on the previously made Aux In cable, added the power cable, hacked in a fuse for the power cable, and called it a night.
So, yeah. Now the only things left to do are tear into the dash again, finally assemble and bolt in the iPod holder, run the iPod dock cable through the base of the stuff pocket in the console (whoops, need to purchase another 7/16OD x 1/4ID grommet), add the ends to the power cable, plug both the power and aux in cables in, strap the project box to a support in the console, and close it all up. Then, provided things go the way I want, it should just work.
After that I’ll start looking into changing the firmware on the head unit to read IPOD instead of AUX, and I’ll probably start seriously looking more into the Honda Music Link Device. I’ve got a growing desire to document as much about it as I can. Pinouts, high res board photos, and if the board doesn’t have too many layers, I may even try to work up a schematic. Or maybe even read out the ROM. We’ll see…
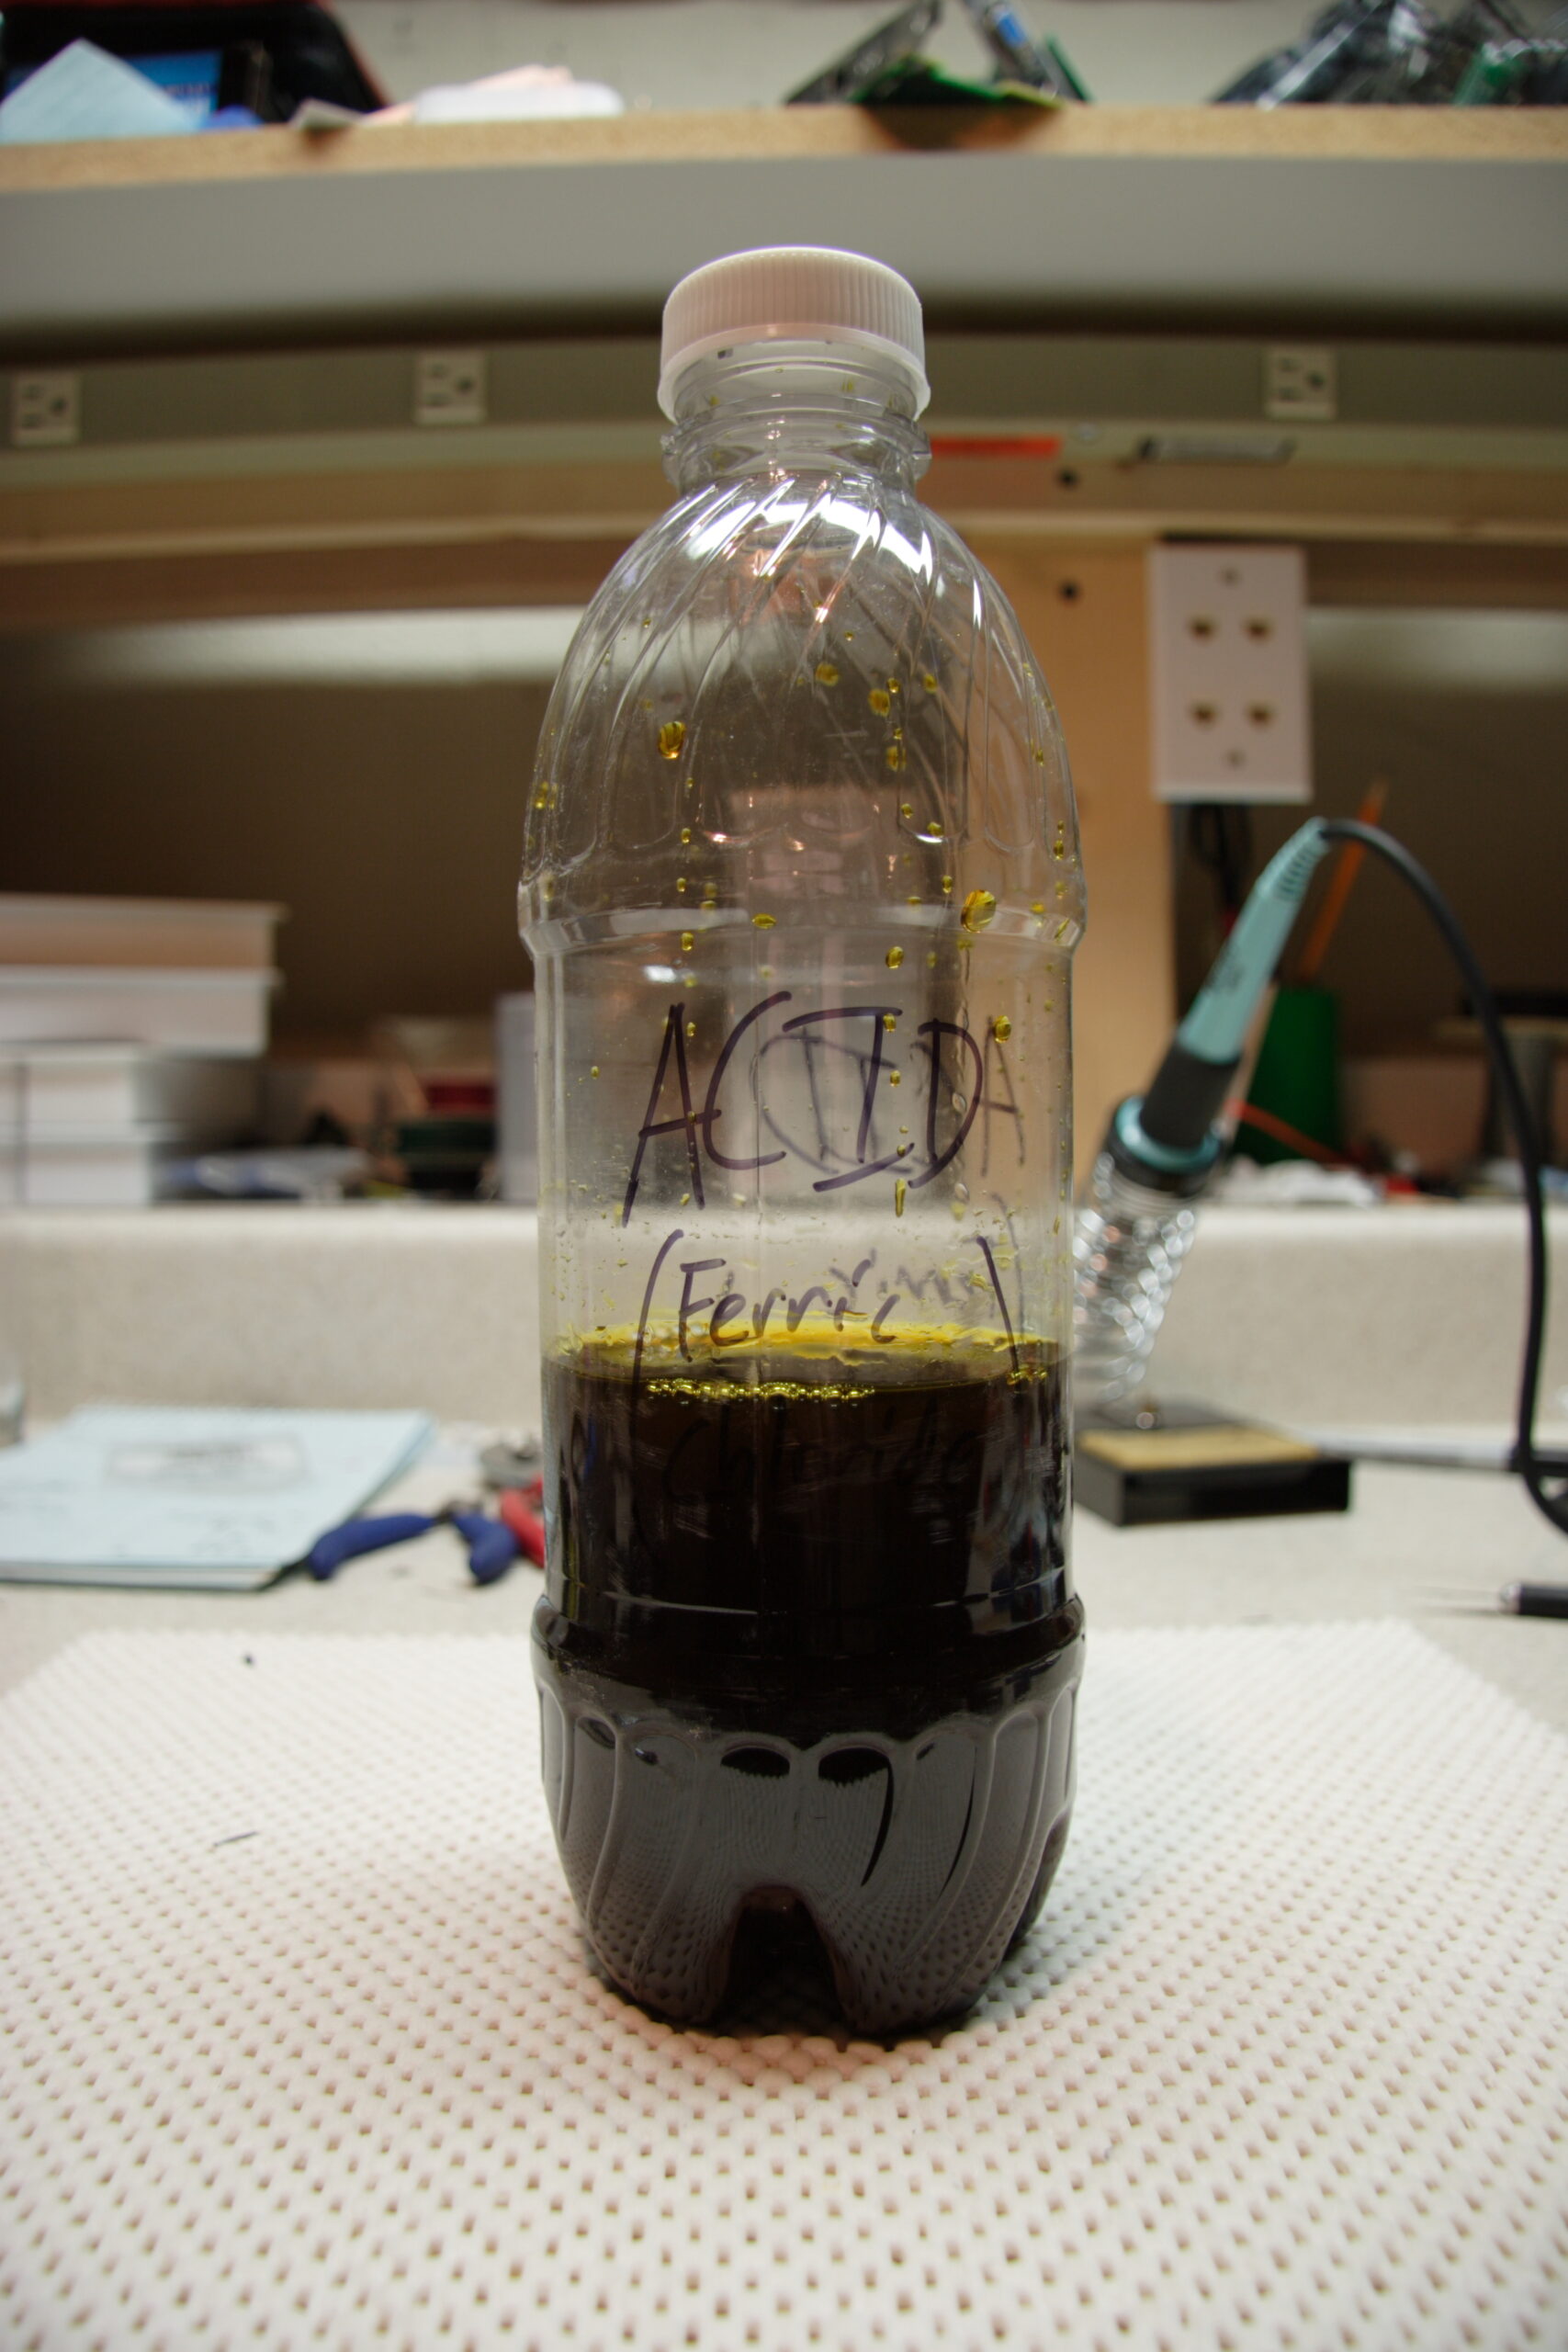
UPDATE: Oh, I forgot to add this photo of the bottle of acid, namely ferric cloride in water. I had it sitting in a pyrex measuring cup for two days because I wasn’t sure what to do with it. It can’t come in contact with metal at all, so I was having a hard time finding a container for it. While I was at GFS unsuccessfully looking through their cleaning products for such a contain, it came to me that I should just use a 1L wide-mouth Aquafina bottle to hold it. So I did. It’s working out nicely. Now I can save the solution to use a few months from now.