Interfaces Galore!
January 27, 2008
I’m going to hide this behind a cut because it’s just a bit of bragging / dorkyness about having lots of NICs in one box:
I’m going to hide this behind a cut because it’s just a bit of bragging / dorkyness about having lots of NICs in one box:
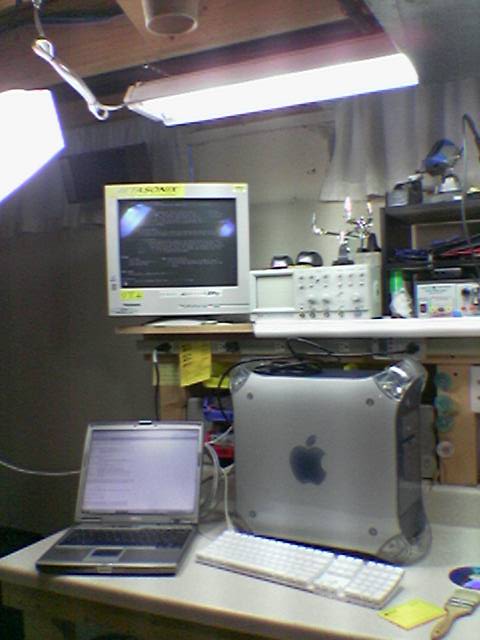 OpenBSD 4.2 (macppc) on a Powermac G4 AGP
OpenBSD on PPC, specifically
Well, at least it’s now booting…
It might be nice to shove a bunch of four-port NICs in here and use it as a firewall / hub / bridge / switch thing. Then I could do what is essentially per-port / per-device monitoring and firewalling. I think it would work well to have the Airport Extreme on one port, my Mac Pro on another, the workbench on one, the Xbox 360 on yet another.
I wonder if this thing can run without a video card…
This would be good for ACK prioritization which would really help me out when loads of photos are uploading. Hmm…
Oh, also, the nifty real framebuffer, high-res, serif font is kinda neat.
I think next I’ll try and clean it out (it’s full of cat dander), get it booting from flash, and get the noisy fans sorted out. Right now it’s only pulling 54 watts, but I’d love to get that even lower if it’s going to be a firewall.
Hmm, if I got an Airport card for it (anyone have one of these — the old, original one?) I could also have an open AP, with monitoring, which only has access to the public internet. That’d be handy.
Am I the only person who really doesn’t care for Instructables?
I mean, the concept is good (sharing project ideas step by step), but the execution is rotten. It’s a mishmash of external ads, ads for other pages on the site, comments, hard to save / reference photos (which are often too low res), and YouTube-ish comments.
Uggh.
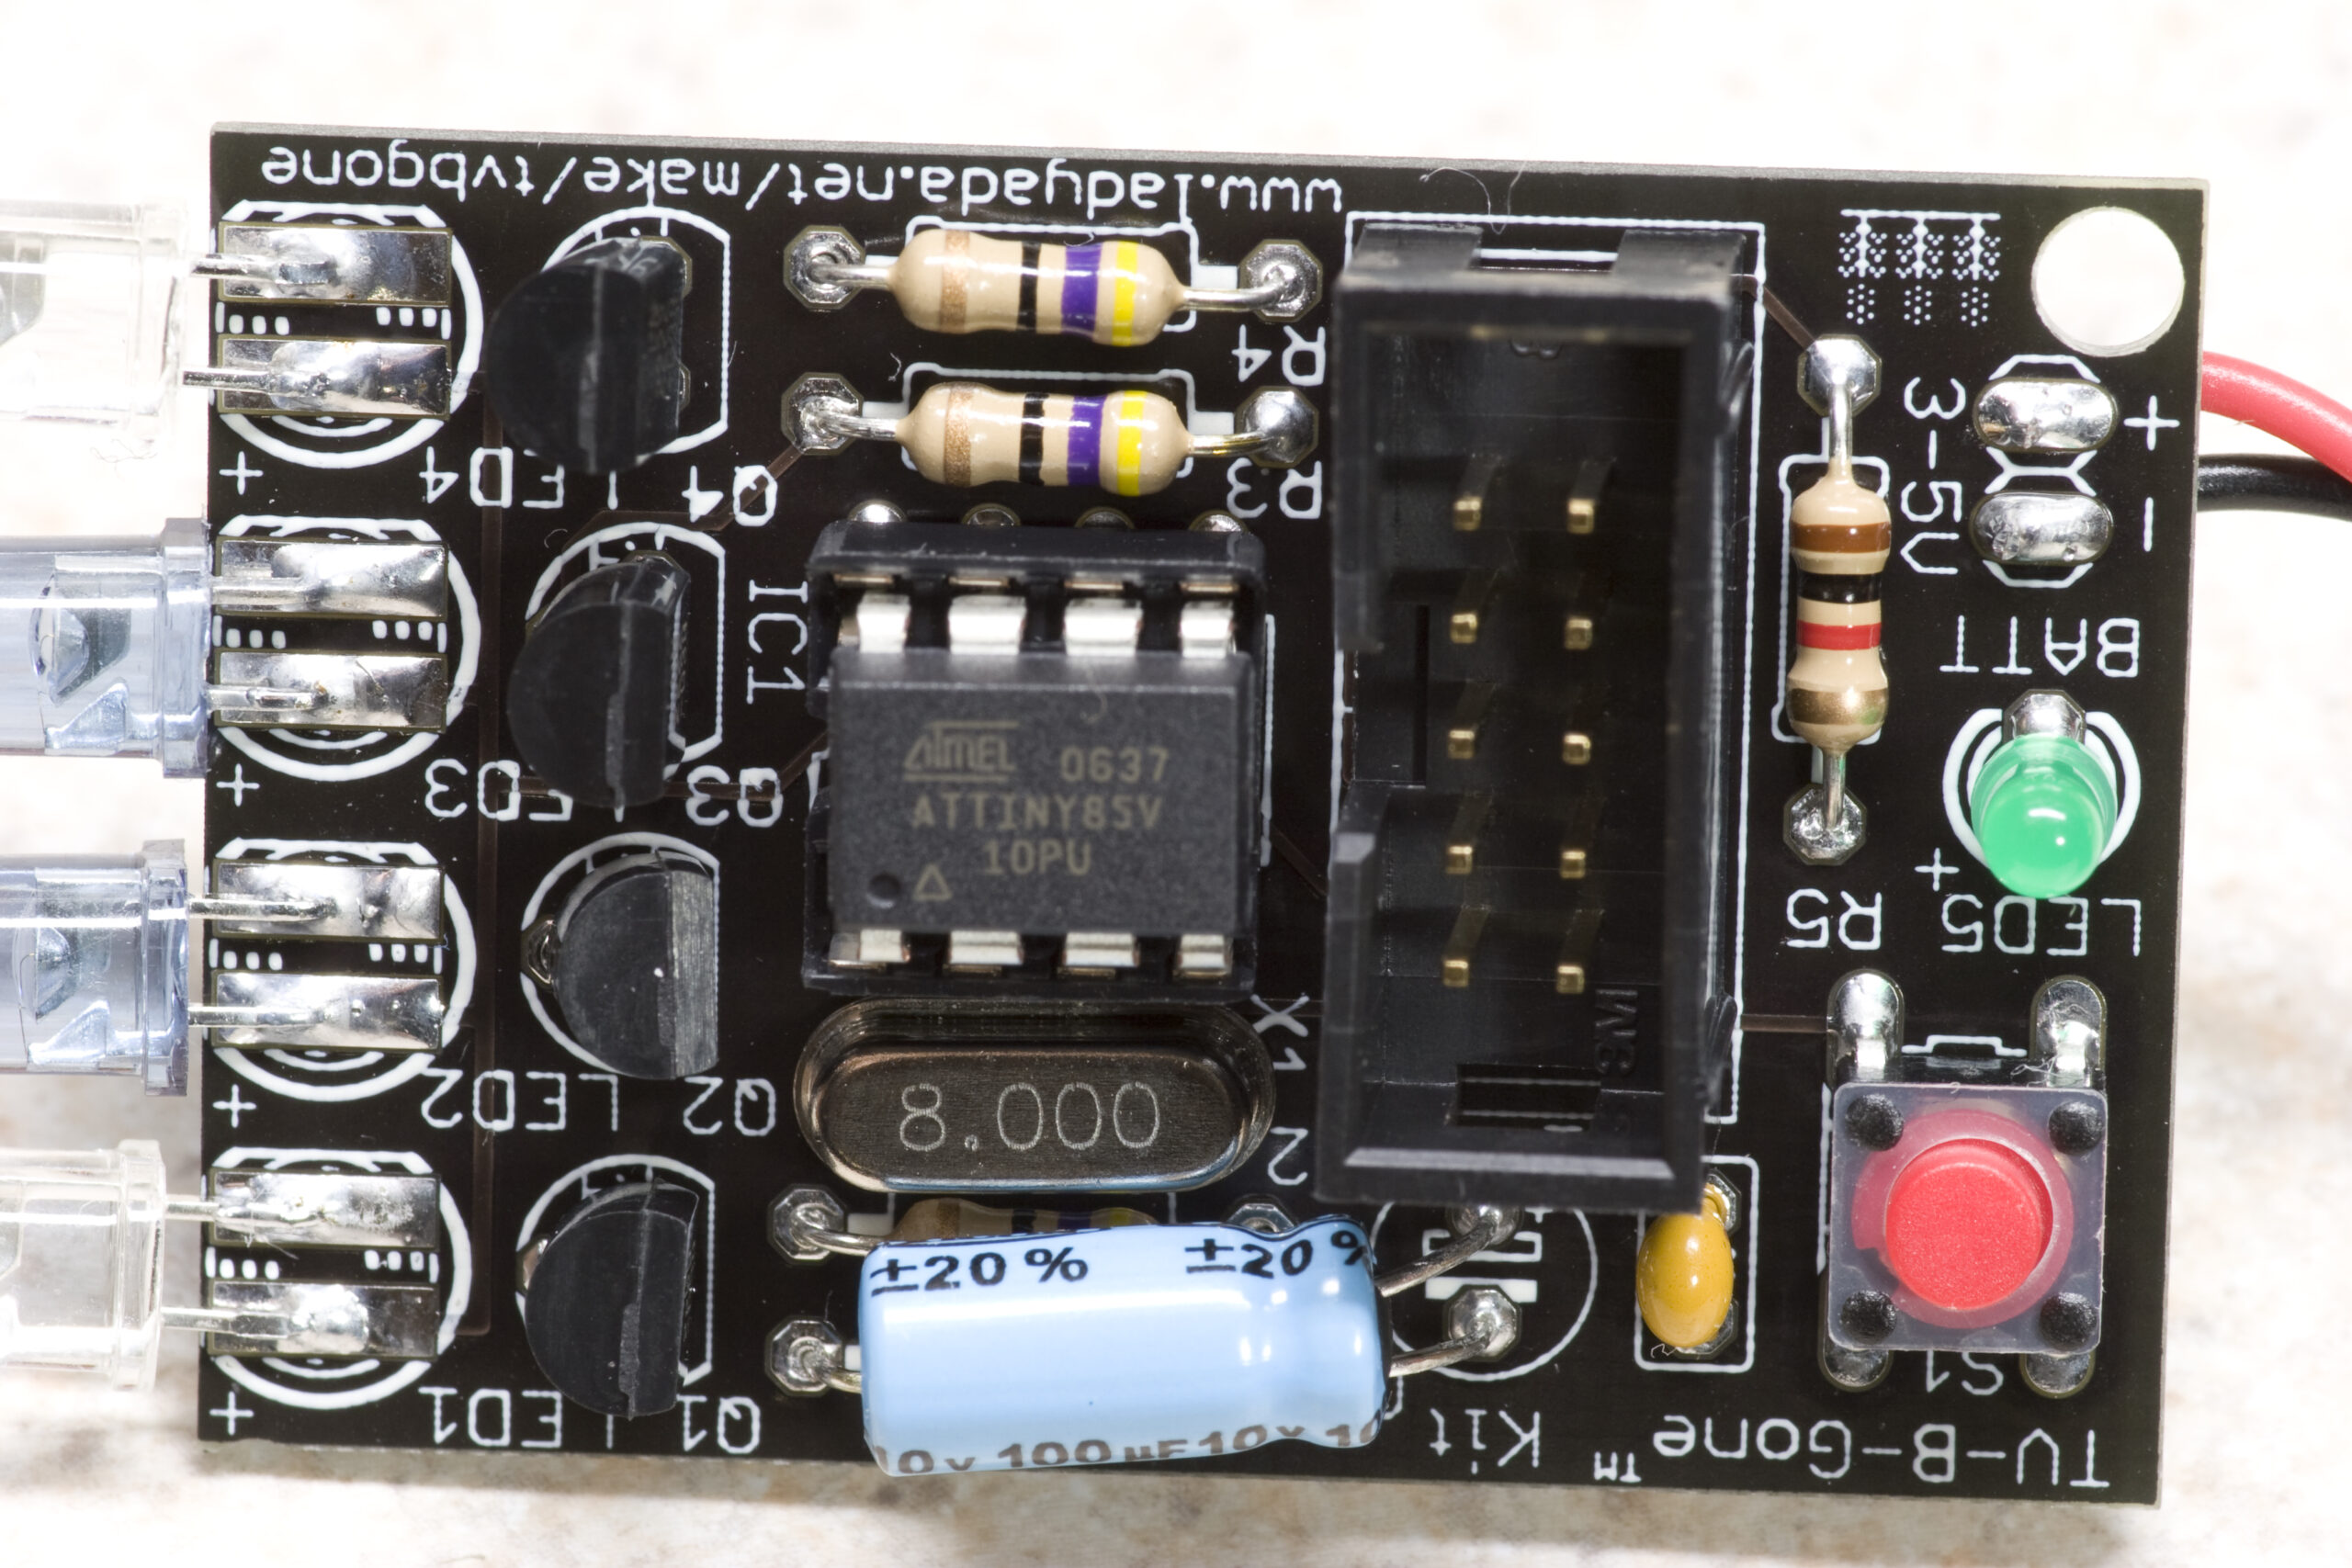
 15pF caps cobbled into Ben’s TV-B-Gone
So, that TV-B-Gone problem from last night is sorted. Just after coming in from shoveling snow† I remembered that I had an 8MHz crystal hanging out on the EasyPIC 4 I acquired about a year ago (photo gallery retired). I just dropped the crystal on the board, squeezed in some 15pF caps on the back of the board (not sure if these are the right value, but they should be close enough), and tested it. As expected, it was now working. Also, because we used no-clean flux there wasn’t anything more to clean off. That was quite nice.
To make it a little more pocket-friendly I put some 1″ Harbor Freight Special heatshrink tubing around the main part of the body. This makes it nice and smooth, and parts are less likely to be accidently torn off. (Danielle accidently knocked one of the transistors off… Oops… This will get replaced next time I order something from Mouser or Digi-Key.)
Anyway, it’s working good now. Now it just has to get back to Lapeer and in
† This is normally handled by the condo association, but because of the heavy snowfall I decided to do my porch and in front of my garage myself, instead of waiting for the snow clearing company to get to it.
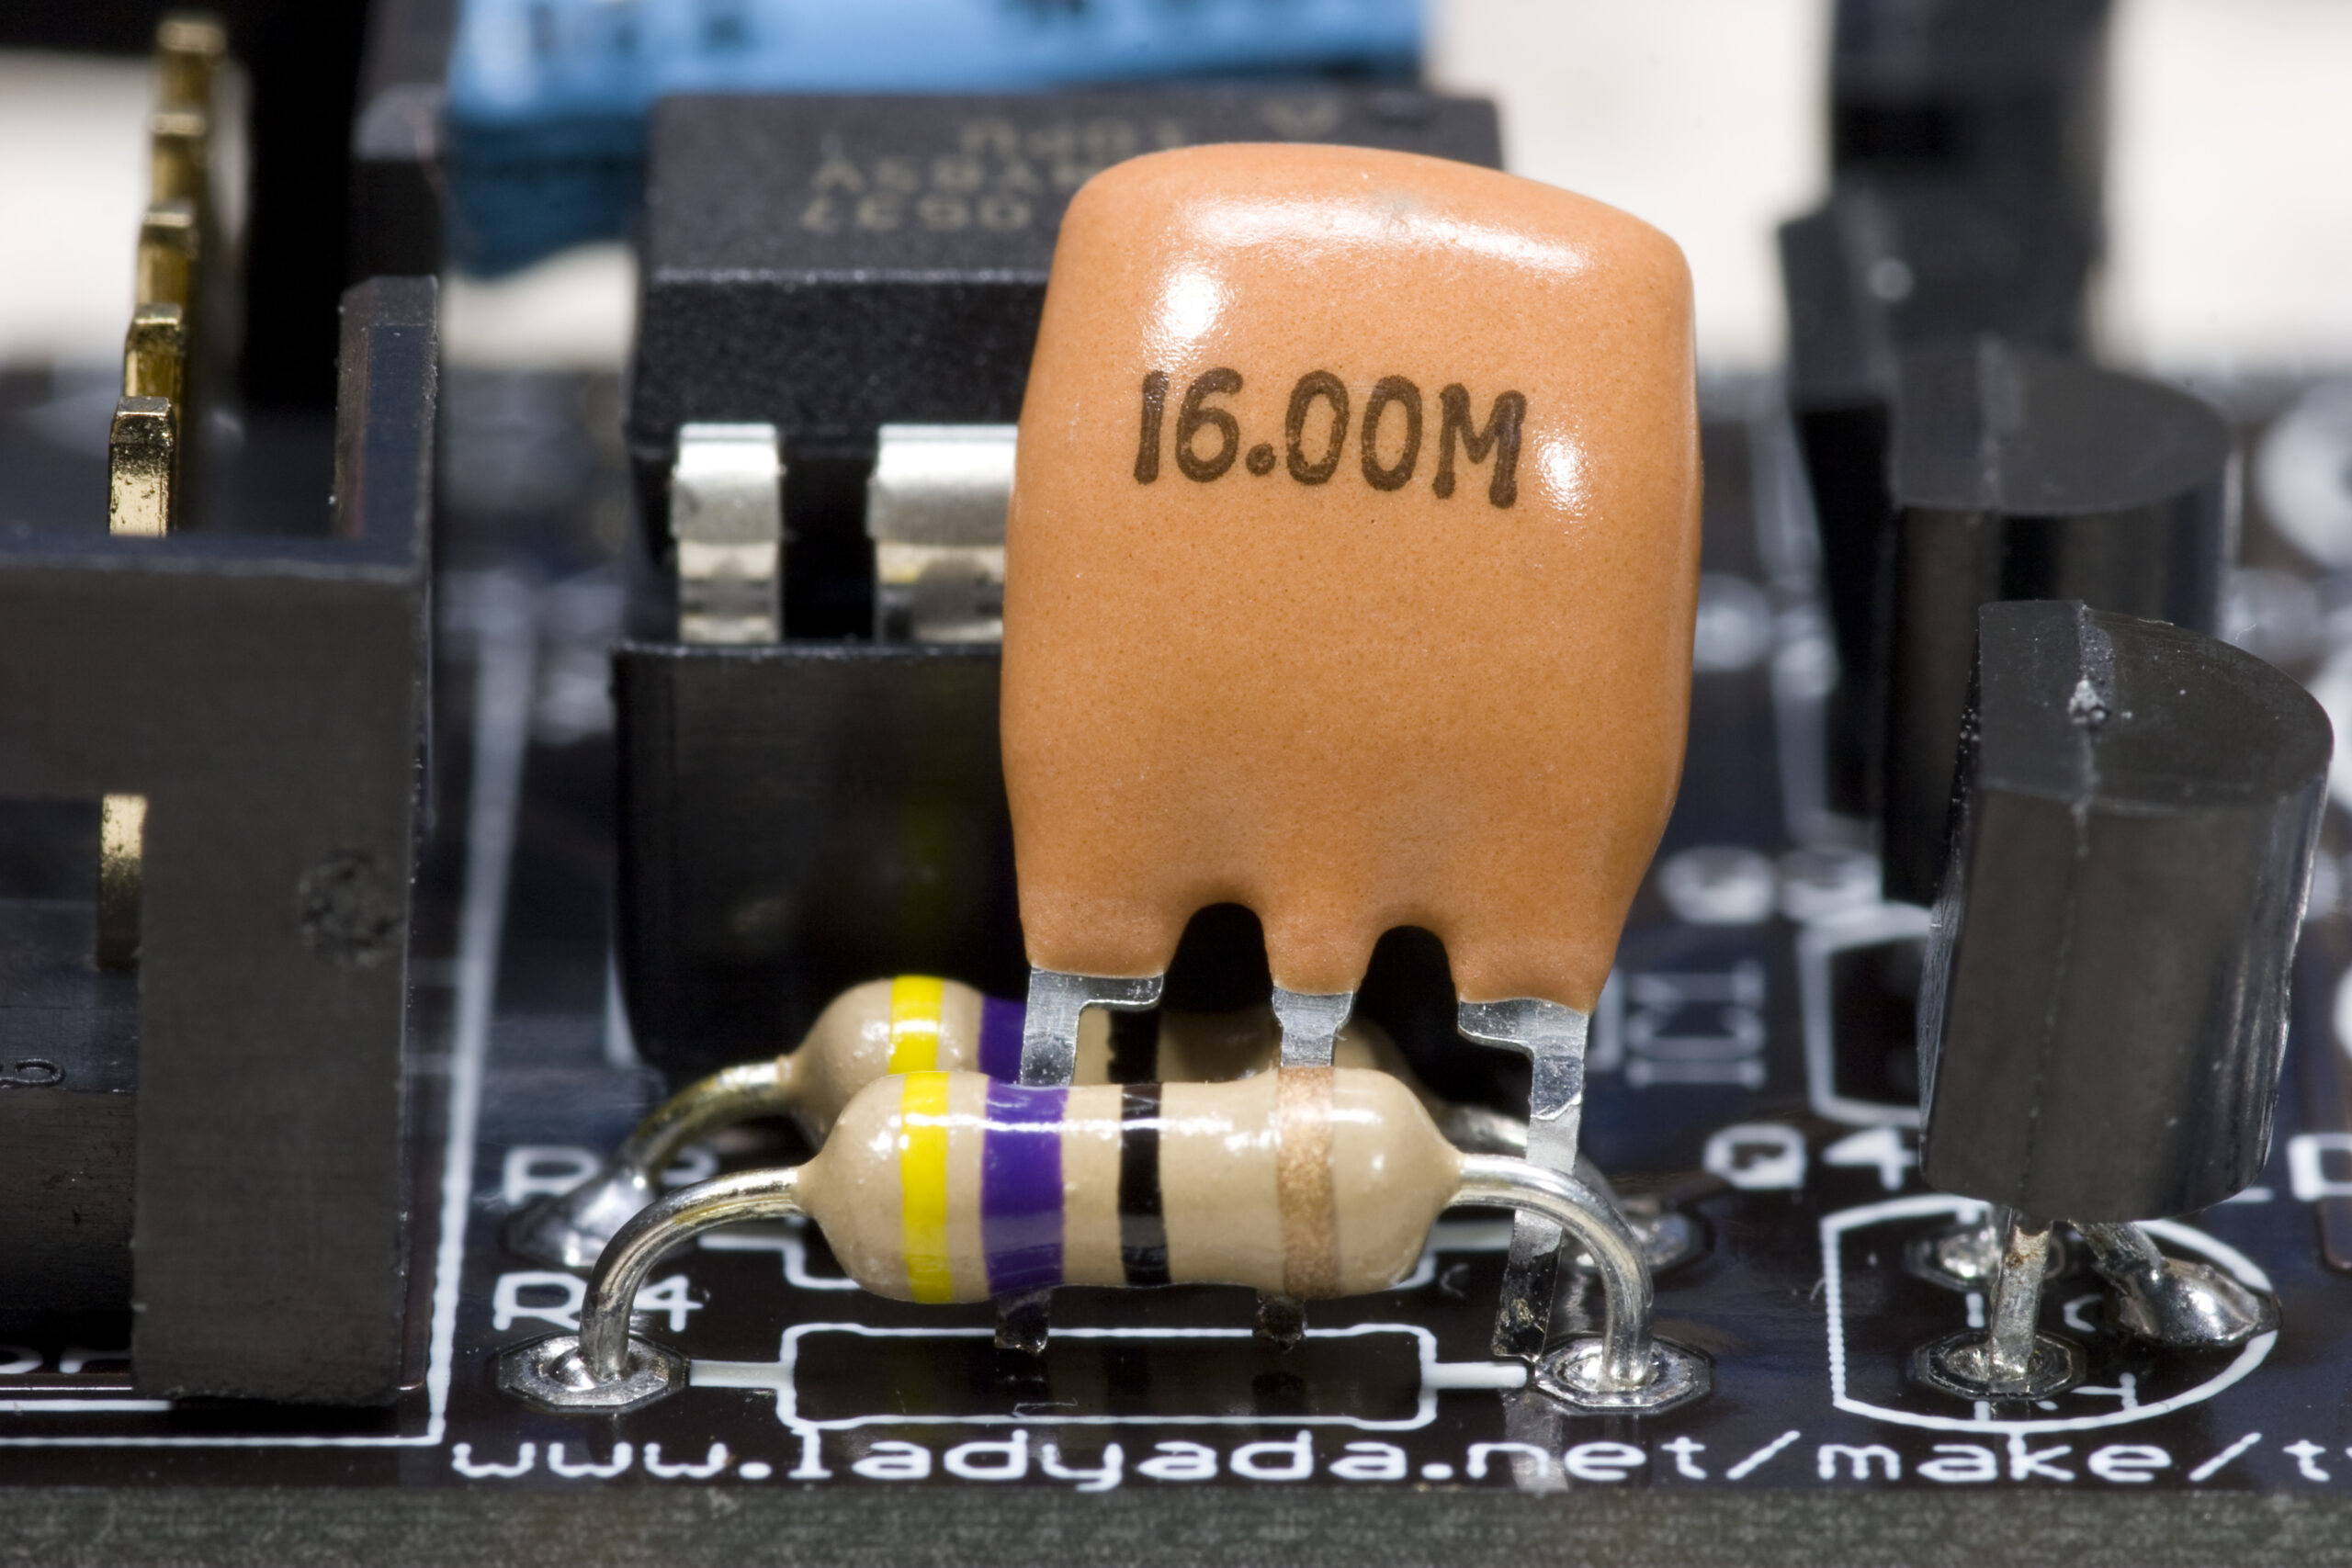 Wrong Resonator with TV-B-Gone
At first I thought this might be okay, as a new v1.1 of the kit was released, and I figured that maybe the BOM hadn’t been updated. However, after things didn’t work, I did a bit more digging and realized that it’s just the wrong part. The microcontroller won’t even run at that 16MHz speed, the firmware says that 8MHz is required, etc.
That’s now a total of three kits I’ve ordered from there, two of which had missing parts. I hope I’m the only customer with these issues.
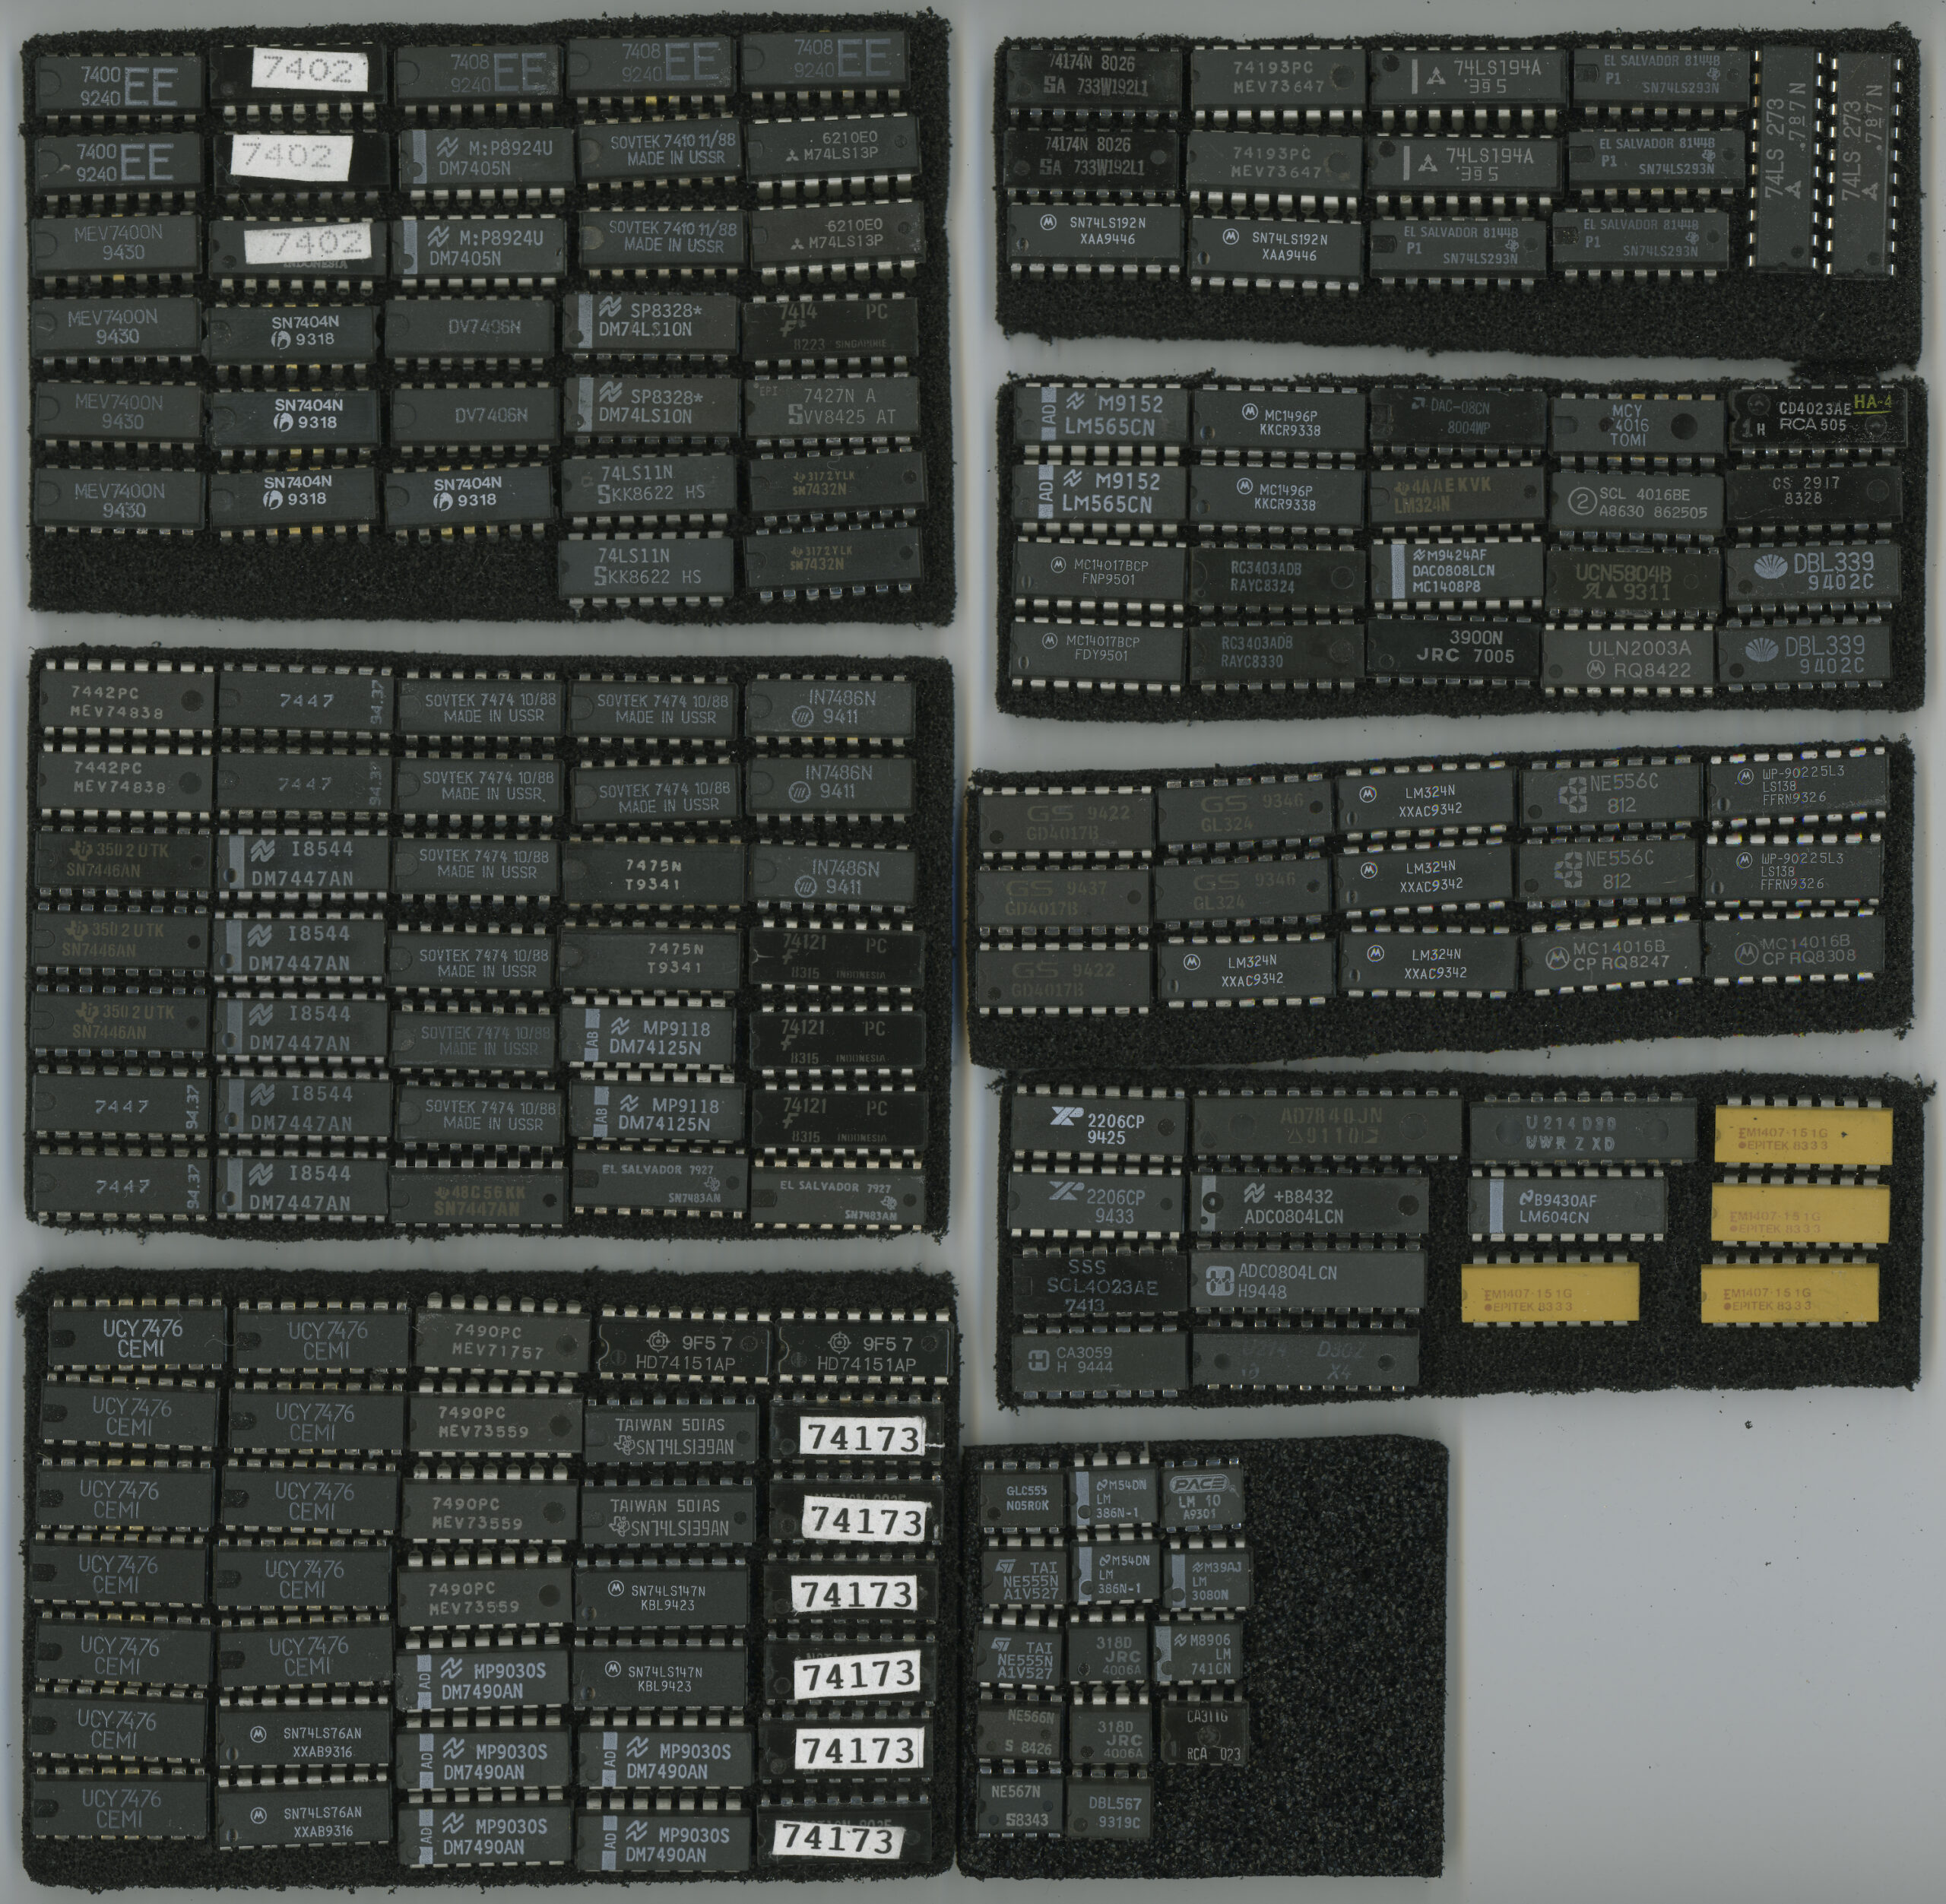 Sorted ICs
Remember the SOVTEK ICs and random other electronics I received as part of an ITT toolbox from a coworker?
Well, tonight I decided to go through and sort through the ICs, tossing out the noticeably physically damaged ones, and cataloging the rest. That scan up above shows all of the ICs, about half 74xx series, on foam. If you’d like to see a list of what is there, I put it all in Google Documents and shared it here. (And yes, Google Documents works pretty darn well.)
The yellow things are resistor arrays / networks, and those aren’t in the catalog.
Maybe now I can get to putting together that synth-like thing, or something else nifty. (Perhaps a LED clock or something…)
Do any of you happen to have an old motherboard + RAM + CPU which you don’t need any more?
I need something reasonably fast, Intel or AMD, with PCI slots. It is going to go in my MAME Cabinet and hold an AudioPCI running the fabulous DOS driver (thanks,
Really, I’m not too picky as to what it all is, so long as its reasonably quick and free. :D
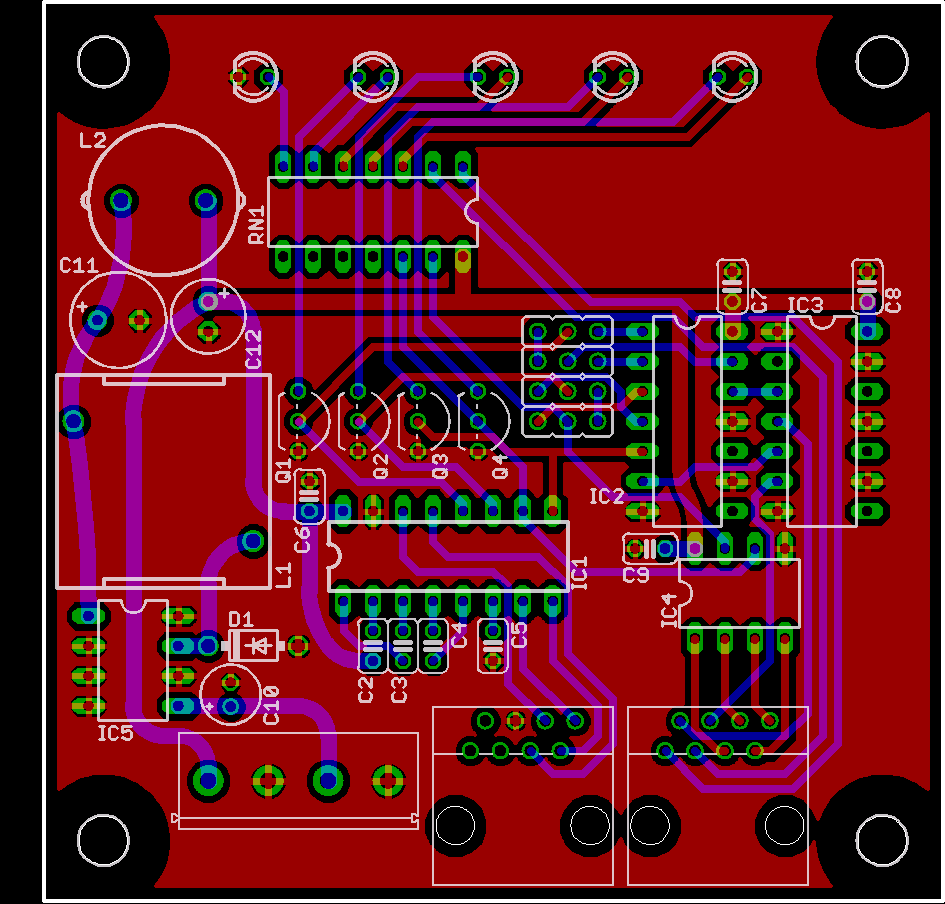
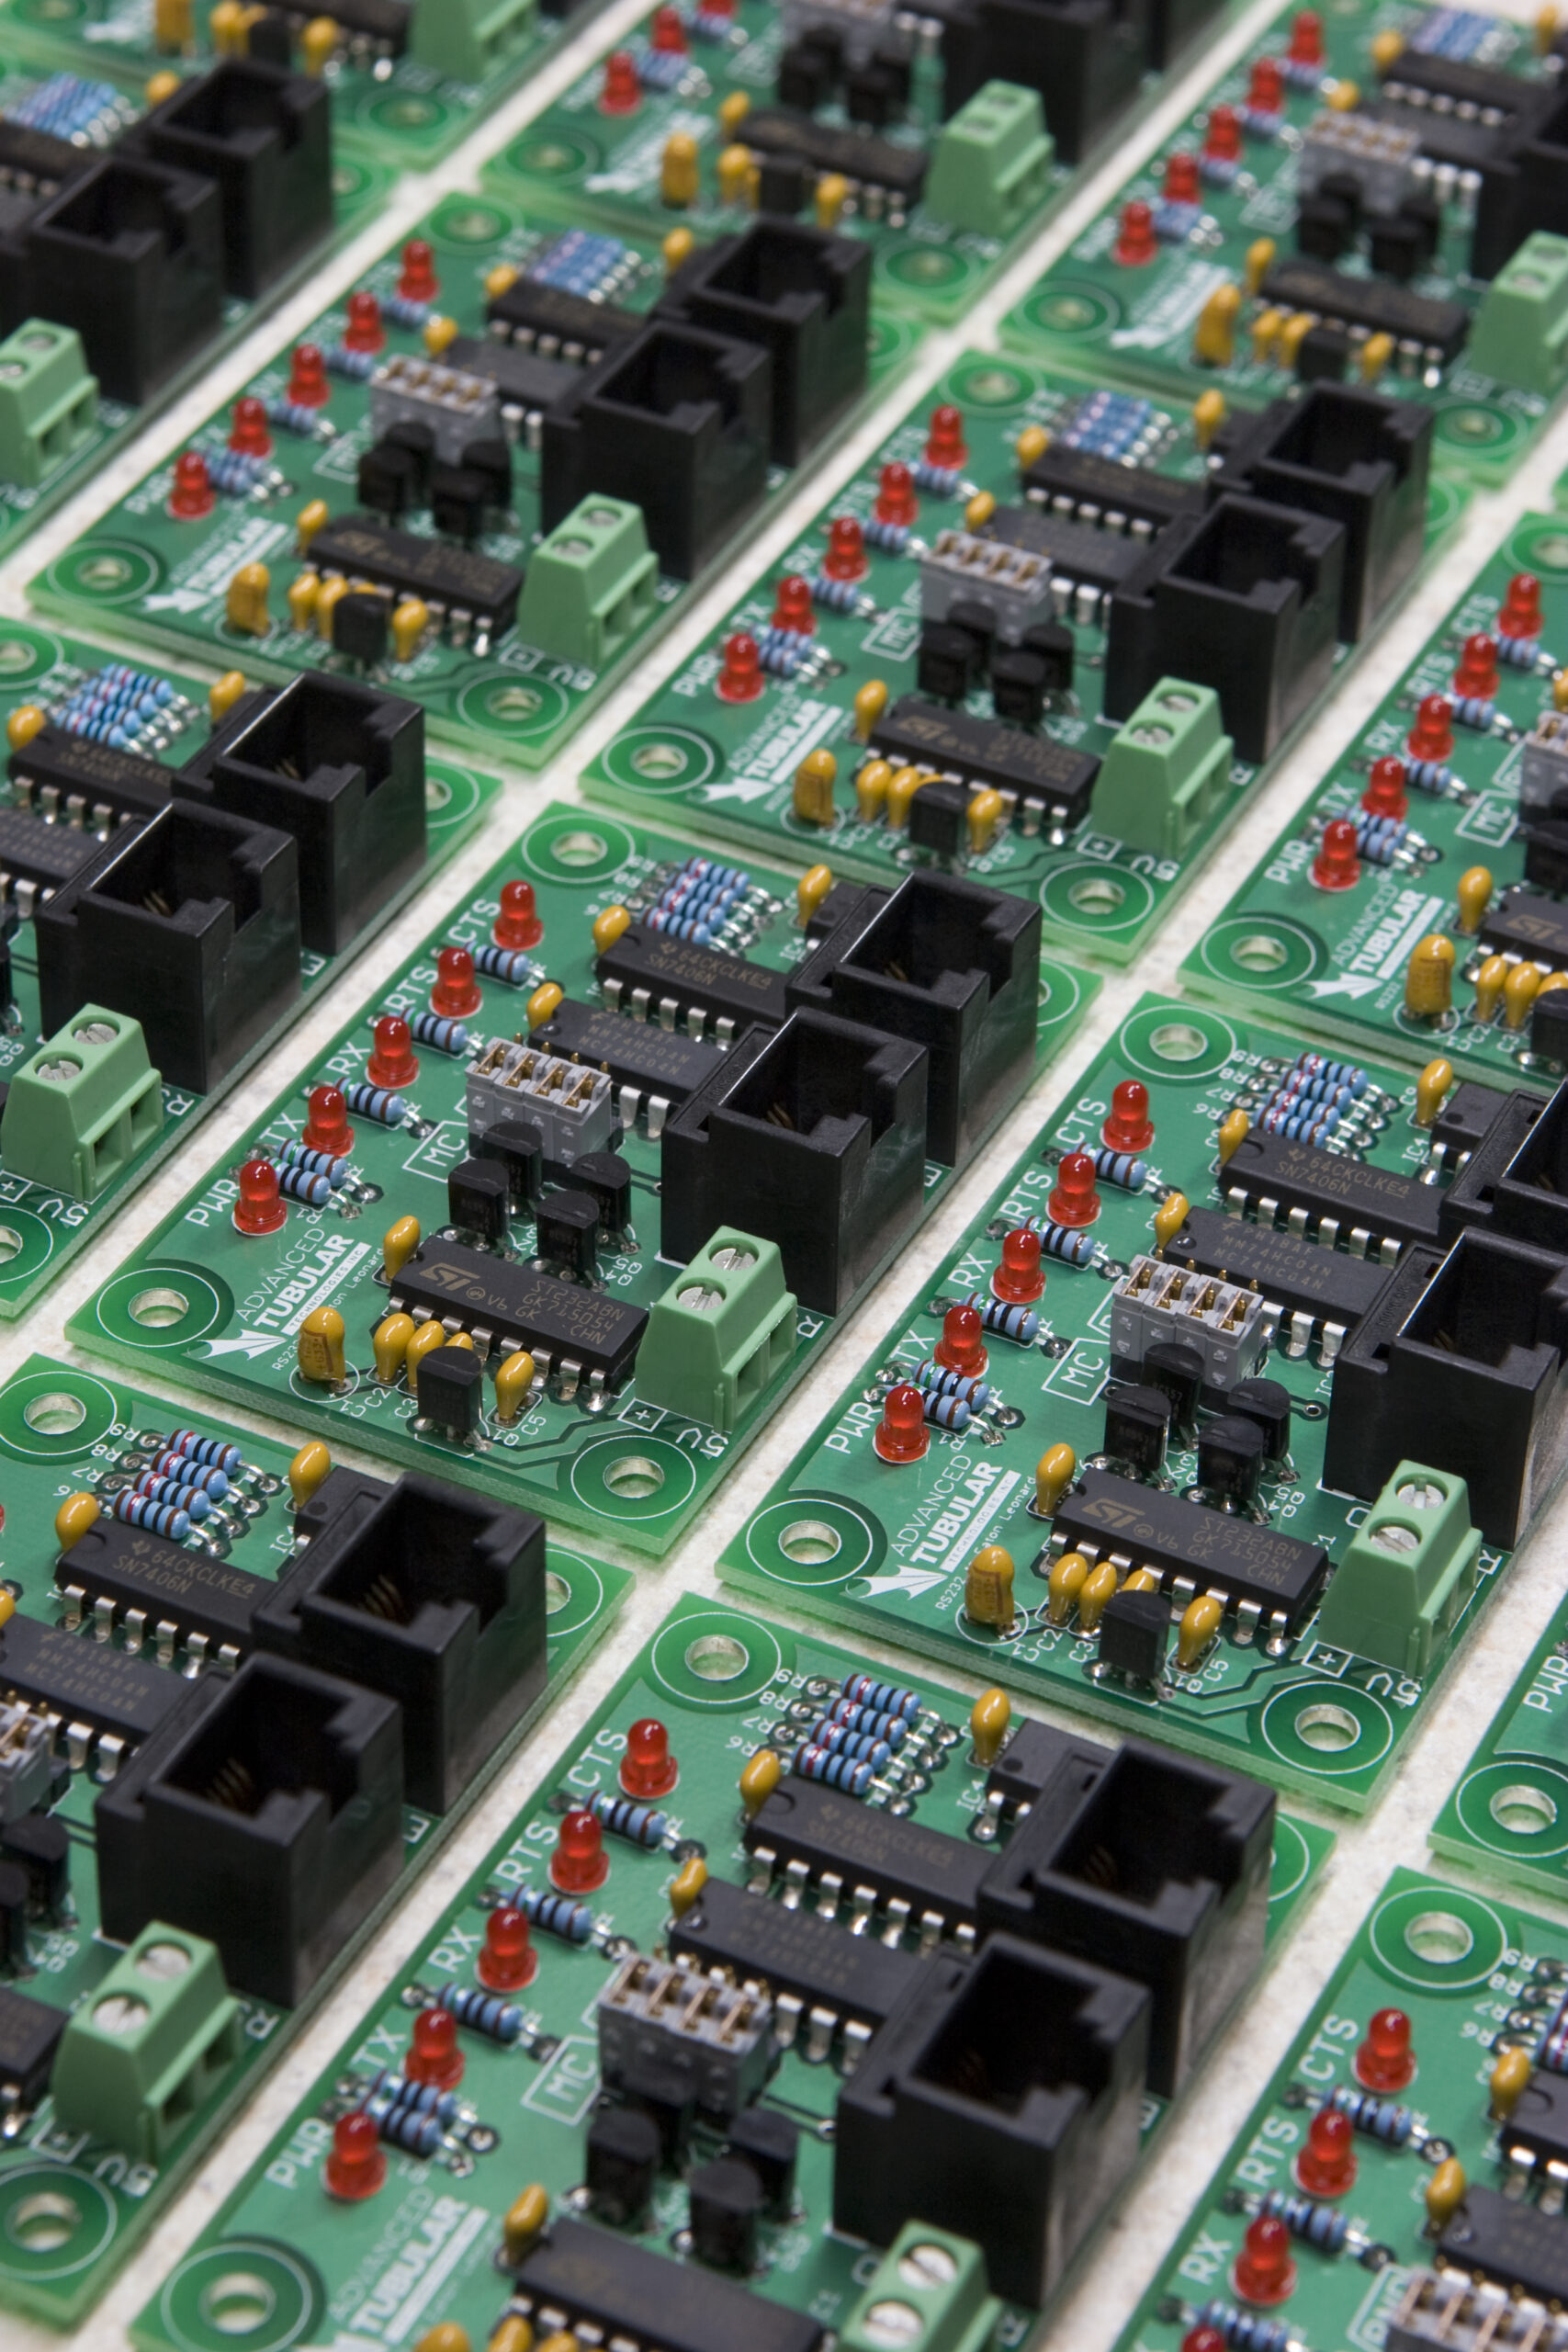
Remember those RS232 to Eaton Leonard adapters I made a few months back? Well, there’s a need for me to develop a version which can run from 24VDC, so I did. The switching power supply mentioned a few days back is used in this (you can see its footprint there on the left), with the rest being the same as the other board.
I had to remove the reverse voltage protection (it just won’t really work with the high potential input voltage this needs), I’m using a resistor network instead of discreet resistors to make assembly easier, selected different LEDs (ones that use slightly higher current to go with the 120R network), and laid out the whole board again.
That picture up above is missing the documentation and logo layers, just to obfuscate things a bit. I may also tweak a little bit of the design, but I think I’m happy with it. It’s now 3″ x 3″ instead of the original 3″ x 2″, but that extra three square inches is needed for the power supply. Yes, there’s a bit of blank space still, but I don’t think it’s enough to make shrinking the board worthwhile. The cost difference between the previous PCBs and these is pretty much nonexistant, if I’m remembering the quote right.
I think I’m going to keep compacting the board. Hmm…
UPDATE: I just shaved a square inch off the board by bringing the top in 1/4″. LEDs were compacted a bit, logo made smaller, L2 moved, and more.
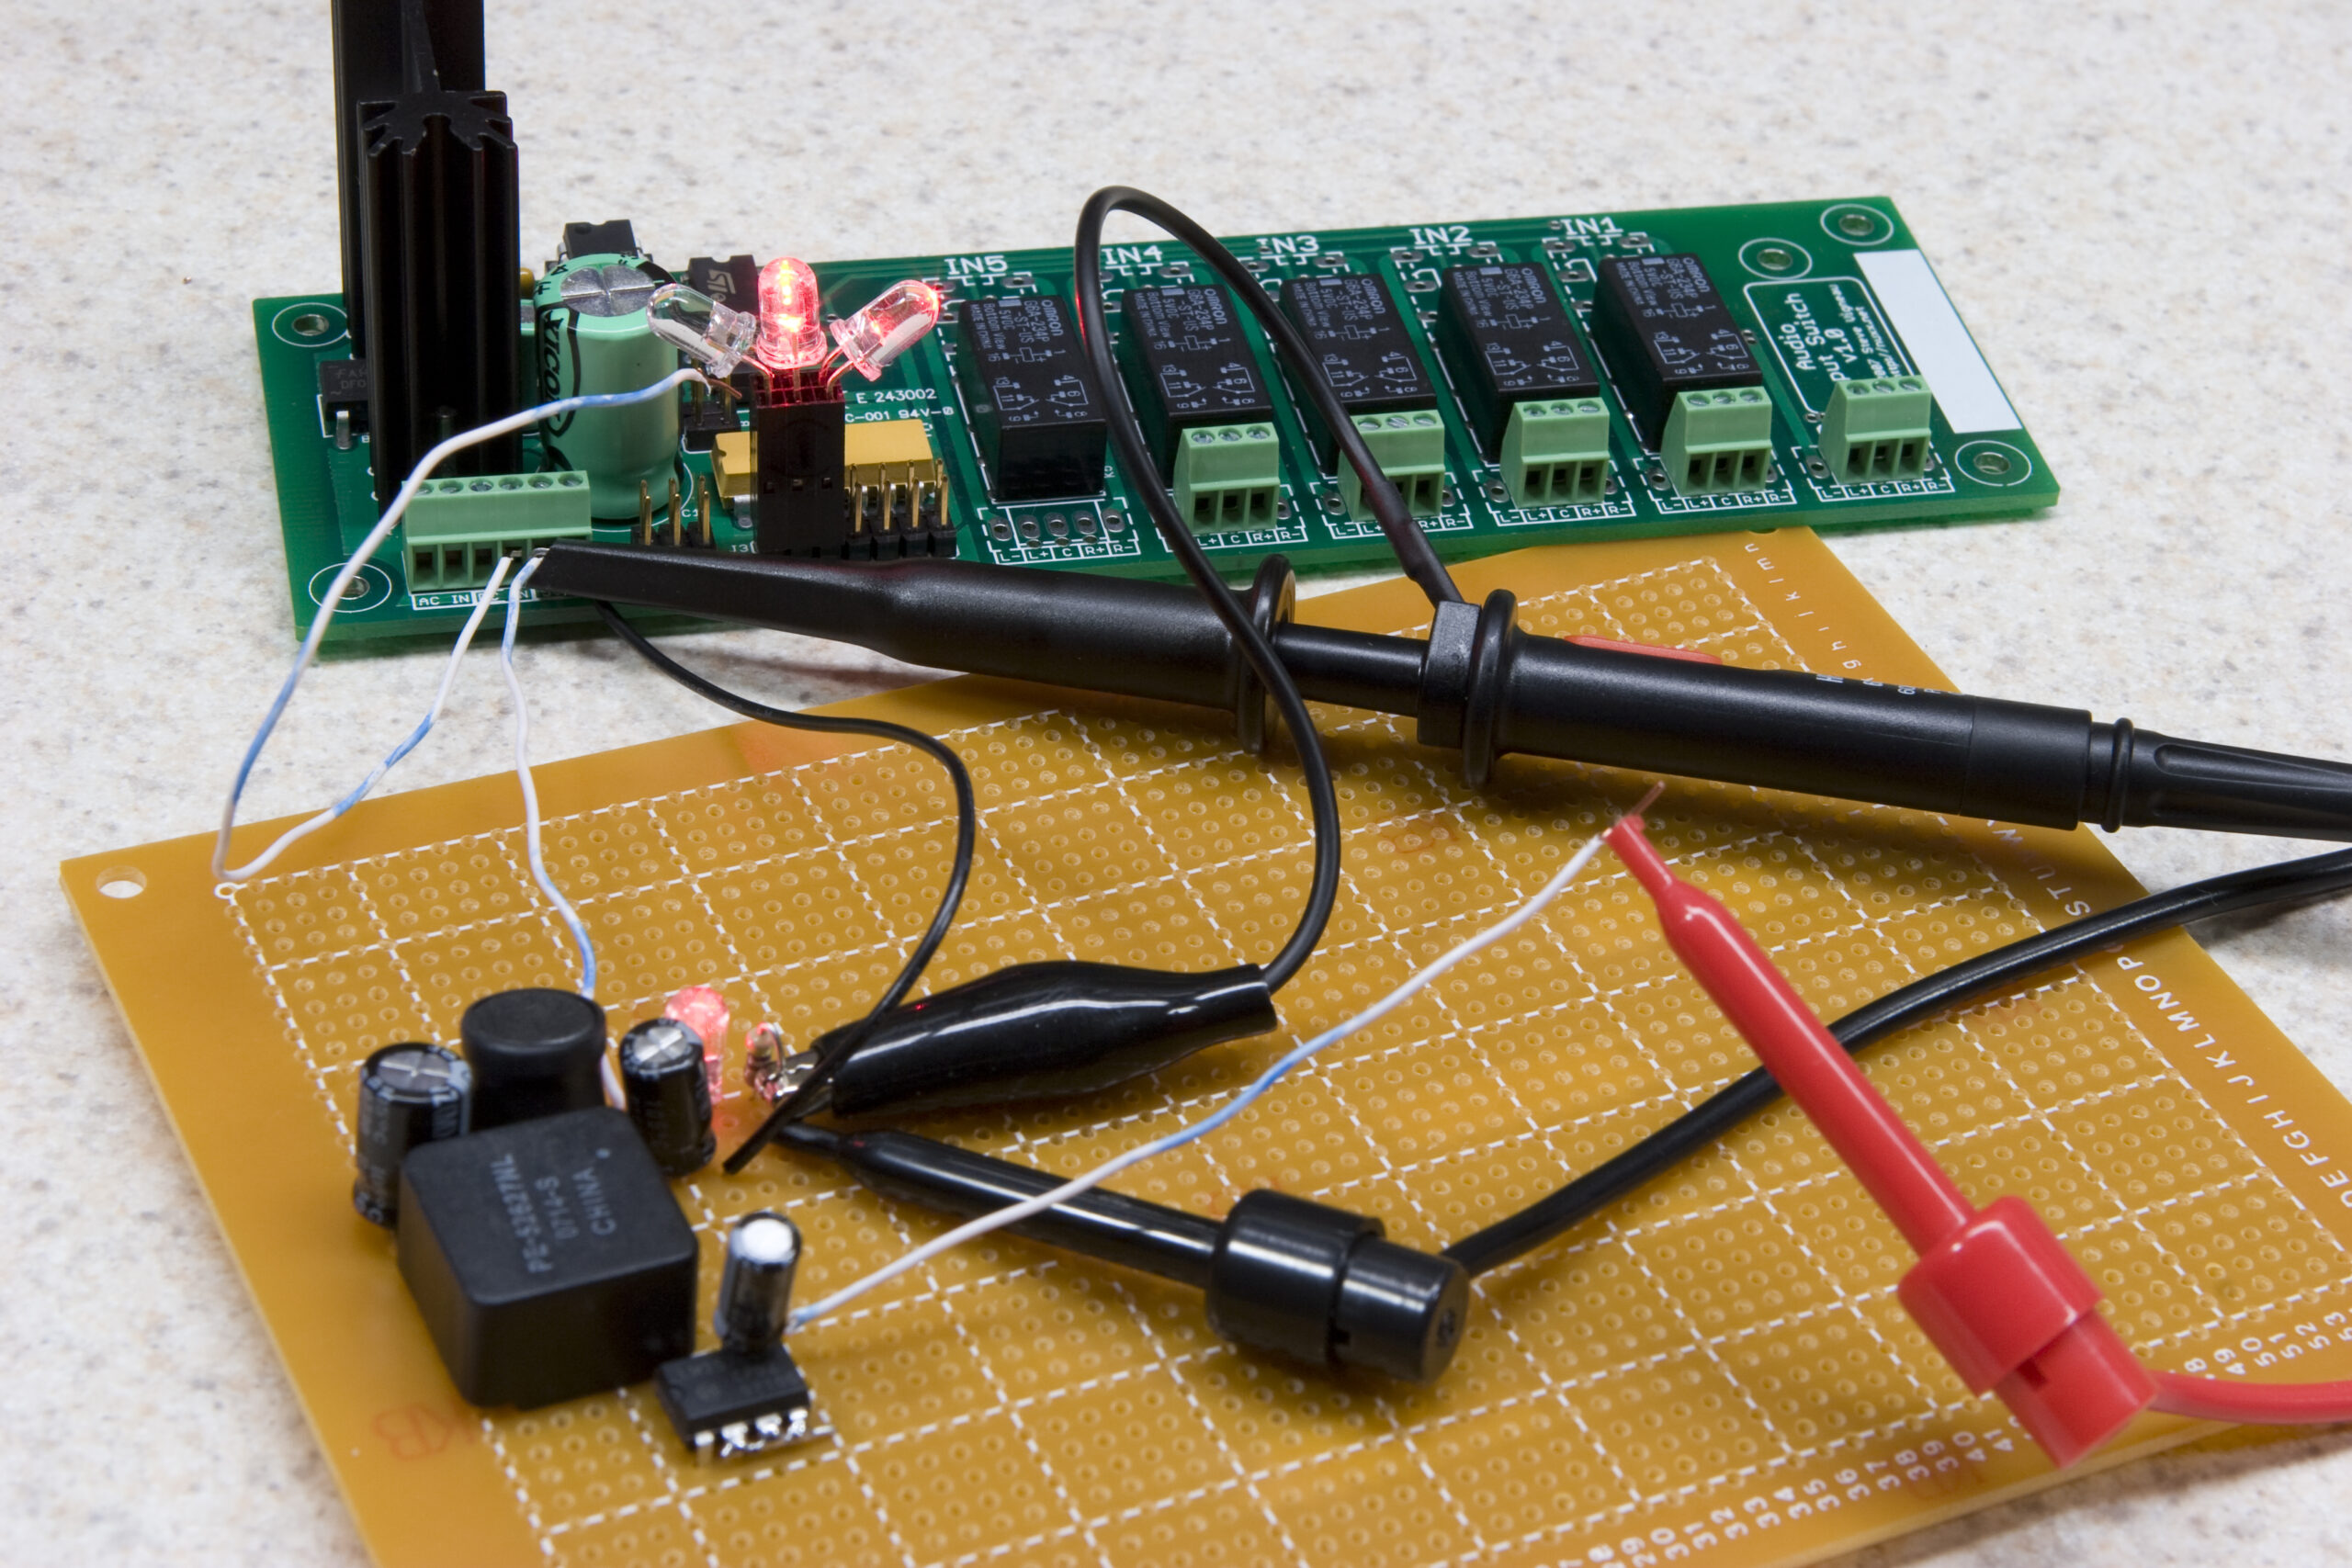
Well, the prototype power 5V switching power supply that I cobbled together seems to be working. Up there you can see it powering the first nuxx Audio Input Switch, just to give it some sort of load to work on.
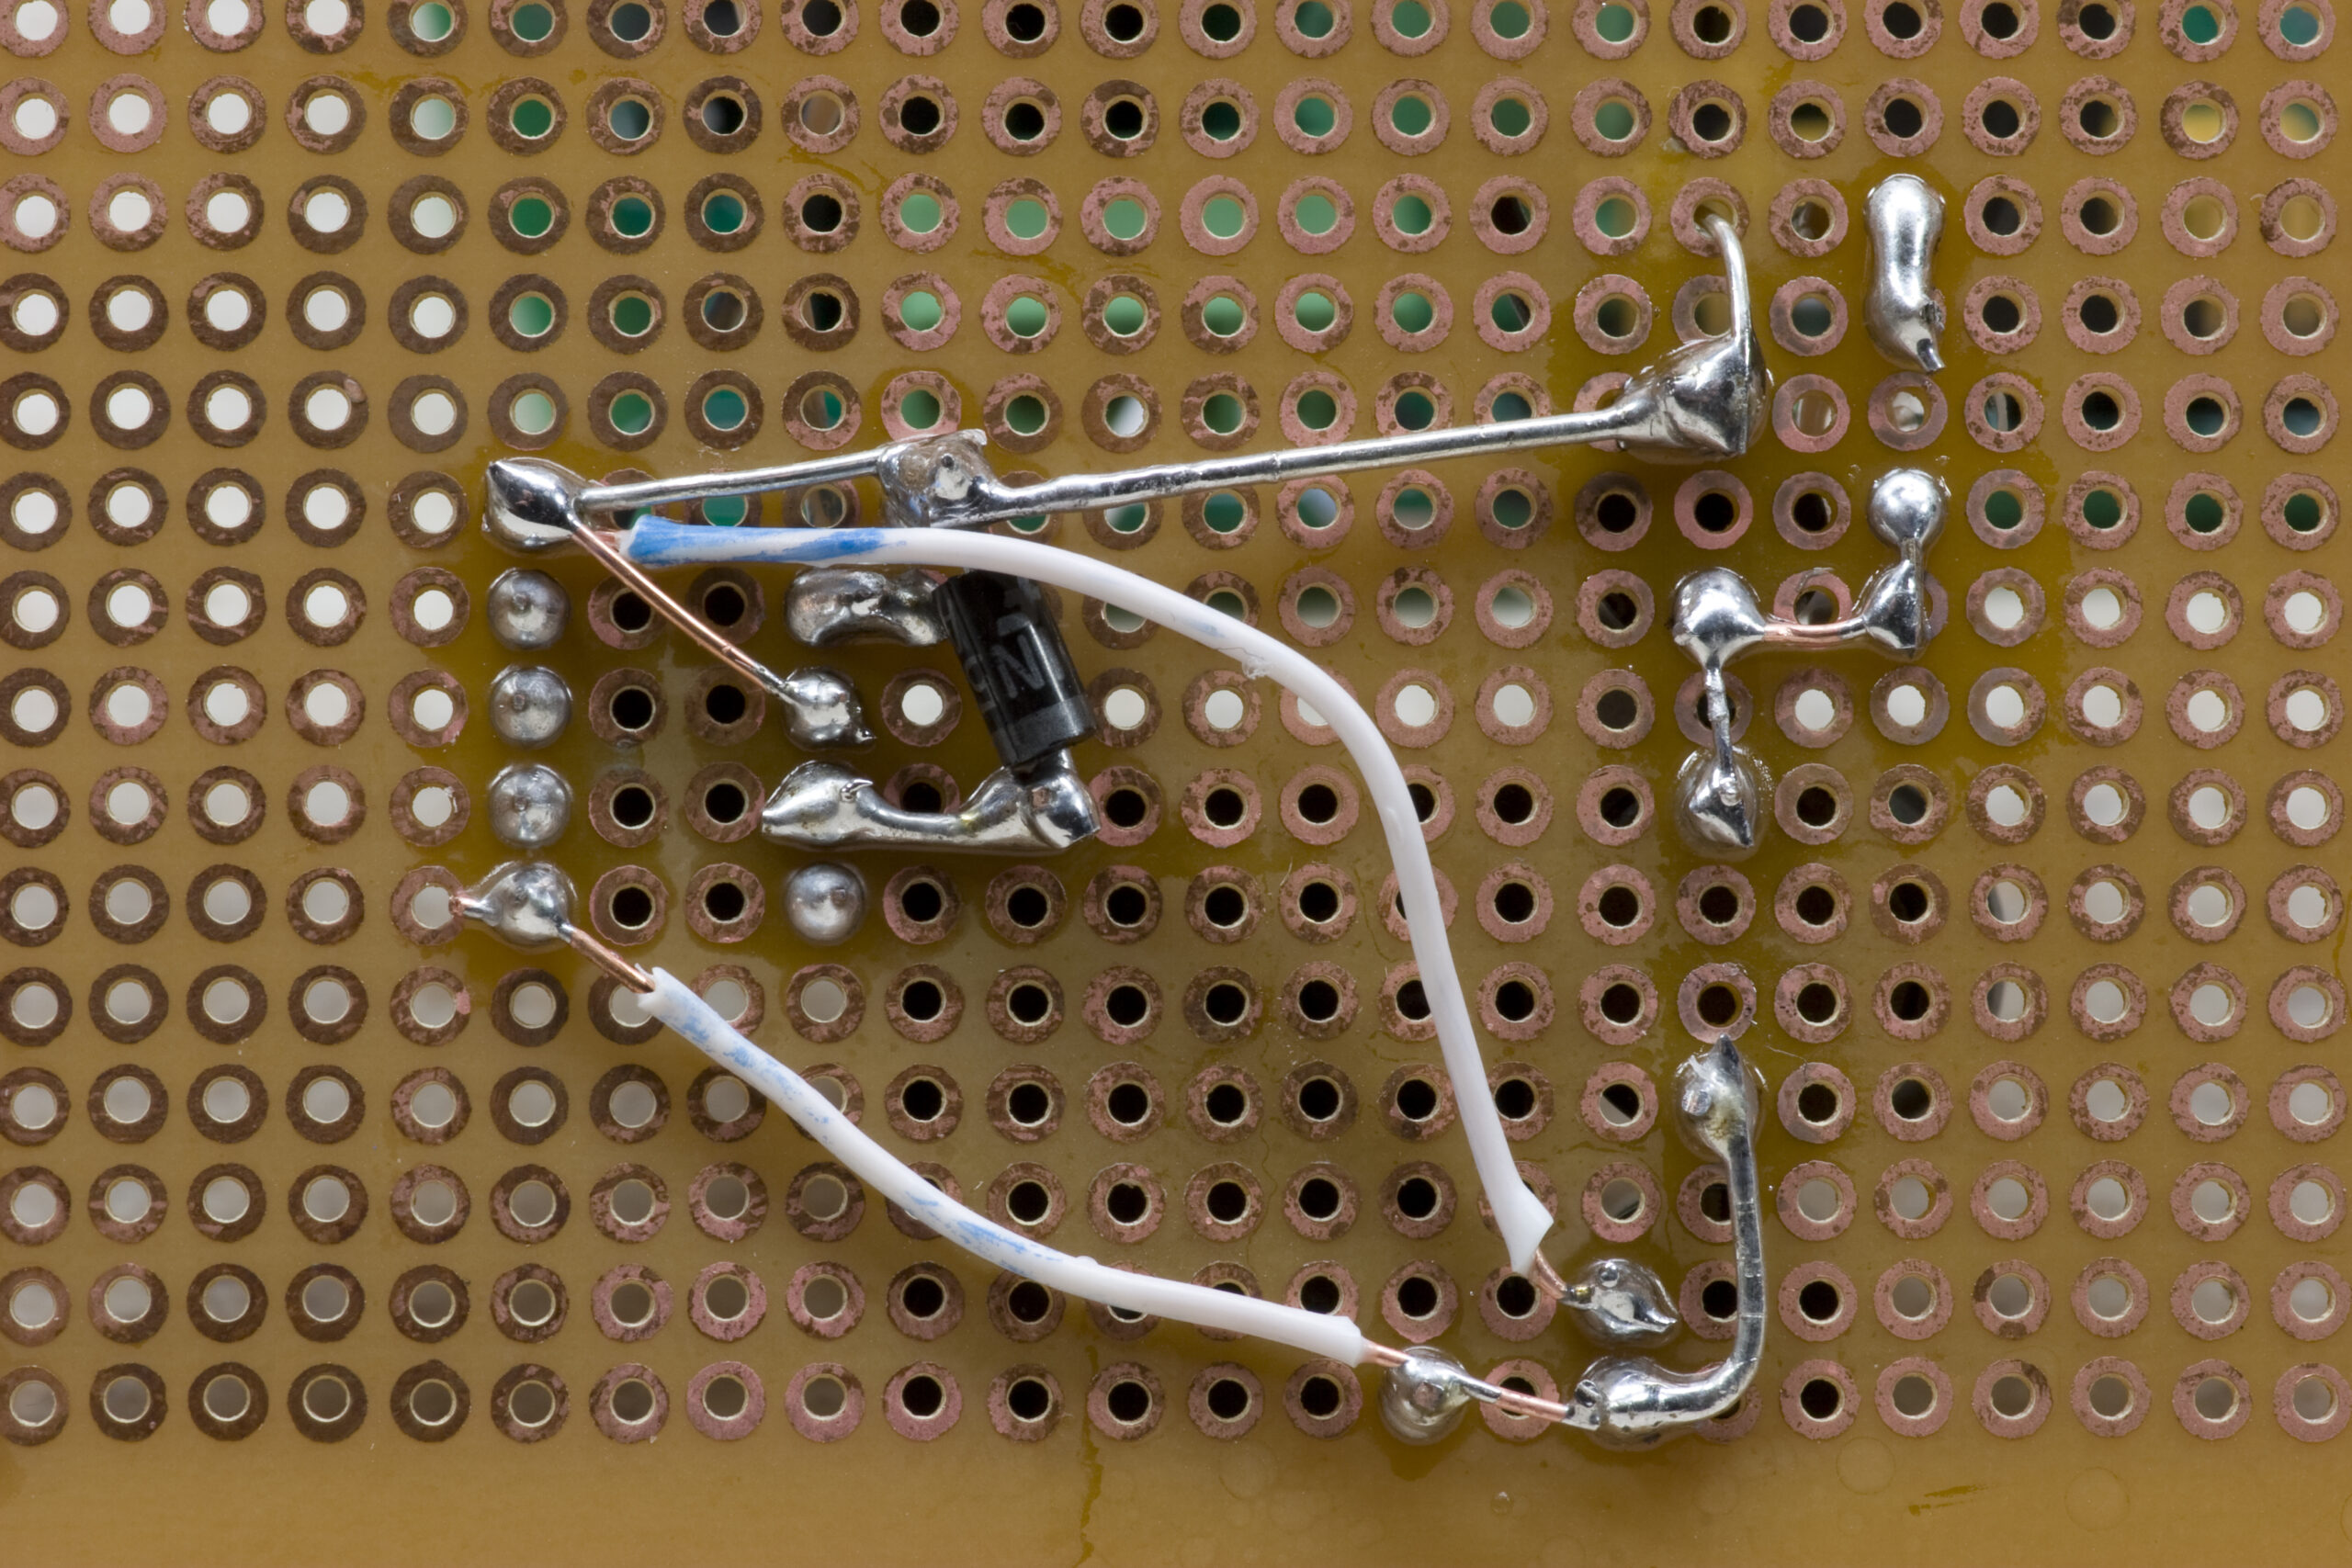
Here is a photo of the bottom of it. It’s clearly hacked together, just sort of built up on the board so I could have solder connections and reasonably short wires. When I tried to breadboard it things didn’t work quite right, which I blame on switching power supplies being touchy about long rows of bare wire.
It’s pretty much a reference implementation (some variances in parts) and it produces what appears to be nice, clean power. I can’t see any noise on my scope. Granted, my scope is pretty crappy, but it does seem to show some noise when it exists. (I can’t afford a new scope yet…)
I’m happy with how it is working thus far. I need to put a bit more load on it, but that’ll be done over one of the next random couple of days. For now I can say that it had no problem giving me an even 5.000 VDC while powering the nAIS above and being fed 6.073 VDC. If I cranked the input up to 35.93 VDC (the highest I can get my benchtop power supply) the power supply was pushing out 5.074 VDC. Pretty good, I think.
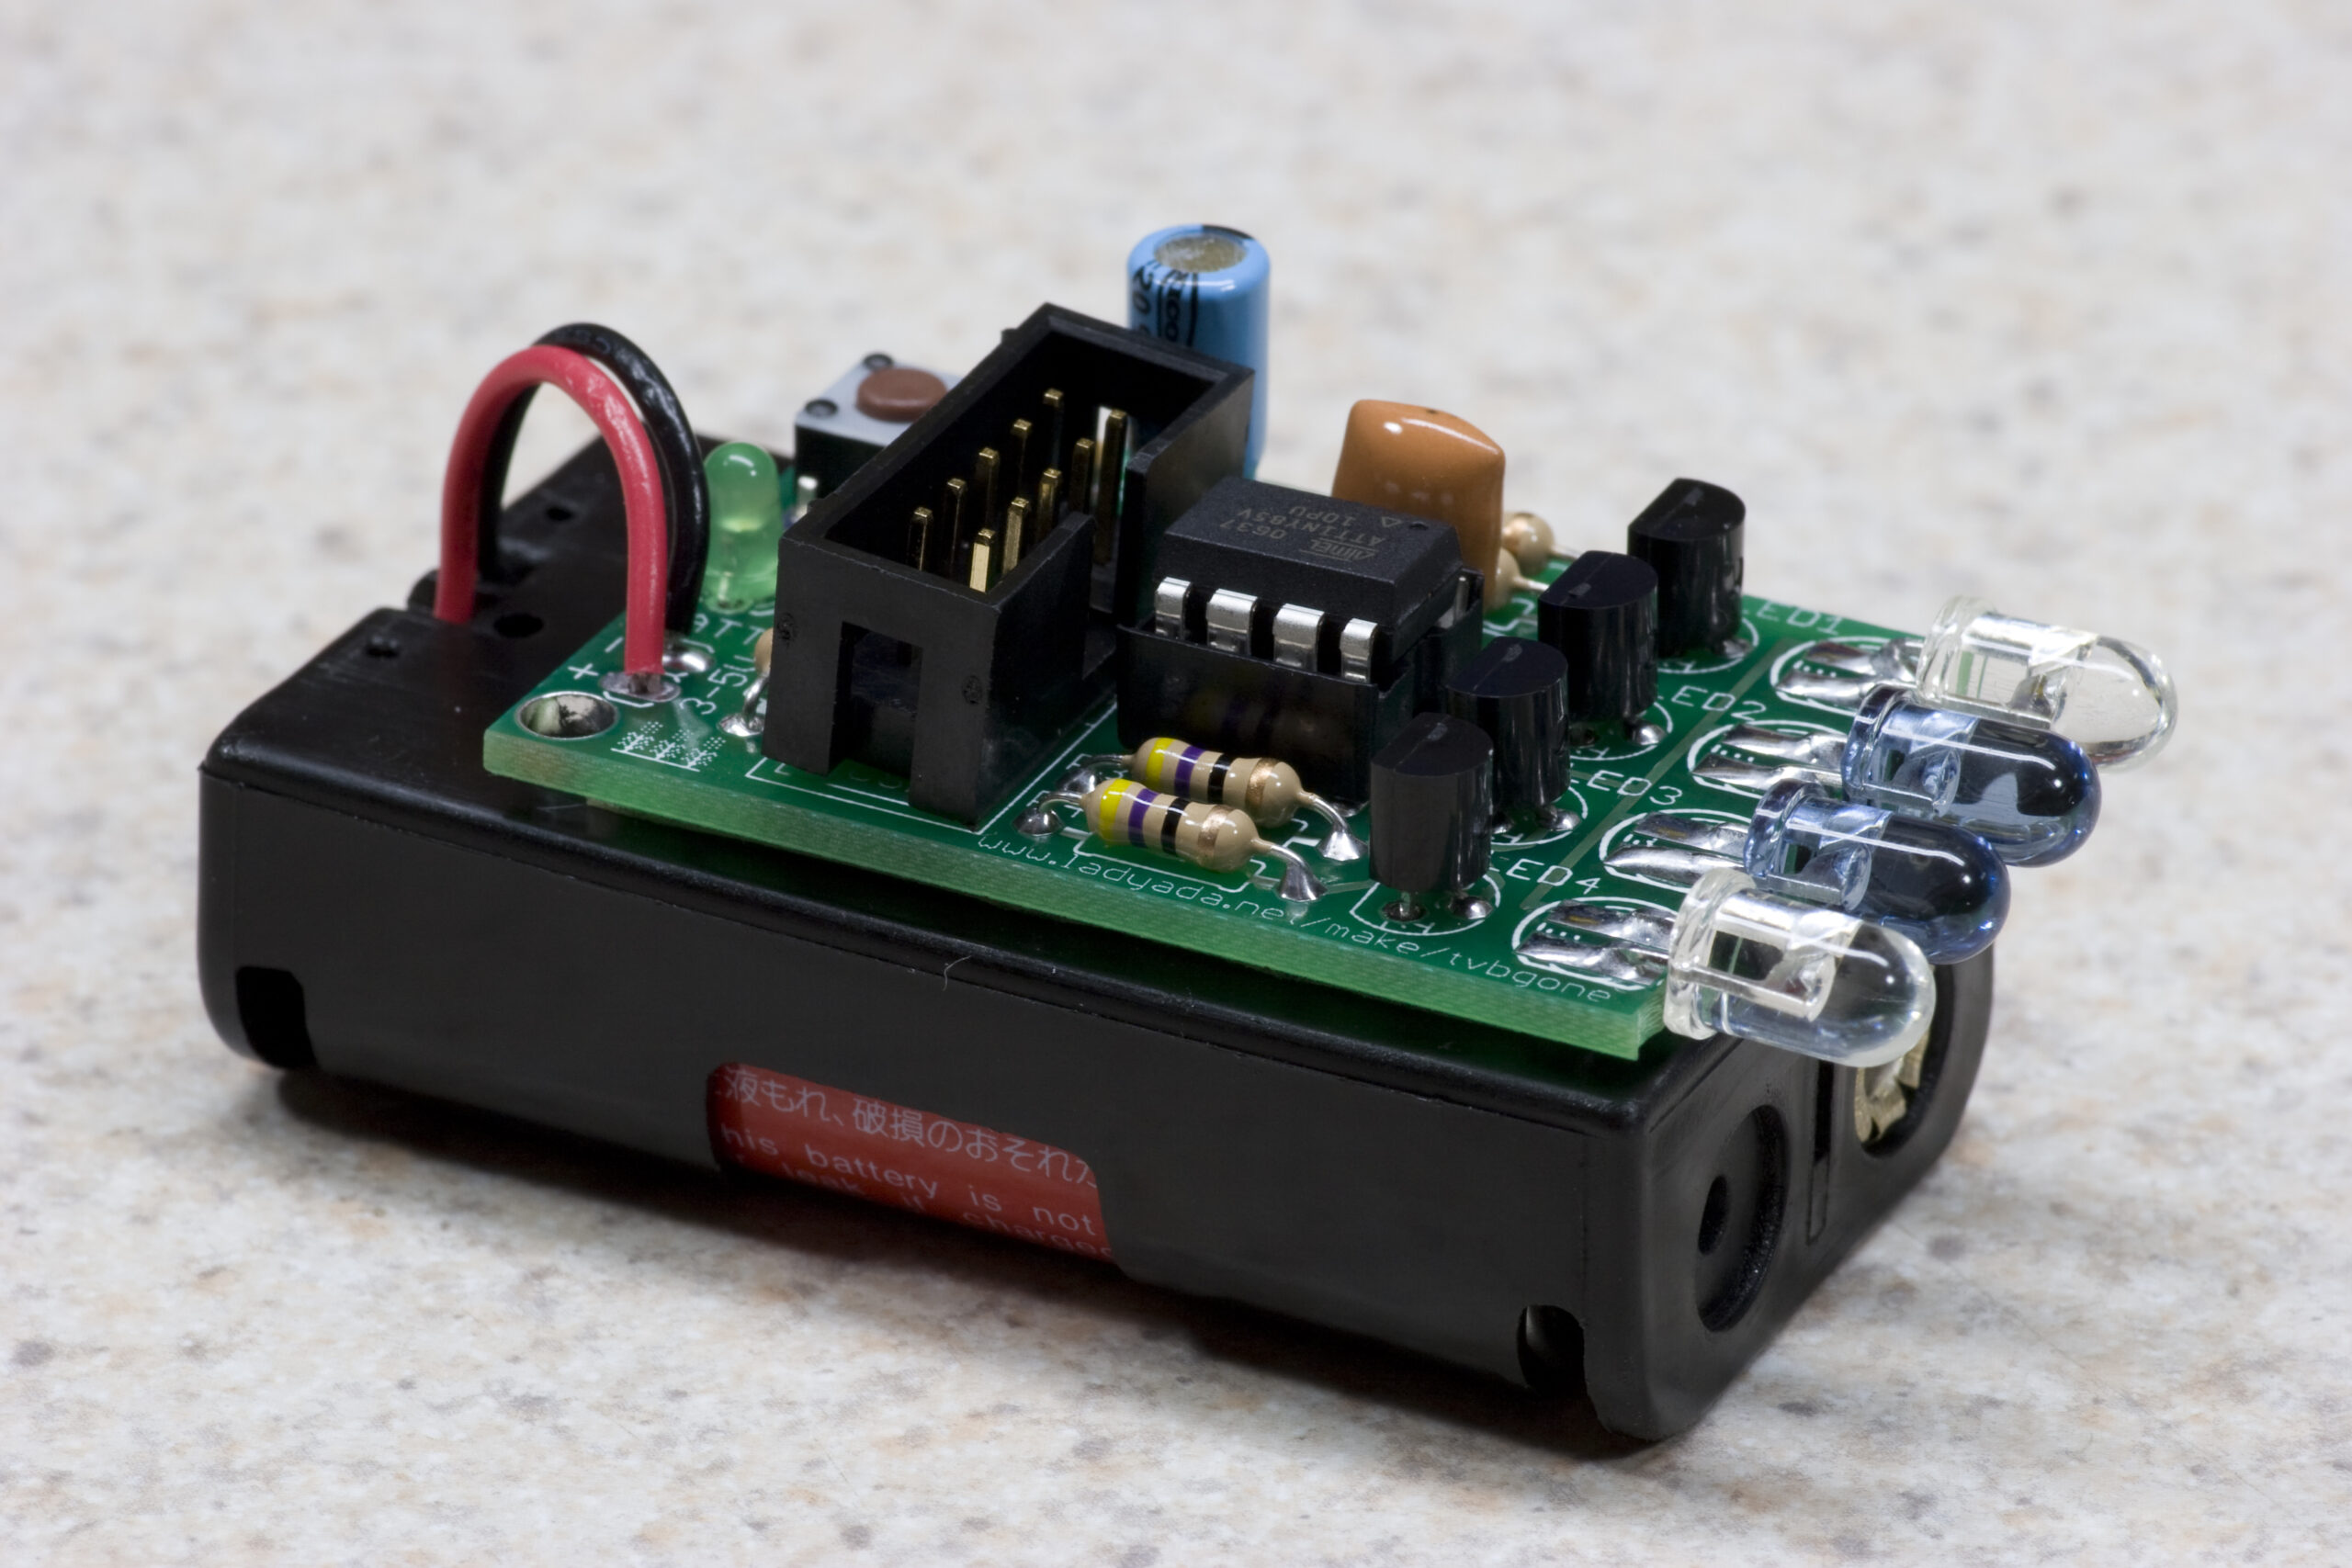 Danielle’s TV-B-Gone
Tonight I helped Danielle put together her first electronics kit, one of Limor Fried’s open-source TV-B-Gone kits. She’s soldered a bunch of stuff before from when she briefly went to Kettering, but this is the first functional kit. And, of course, it works!
Well, it at least turns off my TV almost instantly… I imagine that it’ll work pretty well on whatever other ones. At $20 it’s a good, and useful first kit… Imagine actually being able to turn off all those annoying TVs in places like the doctor’s office waiting room, school hallways, and (hopefully) the advertising things on gas pumps.