nuxx.net
Making, baking, and (un-)breaking things in Southeast Michigan.

Category making things

Sequentix P3 #008 Continues

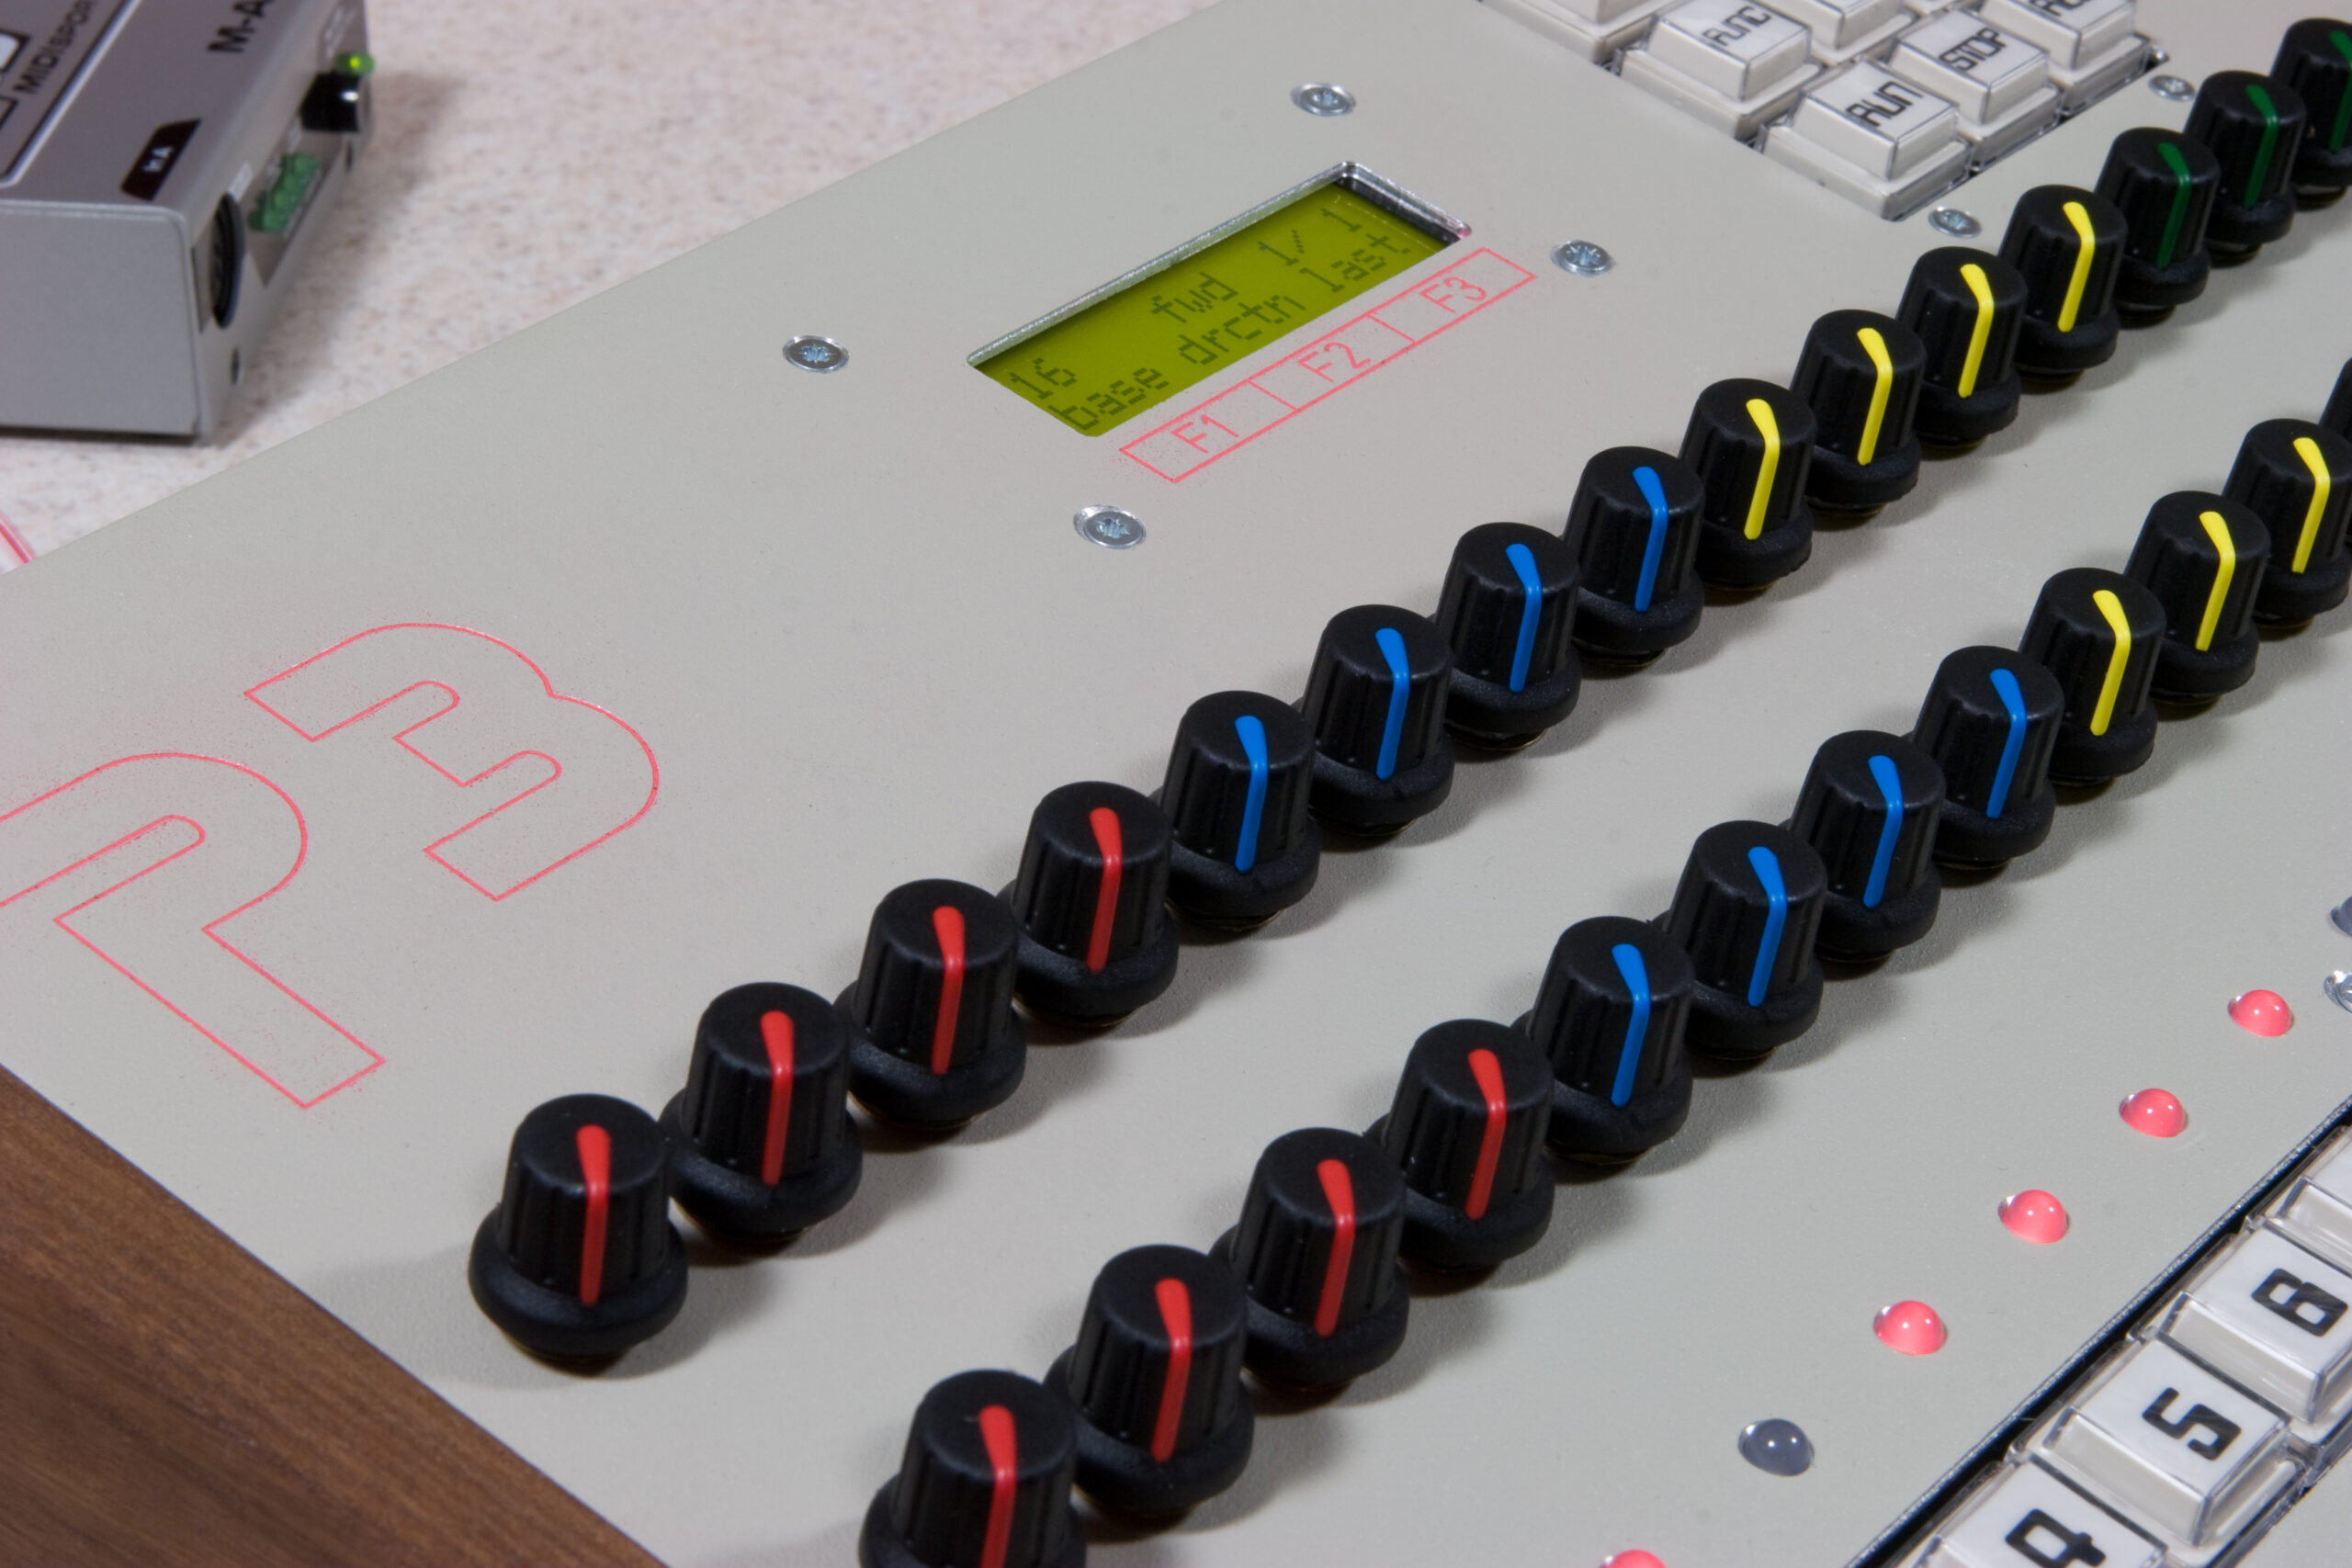
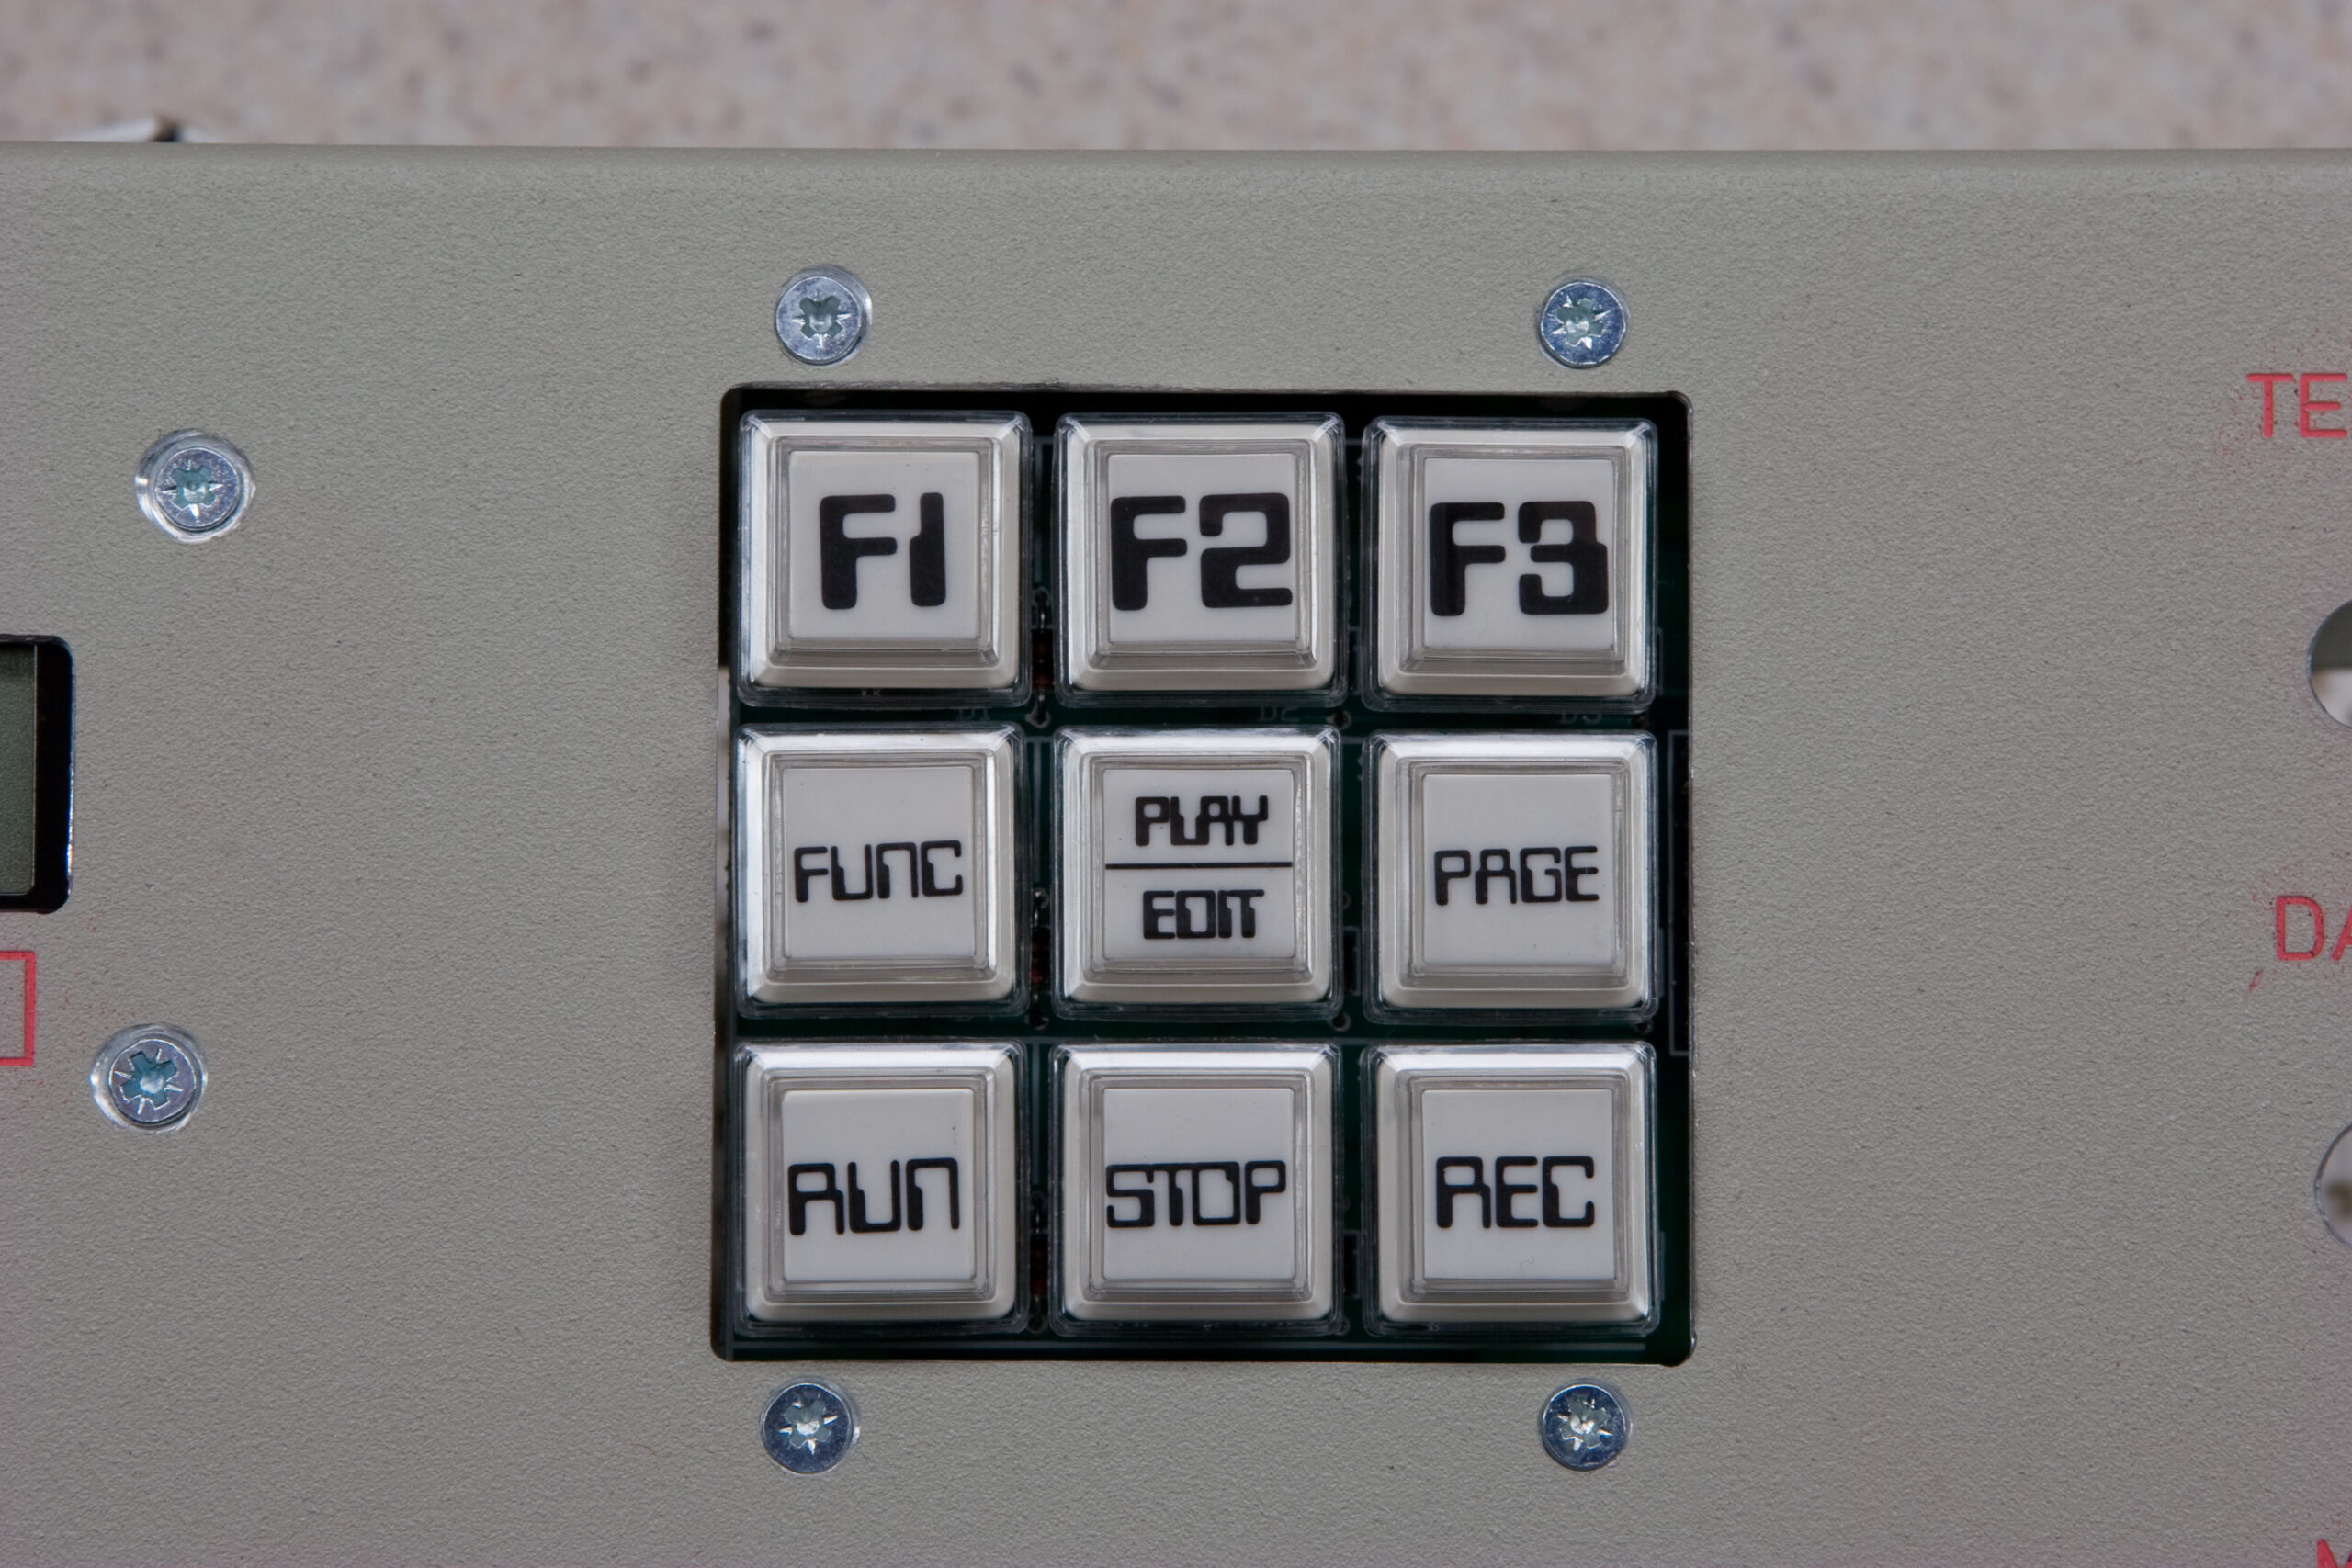
Last night I did a bunch more work on the Sequentix P3 that I’m building for Mark Pulver (photo gallery retired). Unfortunately last night was the time where I started to see issues with the project. In short, I now understand why Colin moved away from not very many people used this case design for the P3. On top of the poor button / pot / LCD layout, the tolerances on the case just aren’t very good.

Here’s a rundown of the problems:

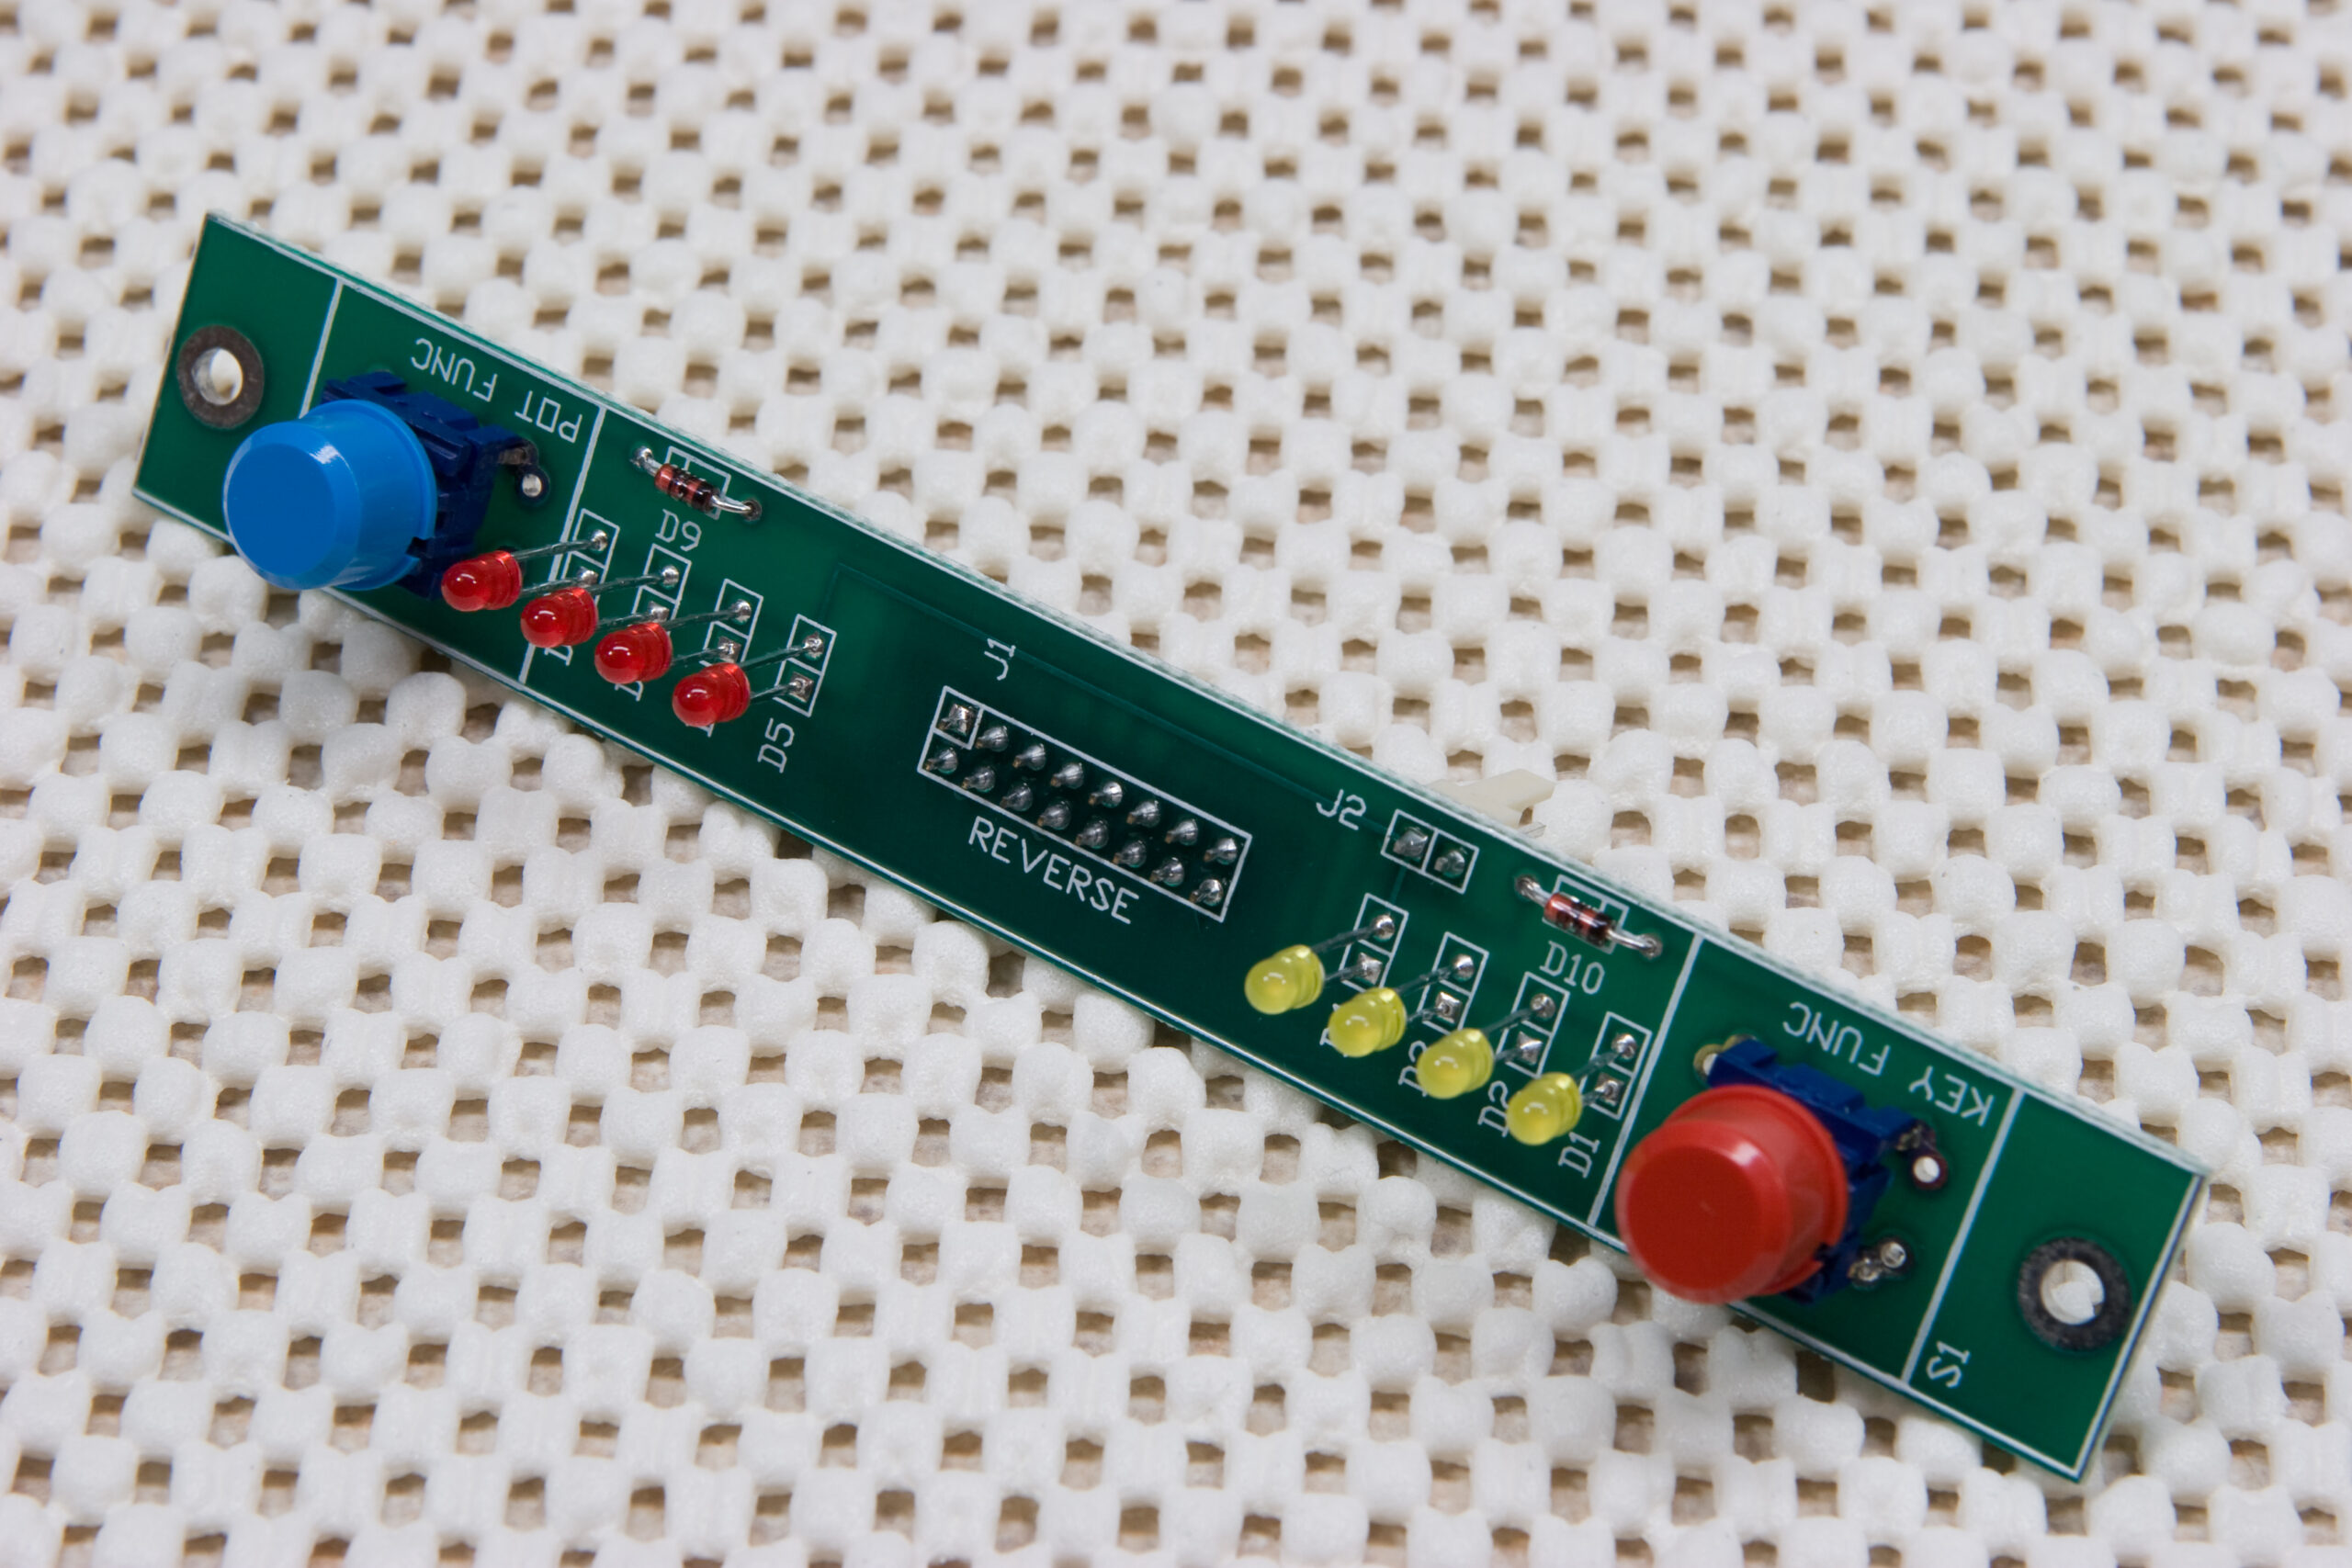
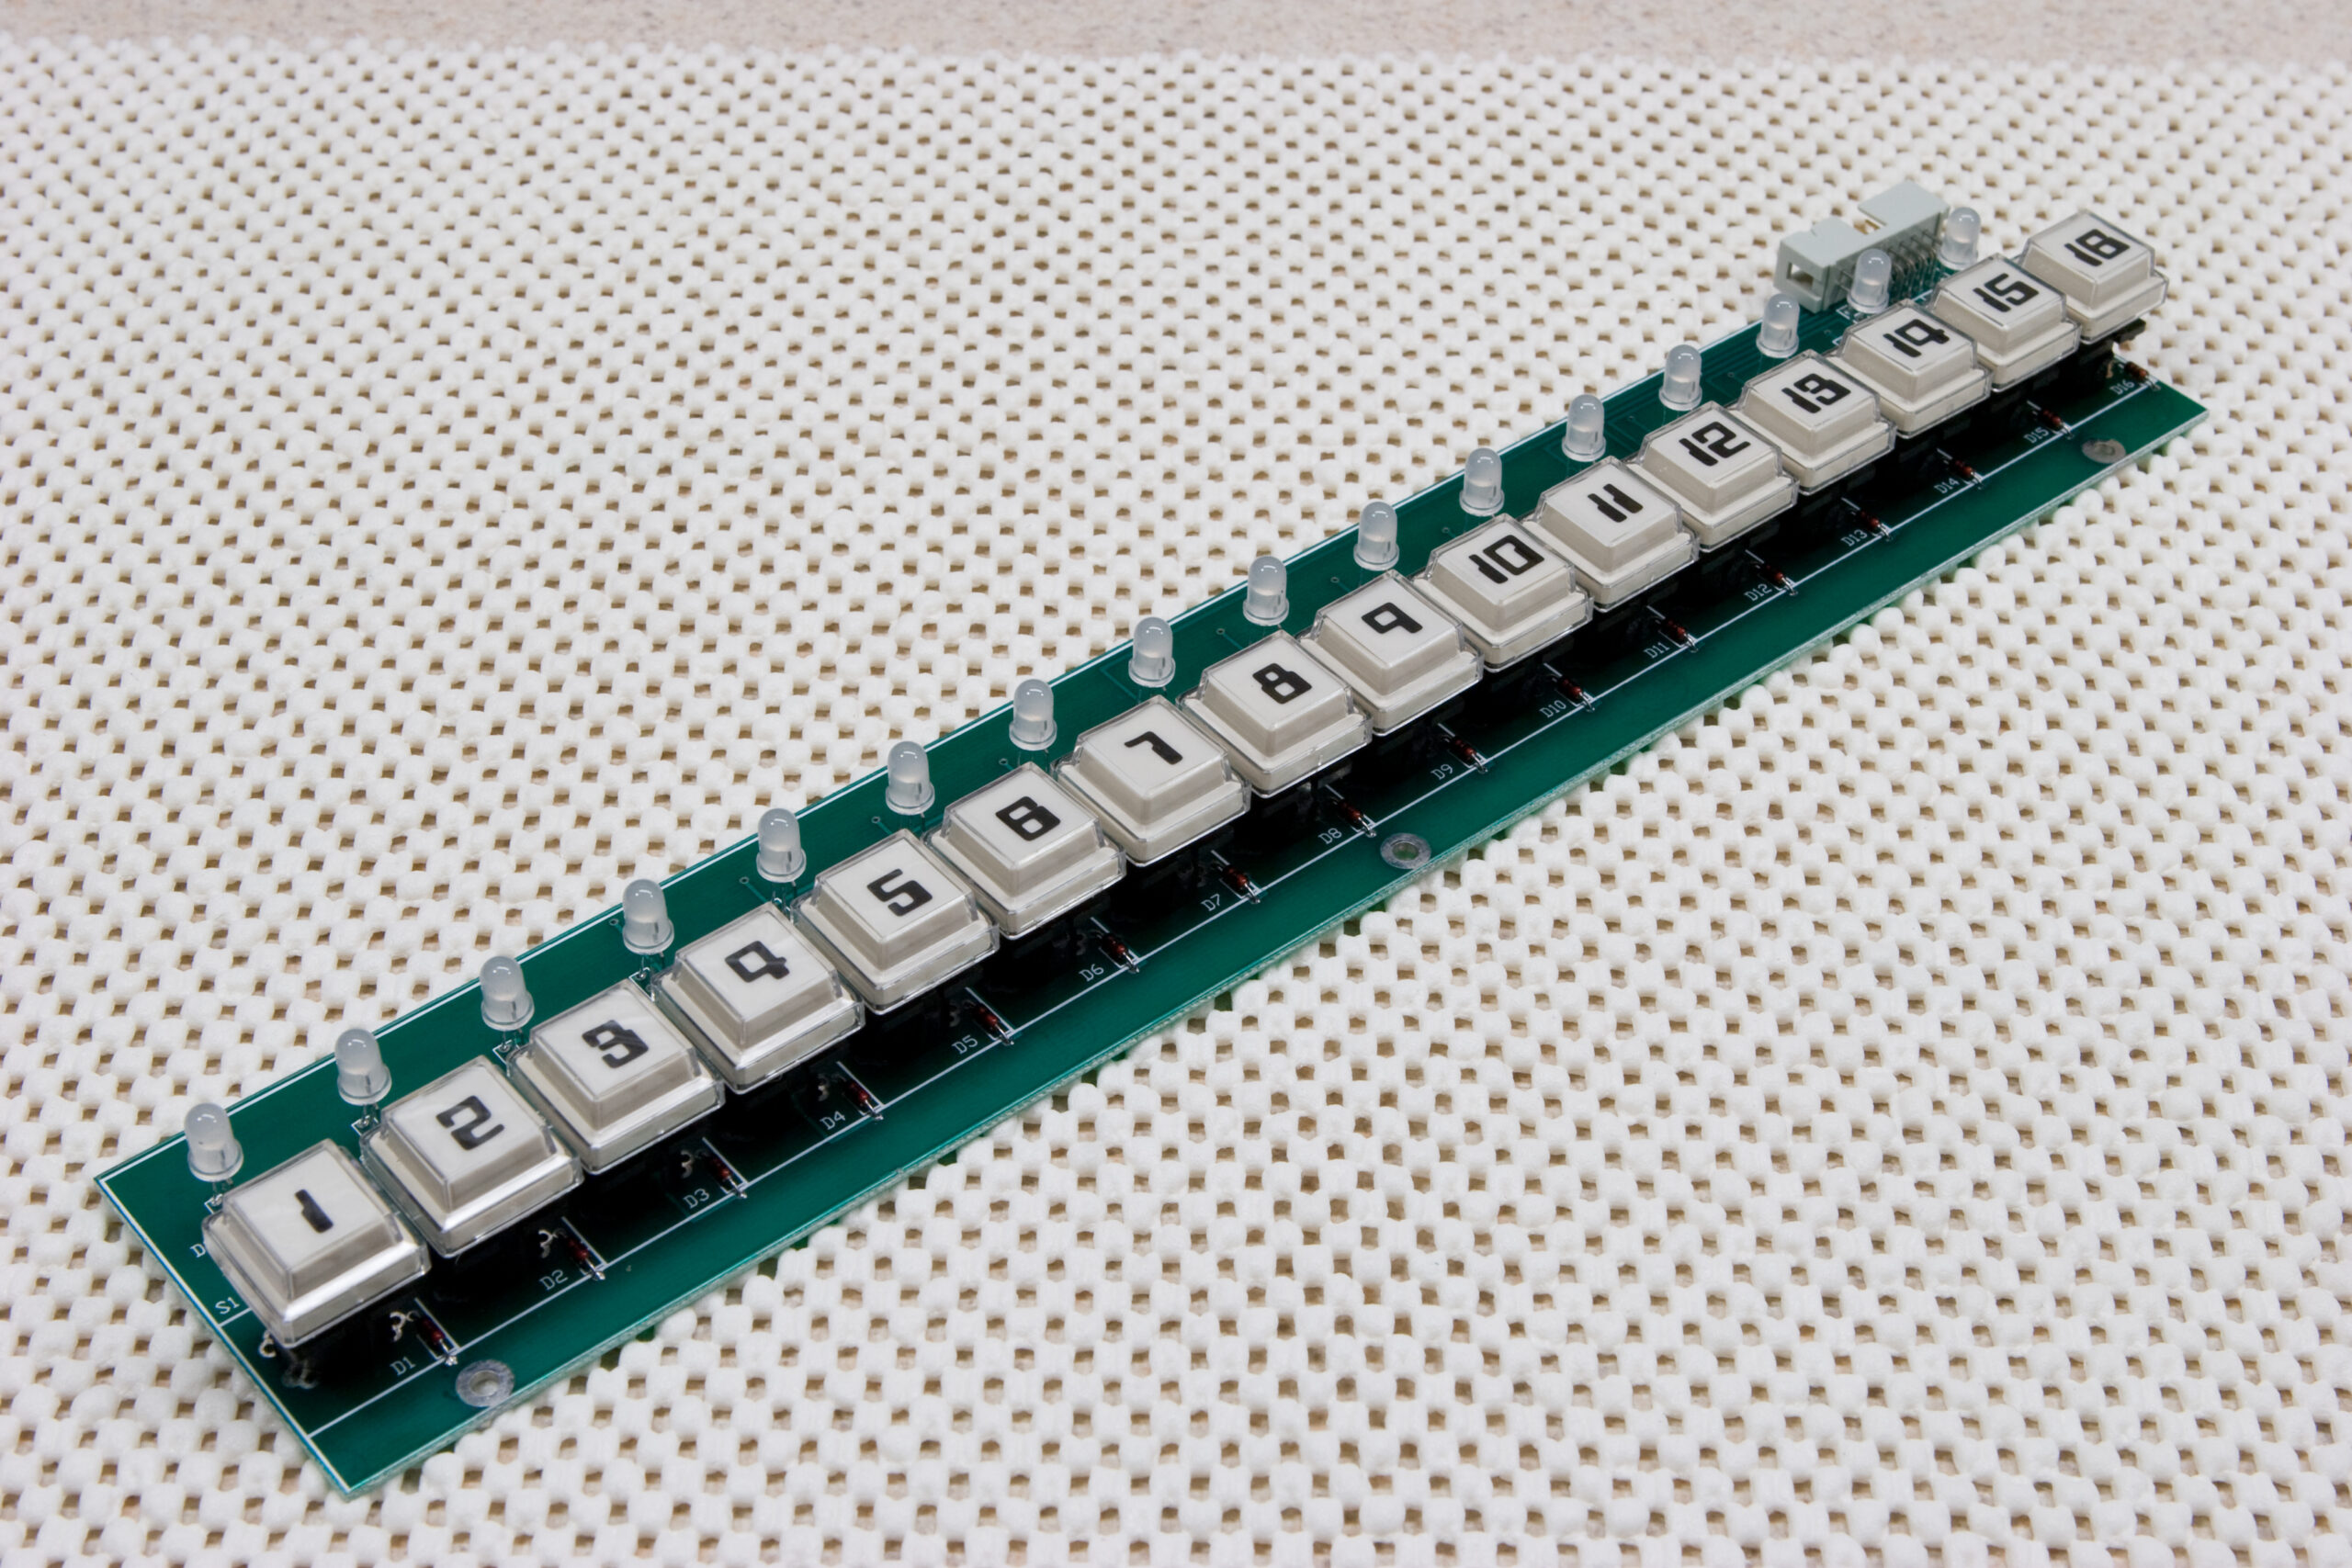
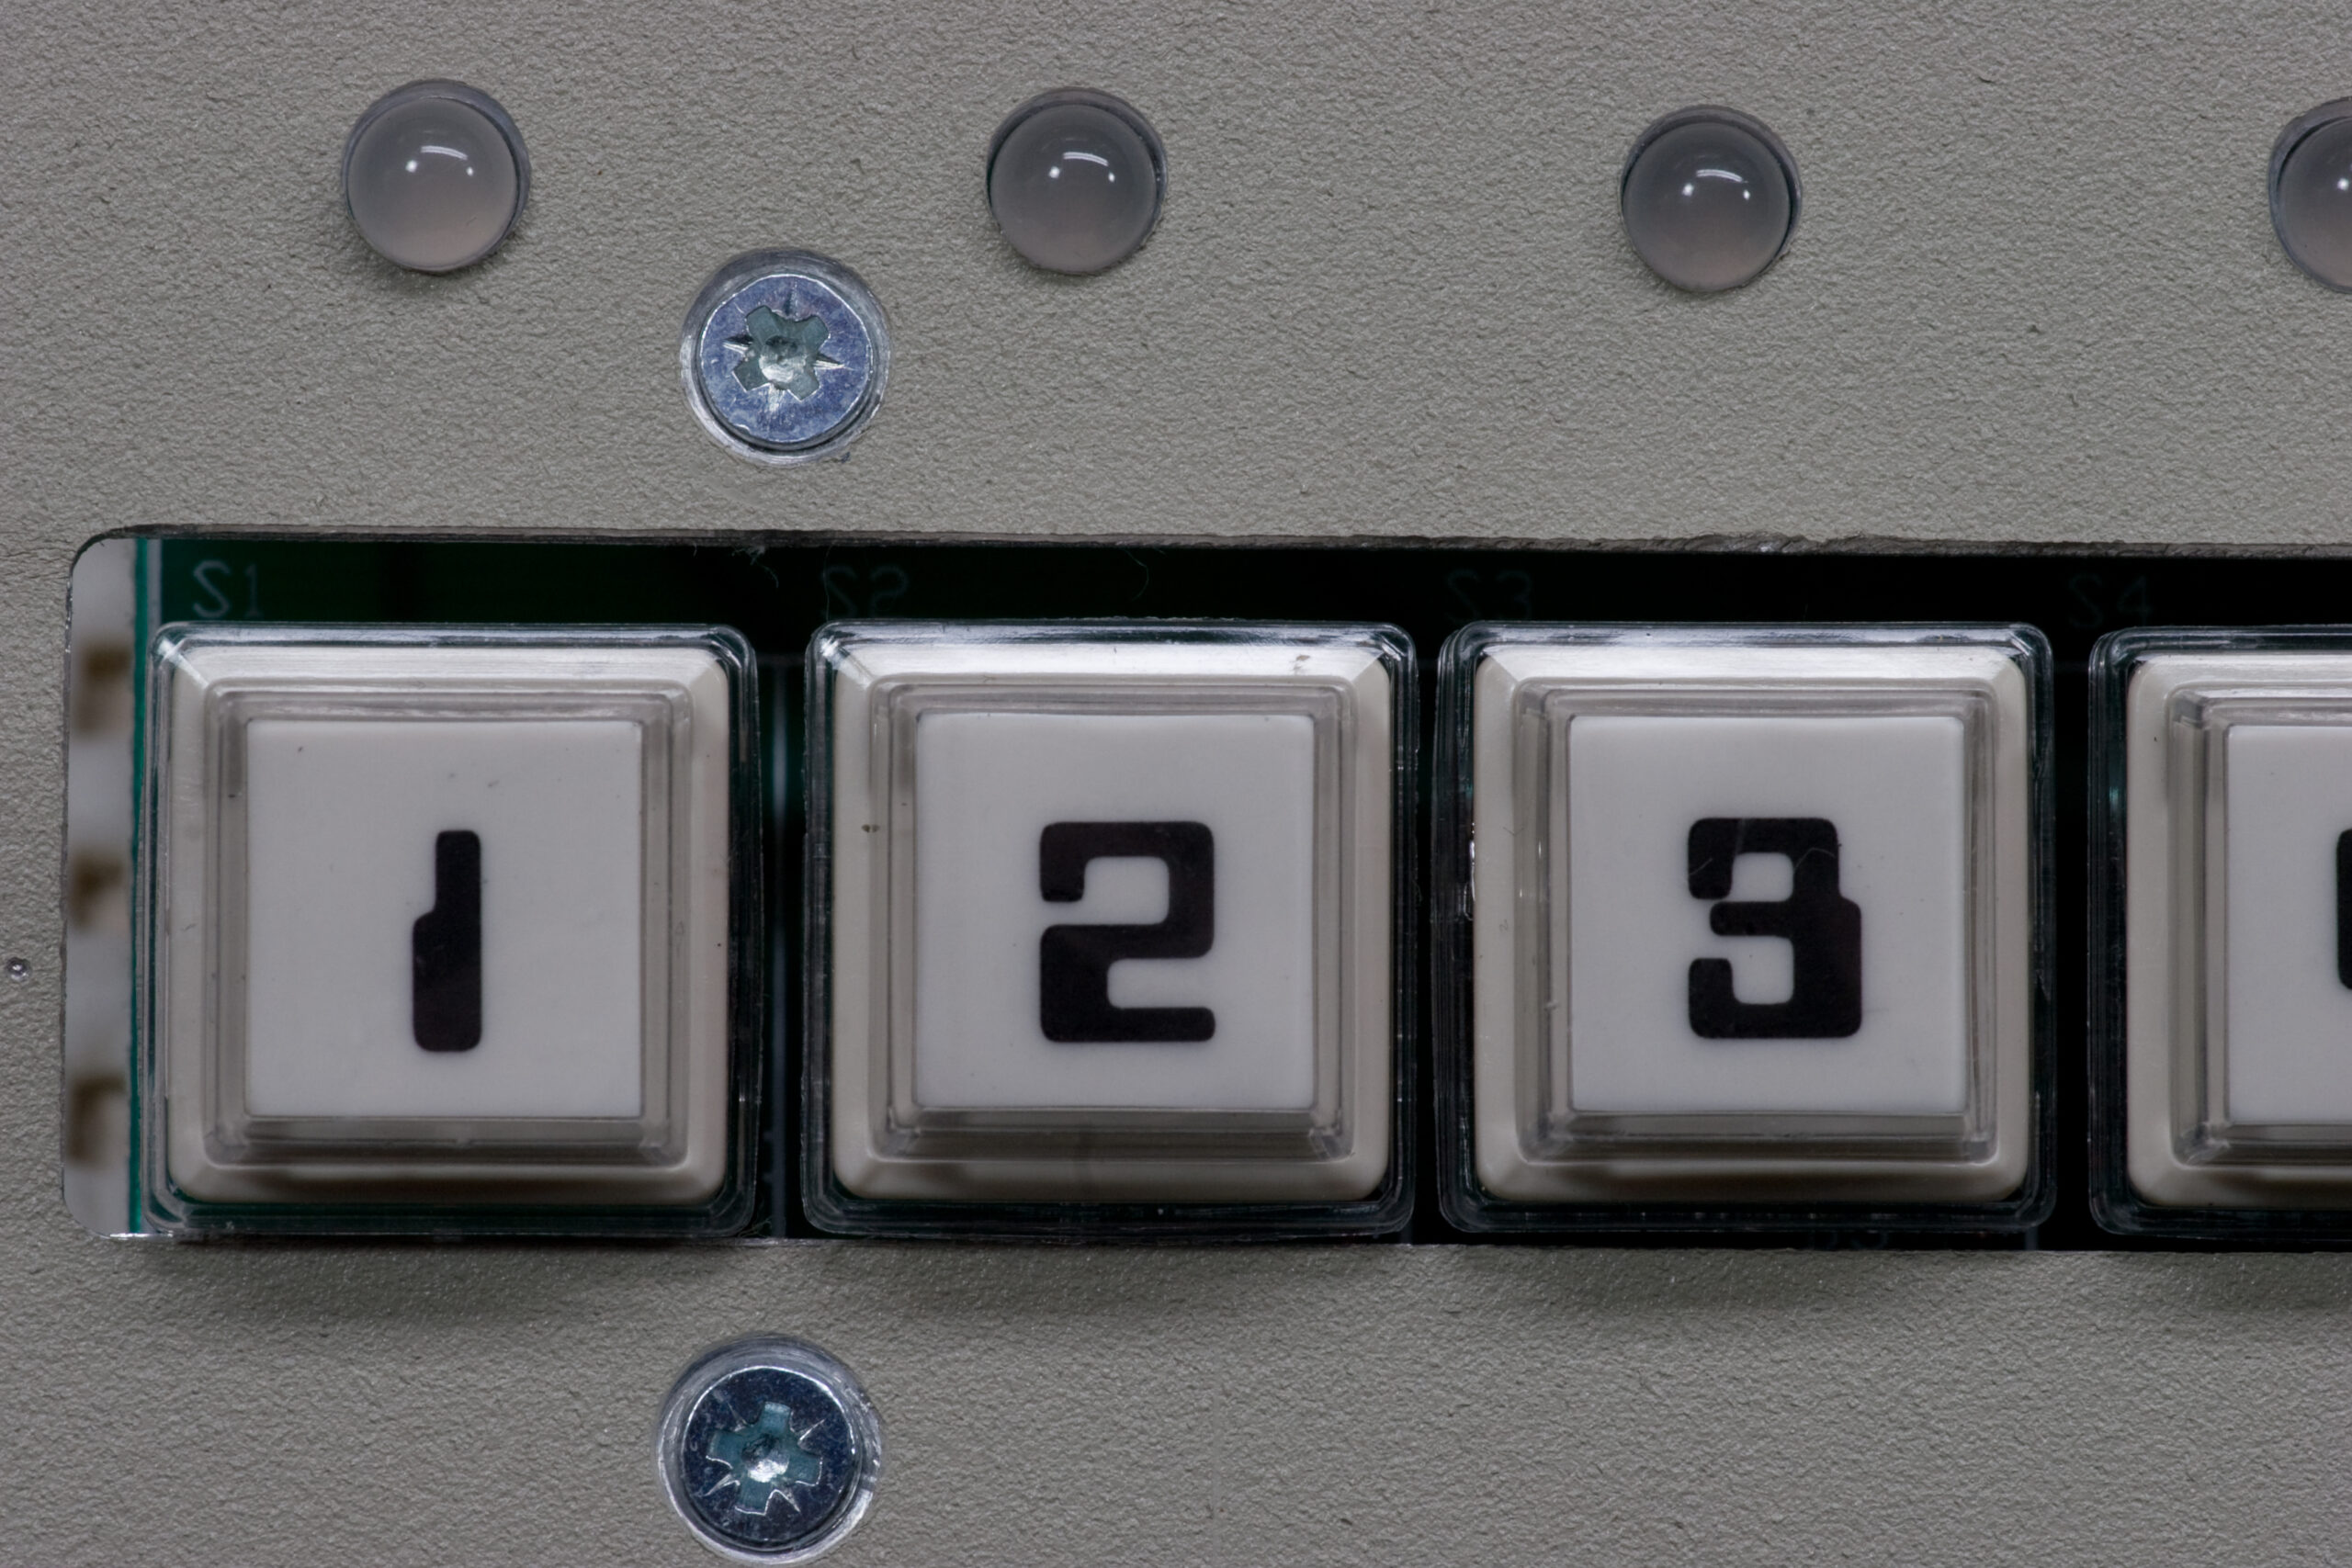
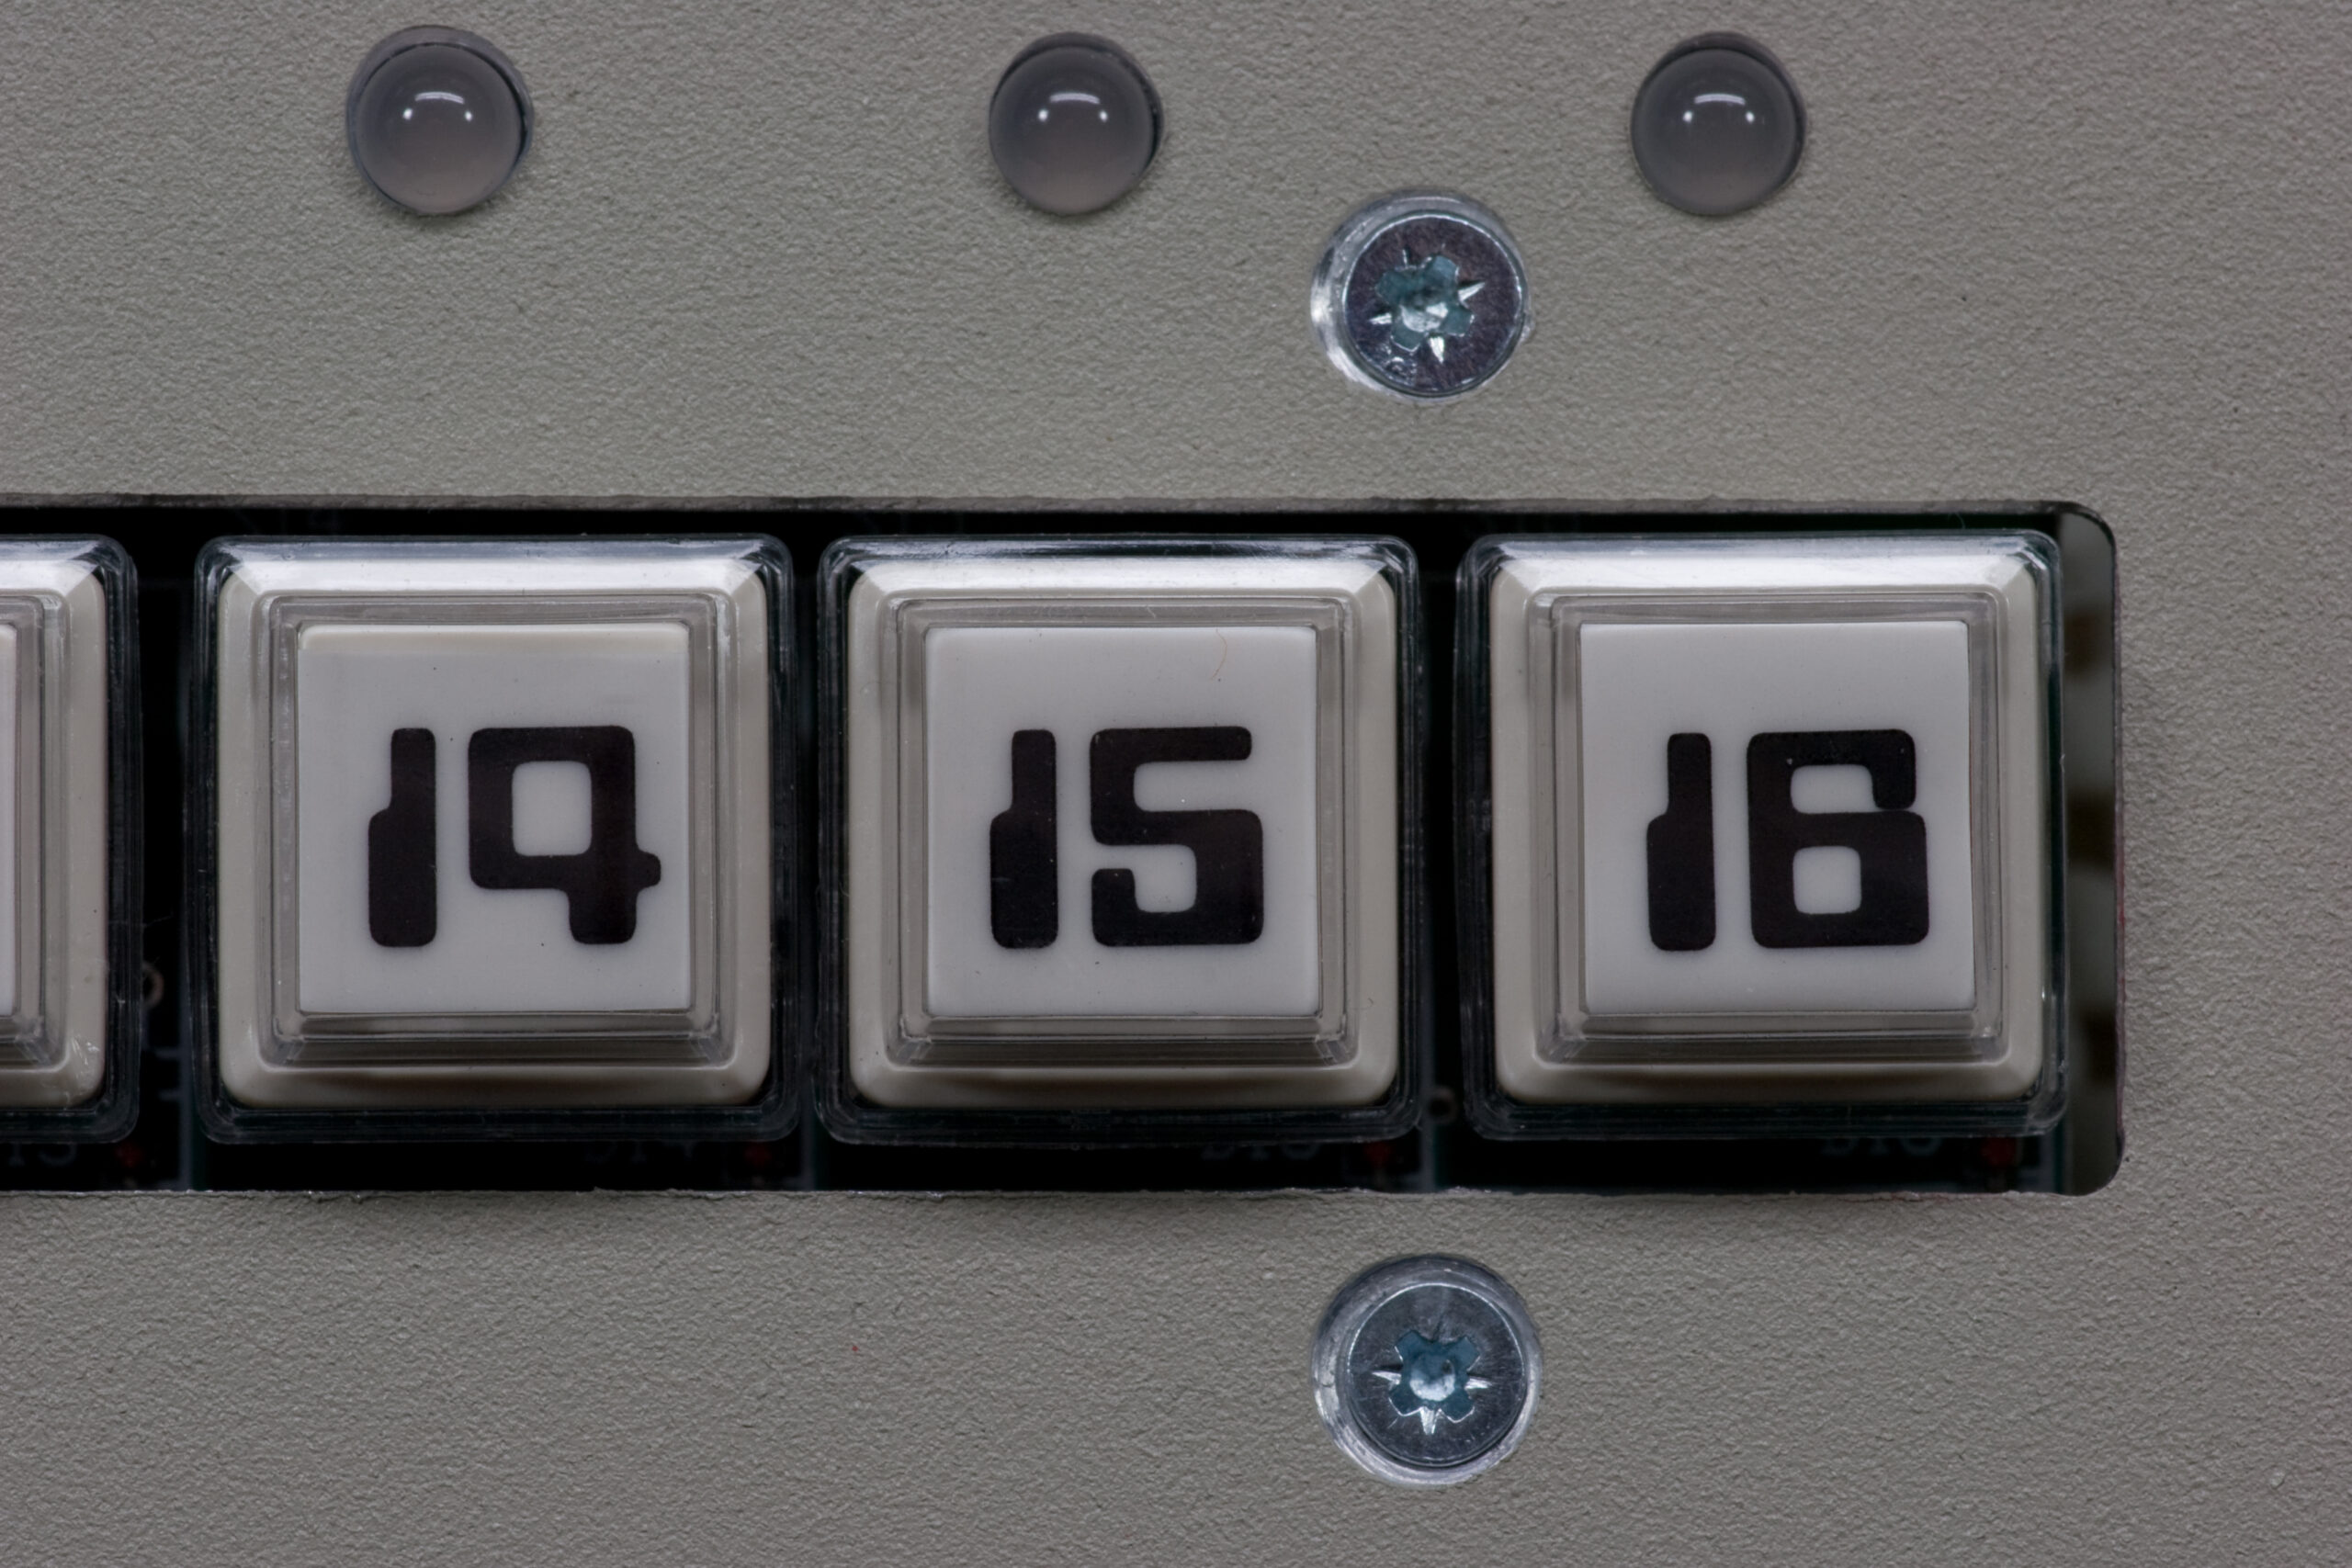
Step Switches: I fashioned a jig to hold the 1-16 buttons in place on the step switch / LED board, and that worked rather well for aligning all the buttons in a nice row, and they automatically lined themselves up with the holes in the PCB. Unfortunately, the screw holes for mounting the PCB aren’t perfectly in line with the slot cut out for the buttons themselves. The end result is that on the left side of that row the buttons are about 1mm lower than on the right side. The buttons all work fine, but they just look a little off.

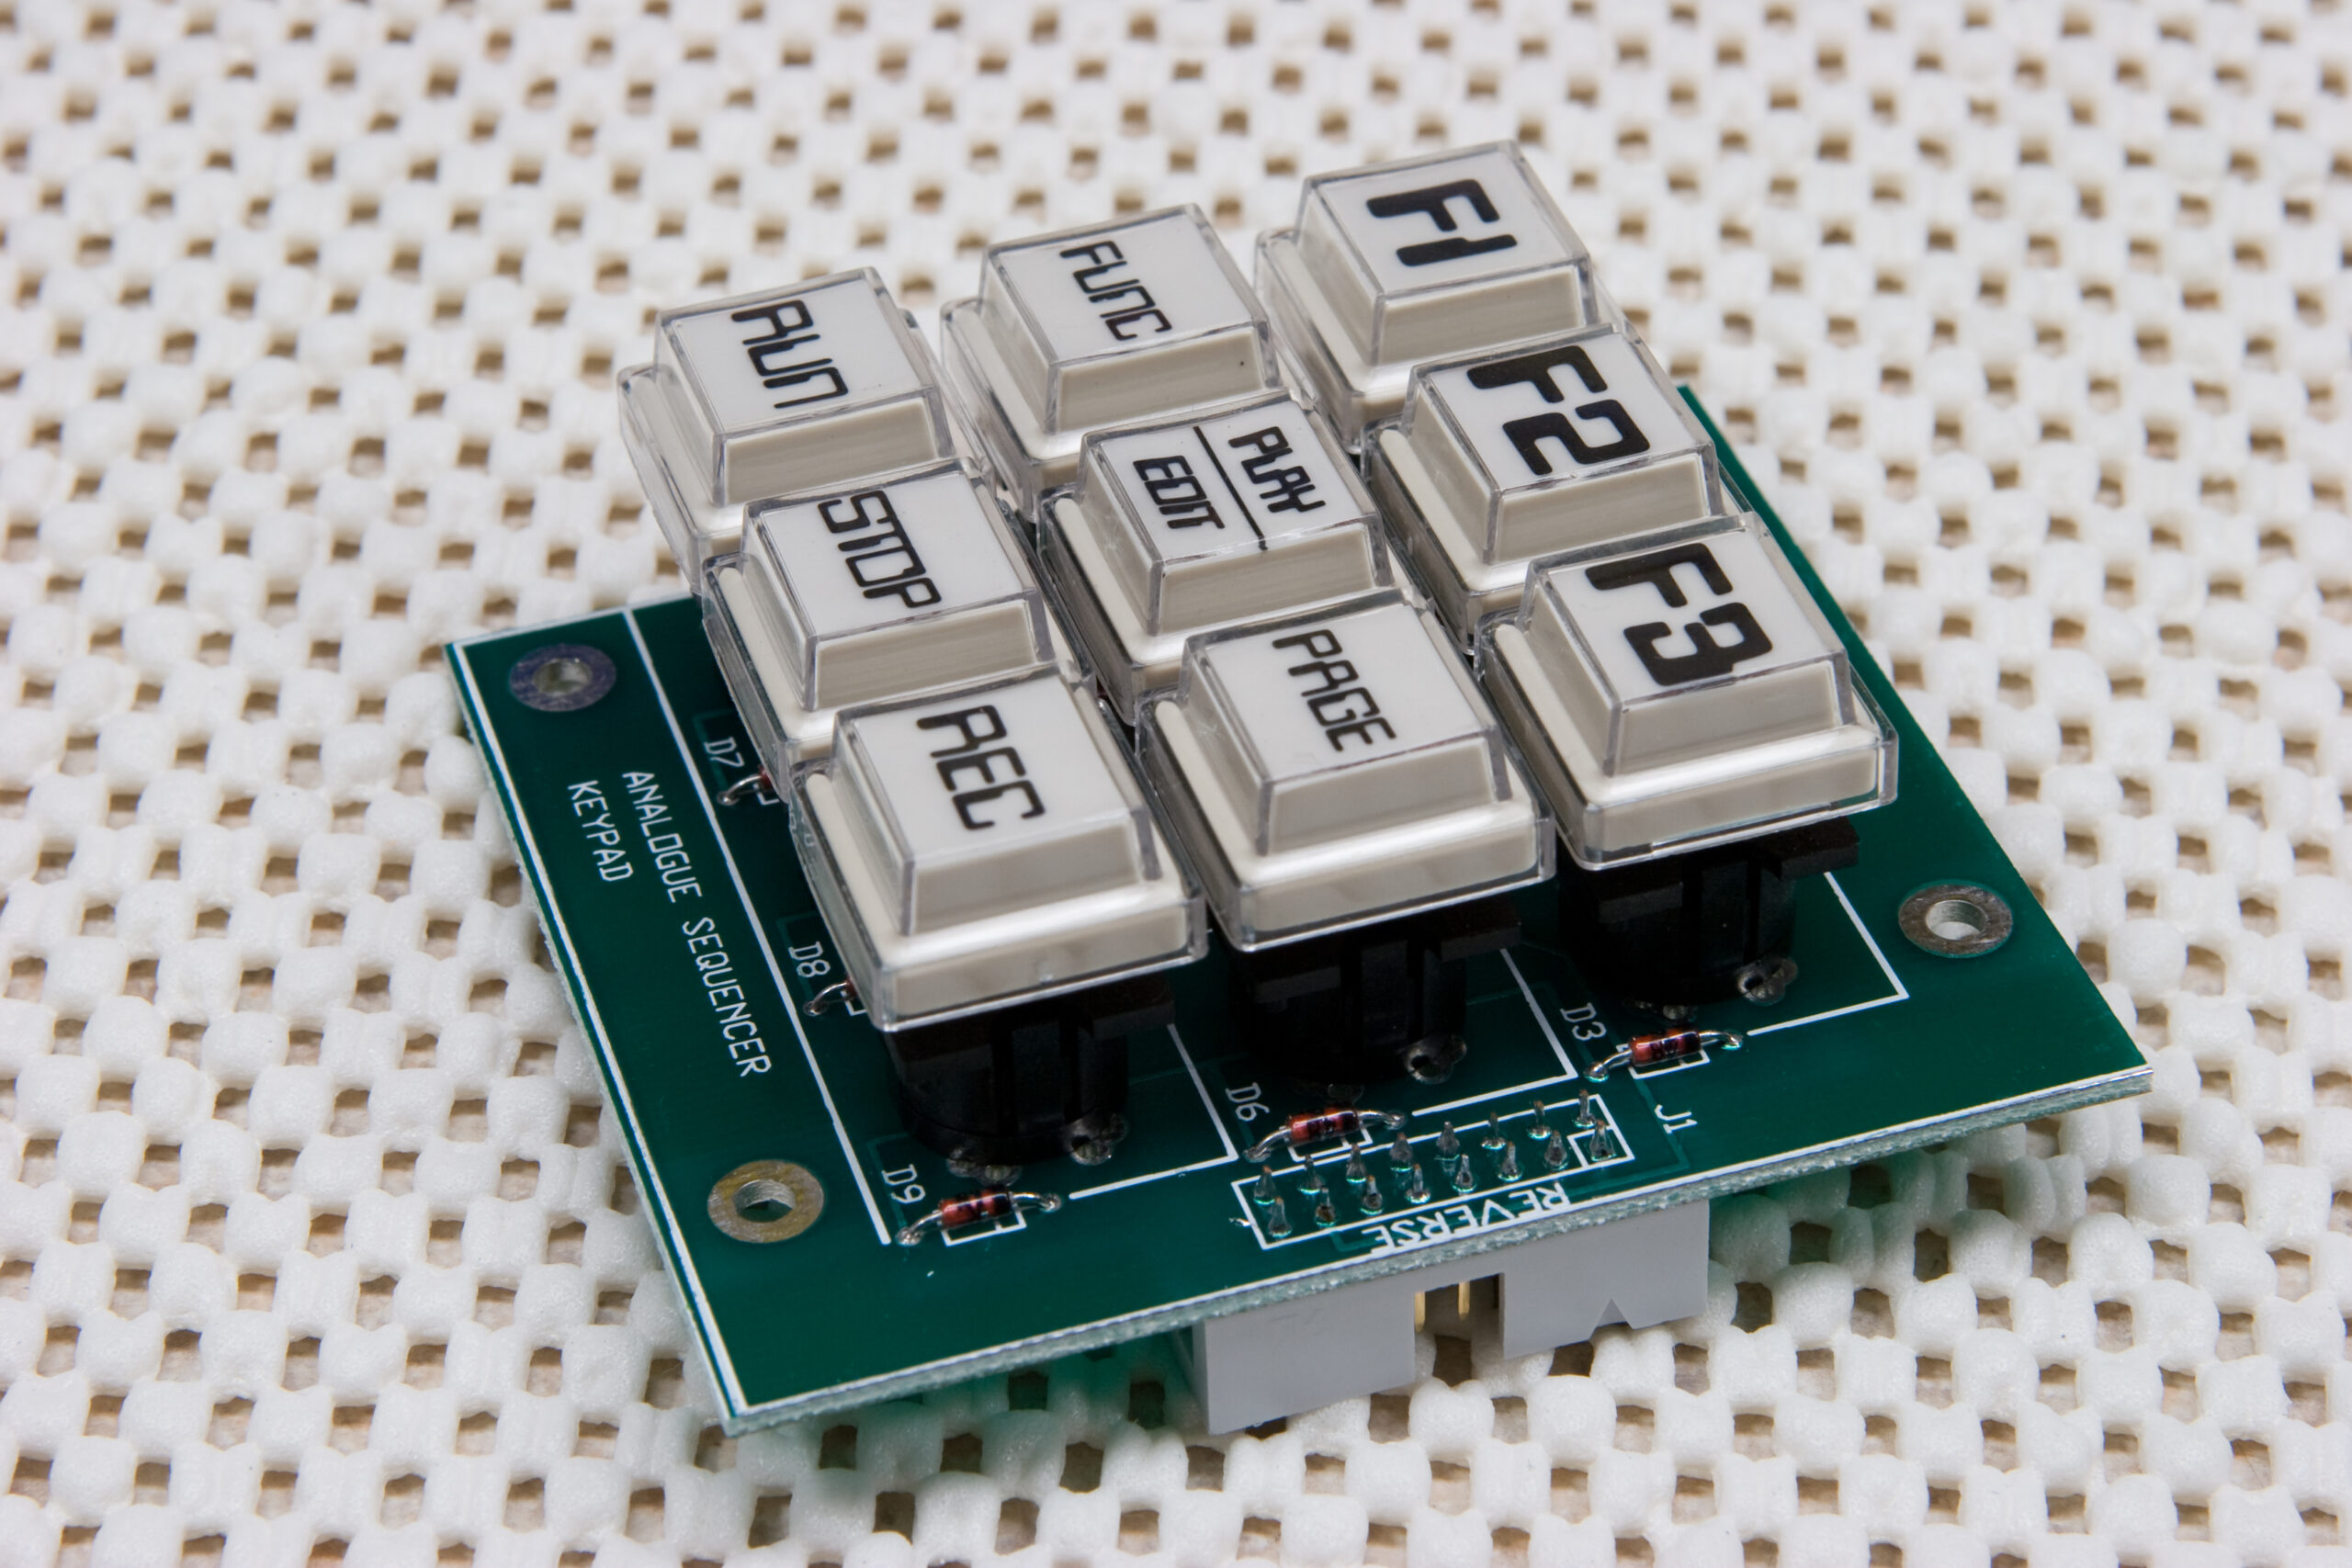
Function Switches: The way the holes are drilled for the function switches, along with the alignment of the screw holes, the red (key function) button rubbed a bit in the hole. A little bit of filing cleared this up.

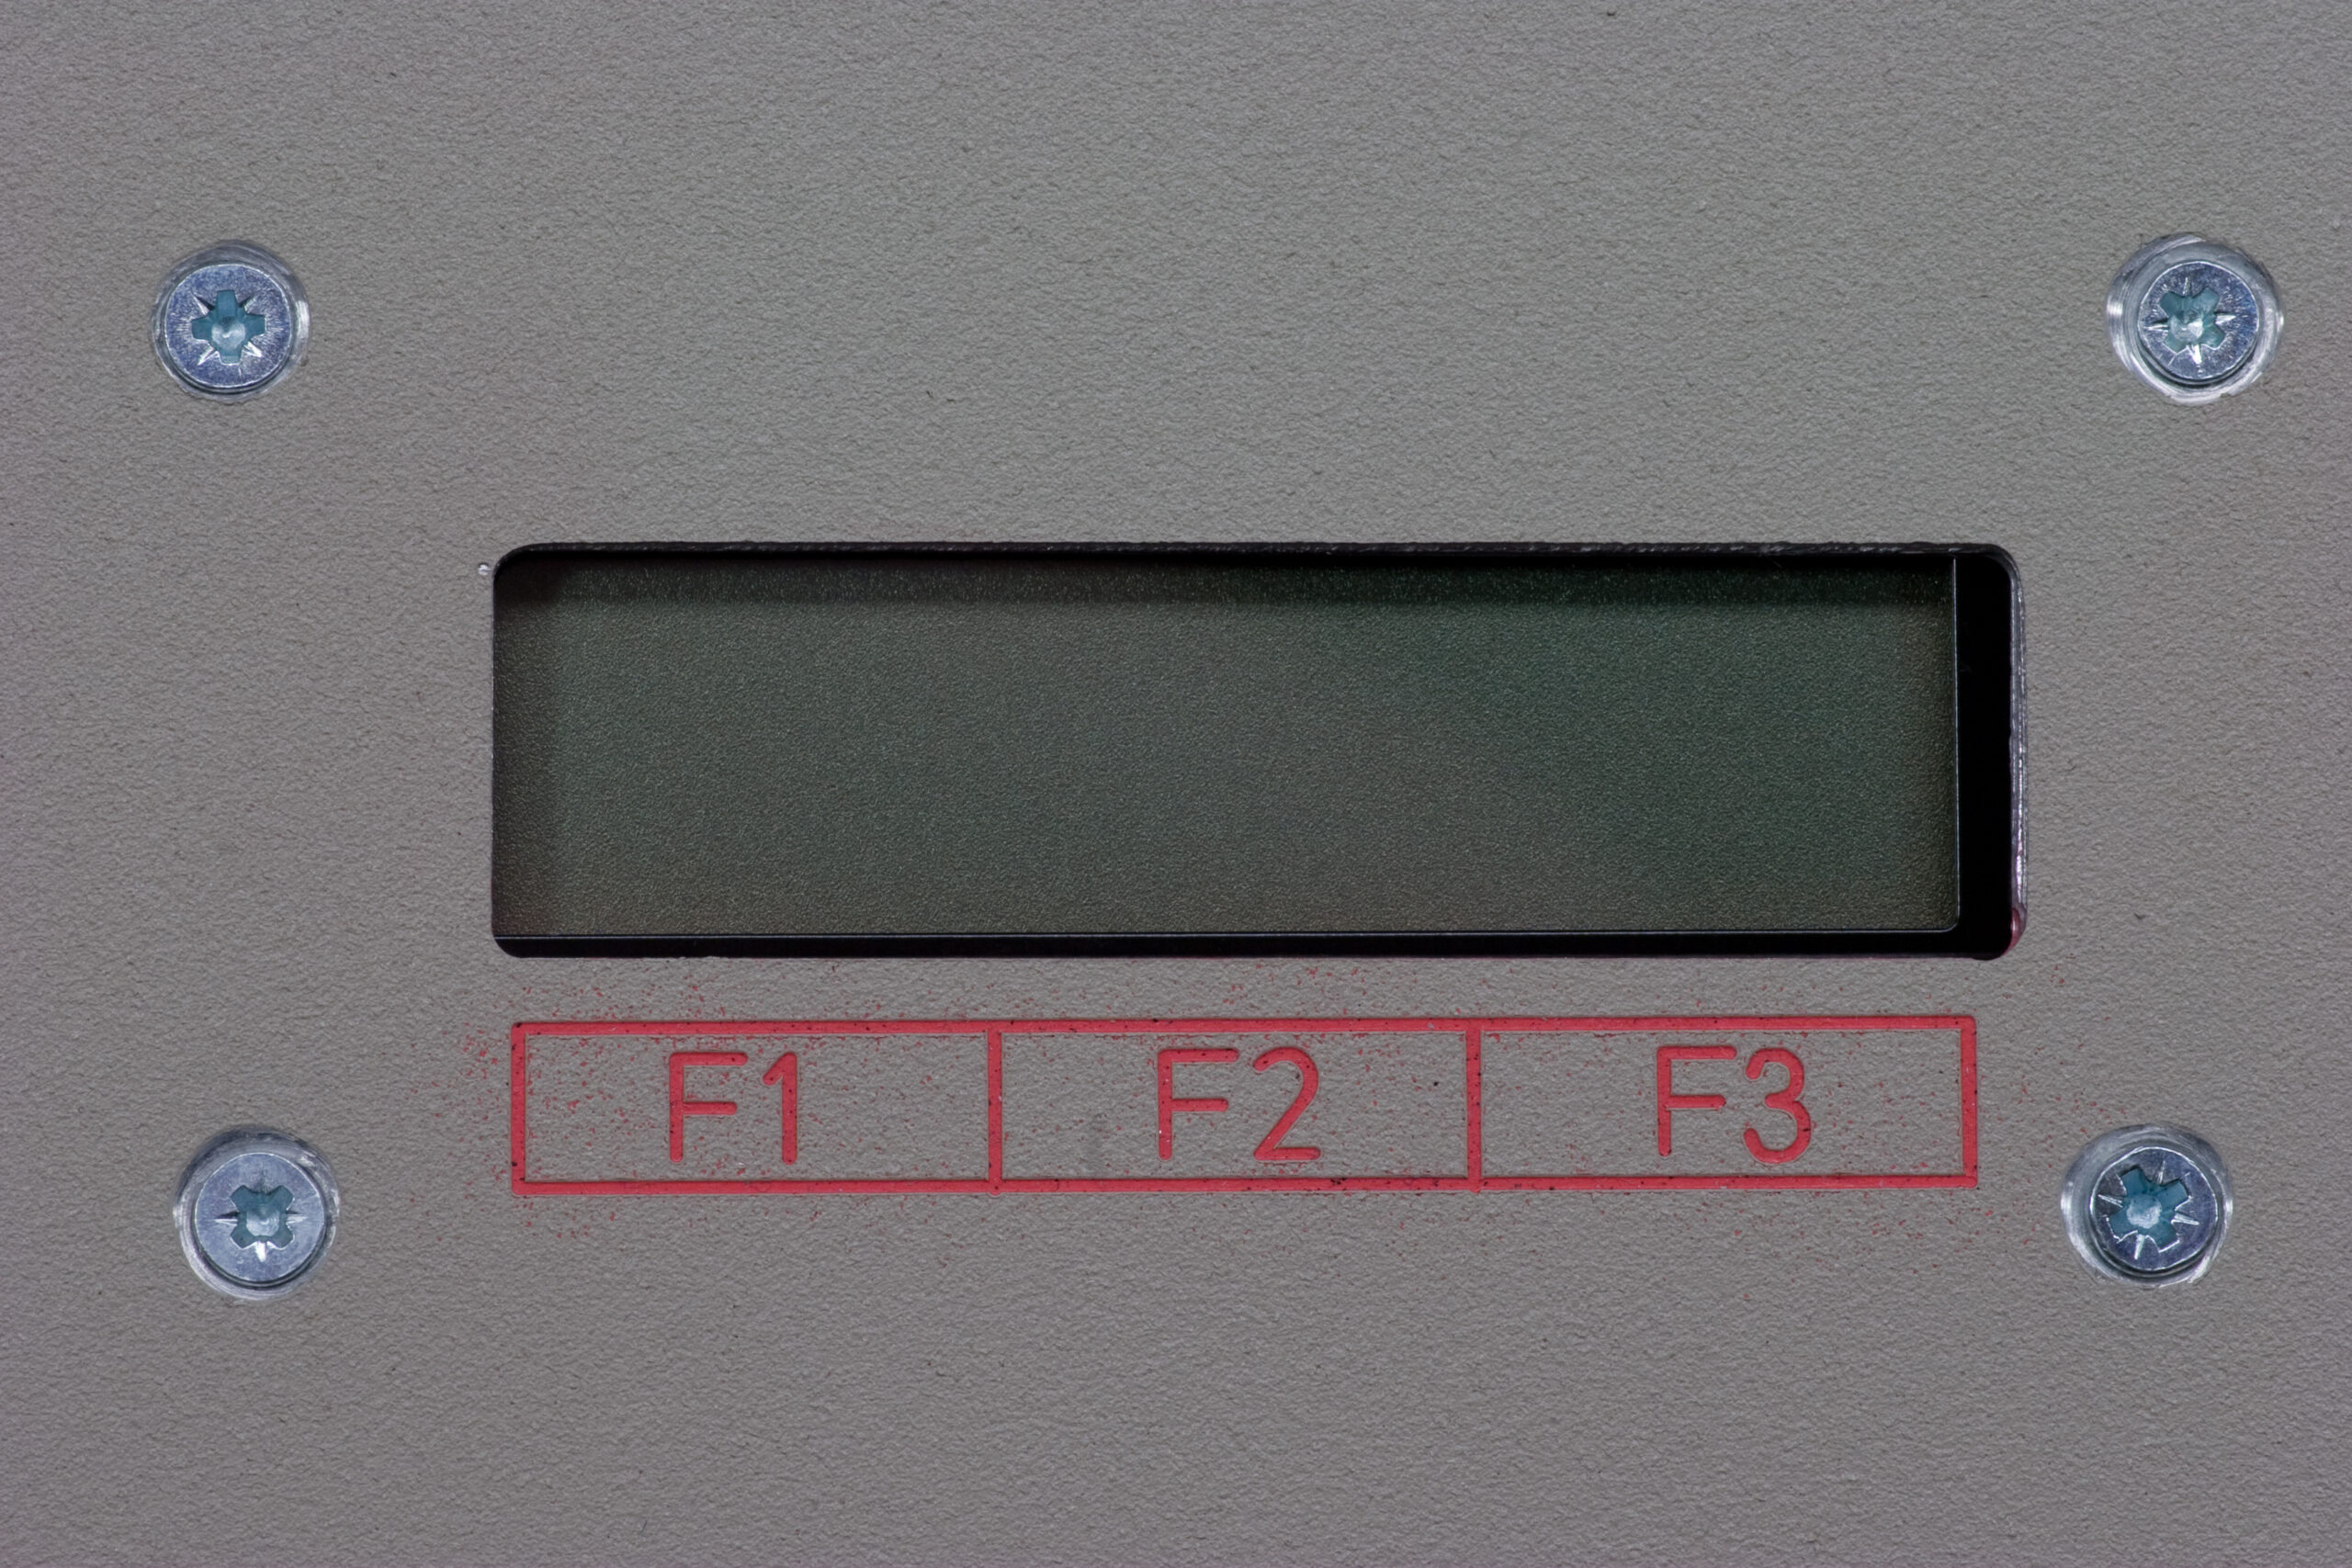
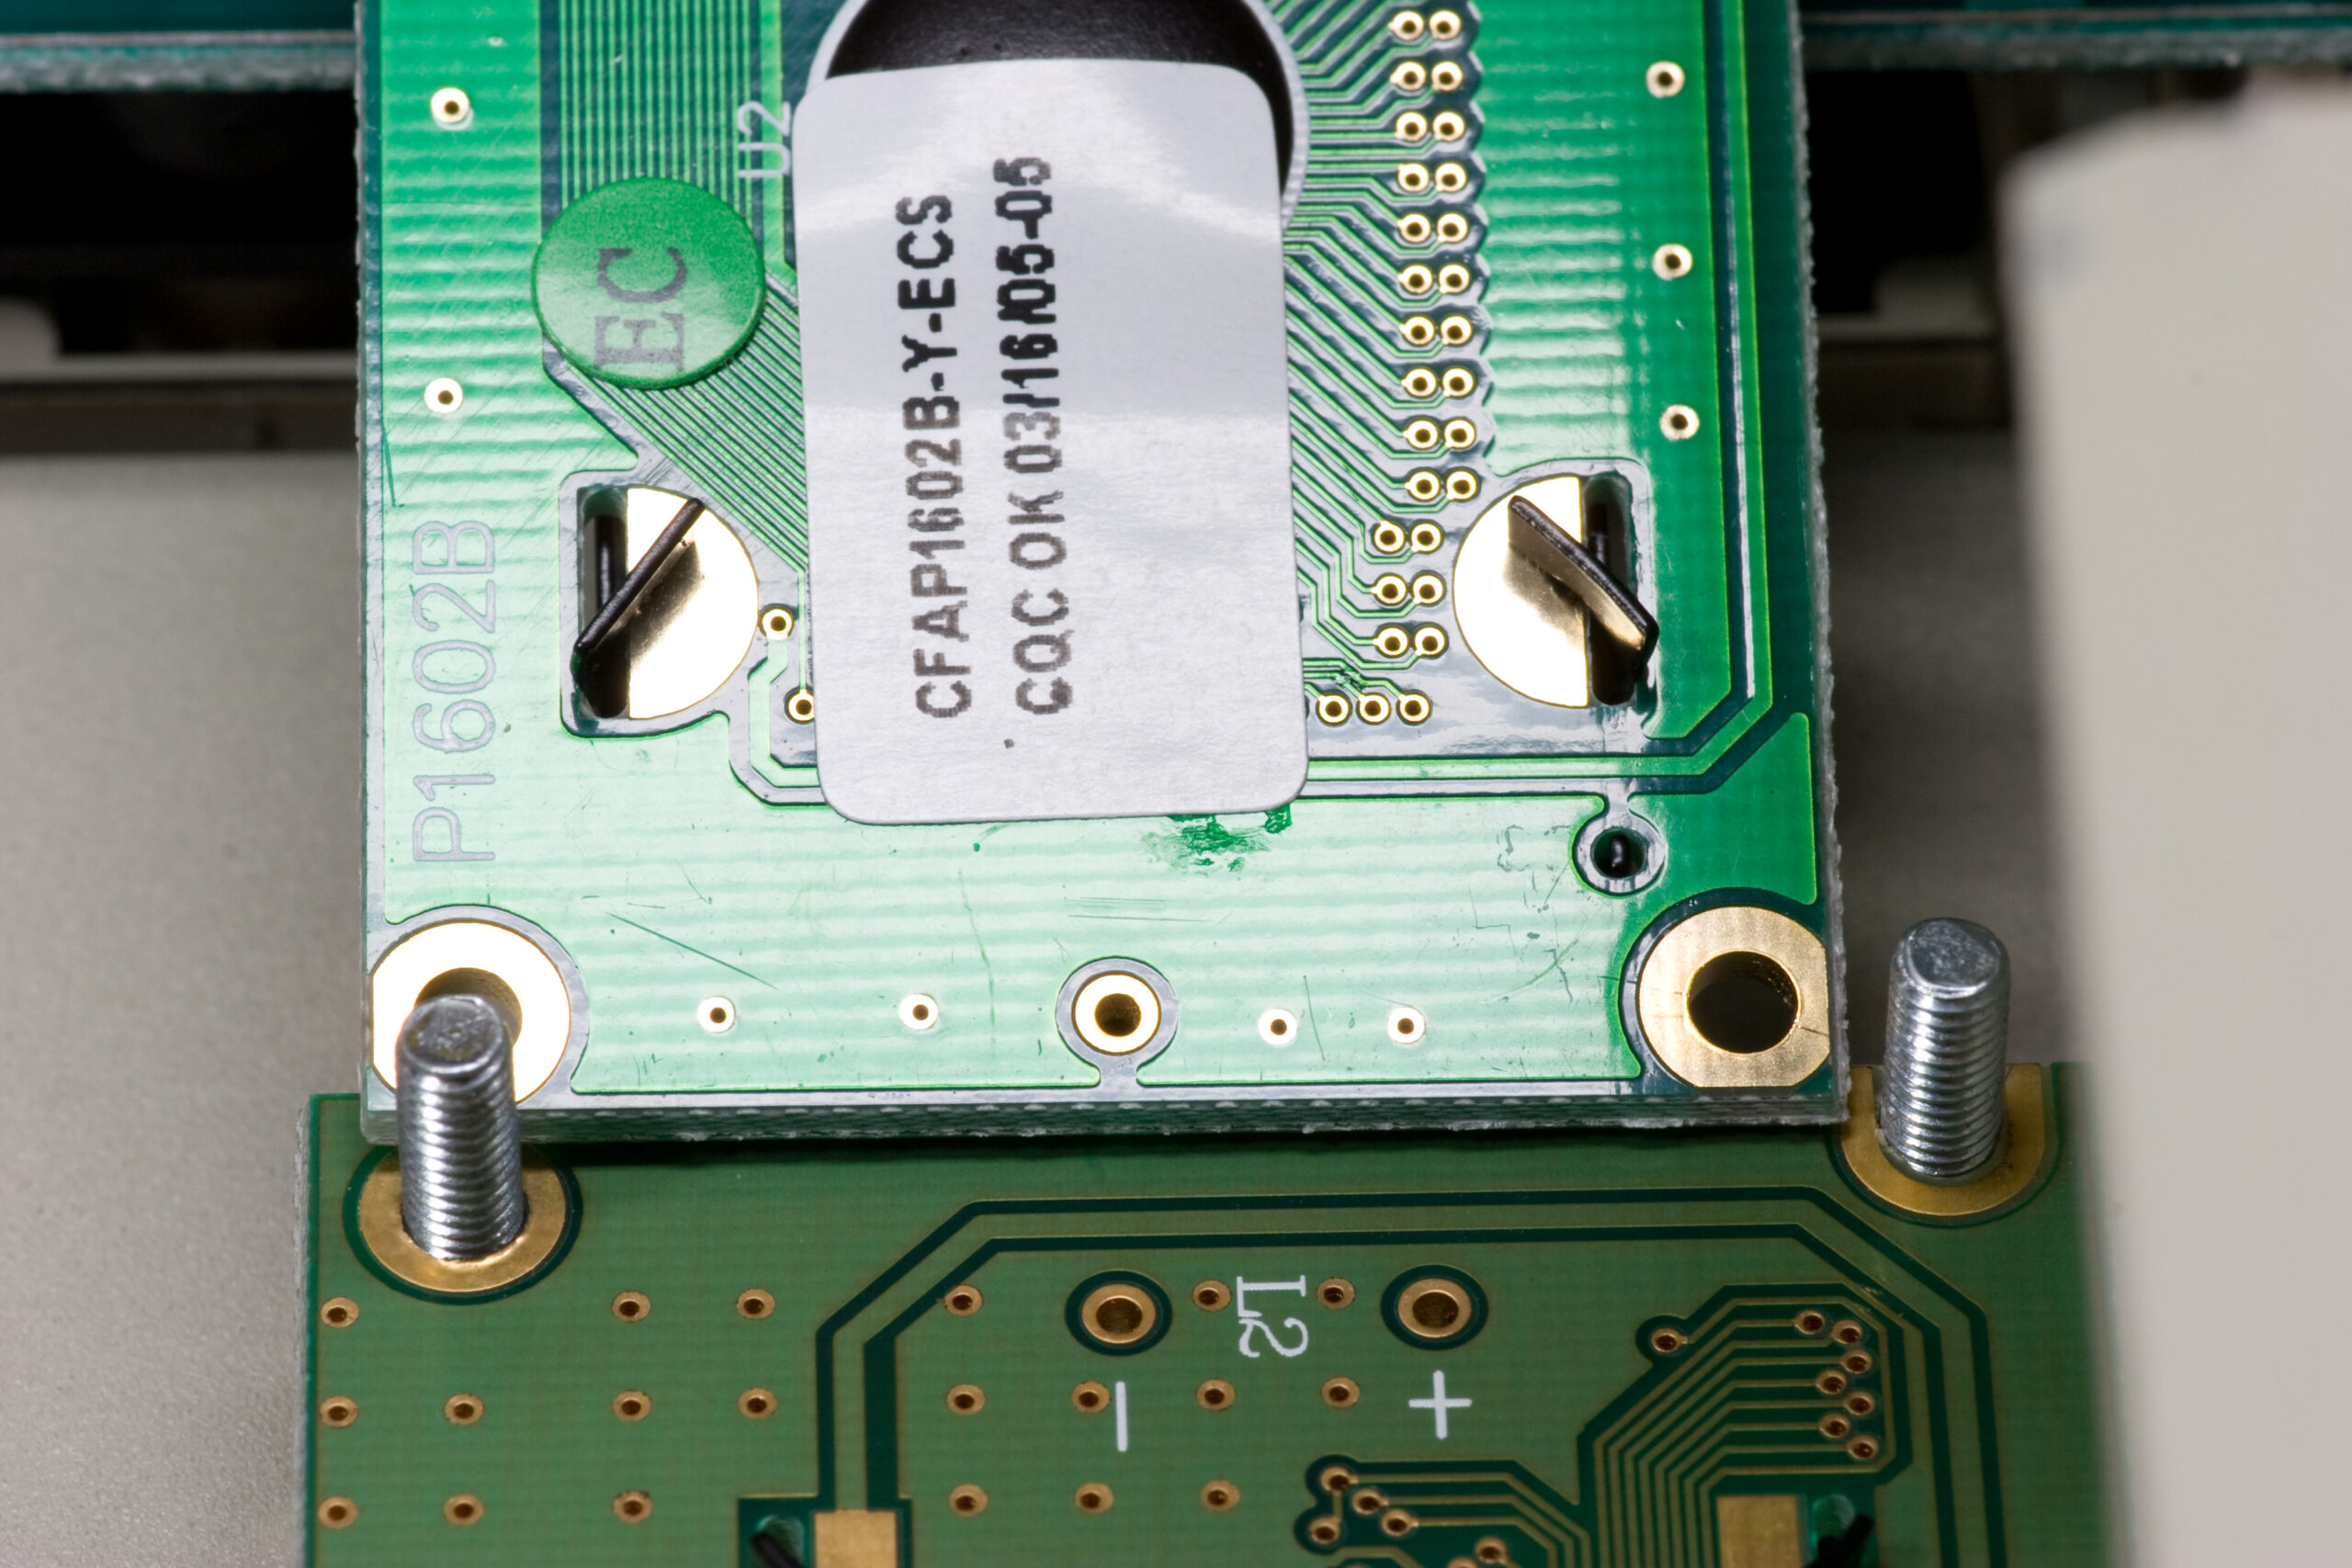
LCD Alignment: With the stock LCD for this original P3 enclosure fitted, it doesn’t quite line up with the hole cut for it, leaving the bottom and left side of its bezel visible. This may not be an issues as the actual displayed data will likely be centered, but it doesn’t look as good as it could. Additionally, the mounting holes are not physically compatible with one of the PLEDs used in later P3s. It may be possible to get the PLED to fit, but this would require a bit rigging, possibly involving cutting the corners out of the PCB and fashioning some sort of mount.

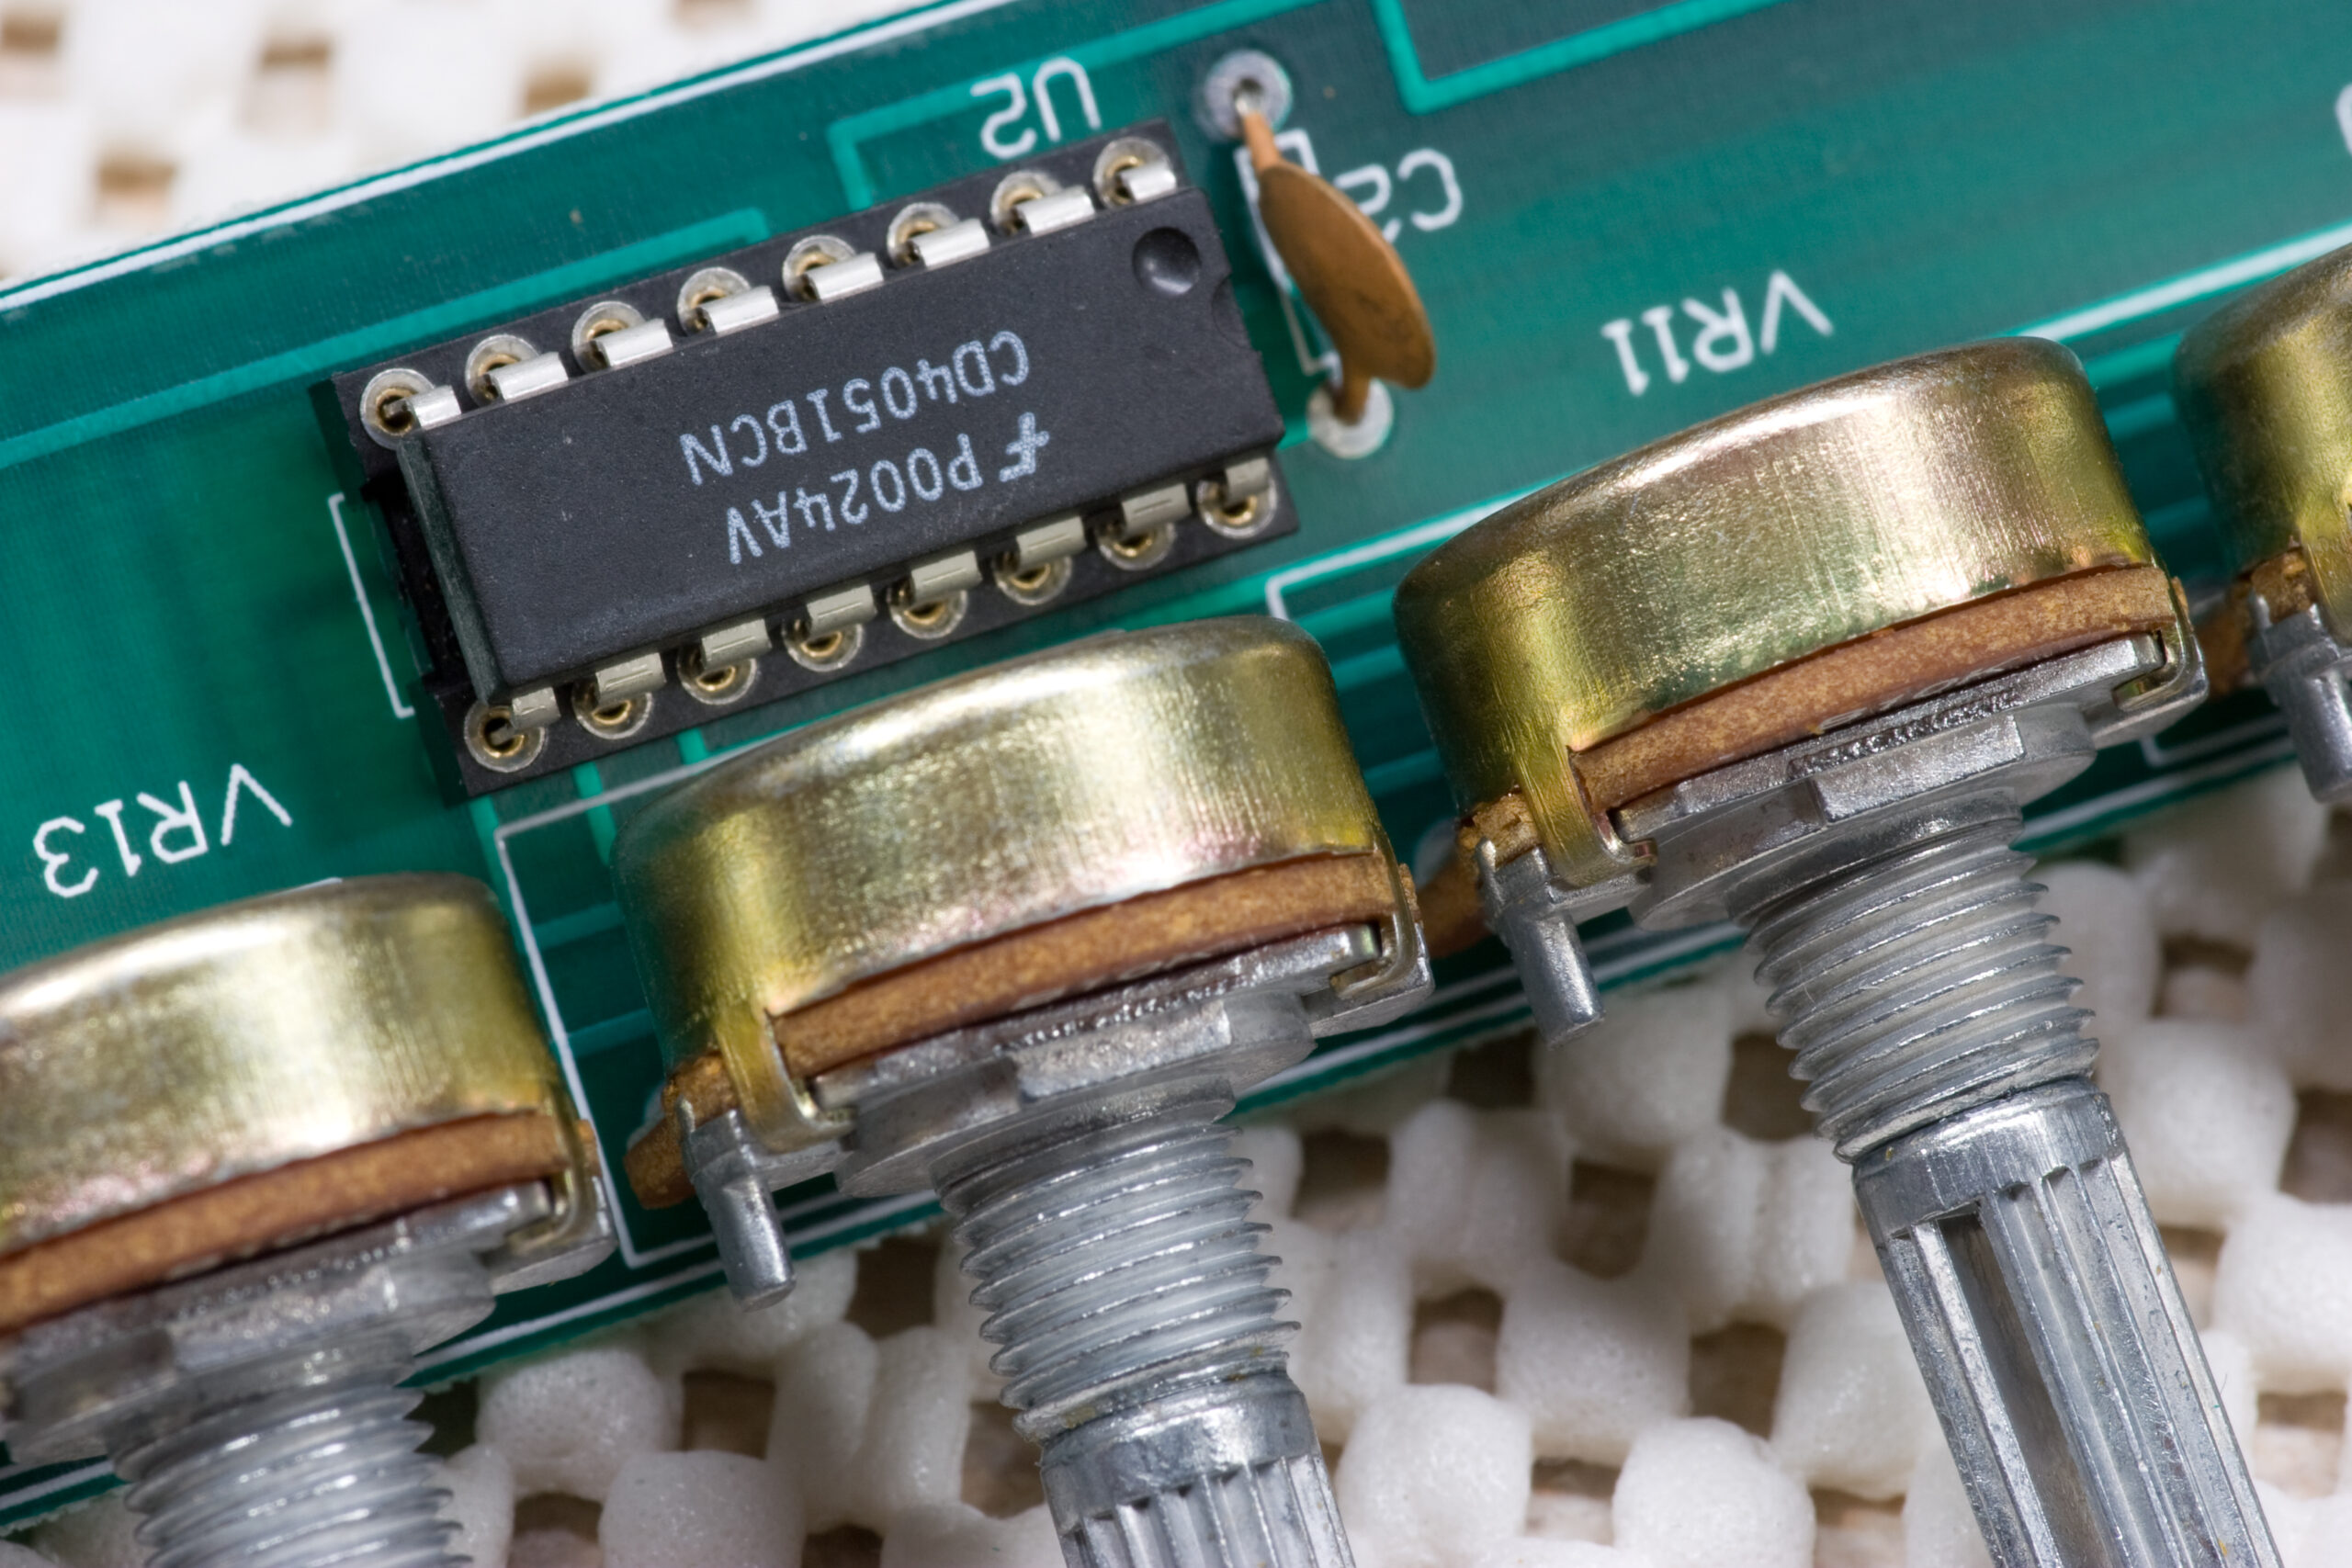
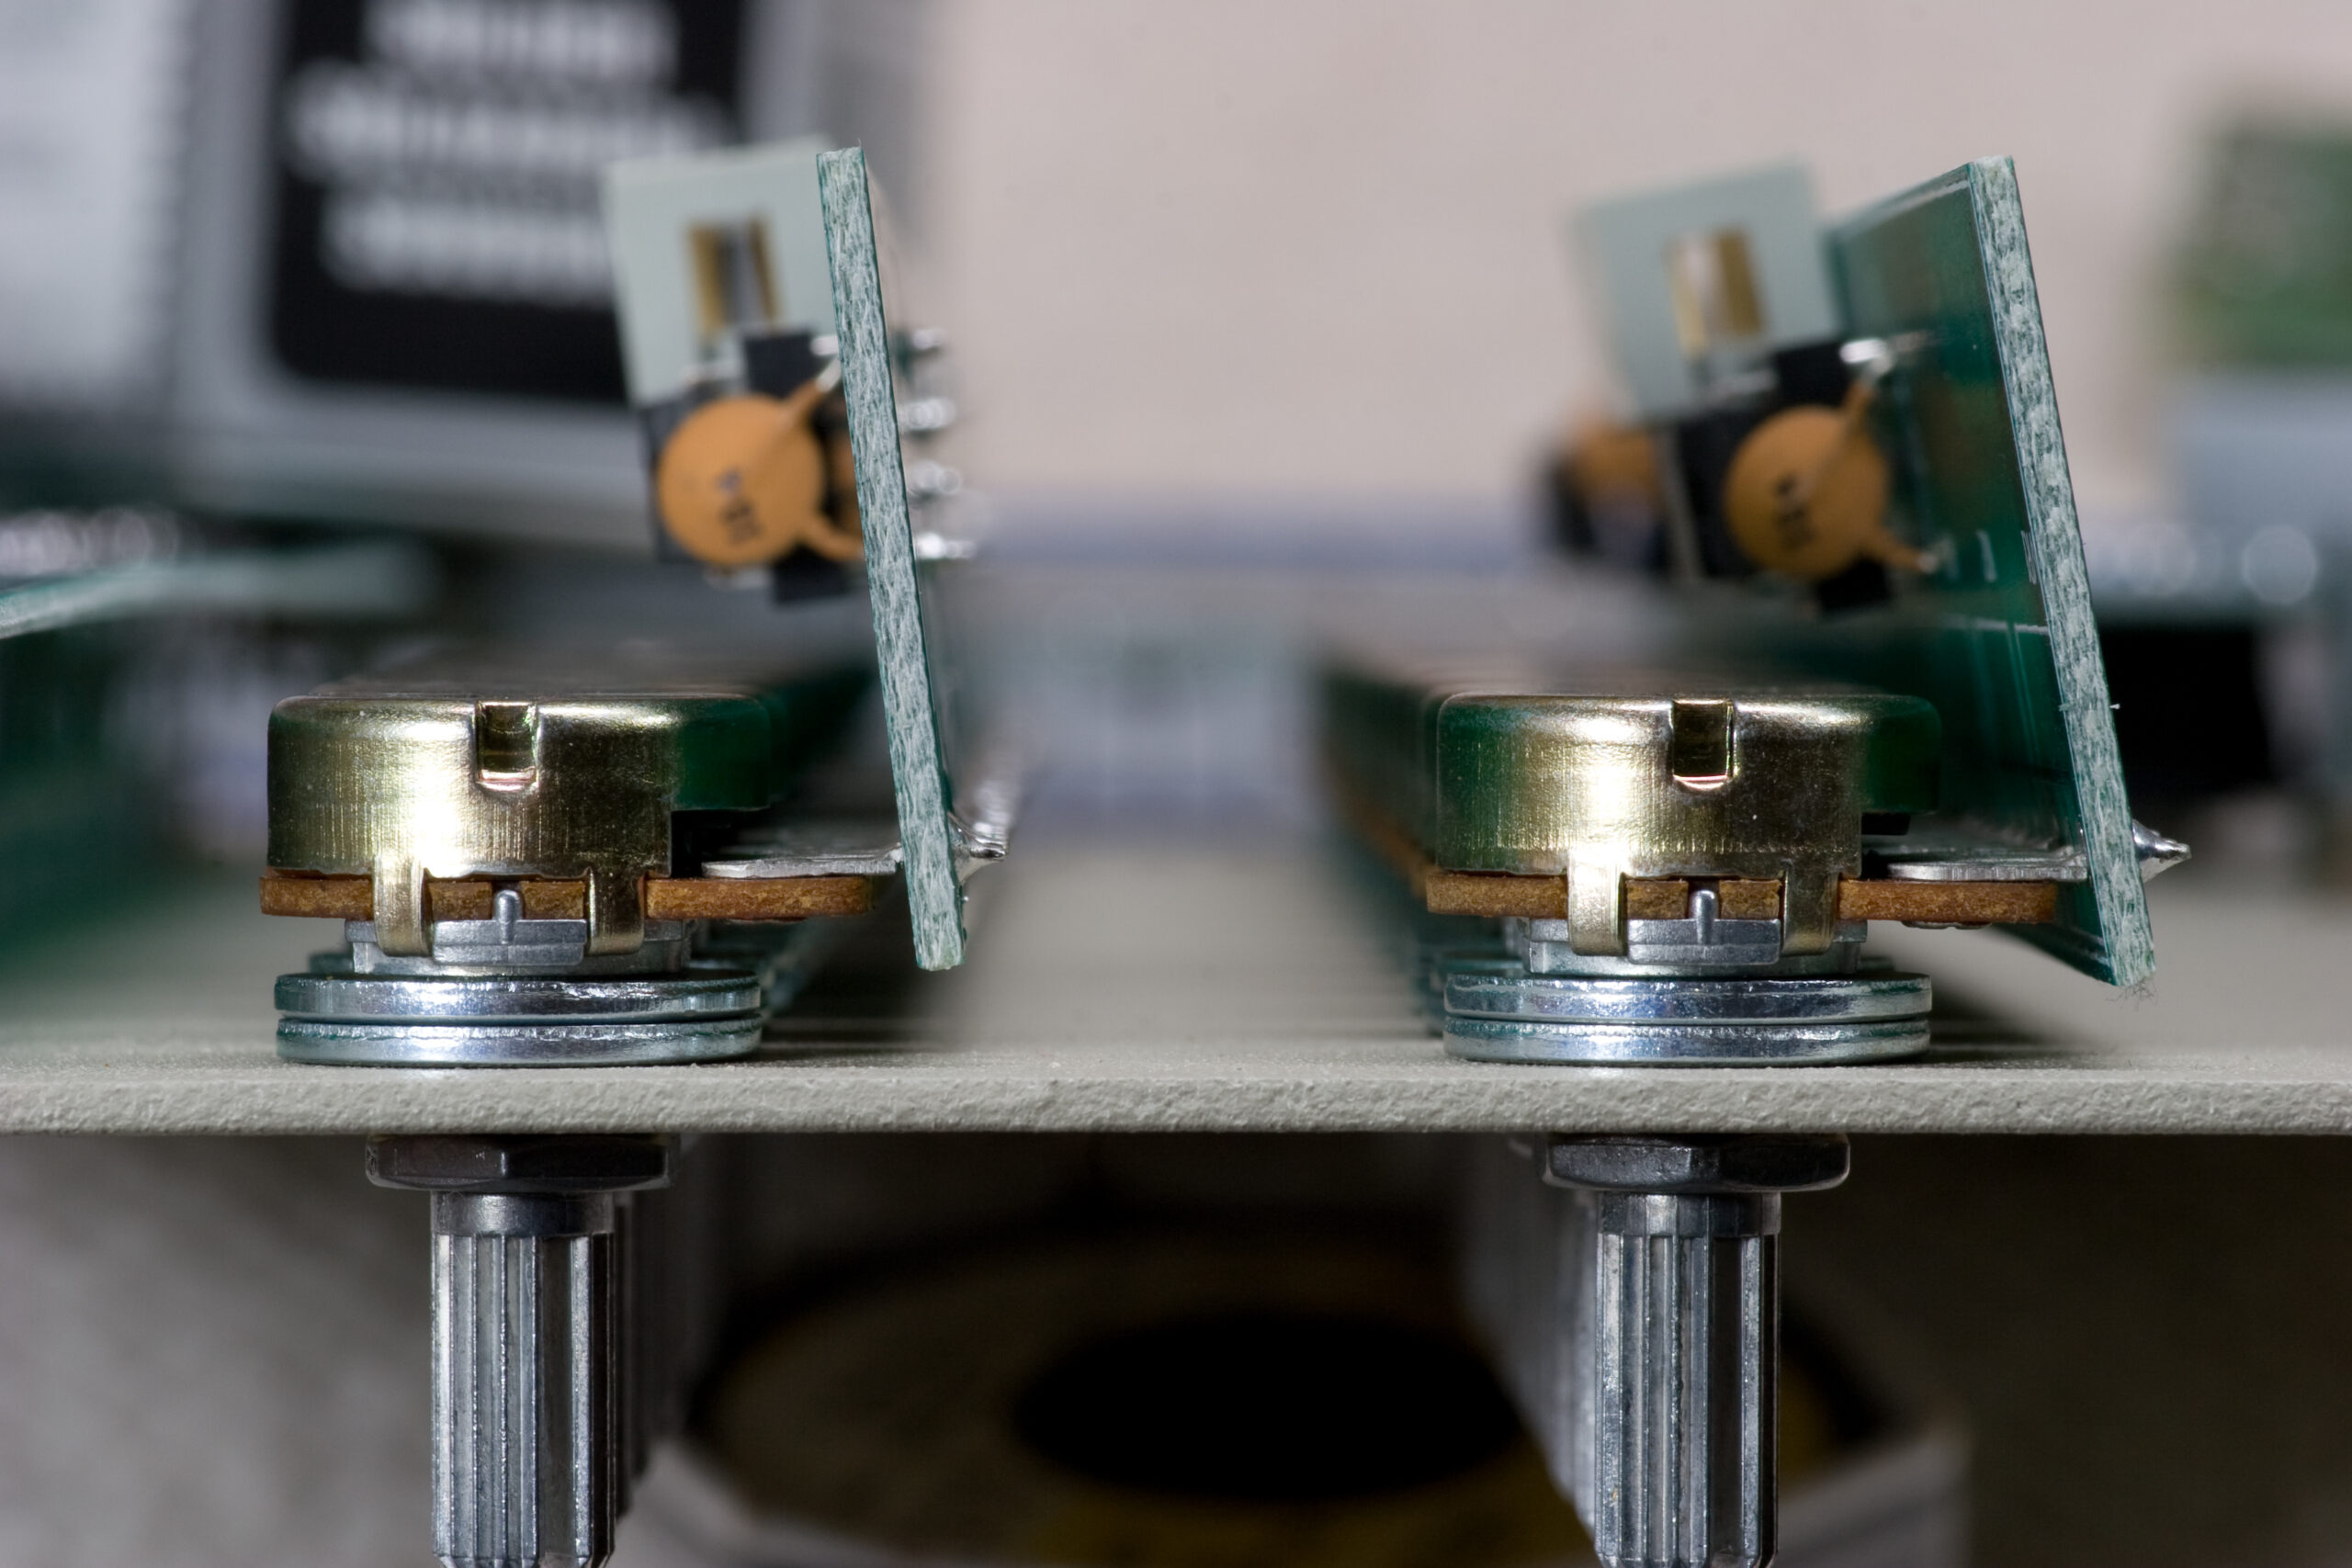
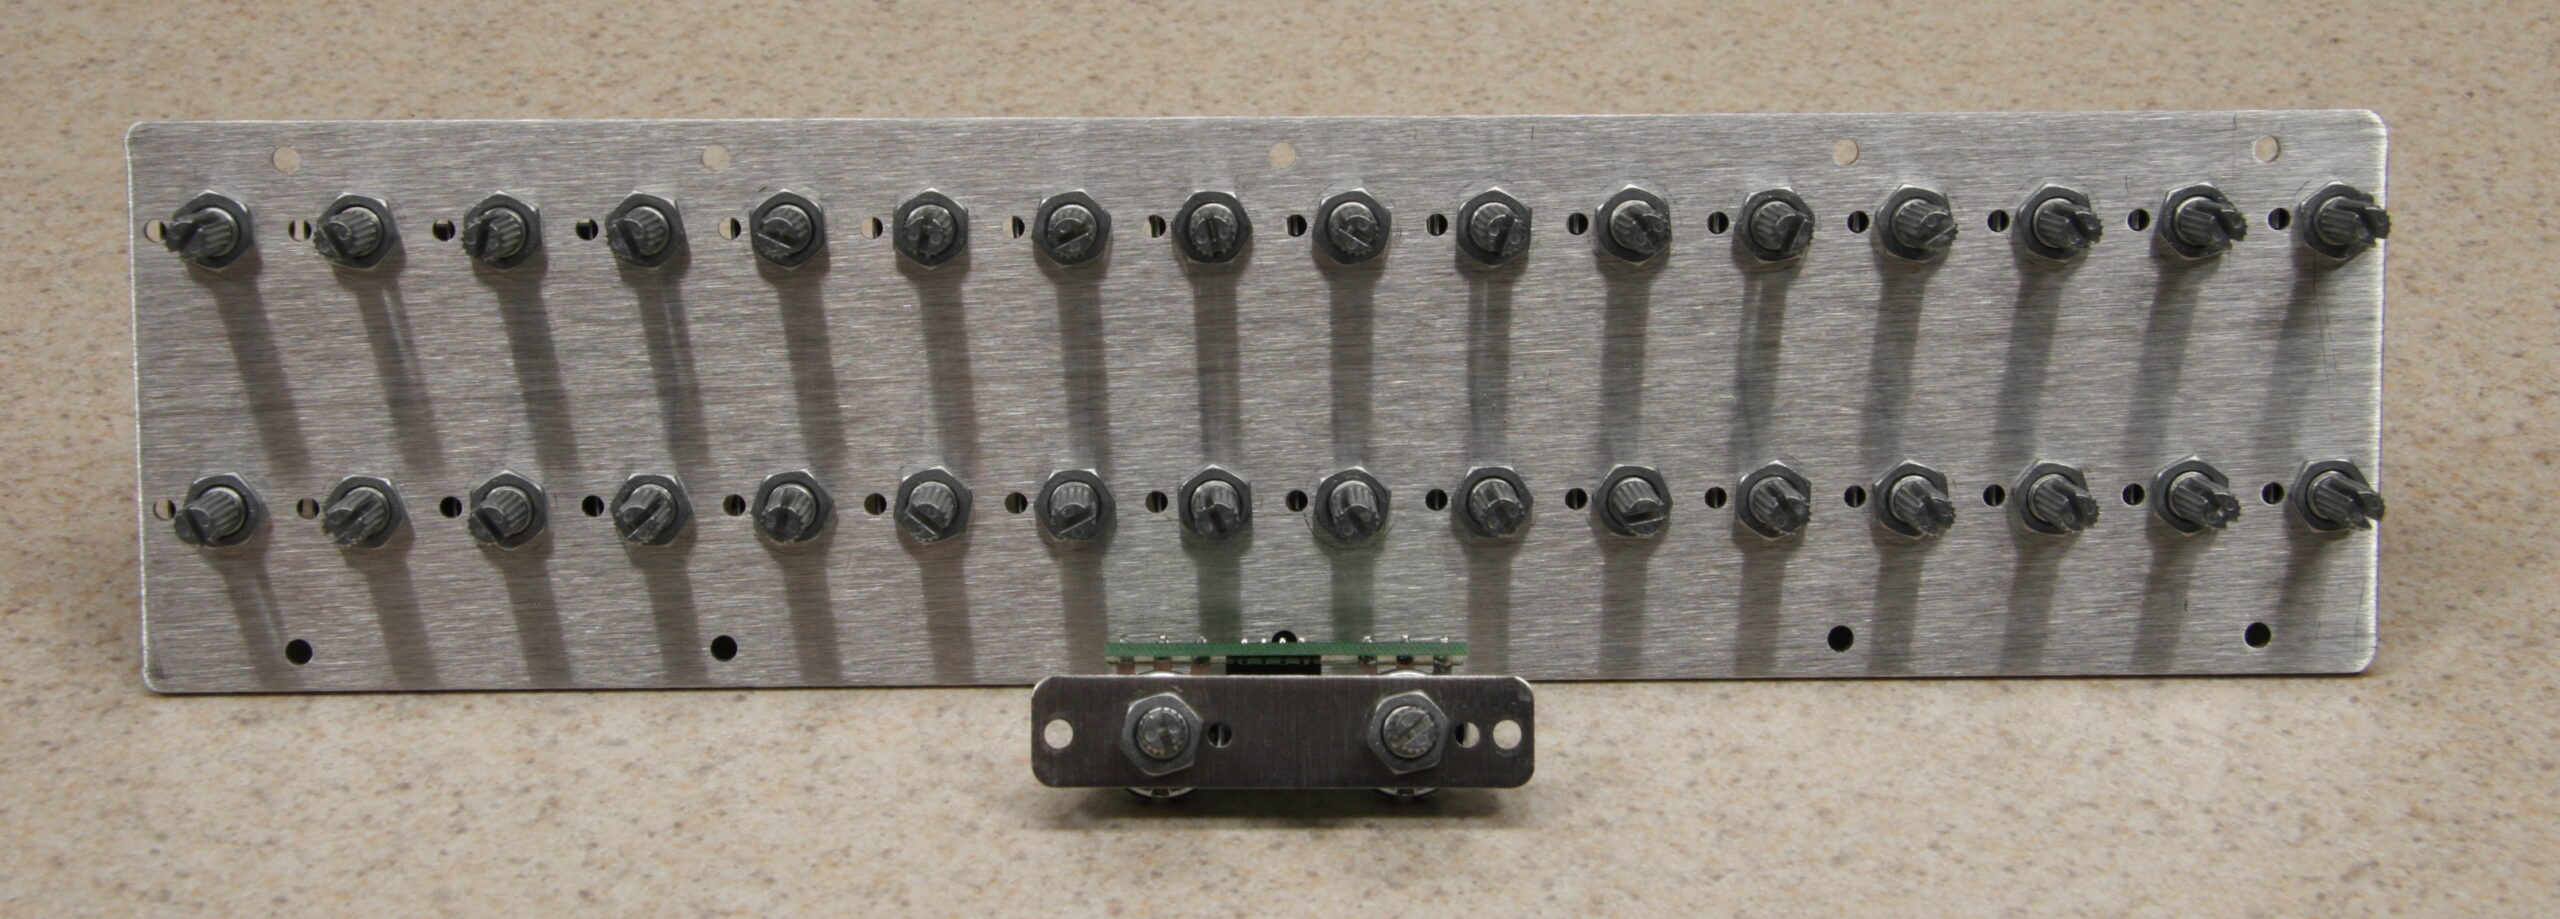
Potentiometers: The P3 uses analog pots for a number of inputs. This works very well, except pots (as seen above or here) have small tabs sticking off of them. These tabs are normally fitted into drilled holes and they keep the pots from rotating during assembly or use. The subpanels for the newer P3 enclosure have holes for these tabs, but the original enclosure on Mark’s P3 doesn’t. Because of this, if I were to tighten down the pots they would be bent to the side. To work around this I’ll just snap off tabs (a trivial process, really) and then stack some washers between the panel and pot body to space things as nicely as possible. This will allow the mounting hardware on the pots to be properly tightened.

Now, that out of the way, the good things: I had no problem getting all the LEDs fitted / mounted / nicely aligned in the panel. These are all soldered into place and the PCBs holding them can pretty much be removed at will. All ICs have been fitted into their sockets, and things are progressing quickly towards the ever-so-scary first powerup.

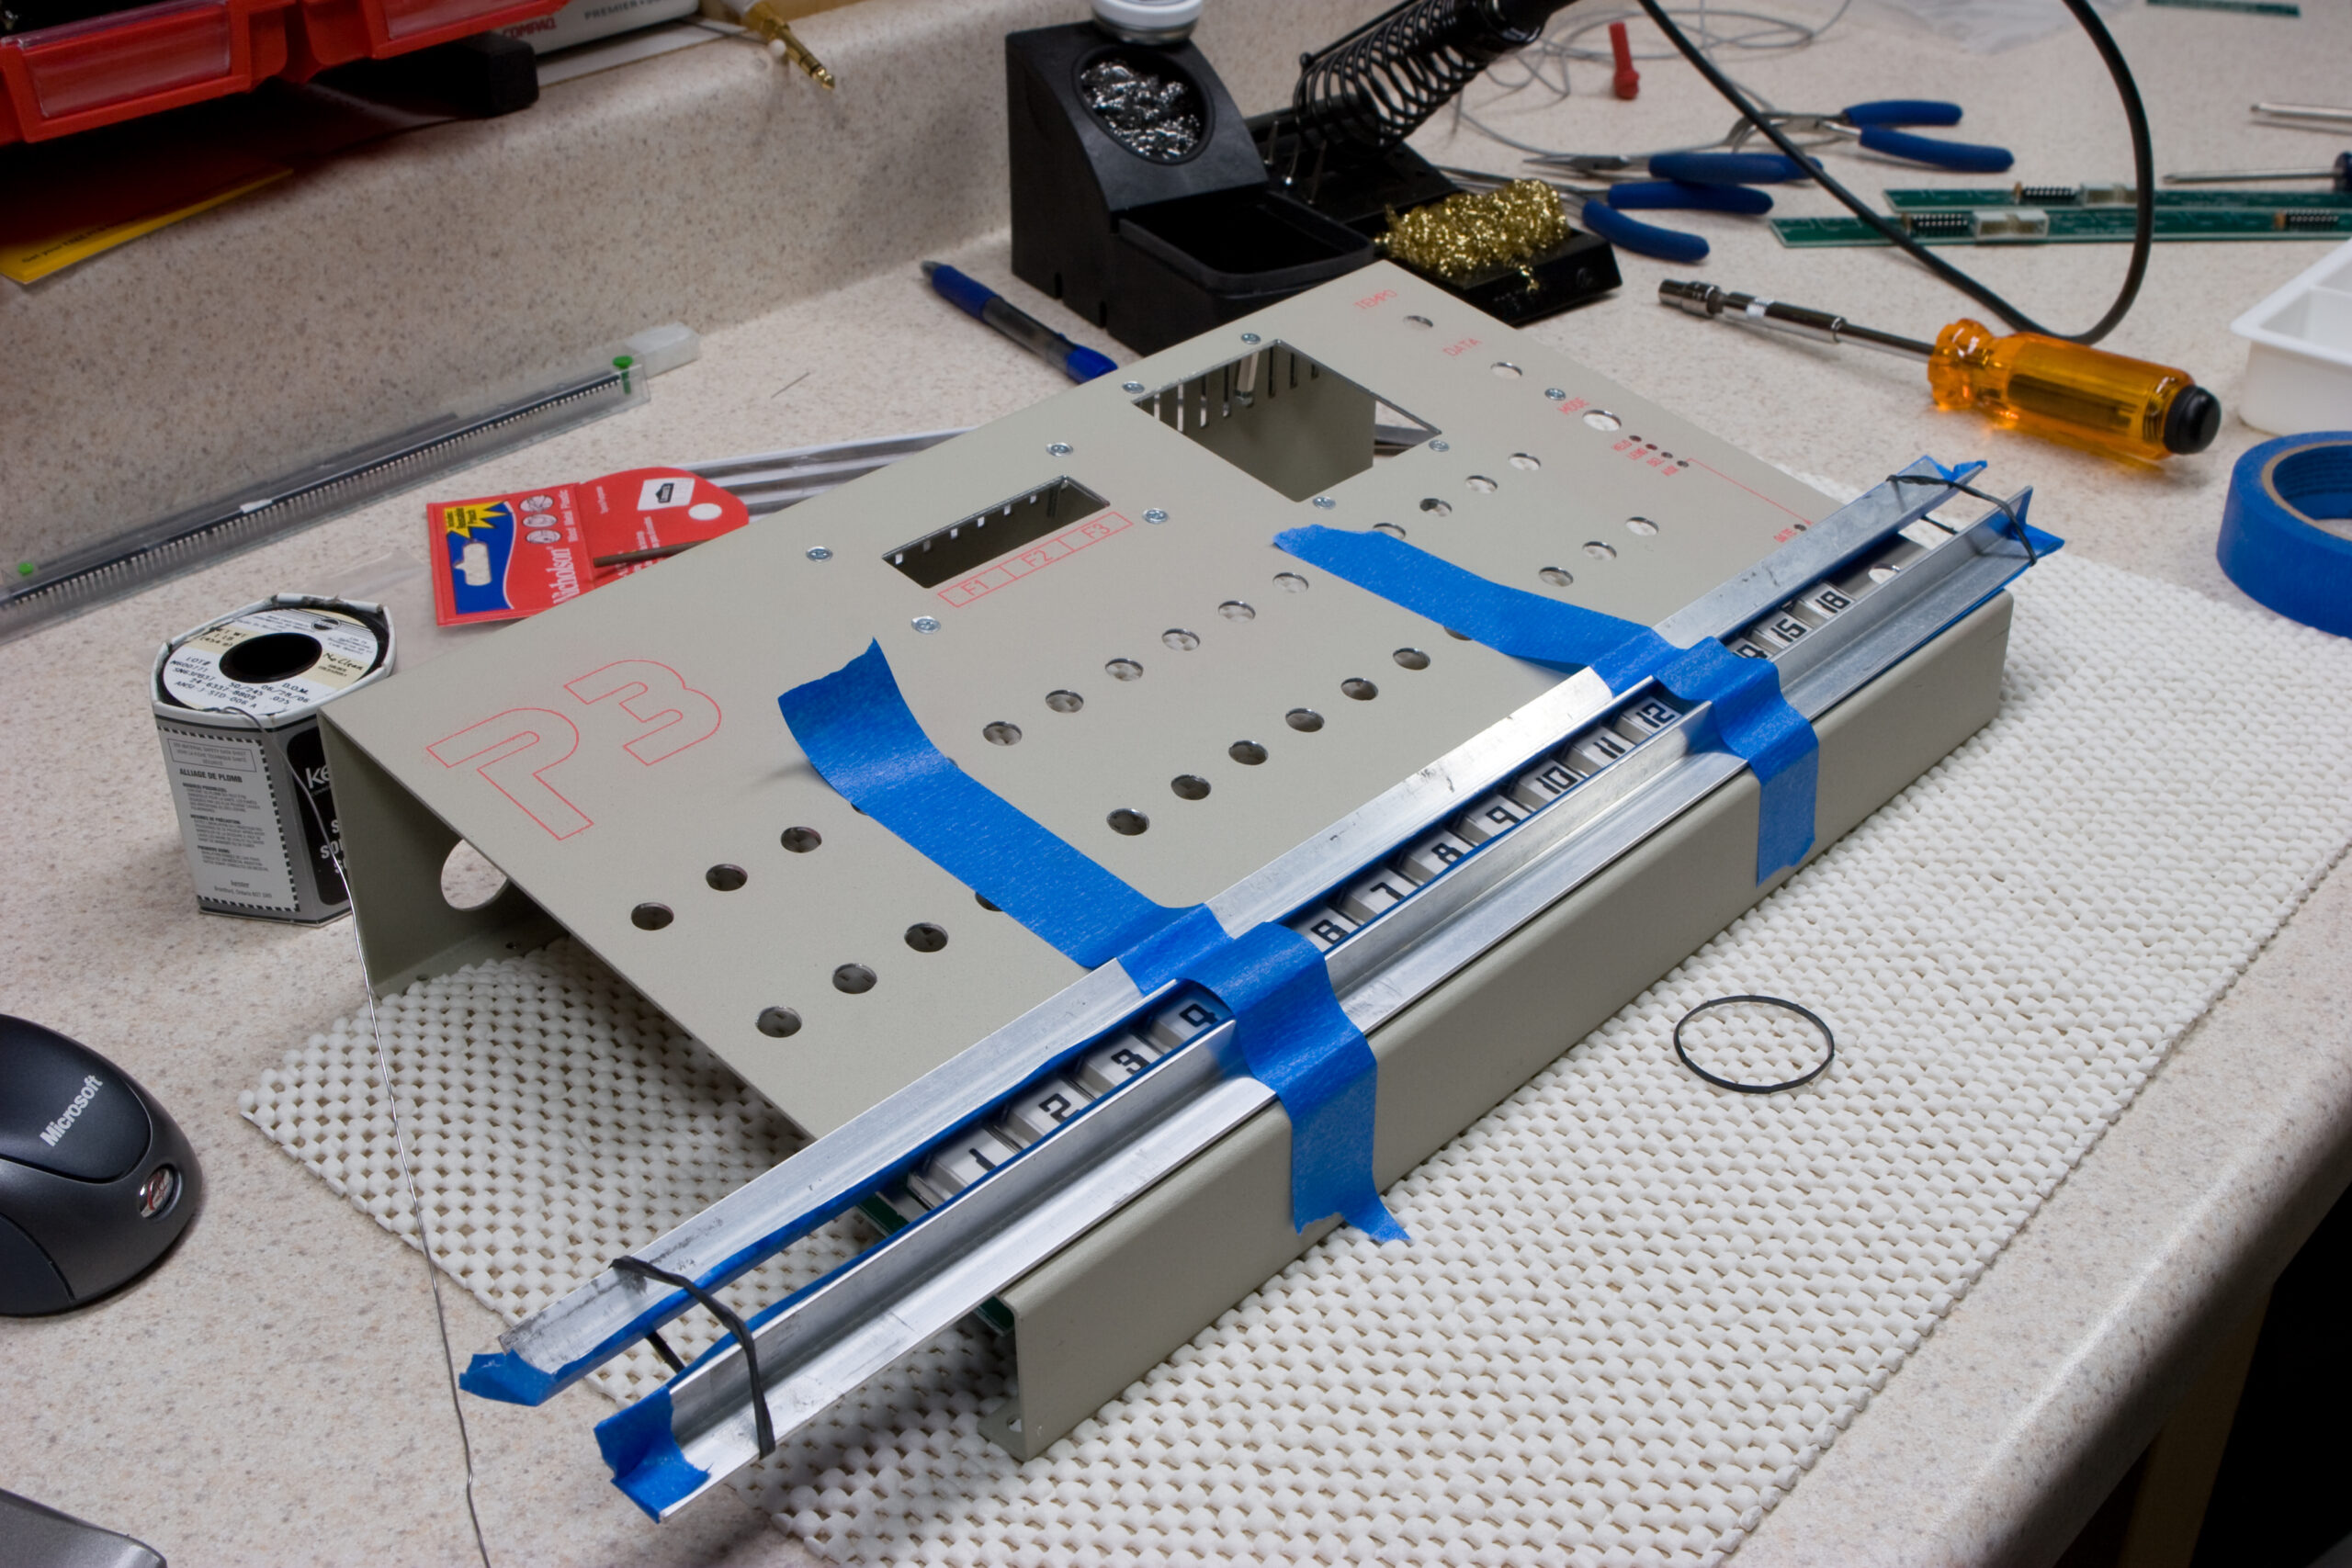
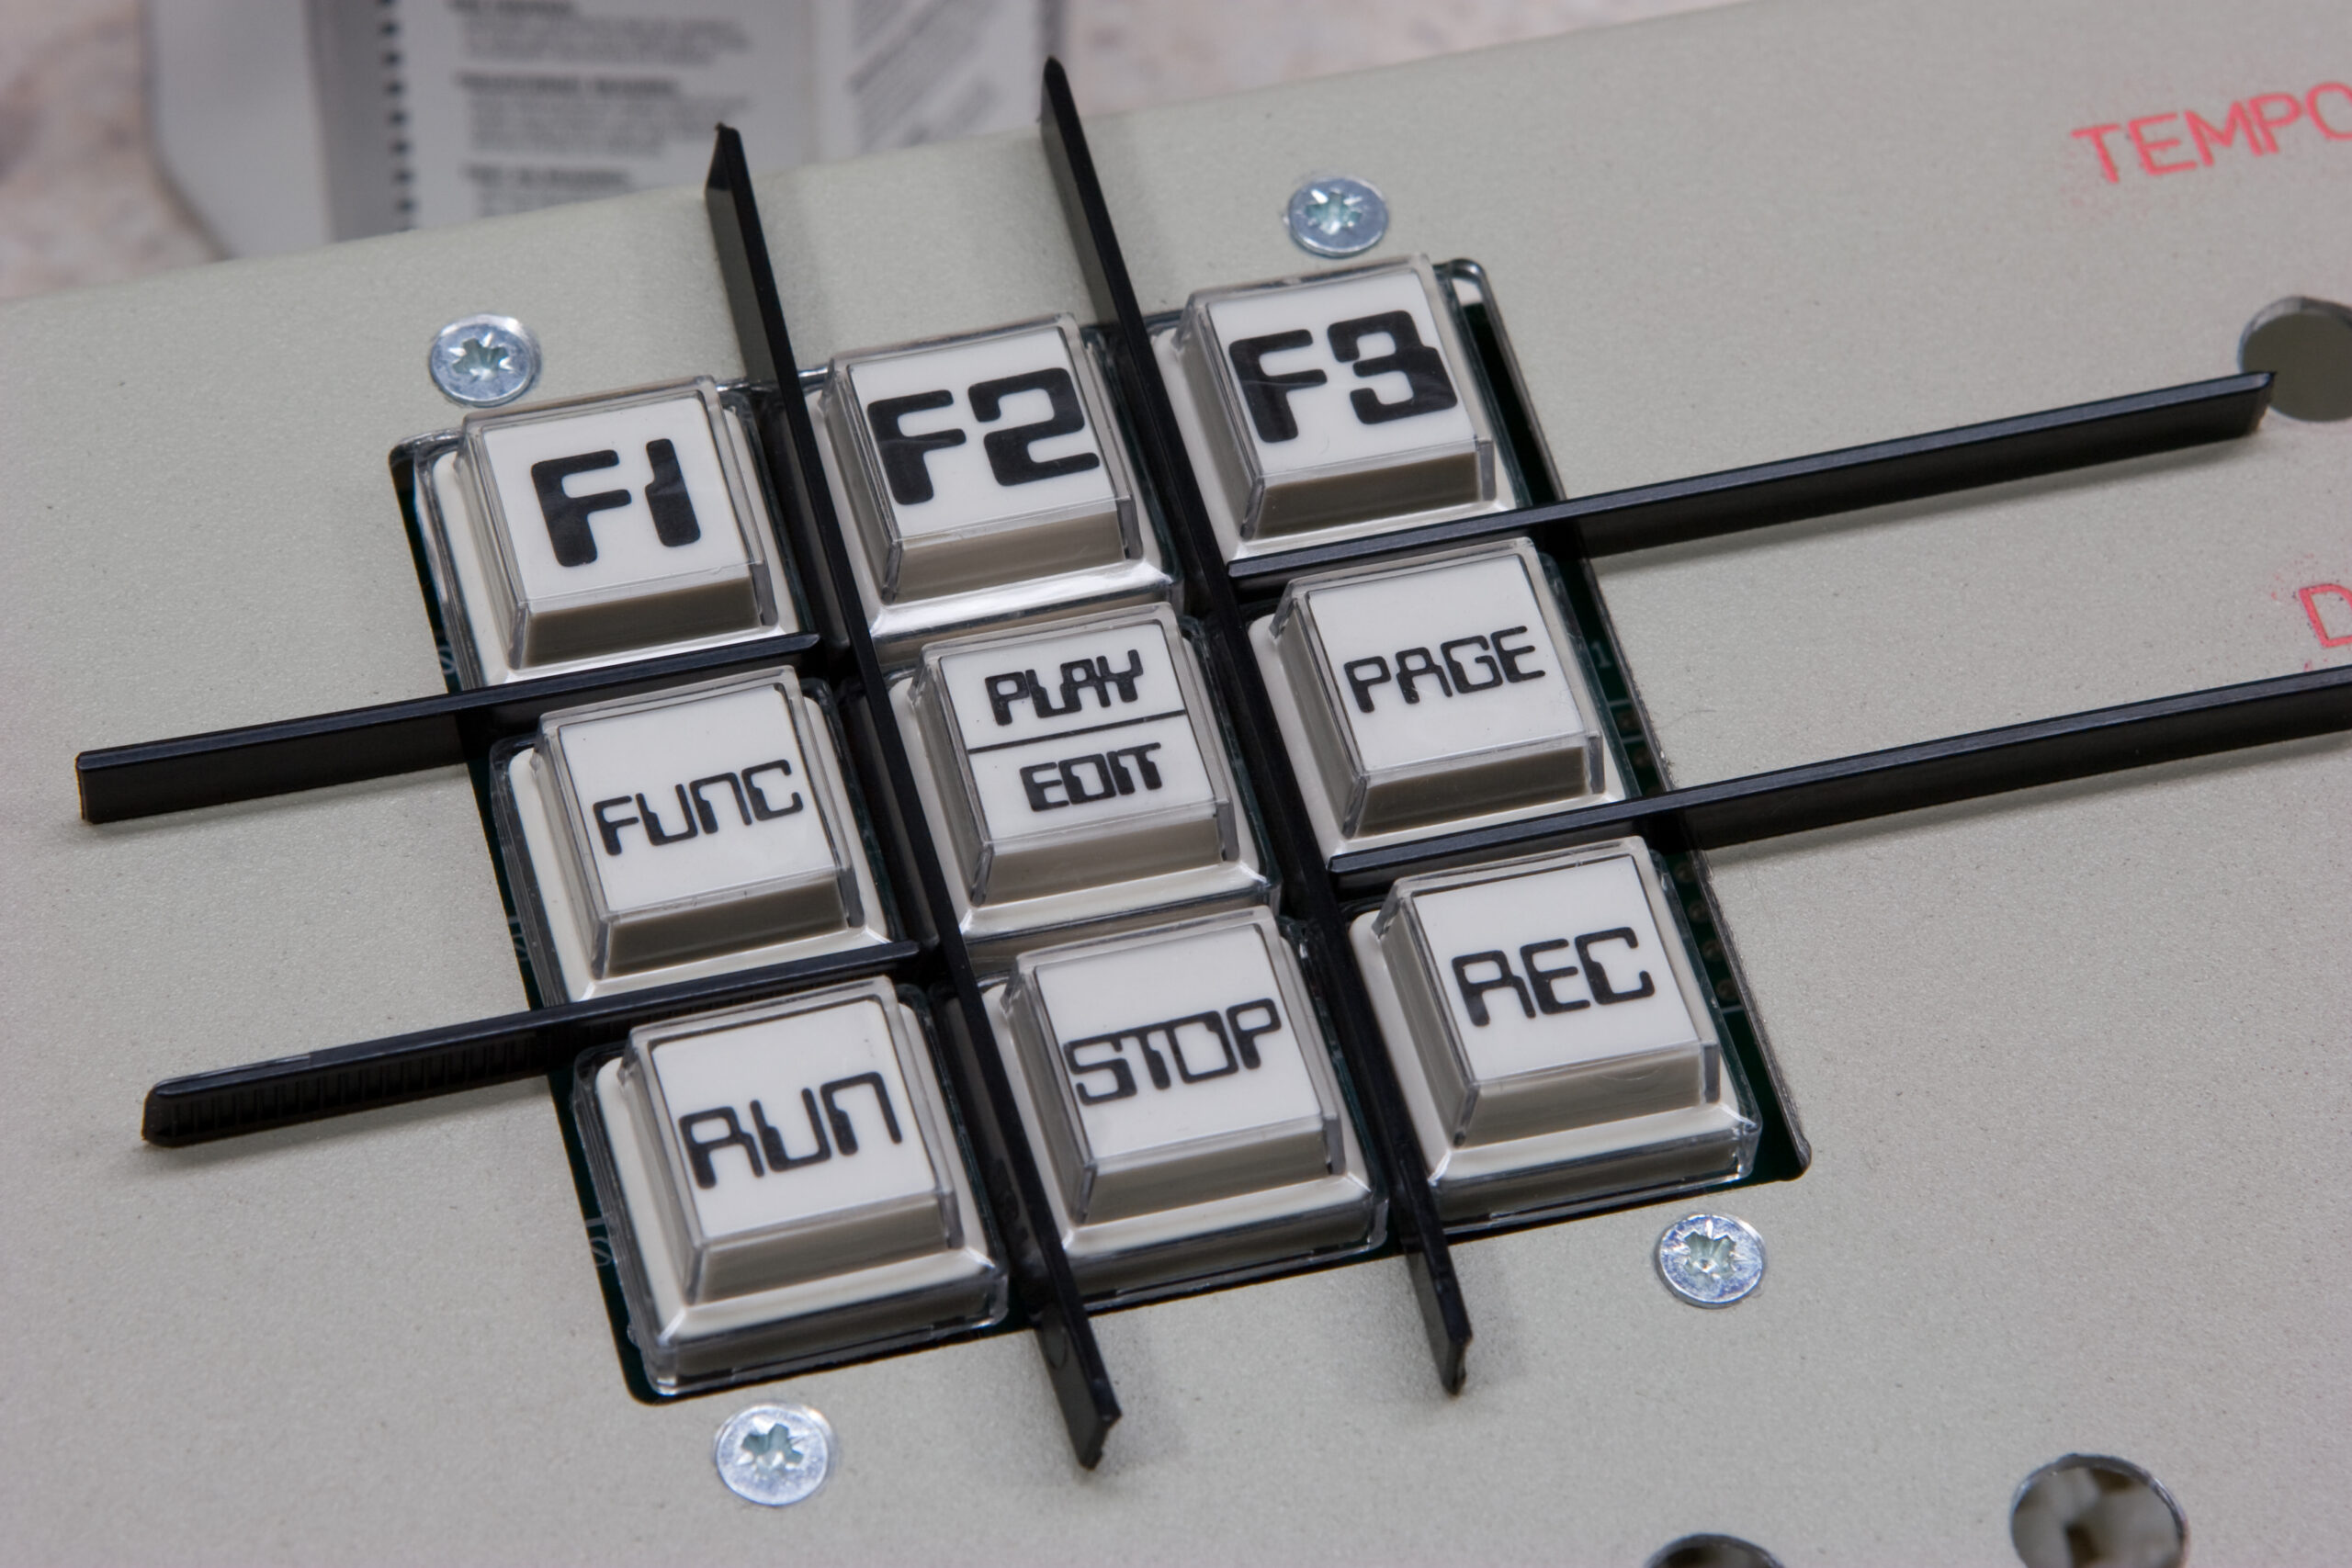
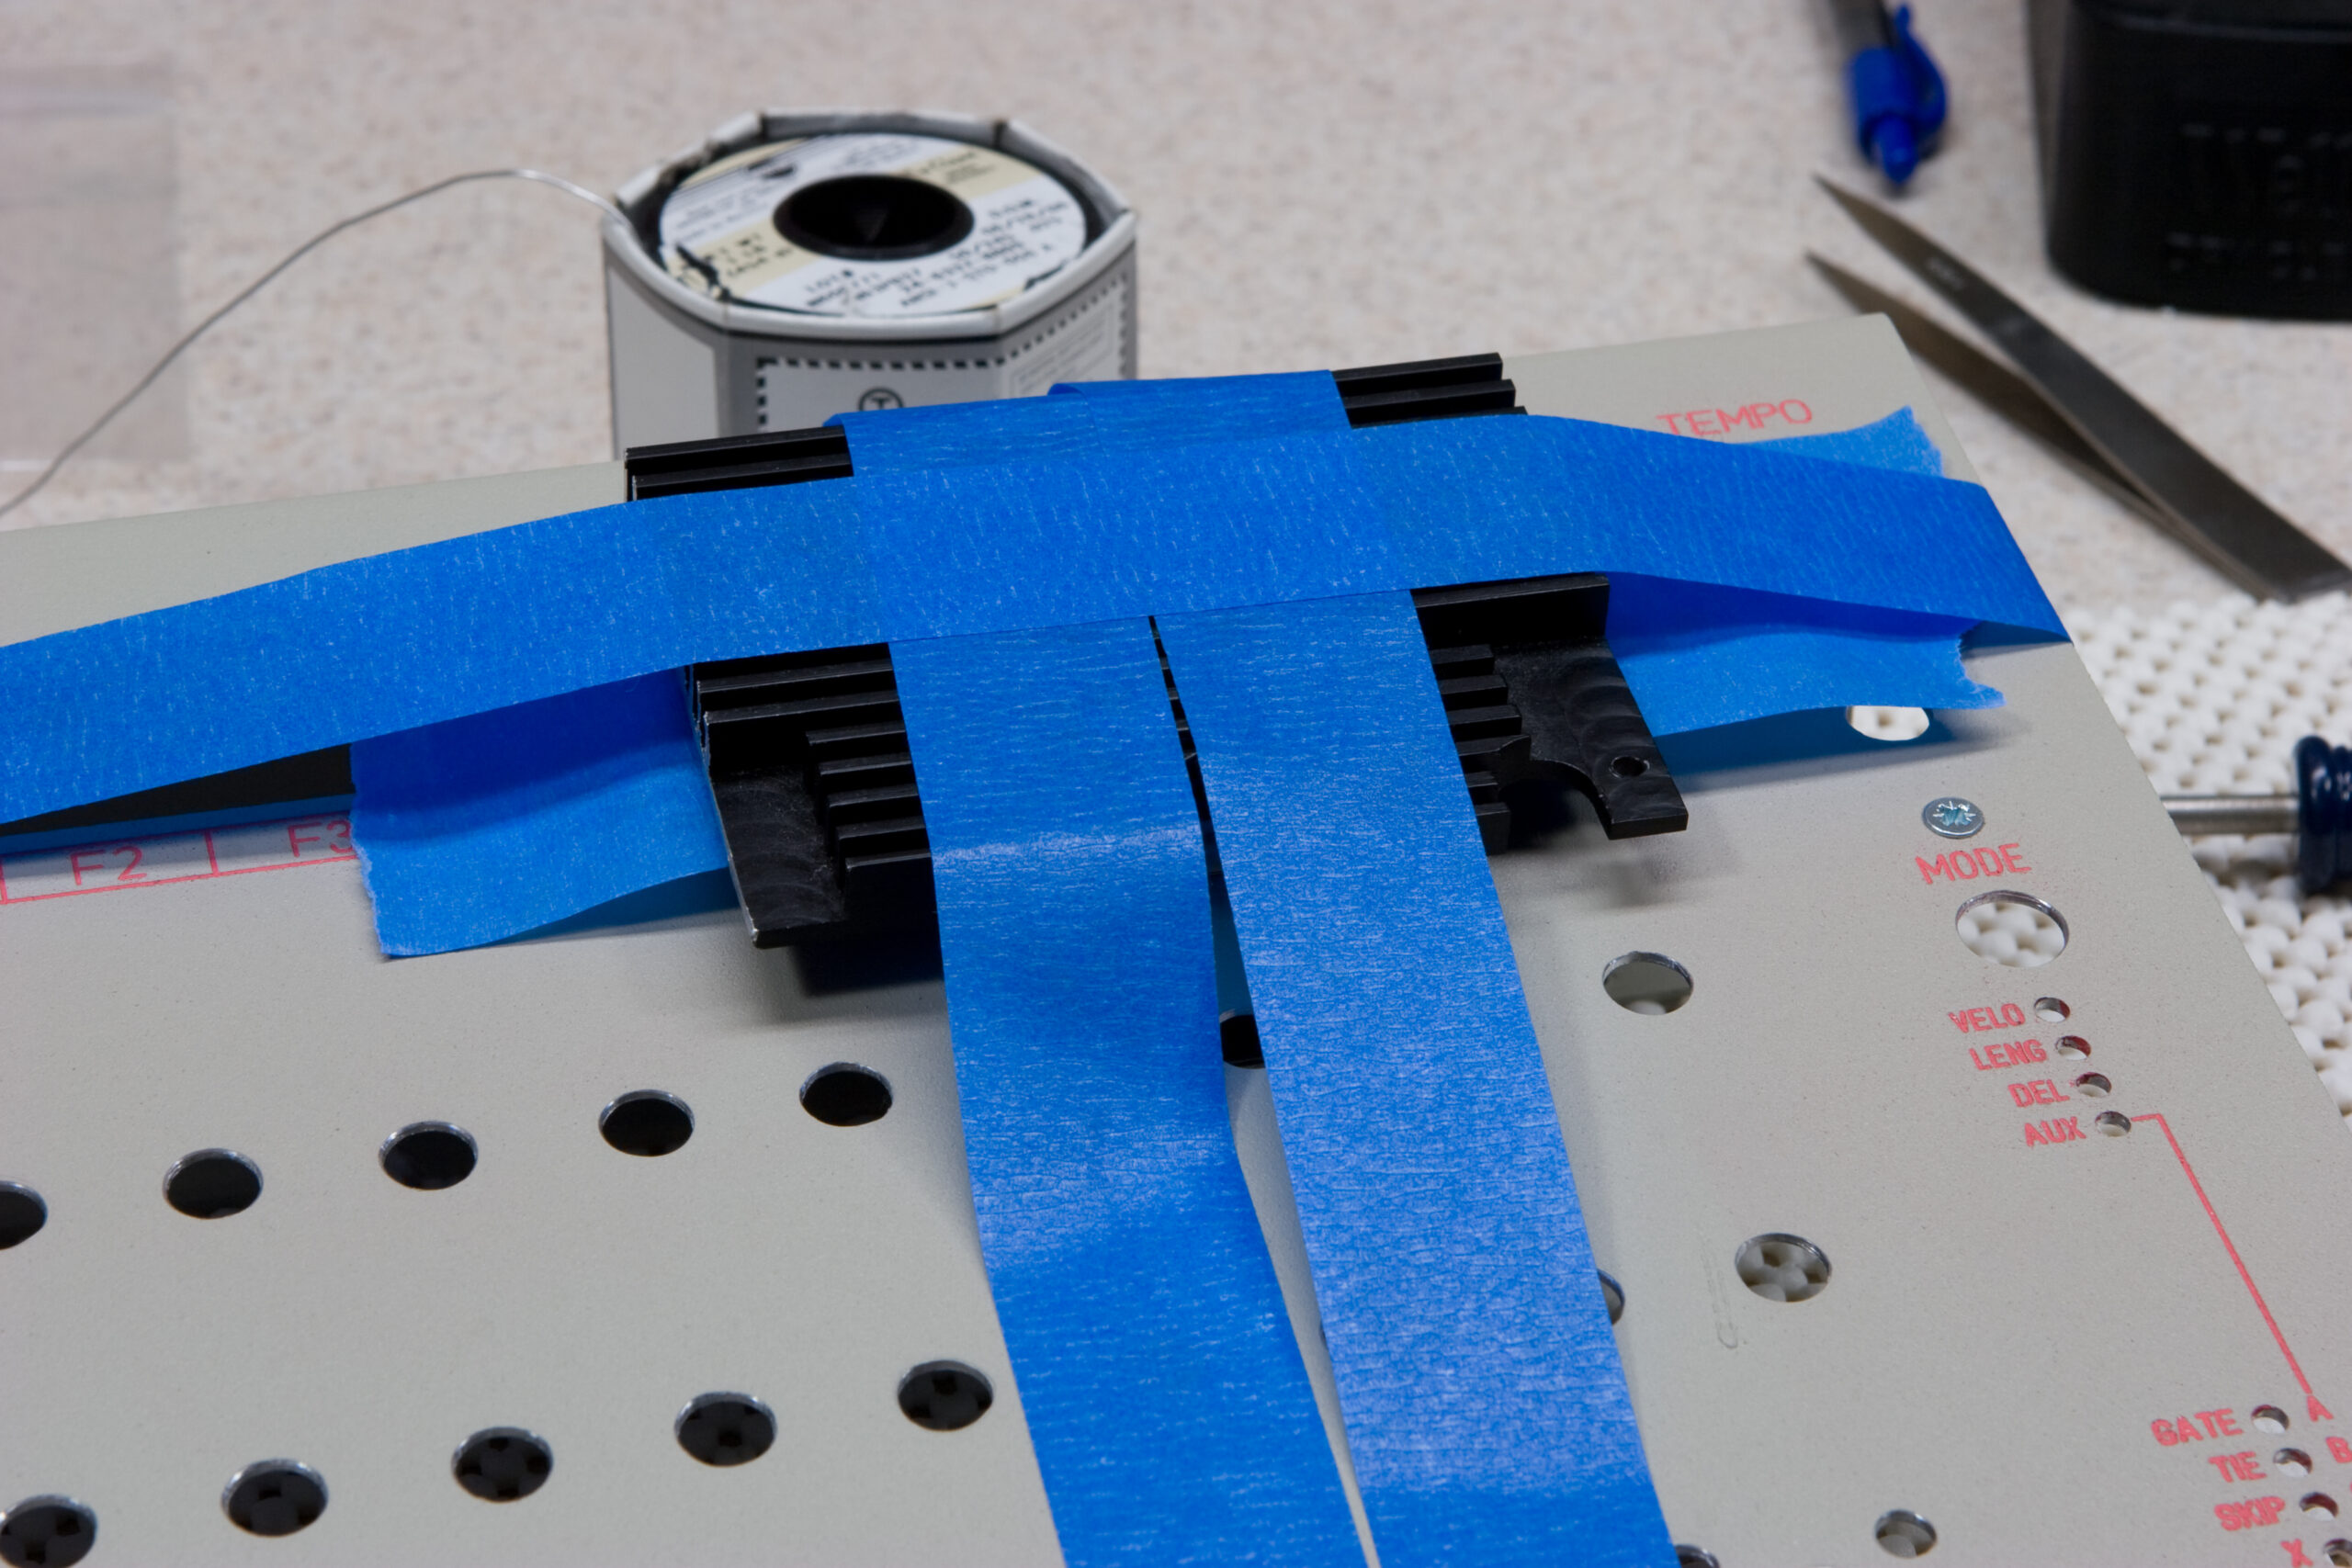
Oh, I also had no problems making a jig out of cable ties and an old heatsink and blue masking tape to handle alignment of the keypad. I’m really happy with how it came out, and thankfully its mounting is not misaligned in the front panel like the other keys.

Next, and hopefully tonight, comes the boards and pots and switches and such together, finalizing mounting of the pot boards, and hopefully getting it running for the first time.

After making this post, Colin Fraser corrected me with regards to the case design. This case is actually the Maddox design. The original Sequentix P3, of which only four exist, can be seen here.

electronicsmaking things

Another Sequentix P3

Thanks to the analogue-sequencer Yahoo! Group, a discussion group for individuals interested in the Sequentix P3, I ended up getting in touch with a guy by the name of Mark Pulver who was in need of having his Sequentix P3 kit assembled. I sent him a link to my Sequentix P3 page at nuxx.net and photos of my P3 assembly (photo gallery retired) and I imagine he liked what he saw because he asked me to assemble his.

After languishing in transit for a week and a half between his place and mine, I stopped off on the way to work and picked up the package from the post office. It was a quite large, well-packed box which should be just about right for safely shipping it back to him once it’s assembled.

Before getting to work I had to dig around for a while and locate the old Sequentix P3 assembly instructions. See, Mark actually has a kit for one of the original P3s, serial number 008, before the restyled and rackmountable case. These older versions also had a different PCB layout and BOM, so I couldn’t use the normal DIY instructions. I find this quite interesting because I’ll now have built both versions of the P3. I’m not sure how many people besides Colin Fraser, the creator of the P3 have actually gotten to see both of them in such detail.

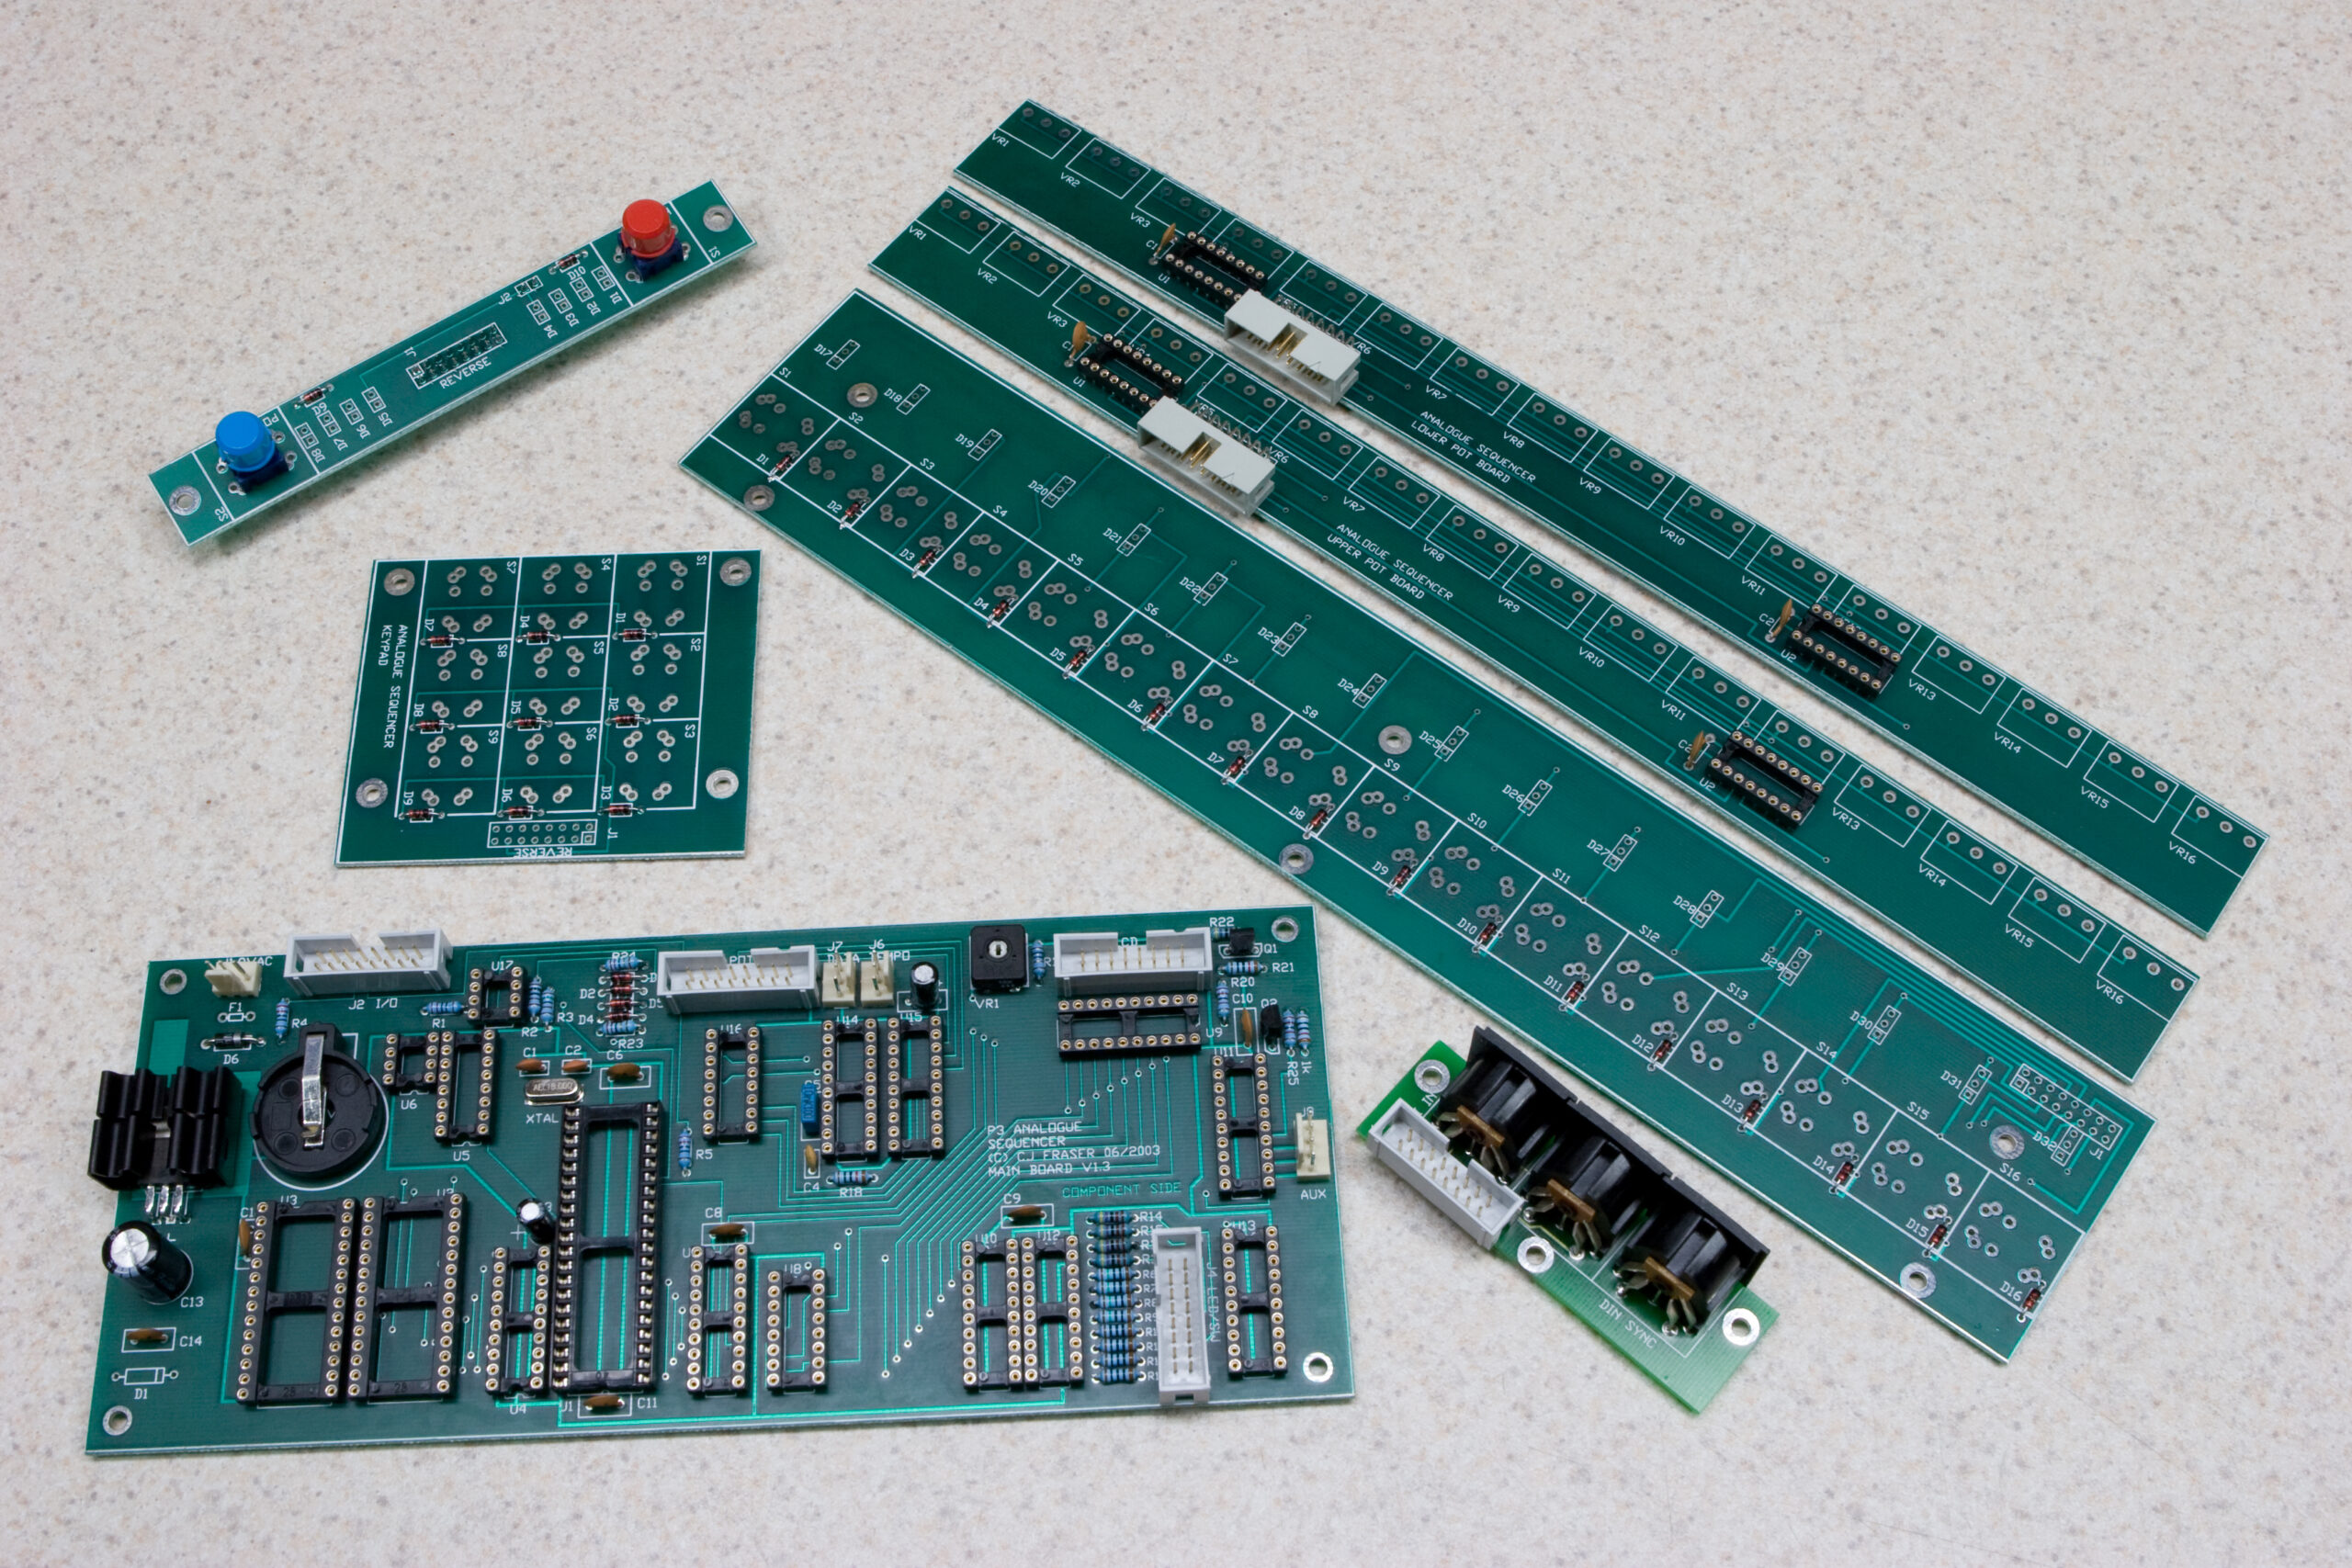
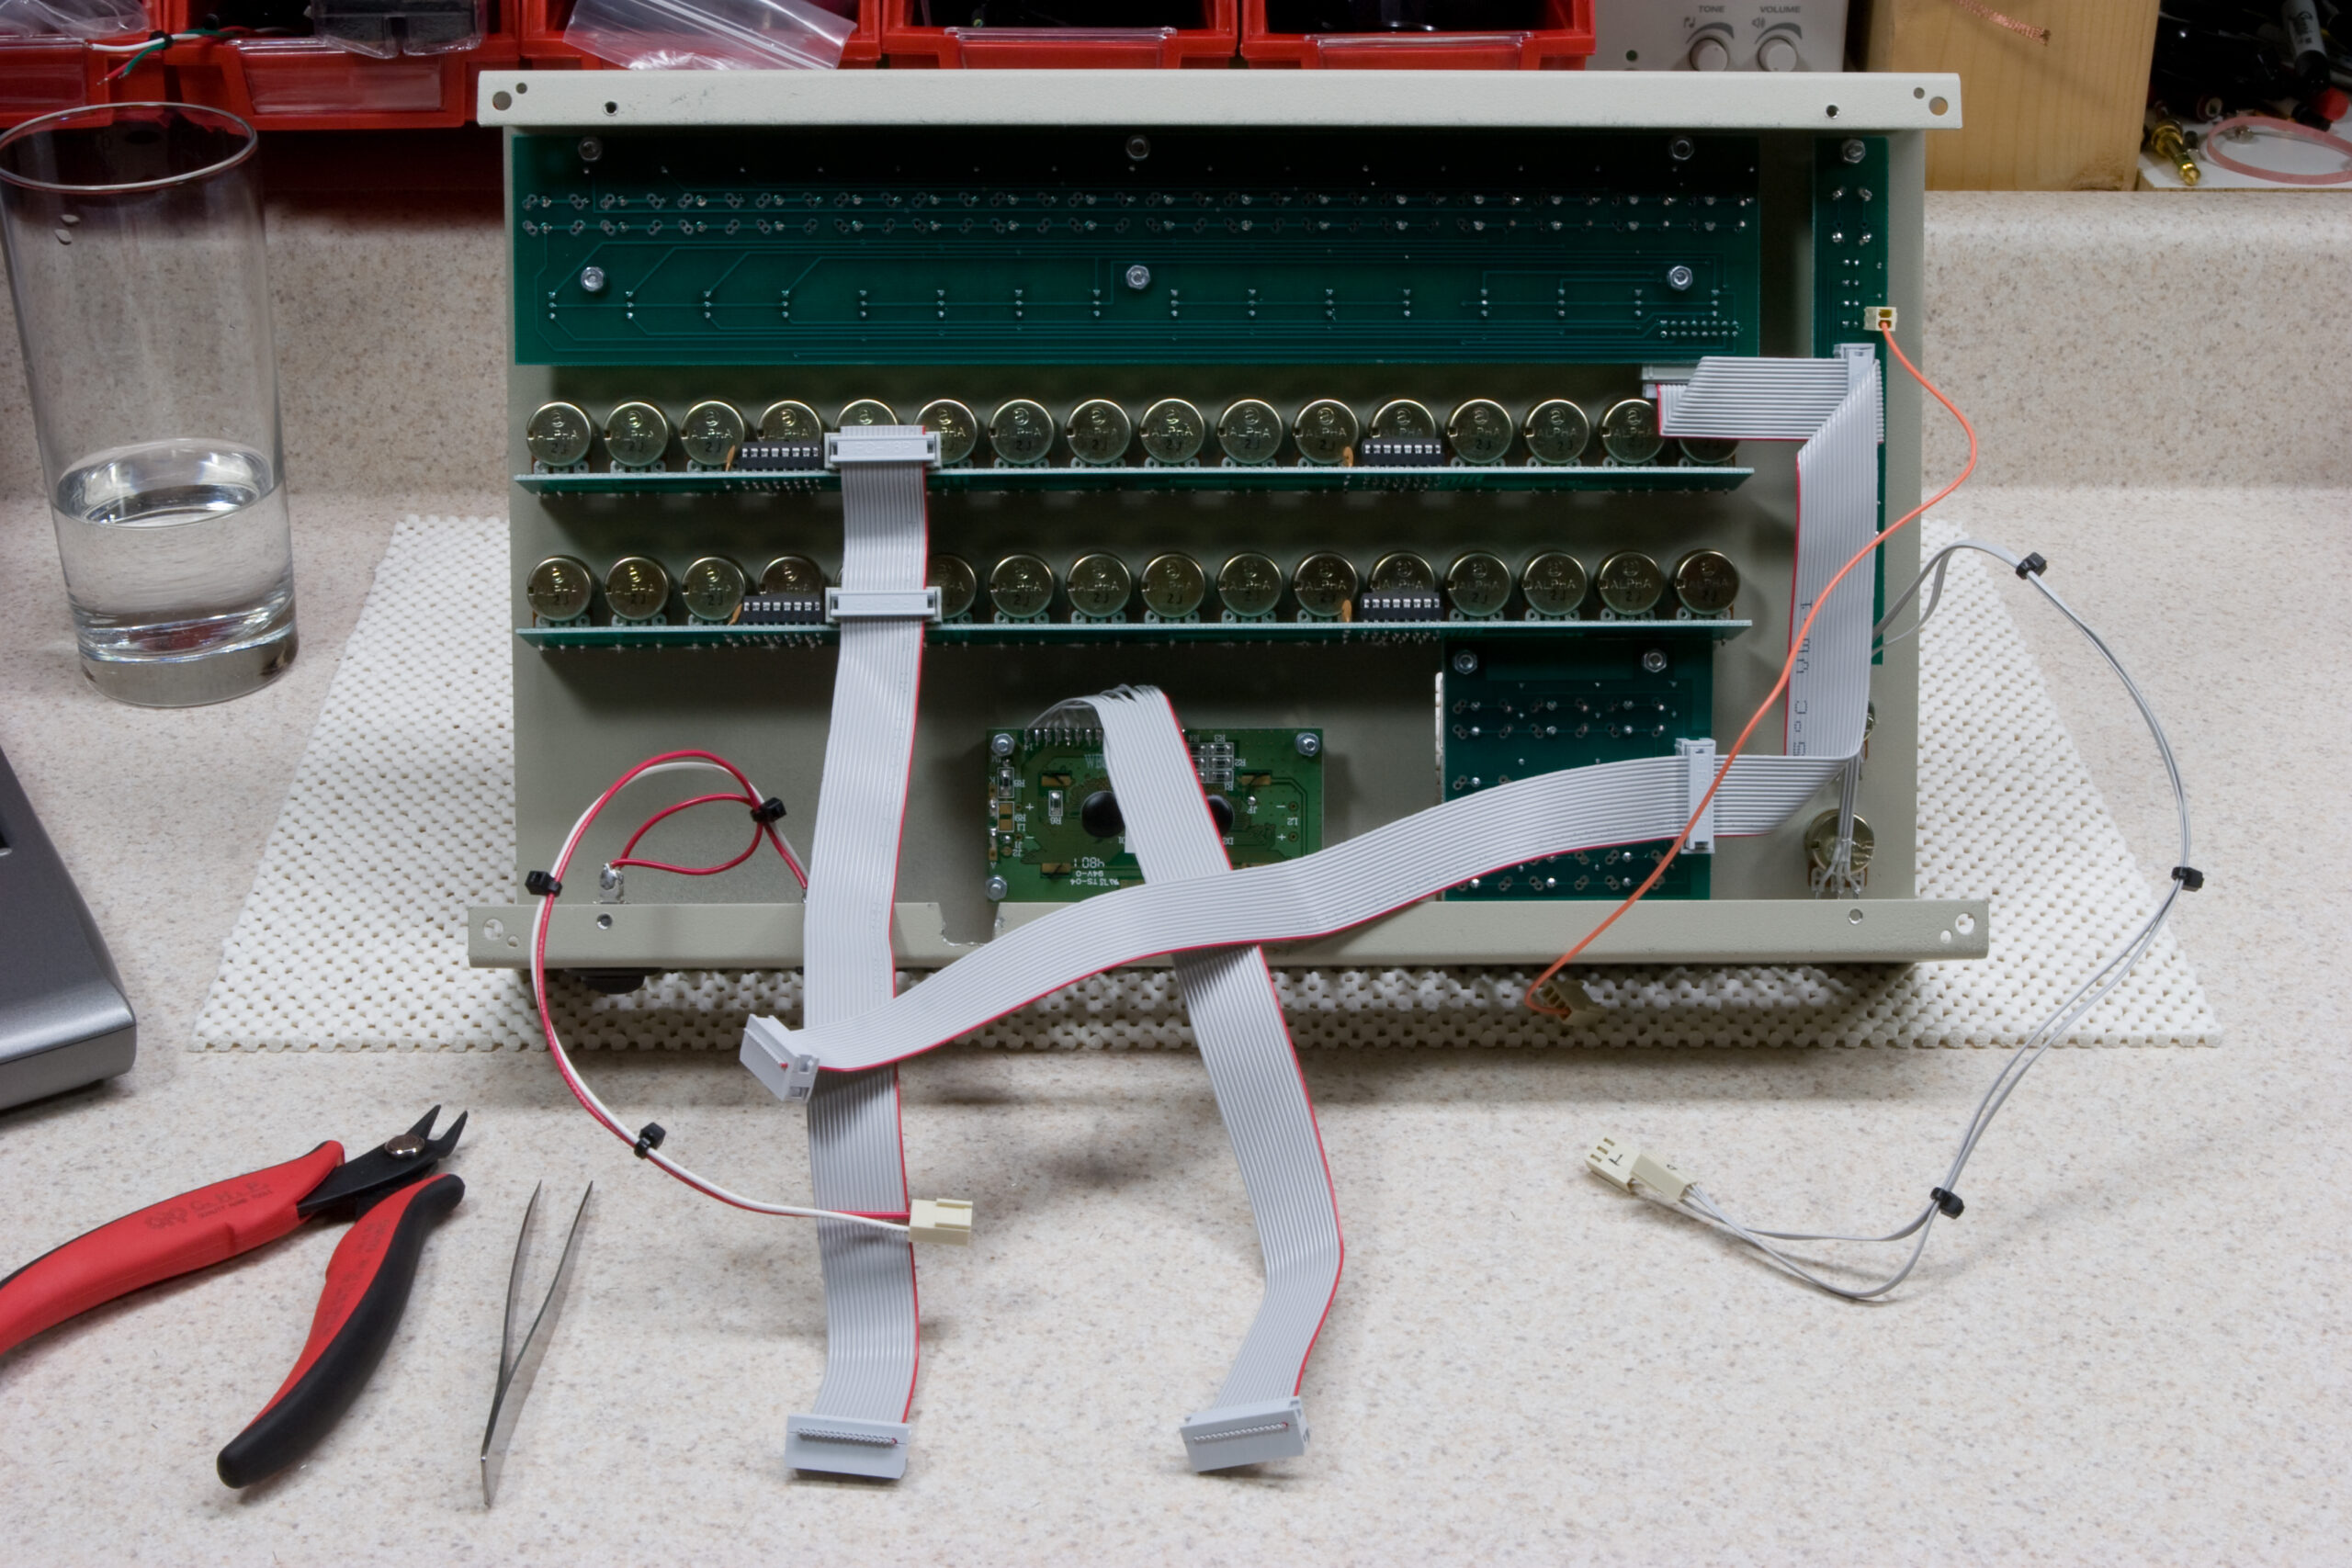
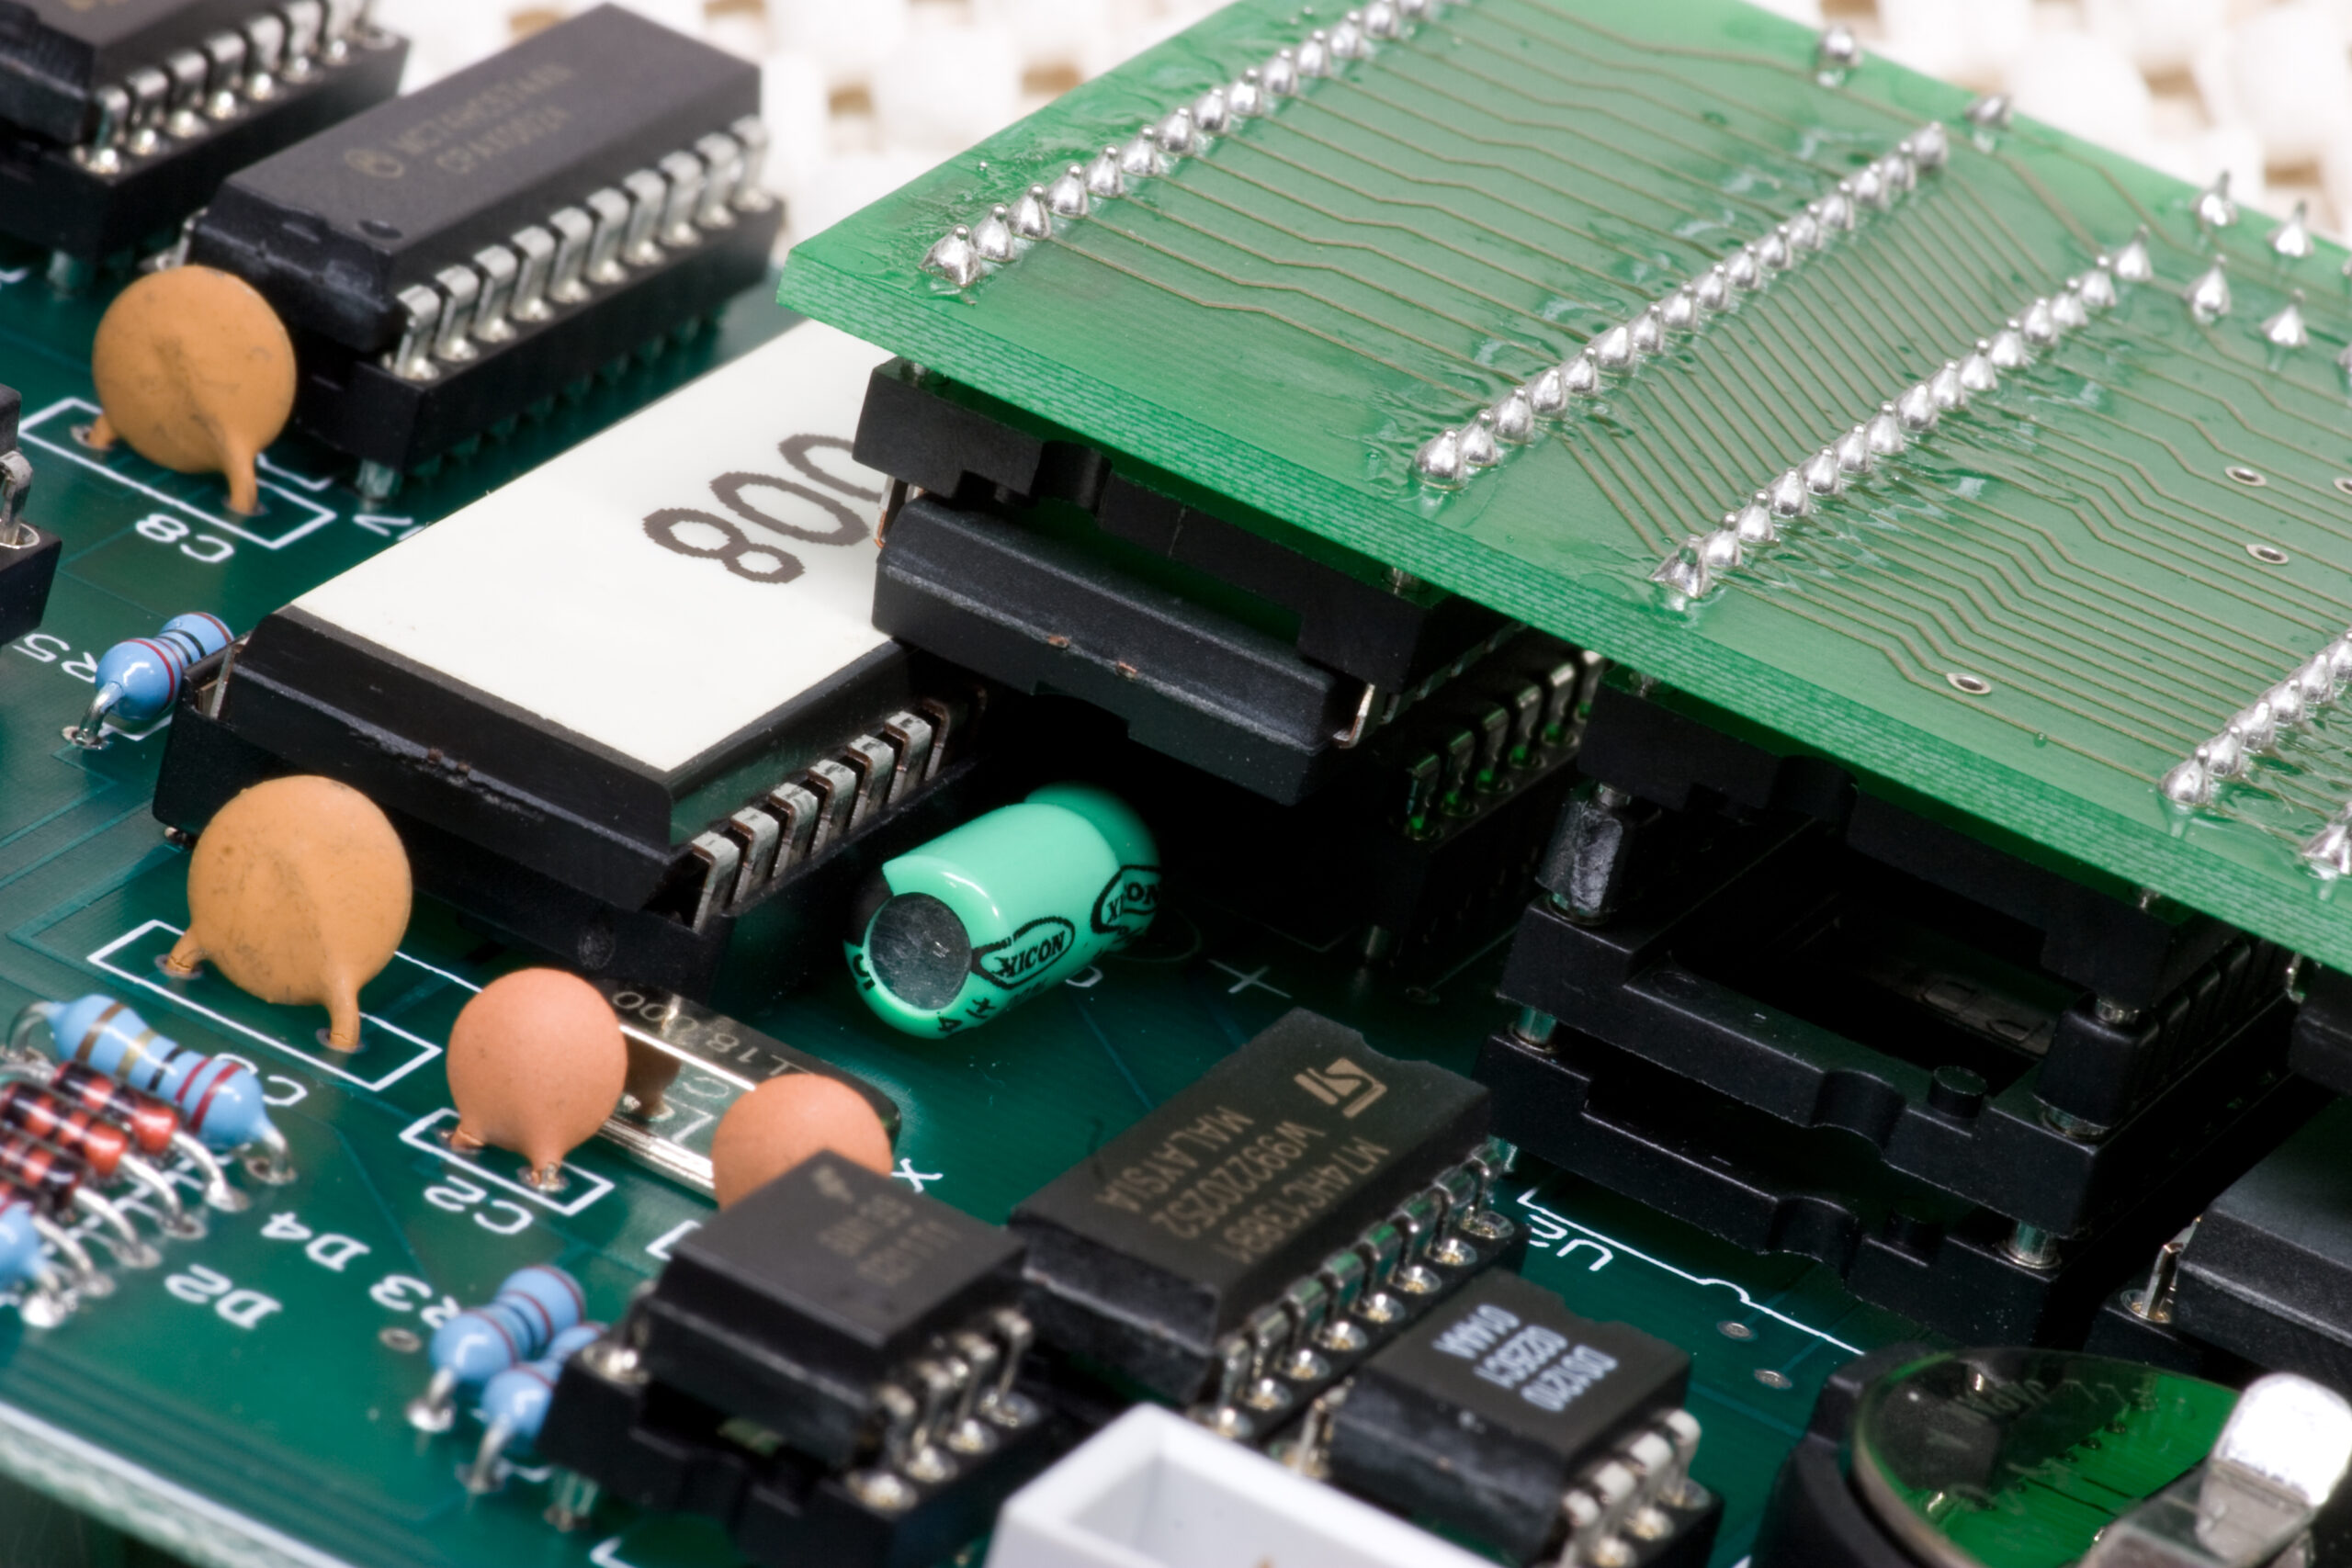
Tonight I managed to assemble most of the easier parts of the PCBs. As can be seen above (or here full size) I fitted the sockets, resistors, caps, diodes, sockets, and other small parts. Tomorrow I hope to get to the pots, switches, LEDs, and other parts which are considerably more particular about placement. Since they are what the user actually interacts with I want to be particularly careful about them. After that it should just be a matter of completing the major component assembly, testing everything, ensuring that the firmware upgrades work as expected, getting the MemX memory expansion working, testing it all thoroughly, then sending it back. Hopefully by the end of the weekend that’s where it’ll be.

After this I may be doing some similar assembly work for another P3 (newer case style), an ASM2, and possibly some Blacet modules.

If you’d like to see all of the photos from this P3 assembly, check out this gallery: Sequentix P3 for Mark Pulver (photo gallery retired)

electronicsmaking things

Fix-A-Flat

My First Repaired Flat
(Click for full size…)

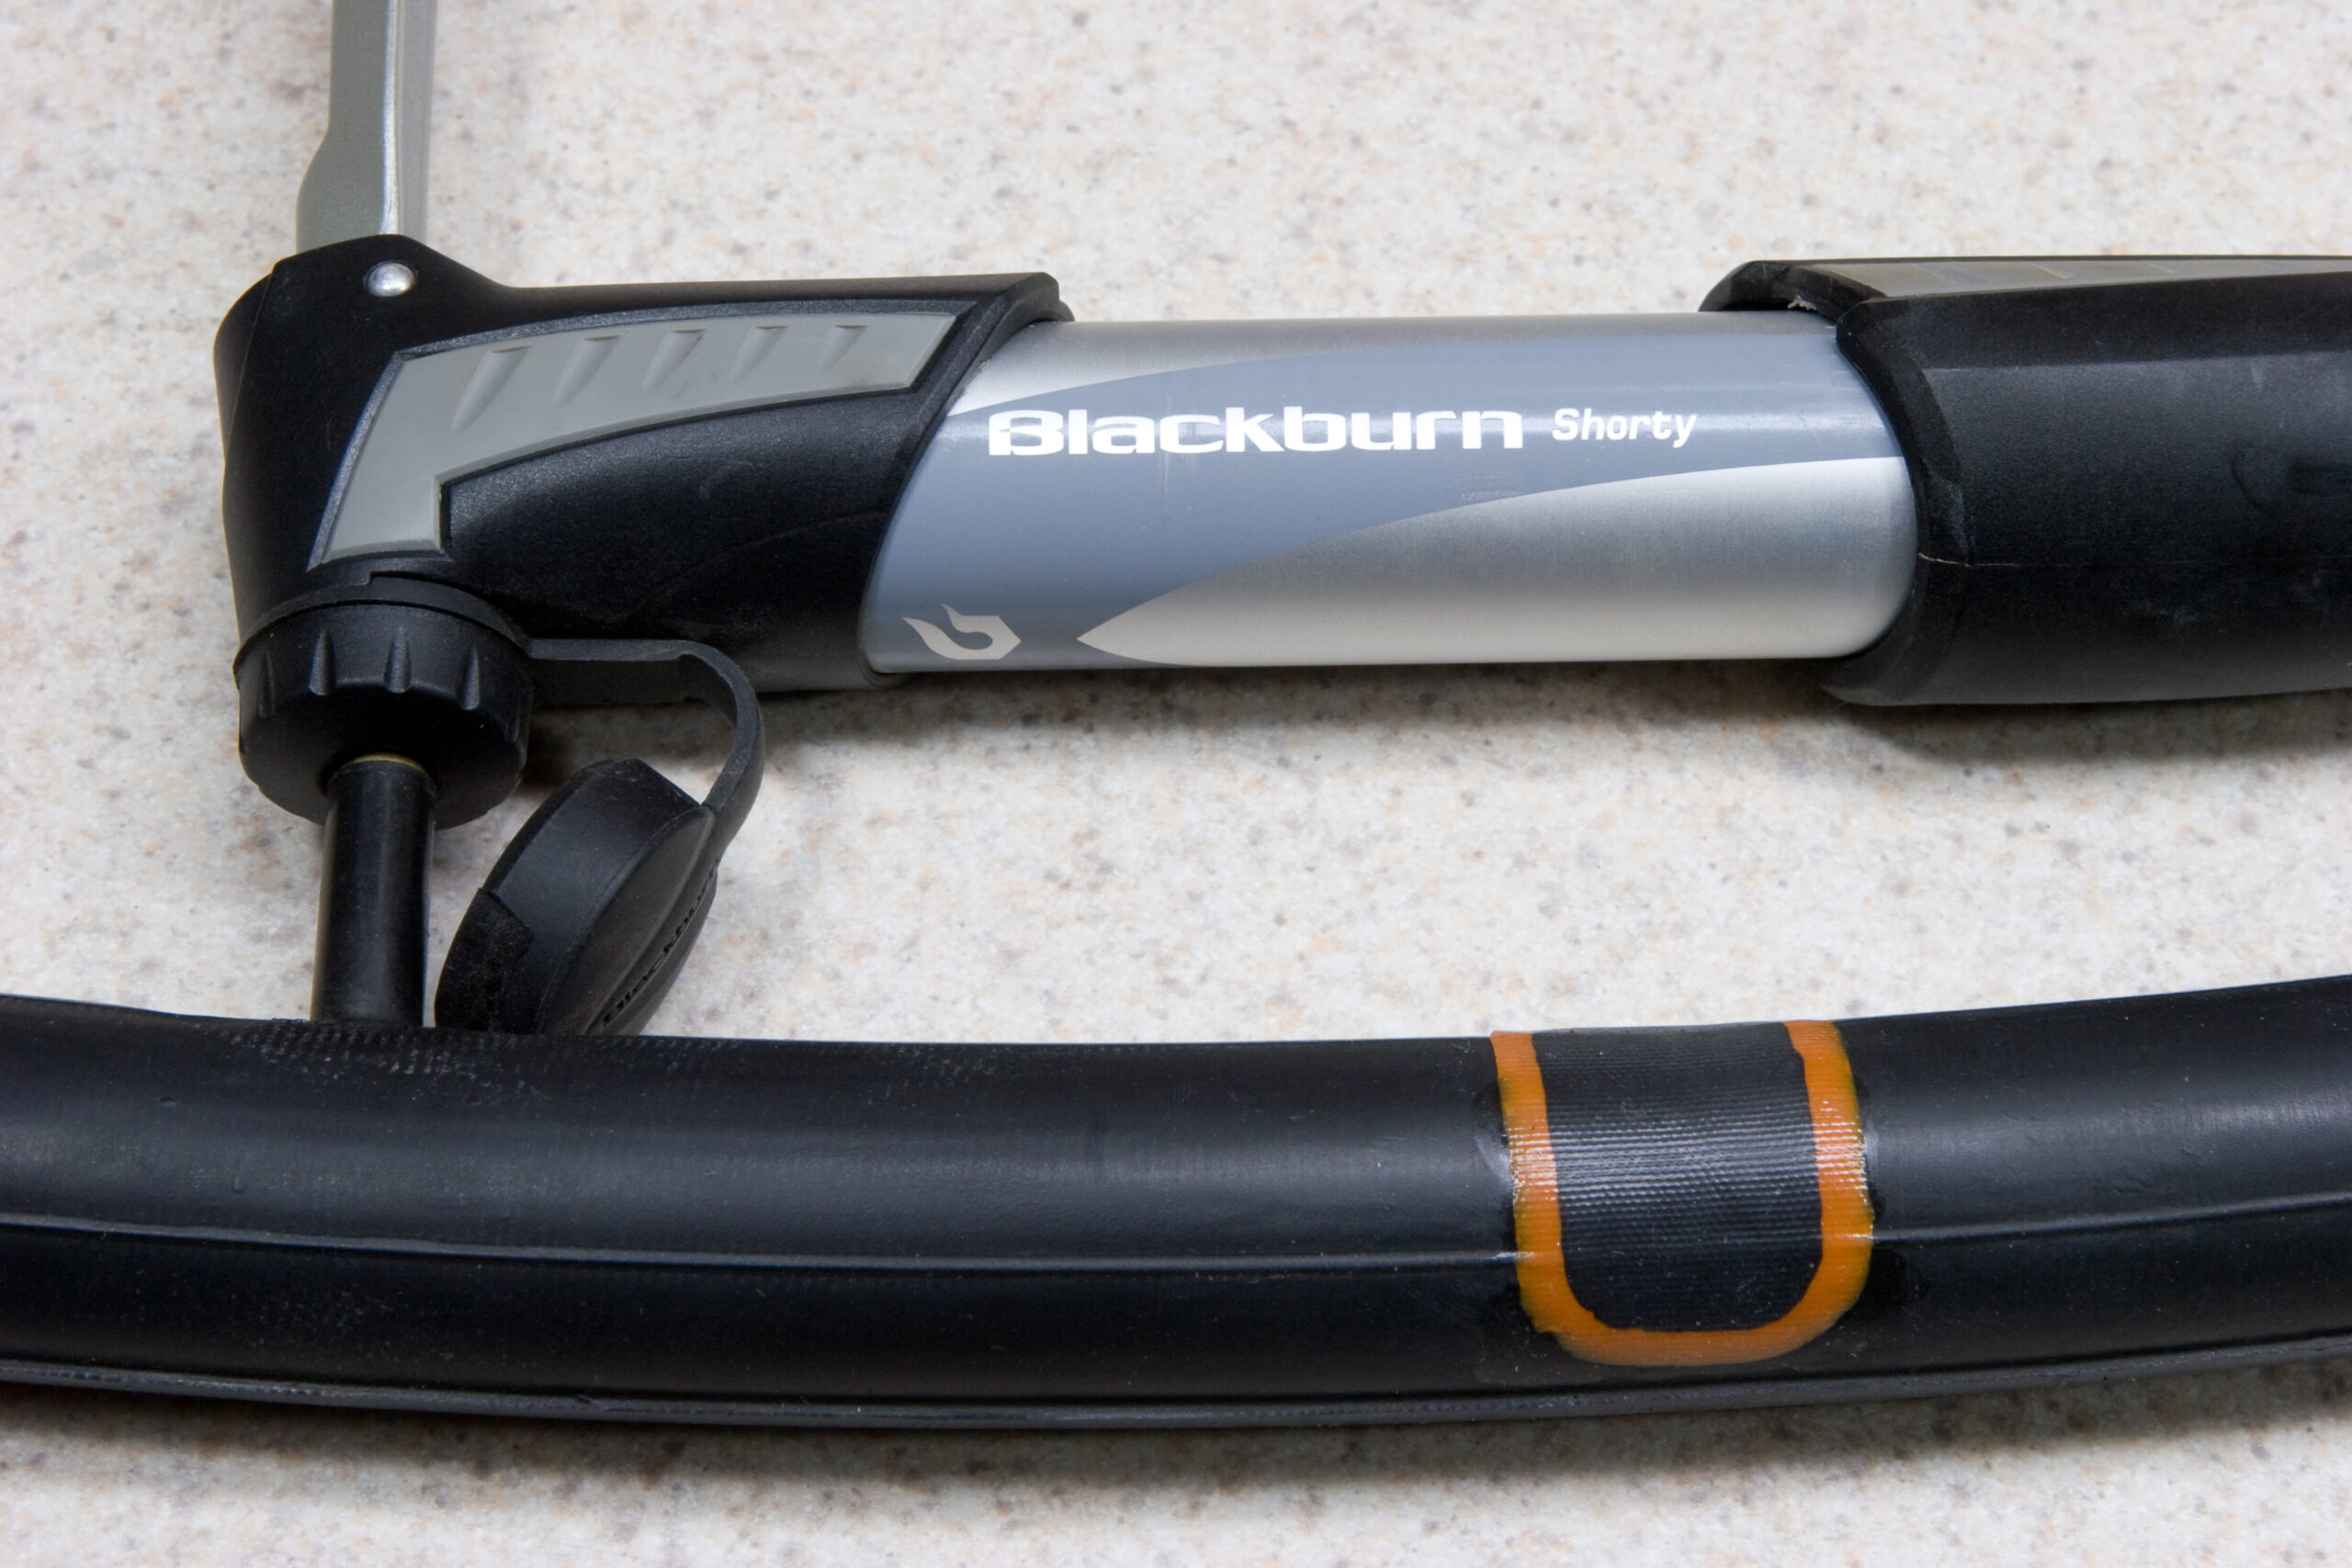
I repaired my first bike tube flat today. I was able to use one of the wide patches to cover both holes from Saturday when a sheet metal screw damaged my tire, tube, and rim.

Repairing a flat tube seems to be pretty easy. I just removed the valve stem, flattened the tube, cleaned the area with isopropyl alcohol, scuffed it up with sandpaper, cleaned it again, applied the rubber cement, waited for that to dry, peeled the patch from the backing, solidly squished the patch in place peeled the protective top layer off, and called it done.

I then pumped up the tube a bit and let it sit for a while to see if it’d lose pressure, and it didn’t. I then re-flattened it, folded it up, tucked it in an old sock, and put it in my bag as a spare. Yay!

cyclingmaking thingsmoved from livejournal

Broken Cateye Strada Wireless Bracket

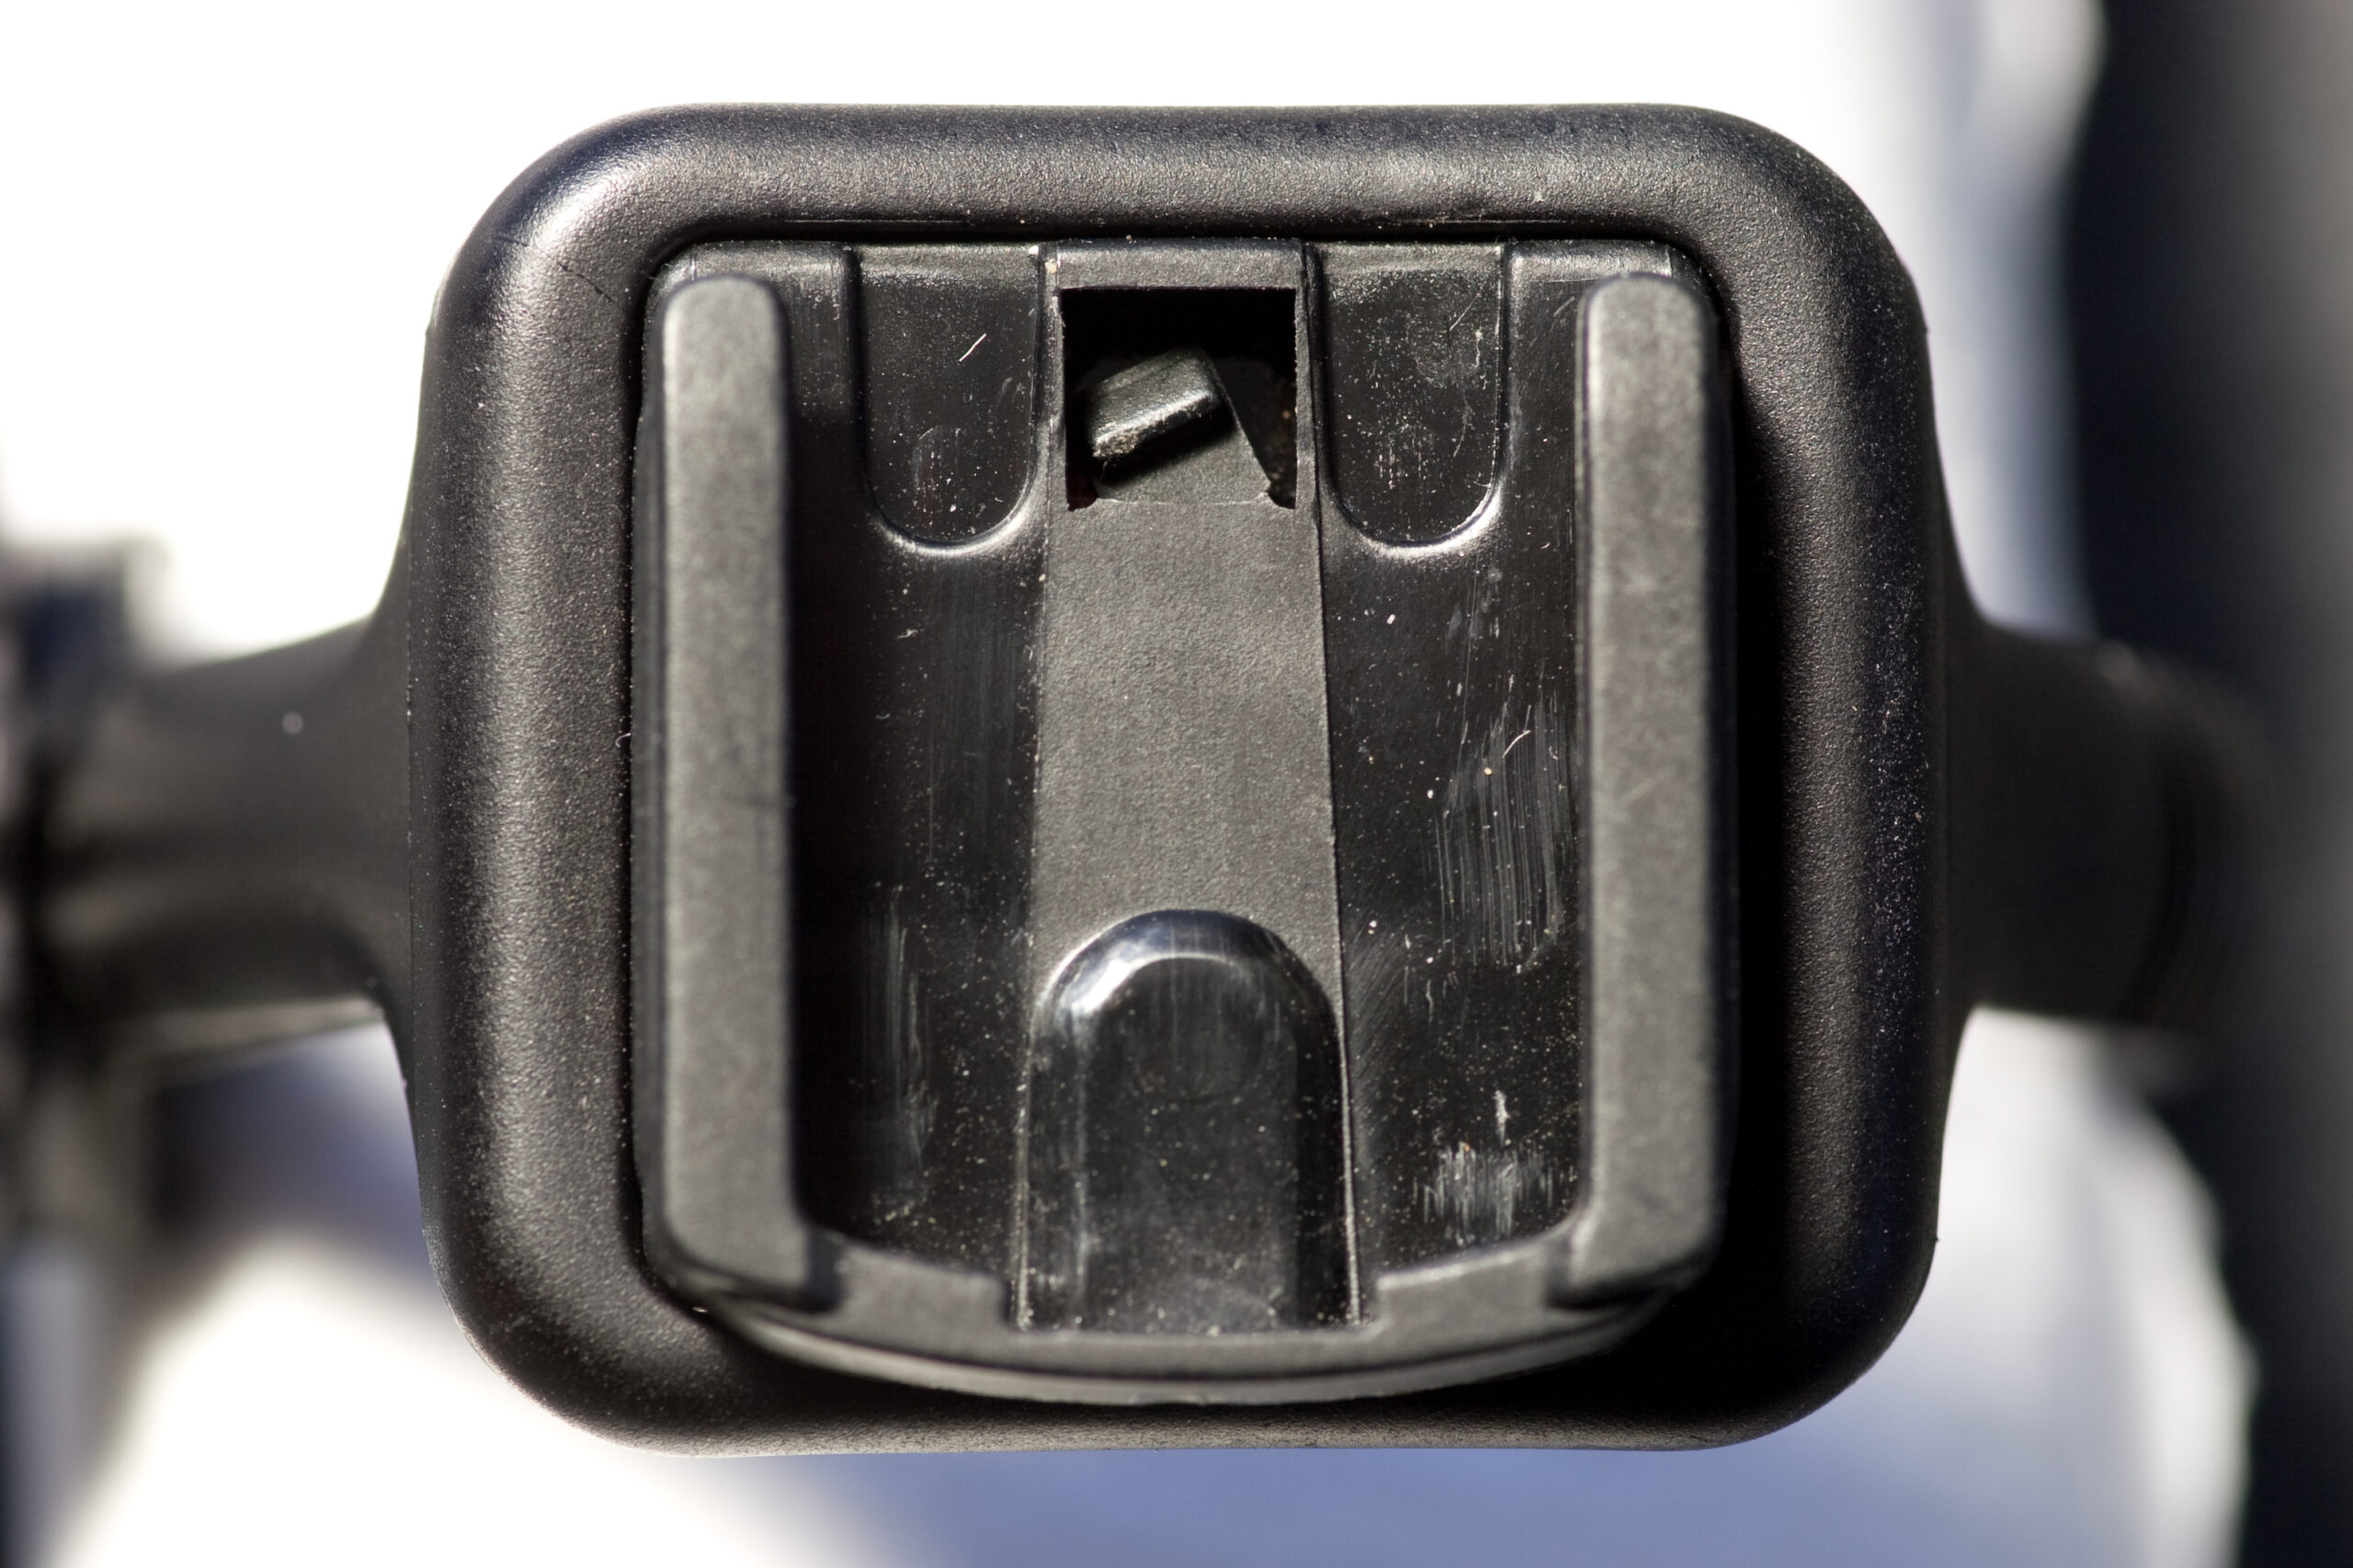
Broken Clip on Cateye Strada Wireless Bike Computer Bracket

Back when I got my bike I also ordered a Cateye Strada Wireless bike computer. It’s simple, but did just what I wanted: time, speed, average speed, multiple odometers, multiple stored wheel sizes, and a couple other little things. It also did all of this wirelessly. Nicely, the computer latches into a quick release mechanism, allowing the computer itself to be removed easily.

I would generally leave this mounted on my bike, taking it off only for washing, adjustments, transporting the bike on the car, and locking it up. I would imagine that the computer has been latched and unlatched, at most, 75 times since I got the bike. As you can tell from the wear marks above, it hasn’t been inserted and removed very much.

Today when I went to put it on my bike I noticed that it didn’t snap into place this time, and didn’t stay put particularly well. Looking at the mount (above), I noticed that the small retention clip is broken. This is really disappointing, as I rather like this computer. It doesn’t sit particularly snugly without the clip, so I’m going to have to either modify the clip, or acquire a new one. I could probably put a bit of epoxy in the groove the computer fits into. That may very well make it a tight enough friction fit that it won’t come loose.

I do wonder if this is a consistent problem, as the Cateye Small Parts Store is out of that part. Maybe I’ll just try contacting Cateye to see if they’ll just send a free one. After all, this is practically brand new.

cyclingmaking thingsmoved from livejournal

Sequentix P3 Assembly

Hrm. It looks like I’m going to be doing contract assembly of two Sequentix P3s for $300/each. One is the very original old case kit, the other is the newer design. One of the guys may want me to build up a modular for him as well…

This should satisfy my wanting-to-assemble-something itch, while at the same time getting me a bit bigger savings account.

electronicsmaking thingsmoved from livejournal

Gettin’ Hitched

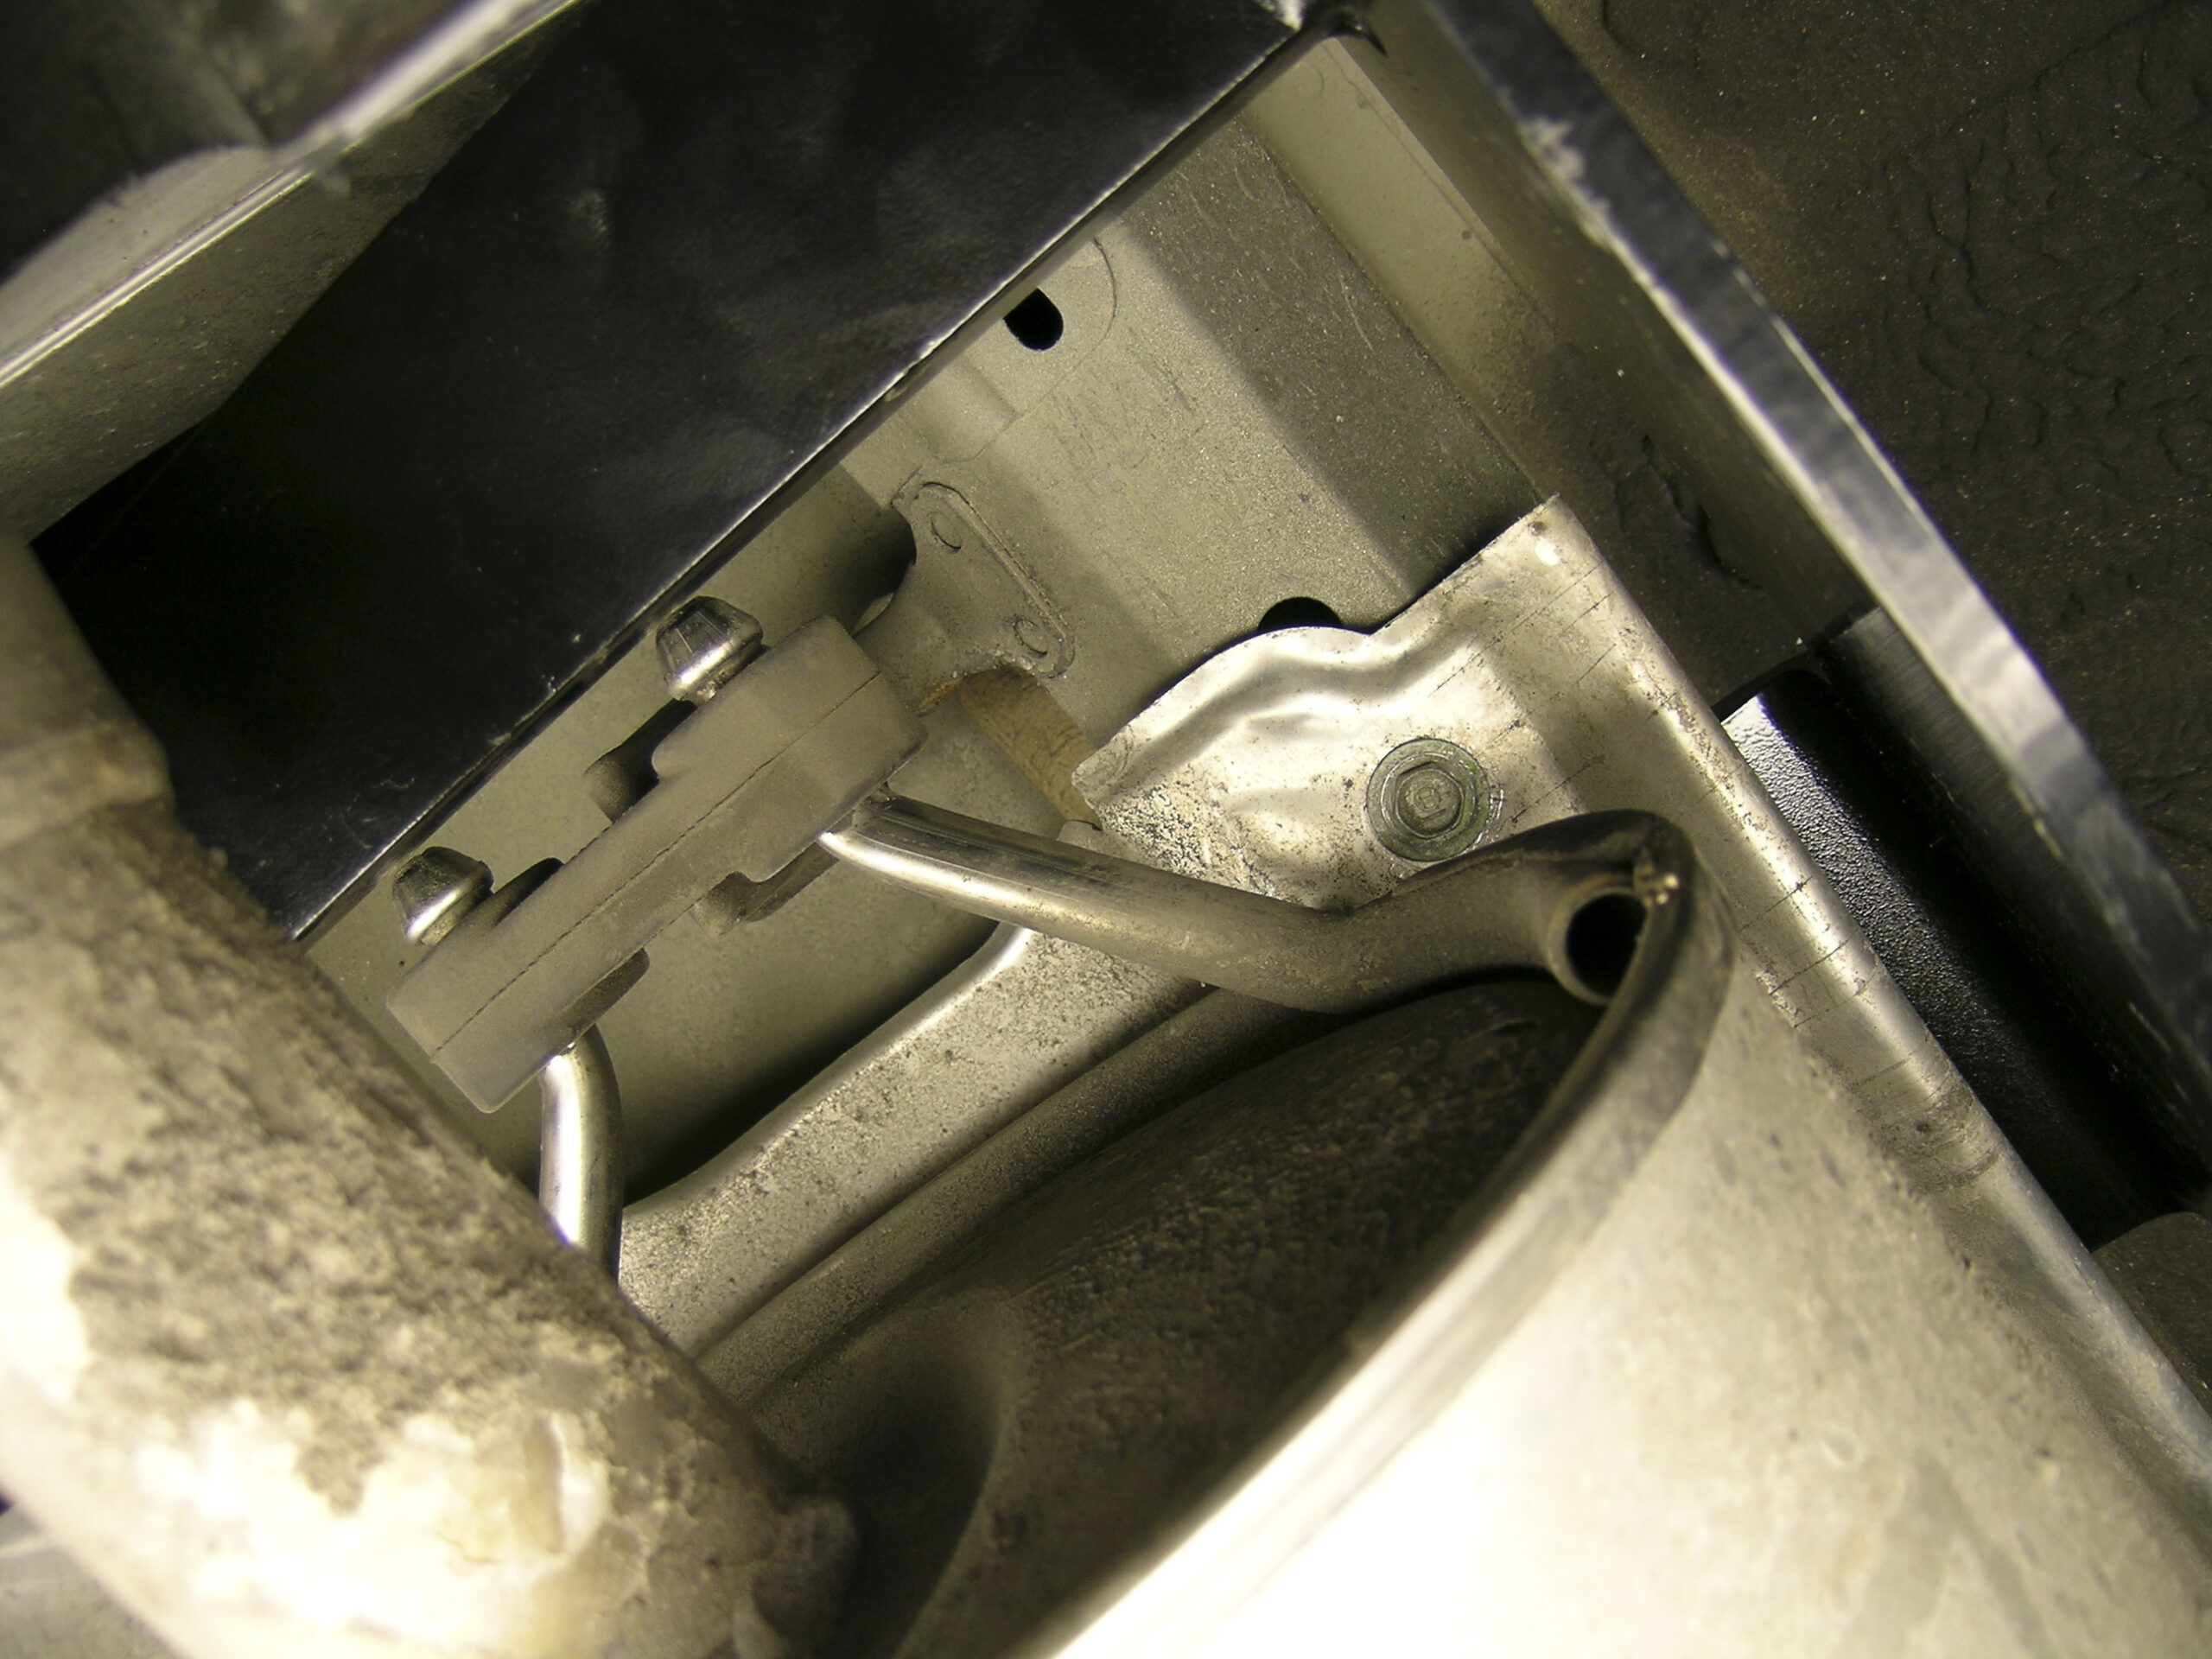
Exhaust Mounting around New Hitch

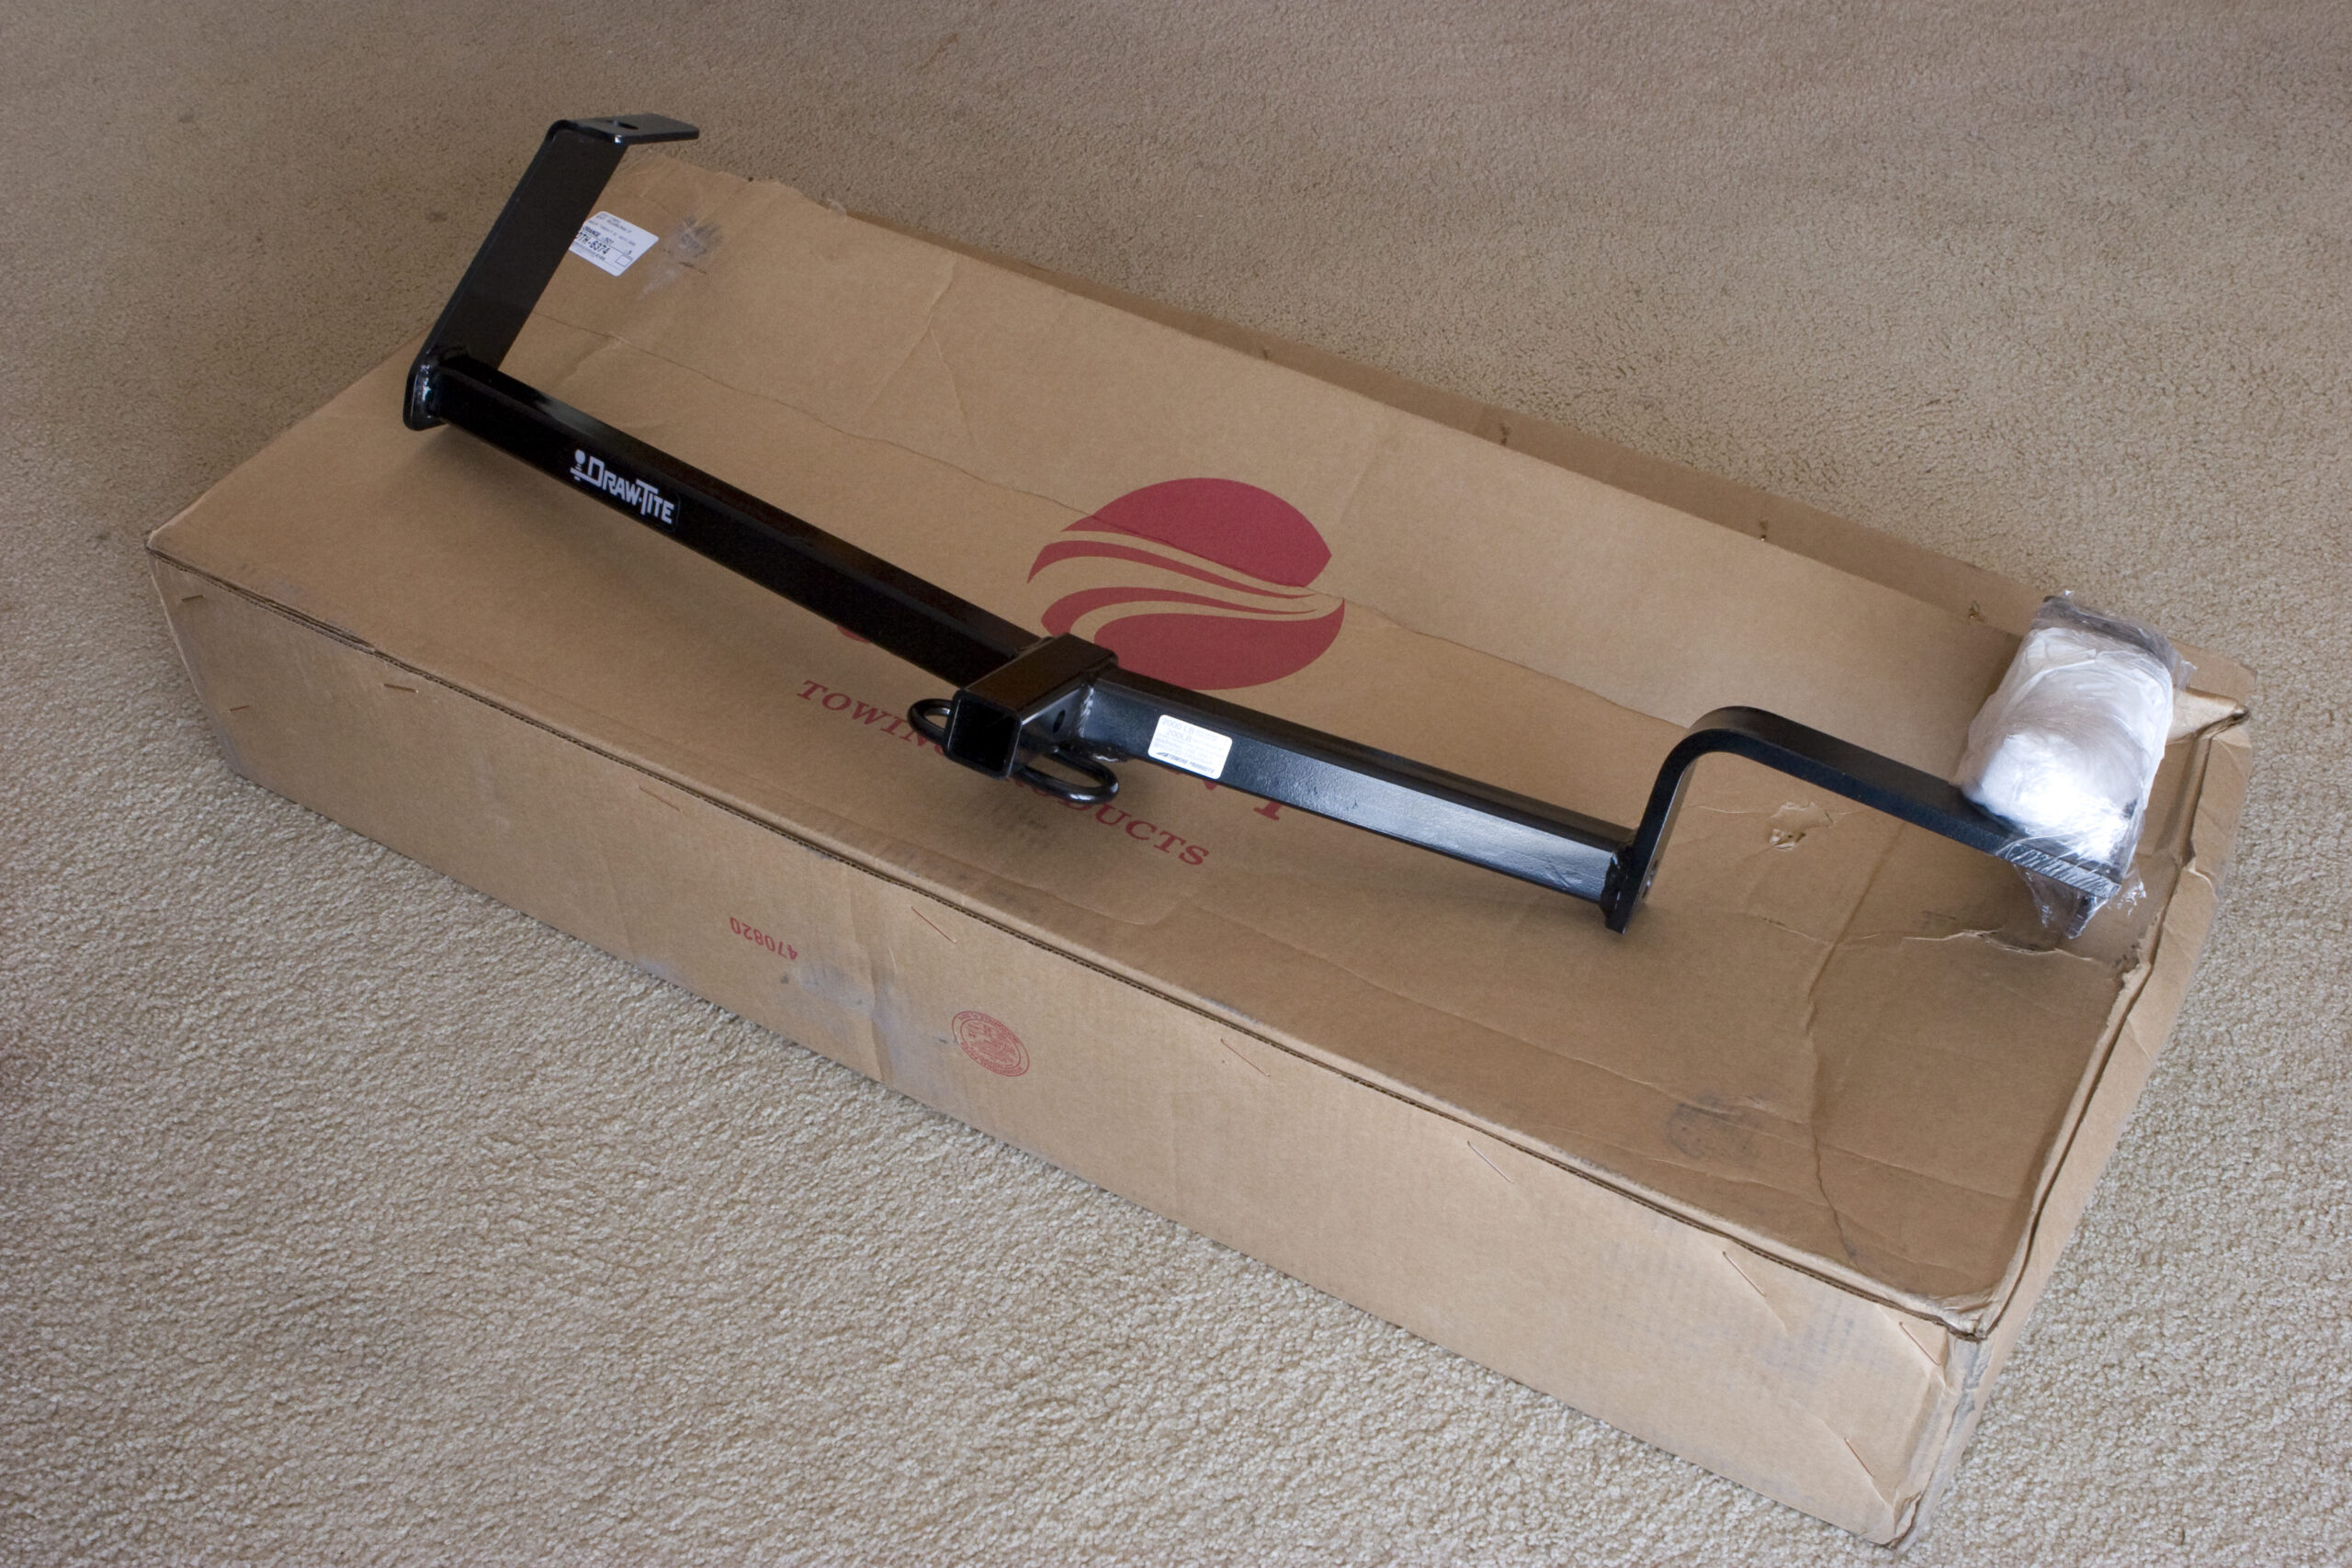
Earlier this week I received the new hitch for my car. Despite being sick I spent a couple of hours today getting it installed. The directions claimed 30 minutes for an installation, but I imagine that’s for an experienced hitch installer with a lift. I just had a ~45°F garage, a tarp to lay on, and a fluorescent light to set on the ground beneath the car.

It took a bit of effort to get installed, but it was overall simpler than the Honda Music Link. There was some manipulating of the exhaust to be done (namely, lowering it and fitting the hitch over it), and some odd position lifting of an awkward 38 pound steel beam, but I’m happy with it. I’m really glad I was able to talk to about it, who installed a practically identical hitch on his 2007 Civic.

There are a bunch more photos of the installation here (photo gallery retired), or just click the image up top. The rack itself, a Thule 917 (1 1/4″ T2) is scheduled for delivery on Thursday. That should be a lot easier to get together, as it shouldn’t require any laying on the ground / wrenching on the car. Photos of that will be up once it’s here.

Also, I need to clean my camera’s sensor. And take another shower.

automotivemaking thingsmoved from livejournal

RP-SMA to Male N

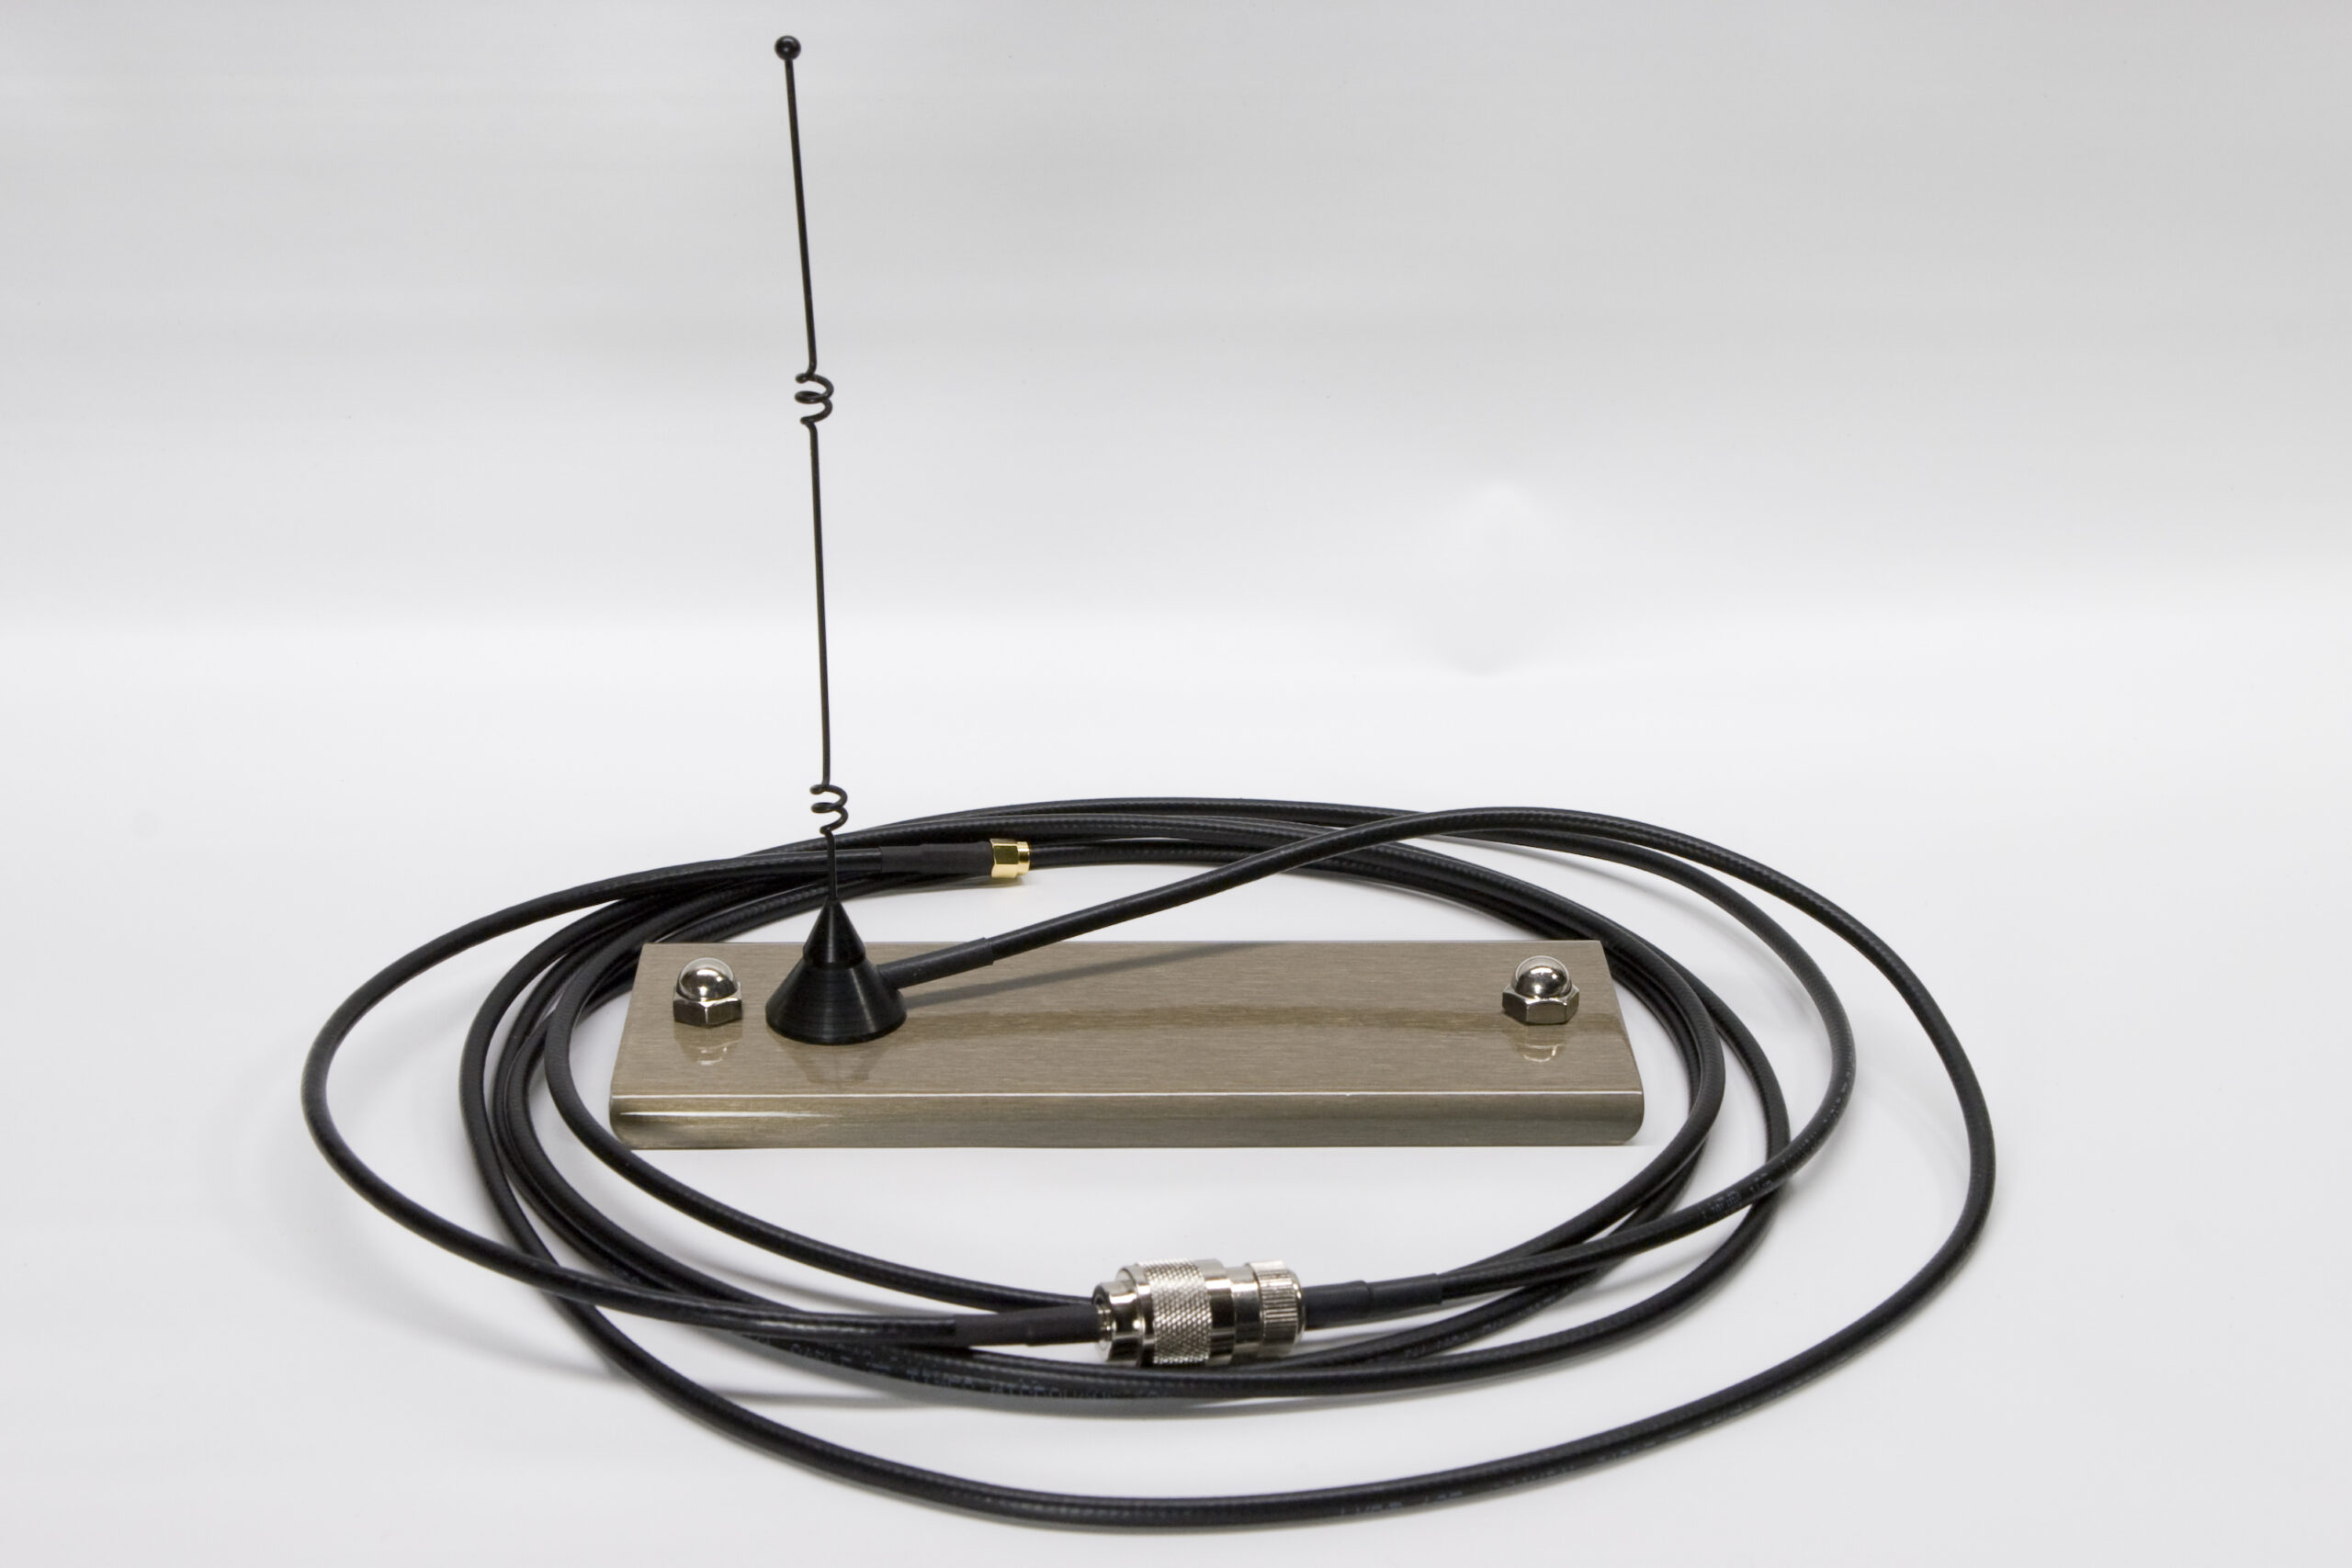
Maxrad BMM24005ML195NF and RP-SMA to Male N Pigtail
(Click for bigger…)

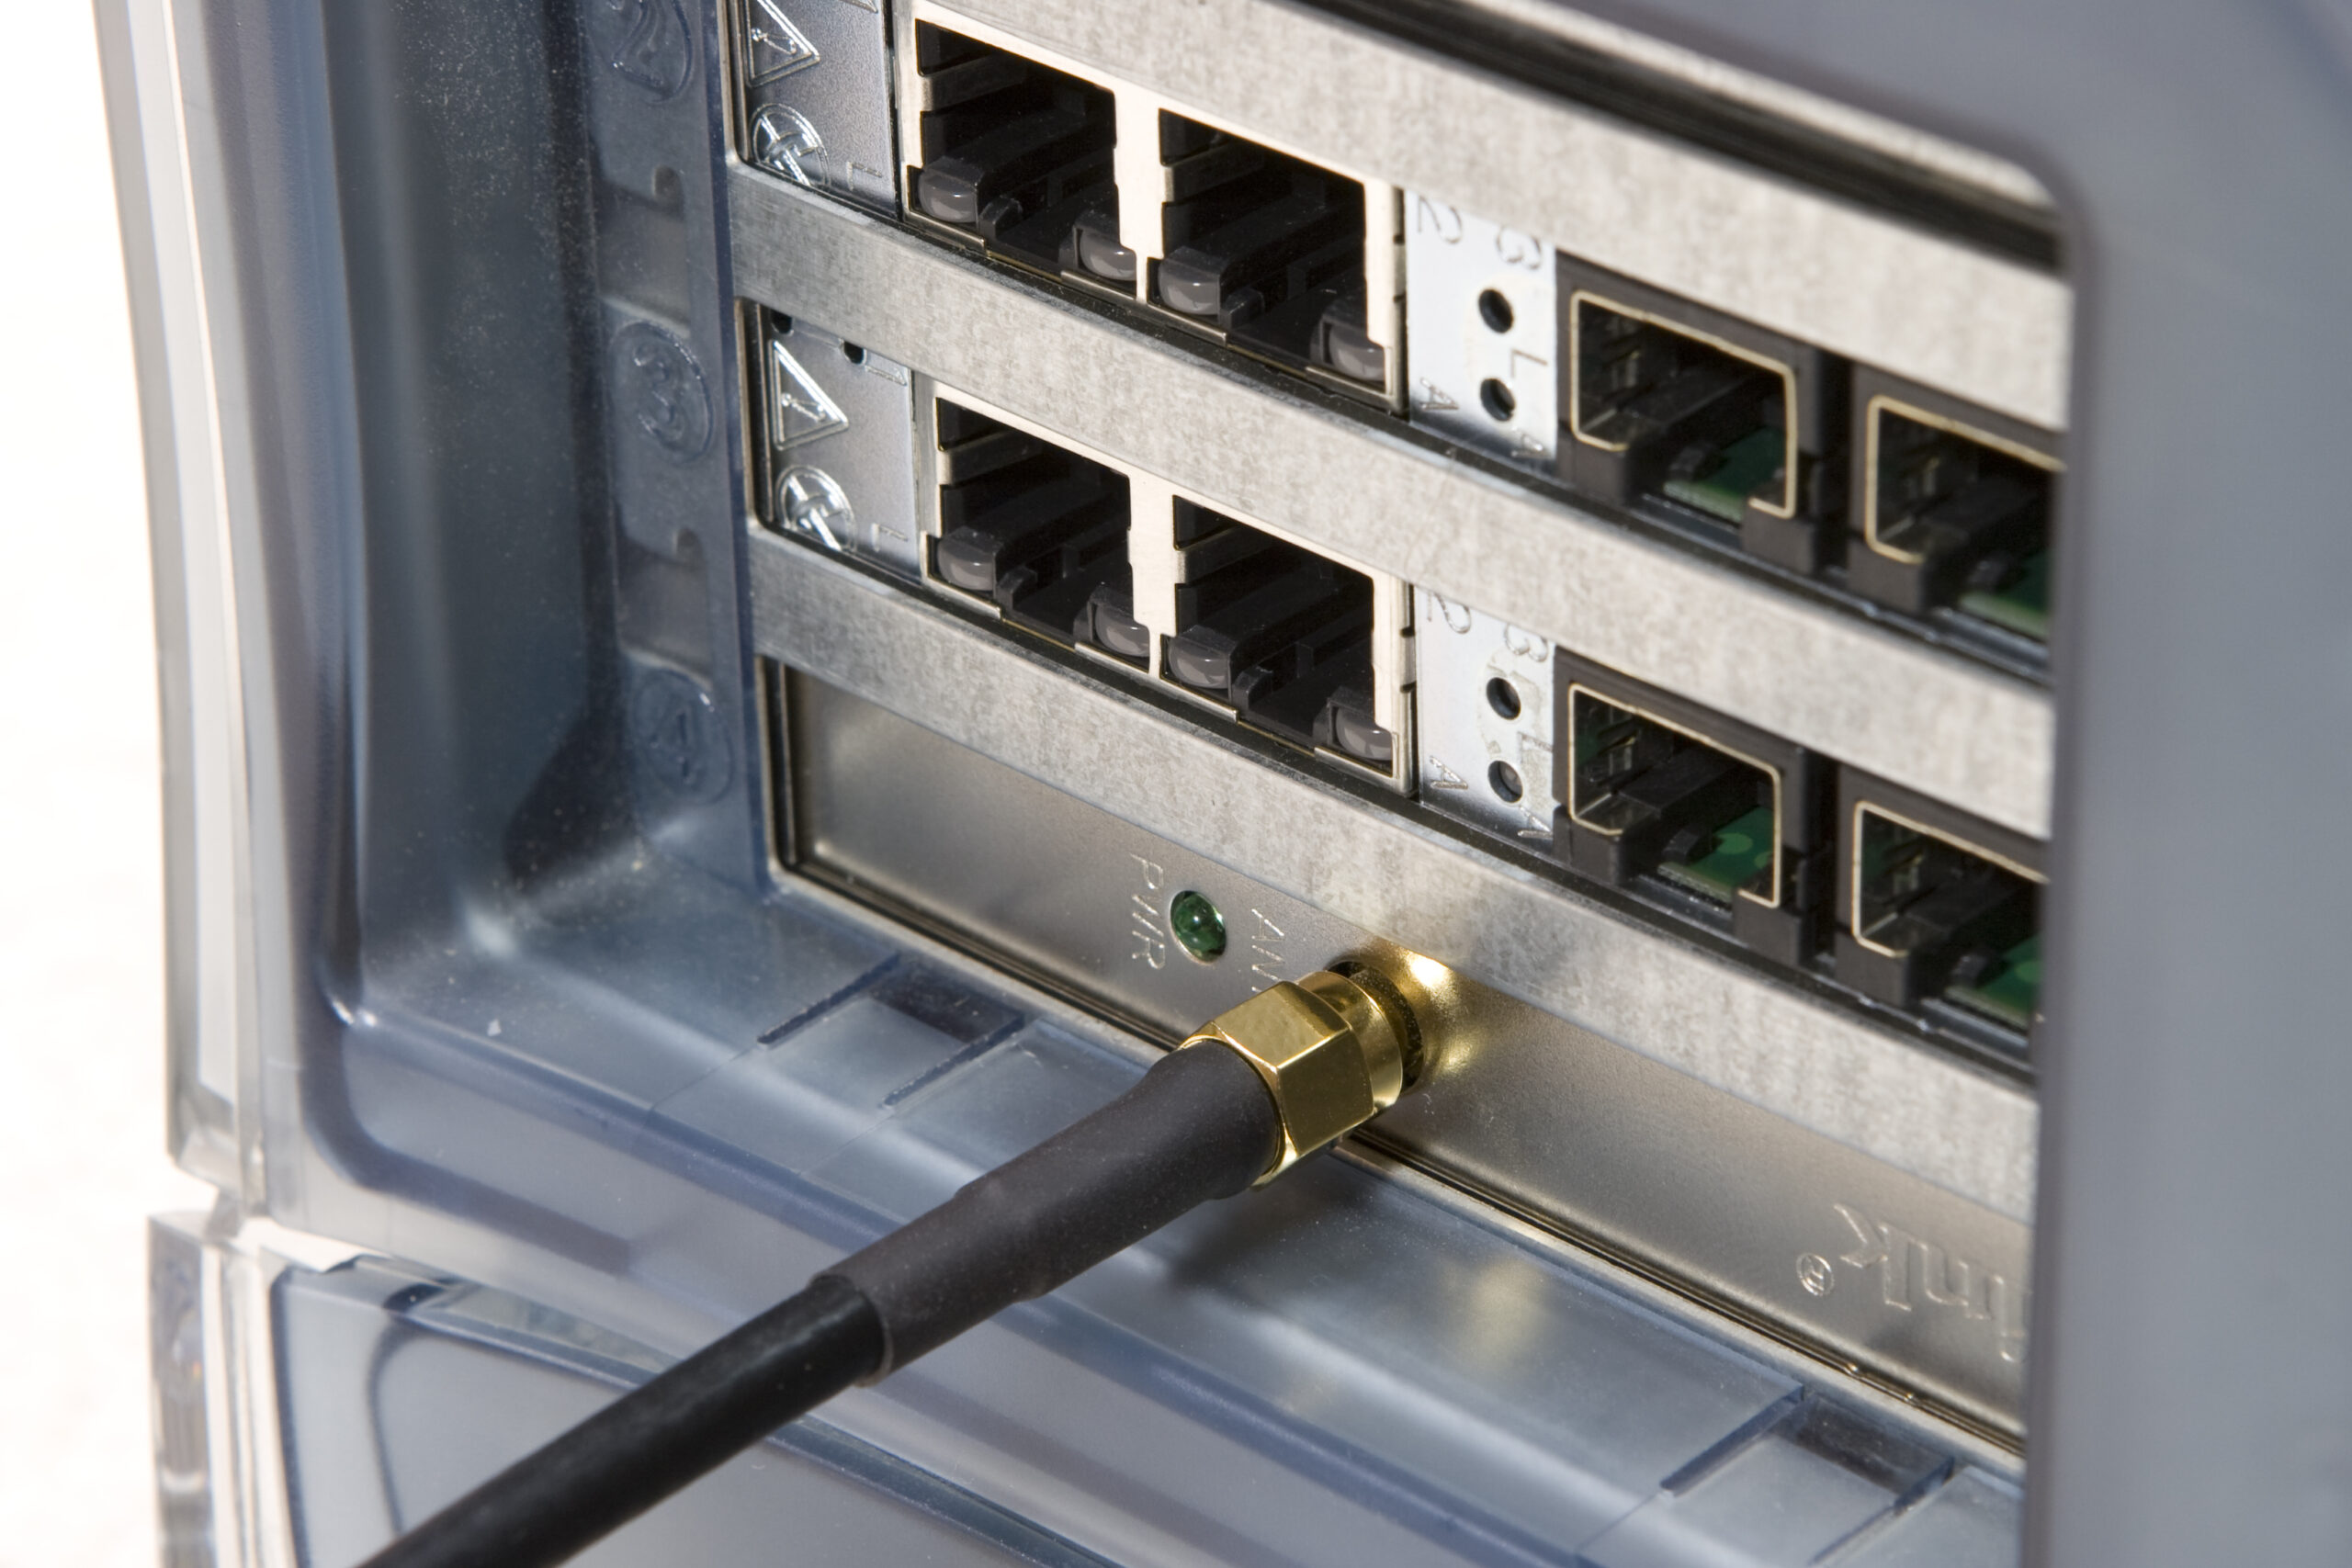
When checking the mail after (a long and rather satisfying day at) work I found that the RP-SMA to male N pigtail (adapter cable) I had ordered last week had arrived. With this fitted to my Maxrad BMM24005ML195NF antenna and connected to the back of the computer everything in the Trashwall is in place. I may reformat it once in order to test my posted config files (and to restore the CF to a fresh, clean state), but it’s otherwise set.

Now, time for the next project. I think that’ll be tearing into ‘ stereo to replace the amp ICs and figuring out what is wrong with my dad’s old Kenwood HT. The stereo turns on then right back off again (I think the outputs were shorted at some point) and the HT seems to just go silent for a while even when sitting still on a desk.

Oh, and the trailer hitch should be in on Thursday, so I’ll try and get that installed on Saturday afternoon. For now I’ll just keep enjoying sipping this lovely glass of New Holland’s Espresso Love.

electronicsmaking thingsmoved from livejournal

Presenting: Trashwall

The Trashwall

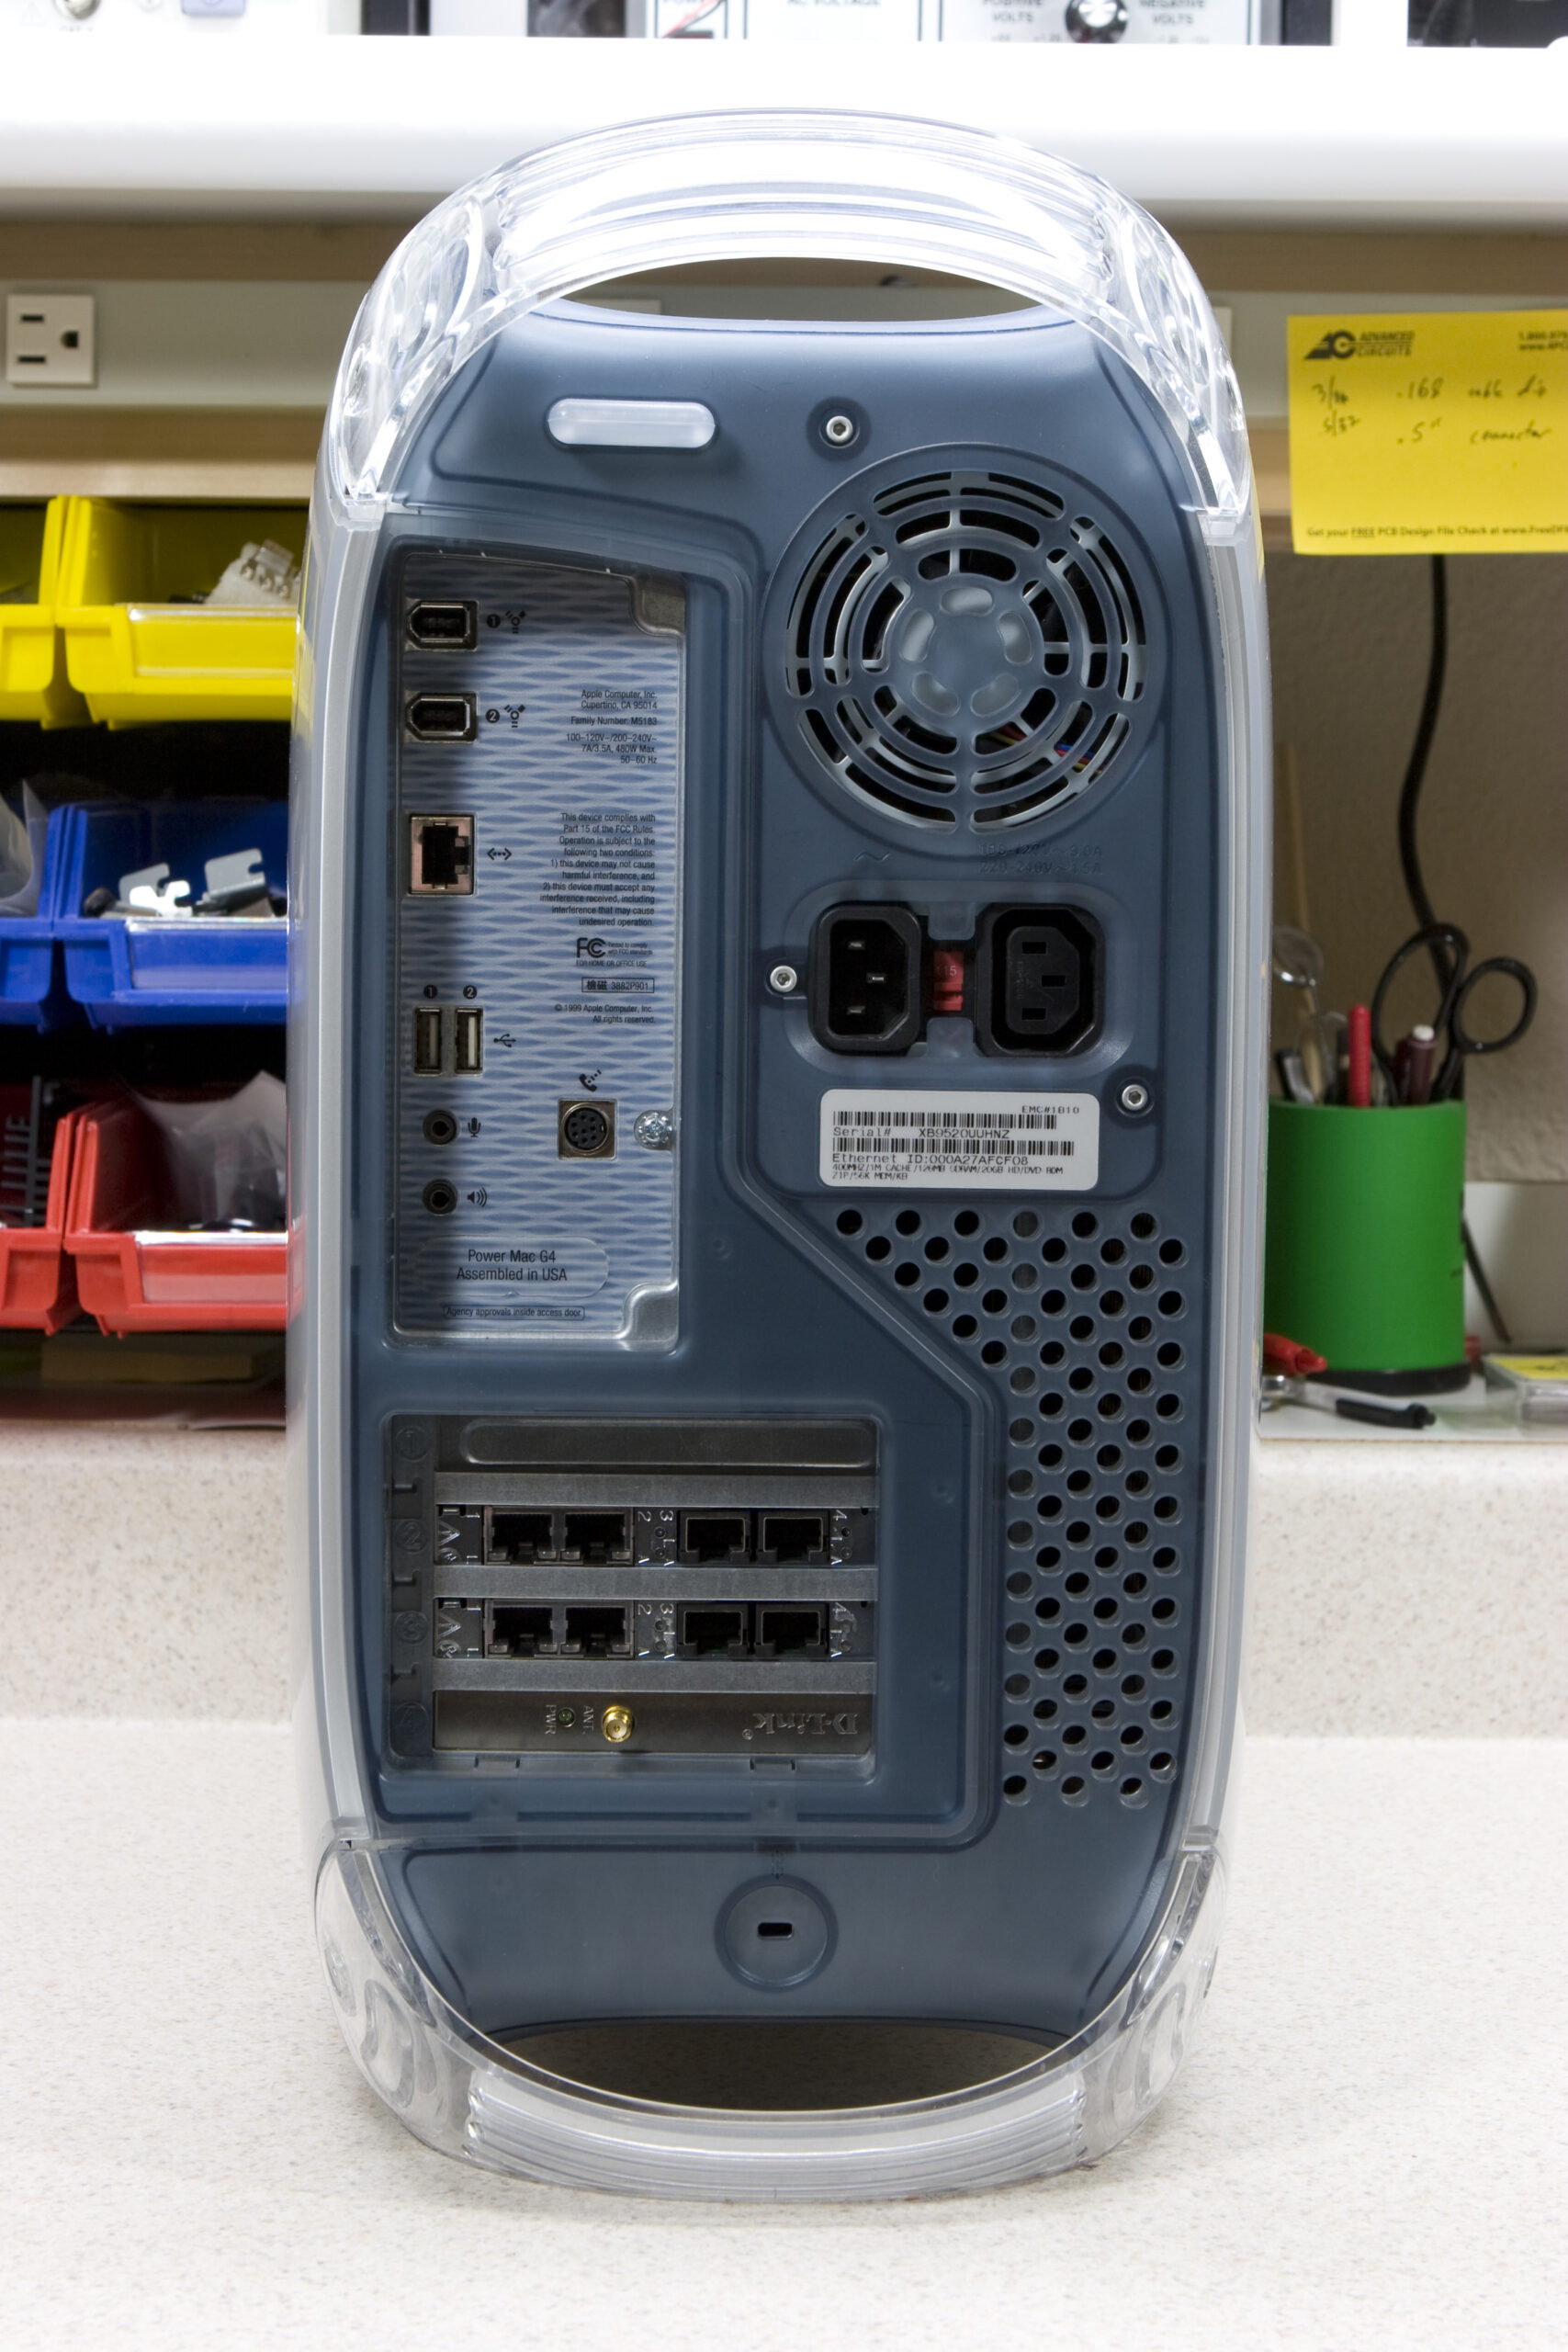
Presenting: the Trashwall, a repurposed Power Mac G4 AGP. It has been taken from an old, failing machine and turned into a powerful firewall which boots from flash, contains an 8-port managed switch, offers free public wireless via a segmented, built-in access point, and handles NAT, DNS, DHCP, NTP, and whatever else I might want it to do.

It’s also got a shiny serial console for setup / management and Open Firmware. It’s basically a real PowerPC UNIX box now.

The article is complete, I’m just waiting for a small antenna adapter cable to arrive so I can hook up the better 802.11b antenna. After that I’ll post one more photo to the article, but otherwise it’s complete.

So, if you’re wanting to stick together an OpenBSD-based do-everything firewall, you could do far worse than to check out the Trashwall.

computersmaking thingsmoved from livejournal

Starburst, without the drool.

Lovely Unintentional Starburst

I love the unintentional starburst on this image which was taken while acquiring photos for my Trashwall article.

I didn’t do anything special for that… It’s just my standard Tokina 100mm macro lens at ƒ/18 pointed into the case of the computer, and no other processing.

Ah well, now it’s time for bed. My alarm rings in seven hours, and I have a long day of work ahead of me.

making thingsmoved from livejournal