Dragon GAP Winter Race
Yesterday was the third annual Lake Orion High School Guided Activities Program winter race. The sunny, cold weather was perfect for riding in the woods with all of the riding going well, except for the first extremely steep hill.
The first time I went down said hill I went a bit too fast, overshot the trail, and ended up running perpendicular into a ditch. This bottomed out my fork, dropped the chain to the outside of the cranks, twisted the bar a bit to the right, and rotated my left Ergon grip down a good ways. Somehow I didn’t get hurt, so I was able to continue riding after getting some tools out and straightening the bar. My shoulder is very minorly sore this morning, but that could also be from sleeping oddly.
Being a few minutes behind everyone else I now had a quiet, uneventful, ride alone through the woods, save for occasionally passing some of the kids slower folks. I don’t think I came in last, though, as two thirds of the way through the second of my two laps I passed someone who I believe was in my same category. That likely puts me at second to last.
The video of the race above is made by a local guy named Matt (mattmtb1 on YouTube) who is known for filming local races and events then doing an outstanding job putting together short, entertaining videos of them. I actually made it in at 2:00, where I’m shown turning up a steep corner with my studded rear wheel scraping audibly at the ice.
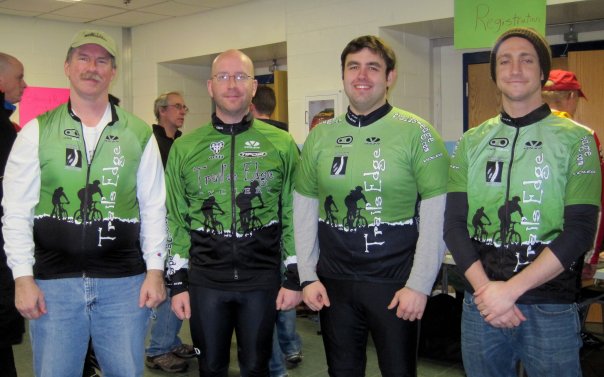
There’s also this photo of the four of us from Trail’s Edge Racing who participated: Bob Costello, (Me) Steve Vigneau, Bill Edgerton, Joe Siedl. Marty took this photo and posted it to Facebook, but due to the sillyness involved in linking directly to Facebook content I rehosted it.
Danielle came to watch and brought Roxie (photo gallery retired) along with her. Both kids and adults loved having her there, and she loved being the center of attention. A number of people, including the Cannondale Midwest Racing folks, were taking photos and/or video of her, so hopefully those will surface online soon.
UPDATE: Here is another video of the race from YouTube.


.")


