Wahoo KICKR Customer Service Disappointment
Planning to follow a TrainerRoad plan with Kristen all winter, and a little irked at the quirkyness of shifting to hit power targets on my current setup, I became interested in a smart trainer. My buddy Mike let me borrow his Wahoo KICKR, something I’d been itching to try after hearing so many good reviews of them. In short, I really liked the experience and was quite impressed by how much easier it made riding indoors. I focused more on putting out effort and selecting my cadence and less on staying on target, and large swings (say, over/unders) were MUCH easier to do when I didn’t have to seek the moving power target. I really wanted one. A few days later I noticed that Wahoo was selling NOS (new old stock) 2016 model for $899, which seemed perfect! The $1199 retail price is a bit more than I can afford, but this was doable for both Kristen and I. Orders were placed and we got ready to sell our fluid trainers.
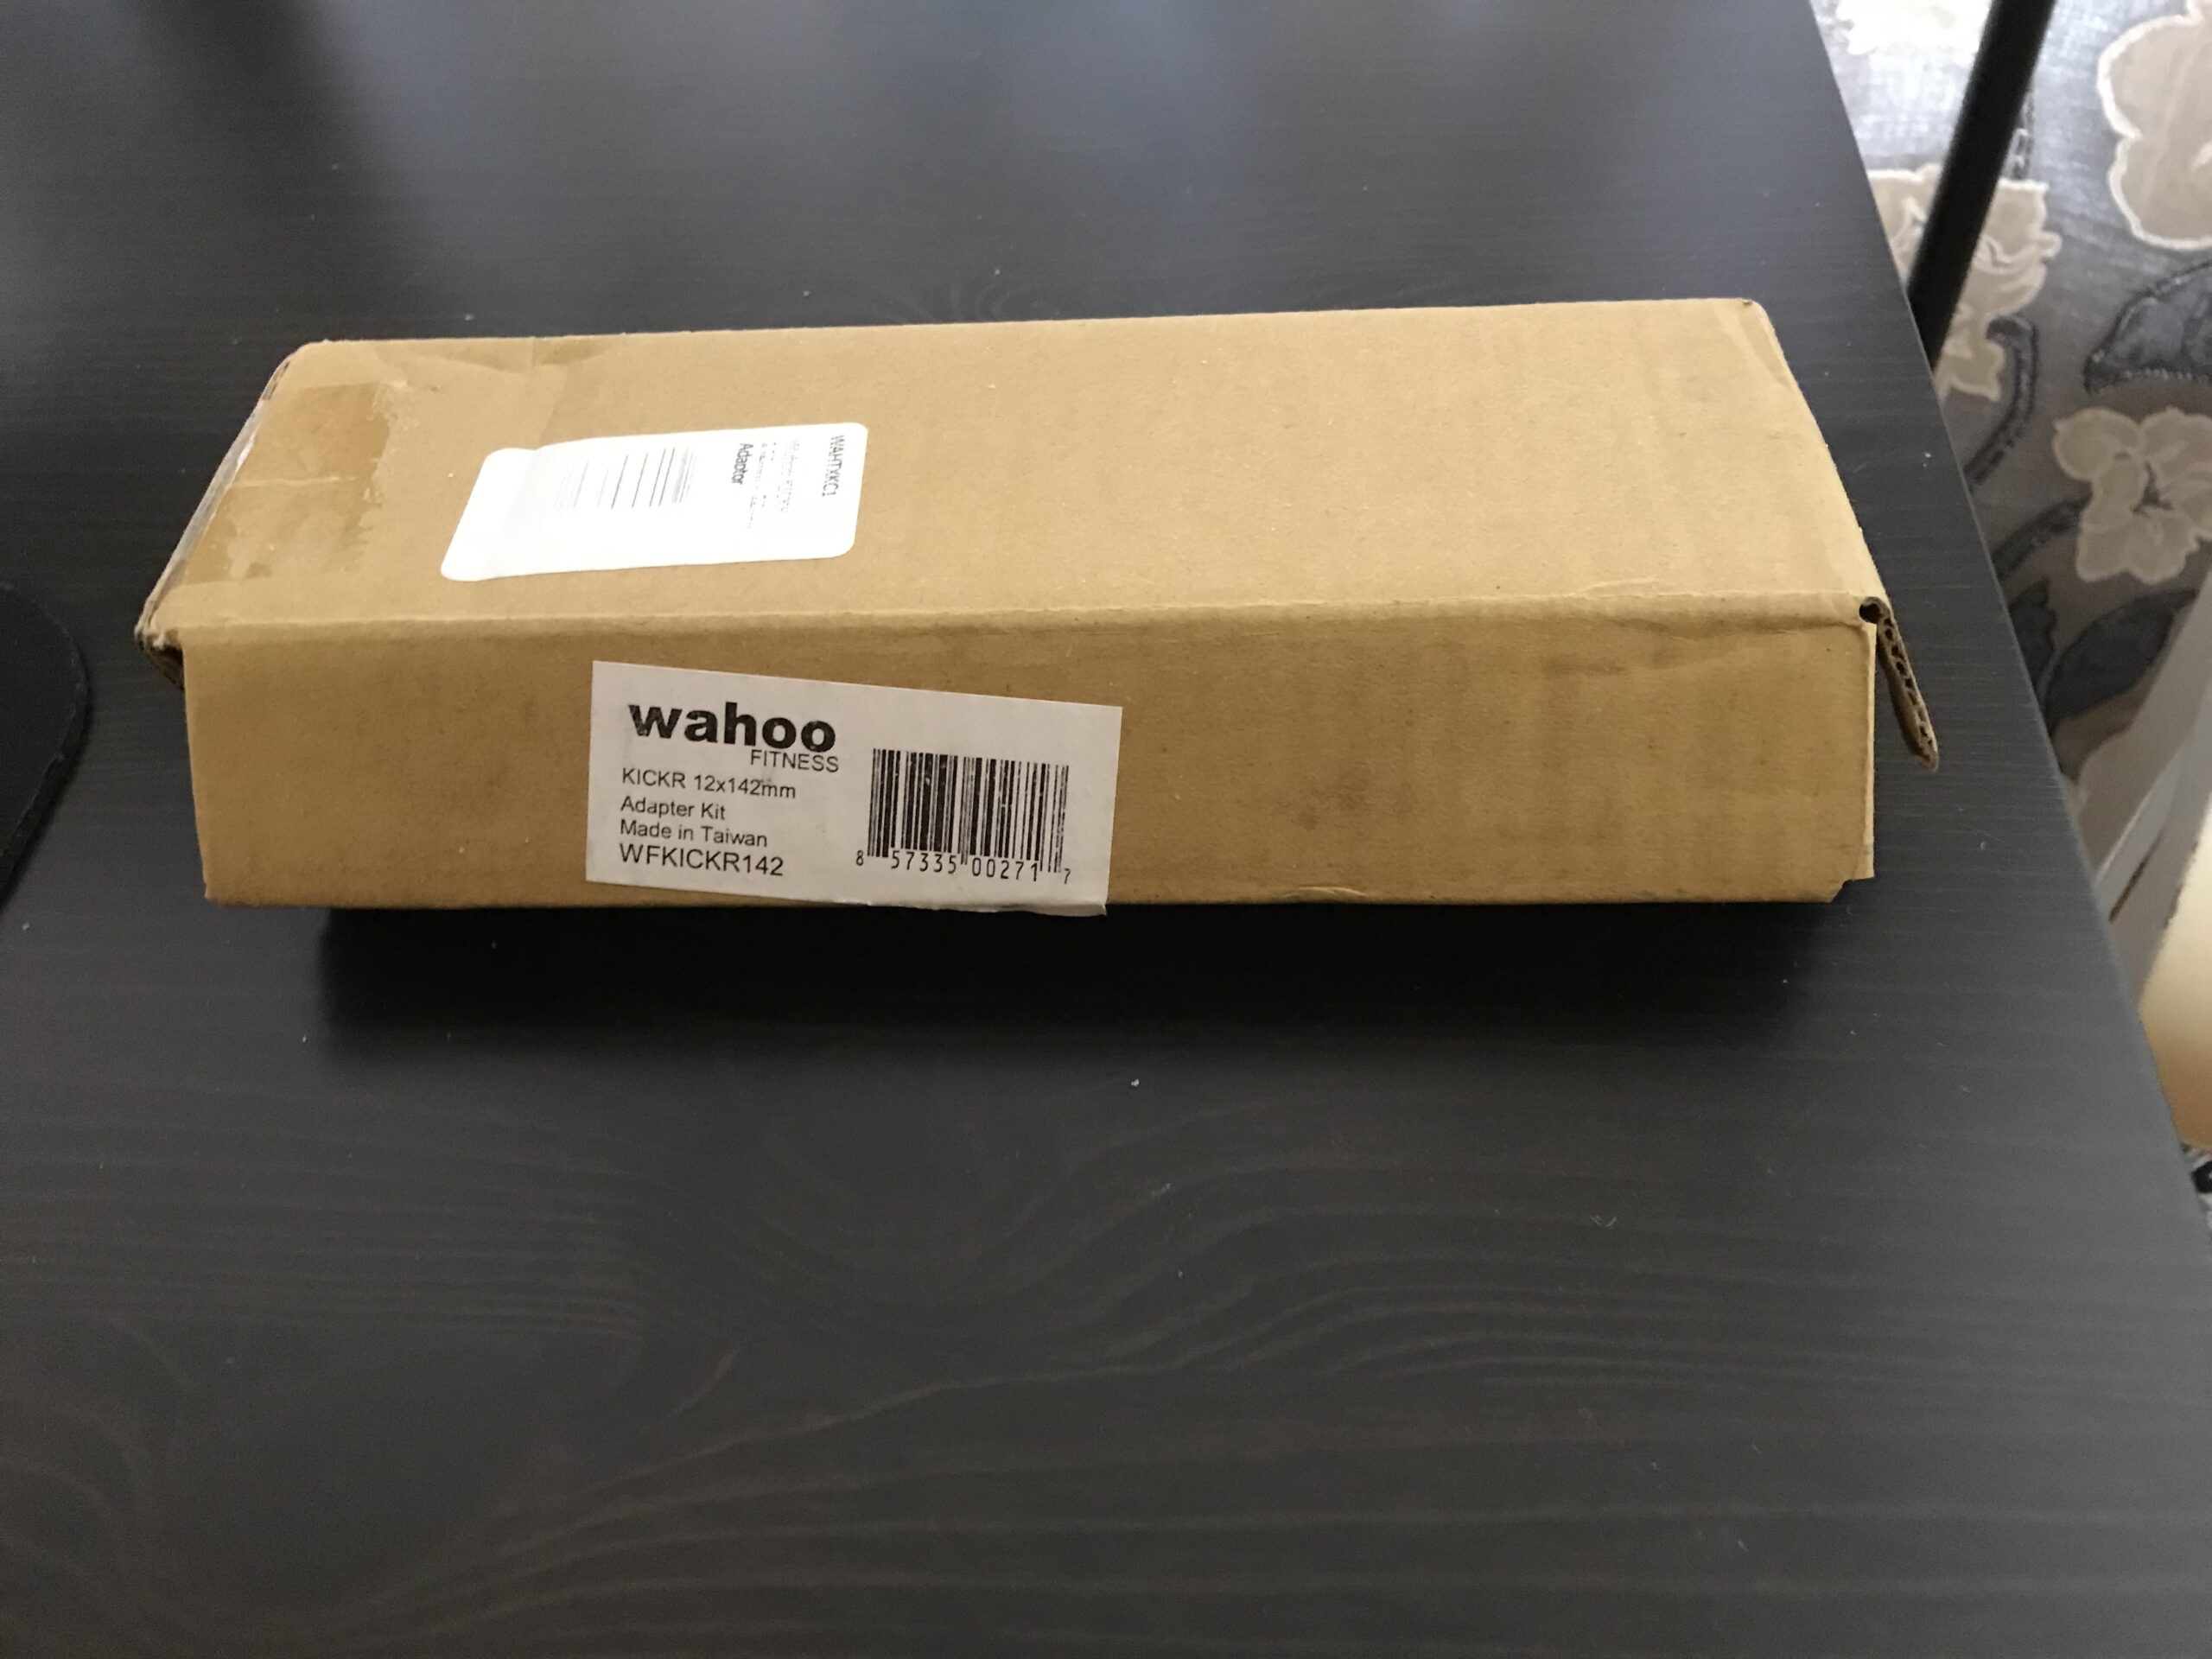
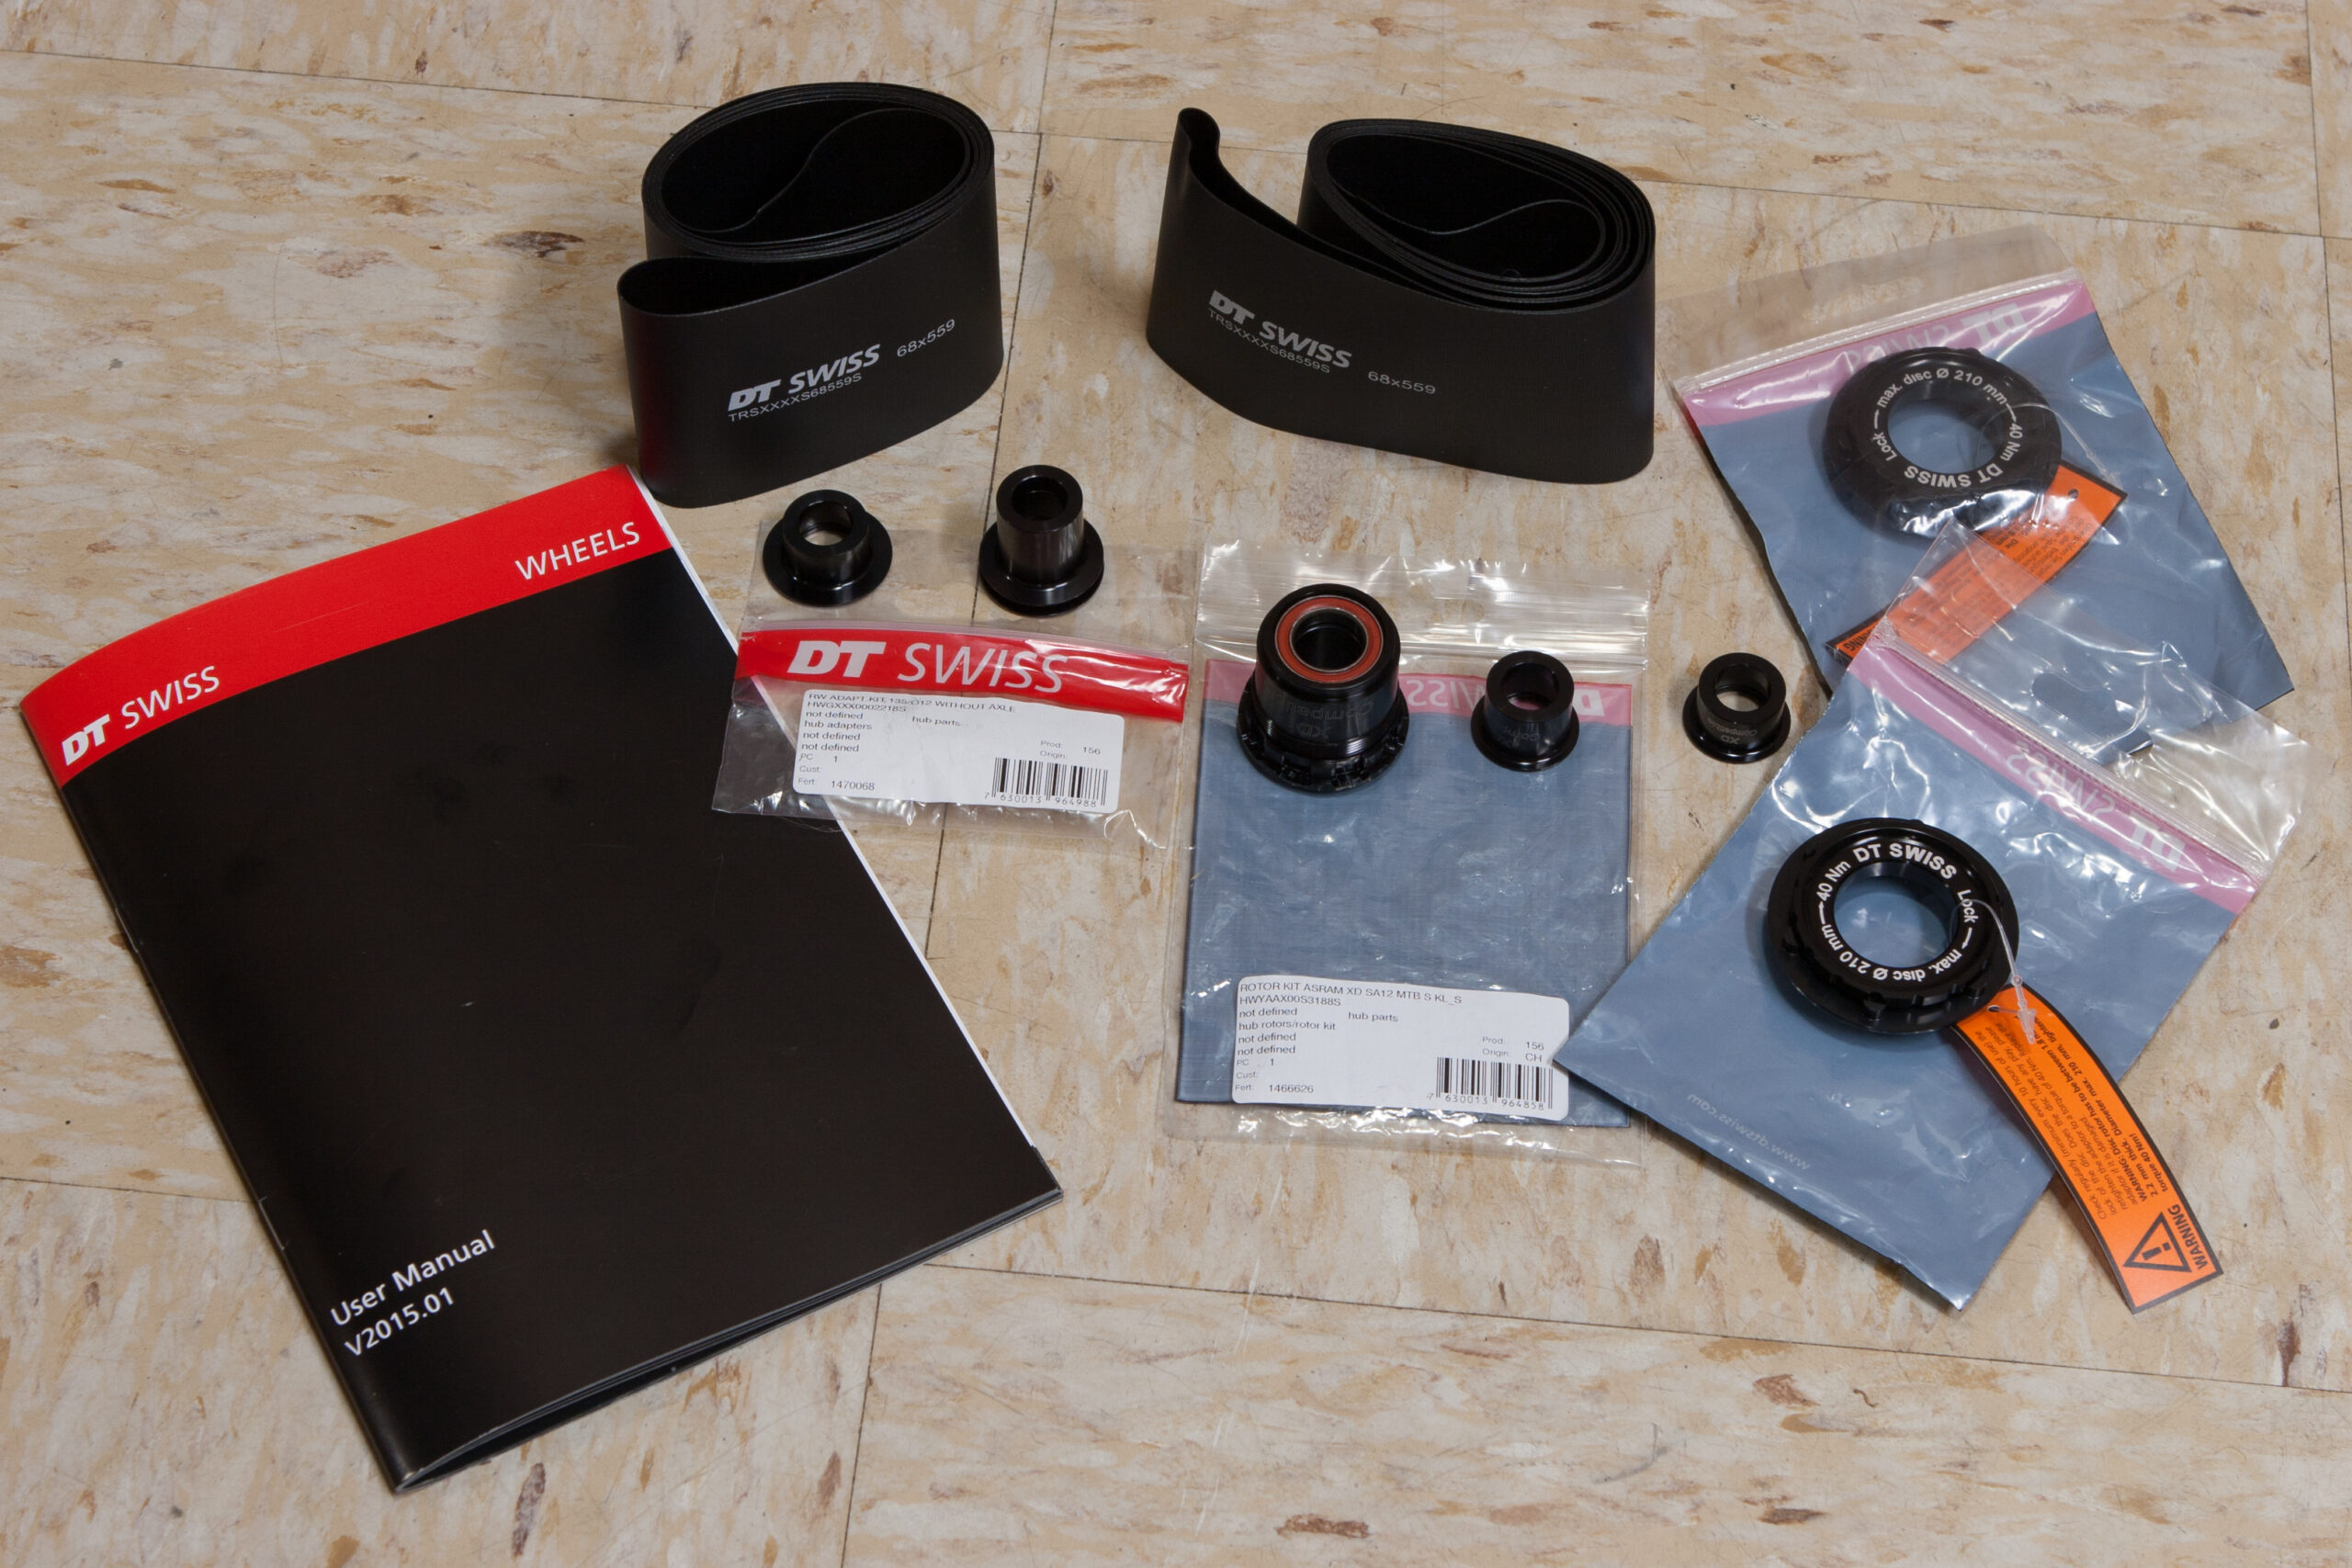
Not hearing anything on the order after four days we sent notes to Wahoo’s customer service department. The responses indicated the units had accidentally been oversold, so we were offered refurbished 2016 units for $100 less. Having the same warranty and being even cheaper, that sounded great! We both accepted the offer and waited. A day later we were informed that the warehouse had found more stock of the new 2016 units and those were on the way, with the refurb offer rescinded. Not as good of a deal, but still, great! Because of this back and forth Melinda, the customer service person, tossed in a 142×12 Thru Axle Adapter for me and a TICKR X Heart Rate Monitor for Kristen; both things we could use and a really nice gesture.
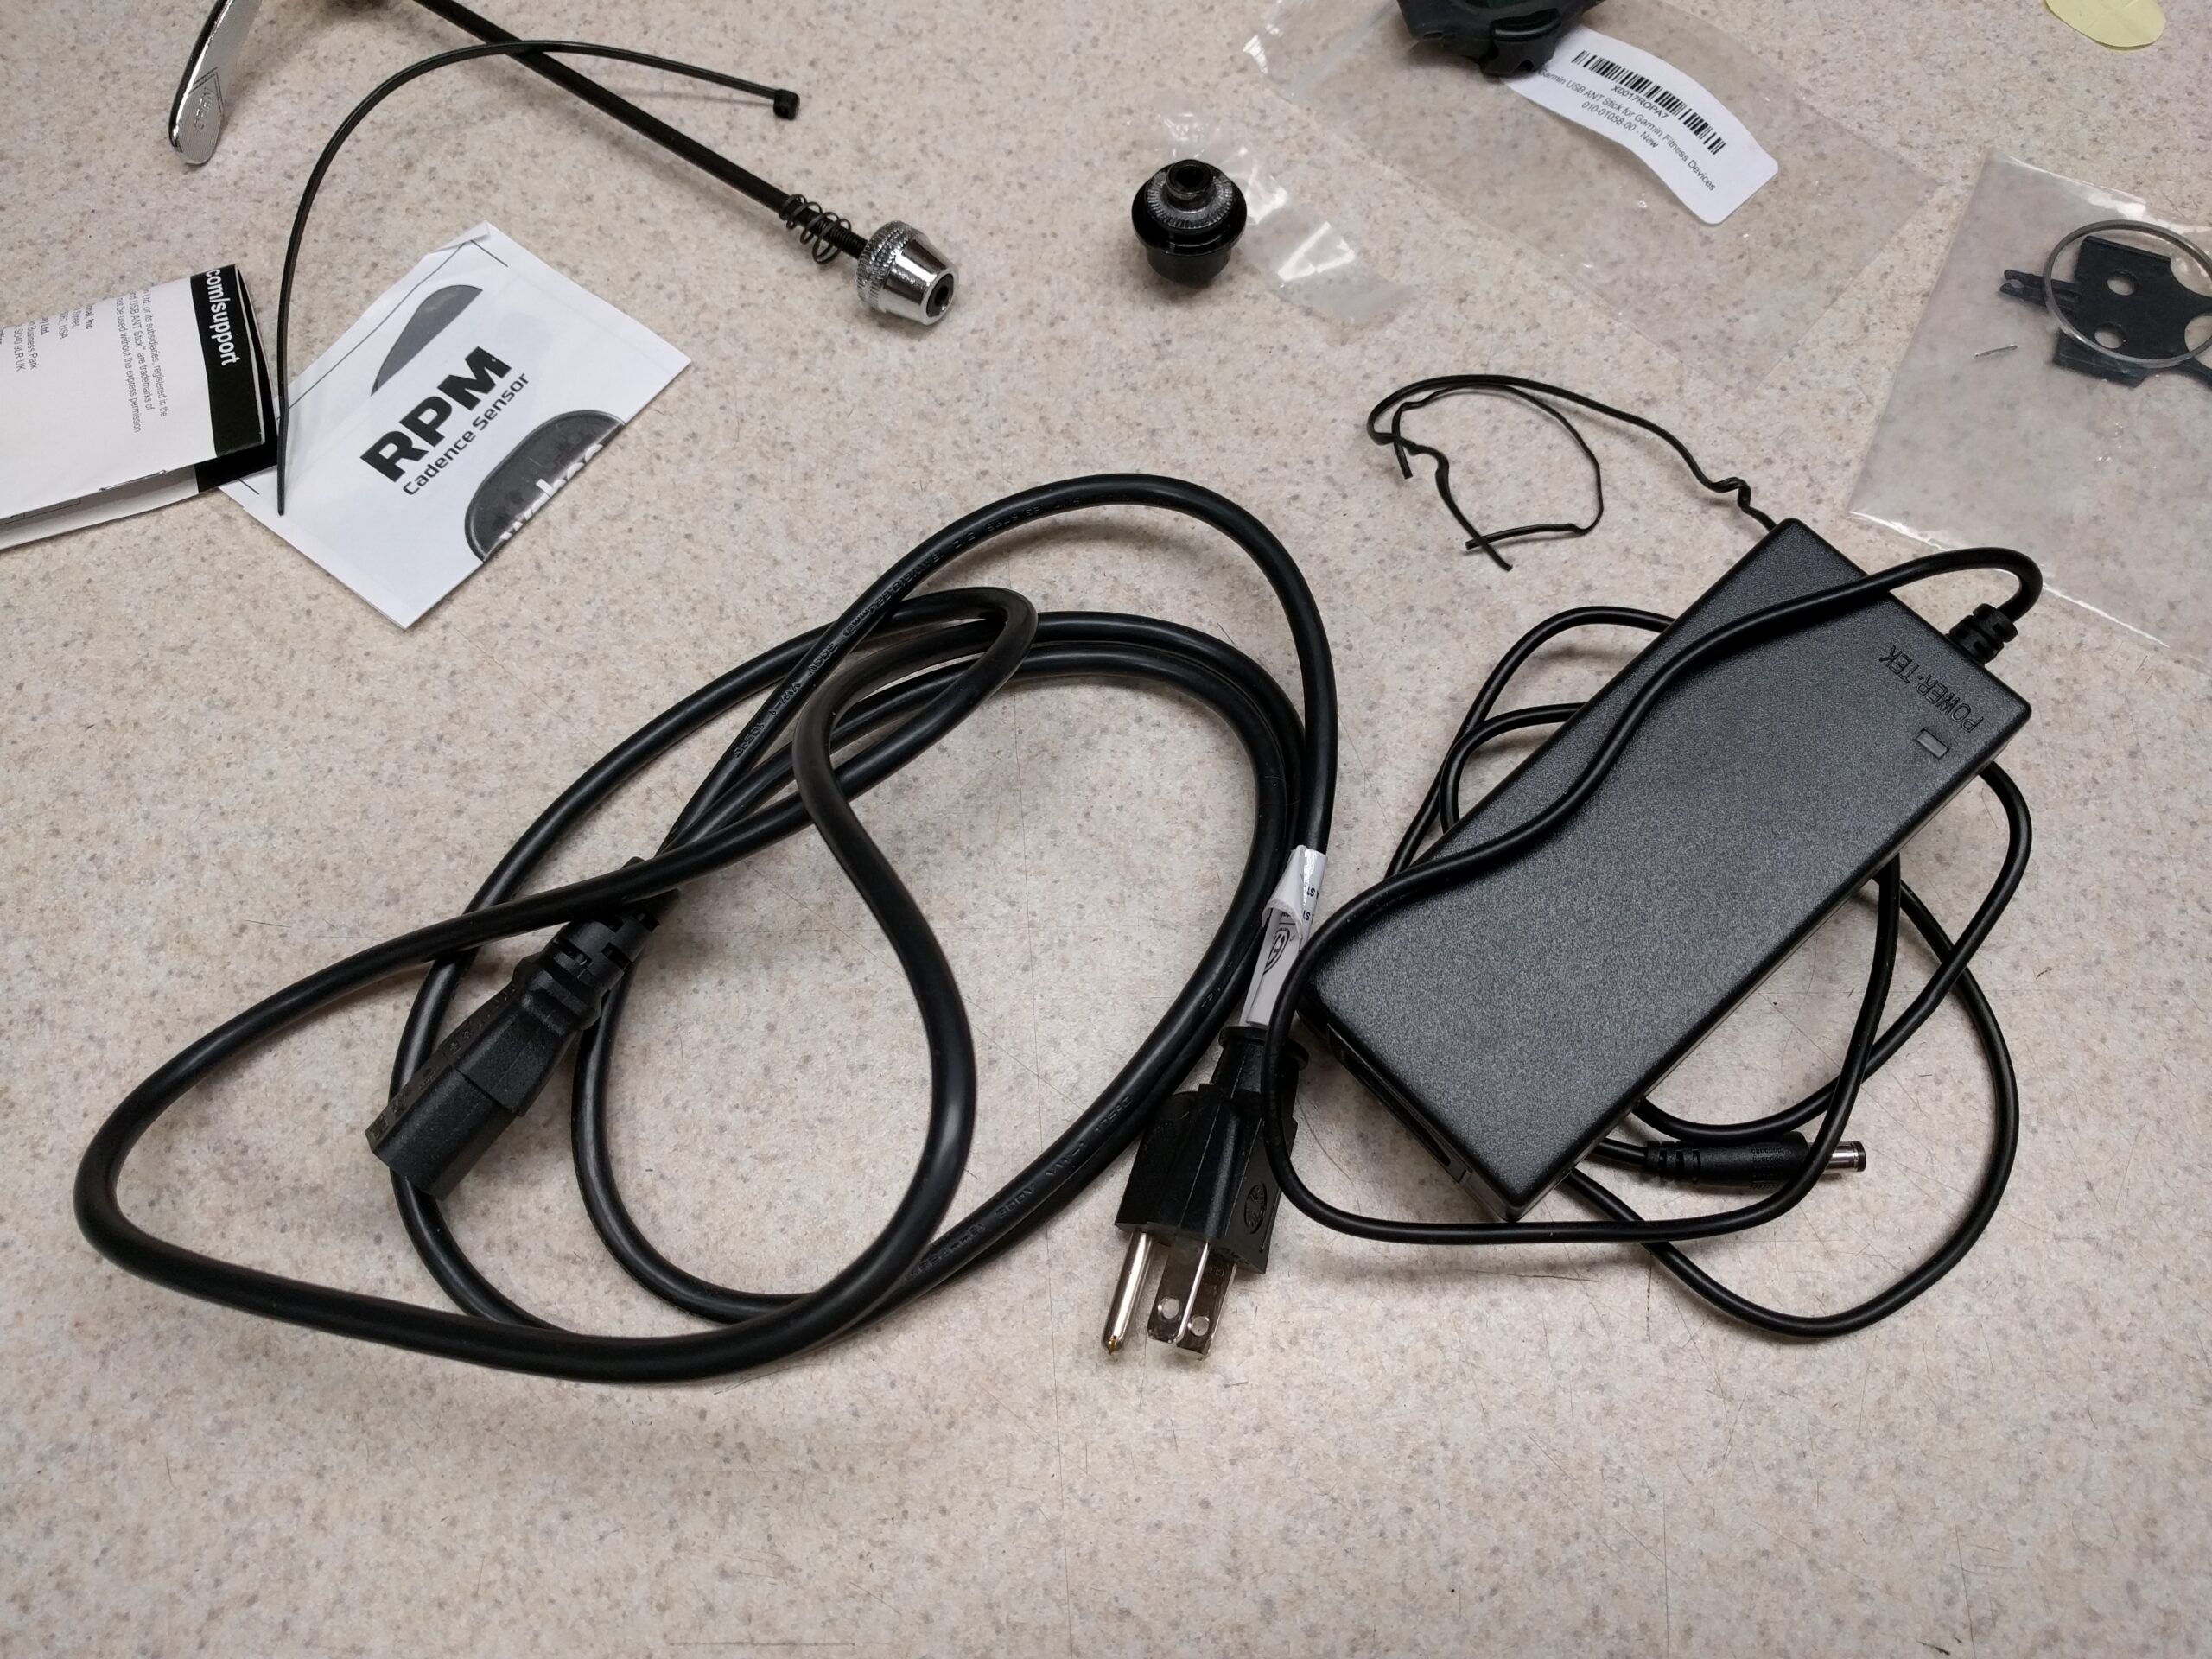
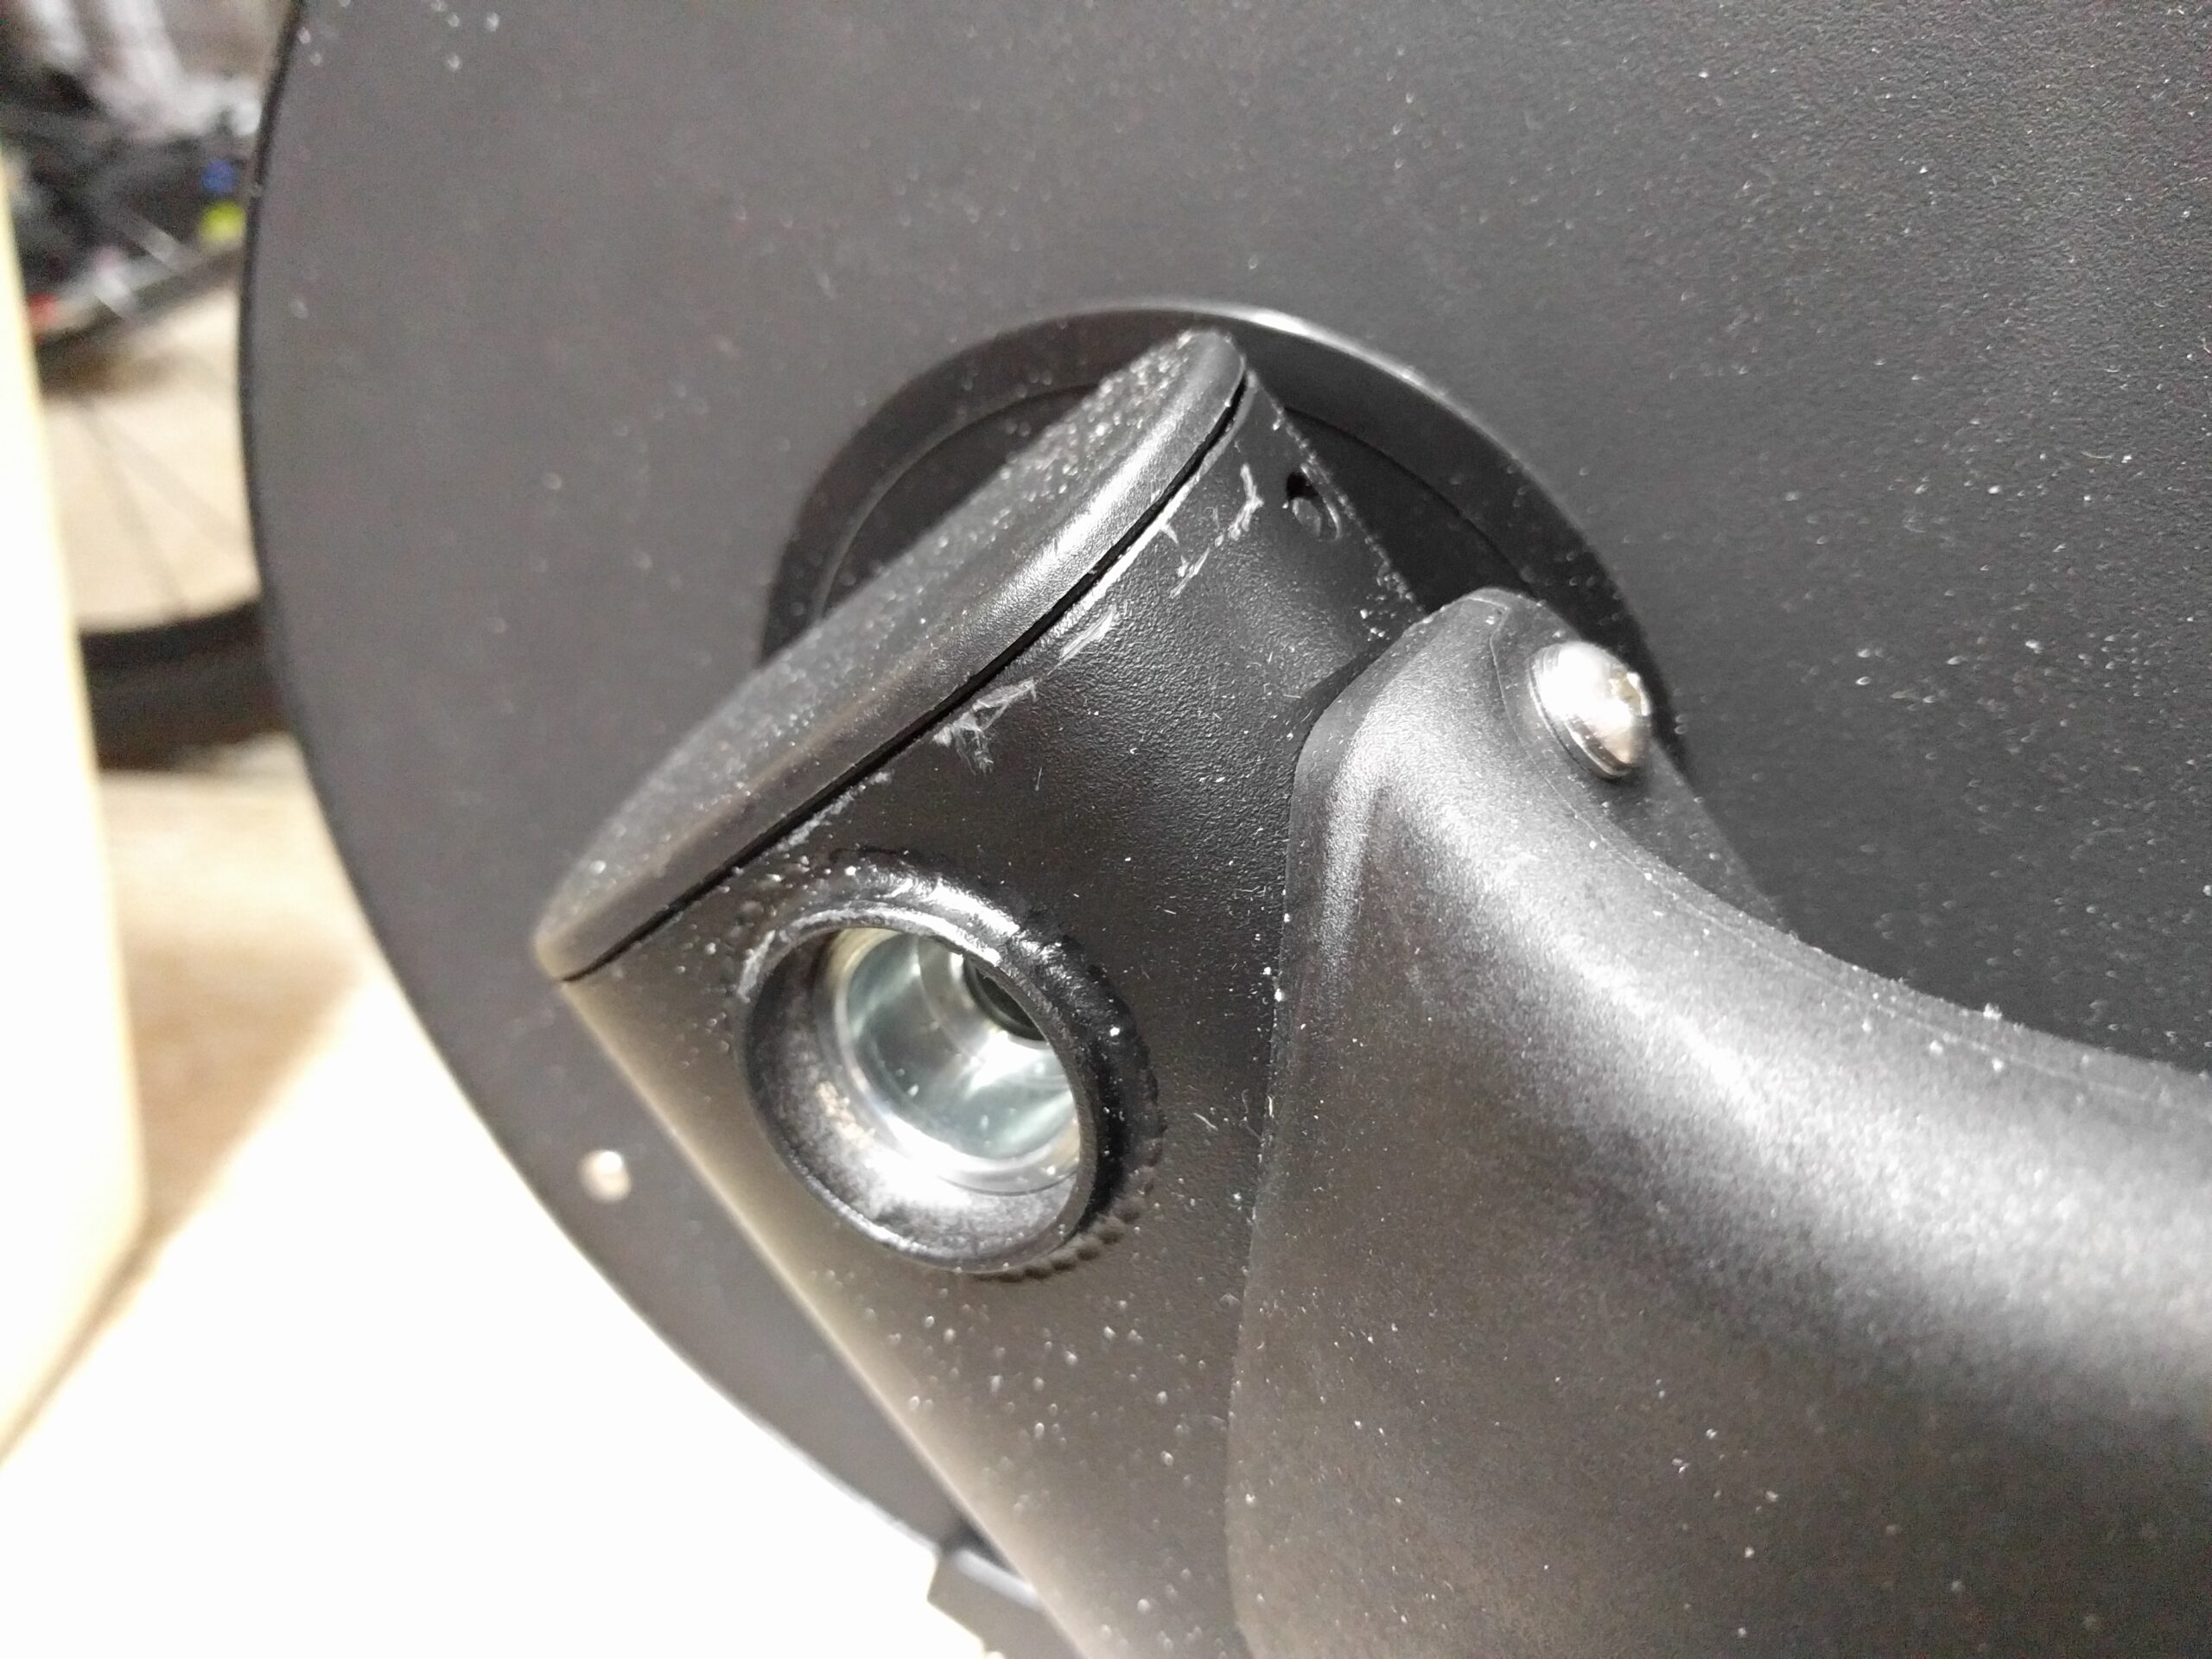
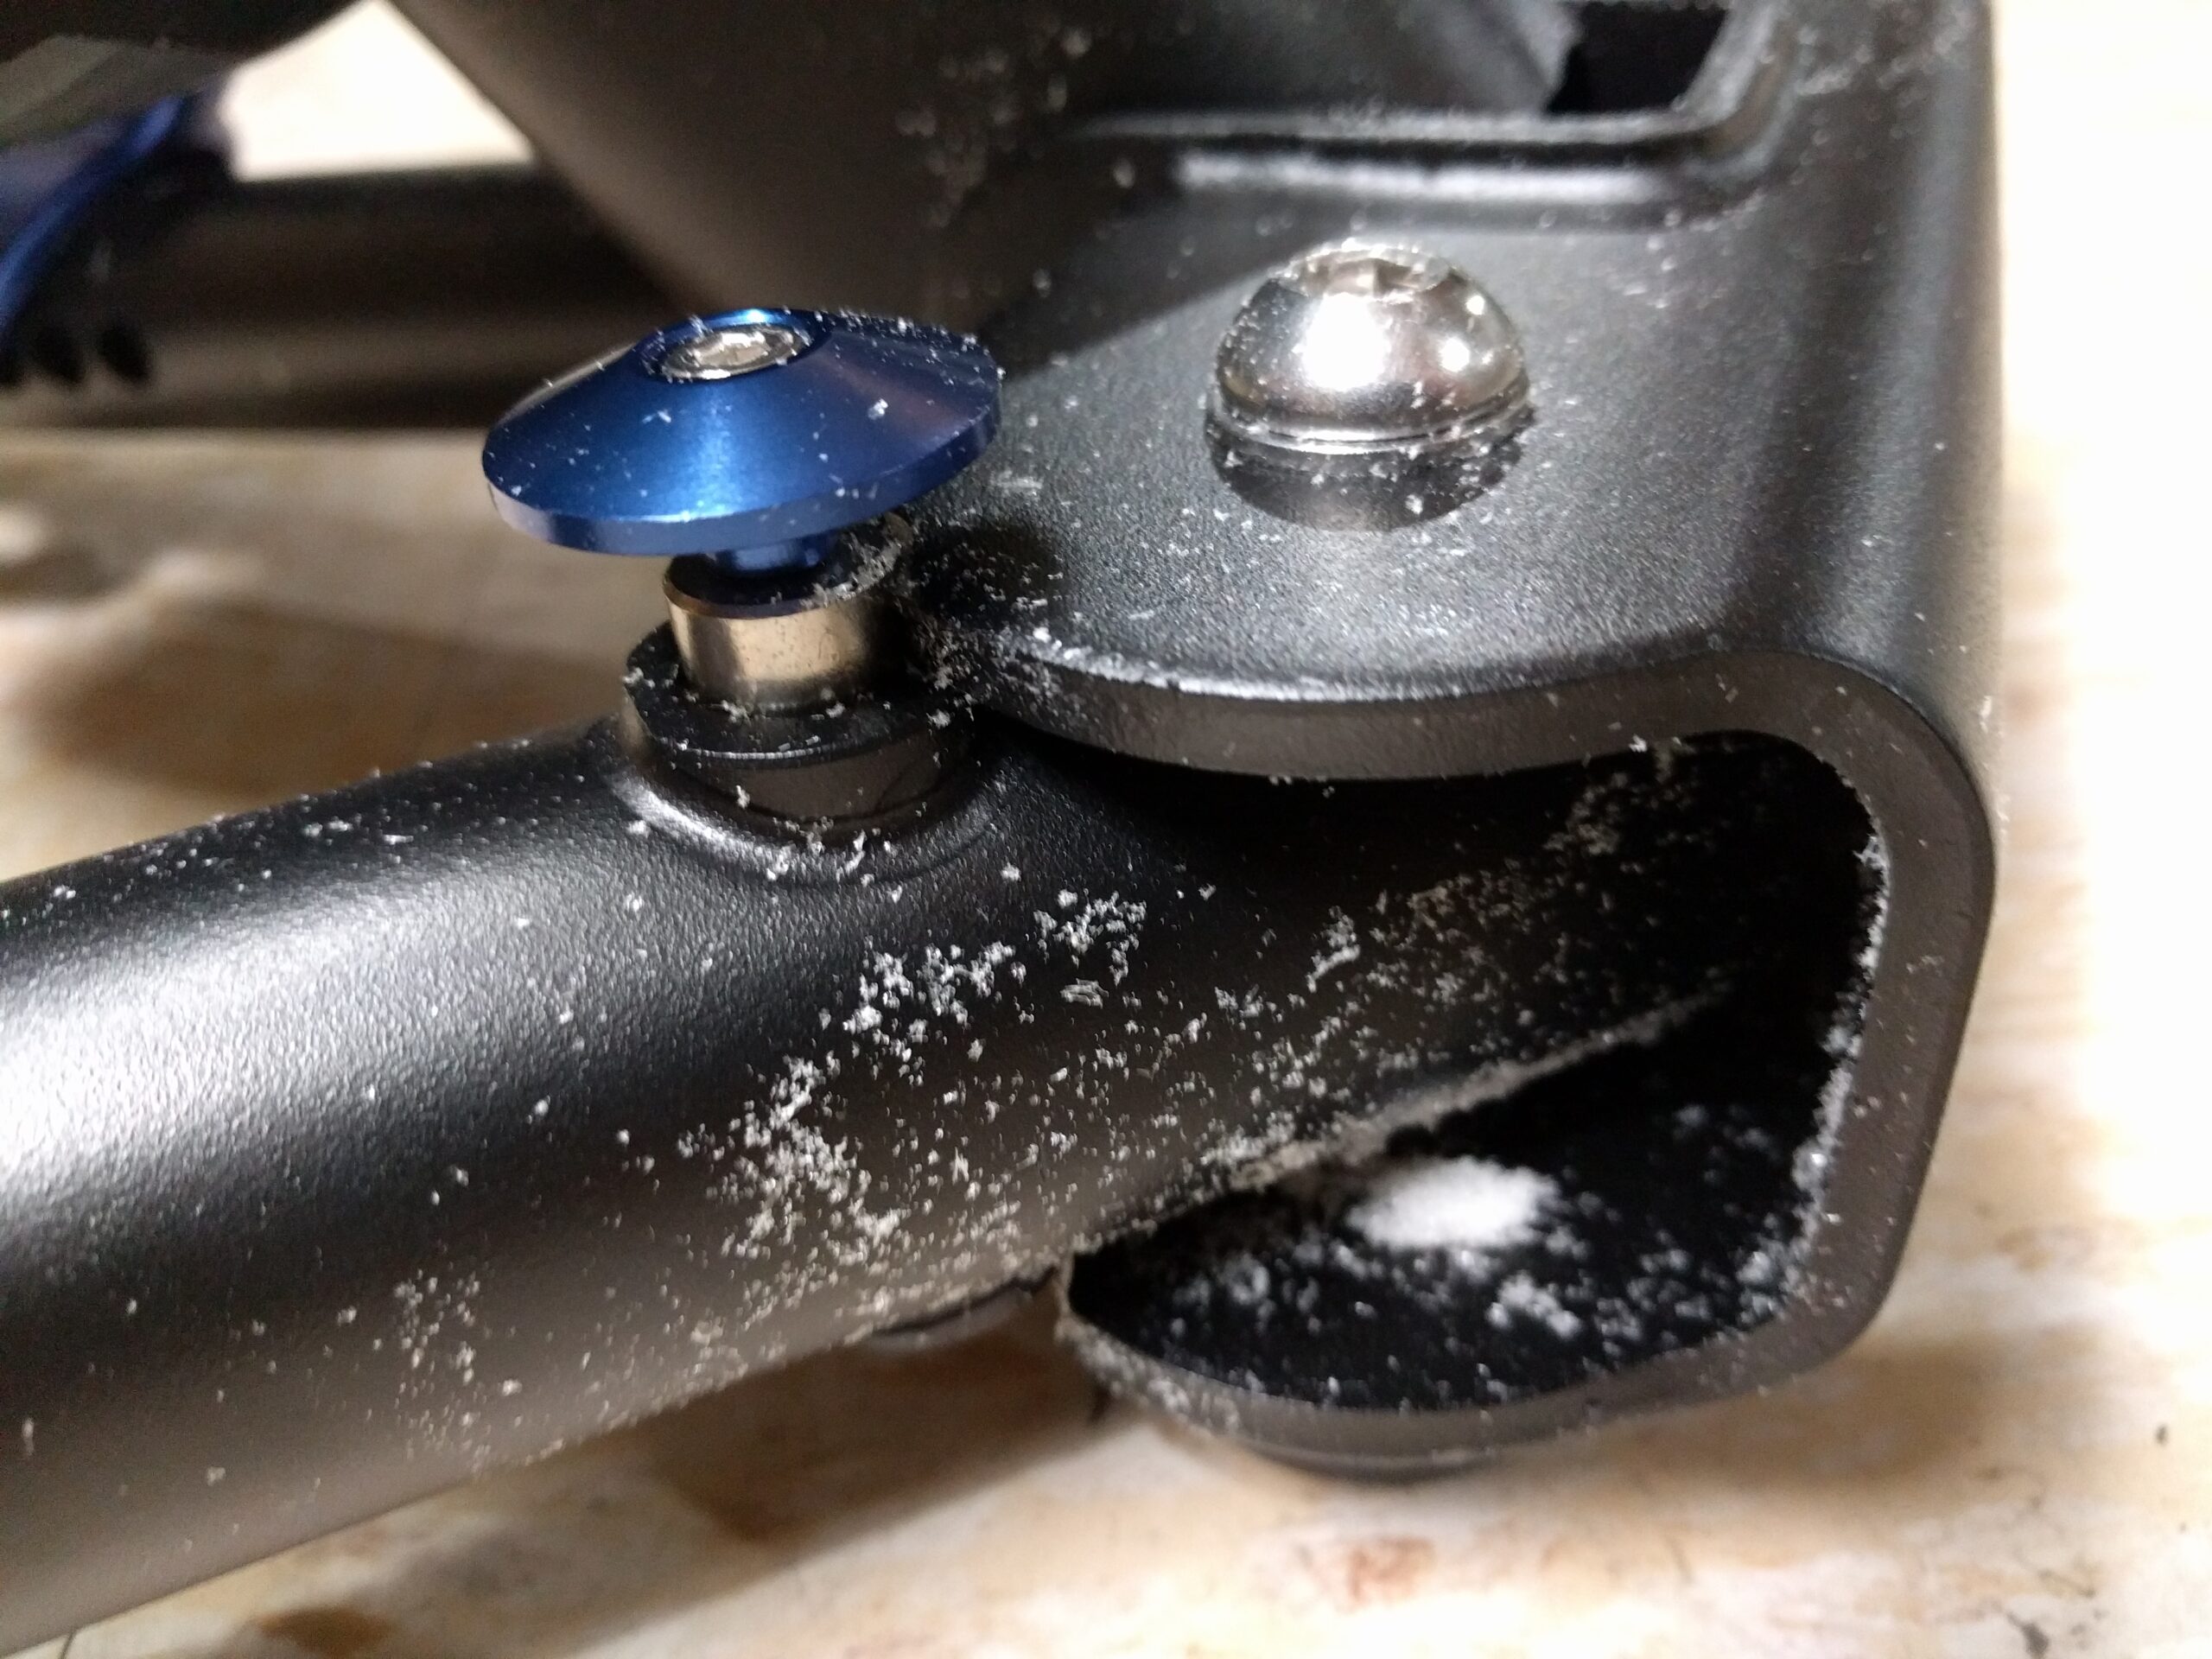
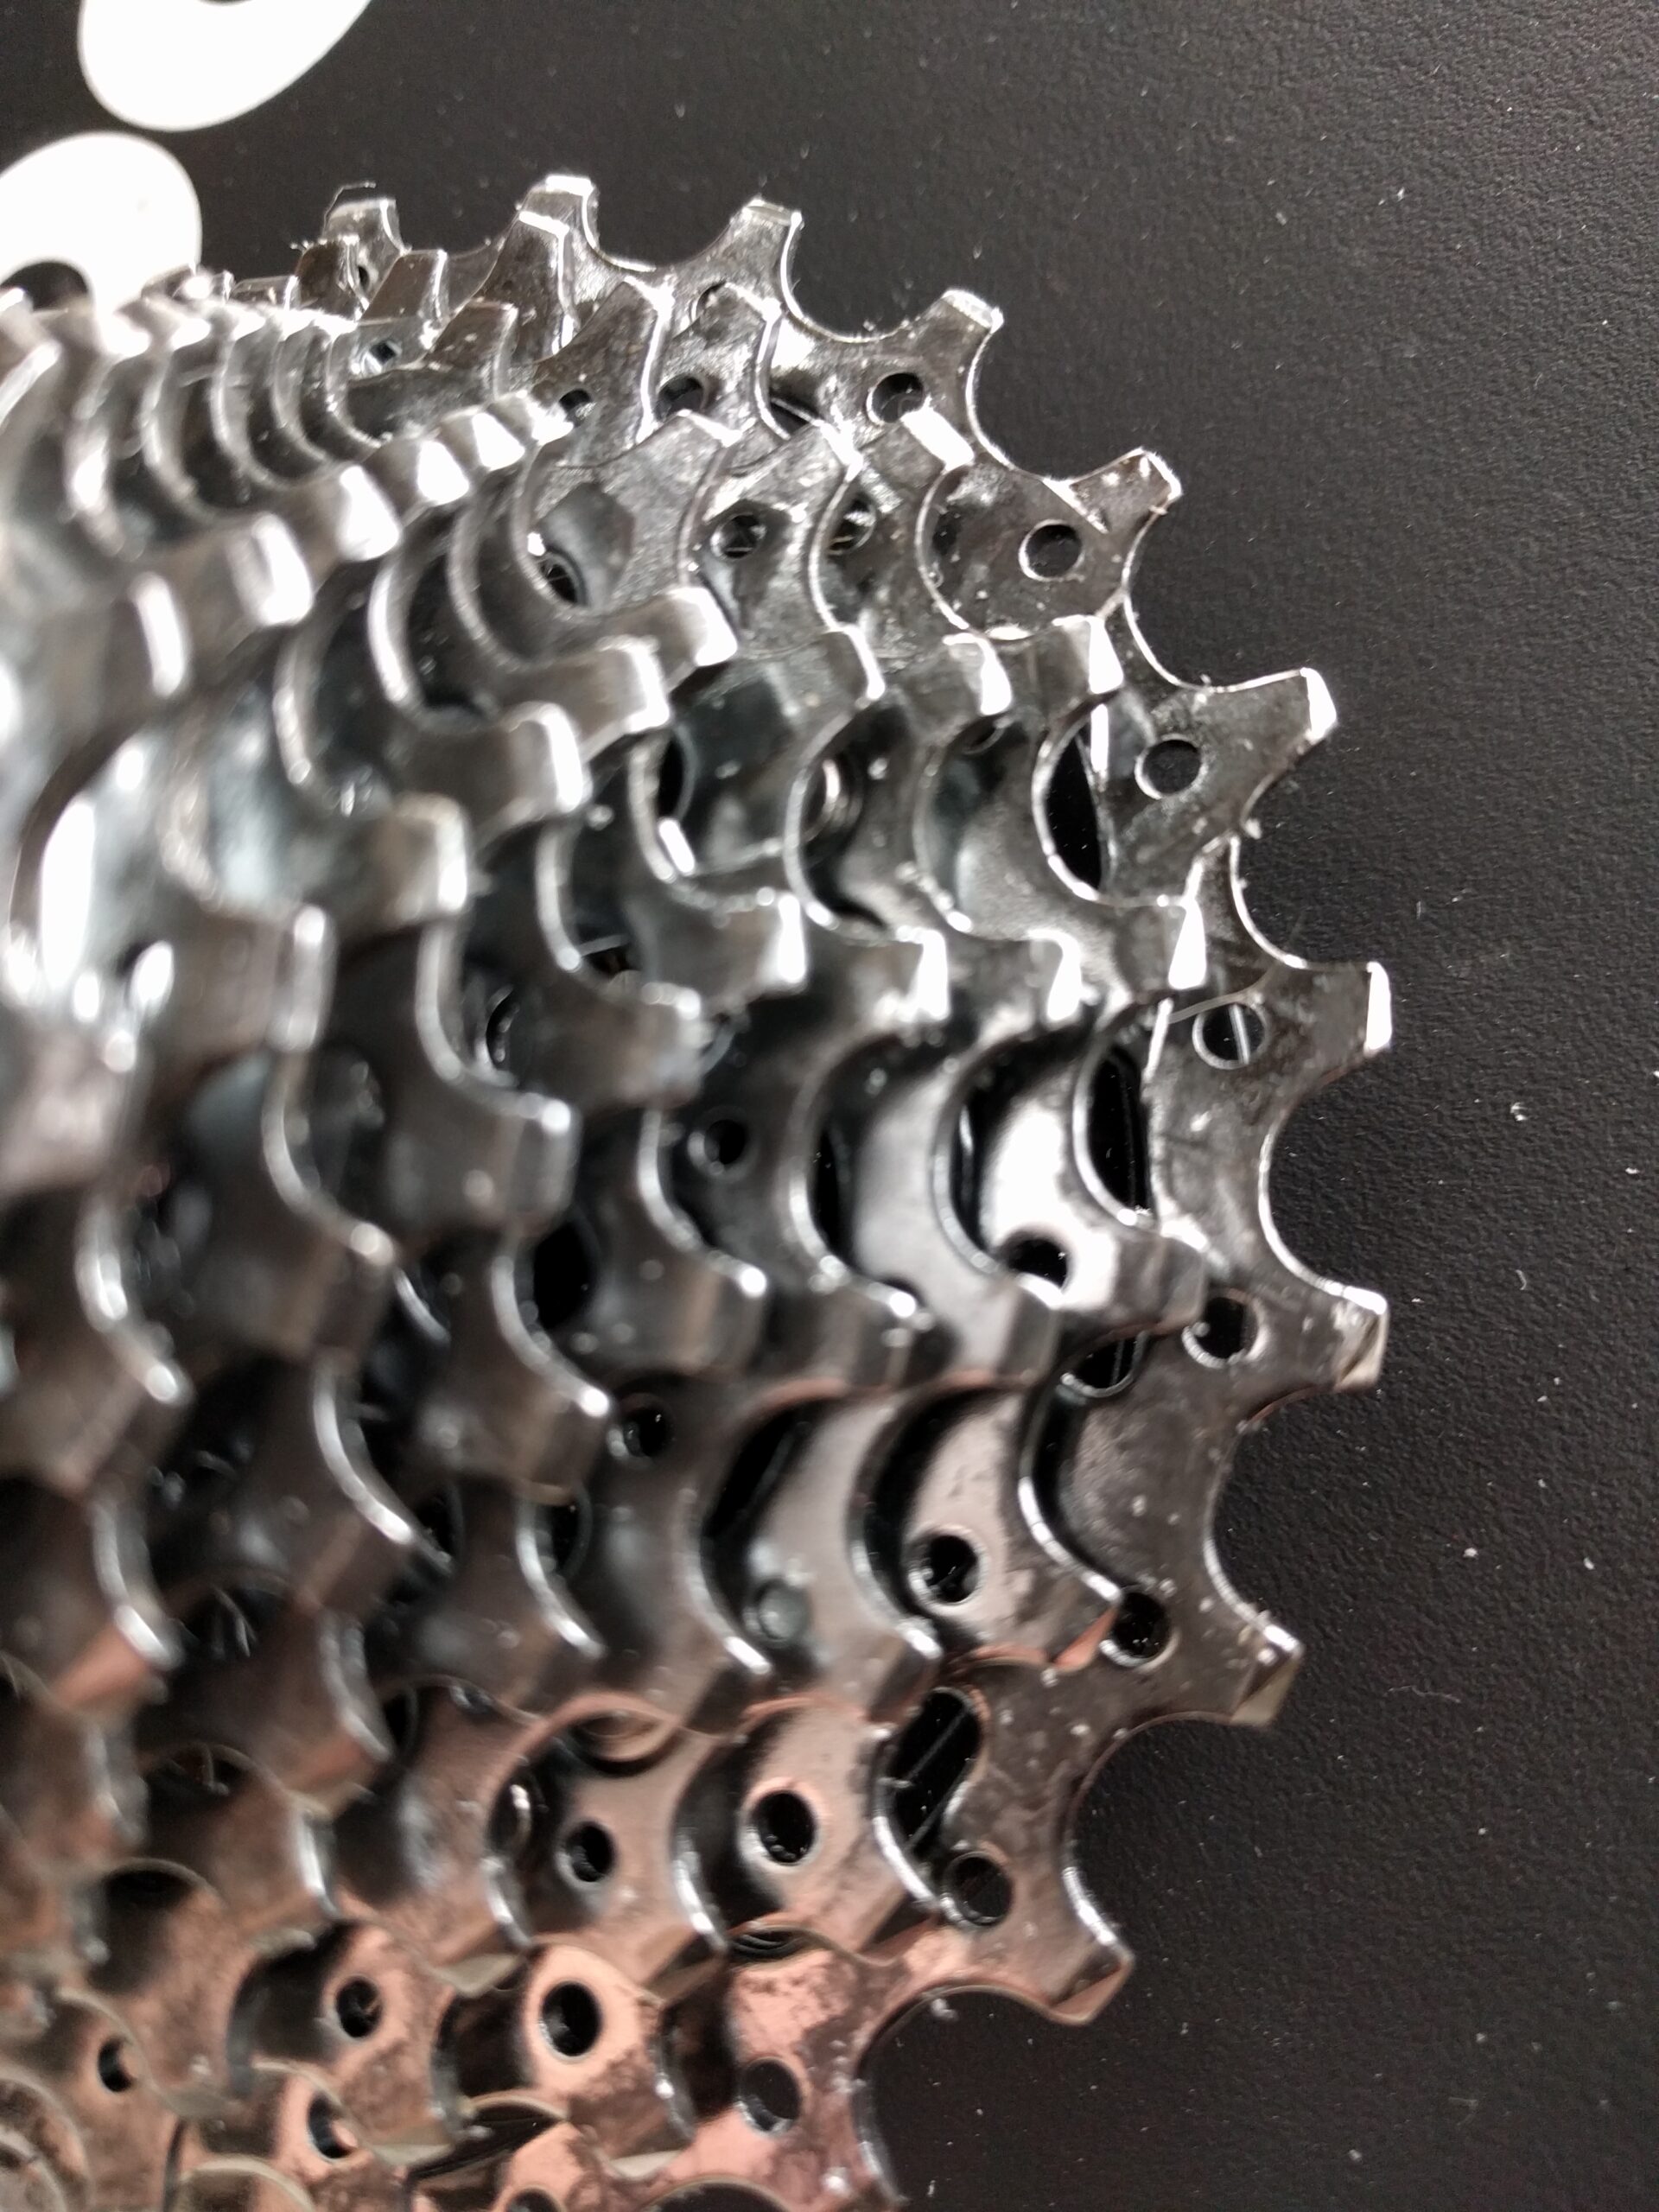
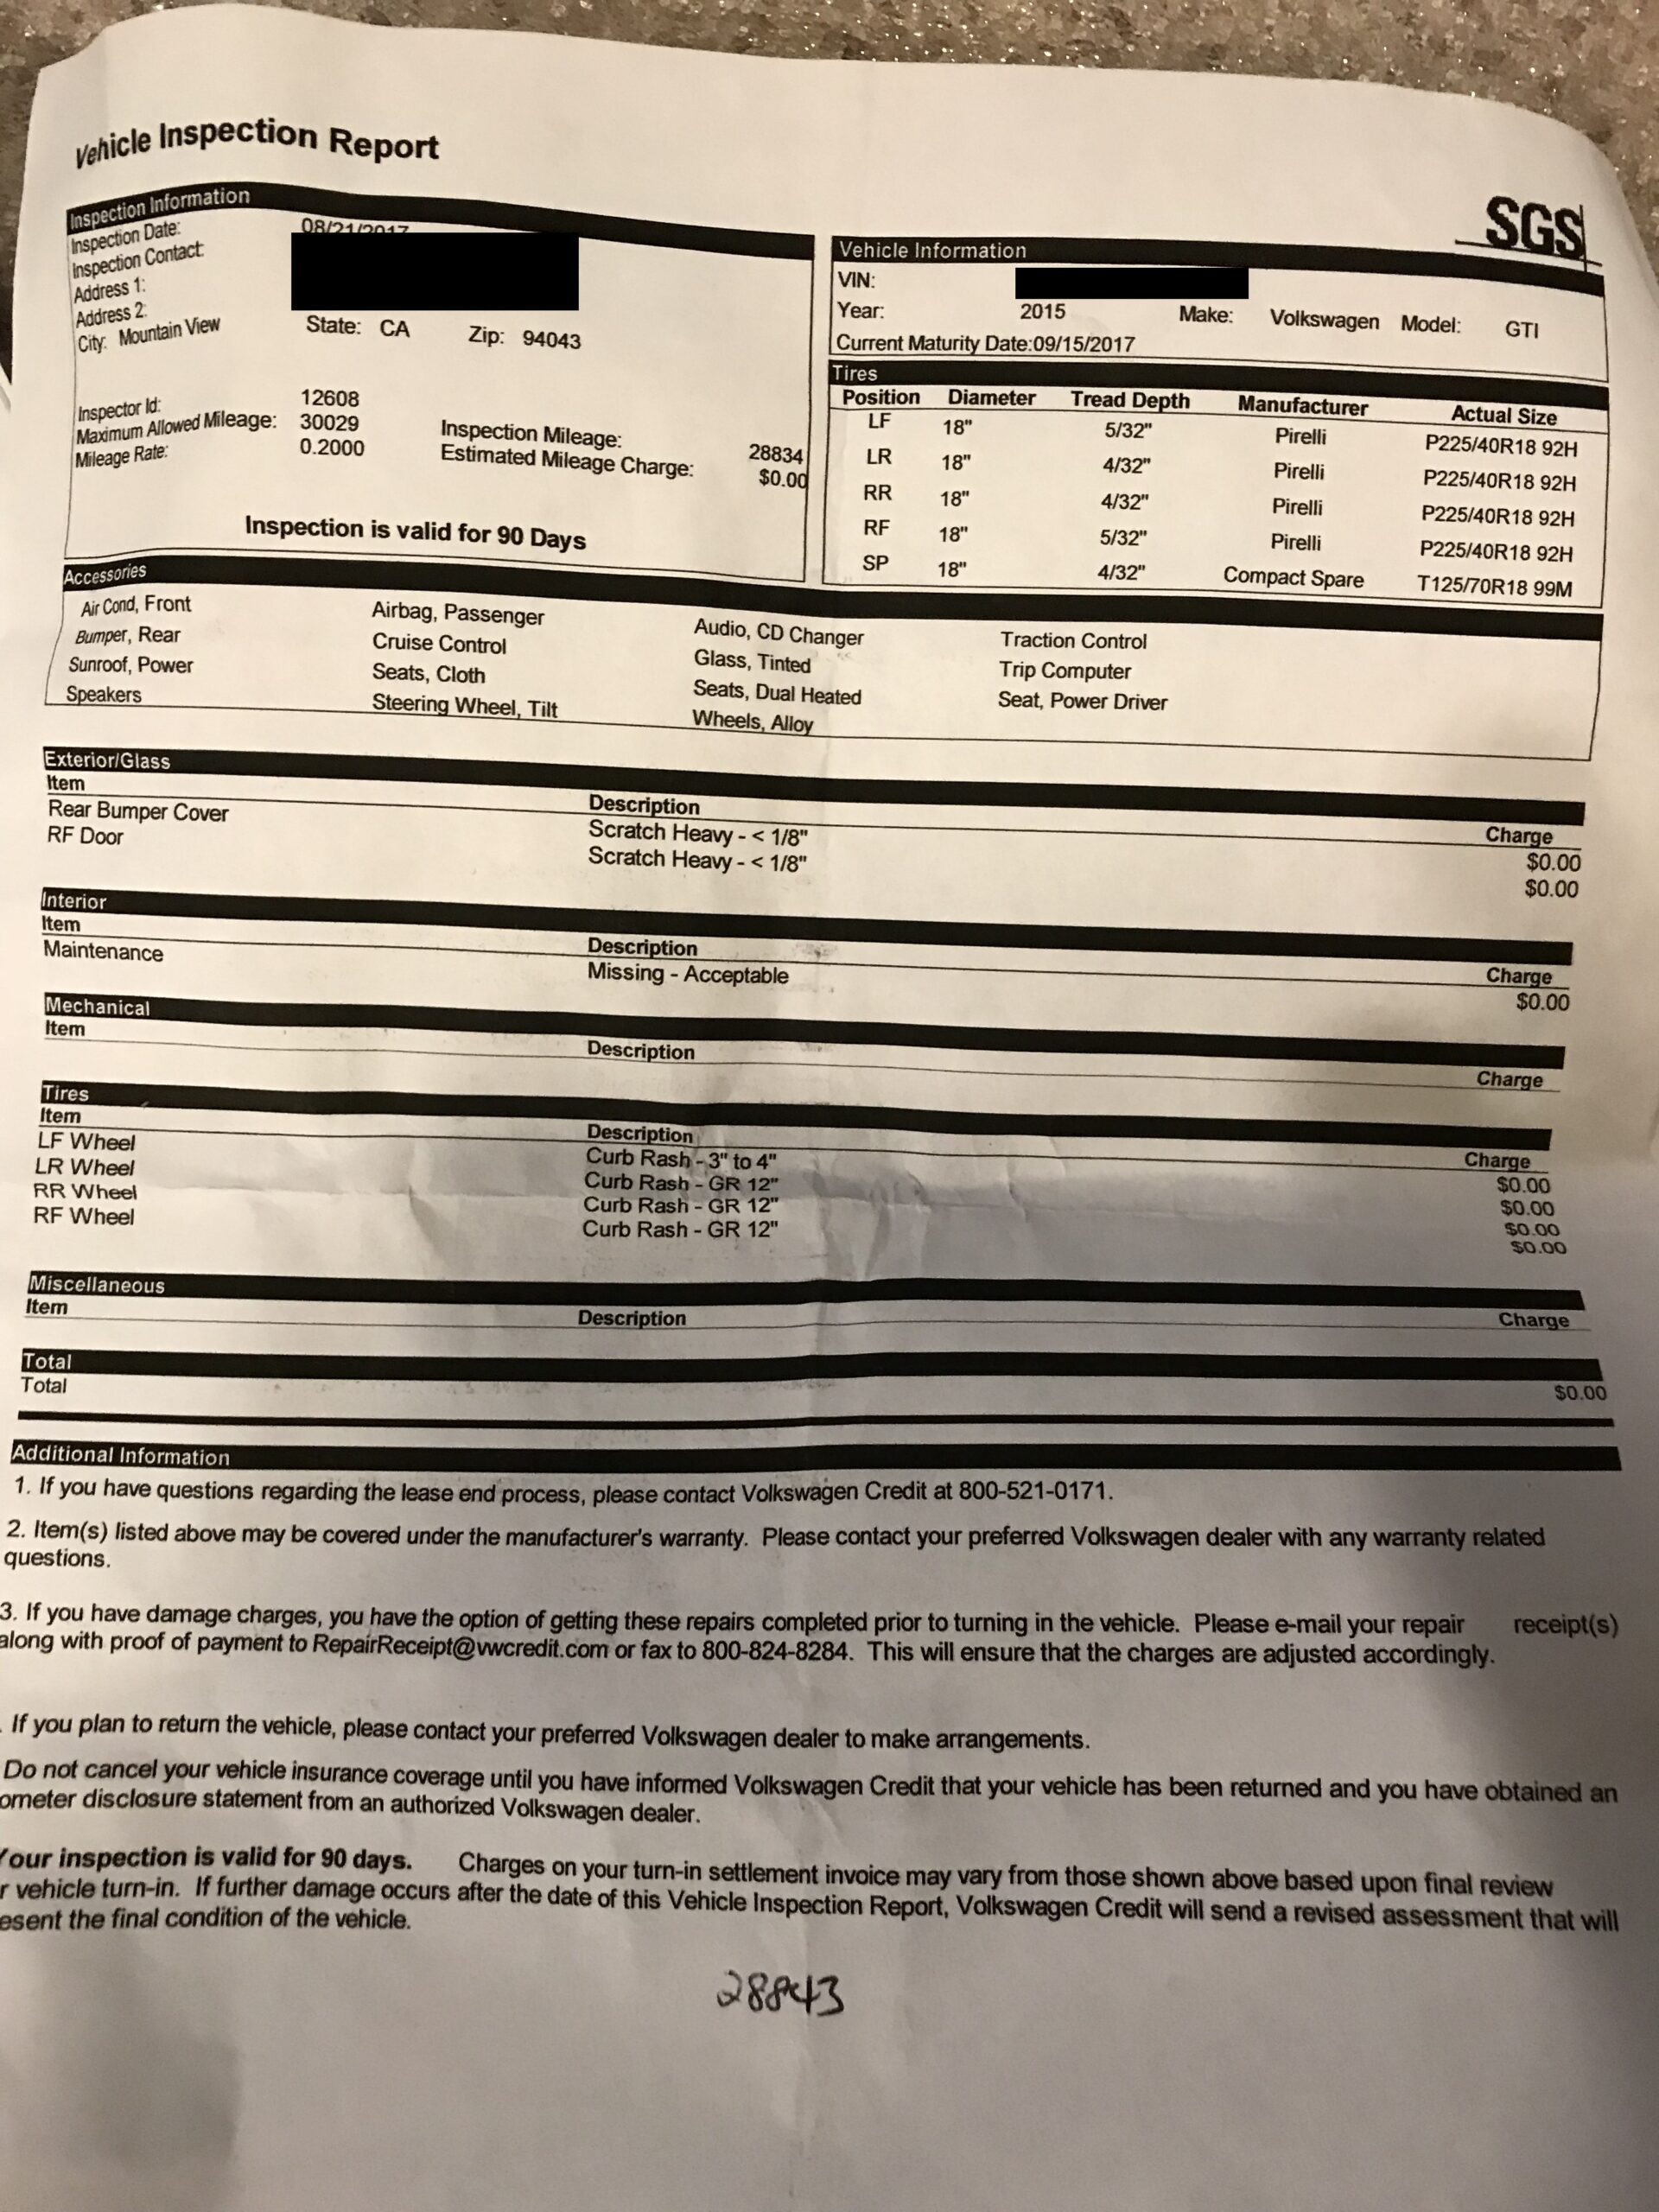
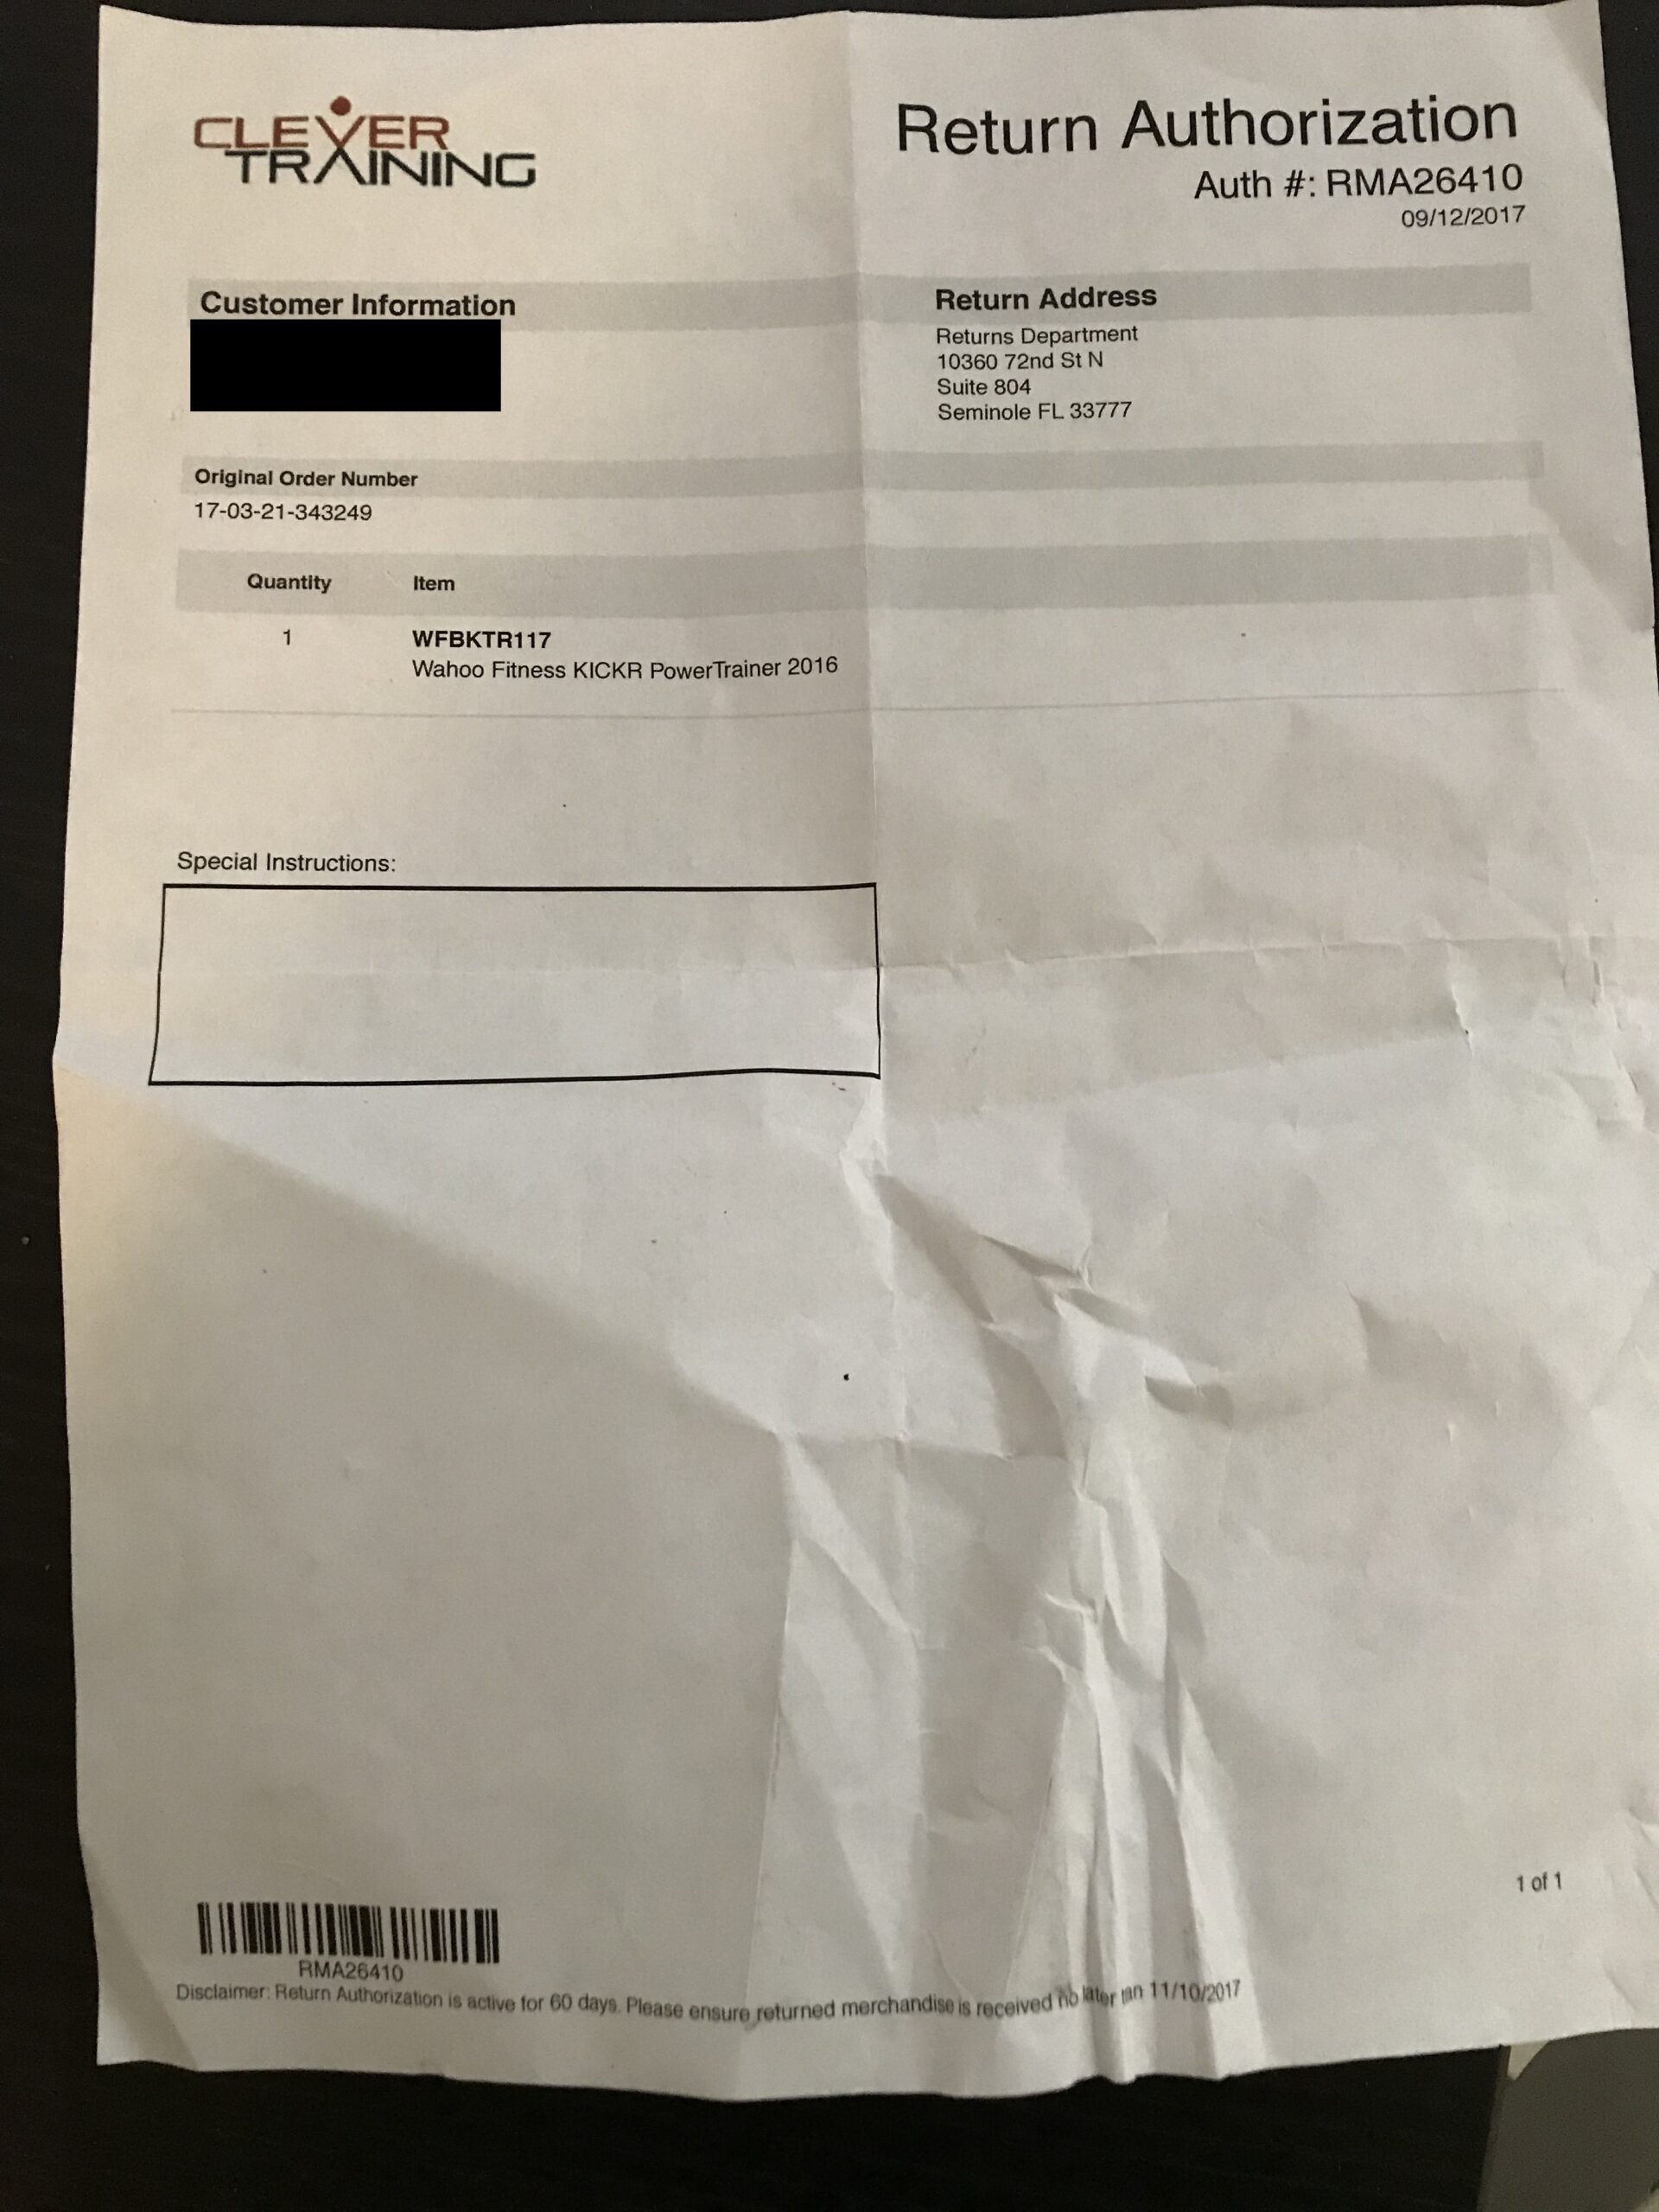
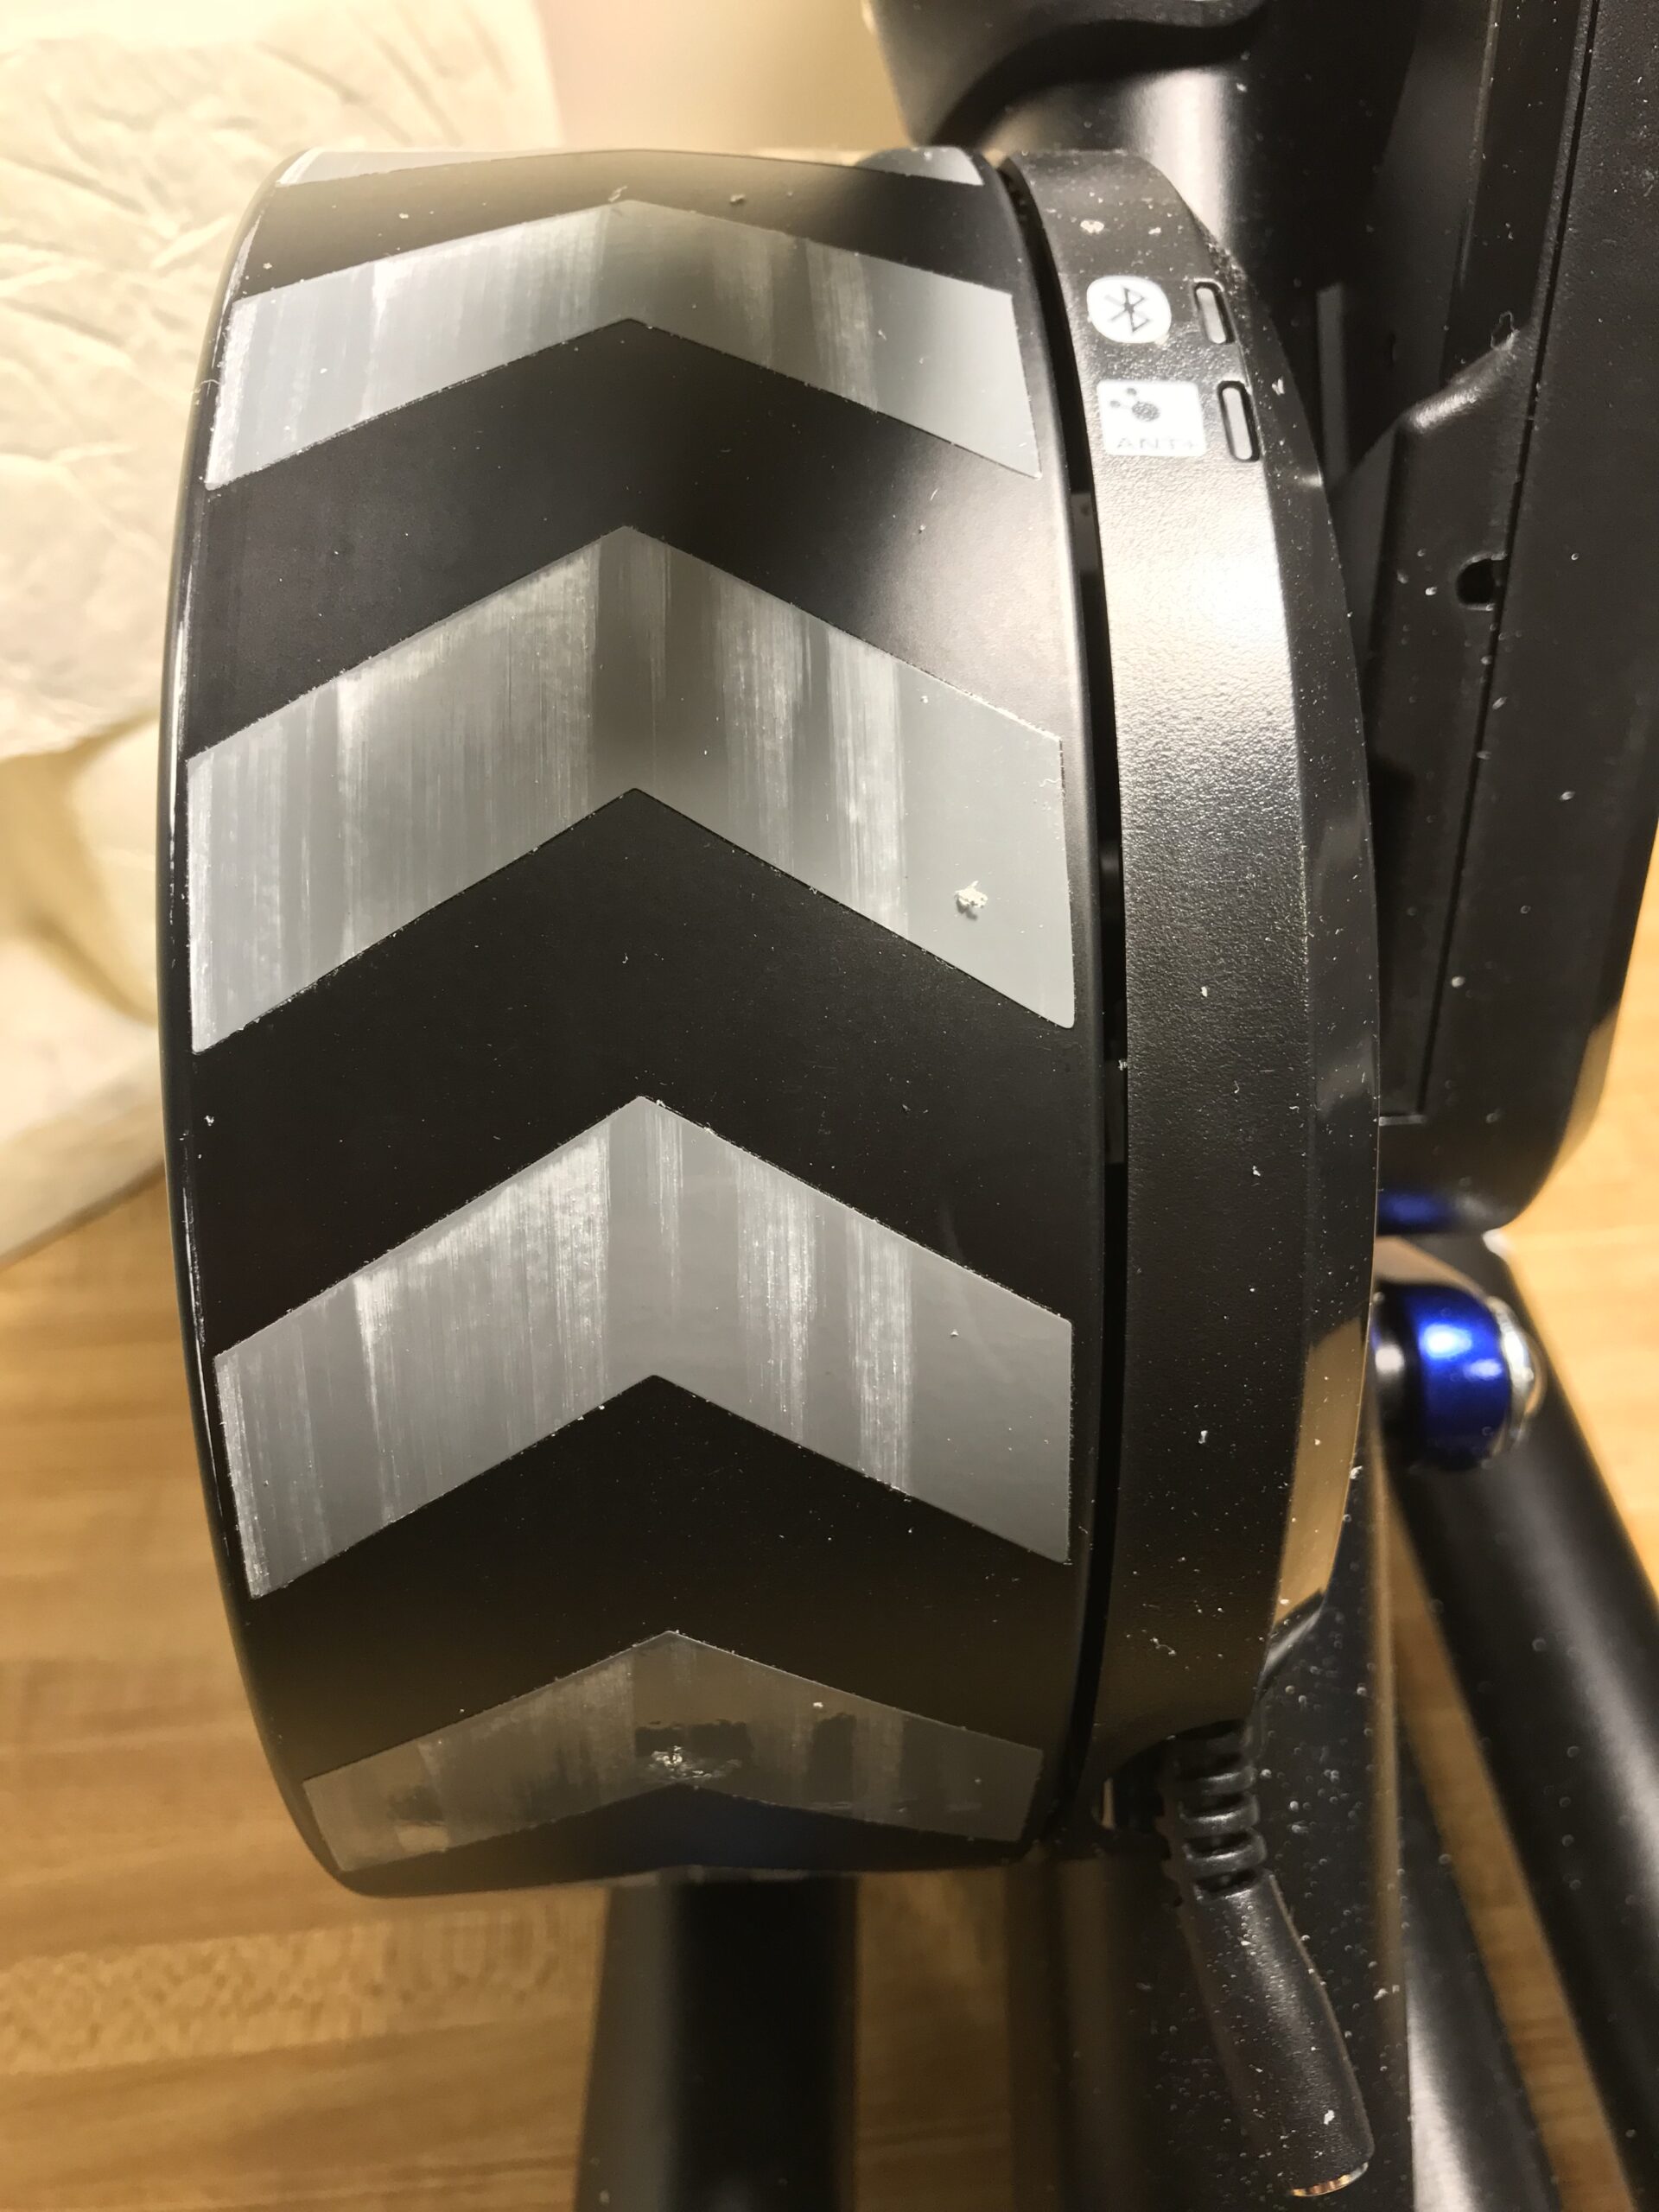
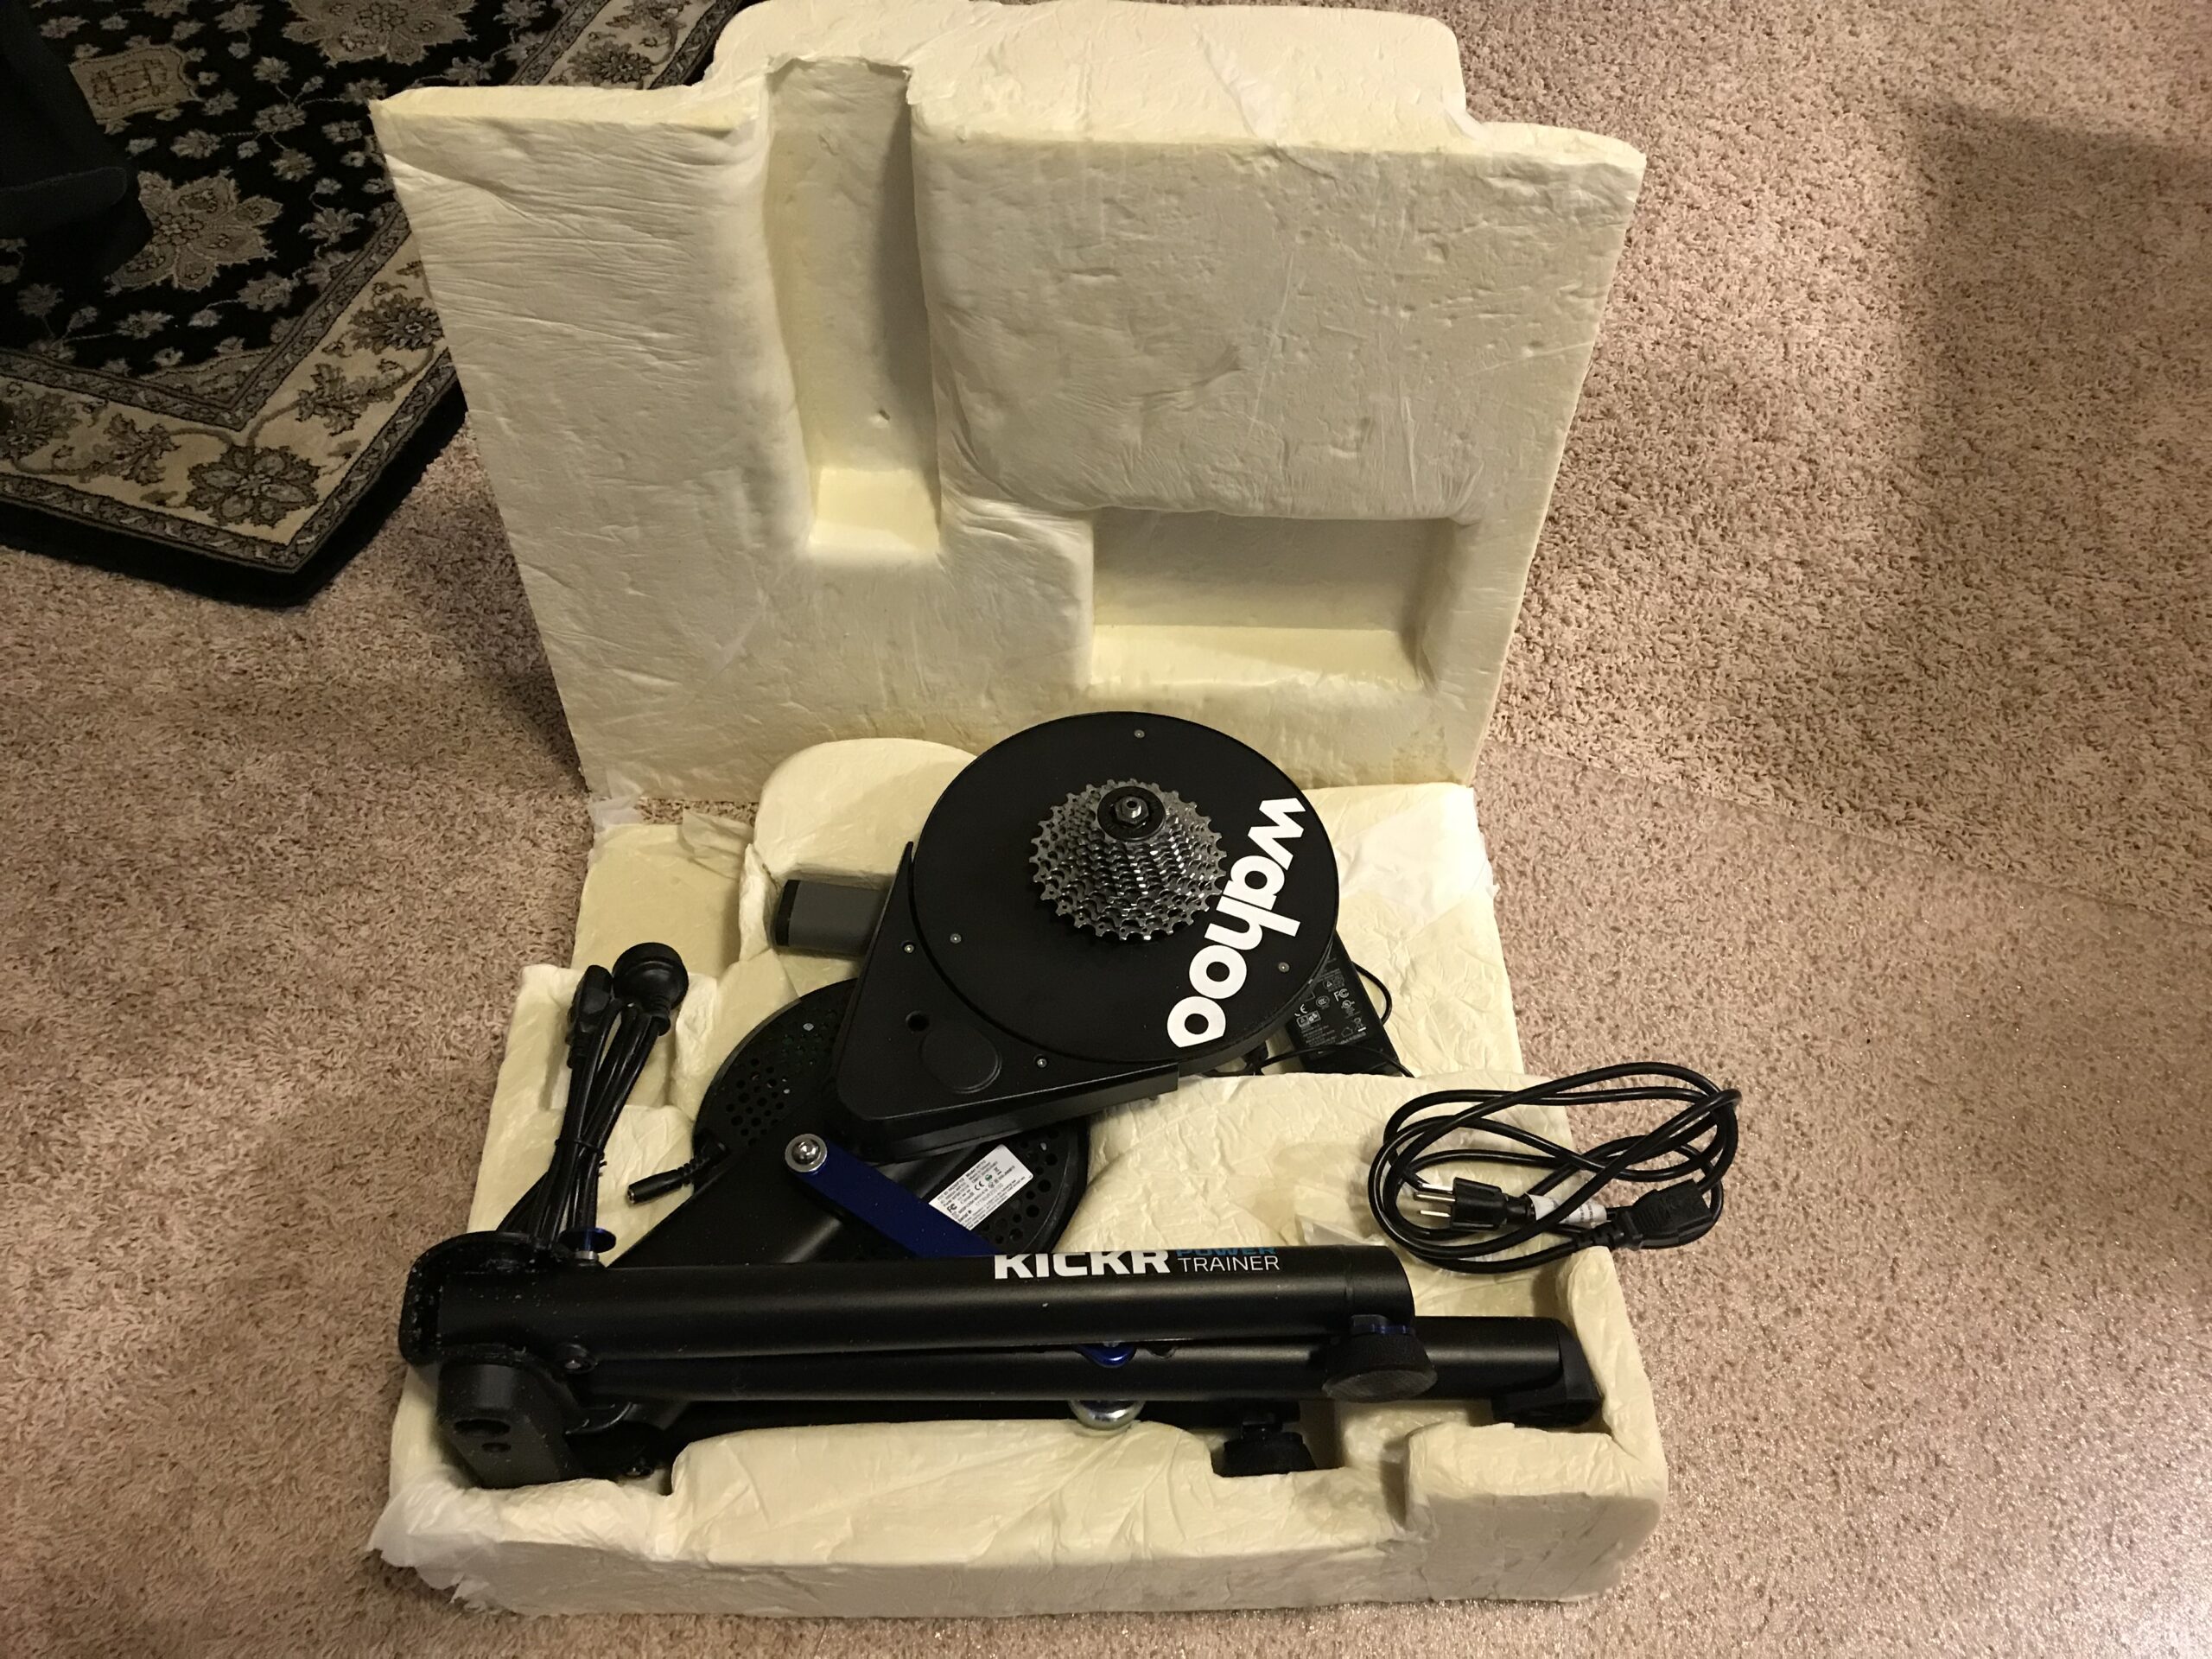
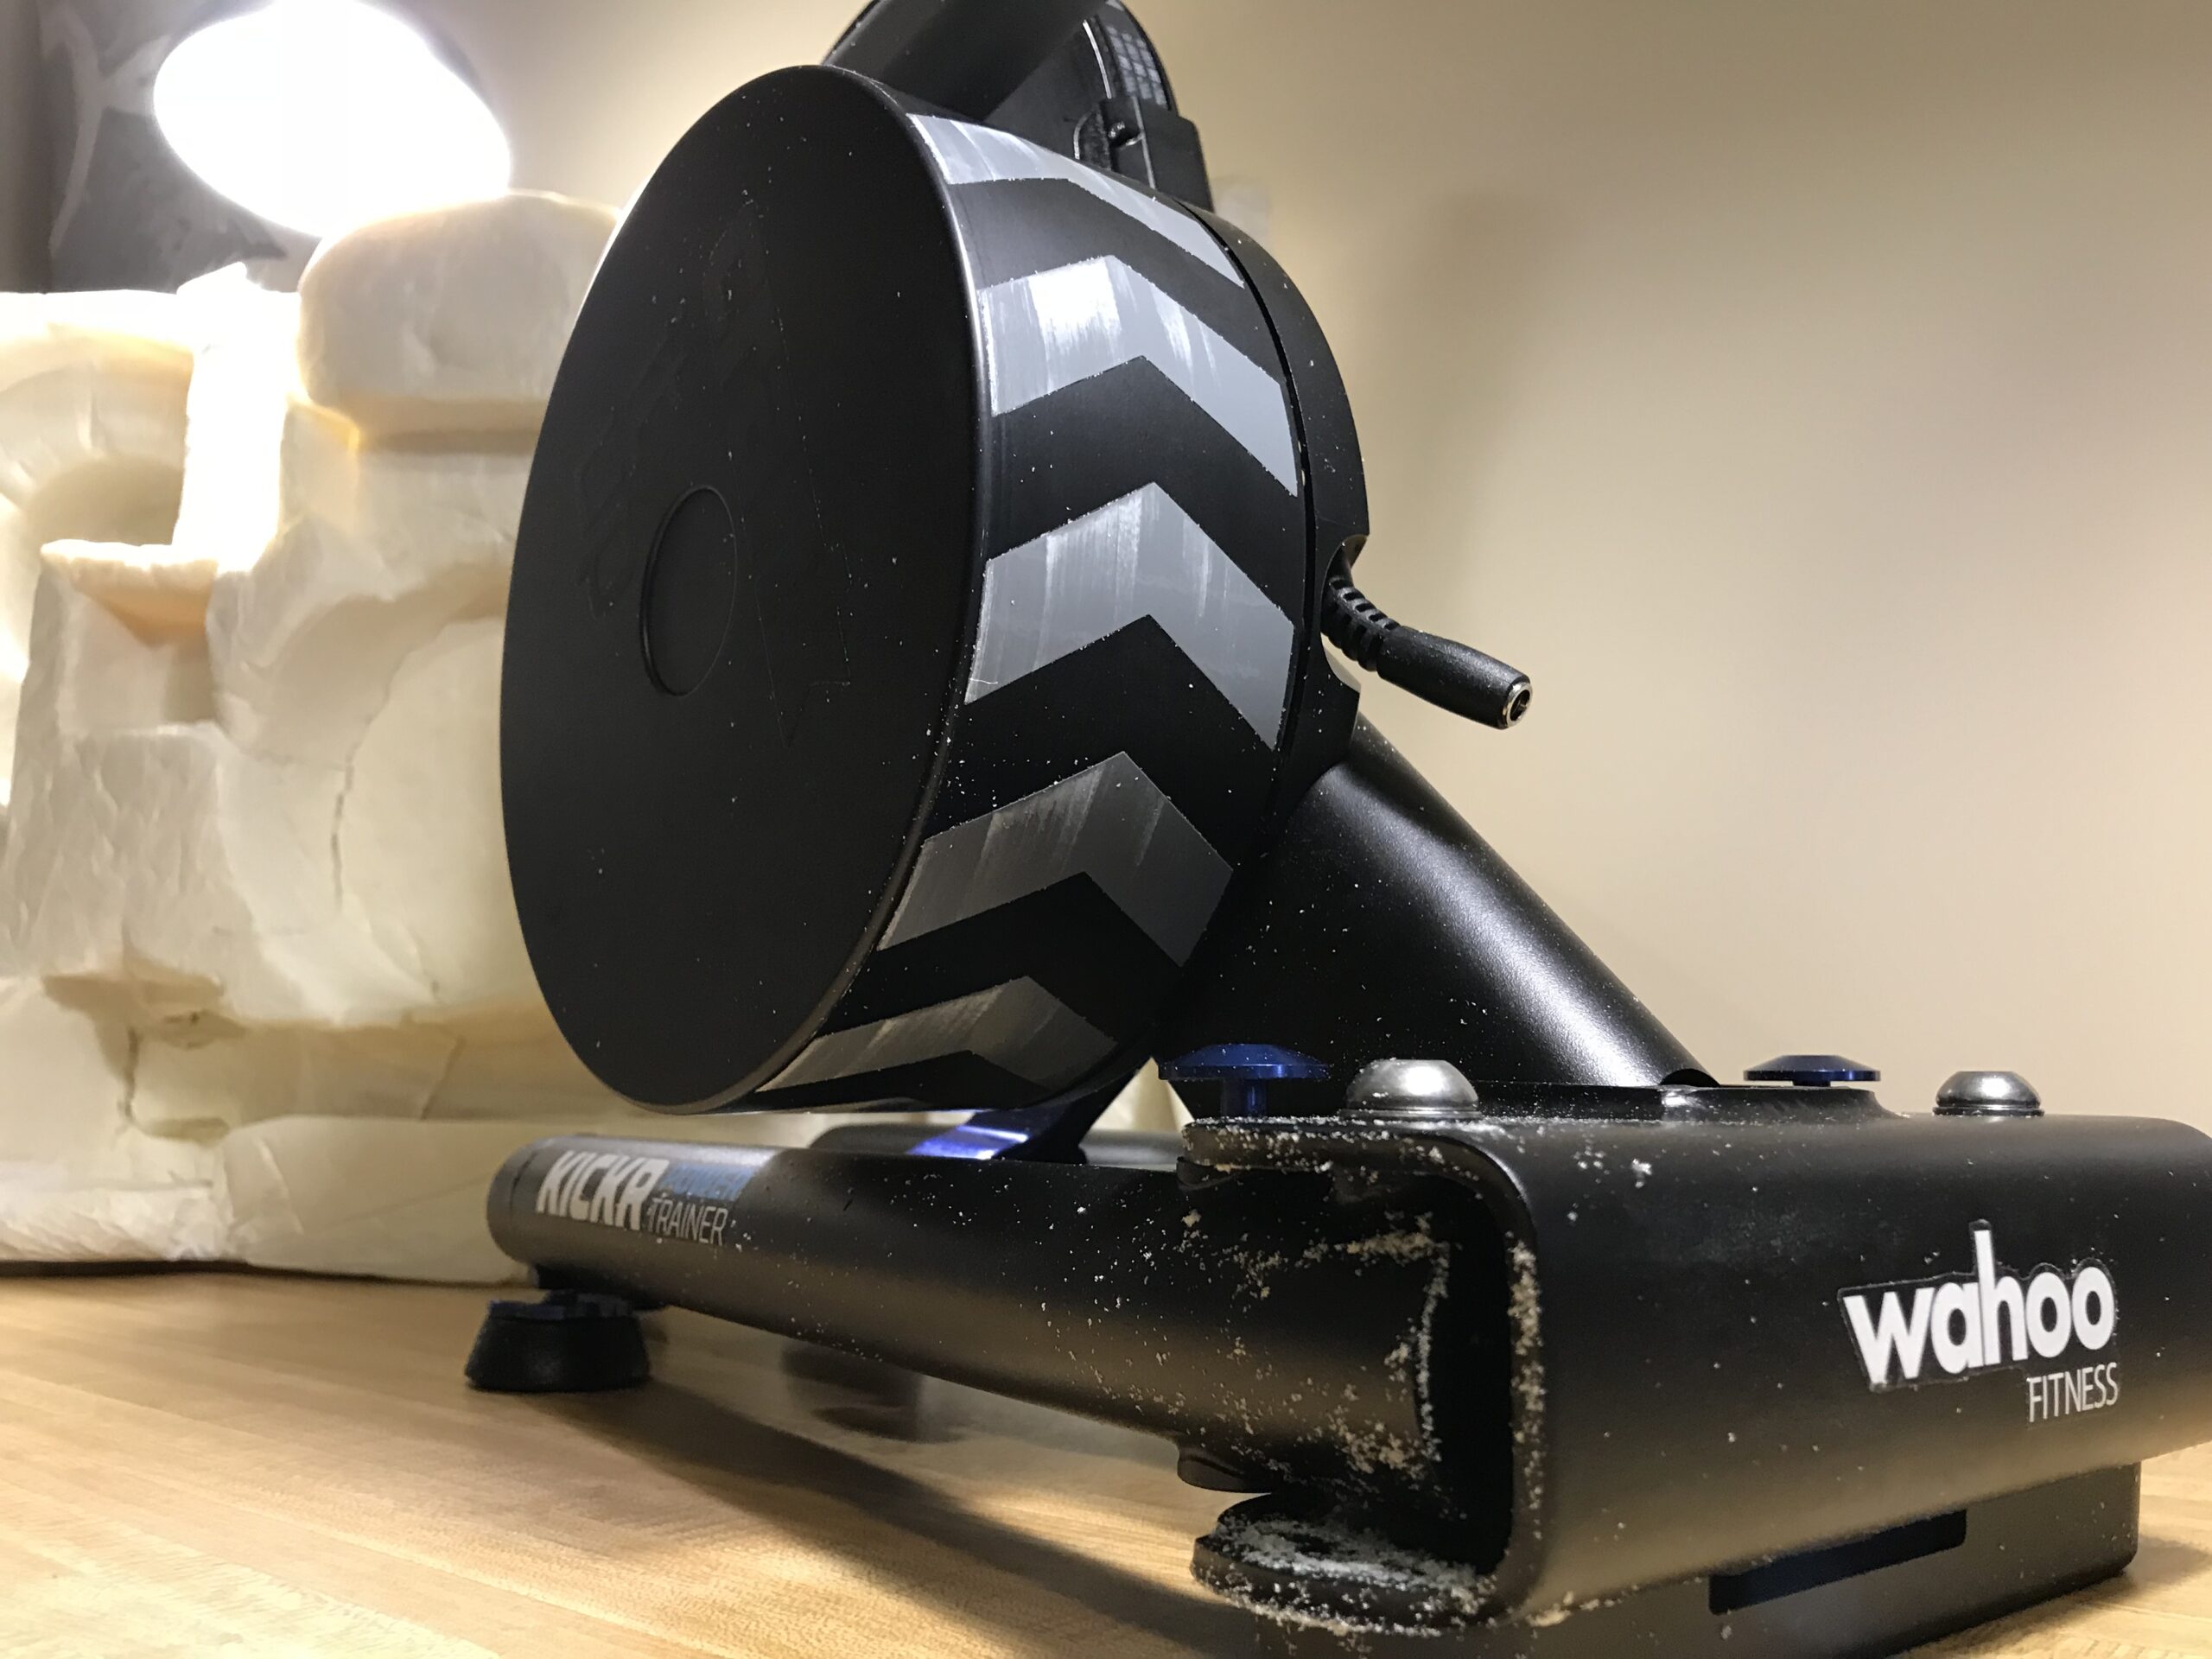
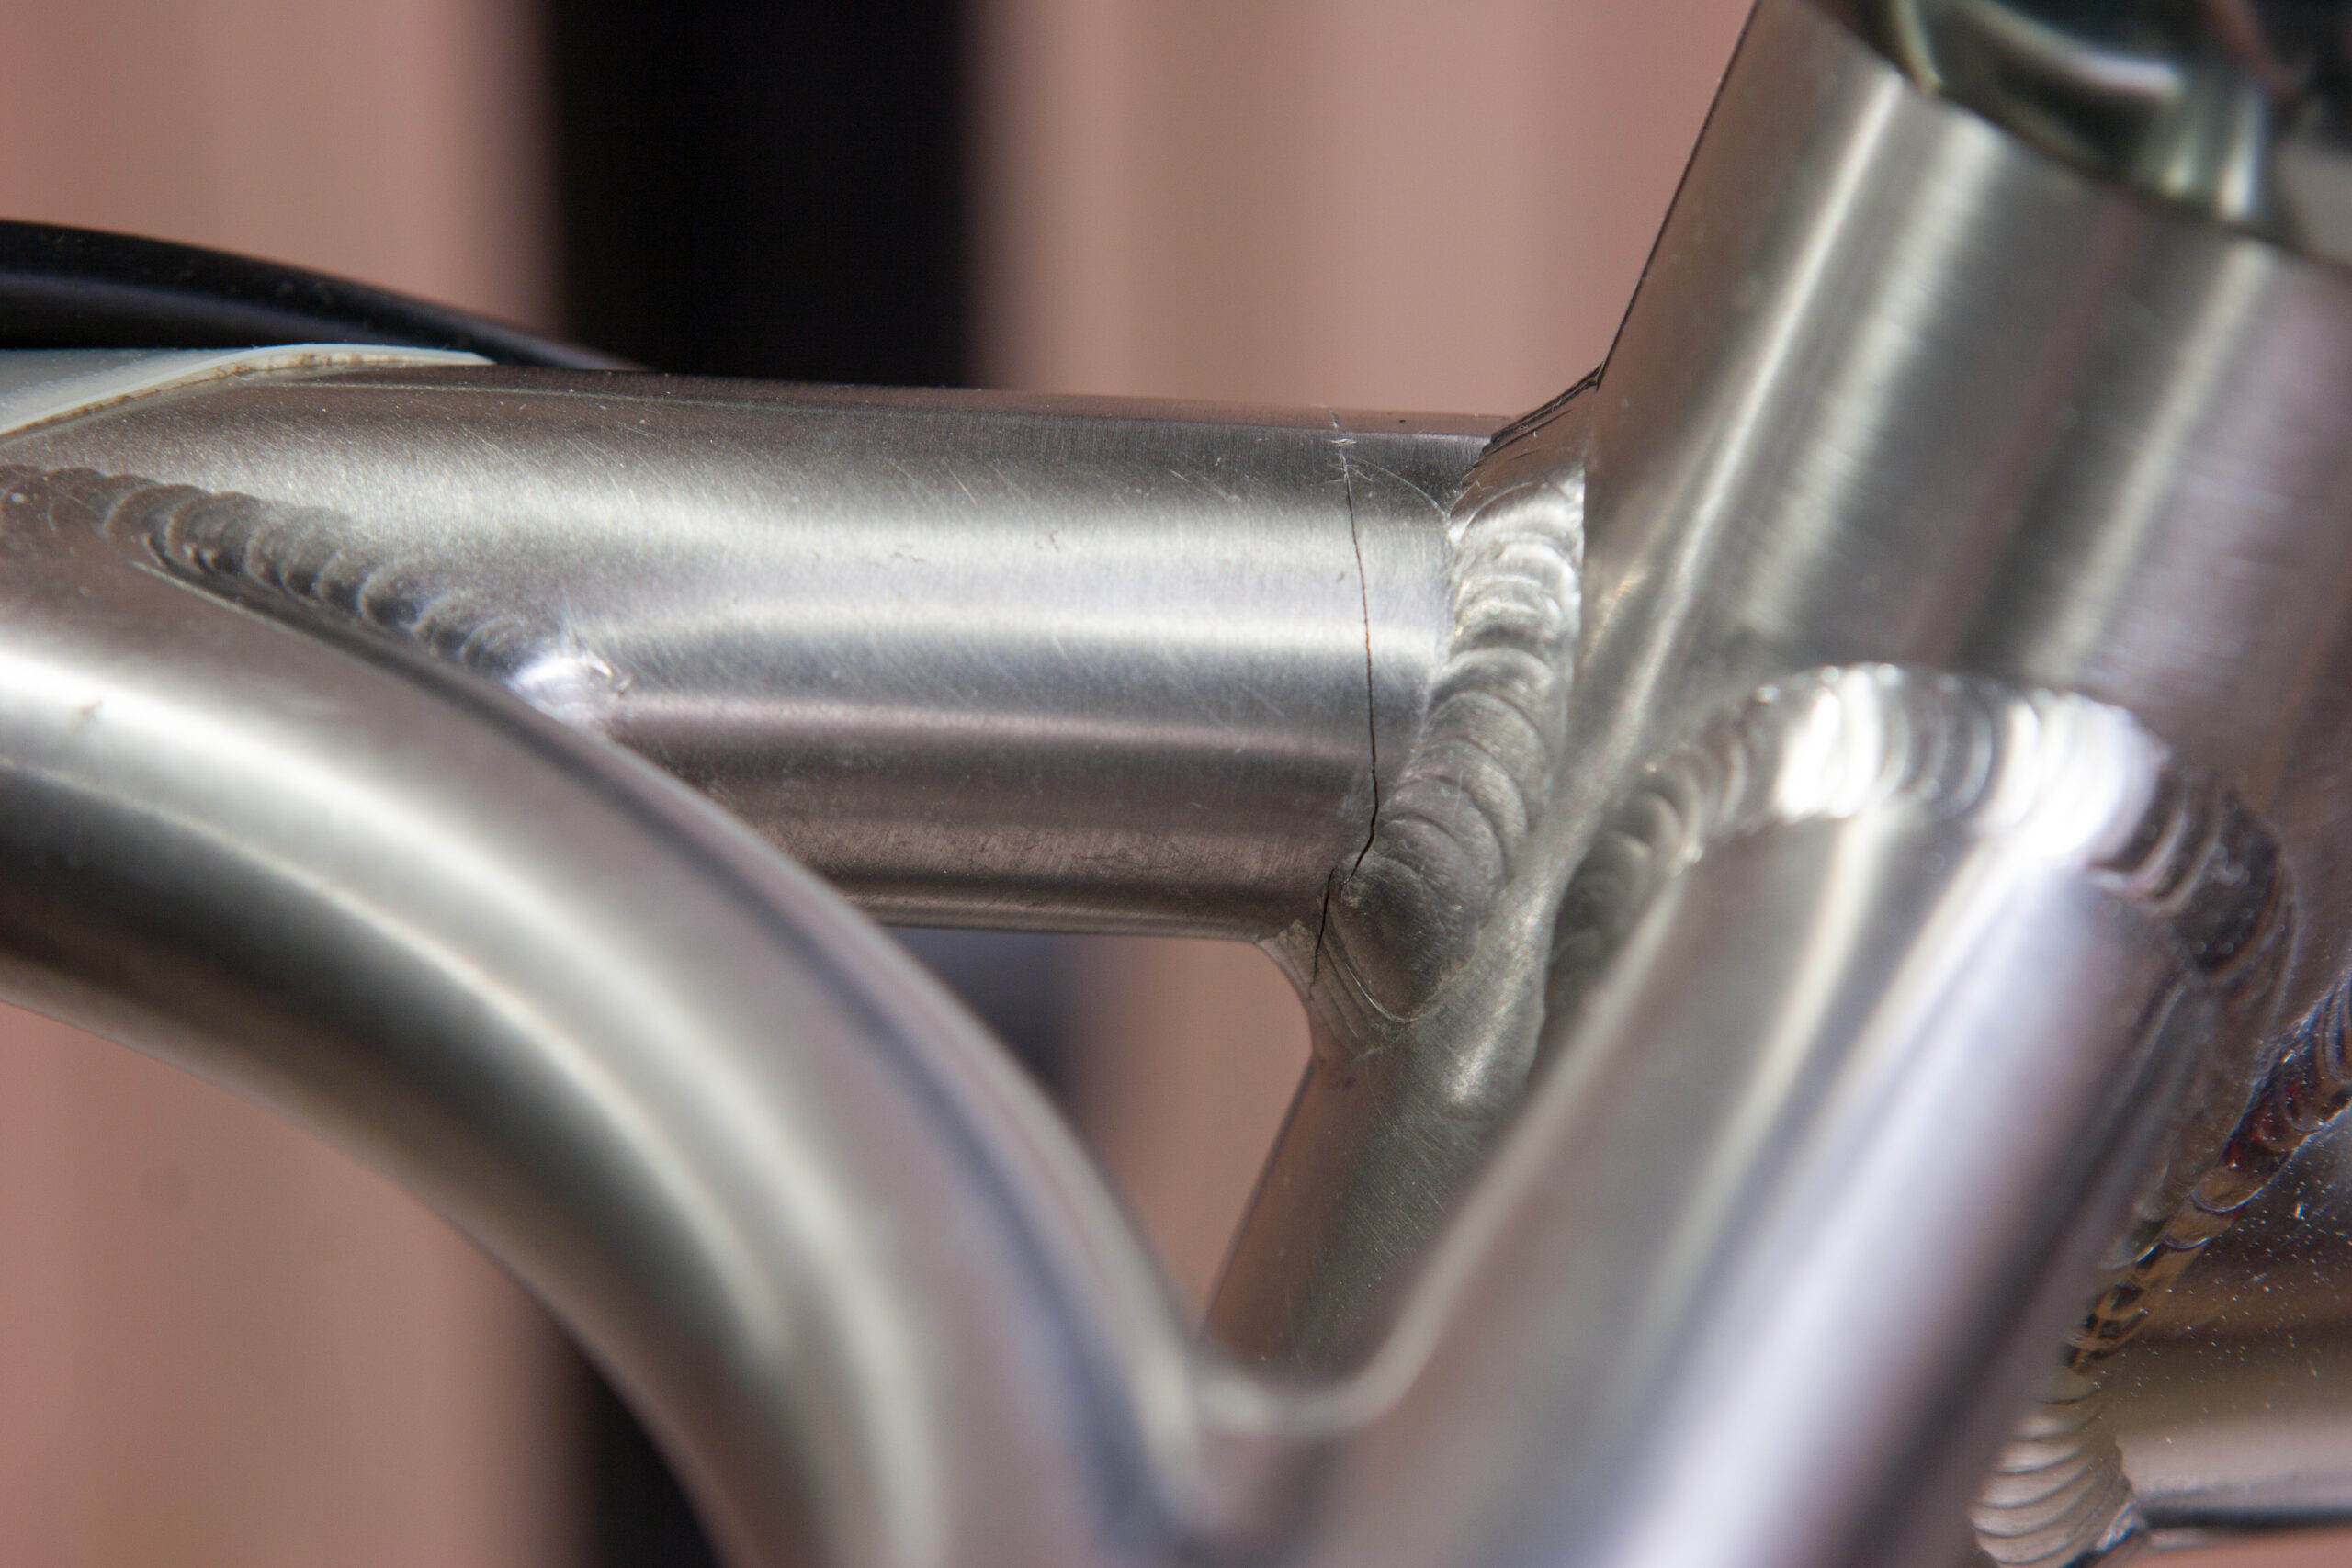
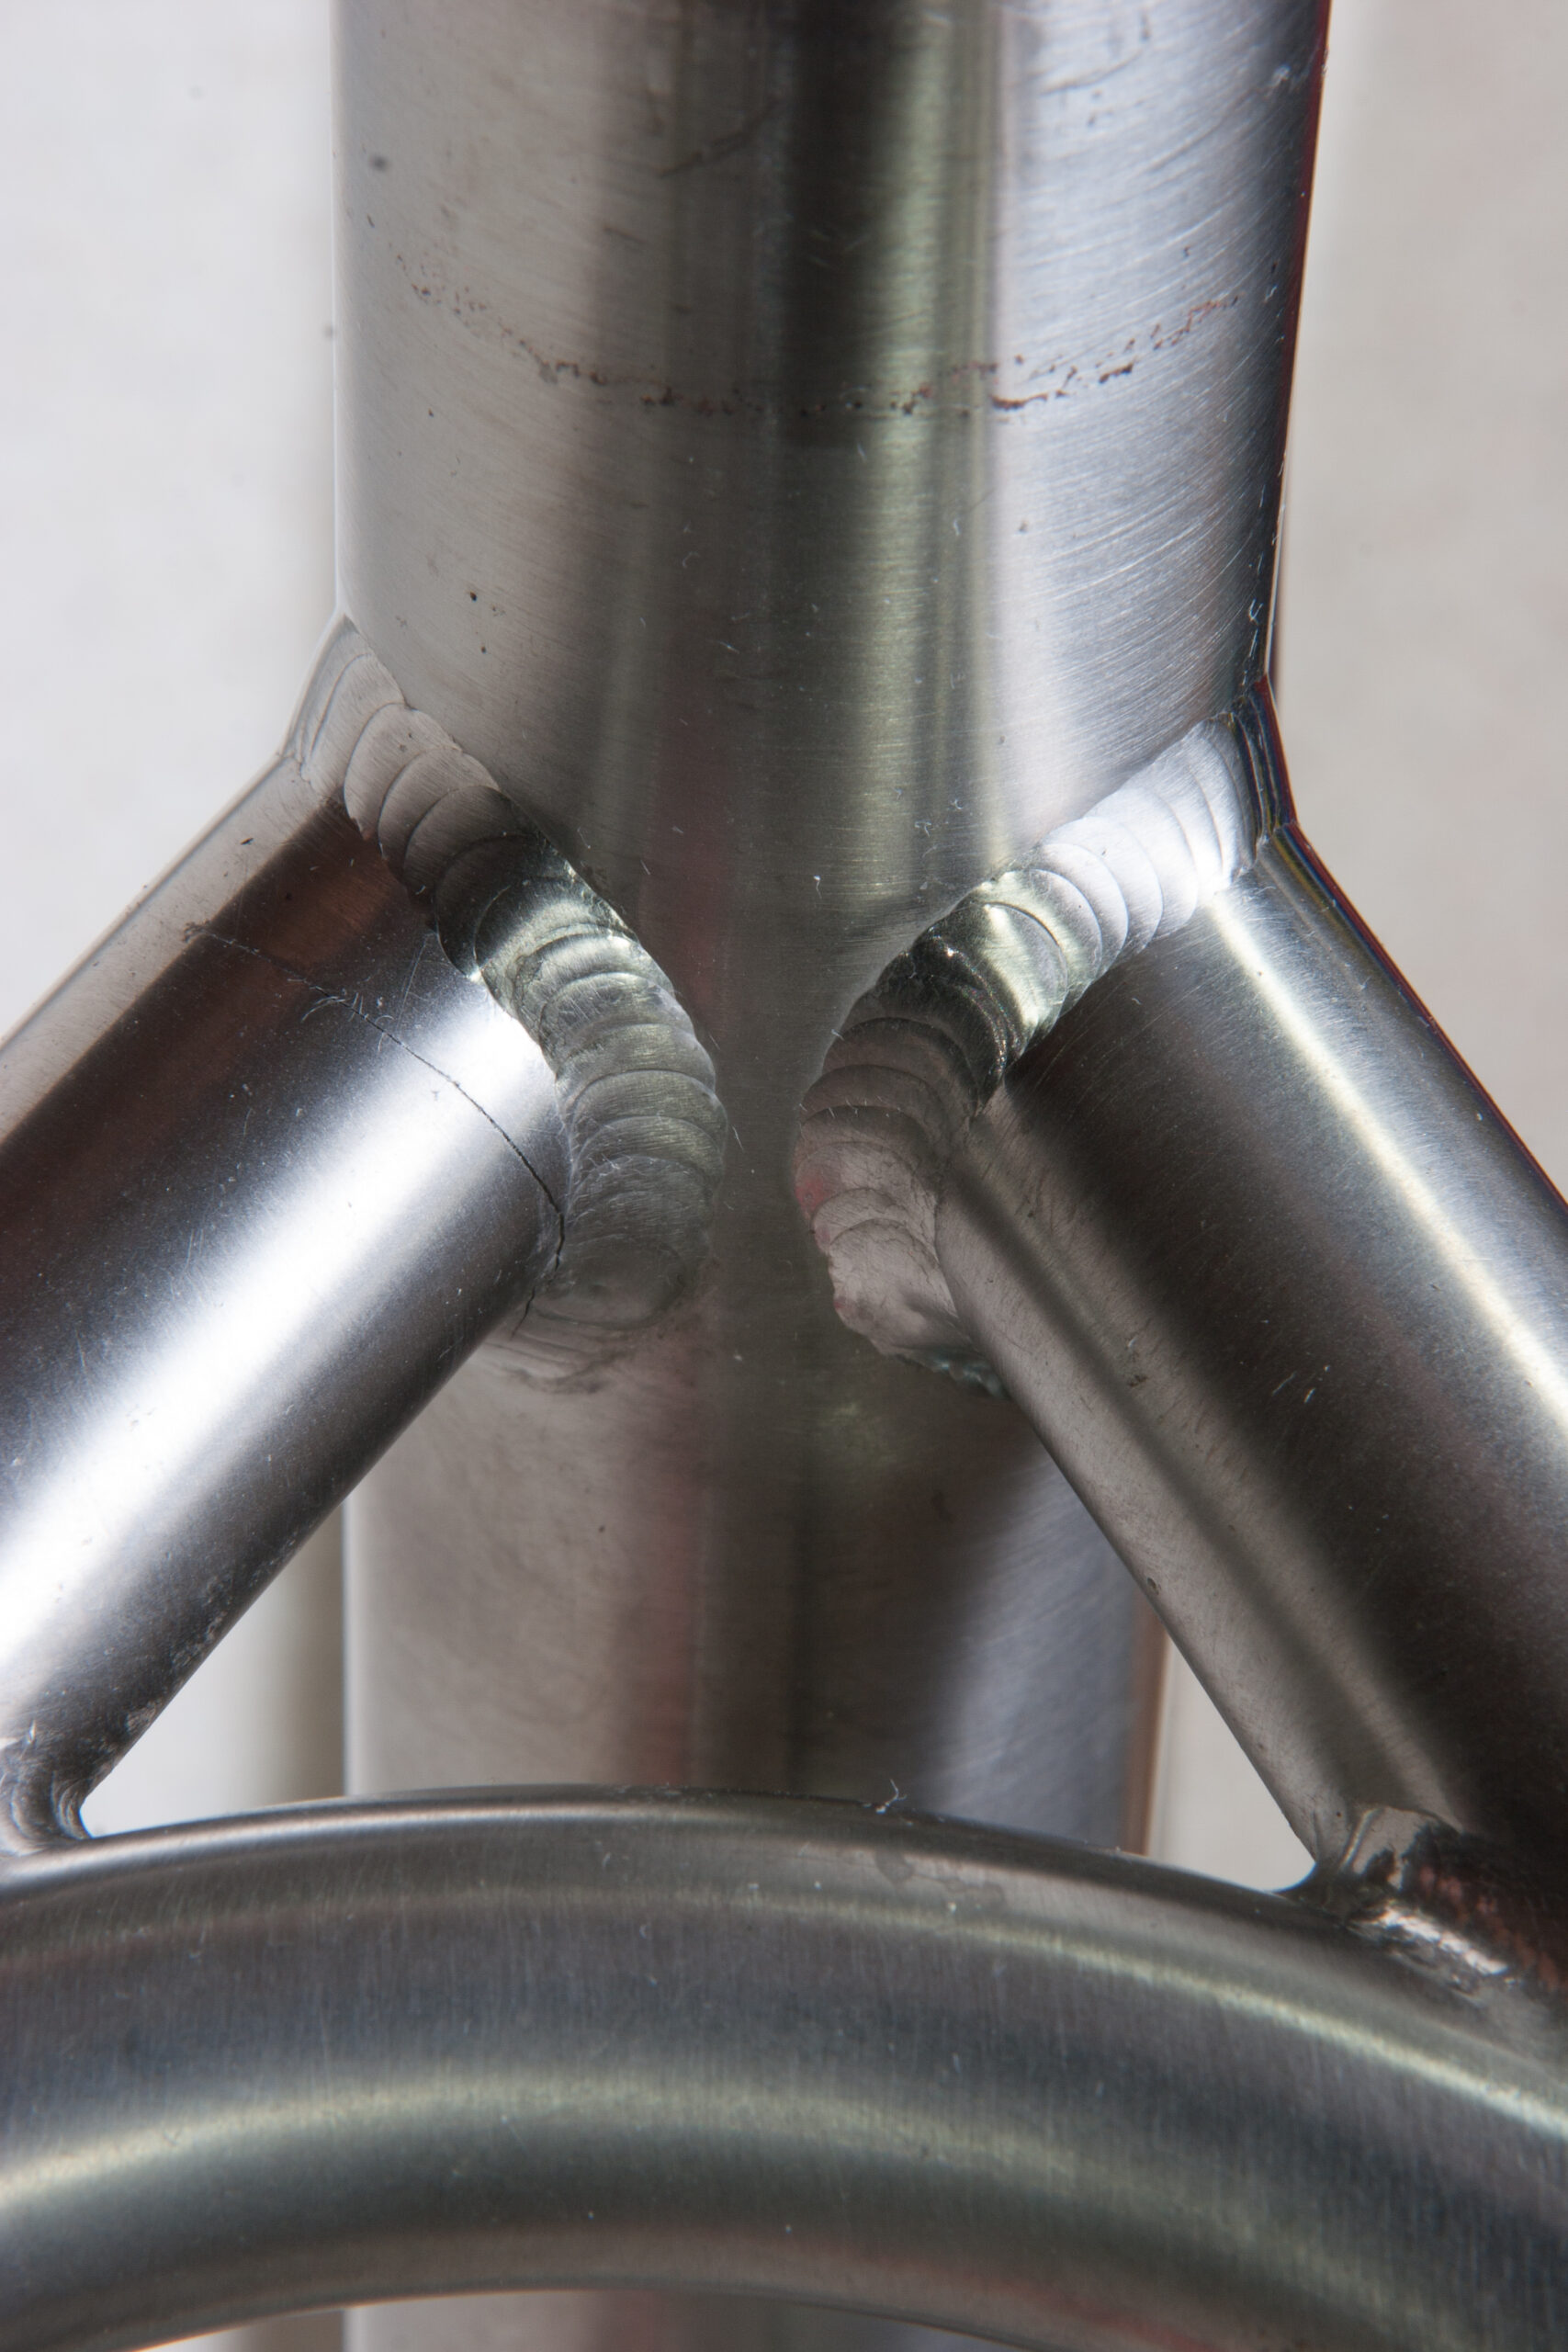
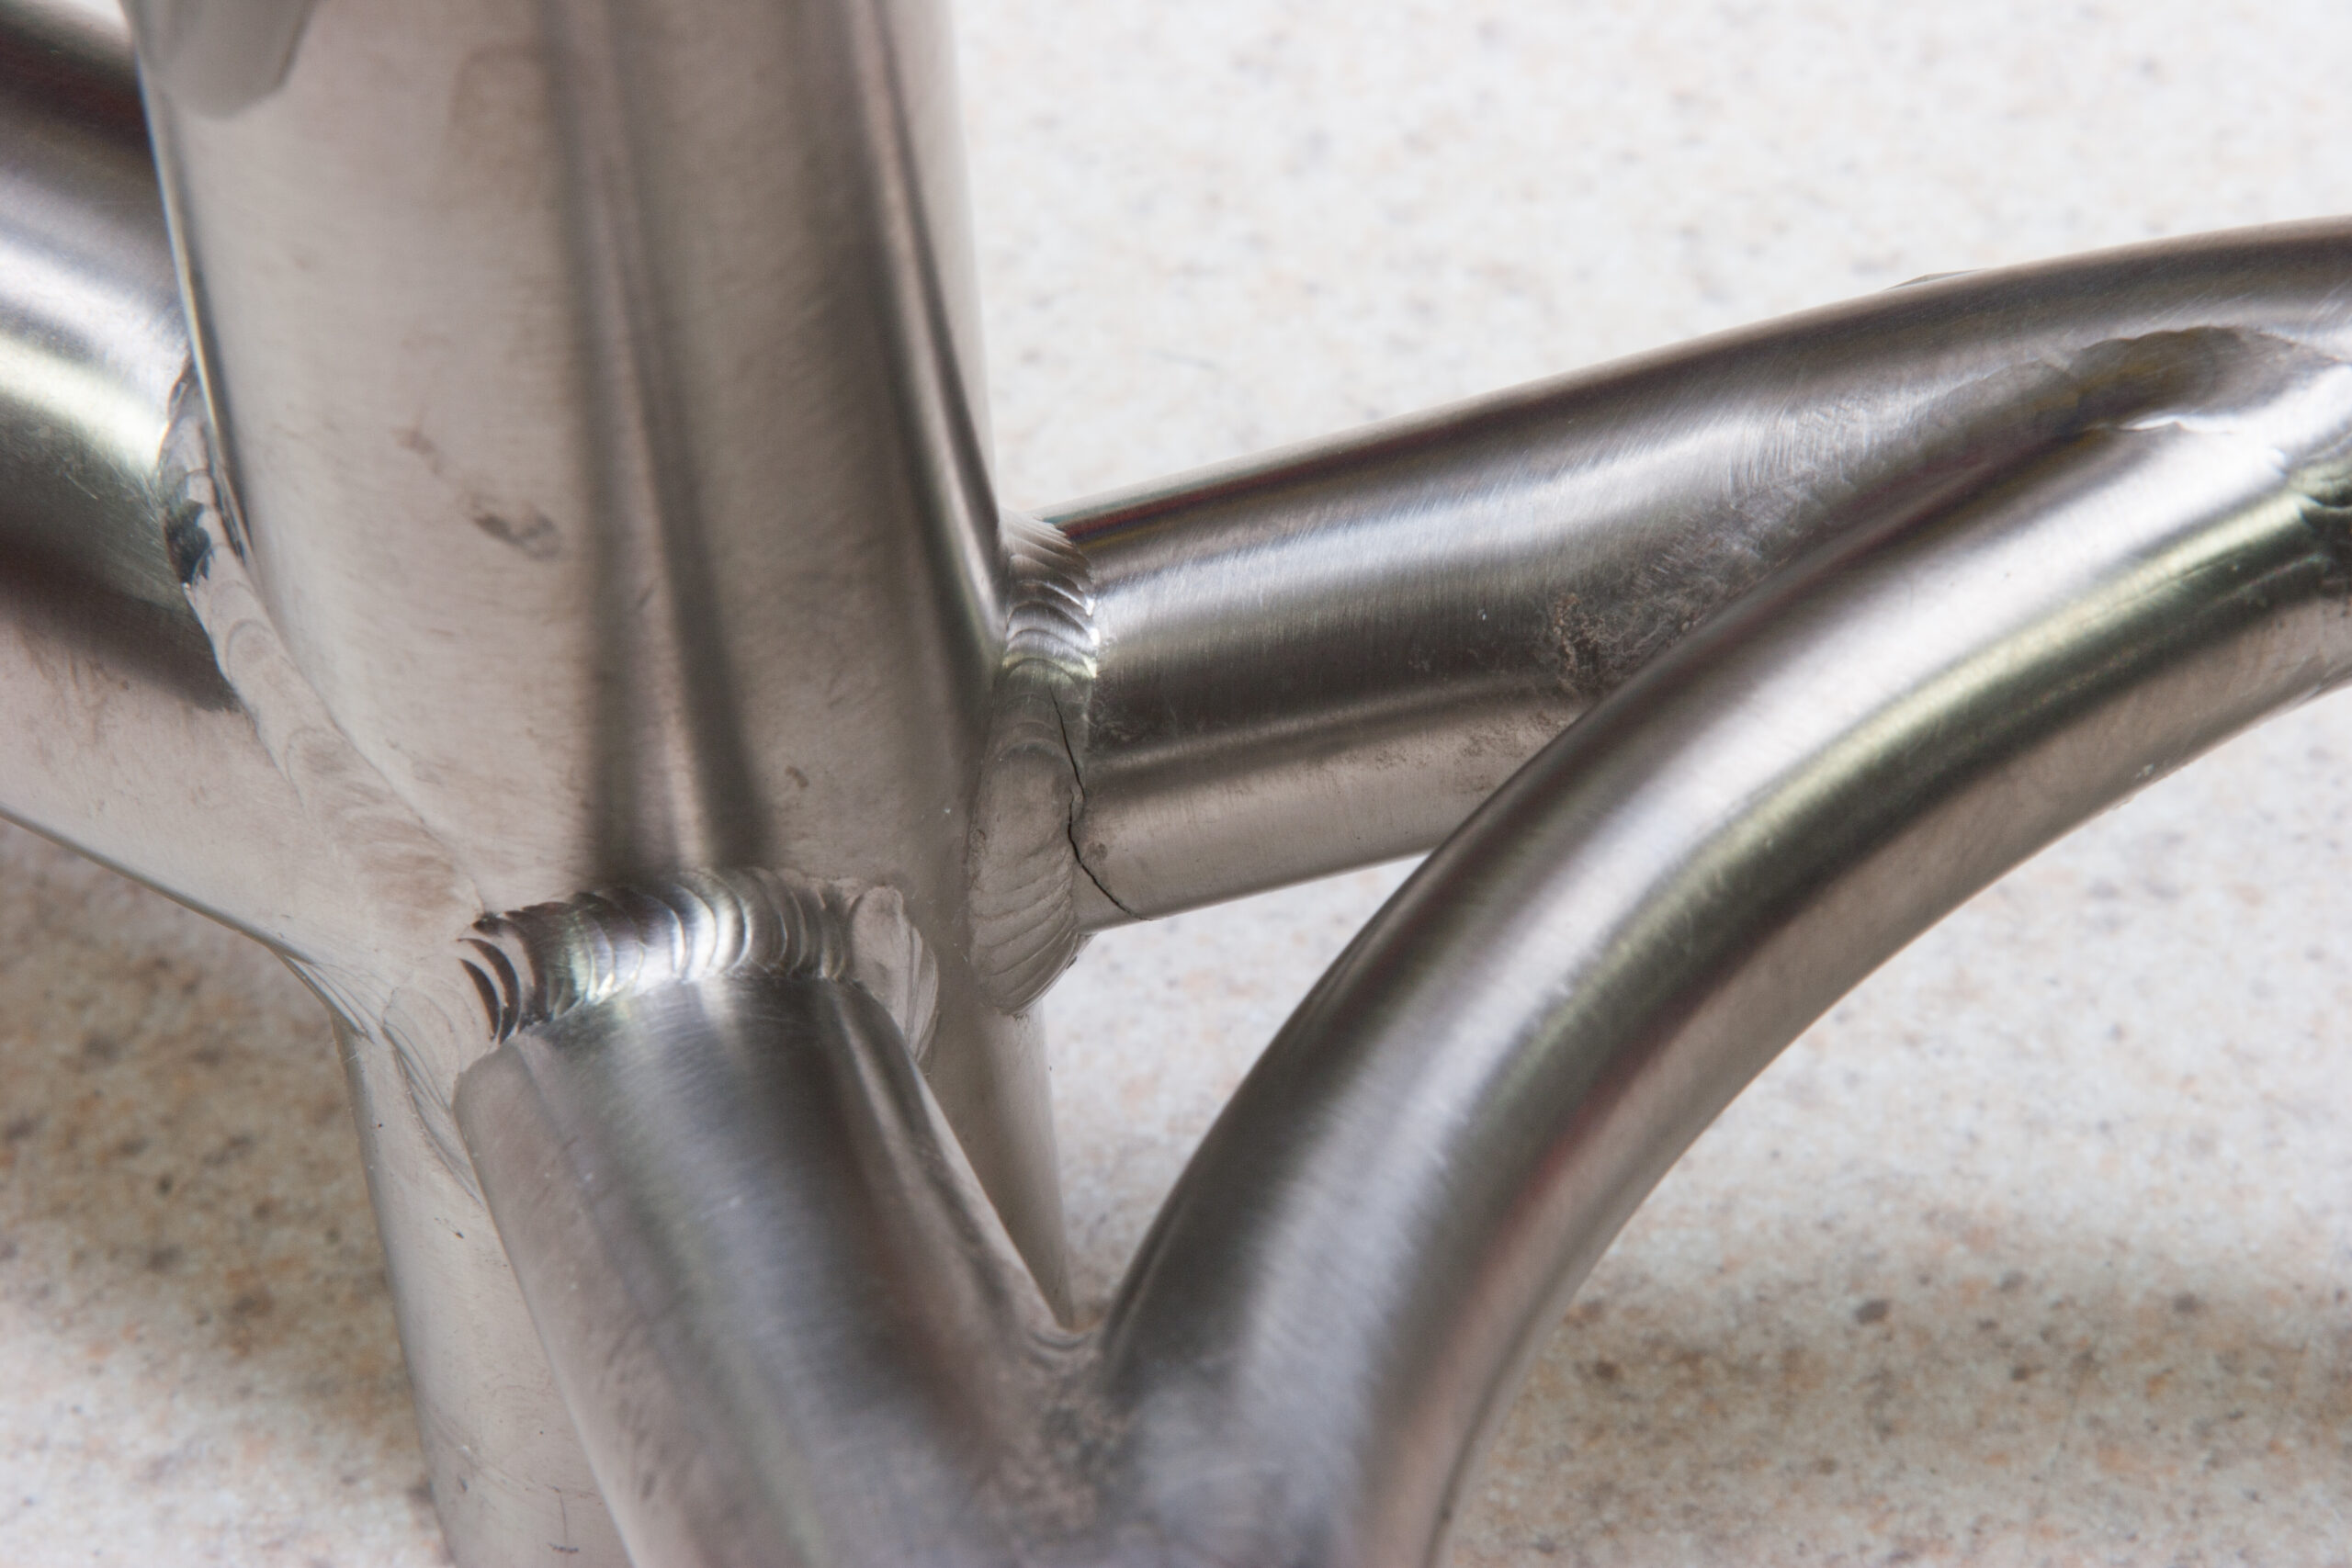
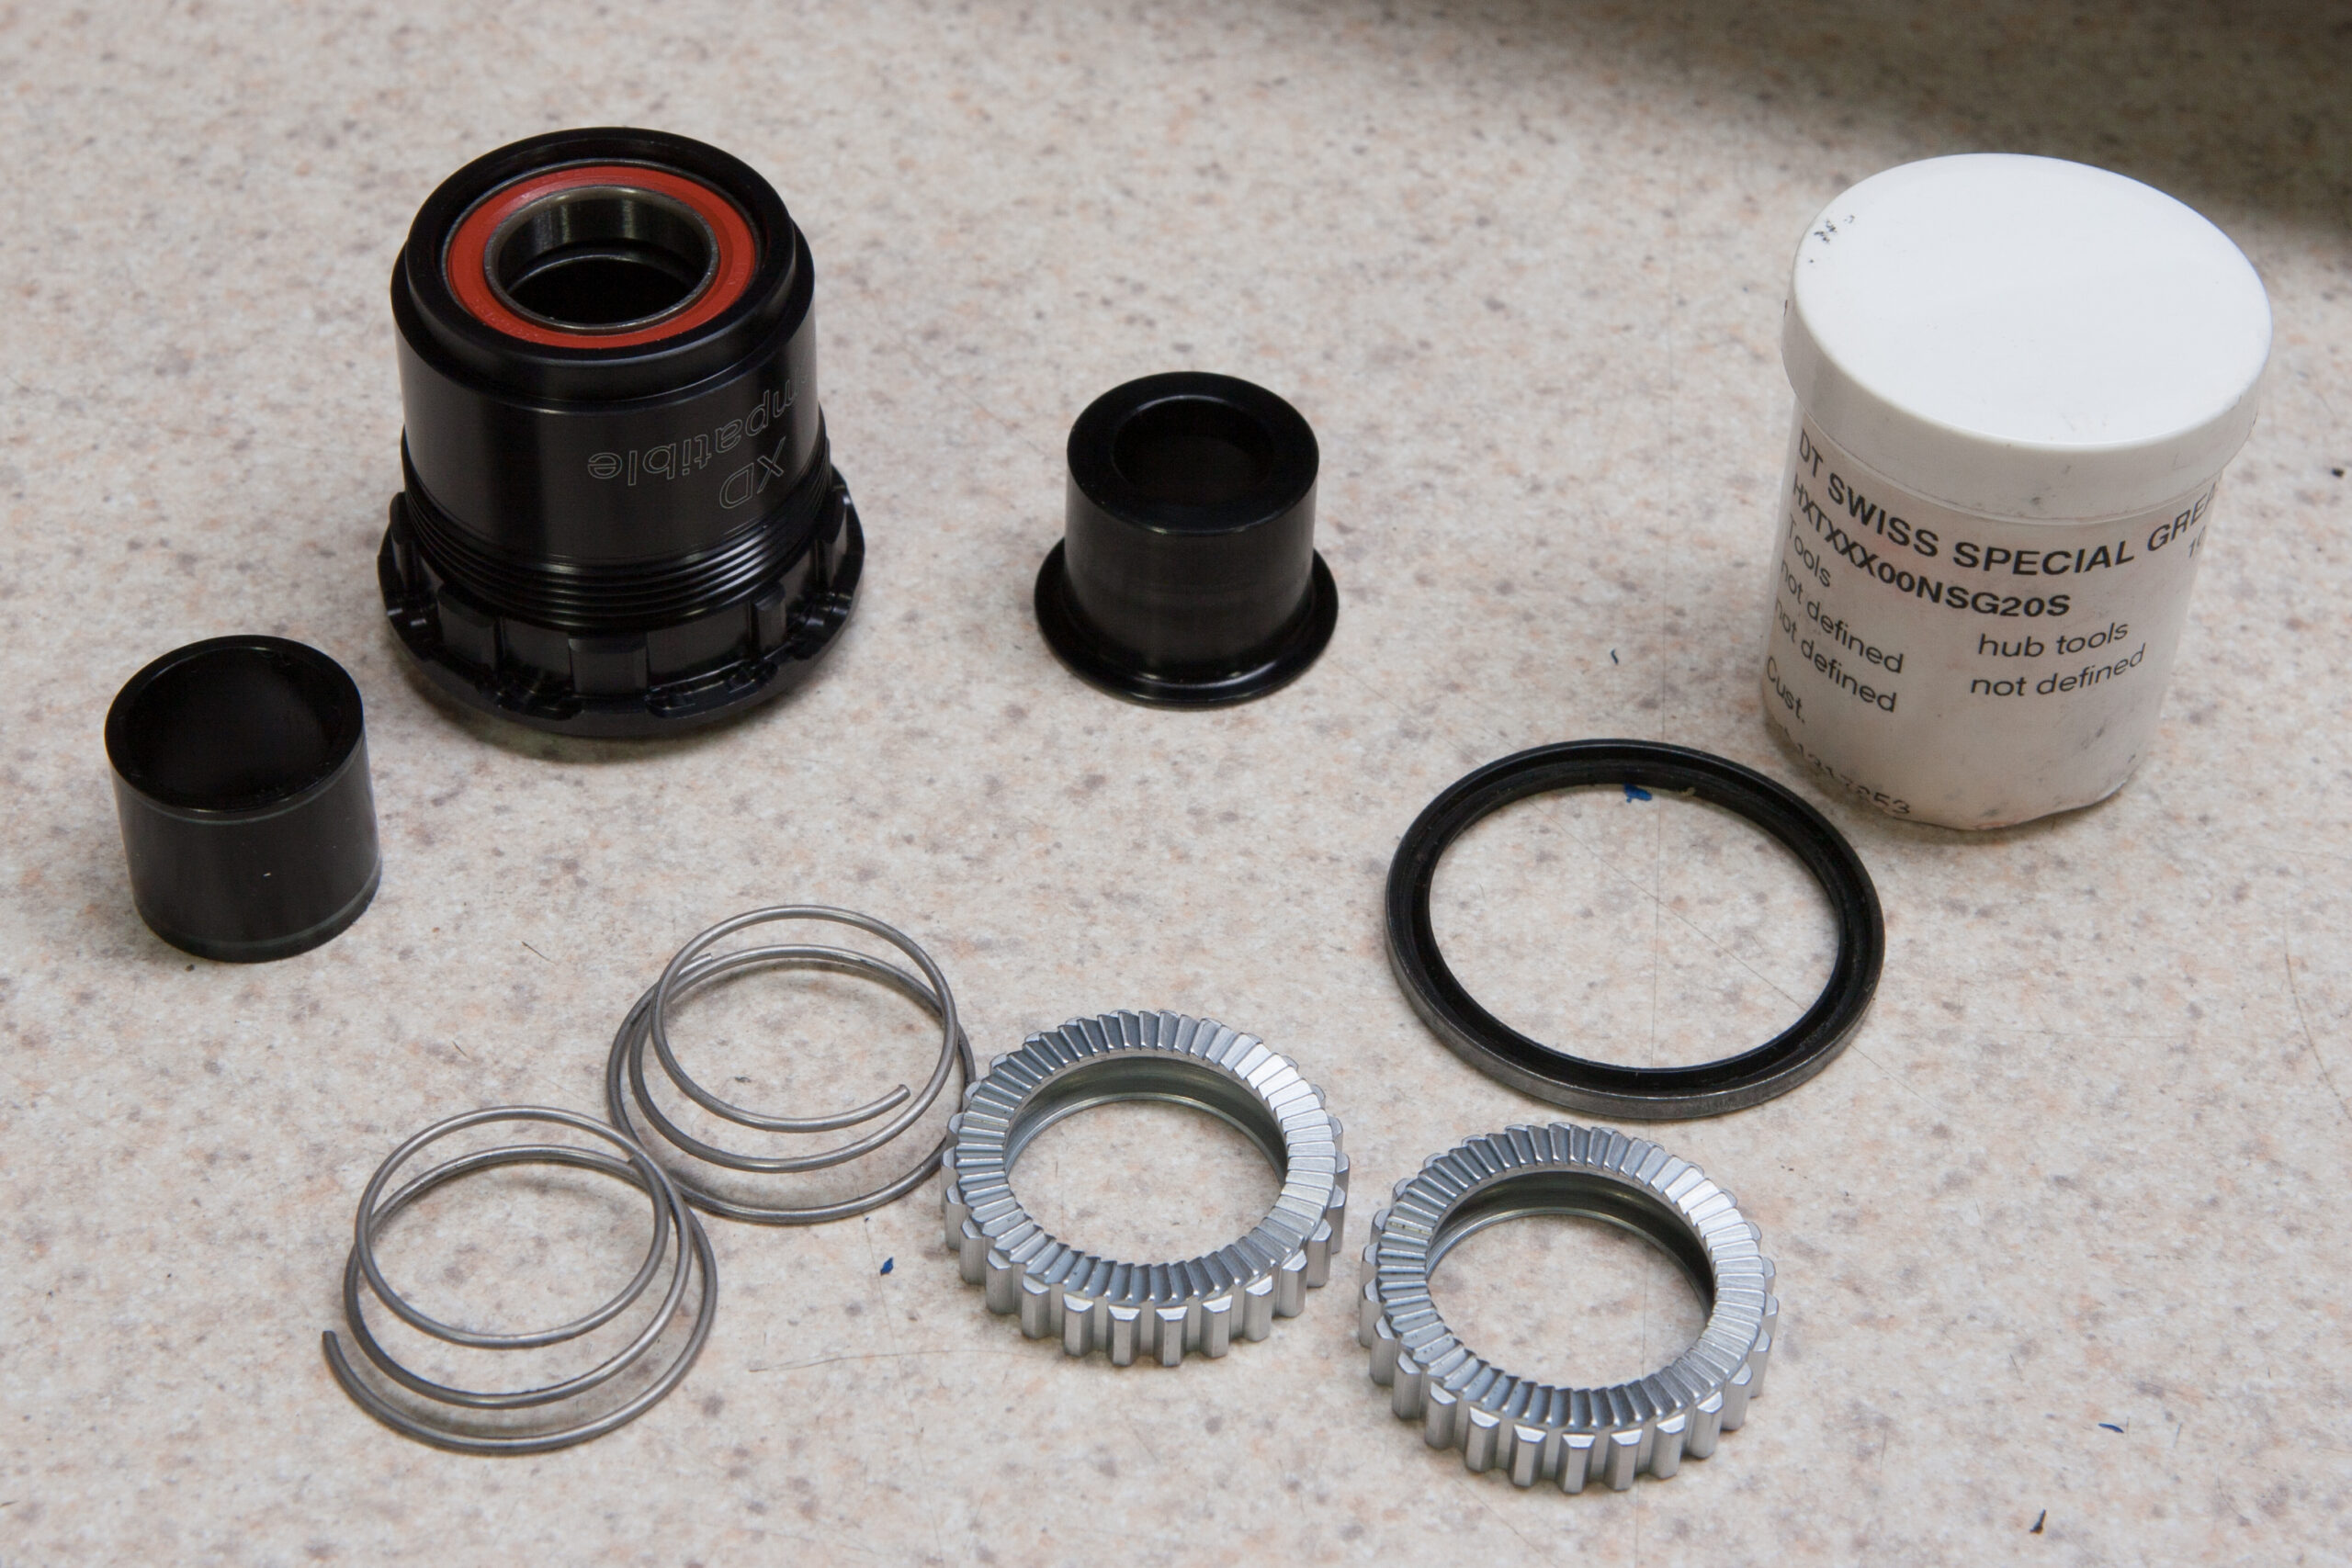
Unfortunately, when the KICKRs arrived, we found that Wahoo had screwed up. These were not new units, nor refurbished, but instead returns which likely hadn’t been opened since the customers packed them up. Mine was scraped and the end caps were chewed up as if the previous owner didn’t clamp it down properly and had the bike come off while riding. The cassette was slightly greasy, it had a bunch of non-Wahoo stuff (Garmin manual and packaging, Monoprice packaging) in the box, and fine plastic dust from the expanded foam packaging was spread all over, including in the resistance unit. Kristen’s was arguably worse, with a heavily scuffed flywheel area (as if the owner had it resting against something), an empty through axle adapter box, and the previous owner’s personal info: the RMA from Clever Training and — inexplicably — a copy of his vehicle inspection report from Volkswagen Credit.
My KICKR:

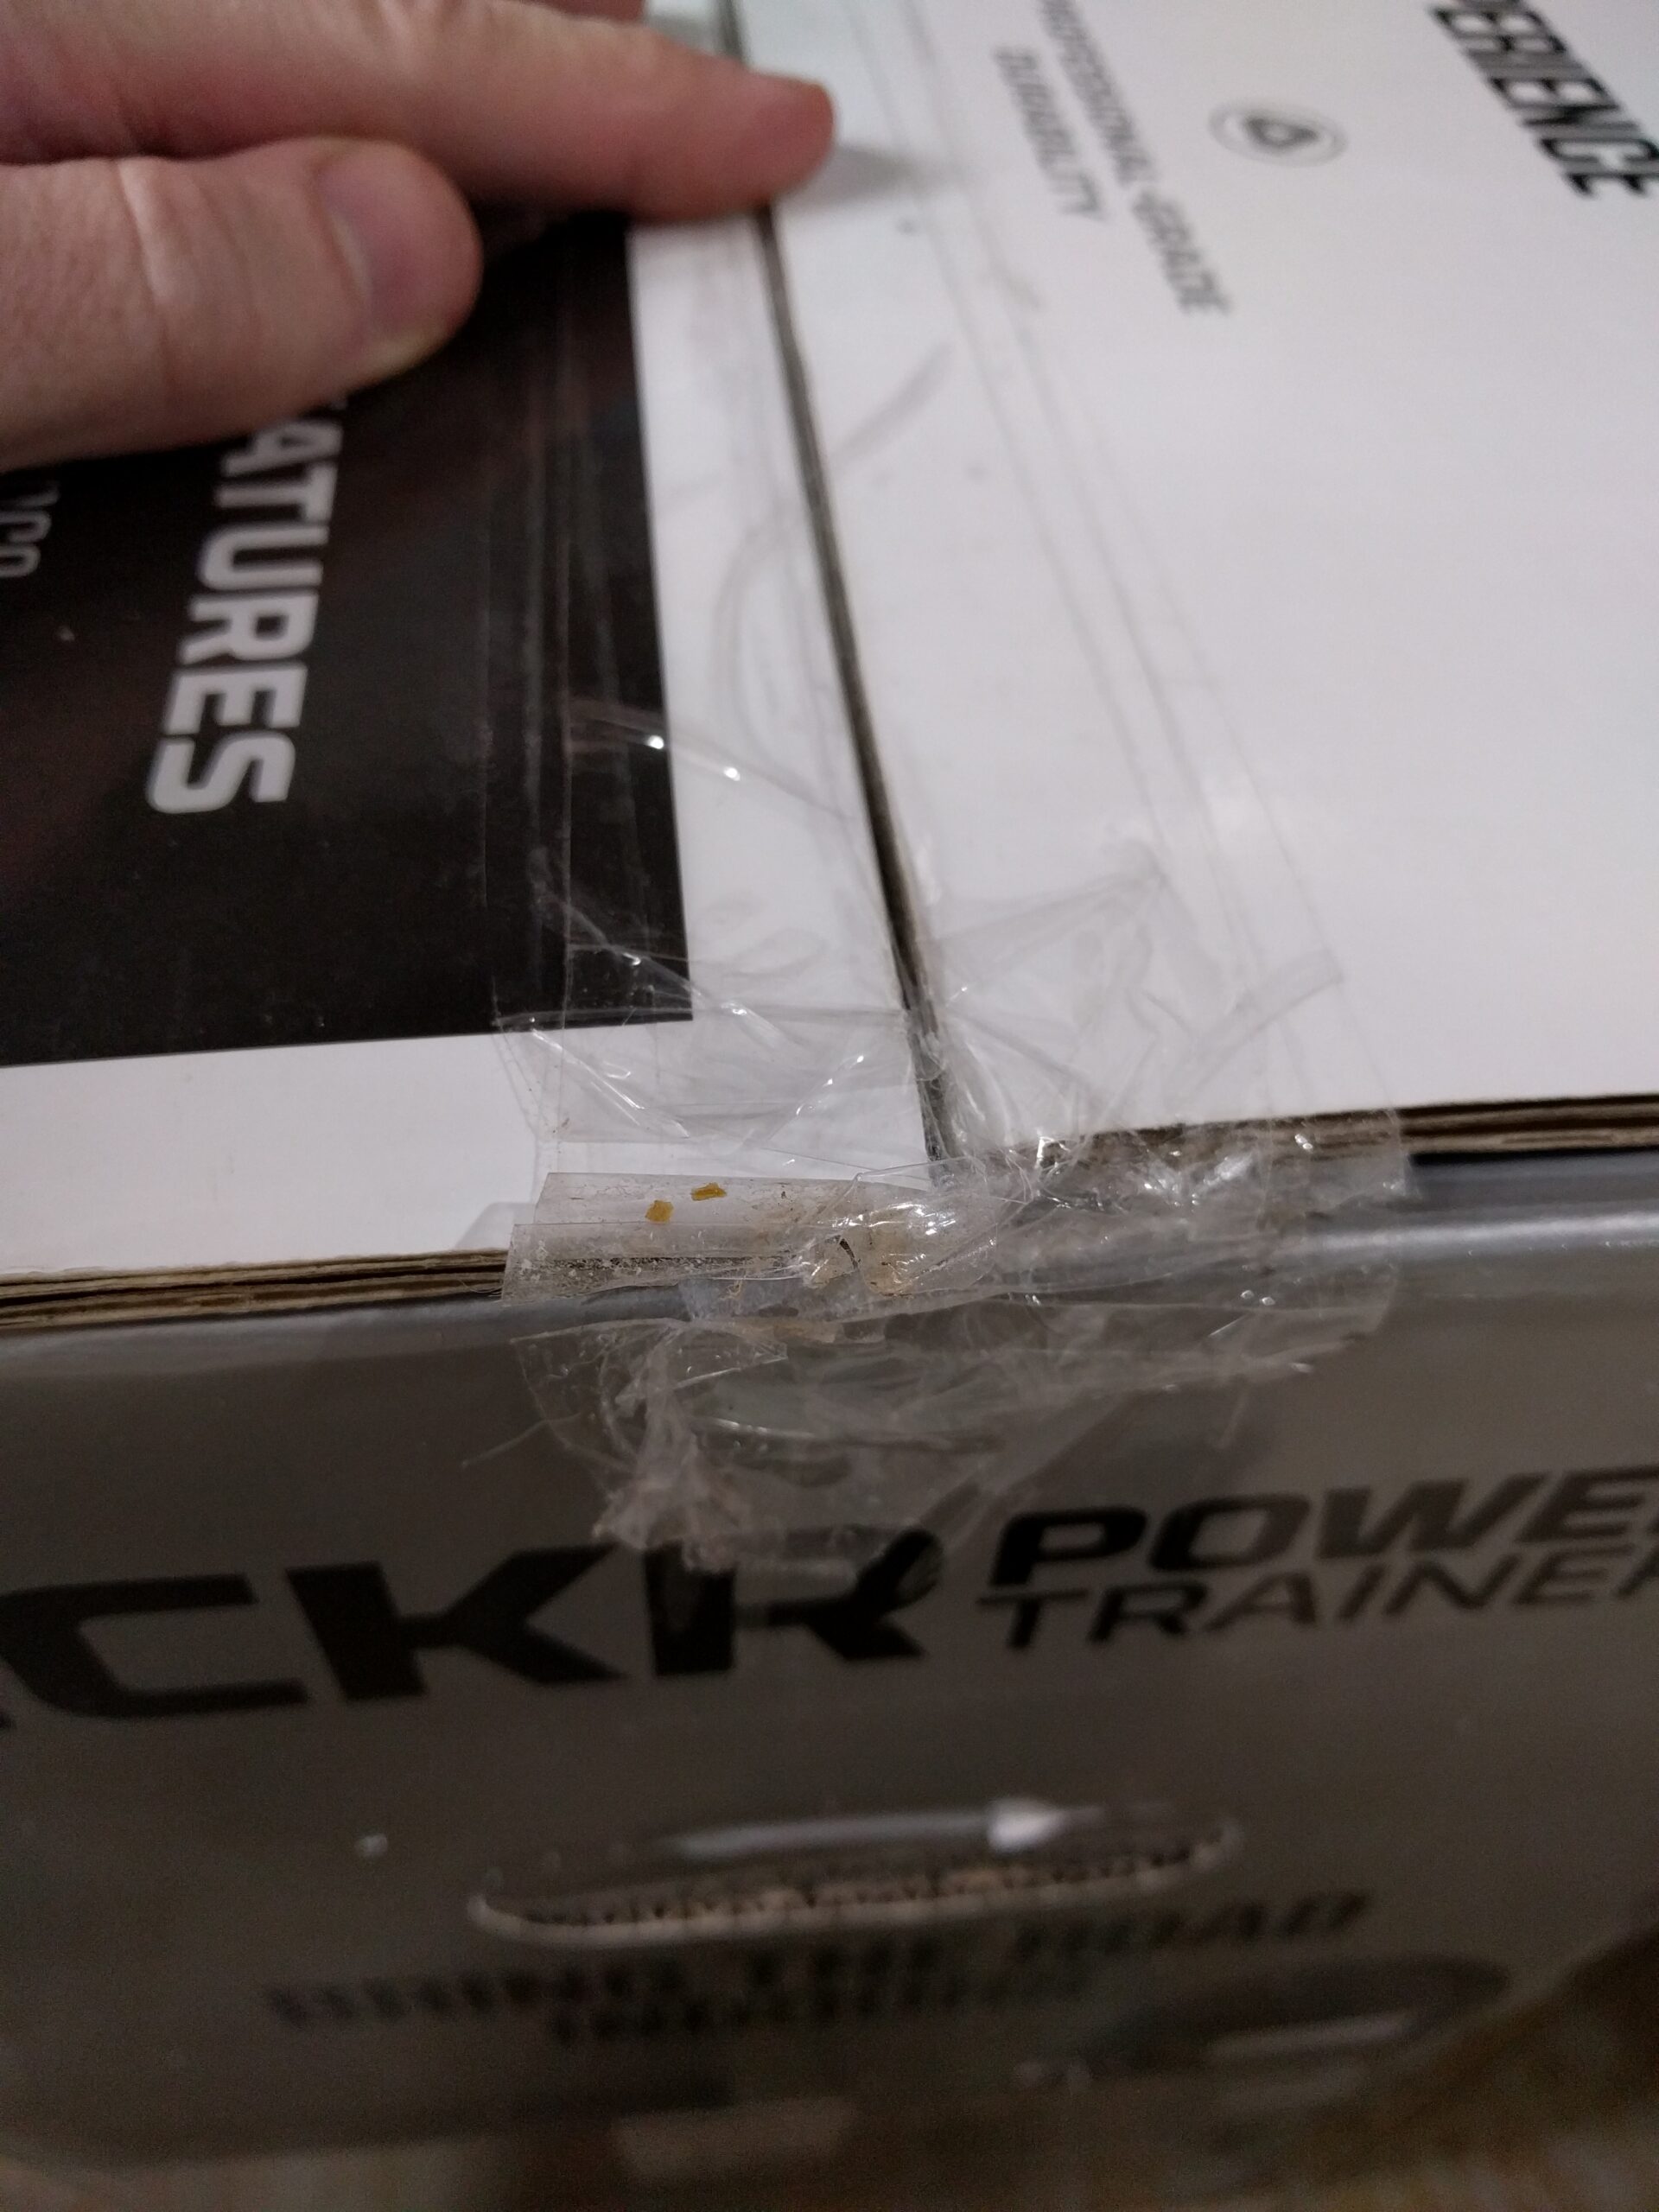
Kristen’s KICKR:
Separately we both immediately contacted Wahoo, but being Saturday didn’t hear back until Monday afternoon. (They’re open M-F, 10am – 7pm, and email responses seem to take about a day.) The first responses offered $100 refunds claiming the units were refurbished. After pushing back indicating that they are simply used and don’t seem like it’d be up to their standards, the refund offer was upped to $200 with the opportunity to test them out before accepting. While $699 is an even better price, neither of us were keen on paying so much for used trainers with plastic dust in sensitive electronics.
Since it’s often easier to work things out over the phone I decided to call Wahoo. I spoke with Micah, who explained that the original customer service person I’d contacted via email, Melinda, was best suited to help me. (I got the impression she’s a lead or manager.) Indicating that what I really wanted was a new trainer, and that I was hoping they could sort this all out, he informed me that the 2016 units are gone, so that’s no longer possible, but he’d get in touch with Melinda and let her know that we had talked. A short while later I heard back from Melinda, offering to return the used trainer and give a 10% discount on a new 2017 KICKR. I replied asking for the RMA, declining to purchase the 2017 model. (In the mean time Kristen had called and set up an RMA for hers, but did not receive a discount offer.)
I understand that things go wrong with warehousing and shipping, especially when winter (trainer time!) is coupled with the busy holiday season, but I can’t help but be left quite soured by this experience. Almost two weeks after making the purchase, with time sunk into a back and forth via email and visiting FedEx, we’re both back where we started… without smart trainers. And waiting on refunds.
Good thing we’ve still got fluid trainers to ride… Because the CycleOps Hammers that we ordered are still en route.


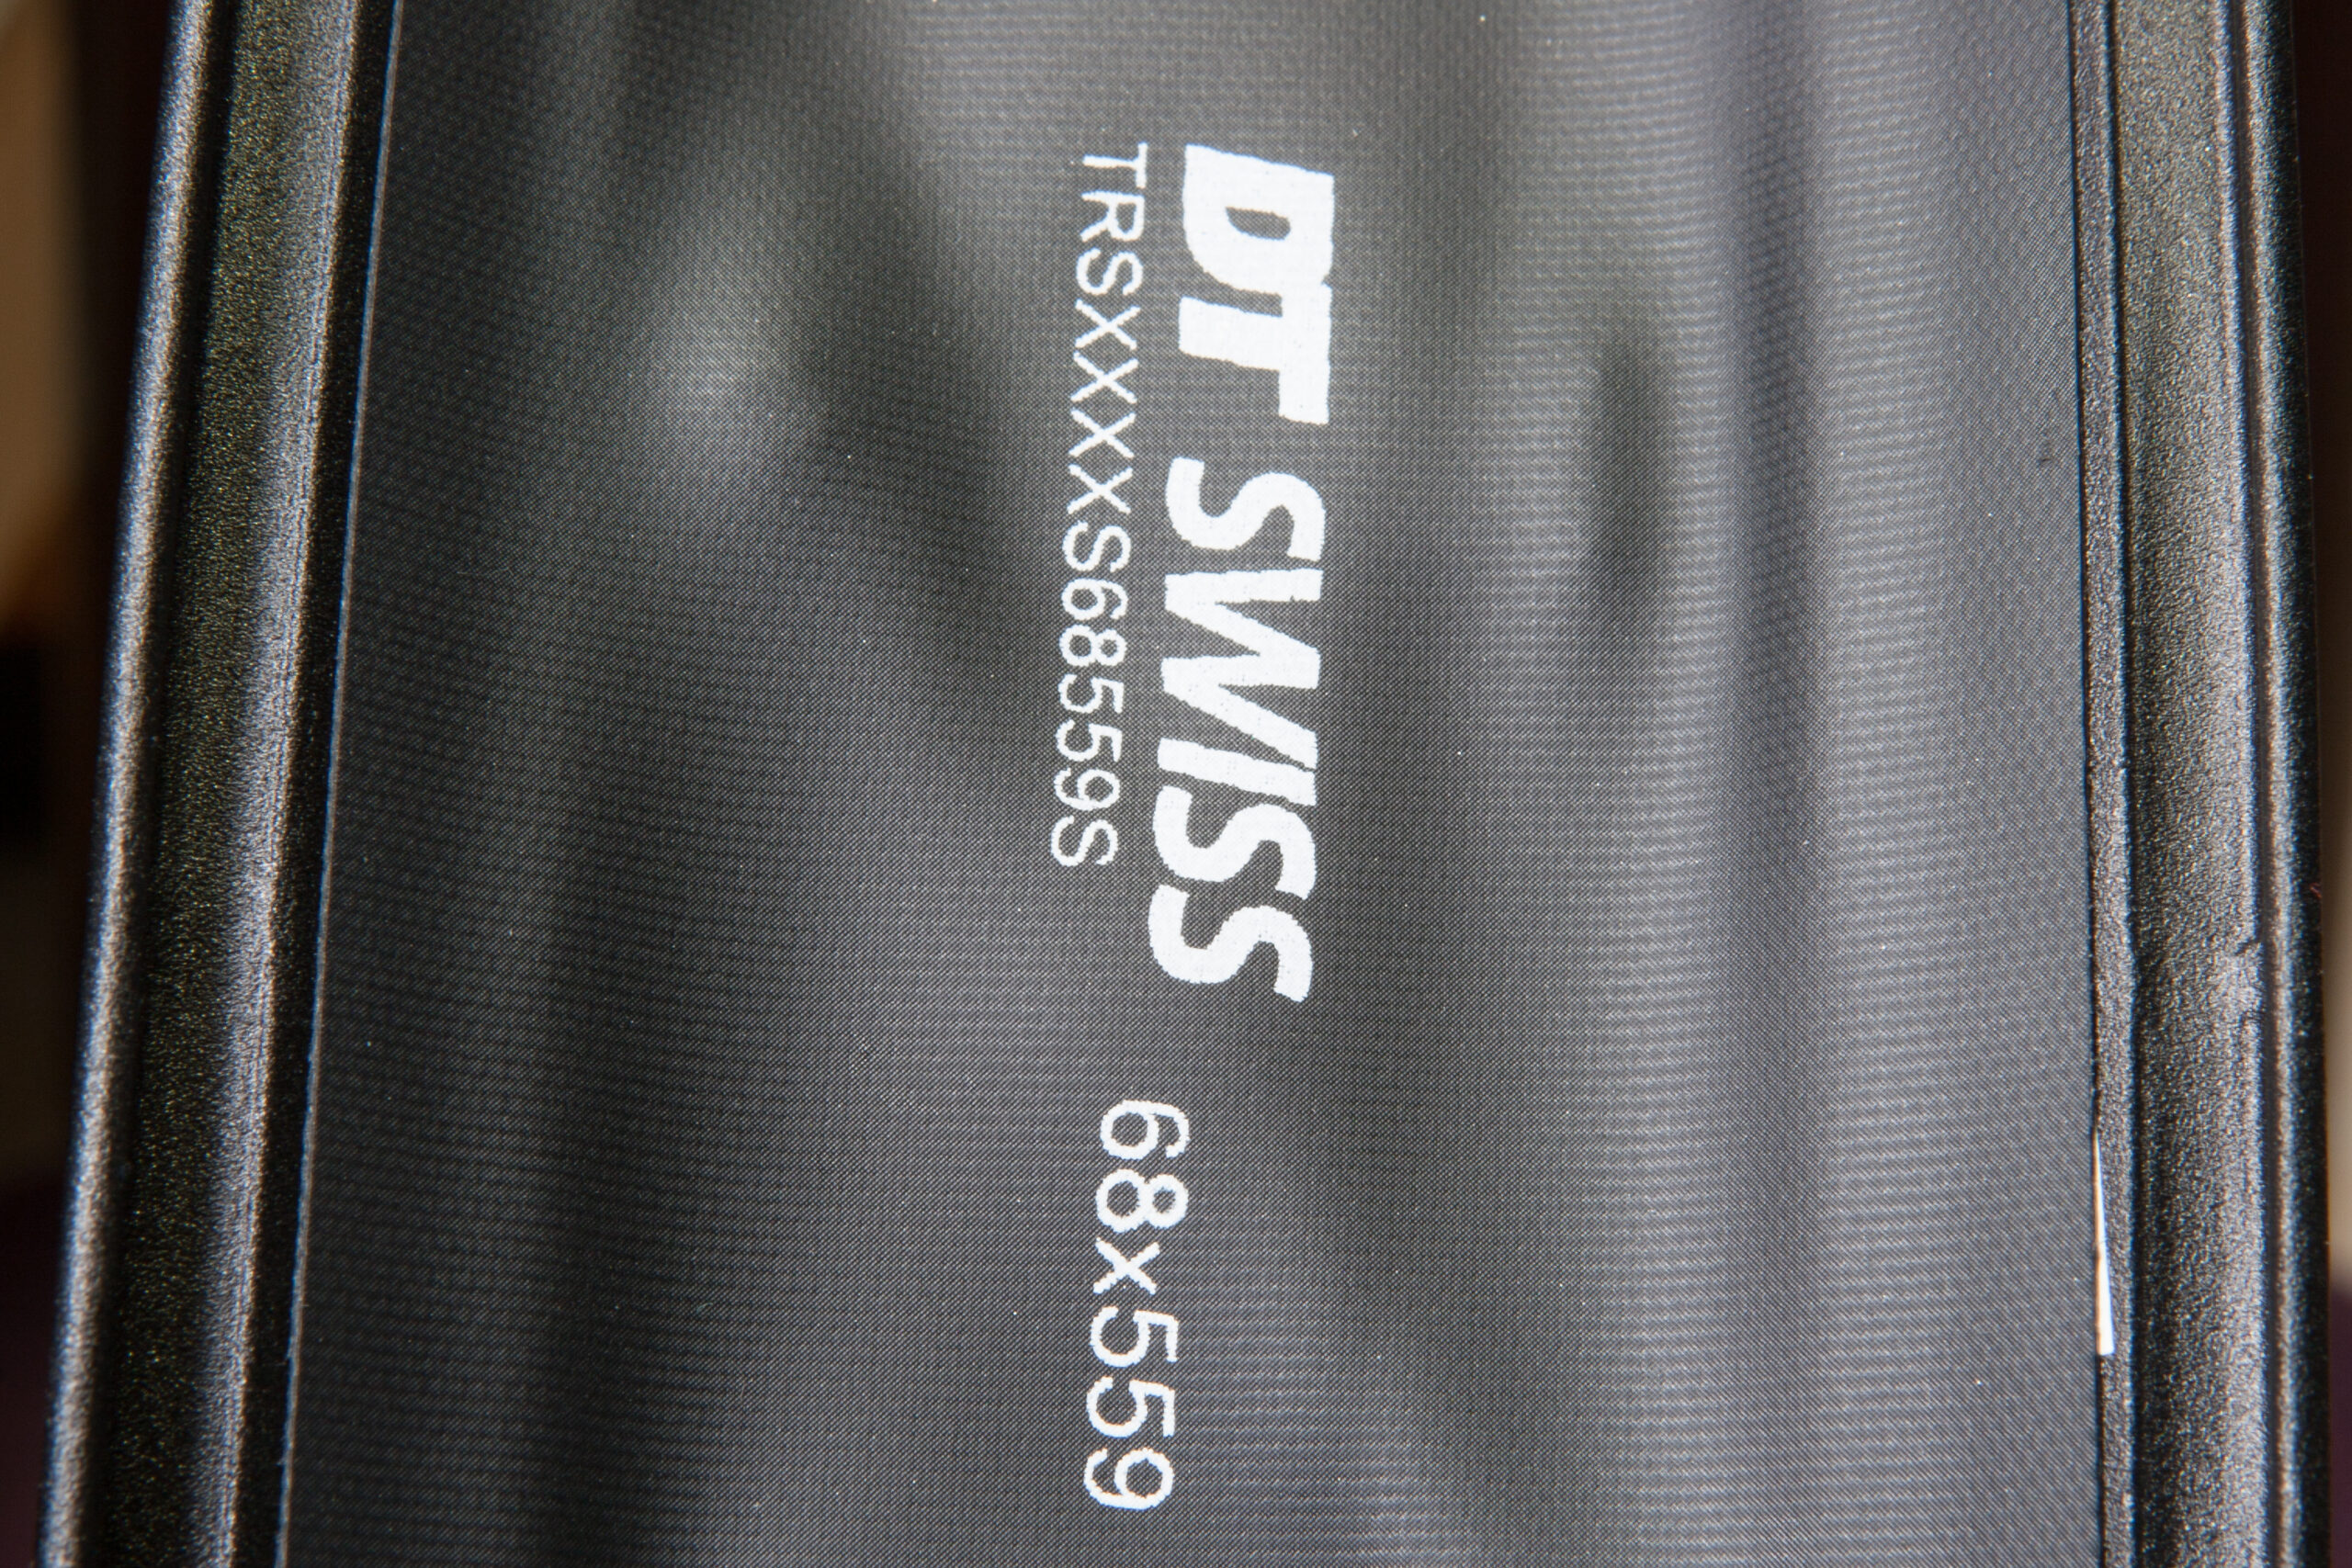
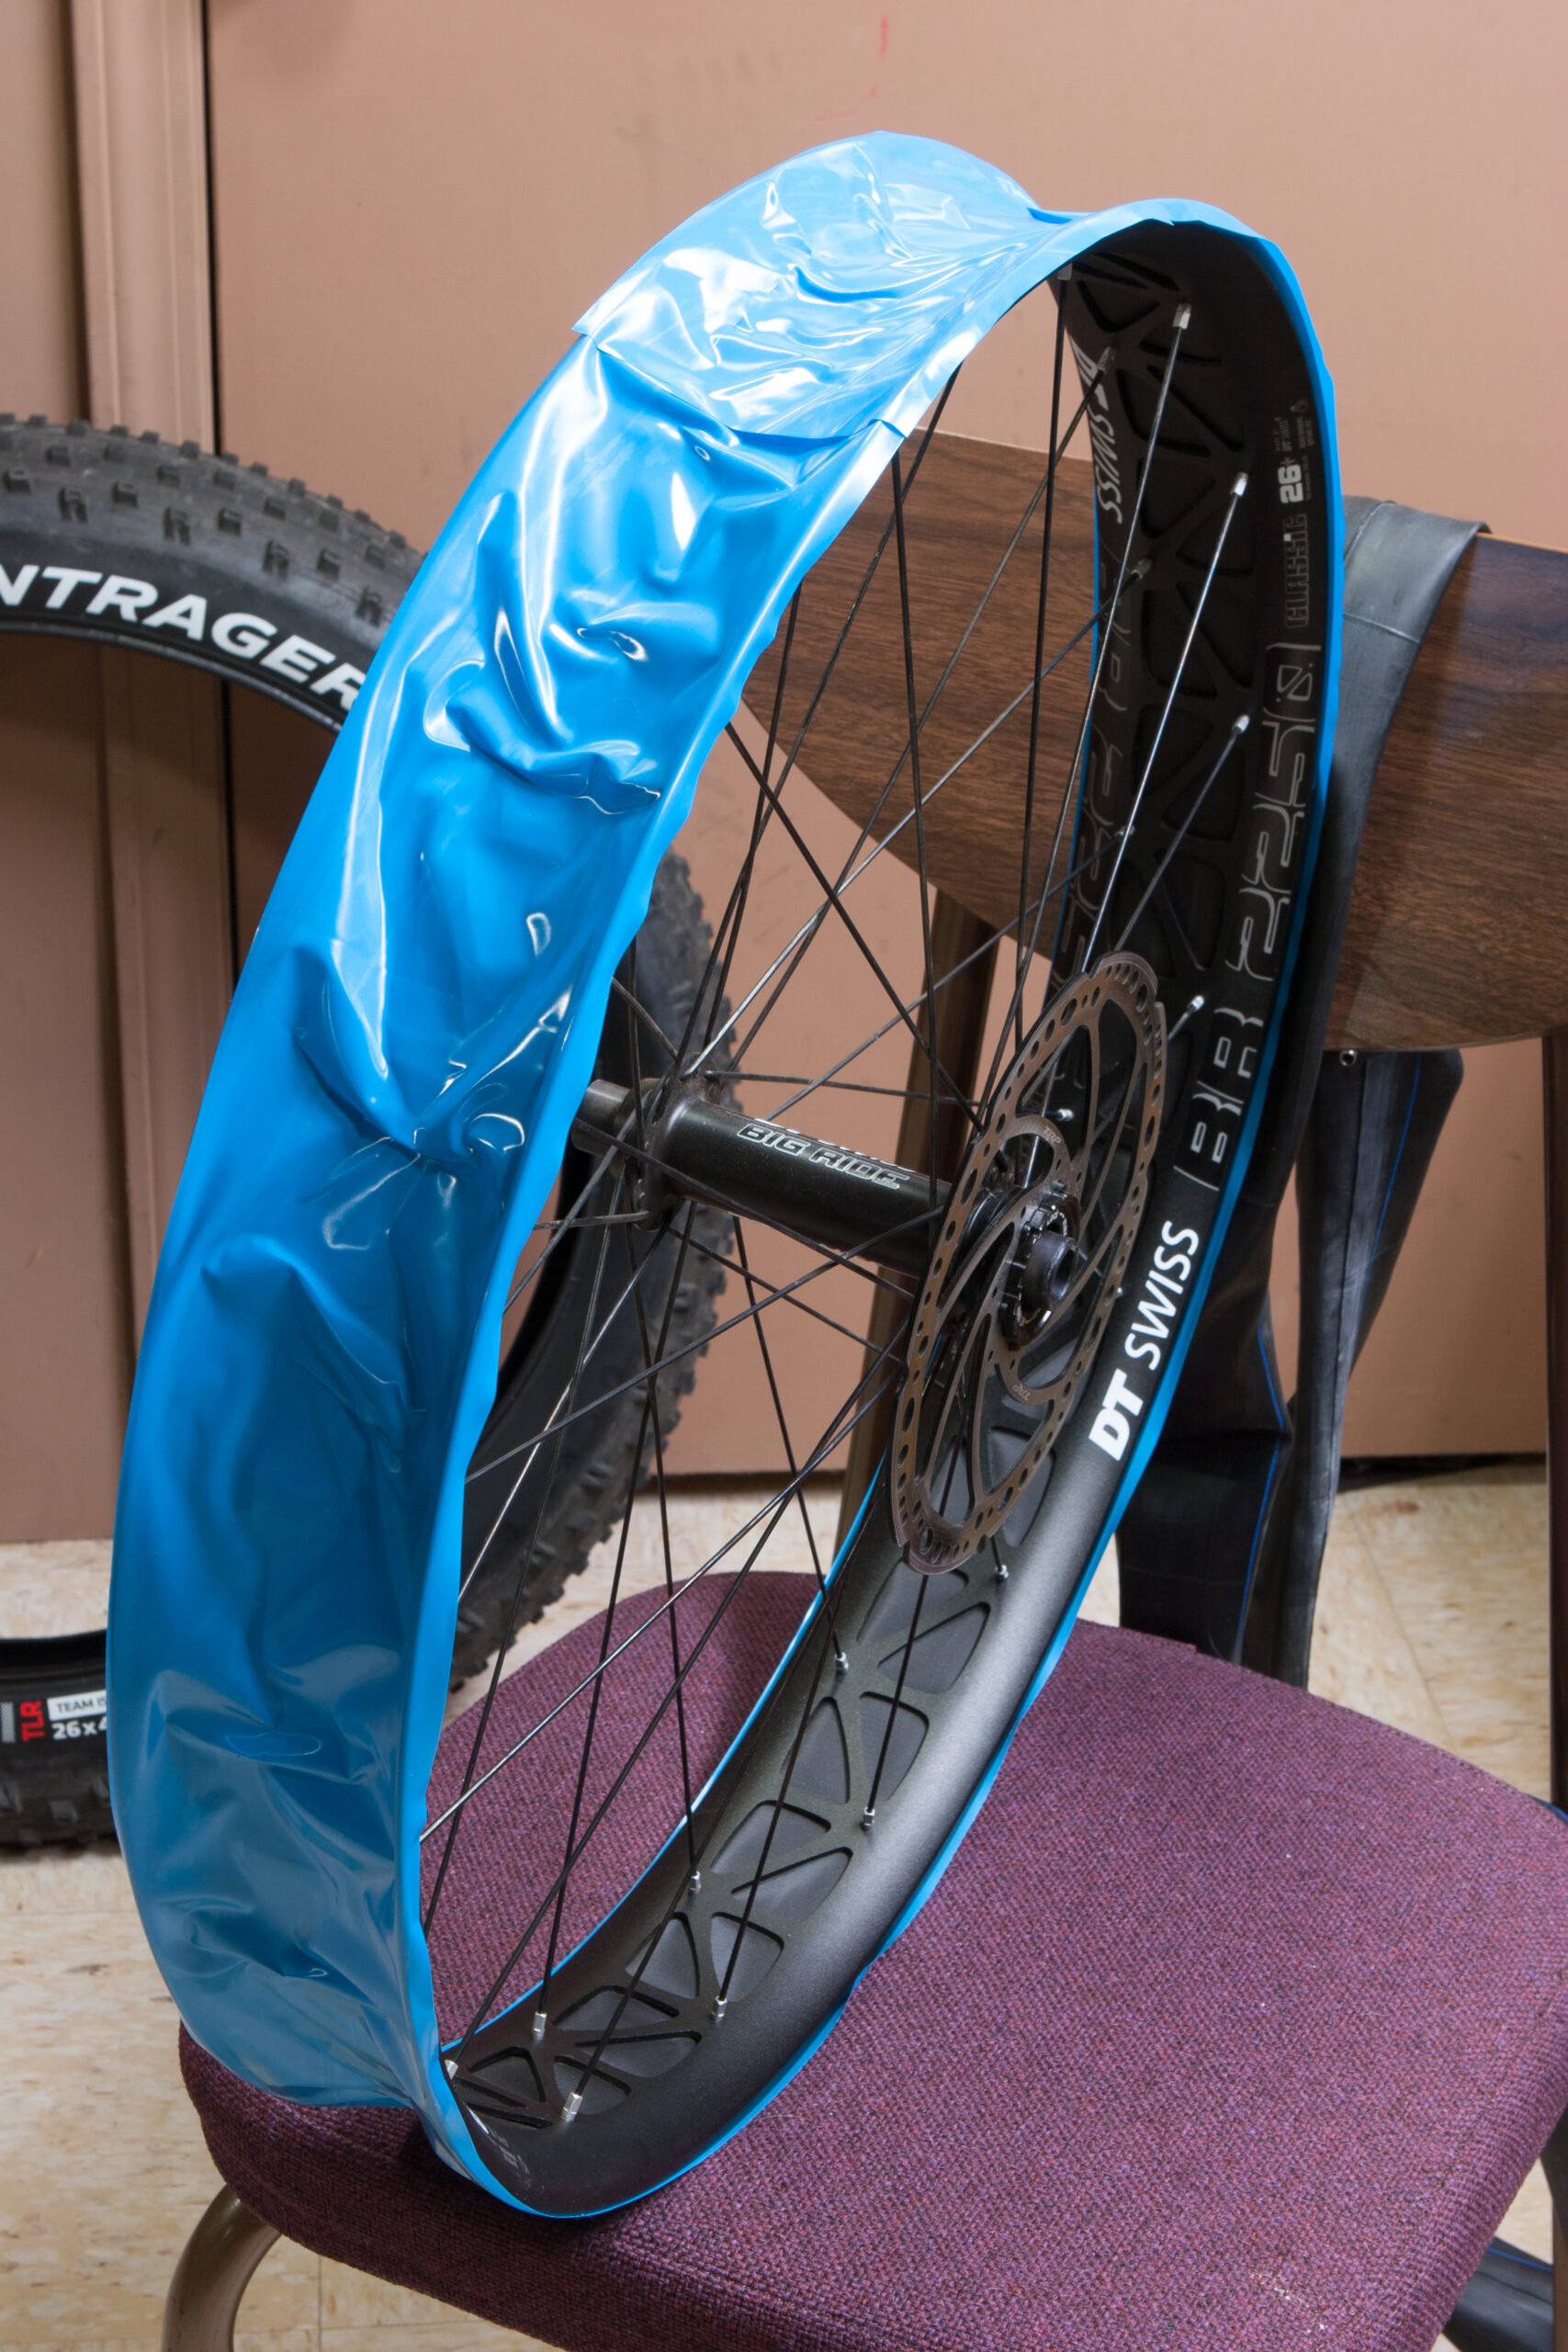
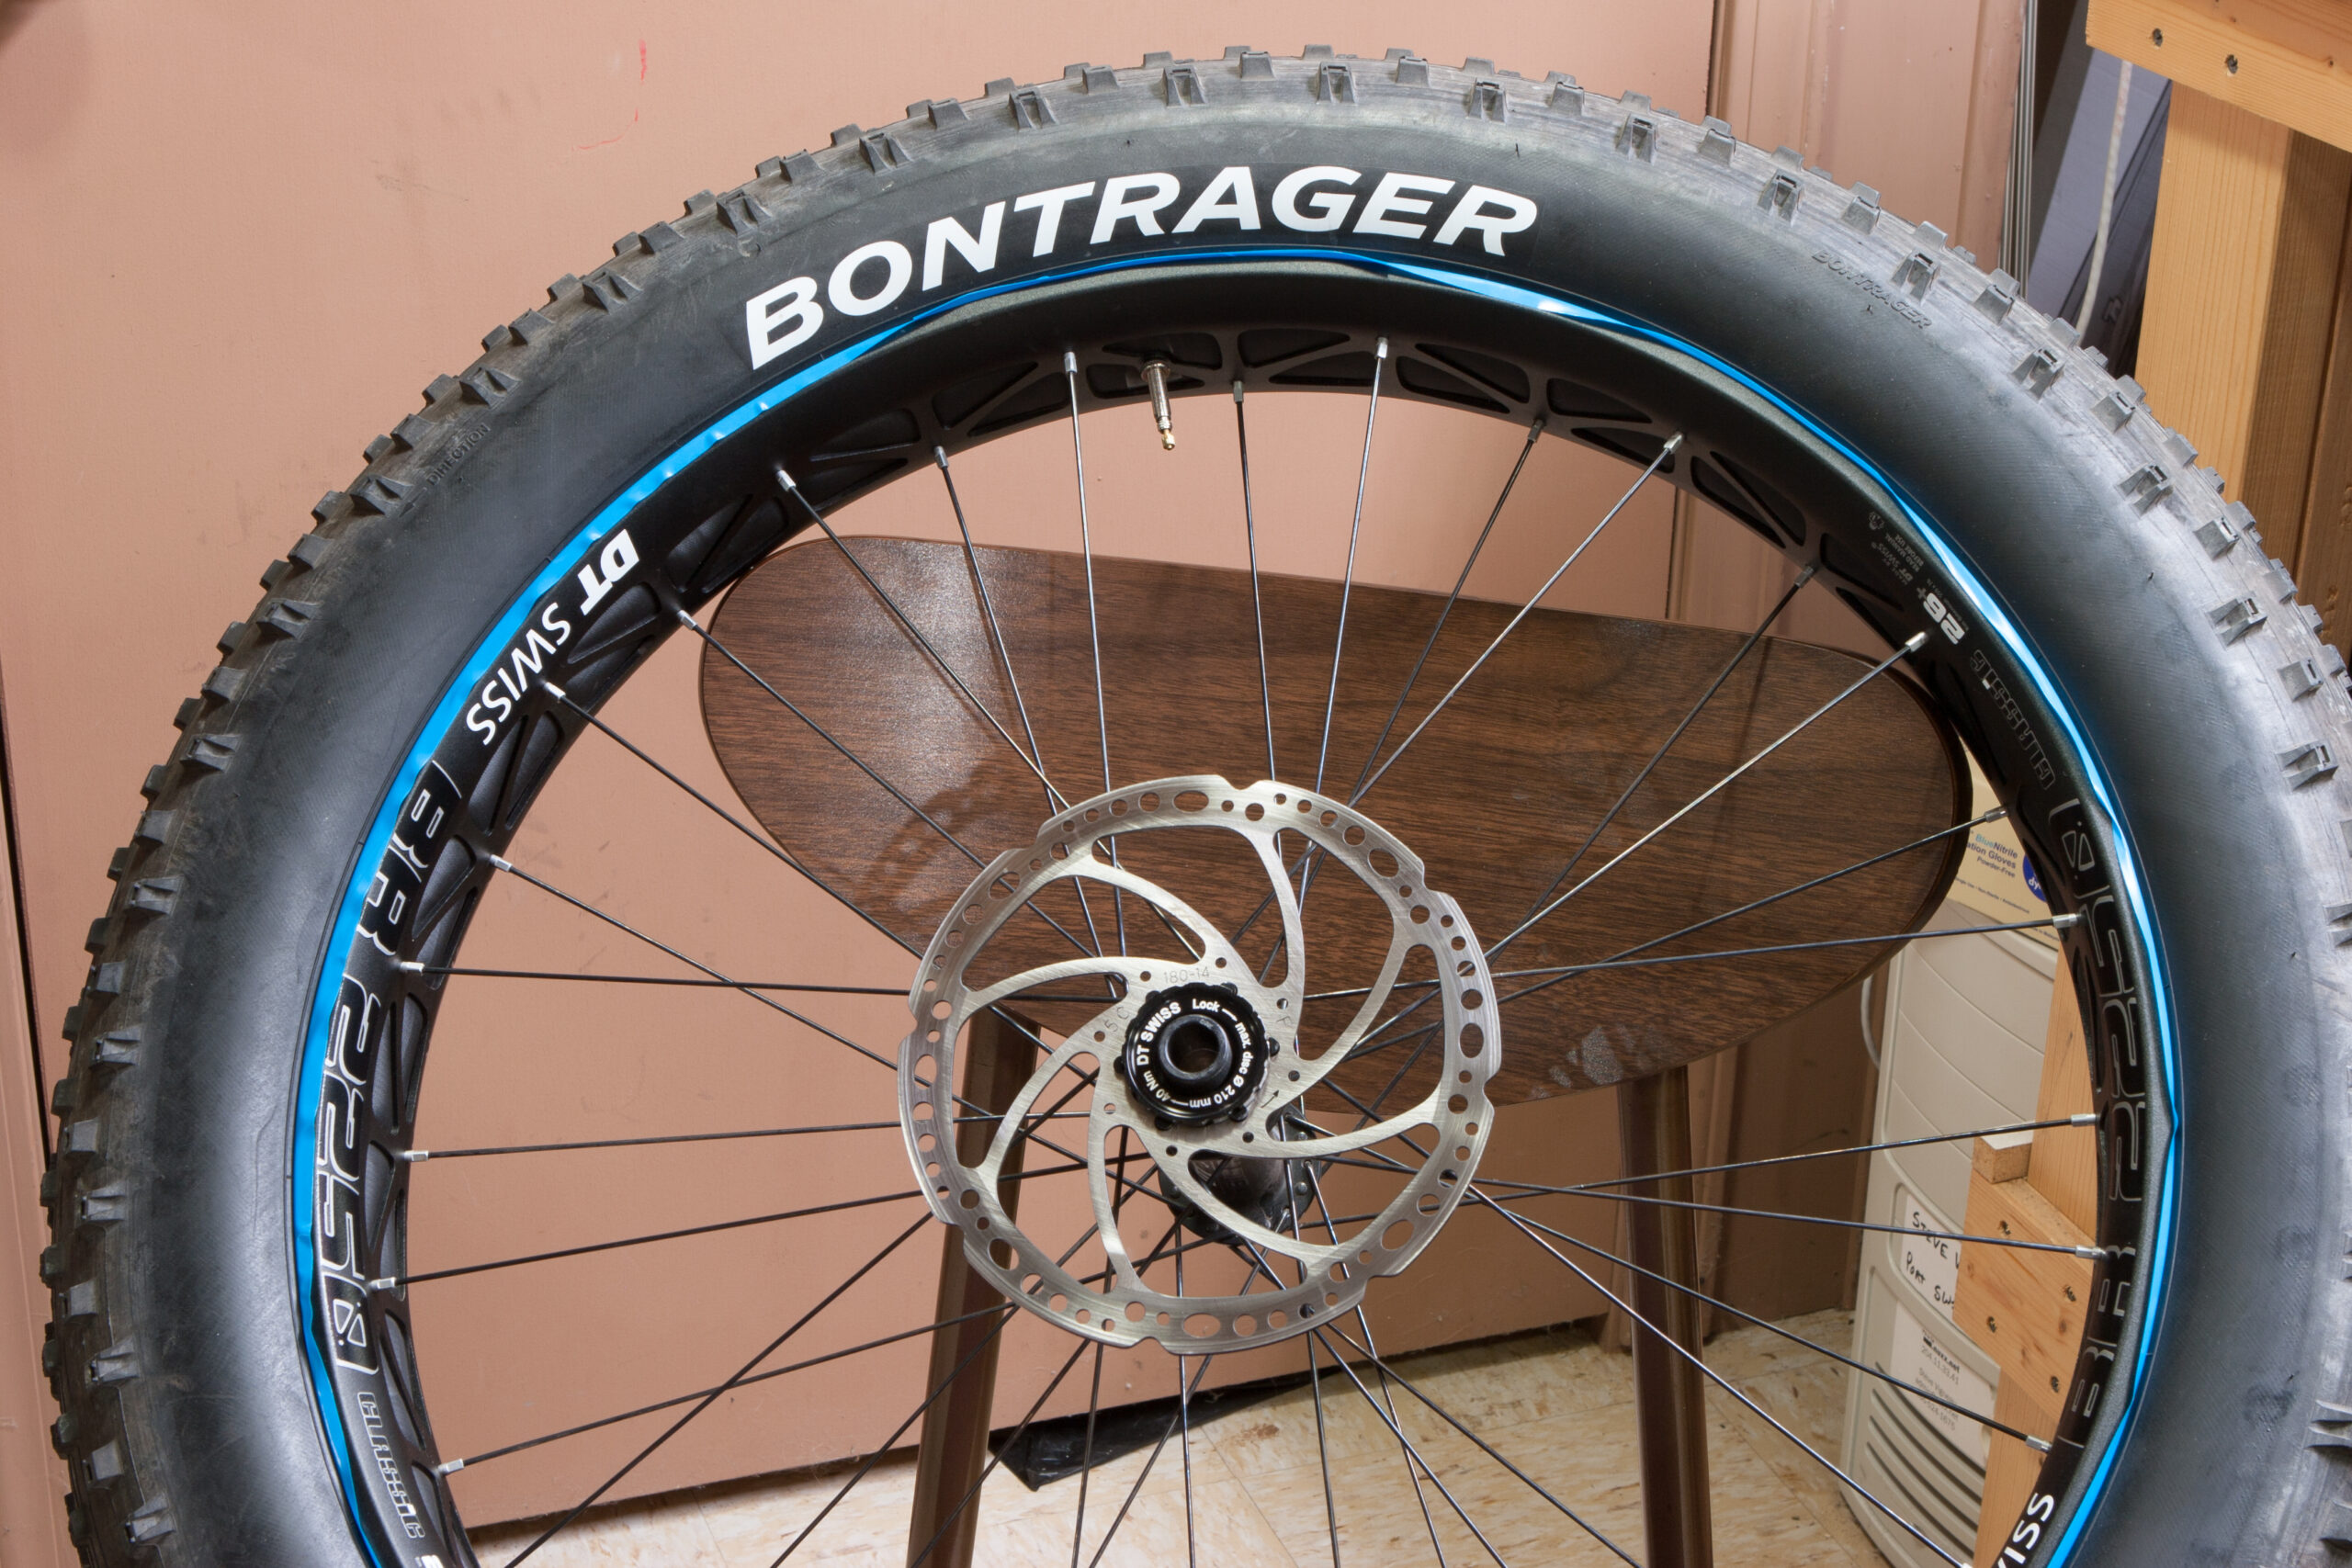
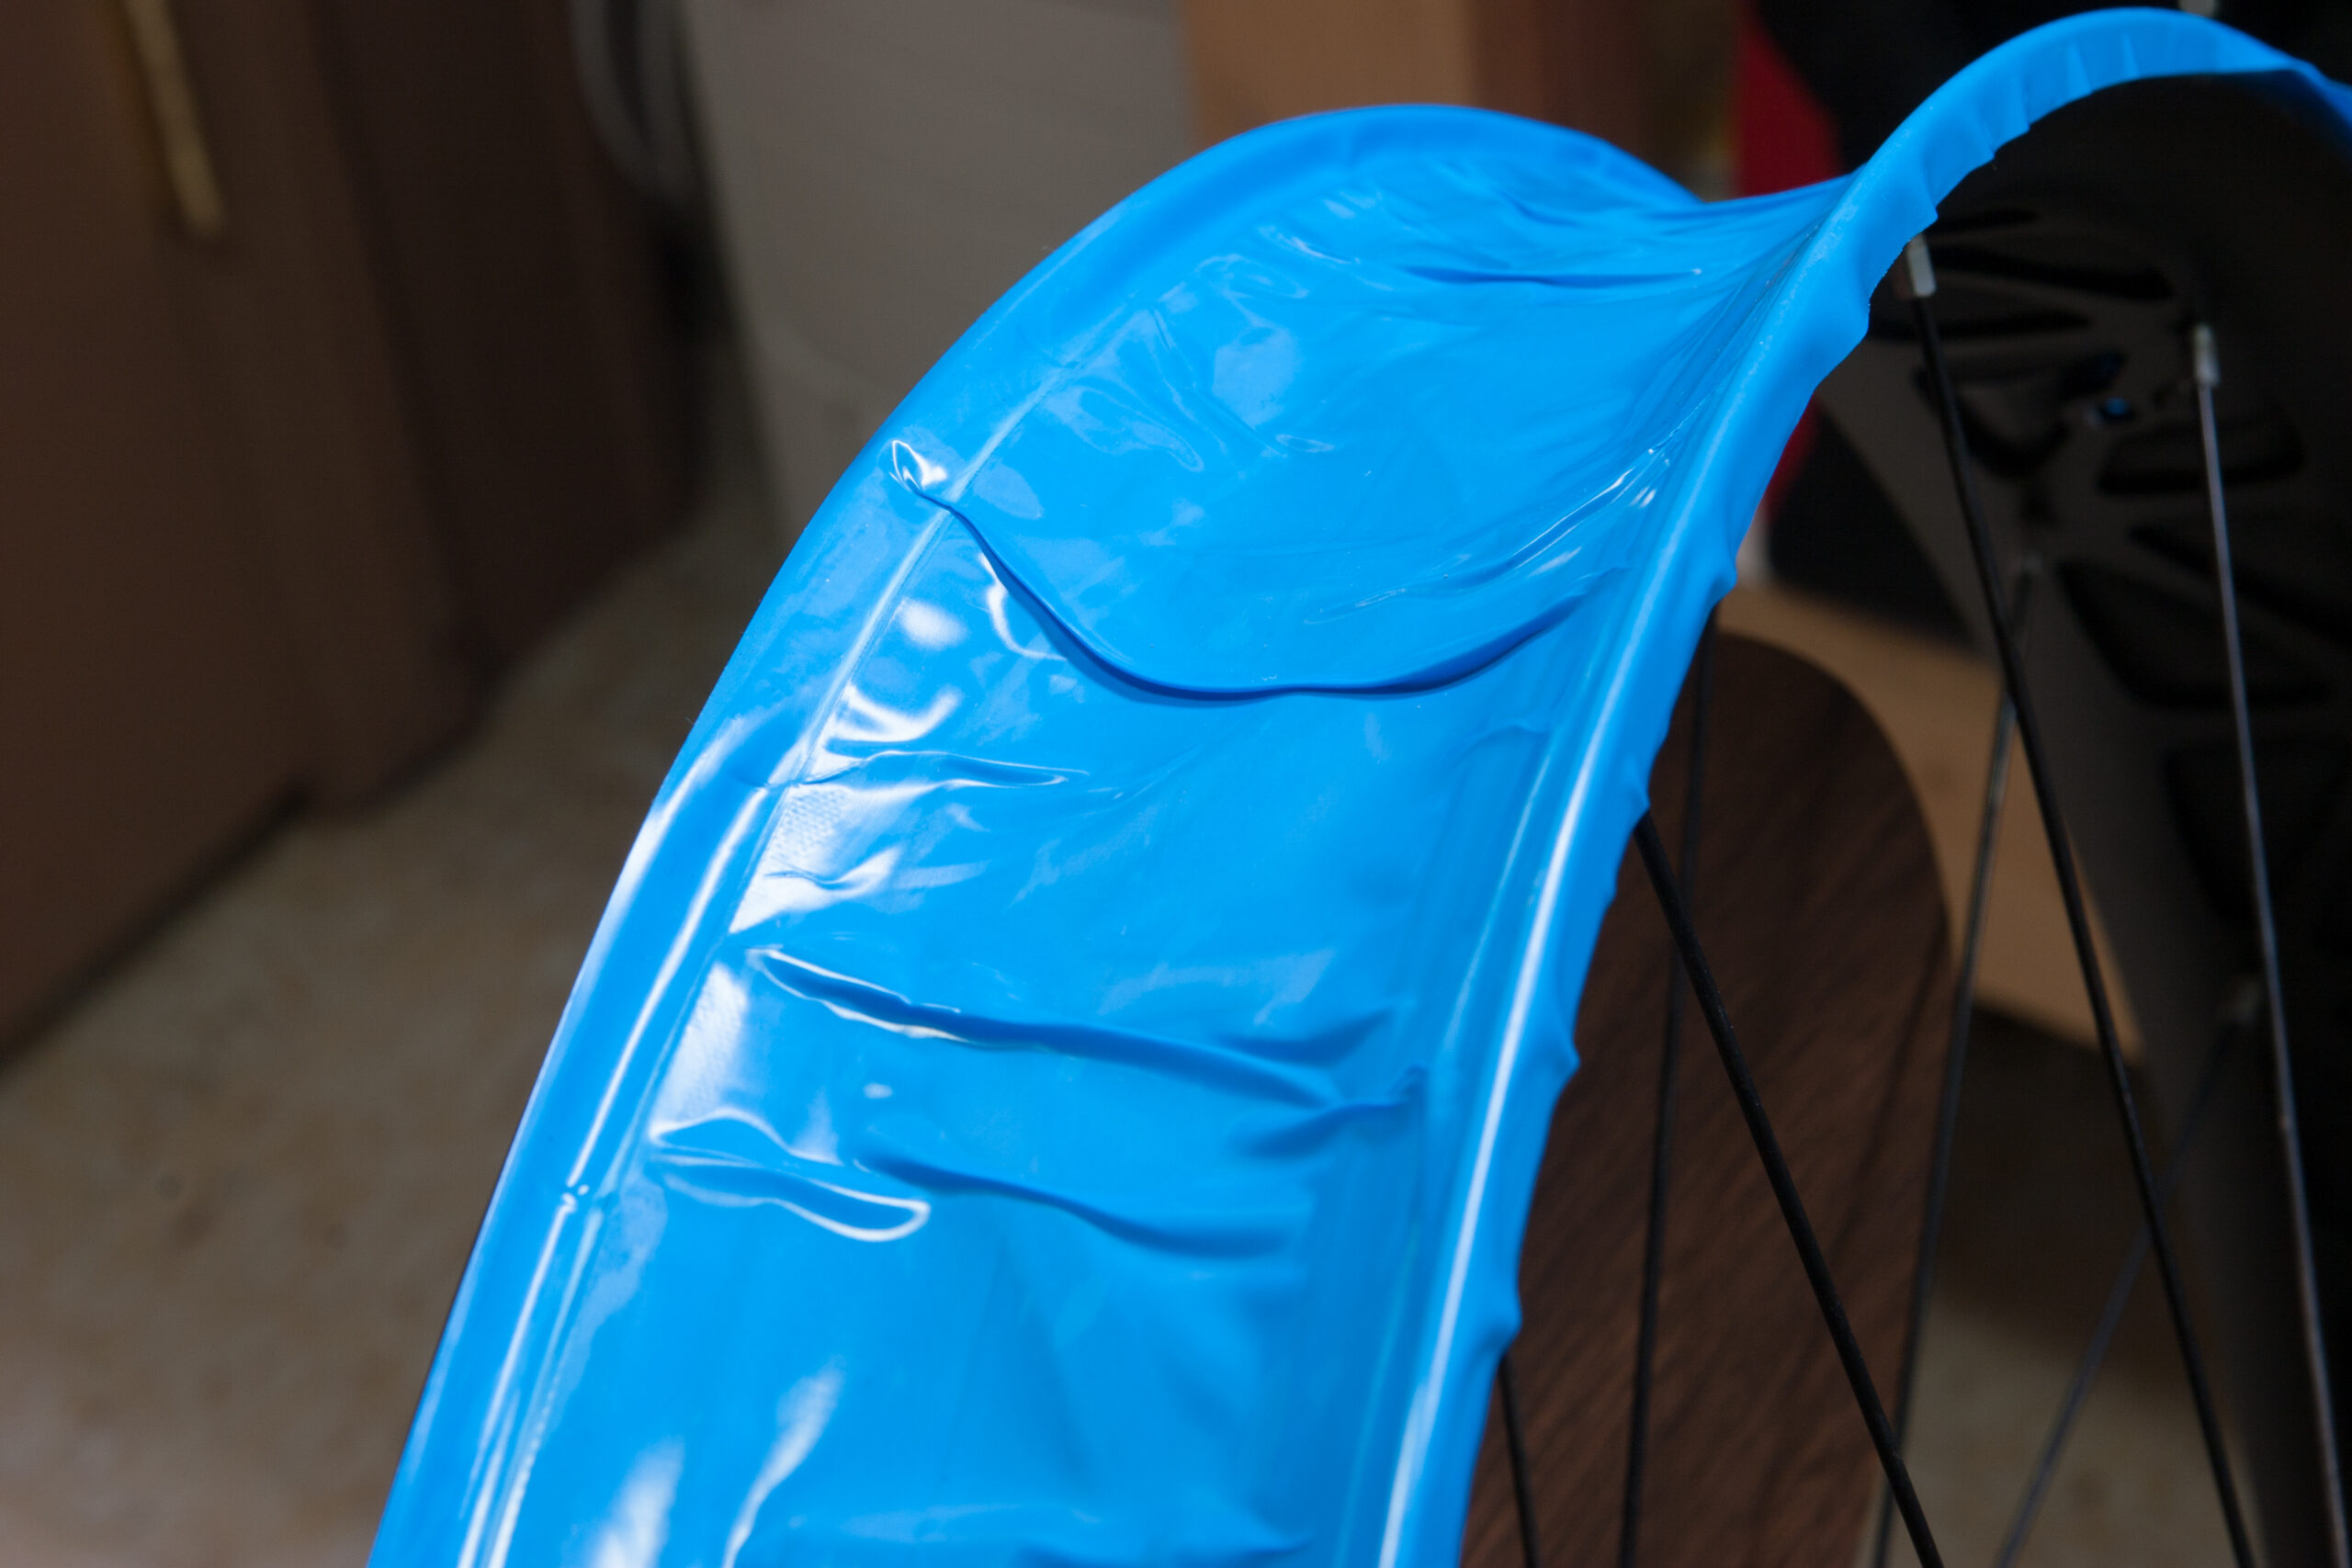
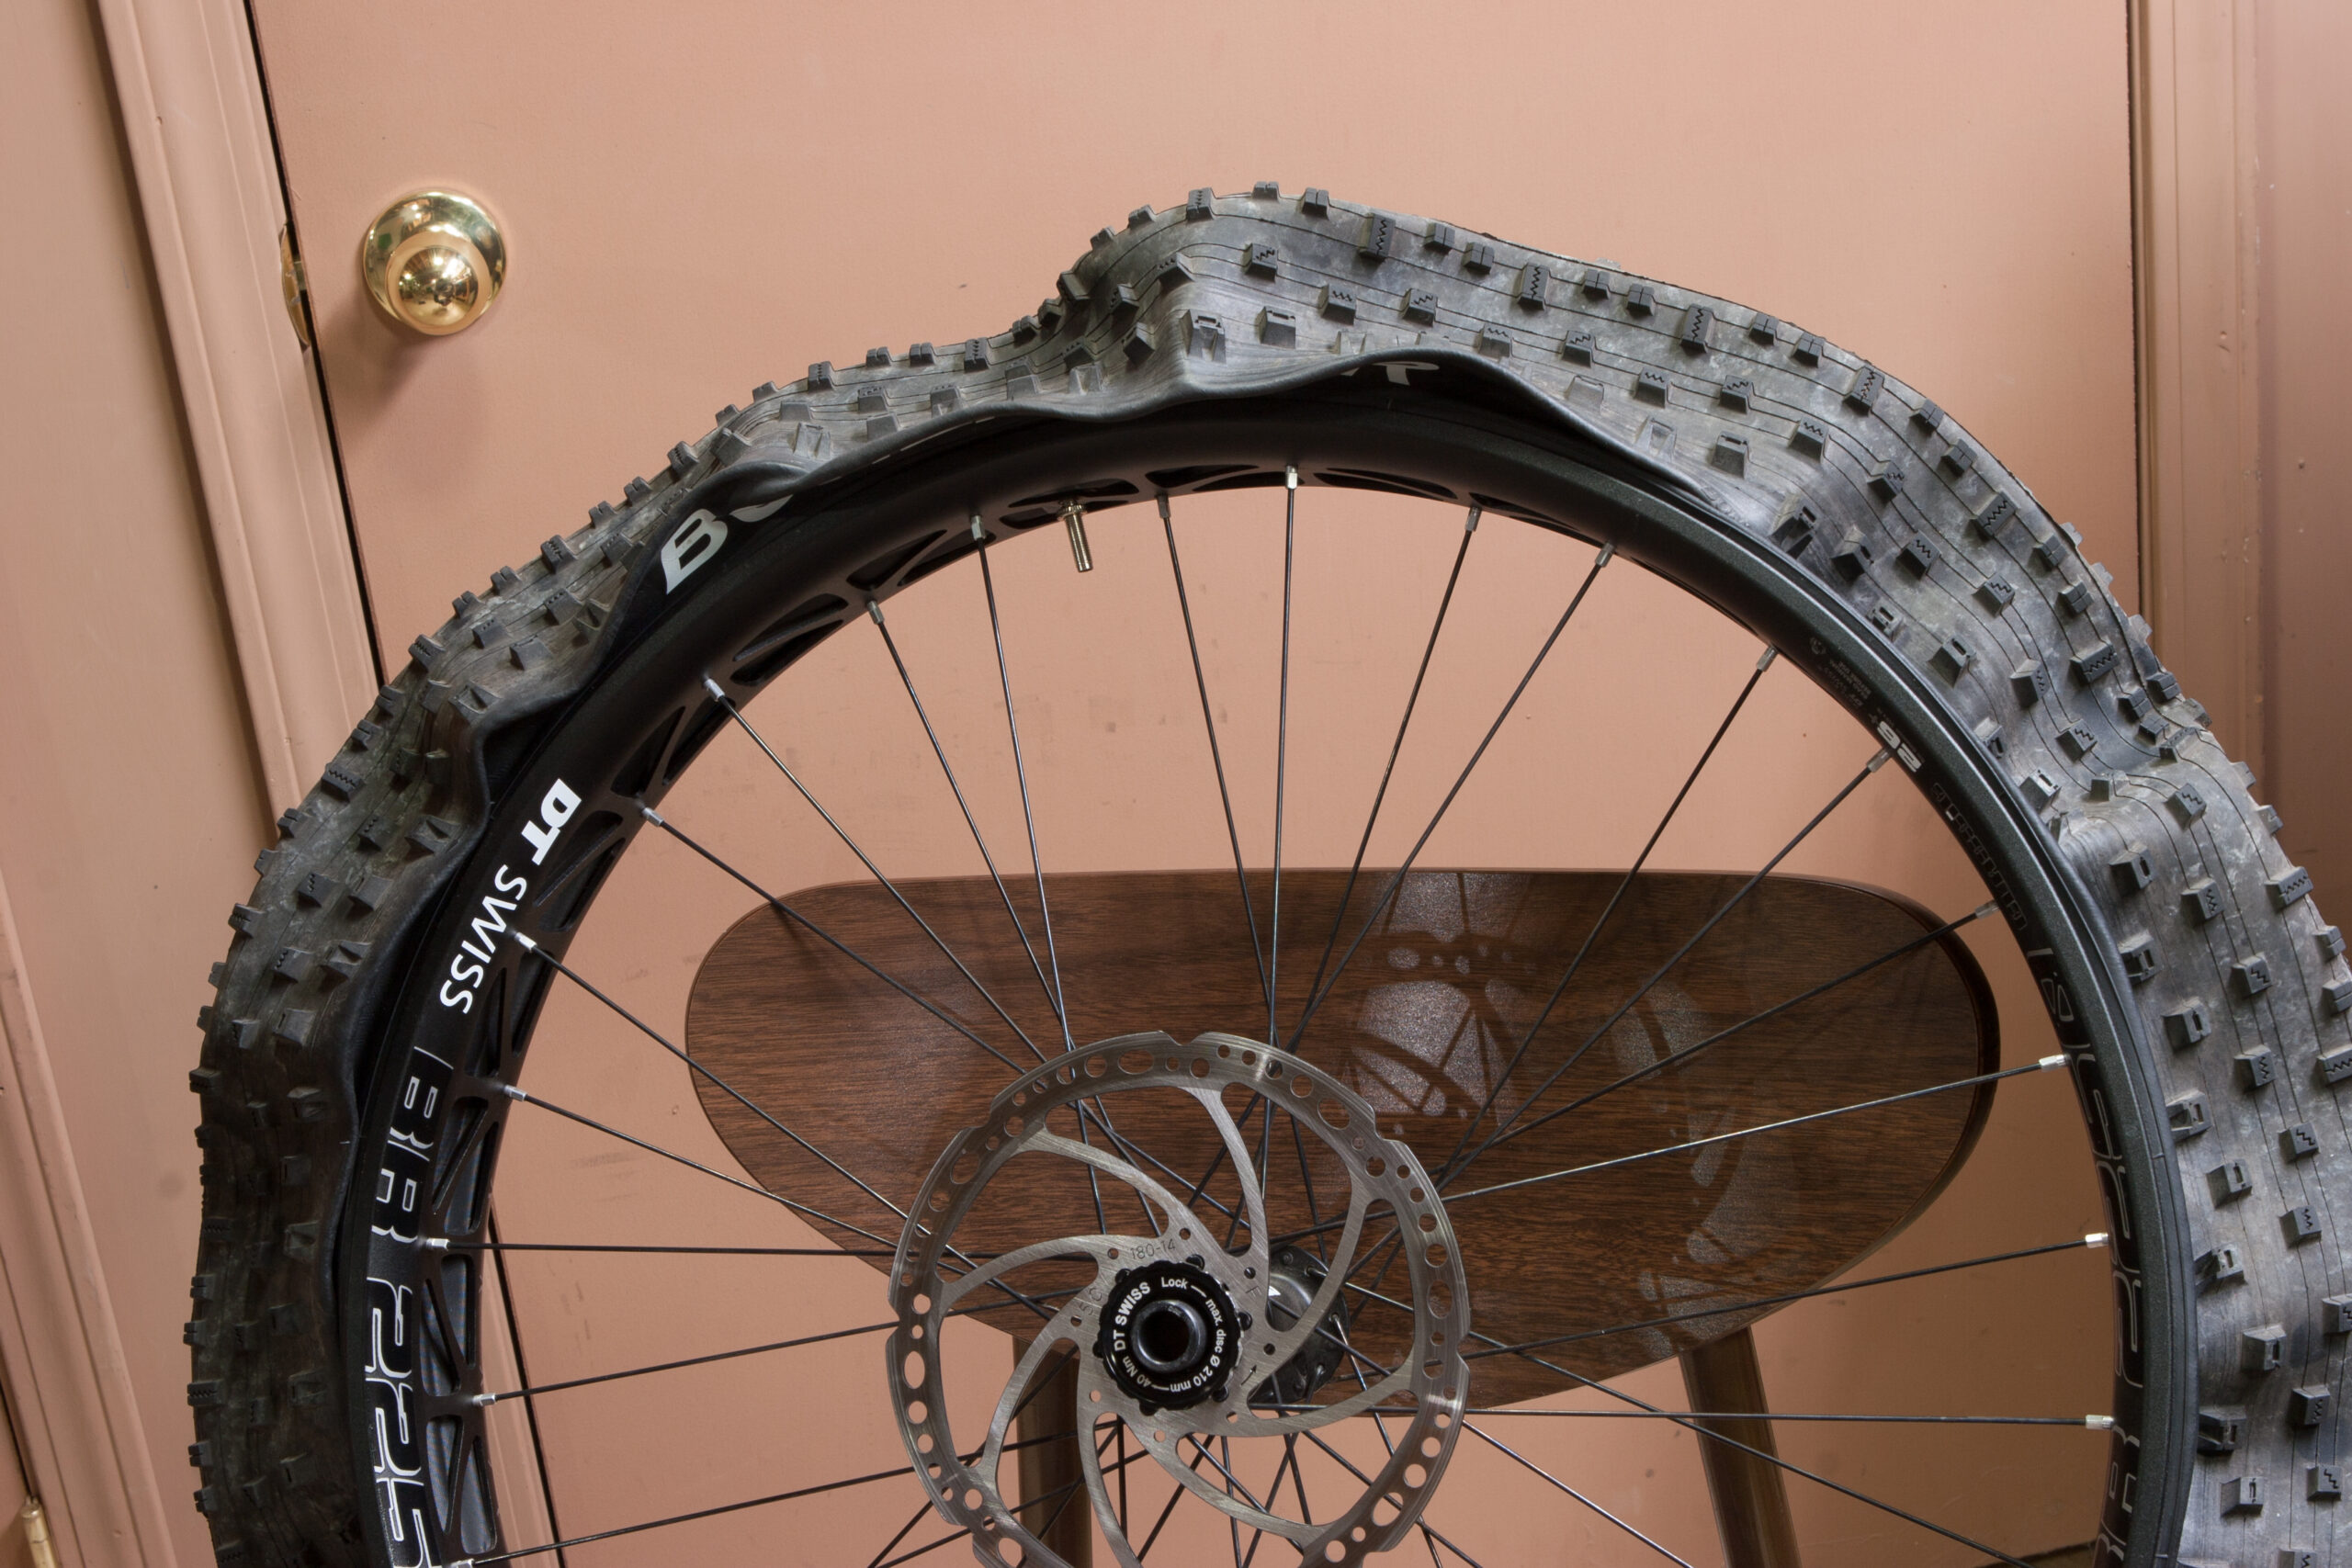
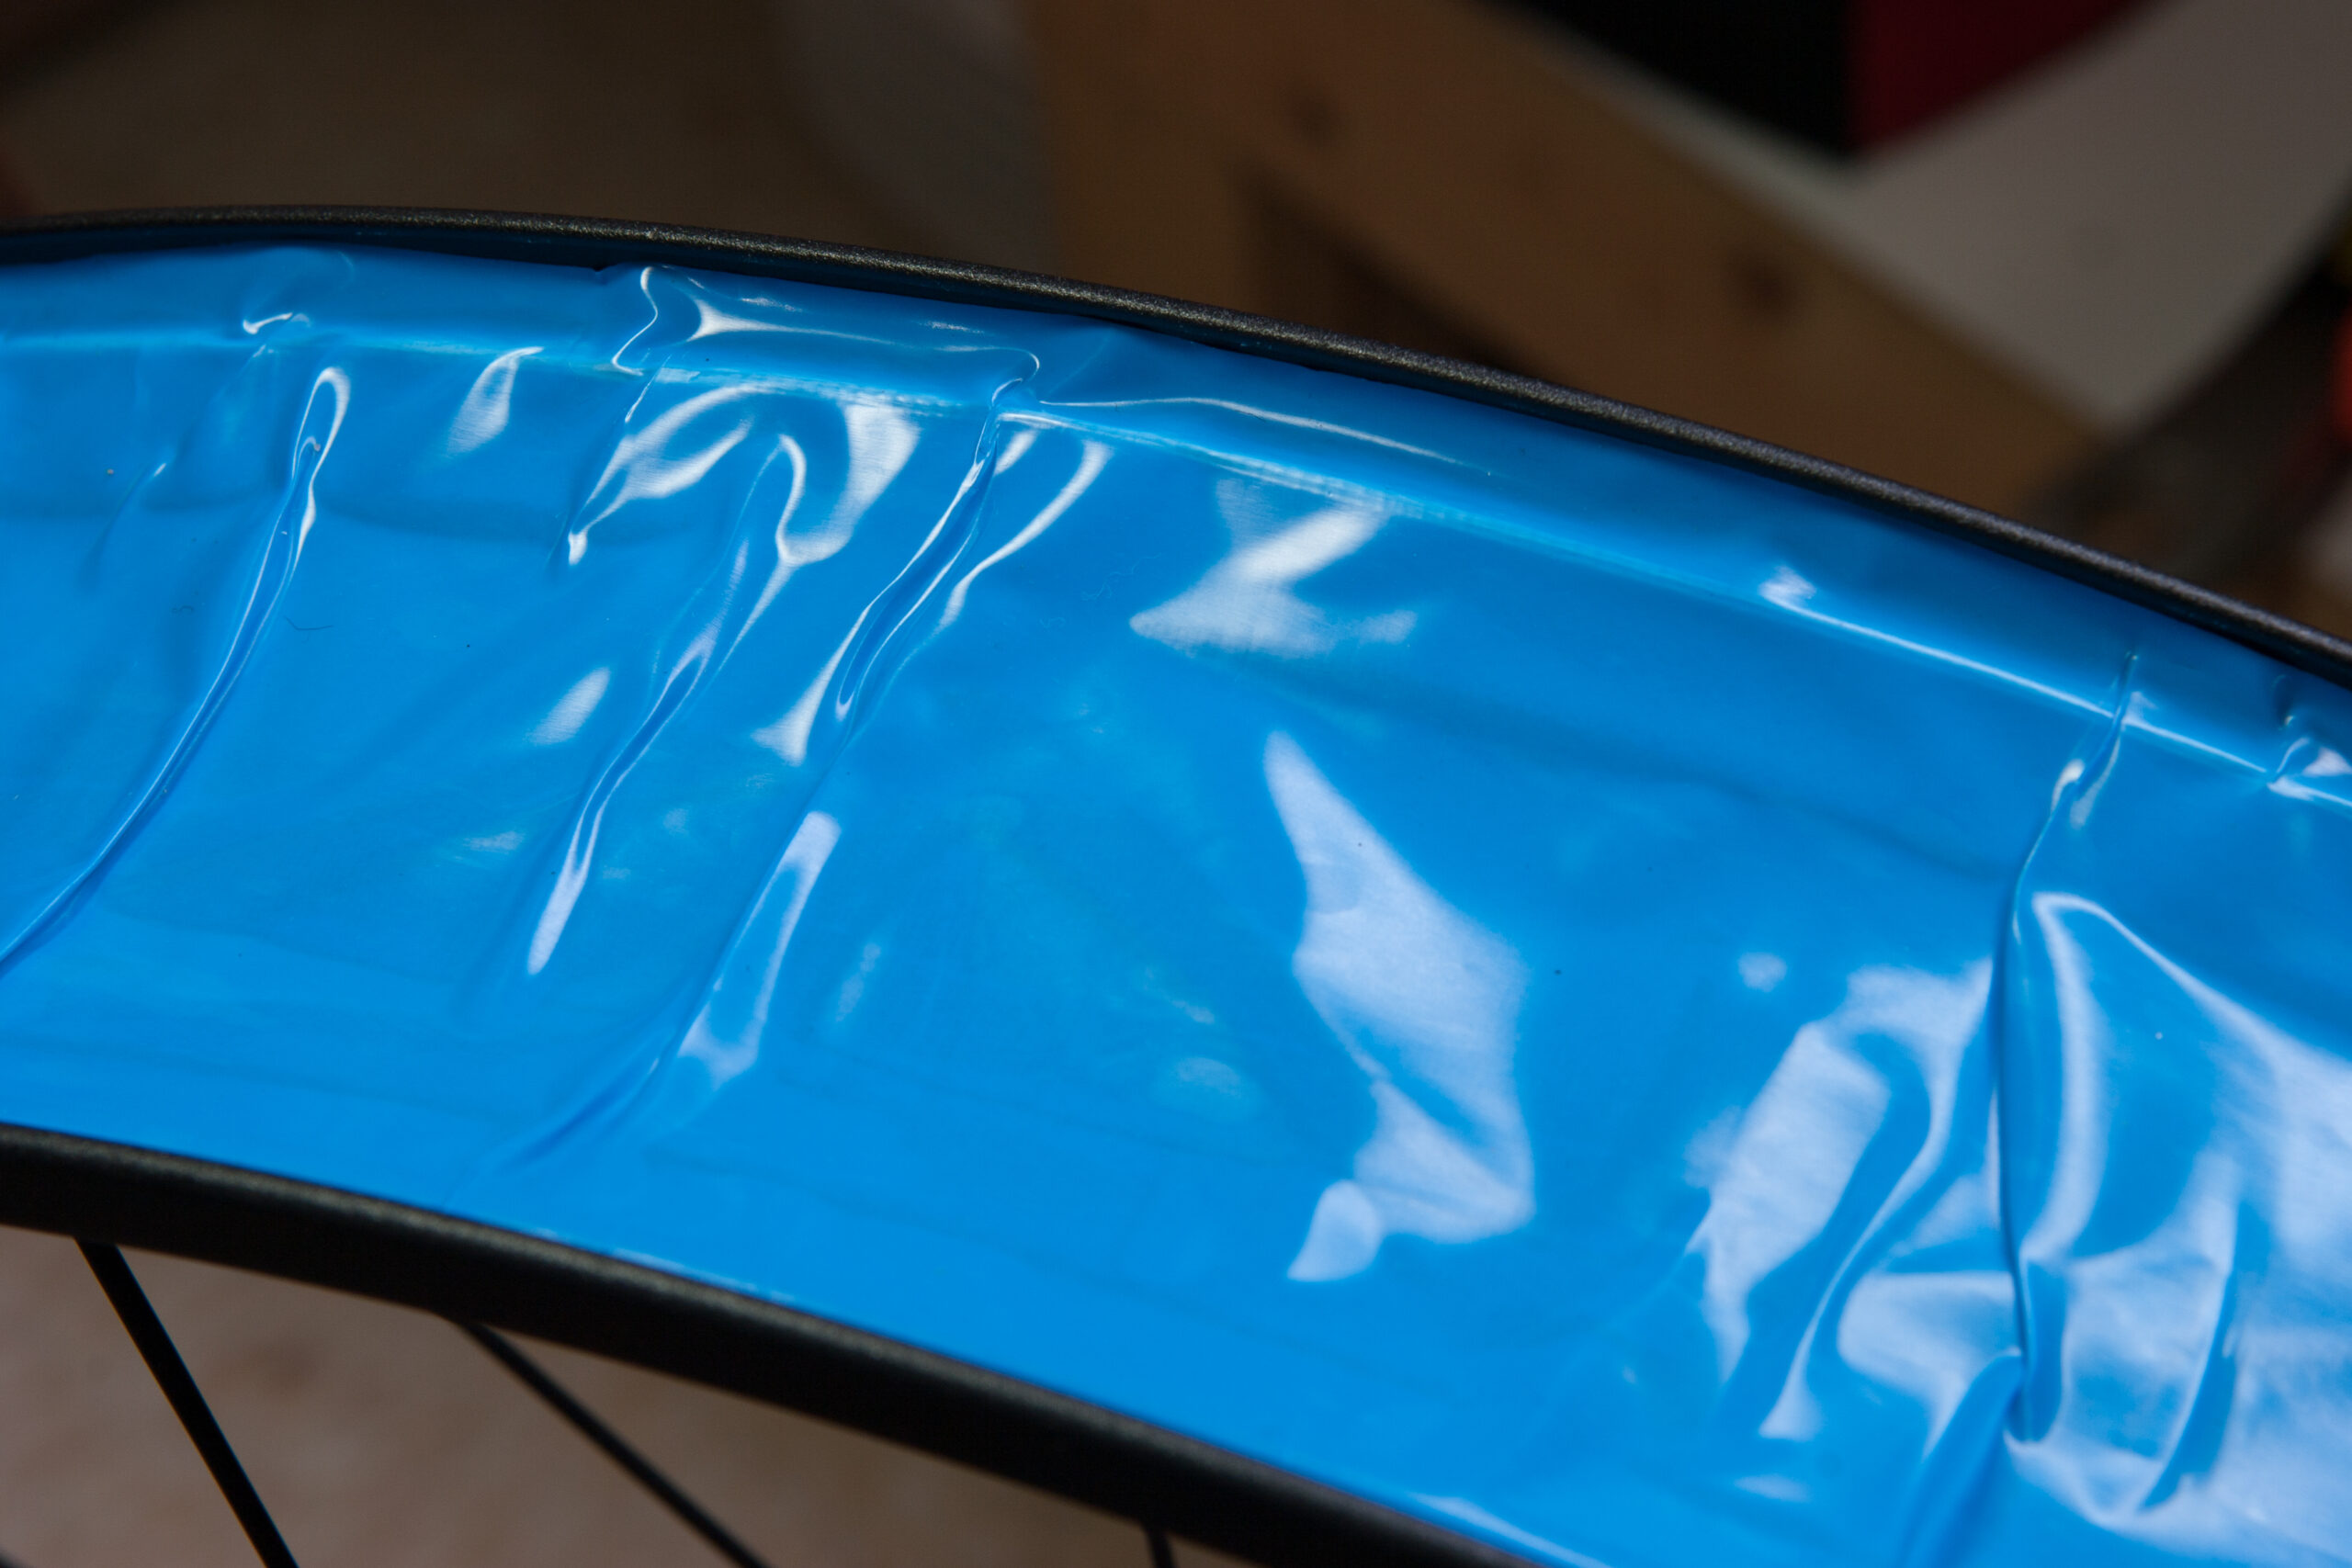
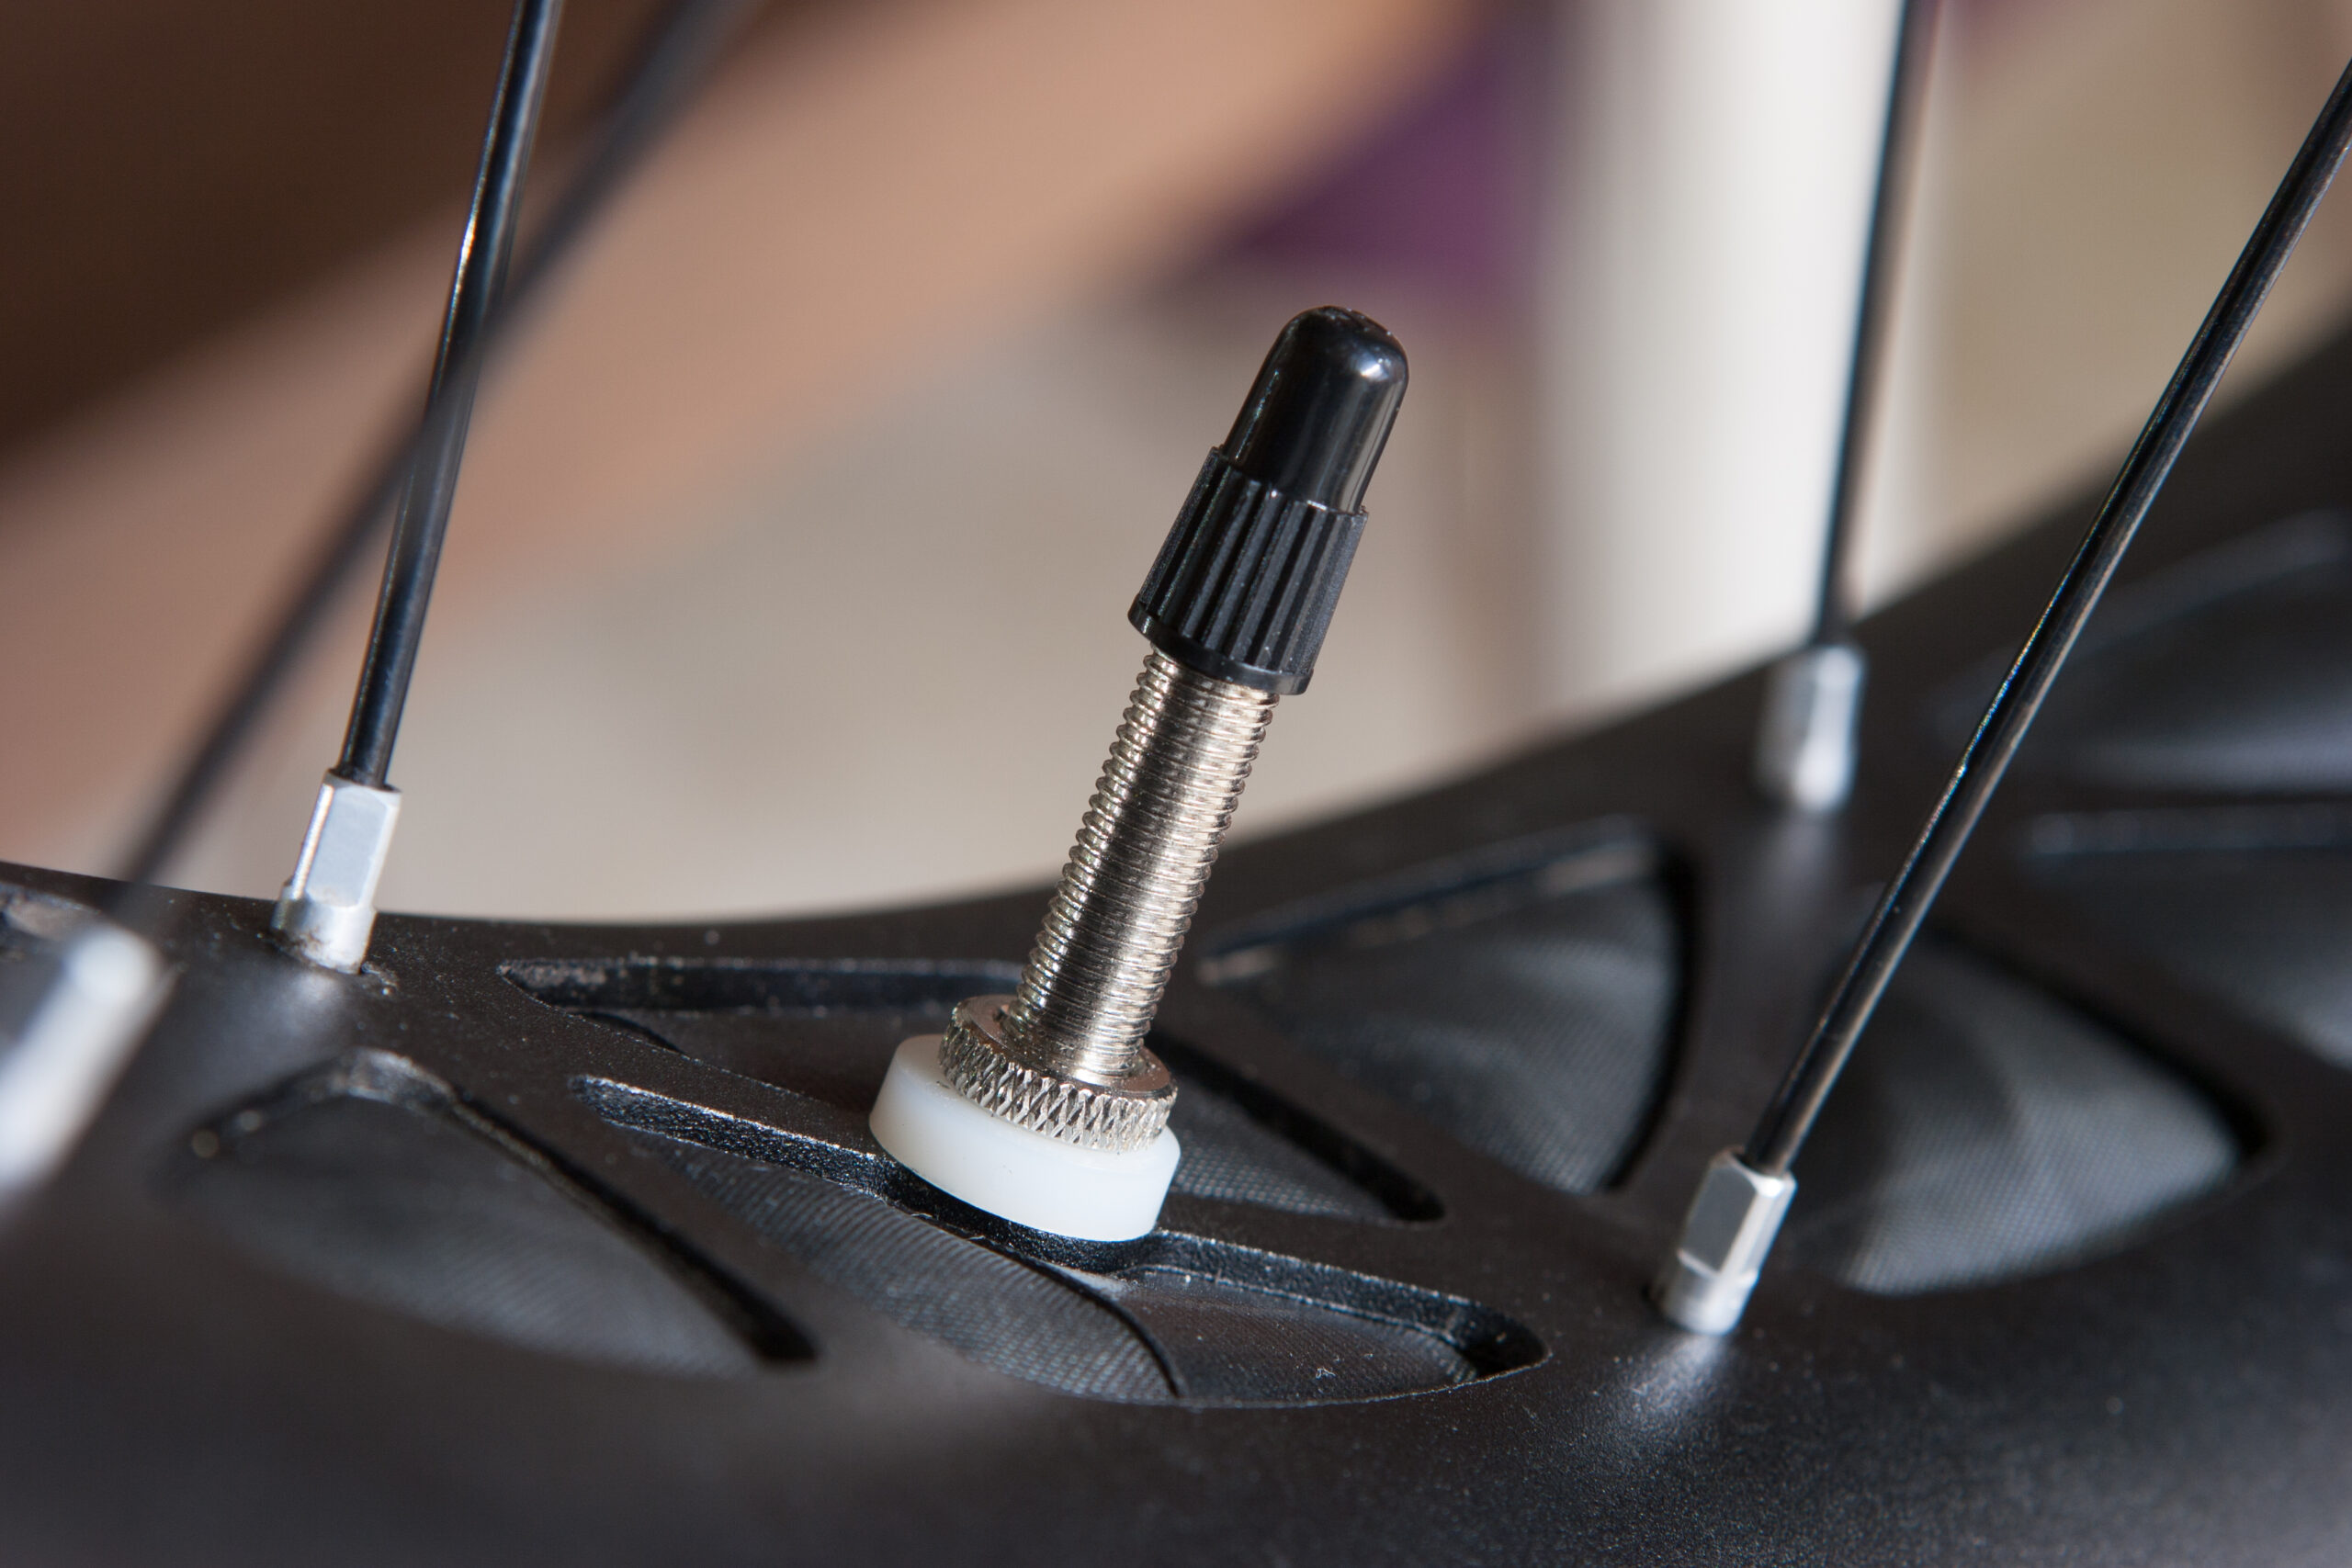
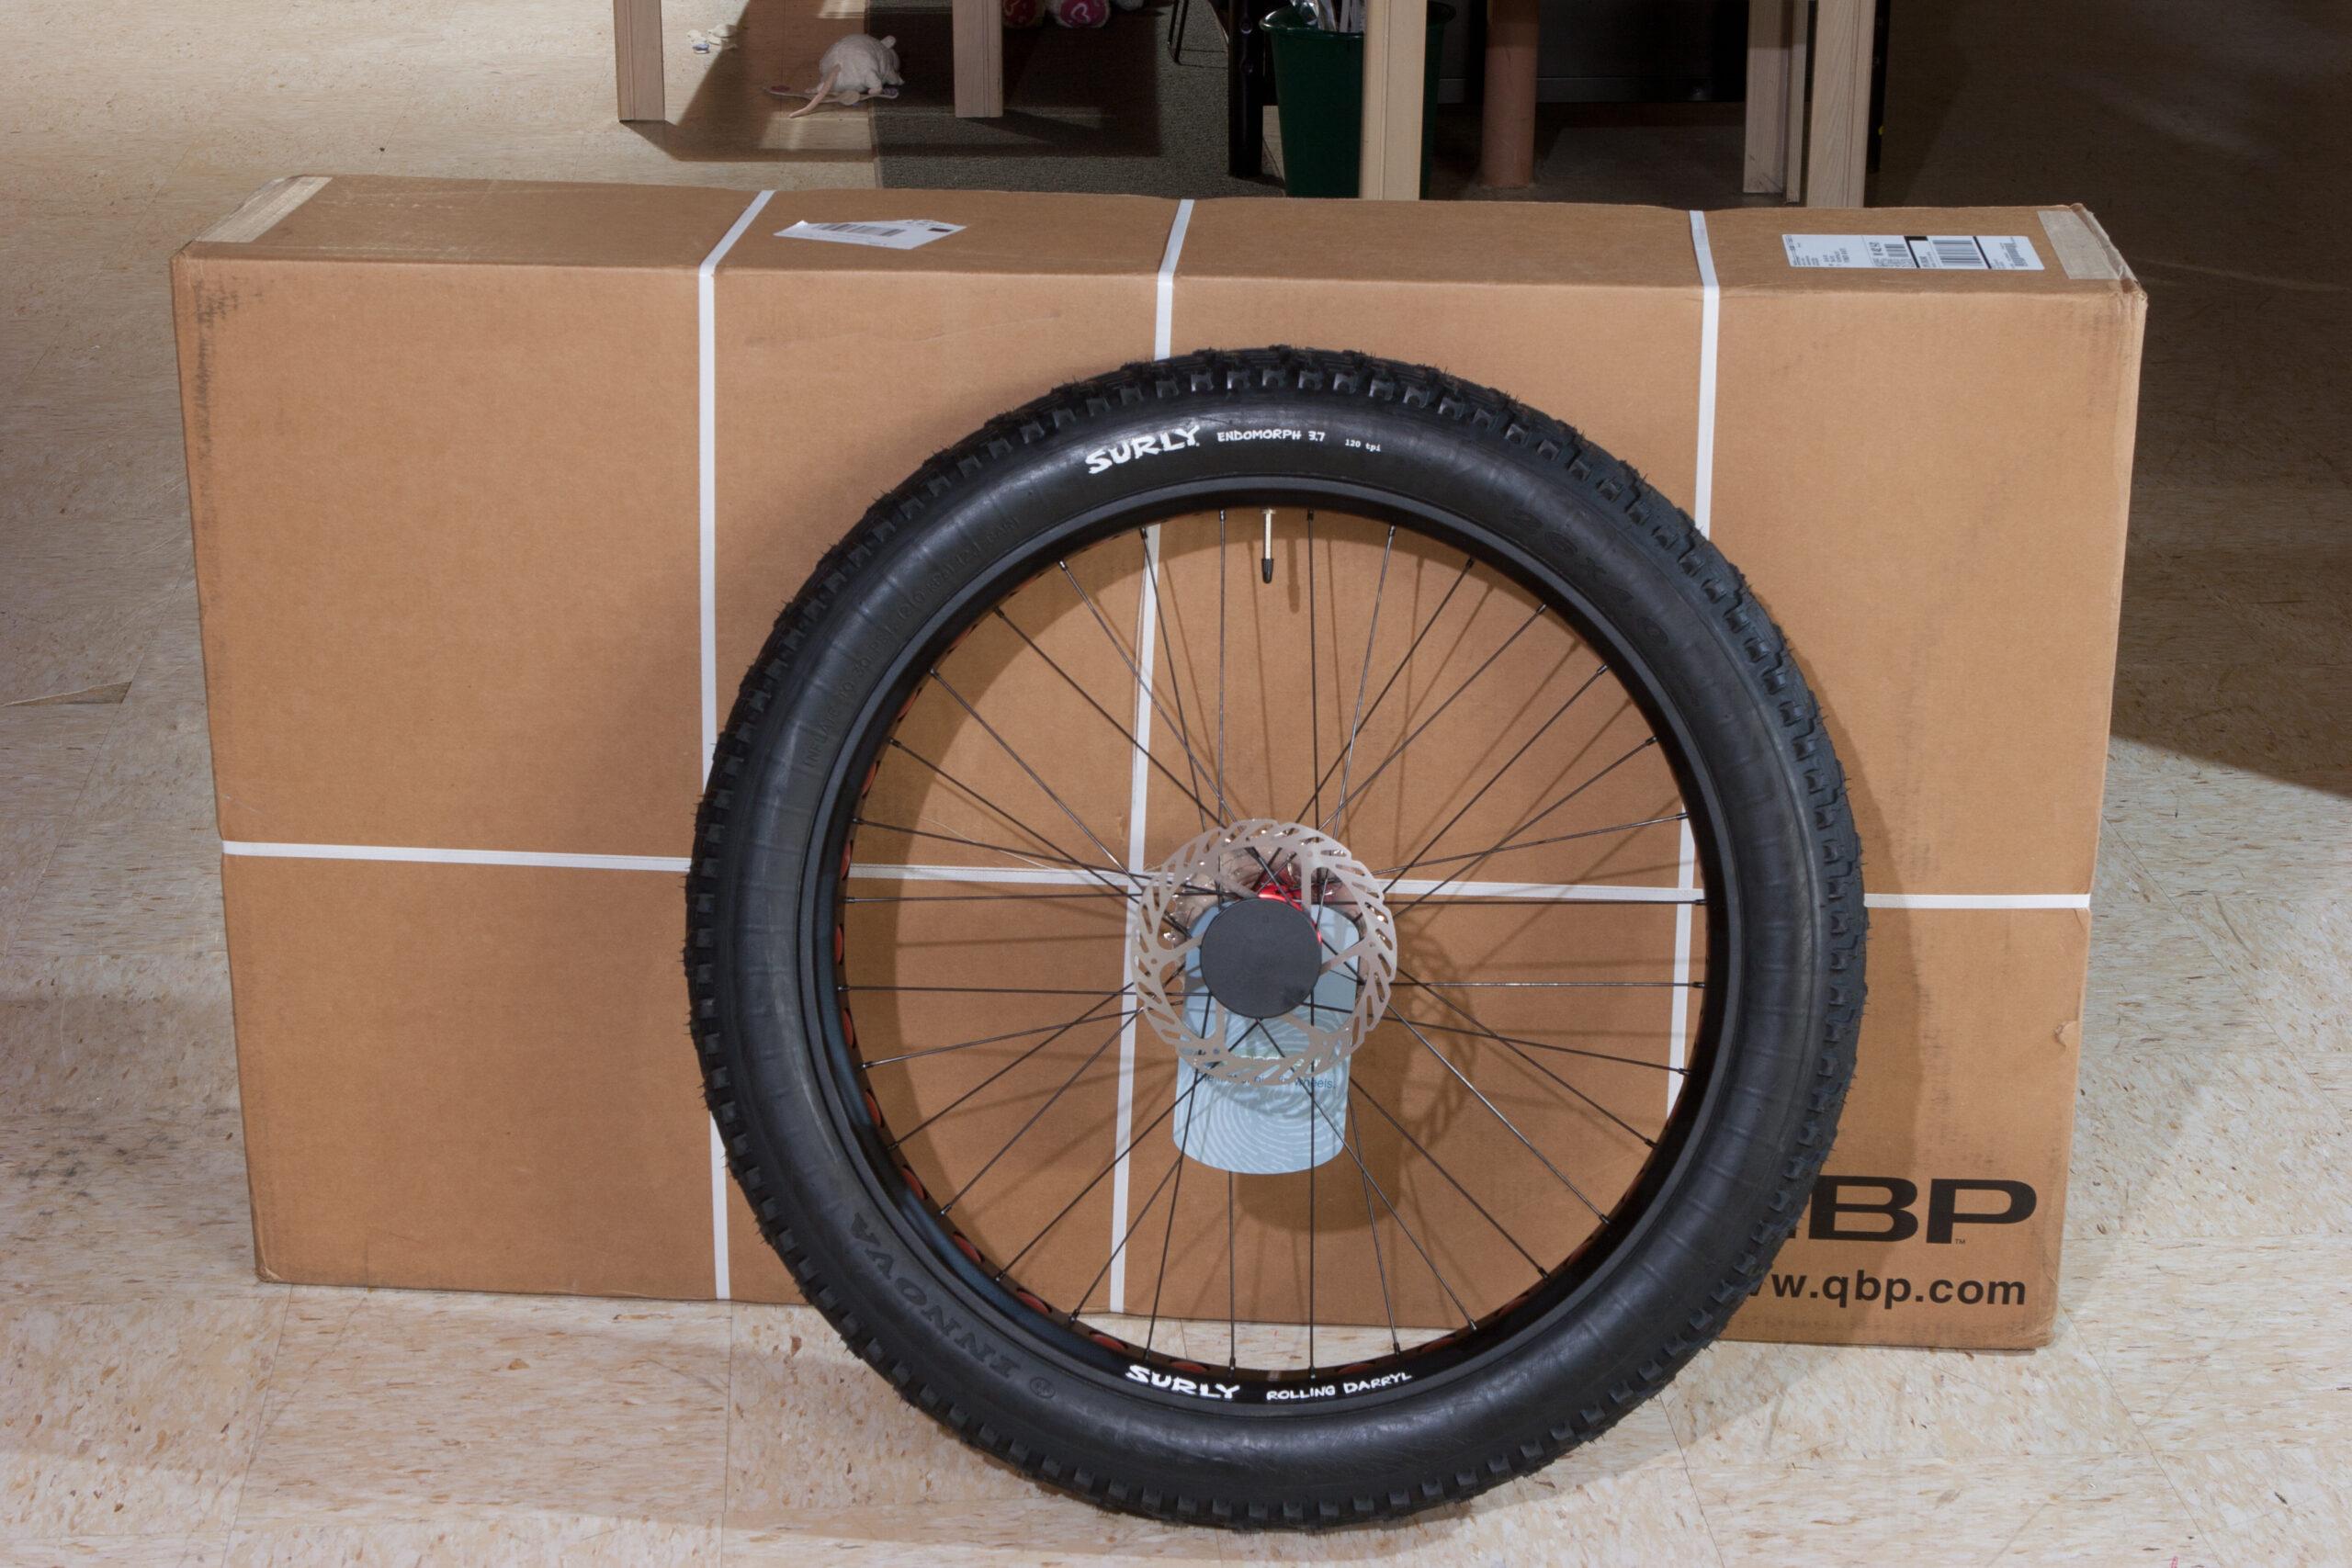
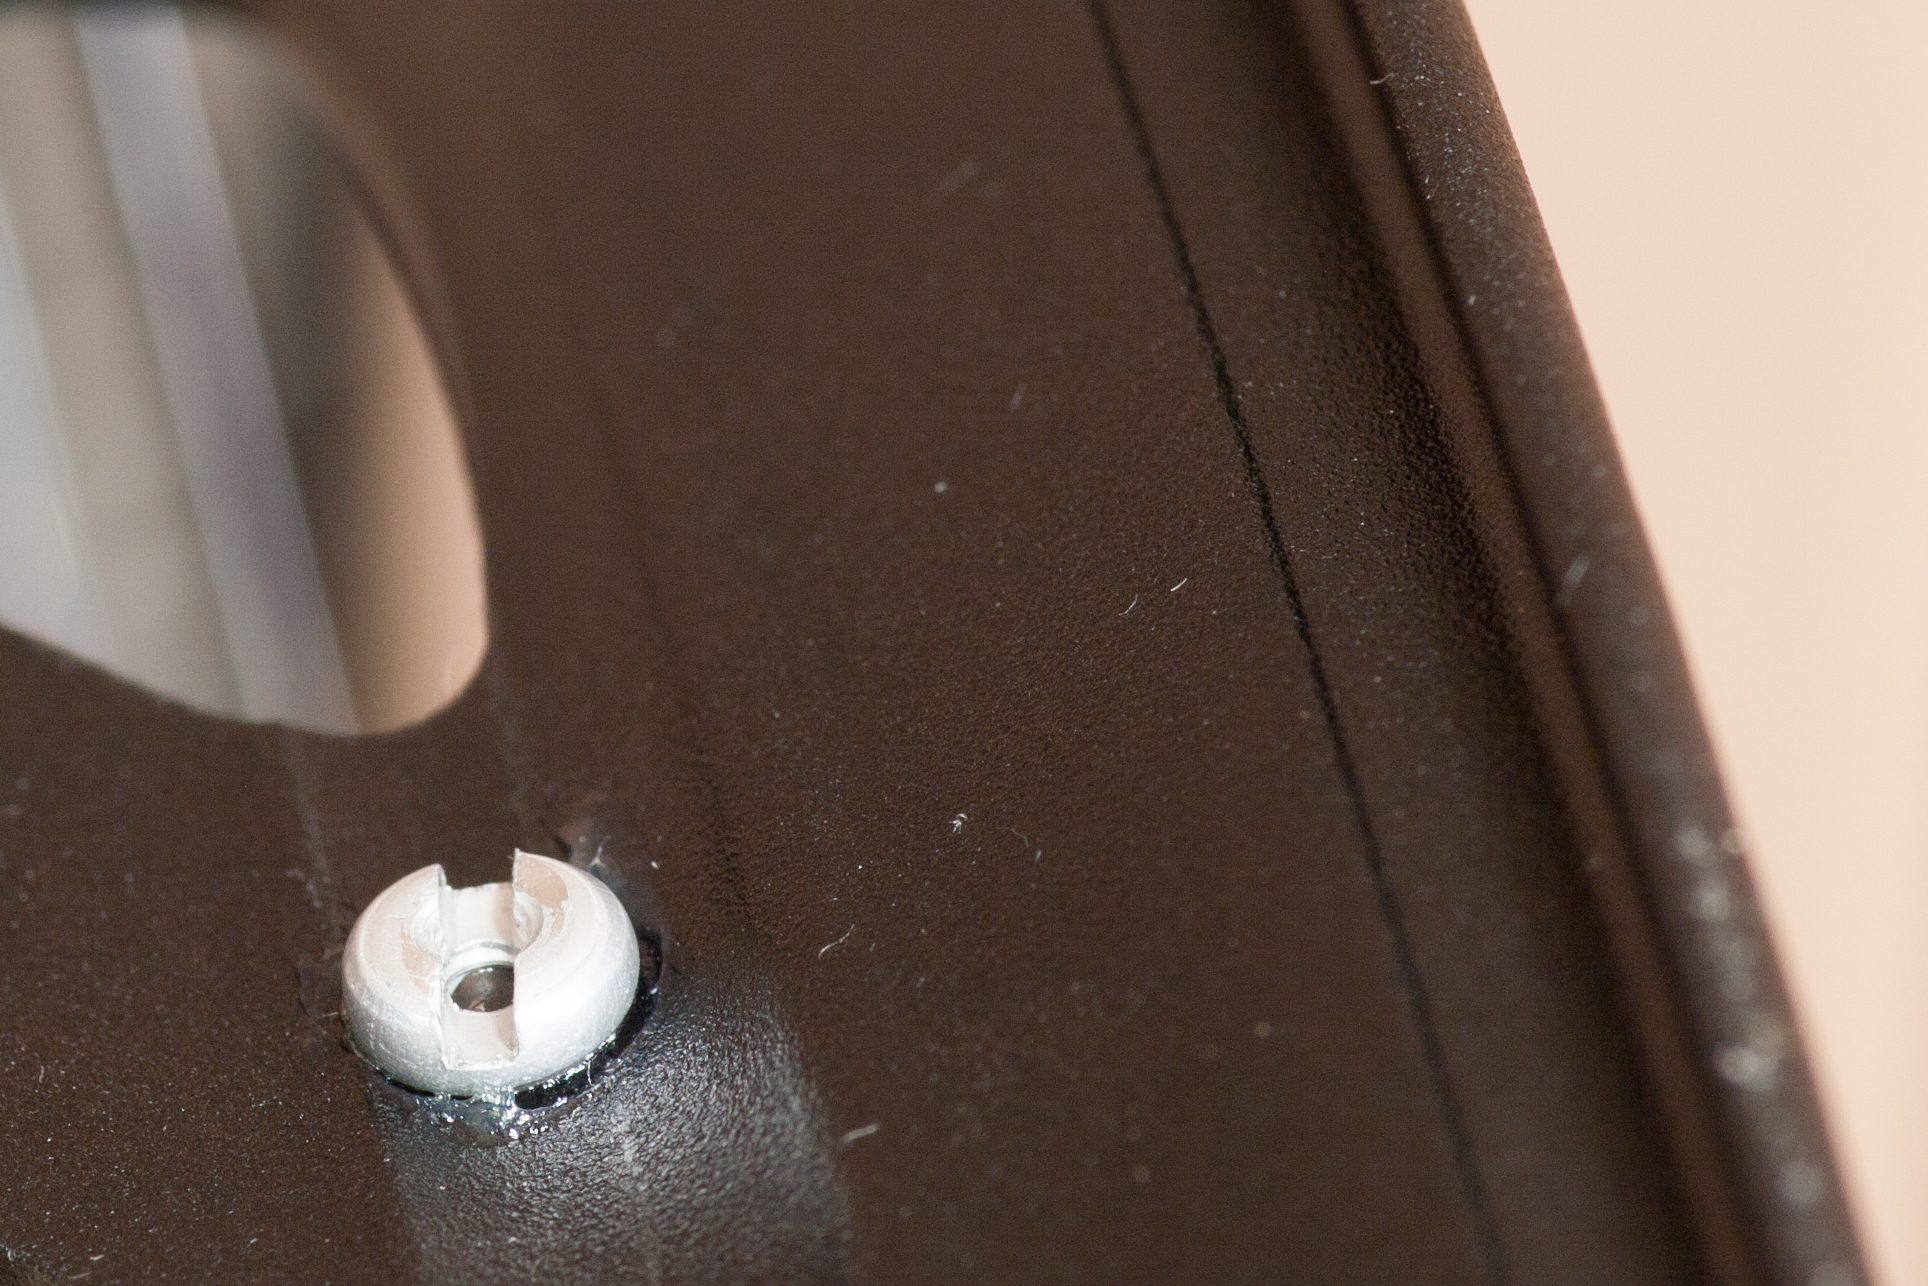
 Fat bike rims effectively come in two styles: those with weight-reducing holes cut in them (eg:
  Due to the thin rim wall the cone-shaped gasket on the
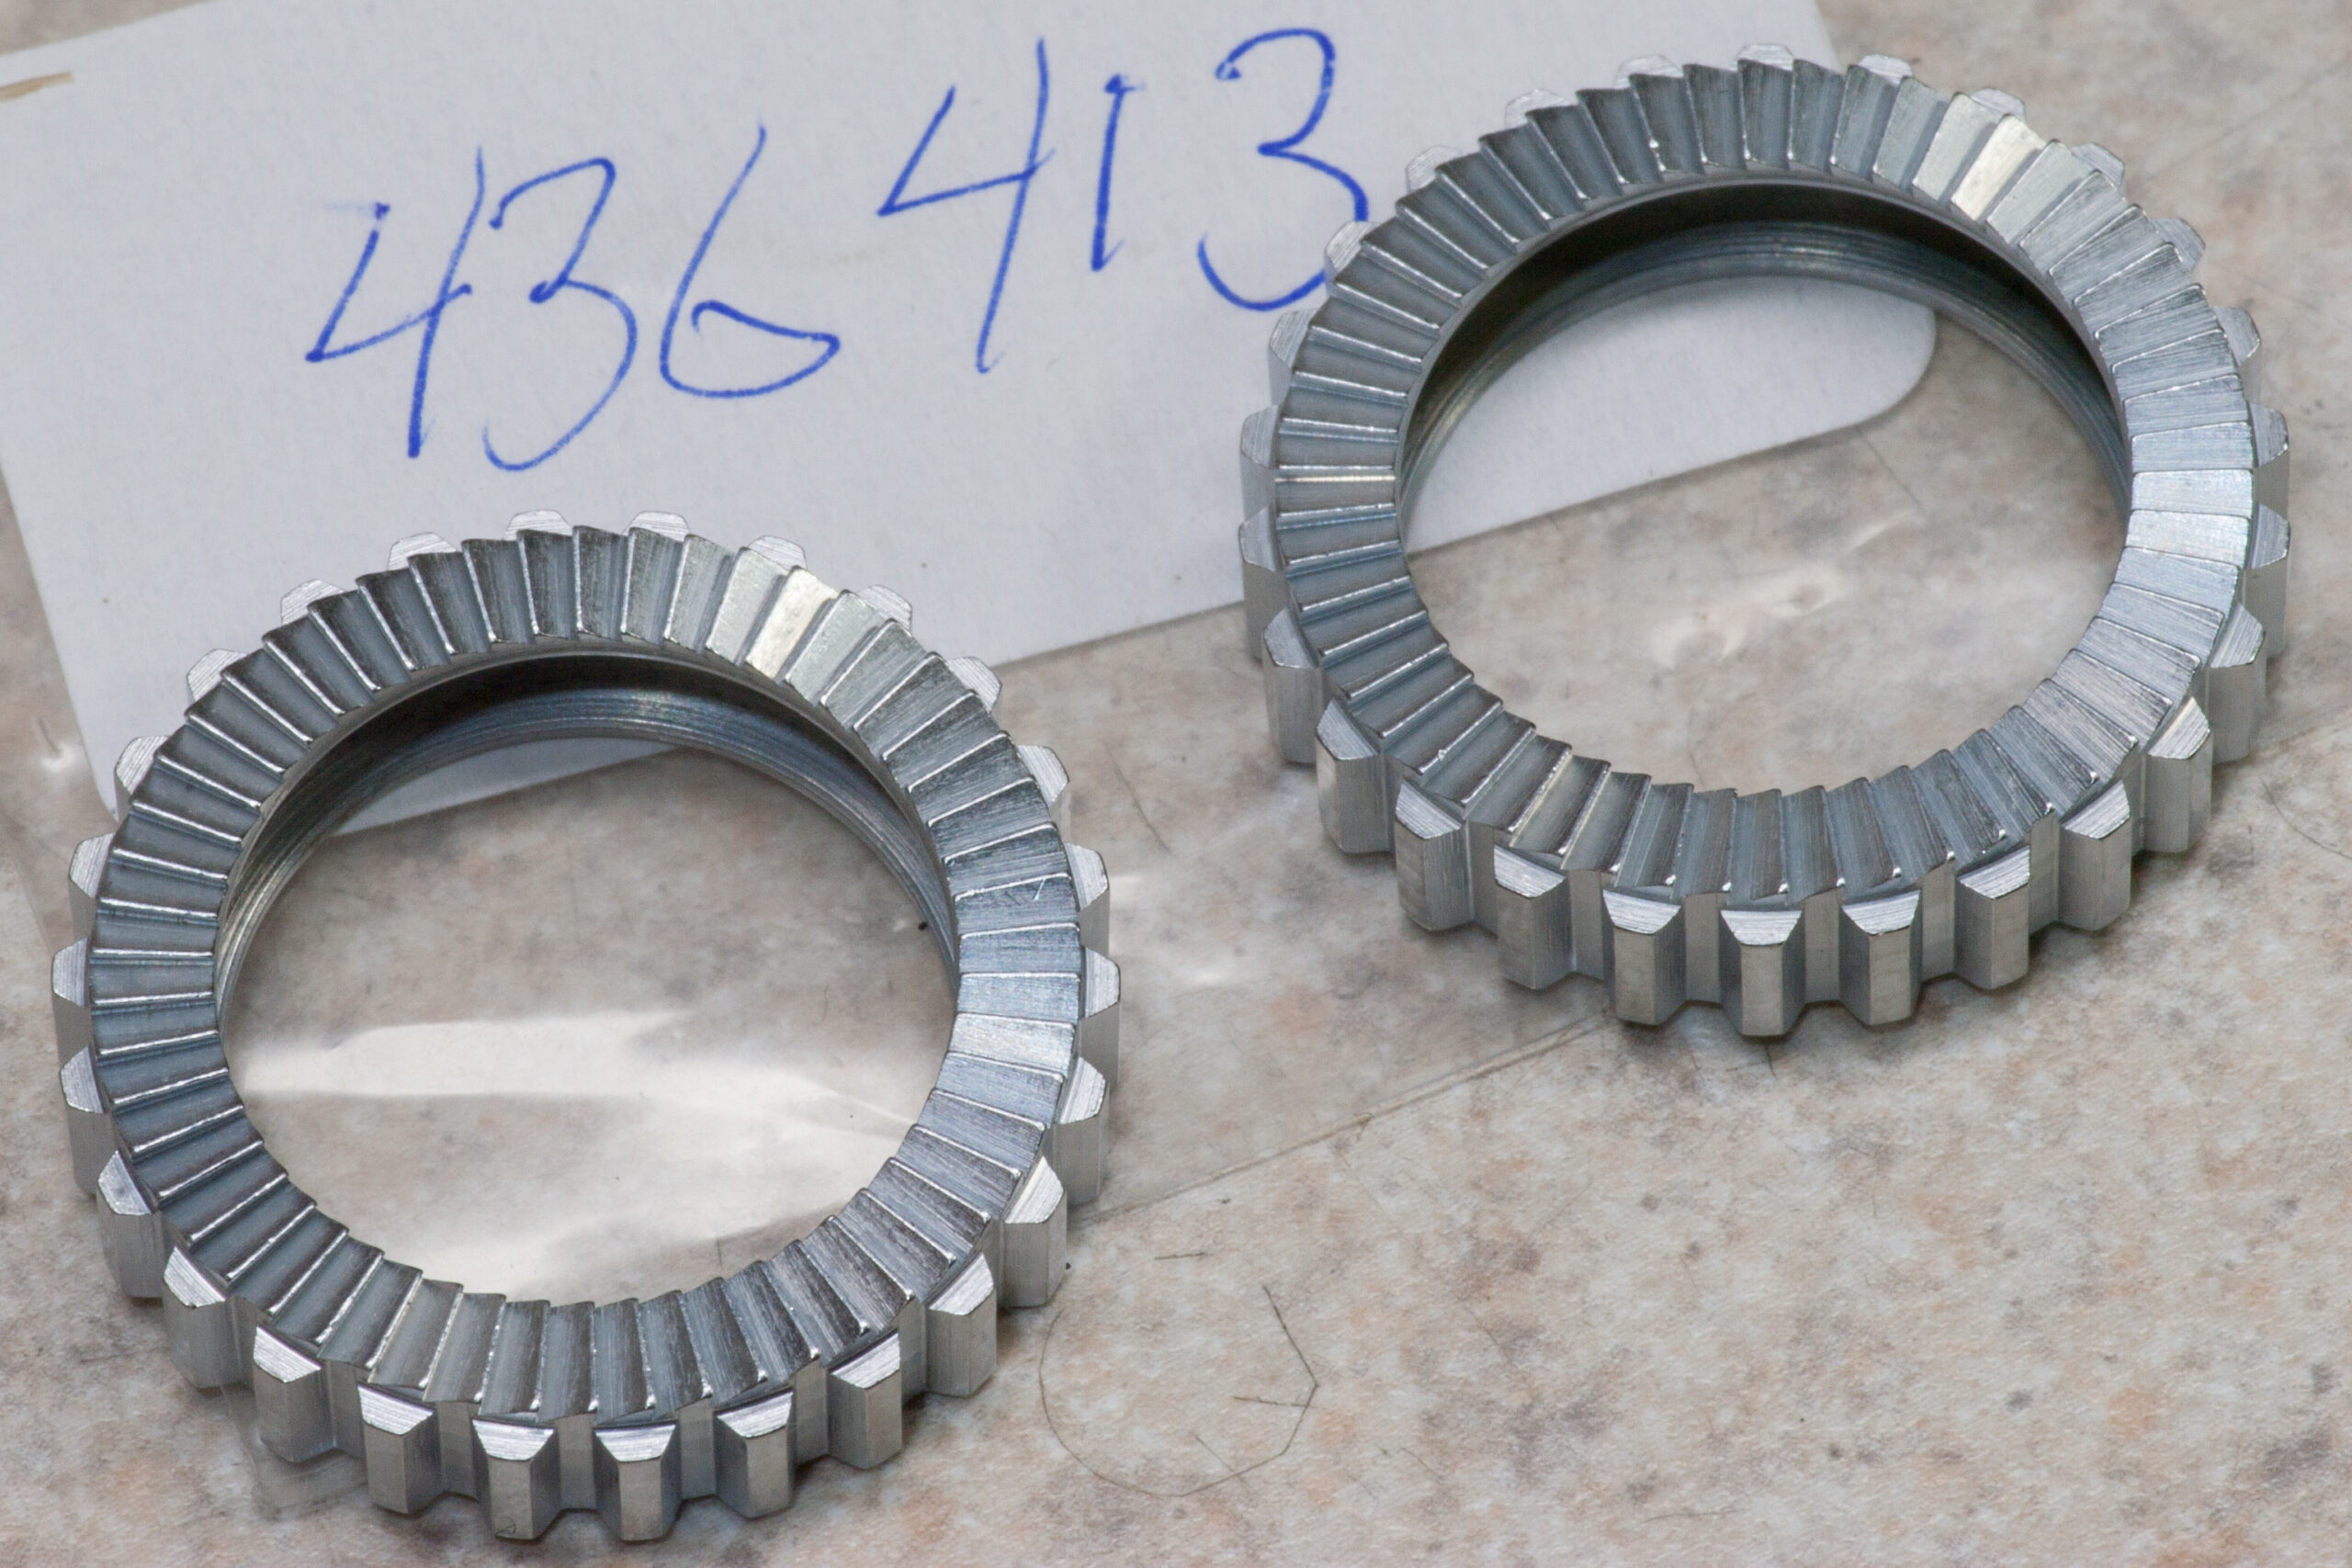
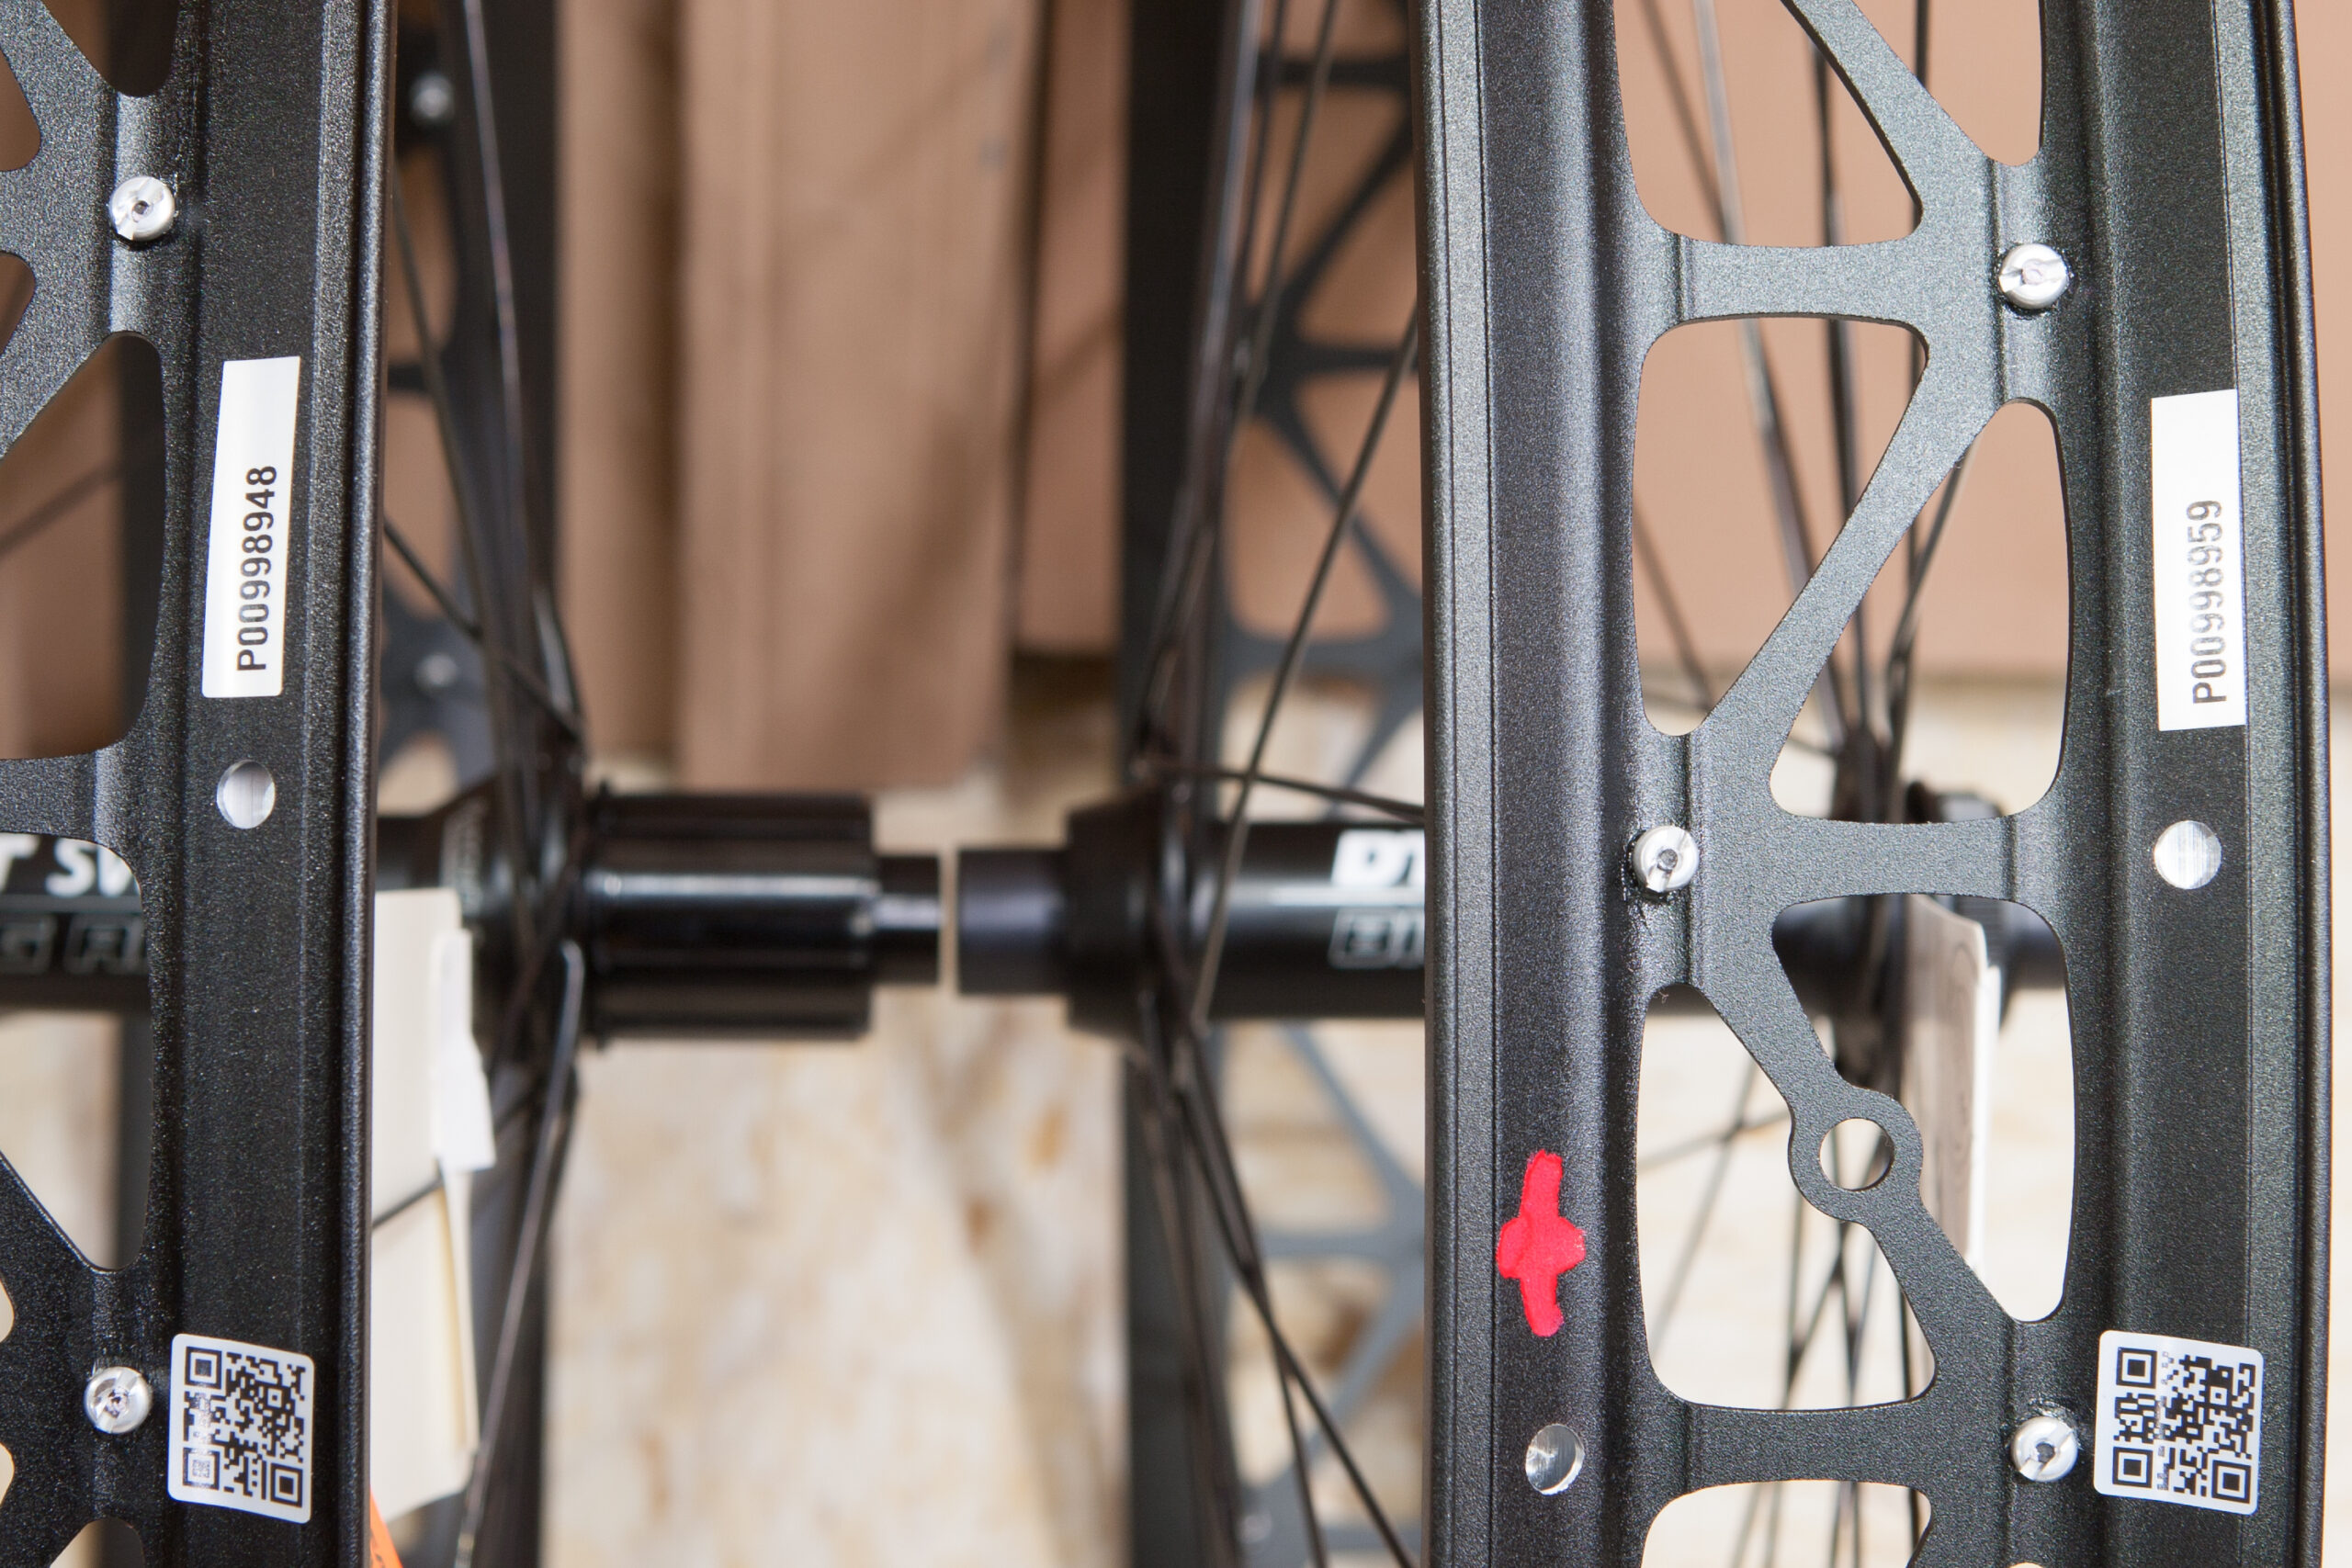
 and new (right). Cut-down black silicone foam grips were added to the spacers to mitigate rattling.")
