Thoughts on Classic and Modern Mountain Bike Fit
How I Confused Myself
I’ve been riding mountain bikes for around 13 years, drop bar bikes for for seven on gravel and occasional road stuff, and spend a few hours a week on a trainer in winter. During all of this I’ve had a particular interest in ensuring my bikes fit well, so when I switch between bikes the contact points (pedals, saddle, grips, brakes, shifters, etc) are consistent and the bikes’ other characteristics (geometry, travel, tire size, etc) are the difference in how they ride. I like knowing that I can hop on any of my bikes and the fit won’t feel weird or limit what I can do or how long I can ride for.
In pursuing a good fit I’ve had a total of two full bike fits (Ryan Katulic at Apto Cycling and Jessica Bratus at fitmi!), two small/adjustment fits (Ernie Dell at Cycletherapy and Chris Goddard at Fraser Bicycle). I’ve read a ton of articles and papers on bike fit and spent countless hours measuring my bikes and building and using spreadsheets to compare and calculate geometry, tweaking everything from stem length and bar sweep to saddle height and setback.
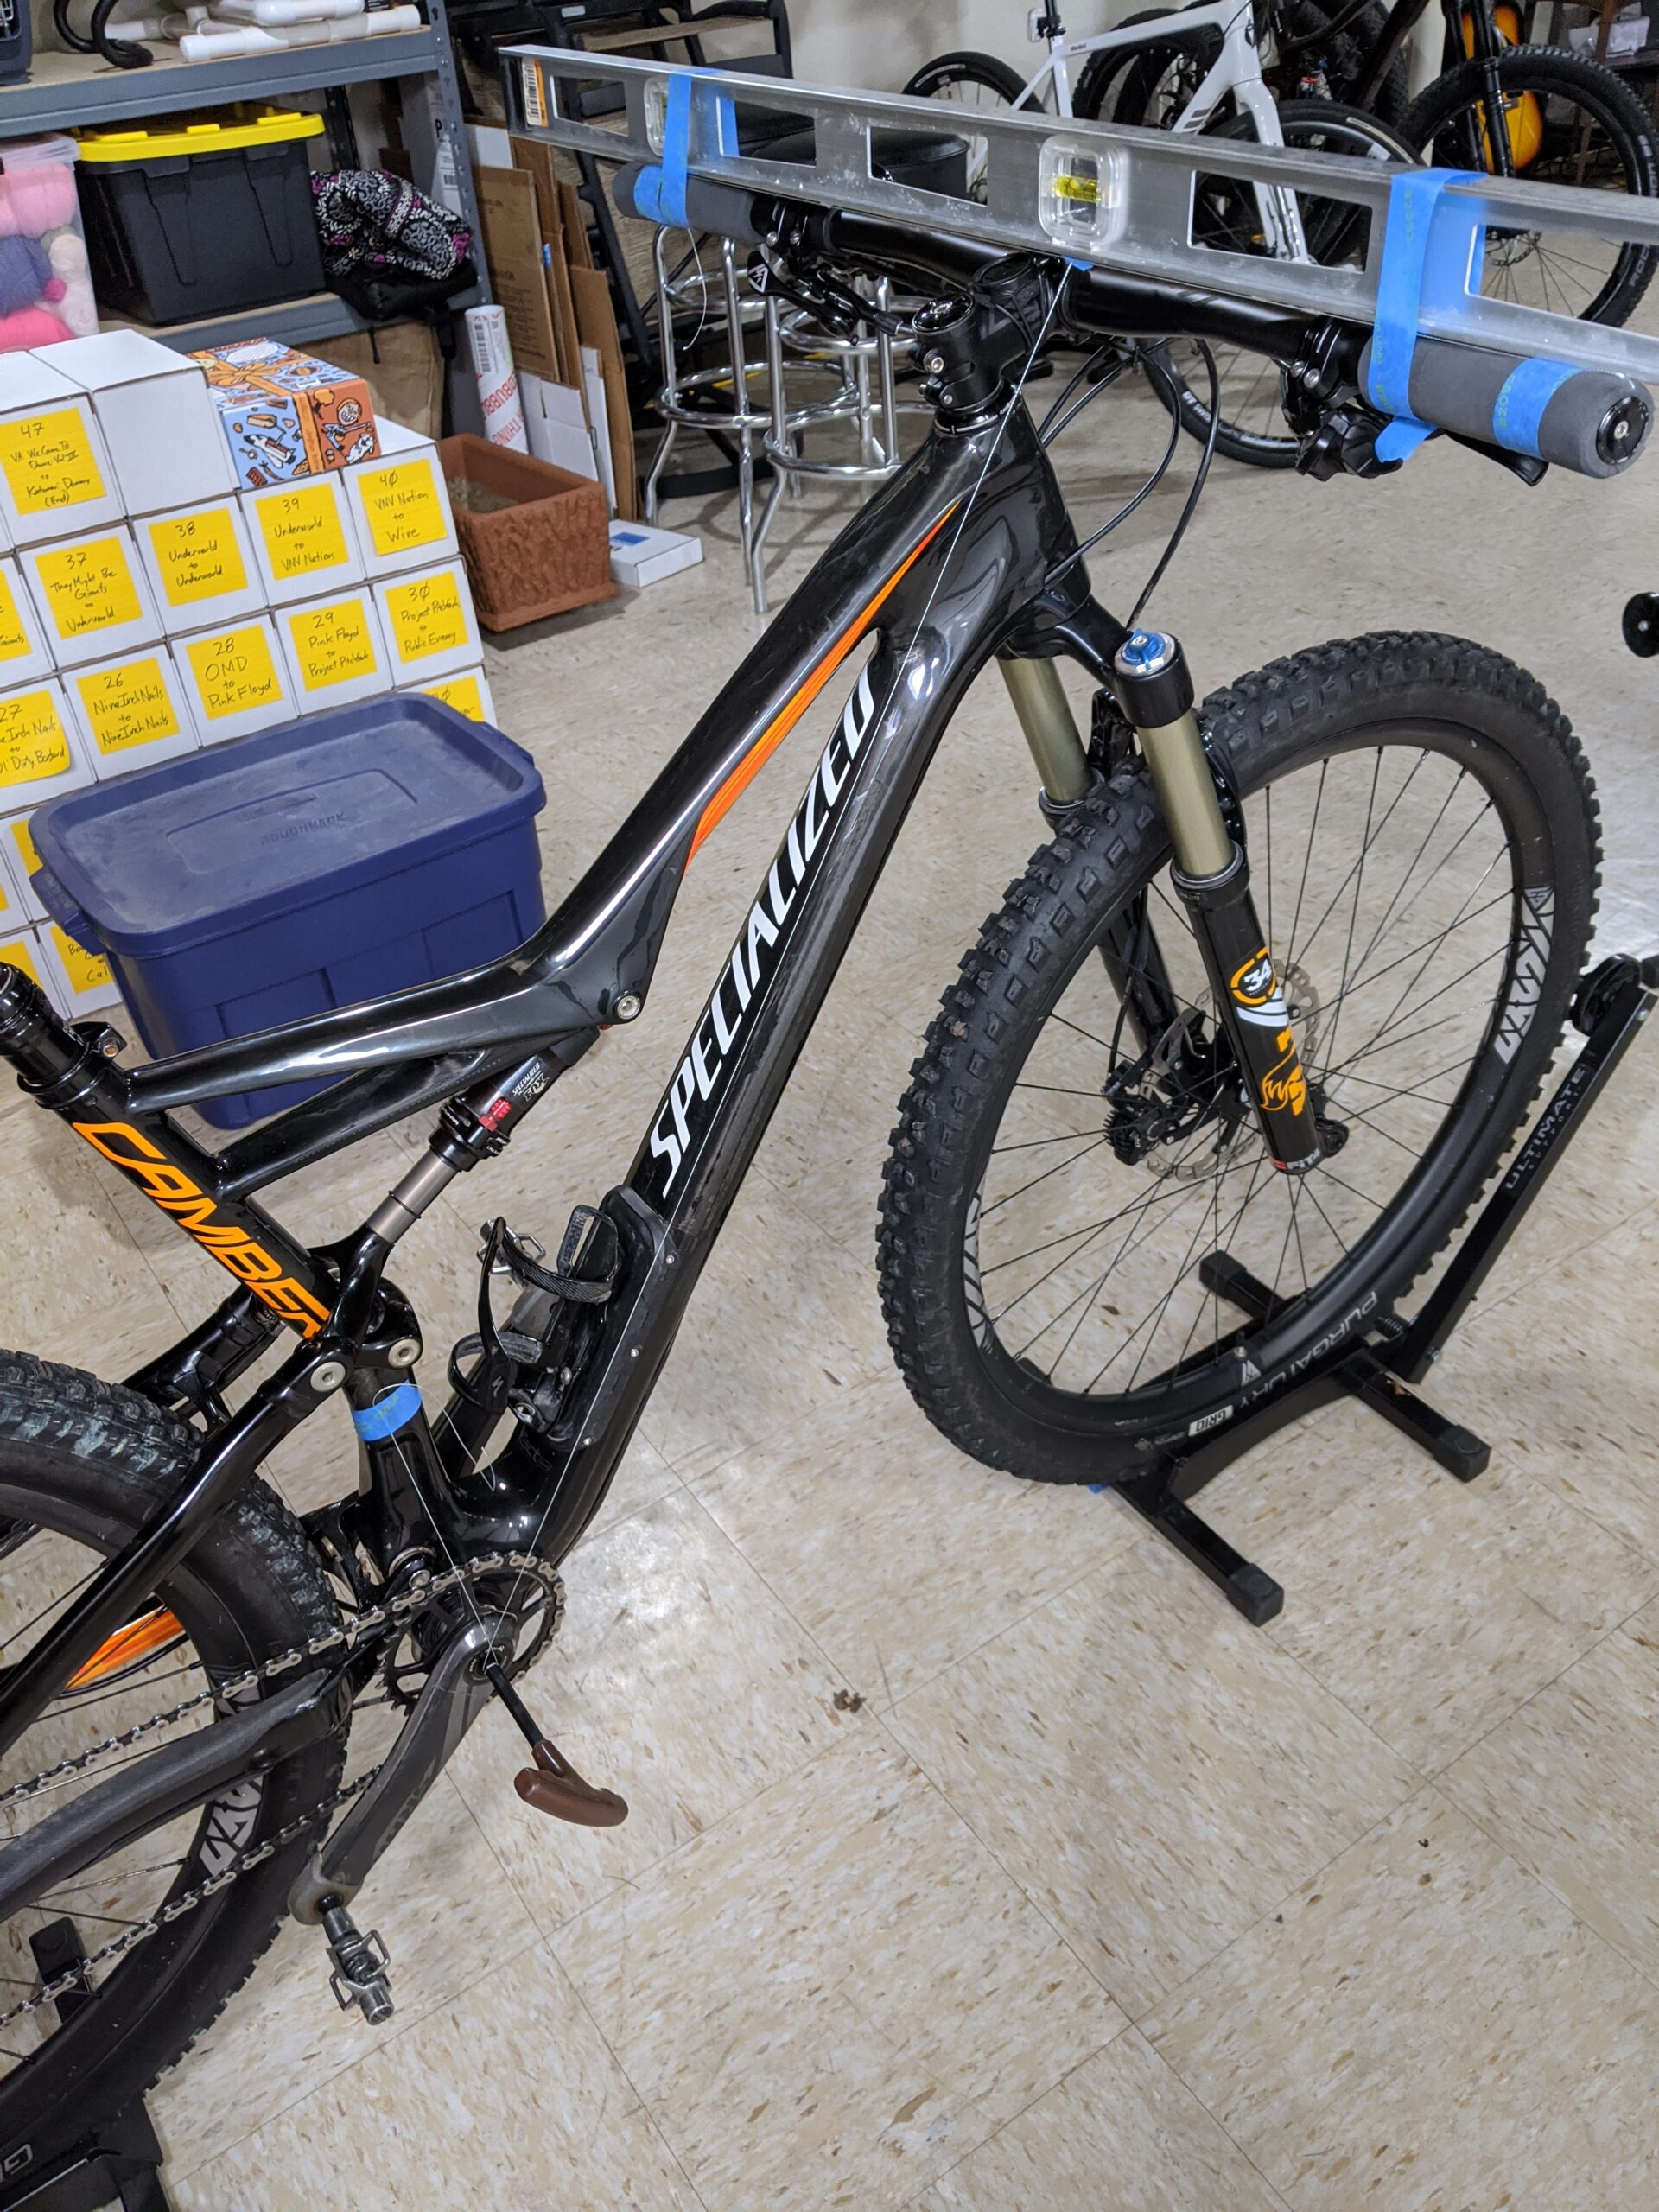
Between these fits and my research everything coalesced into a spreadsheet of measurements (crank length, saddle setback from crank spindle, bar distance from saddle nose, bar drop from saddle, etc) that worked very well and I could copy to all my bikes. Switching between, say, my hard tail Salsa El Mariachi XC bike, my Salsa Mukluk fatbike, and my Specialized Camber trail bike all felt the same fit-wise; the bikes’ geometries and suspension made them ride differently. As the 2016 Camber is a “modern” geometry mountain bike, to make the fit match I had to place the saddle as far rearward as possible and use a relatively long (75mm) stem. At the time I figured this was just what needed to be done.
The saddle height and setback was the same across all my bikes — road and mountain — and in general it seemed to work well. My back might get a little sore when doing a lot of hard seated climbing, but isn’t that just what happens when leaned way over and pushing on the pedals?
As time moved on and my technical mountain biking abilities advanced I began looking at new bikes. I found that what’s called “modern” mountain bike geometry — steeper seat tubes, dropper posts, longer reach, shorter stems, and wider bars — was present on all new bikes. This was a step beyond the Camber, which had already pushed what I could do with my chosen bike fit. Seat tubes are getting steep enough that I’d need a setback post to match my current setup, but there’s very few setback droppers available and they are rarely seen. Wider bars and shorter stems, touted for handling and stability, seemed like they would compromise handling on twisty trails.
Clearly the bike manufacturers weren’t all screwing things up, so I figured something had to be off with my thinking about bike fit as it relates to modern mountain bike geometry, so I set out to understand the changes.
What I came to realize was that much of the traditional mountain bike geometry and fit was based around effectively do-all bikes; hard tail XC (cross-country) geometry frames that were great when pedaled hard on relatively smooth surfaces, handled well in tight and twisty trees, and were manageable over rough sections. They climbed fine, descended fine, cornered fine, but still had roots in staying seated, pedaling hard, standing to eek out short/steep pitches; going fast while putting out power and dealing with rough spots along the way. Sure, they could be ridden very capably on serious, rough mountain bike trails, but they are more at home on smooth trails with slow corners.
As mountain bikes evolved the “modern” geometry made leaps and bounds with off-road handling with minimal compromises from the classic do-all XC bikes. With these modern geometry bikes, attempts at copying a classic mountain bike’s fit using the classic saddle setback and saddle-to-bar distance will be frustrating and result in an awkward-steering bike. And it’ll throw away many of the modern geometry’s benefits.
What I realized is that my fit was for a classic mountain bike geometry, thus for a modern bike I needed to learn more about bike fit.
Steep Seat Tubes and Dropper Posts
I feel that a dropper post is practically essential equipment for a mountain bike. The ability to get the saddle down and out of the way opens up possibilities for handling that outweigh added mechanical complexity and weight. For everything from moving the saddle away to float through blown out gravely downhills and allowing the bike to move around under me on rough stuff, from moving the saddle for leaning, balancing, and railing berms and flat corners to jumping something along a trail, dropper posts have significantly enhanced my mountain bike riding. Like any bike control dropper posts have a learning curve, but once understood it make riding more fun.
Modern geometry frames tend to have fairly steep seat tubes, and copying my classic saddle position was going to require a setback seatpost. Nearly every dropper post out there (except for the Command Post IRcc) has no setback, which meant I couldn’t have a modern frame, a dropper, and the saddle setback I’d previously used; this seemed like a problem.
It’s often claimed that a steeper seat tube angle makes climbing easier, but…. how? At first this seemed silly, because wouldn’t you want efficient pedaling via an optimized saddle-crank position? Which, for me, required more setback than a modern frame and seatpost would allow?
Climbing is typically where one puts out maximum power on a mountain bike. Looking at how just a couple of degrees of seat tube angle can move the saddle too far behind the crank, it turns out that even a moderate climb effectively moves the saddle far enough back to be a problem. For example, with a 725mm saddle height on a 75° seat tube, a basic 5% climb changes the effective seat tube angle by ~3°, moving the saddle ~35mm rearward. (These are rough numbers that presume the bike rotates around the bottom bracket.)
Think of how uncomfortable and inefficient it would be to ride with your saddle an inch and a half behind where it should be… This is why steeper seat tubes are said to climb better: they tend to result in an optimised-for-power position when the bike is tilted up and climbing. Even better, being centered on the bike instead of hanging over the rear wheel enhances control when climbing; chunky roots and rocks are easier, with the front end less likely to lift and wander around.
When on flat ground or descents the saddle is a bit forward for optimal pedaling, but that’s okay. It feels fine, it’s still possible to put out plenty of power, and it’s a great trade-off for improved climbing.
Sometimes when riding hard and doing a lot of seated pedaling, particularly when climbing on a full suspension, my lower back would start to hurt. While strengthening my core helped, it turned out that modern geometry did the most to sort this out, because moving the seat forward meant that when climbing my hip angle is more open and thus pulling less on my lower back. Now when climbing hard on trails while seated my lower back feels better, the same as when I’m really hammering on the road.
While this steeper seat tube angle makes a slight compromise in that it’s not quite as efficient when pedaling on dirt road type stuff, it’s fine. I’ve done long rides linking up trails using dirt roads, and even long dirt road rides (eg: The Crusher 40-mile) and the different position when pedaling on flat ground isn’t noticeable… The improvements in off-road climbing more than than make up for it.
Long Frame Reach / Short Stem / Wide Bar
When I first tried out a wider bar (760mm, from my usual 710mm) with what I thought was a short 75mm stem on a nearly straight bar I felt the bike steered slowly. Pedaling seated and weaving through the tightest sections I knew of, it felt like I was constantly wrestling the bike and dumping it into corners to stay on the trail. It didn’t feel in control.
When I began looking at modern geometry mountain bikes, I was amazed at just how long the frame reach (the distance forward from the bottom bracket to the center of the top of the head tube) was. Going purely off of frame numbers it looked like unless I went to a short stem — which seemed awkward — I should be riding smaller size frames than in the past.
It turns out that what I thought was a shorter stem really wasn’t, and I needed an even shorter stem (60mm) for the bike to fit me properly. With the wide bar spreading my arms out more, and with the longer reach of the frame, the stem I had was too long. The awkward feeling came from riding what was effectively too large of a bike and needing to steer with my shoulders instead of my arms. By moving to an appropriate length stem the distance from my feet to my hands (more on this later) became appropriate and steering once again felt under control.
For a given size frame, modern mountain bike geometry will have a longer reach, so the overall distance forward from the bottom bracket to the grips ends up being the same when paired with a shorter stem. The shorter stem better positions the body over the center of the bike, making for a more stable ride.
Wider bars offer greater leverage, which makes everything from countersteering around fast corners to staying on a desired line in rough terrain easier. As wider bars spread out one’s arms, the stem needs to be even shorter to keep from being leaned over too far reaching for bars that are too far away. By having the bars an appropriate distance from the body steering is done with the arms, eliminating that whole-body wrestling feeling just to get around corners.
While a modern geometry bike does steer a bit slower at low speeds due to the shorter stem, wider bars, and slacker head tube angles, getting the right length stem keeps steering in the arms, mitigating most of this. For the sluggishness that remains, the benefits strongly outweigh the negatives; a well-fit bike has well balanced handling whether technical or not at low or high speeds.
Dialed Brought It All Together
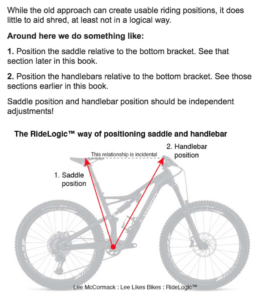
In researching fit to modern geometry mountain bikes, I came across Lee McCormack’s book Dialed: The secret math of a perfect mountain bike setup about his RideLogic bike fit. While some parts are a bit prescriptive and didn’t give me the understanding I wanted, the ideas and results seemed interesting, so as an experiment I went about fitting all my bikes using this method.
For the basics of this method, check out Lee McCormack’s Guide to Bike Set-Up on Pinkbike. For specifics, buy a copy of Dialed here and read it. (Neither this post nor the Pinkbike article are a replacement for the book. I suggest getting the PDF as it’s cheaper than print, and having it in print doesn’t add much value.)
In Dialed and the RideLogic fit the focus is a measurement called RAD (Rider Area Distance); the distance from the bottom bracket spindle to where your hands sit on the bars along the centerline of the bike. This is how well your bike fits your body, and unless your frame is way too large or small, can mostly be handled by changing the length of your stem.
Dialed then focuses on RAAD (Rider Area Angle in Degrees), or the angle of that line between the bottom bracket/grip and the ground. The shallower the angle the more flat/XC-friendly the bike is, the steeper the more downhill/trail-ish it is. Recommendations for RAAD range from ~55° for XC race to ~57° for XC/trail all the way to ~62° for downhill.
Finally, SHO (Steering/Hands Offset), or the distance your hands are forward of the steerer tube axis. This should be set up for the type of bike and riding you do, which per Dialed close to 0mm is ideal for trail / DH riding, but XC racers will often find themselves with something much longer. Changing stem length is the easiest way to change SHO, but needs to be balanced with RAD being more important. For example, I currently have a ~27mm SHO on my trail bike, but can’t get this much shorter without decreasing the RAD too far.
(Dialed goes into far more, like how to measure your body to determine your RAD needs, how to choose a frame based on your measurements, bar width, crank length, and saddle positioning specifics, so read the book and watch the referenced videos.)
Once you know your RAD and the RAAD and SHO for your type of bike and riding, you can swap around stem length/rise, spacers, and handlebar rise and sweep to get it right for you. Position the saddle for appropriate leg extension and generally pretty centered on the seatpost, and for most people you’ll be fine. (Remember: All that matters is hand position relative to your feet and the bike’s steerer axis. Whether you use a riser bar or stem or add spacers, all that matters is where your hands end up.)
Thus, so long as your bike is in the right size range, doing a really good setup of a new bike is only a matter of measure, adjust, and ride.
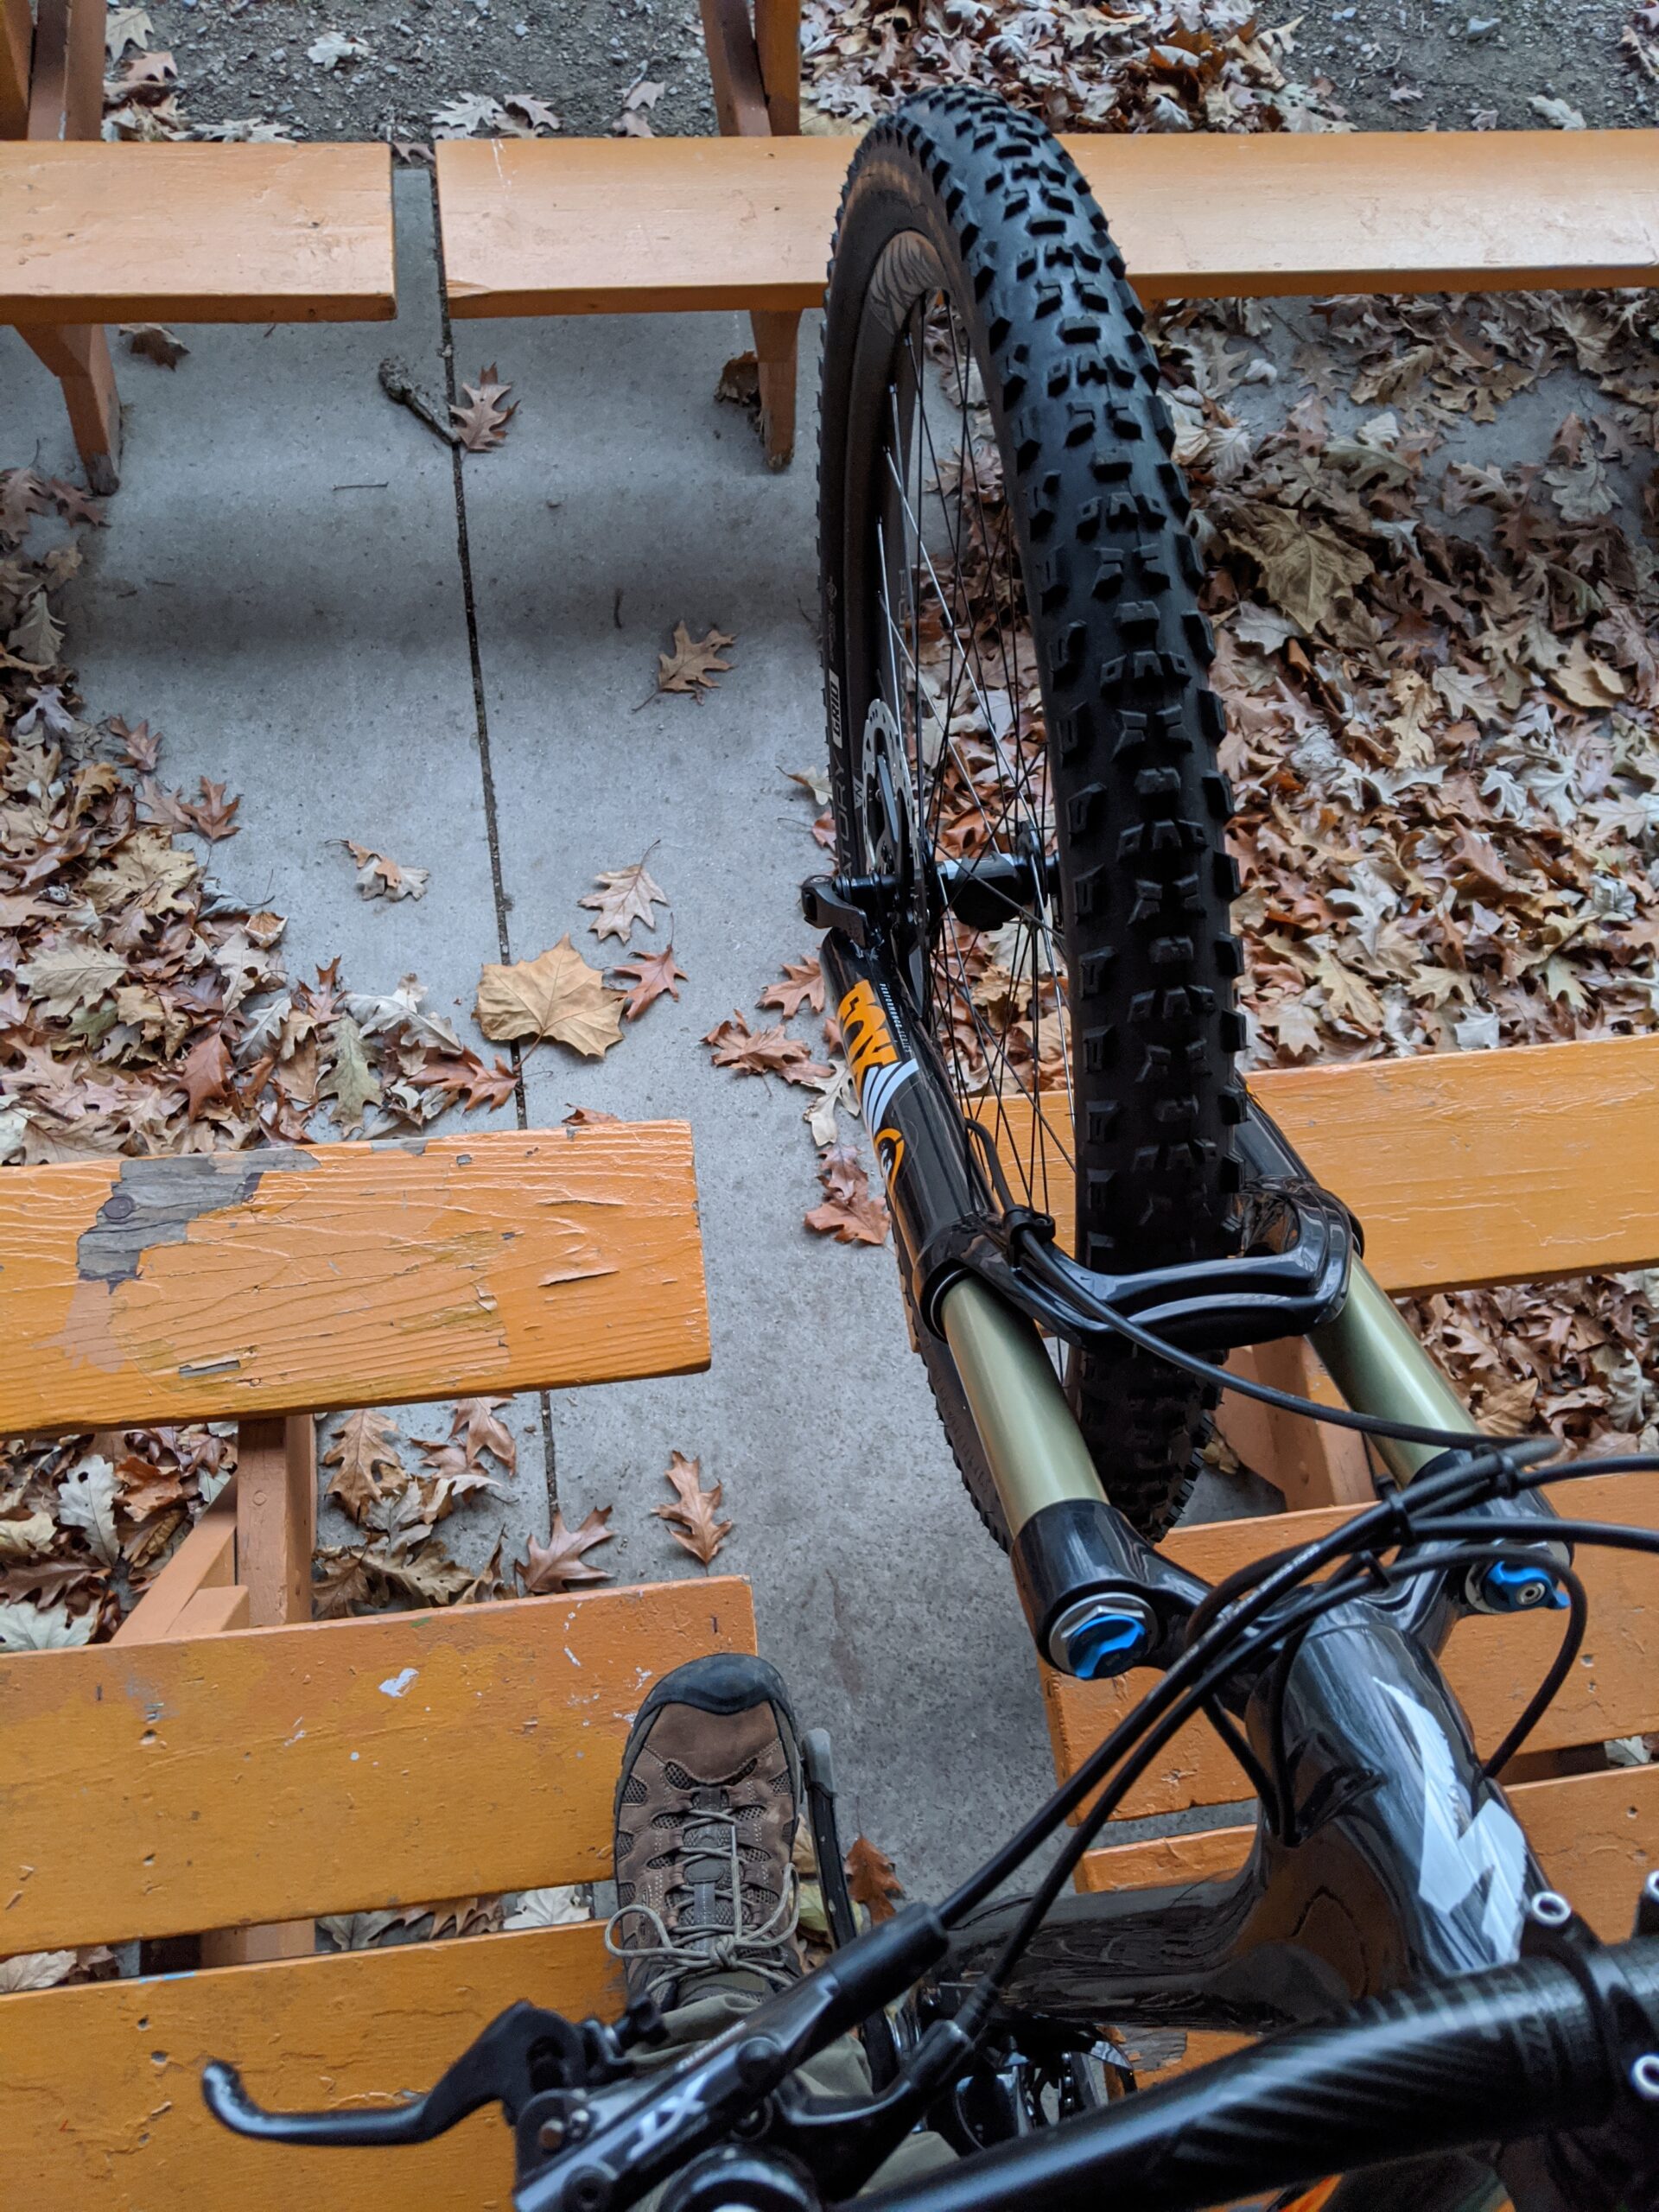
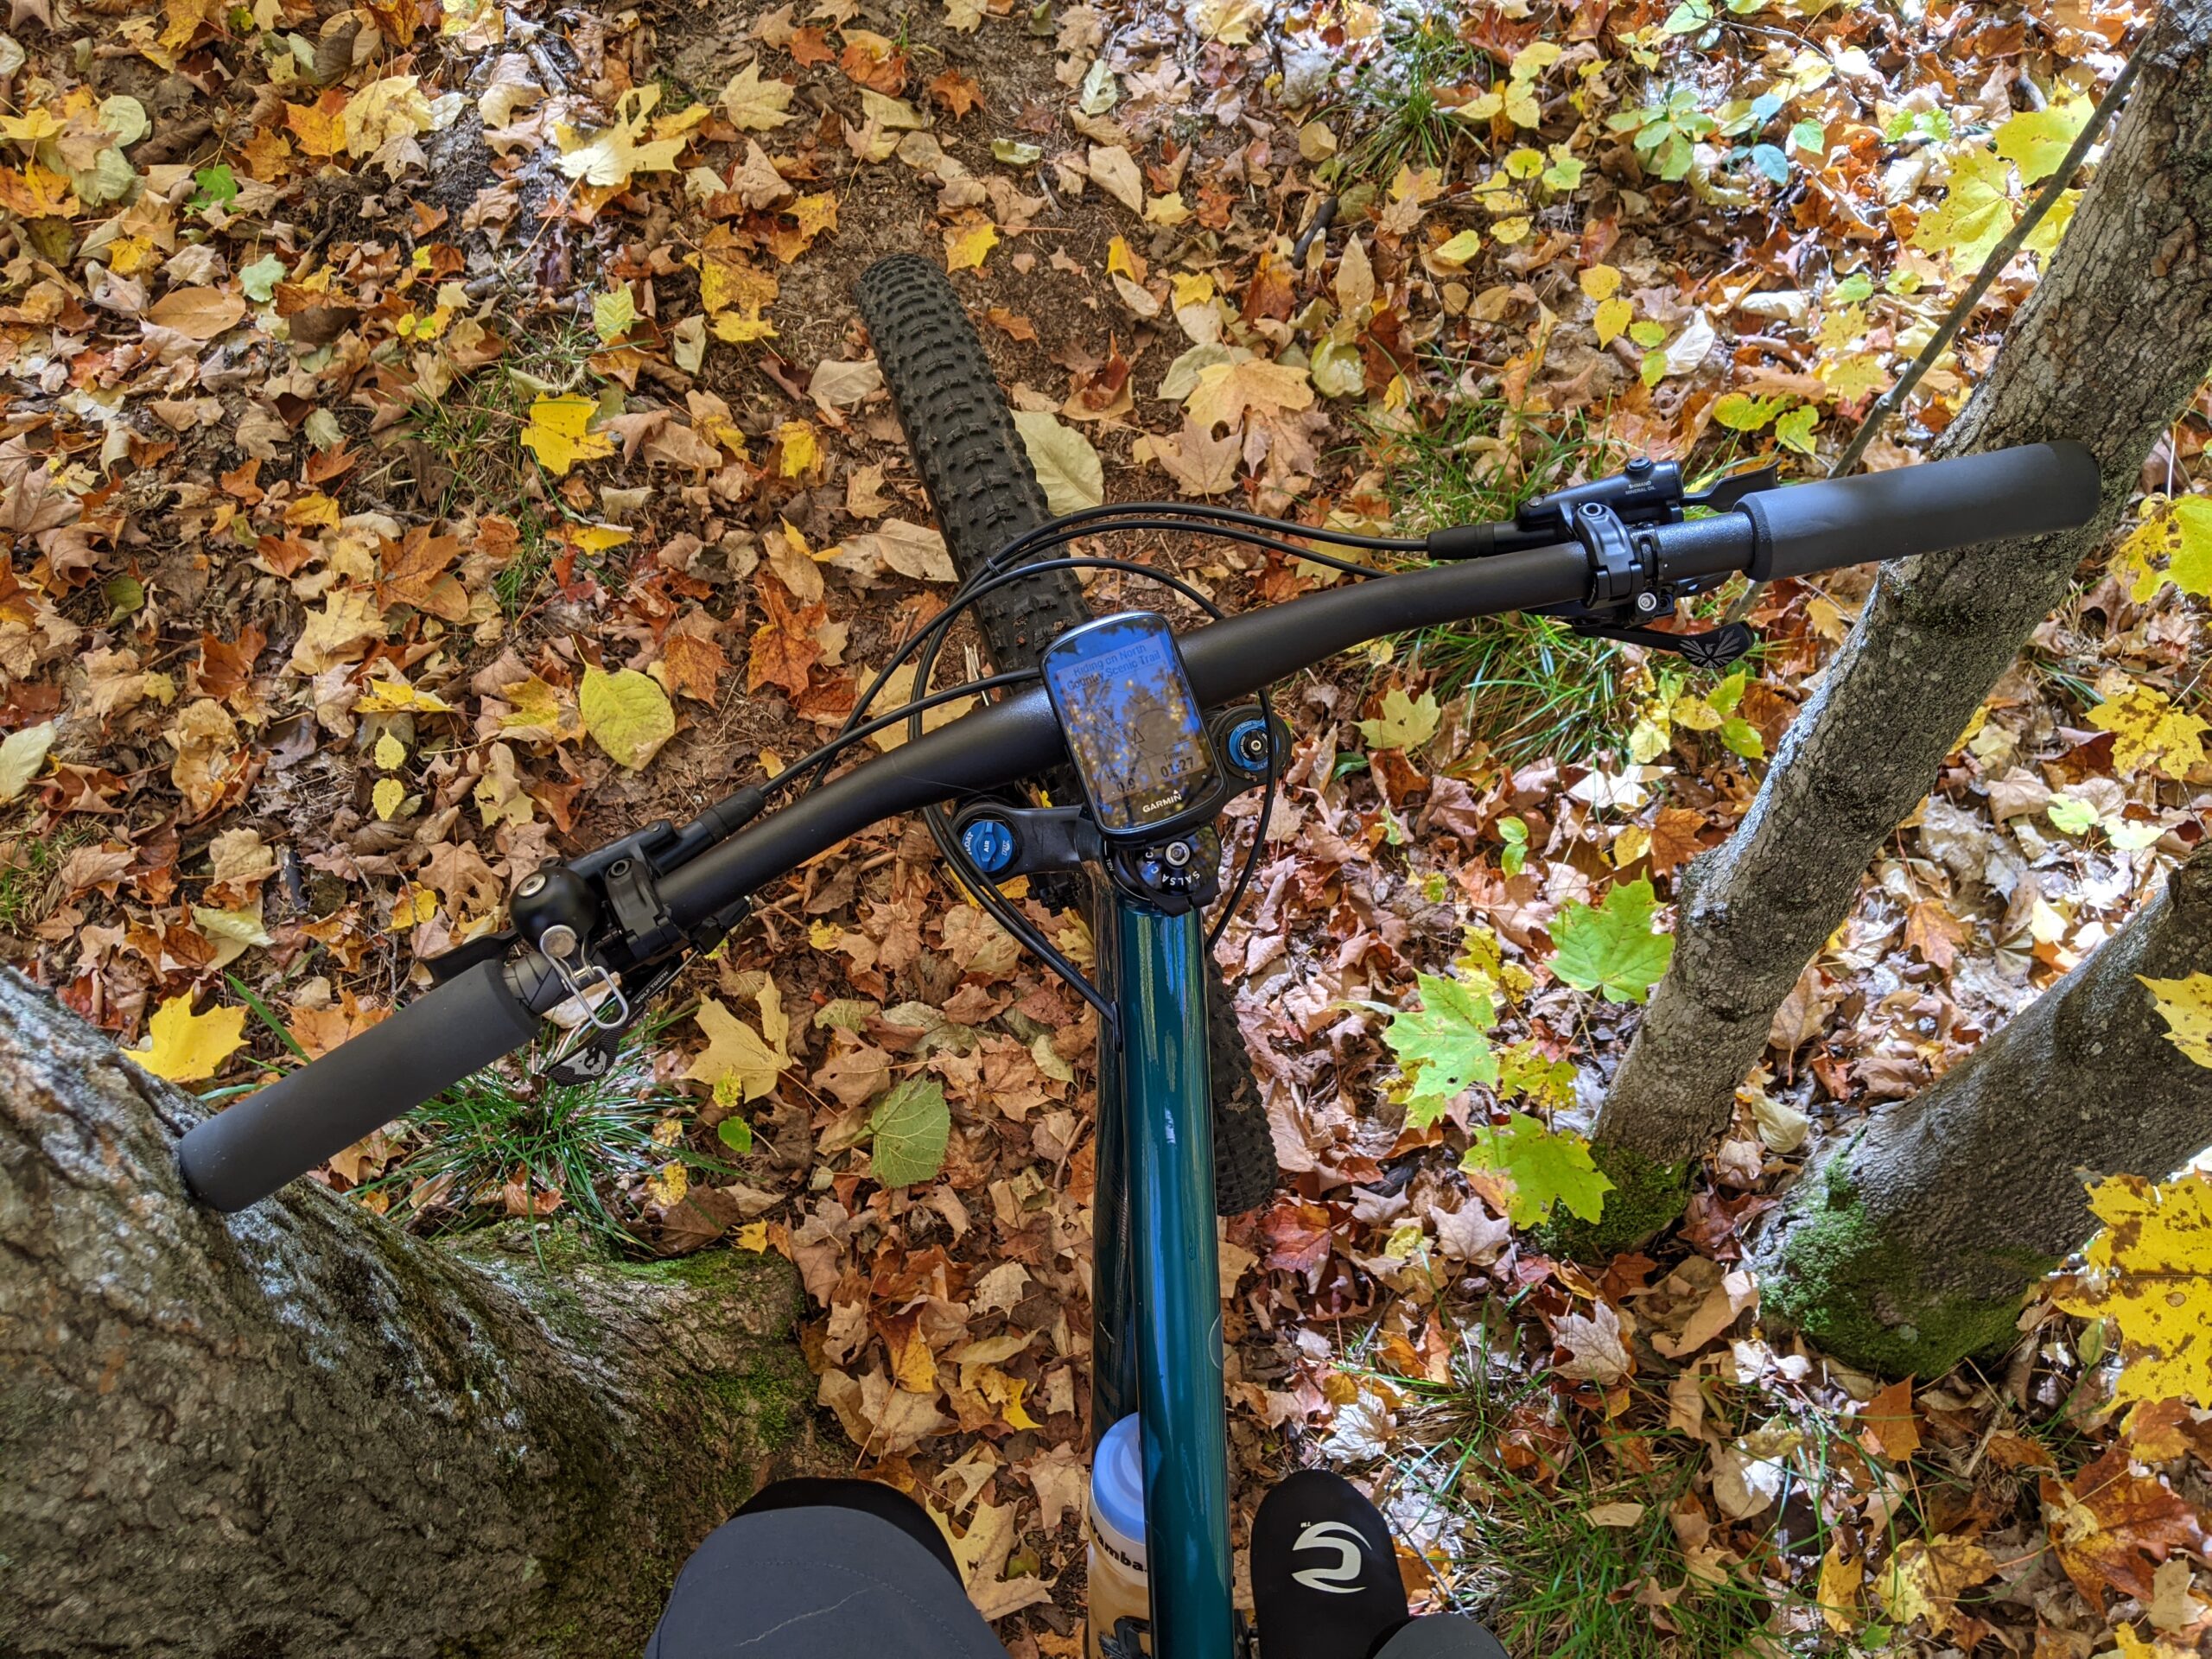
Dialed suggests placing your bike in a gap, such as between two picnic tables, with pedals balanced on each side to see how your current bike’s RAD matches your body. In November 2019 I visited a local park, pushed some picnic tables together, and checked out my RAAD, just like Lee does in his demonstration videos. I found my Salsa El Mariachi SS and Mukluk were already perfect RAD, but the Camber’s was too long.
Fitting on a 15mm shorter stem on the Camber fixed the RAD problem and I moved the saddle forward from my road-like slammed-back previous position to something centered and average. I then rode the it all spring and summer on everything I could in Michigan, but from the first test ride it felt right. I’d been riding it for three full years thinking it felt fine, like a big trail bike that I sometimes had to throw around; I thought this was normal for that kind of bike. After going through the Dialed fit, mostly to adjust RAD (and consequently with a shorter SHO) and putting the saddle into a standard modern geometry position, it all came together. Whether flat/twisty trails, long climbs and descents, techy/steep rock, loose gravely sand — pretty much everything I could find in the Lower and Upper Peninsulas of Michigan — the bike felt great.
So why did it work? If the bar is too far away, and especially with a long stem, steering is mostly done by leaning the body and slightly turning the arms. This isn’t good for handling a mountain bike, as good bike-body separation (a cornerstone of handling a bike) requires steering without needing to move the torso too much. The shorter the stem, and the closer the bar is to the optimal distance from your body, the more you steer with just your arms.
When RAD is set up right, leaning and countersteering on fast stuff works well, turning the bars in slow stuff is comfortable without feeling like a wrestling match, and lifting the front end of the bike and navigating rough stuff is comfortable. And all of this good handling requires both a short SHO (to support steering with the arms) and having the appropriate RAAD (to keep properly balanced on the bike).
That’s when it all made sense: Modern mountain bike geometry, with a longer reach, shorter stem, and wider bars, allows for a shorter SHO with appropriate RAD and RAAD. This allows steering more with the arms resulting in better handling on all surfaces where mountain bikes get ridden. This is why modern mountain bikes have these (modern) geometries.
How I Fit Myself to a Modern Mountain Bike
After finally realizing how modern mountain bike geometry and the Dialed method of fitting a mountain bike work in tandem, I set out to use it when building up the All-City Electric Queen and the Salsa Timberjack which replaced it. Starting with my desired RAD (~835mm) and RAAD (~57°) I did the following:
- Use the stack and reach of the frame, coupled with the headset and bar dimensions to estimate stem and spacer requirements to reach desired RAD and RAAD. I typically check a couple size frames and pick one that’ll work best. (yojimg.net’s Stem Comparison Tool is very helpful for this.)
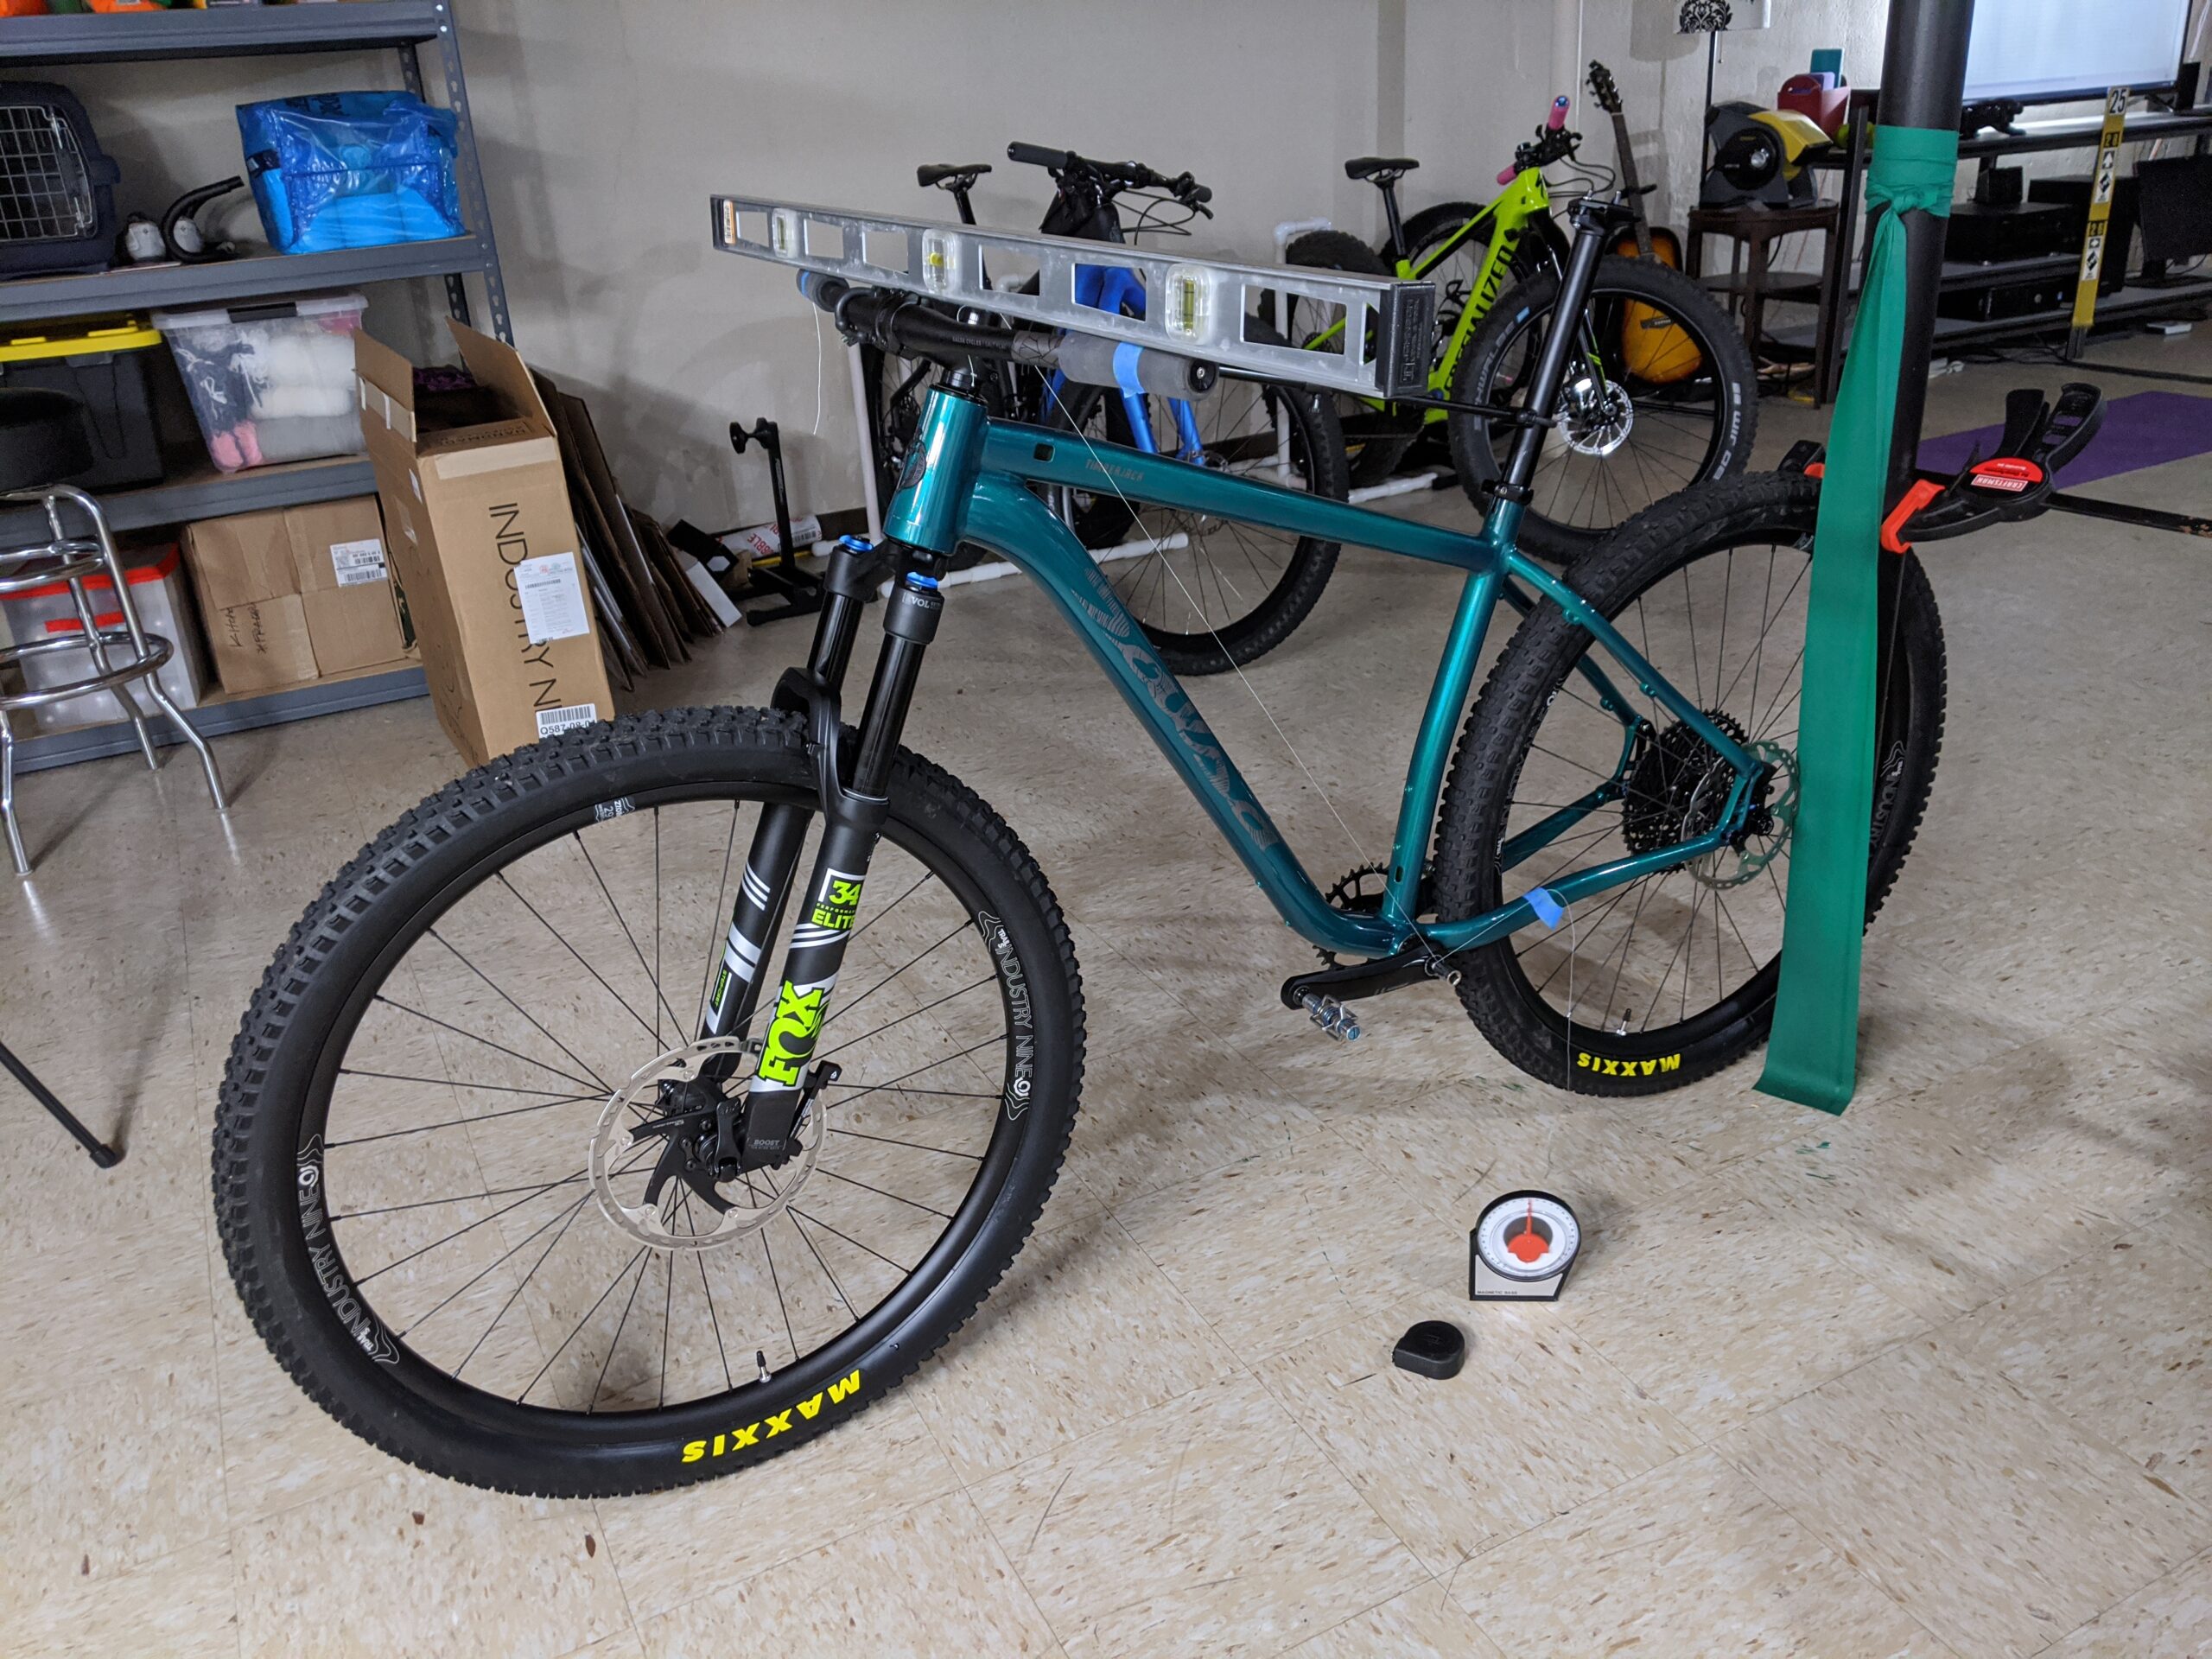
- Assemble the bike with a placeholder stem, then set it on level ground. (I clamp the rear wheel to a post in the basement, then use a Flop Stop Handlebar Holder to hold the front wheel straight.)
- Tape a piece of string, taut, between the center of each hand position.
- Place a long straightedge along the string, using masking tape to hold it in place.
- Insert a hex tool in the bottom bracket bolt, wrap a string around the hex tool, and secure the other end to the straightedge.
With a tape measure, dial gauge angle finder, and a hex tool to fit in the top cap I can get all the necessary measurements:
- RAD: Distance along the string from BB to hand position.
- RAAD: Angle of string from BB to grip.
- SHO: Distance from string between grips to steerer axis. (Inserting a hex tool into the top cap to extend the steerer axis makes this easier.)
Then, based on the measurements of the bike’s current RAD, RAAD, and SHO, the stem, spacers, and bar can be adjusted or swapped to get my desired setup.
On my Timberjack I was able to get a 835mm RAD, 58° RAAD, and 27mm SHO during assembly; from the first ride it handled perfectly. Setting the saddle to 735mm height (top/center of saddle to BB spindle) is spot-on for 175mm cranks, and just slightly behind centered in the rails has been great for everything from pedaling on flat ground to grinding up 20% slopes.
With all of this together I now have a bike that fits me well, is comfortable when pedaling hard either on flat ground or when climbing very steep stuff, is easy to handle at low or high speeds, and handles great on technical trails. And thanks to this process I have a set of numbers, which I understand the reasoning behind, that can be used to set up a new bike to fit me properly and thus ride well.
The Obligatory Summary
A modern geometry mountain bike, properly set up with modern fit, comes together into a great package that is incredibly capable and fun to ride. Trying to force a classic fit and stem length on a modern frame doesn’t work well, and will result in a weird-handling less-capable bike.
By adopting modern geometry and using the methodology spelled out in Dialed it’s straightforward to get a good fitting mountain bike that makes riding easier and more enjoyable. Even if you think your fit is fine, it’s worth checking RAD, RAAD, and SHO and experimenting with suggested changes. You may be as surprised as I was with how a few small changes that make riding even better.