Press "Enter" to skip to content

Month: December 2014

Broken Derailleur Hanger

For the first time in my life, I’ve broken a derailleur hanger. Yesterday when riding at Bald Mountain Recreation Area, a few miles from my car which was parked at Addison Oaks, I heard a thunk and looked down to see the derailleur in a rather awkward, unhelpful position (photo). Sunset was coming soon, and while I had lights the Oakland County Police who patrol Addison Oaks† are not fond of those who are in the park after dark, so I had to do some quick thinking to get back to the car.

Along with breaking the derailleur hanger, the derailleur cage itself was twisted, so I figured there was no way to get rolling without making the bike a single speed‡. I removed the derailleur, strapped the cable and housing back, broke the chain, and re-connected the chain in the best gear combination I could identify for decent chain tension. While there were occasional shifts up and down the cassette as the chain bounced, this worked well until I was climbing the final hill before Lake George Road.

With a bang the chain had ridden one cog on the cassette higher than intended, tensioning the whole assembly so tightly that I couldn’t turn the cranks. Opening the quick release rear skewer transferred tension to the skewer, bending it, and making things worse. Since the bike would freewheel my only choice at that point was to walk the bike out, hopping on to coast down hills. Thankfully I was only two miles from the car at this point.

I’m still not exactly sure what happened to cause the break, but I can’t help but suspect that yesterday’s crash had weakened it somewhat. Even though was shifting fine and the derailleur appeared straight, I suppose this could have played some part?

Once I got home I set to fixing the bike, and thanks to having a spare derailleur (leftover from making the El Mariachi a 1×9) and basic parts like a spare derailleur hanger, chain, and cable, I was able to get the bike working nicely again. It also gave me a good reason to wash the bike and clean Orange Seal residue from the tubeless valve stems. When the chain bound one cog on the cassette became slightly bent, so now it makes a bit of noise when riding, but it wasn’t noticeable on a test ride. I’ll try to bend it back when I next have the cassette off the bike.

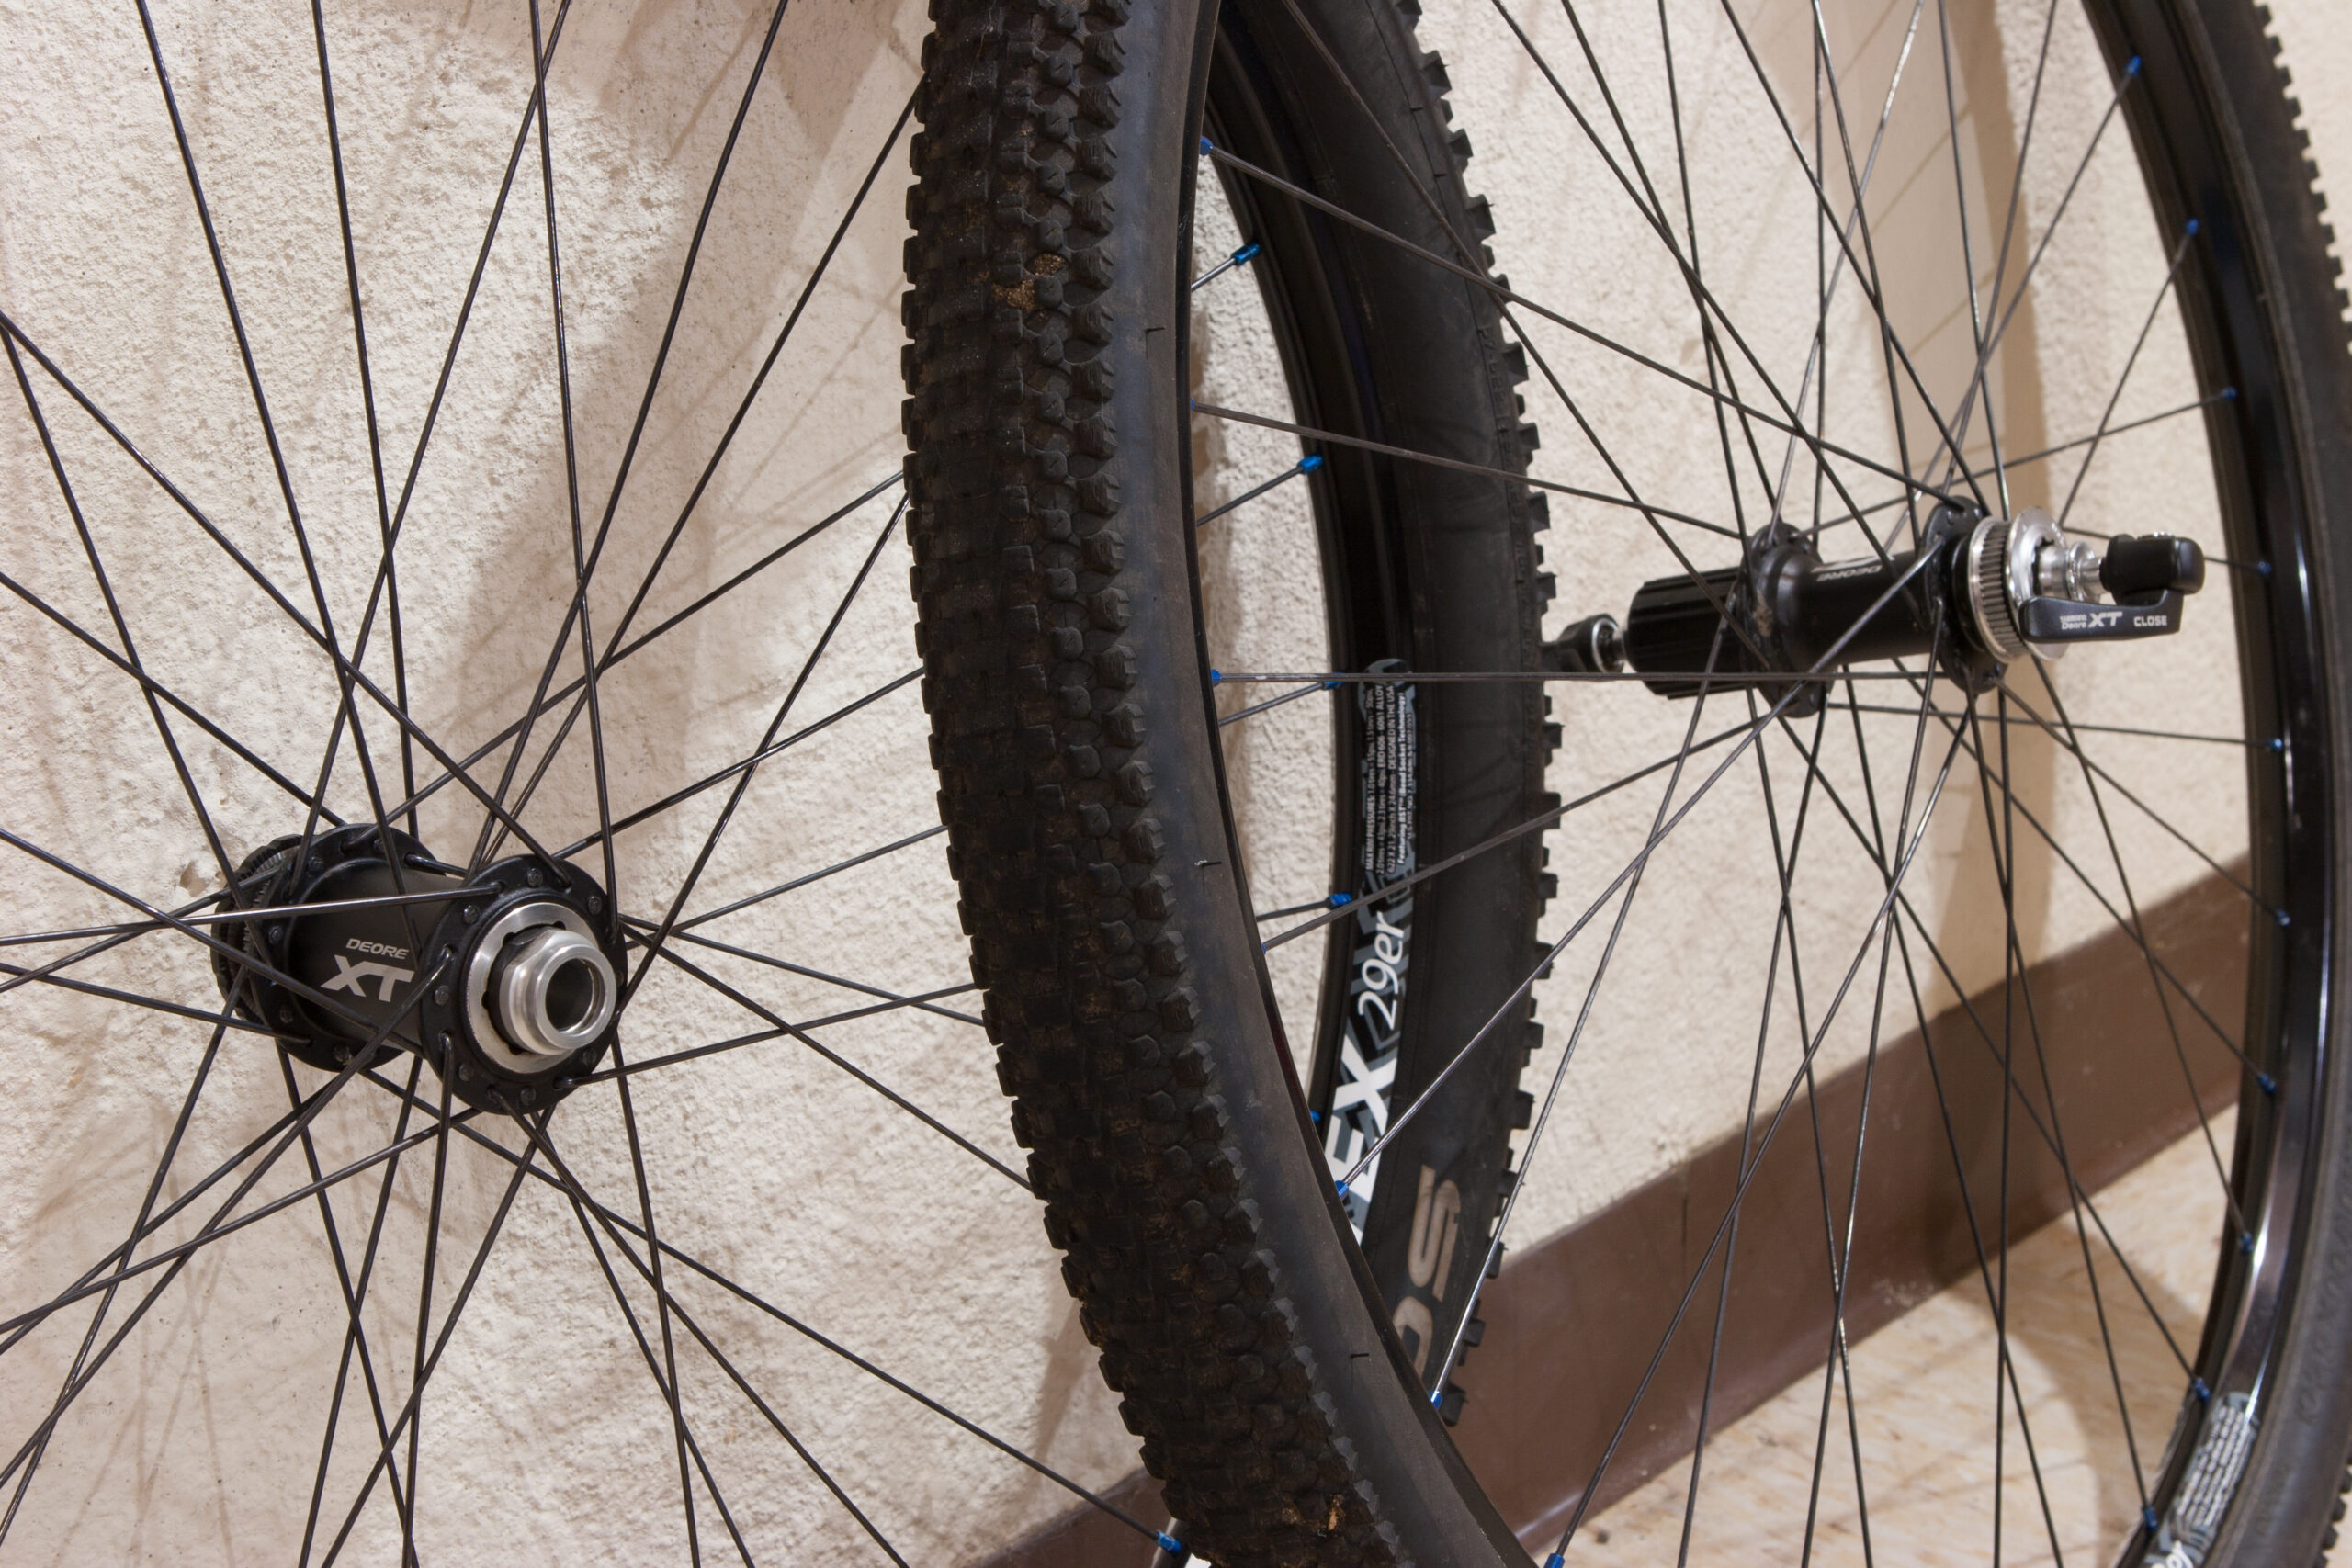
The photo above shows the broken derailleur hanger, and what I believe to be plastic deformation. I find the stretching of the laser etched “Wheels Mfg Droput-25” logo to be particularly fascinating, as it shows how the aluminum stretched before failing. The thin, torn off sliver is interesting to me as well.

After the work my bike is back in order, and while everything seems in place, I need to give it a shakedown ride before I’m willing to take it out on remote trails. With luck I’ll be able to squeeze this in tomorrow morning.

† It seems that junior / trainee officers are regularly assigned to Addison Oaks, and they seem to take a hard line which makes them less than pleasant to deal with. While a broken bike likely would have been a fine excuse for being in the park after dark, I didn’t want to deal with this.

‡ In retrospect after inspection at home, I probably could have gotten the bike well enough to ride out with a new hanger. I’d have had to deal with a bunch of mis-shifts, but at least I wouldn’t have bound the chain and had to walk. This is what I should have done… Oh well, at least it was a nice day and now I have a story.

Leave a Comment

Anatomy of a Crash


Today’s weather was cold — right about freezing — but sunny and with very low wind, which is just about perfect for getting in a mid-afternoon ride on hard, snowless trails. Riding this time of year is almost like riding on concrete trails and generally quite fast, save for the occasional spots where a thin top layer has thawed in the sun. These spots end up acting like grease sitting on pavement and require a bit of caution and attentiveness. Riding today… one got me.

I was following the 6/12 Hour Route that I so love, and just after the Grassy Knoll heading towards Woohoo Hill there is a long, sweeping turn section that’s fairly flat and pretty basic. It can usually be ridden quite quickly, but today 50′ or so had a thin greasy layer and I ended up crashing on it, sliding along for a ways on my hip.

The photo above shows where my bike ended up (click here to embiggen), and what I find most fascinating about it is the forensic evidence it contains:

  • Lower left corner of the image is where the normal tread (45NRTH Hüsker Dü) in the mud layer ends. I would have been leaning the bike slightly at this point.
  • The long bar-like tread marks are where the tire began to slide, and the wide side knobs left grooves in the direction of the bike sliding to the outside of the turn as the tire rotated forward. This indicates the bike was leaning quite far by this point.
  • Rear tire track is on the left, evidenced by it being on top of the track on the right.
  • The tires then hit a small root, which being on an unsuspended bike impart a bit of bounce. This is why there is a gap in tire marks after the root.
  • Rear wheel was moving in a wider radius than the front, which is not what normally happens. The bike was thus no longer pointed in the direction of travel.
  • Wobbles and gaps in the tire marks indicate that the bike was pretty much sideways and out of control at this point.
  • The flattened-smooth part of the tire marks is where my hip/right leg first made contact with the ground and I began sliding.
  • The S curve and straight grooves in the dirt (directly below the top of the rear tire in the image) are from the brake lever and end of the handle bar. The brake lever made the S mark as it compressed and while pushing into the ground.
  • Light mud is visible on only the right half of each tire. This shows that I was already leaning the bike when I hit the greasy mud.

So, what’s the takeaway? It’s a pretty simple message: don’t lean the bike when encountering greasy mud, and if there’s a need to two-wheel side through an area like that, try to avoid bumps that’ll contribute to a loss of traction. Normally I’m good about both of these, but today… I wasn’t. And I have the bruised hip and scraped knee to show it.

On the next pass through this section I was much, much more careful… This isn’t something that I needed a photo to know, but I do think it’s pretty nifty to see post facto.


Leave a Comment

Micro SIM in Nokia 1661

Sometimes you just need to make a SIM card fit… Like in this case where my warranty replacement Nexus 5 from T-Mobile failed a few days after receiving it and I want the same account working on my spare Nokia 1661. I’m glad it still has the alignment marks on it from when I needed to do this earlier in the year.

My first Nexus 5 gradually had the GPS module fail, beginning to be problematic in September and coming to a head in mid-November. The warranty replacement — which I received six days ago — has the screen brightness seemingly stuck at the dimmest mode possible. I’ve already done a full data wipe, so tomorrow I get to visit a T-Mobile store and pursue another replacement… But at least I’ve got a way to make calls and send texts until the next replacement is received.

Leave a Comment

Garmin Hub-based Speed Sensor for Fatbiking

For years I’ve advocated for the use of a wheel speed sensor to augment the data of GPS-based bike computers in order to alleviate distance issues caused by aliasing. Up until recently the only good options for this were traditional magnet-and-reed-switch units like the Garmin GSC-10 Speed/Cadence Bike Sensor and the Wahoo Cycling ANT+ Speeed/Cadence Sensor. These sensors work well in general, but I’ve had issues with them on my fatbike.

Because of  snow buildup on the rim (photo) the sensor is positioned closer to the hub (photo) to keep it from scraping in the snow. Withof the further-back position near my heel and the frequency of falling over when when riding in snow, it’s not uncommon for the sensor to get knocked around and tilted slightly inward. This causes the reed switch arm of the sensor to knock against spokes: the usual tick-tick-tick sound. It seems that these repeated, gentle physical impacts break the switch, as I’ve now had two which stop picking up wheel speed after a year or so on my fatbike. The rearward positioning also makes it impossible to use the cadence side, which feels a bit wasteful.

Garmin recently released a new series of speed/cadence sensors which use internal motion sensors instead of magnets (sensor bundle page on Garmin’s site). These were reviewed in great detail over here by DC Rainmaker, and the hub-based speed sensor seemed a perfect fit for my fatbike. This design will stay away from both the snow and my heels, and lacking a reed switch there isn’t that part to fail. The lack of cadence sensing on a fatbike is fine with me, as it is used in such mixed conditions such data isn’t very useful. When cleaning up my fatbike earlier this week I ordered the standalone speed sensor ($39.99 from Amazon) and fitted it last night before heading out for a ride.

My first impressions are very positive. It connected to my Garmin Edge 510 just as I’d expect, and a ride through River Bends parking lot automatically calibrated it to a sane number. A 1.5 hour trail ride near dark went fine with it, and it just seemed to work, similar in function to the GSC-10, but with a technical implementation that is more suited to fatbiking. I’ll stick with the traditional reed switch sensors for my other bikes, as I haven’t had the same kind of difficulty there and I don’t strap-to-crank-arm sensors, but for here on the Mukluk, it seems a good fit.

Leave a Comment

Bike Stuff for Sale

Shuffling around bike parts and upgrading things have left me with some spare parts that I’d like to sell. Prices and photos are listed below, and I’ll consider reasonable offers. I live in Shelby Township, MI and work in Warren, MI and will be glad to meet anywhere in this general area to handle a sale. Contact me at c0nsumer@nuxx.net if you are interested.


Stan’s NoTubes Arch EX / Shimano XT Wheelset – $350: These are the stock wheels from my Salsa El Mariachi Ti, replaced only when I built up some carbon fiber wheels. Front is a 15mm TA and rear is QR, centerlock rotors. Very solid  build and the freehub was recently replaced. Comes set up tubeless with Racing Ralph (2.25″) and Small Block Eight (2.1″) tires. The tires are well used, but still have some life in them, so I figured I’d include them.


SRAM Rival 2×10 Gravel Road / CX / Touring Drivetrain Kit – $600: All new parts purchased for a gravel road bike build that fell through. This would also be a great touring setup, CX setup, etc. All that’s missing is brakes and a frame to put it on. This is an outstanding value build kit, all-Rival solid stuff that works well. Items included are all SRAM Rival level: 31.8mm front derailleur, short cage rear derailleur, front derailleur shim (1-1/4″ seat tube to 1-1/8″ clamp), DoubleTap shifters (retail box, with full cables and housing), crankset (172.5mm arms, 50-34 chainrings), bottom bracket, PG-1050 cassette (12-28), PC-1051 chain.


SRAM Apex 170mm Crank Arms – $20: Very mildly used set of solid cranks. I removed these from my Salsa Vaya to go to 172.5mm cranks and have no need for them. I’ve got a set of new 50-34 rings, new chainring bolts, and new bottom bracket for it that I’ll throw in for another $45 ($65 total) if you want to make this a complete crankset. Want to try out different length cranks? Need a cheap but solid set of cranks? This is a good way to go.


Serfas Seca FPS Road Tires – $Free / Beer: 28c Serfas Seca FPS wire bead road tires. Cheaper tires that came on a used bike I bought, but plenty of life left in them. I prefer wider tires and have plenty already, so I don’t want these… Got a use for them? They are yours… I’ll trade for beer, a good story, etc.


Leave a Comment

Fiddler Breaks Local Intranet Zone Assignment in Internet Explorer

Beware: The use of Fiddler to troubleshoot Internet Explorer issues can complicate the use of the Local intranet zone by effectively disabling the intended behavior of the Include all sites that bypass the proxy server setting. KB174360 describes the Local intranet zone as follows:

By default, the Local Intranet zone contains all network connections that were established by using a Universal Naming Convention (UNC) path, and Web sites that bypass the proxy server or have names that do not include periods (for example, http://local), as long as they are not assigned to either the Restricted Sites or Trusted Sites zone.

When Fiddler is enabled, proxy settings on a client machine are changed to direct all traffic to 127.0.0.1 as seen above. This results in no websites automatically matching the Local intranet zone because none bypass the proxy server.

While troubleshooting a suspected issue with custom user agent entries I had Fiddler running, as is my normal practice.  The reported issues was custom user agent strings not being sent, something that won’t happen on IE9 unless Compatibility View is enabled. I’d first thought there was a problem with the Display intranet sites in Compatibility View option not working due to the Local intranet zone assignment not working, but my issue actually turned out to be Fiddler getting in the way by causing no sites to match the Local intranet zone. When Fiddler was disabled and I switched to using an external tap for monitoring, behavior returned to normal.

Fiddler is great for MITMing secure sessions thus making troubleshooting secure websites trivial, so not being able to use it in these circumstances will cause other problems. But there are other ways around that…

Leave a Comment