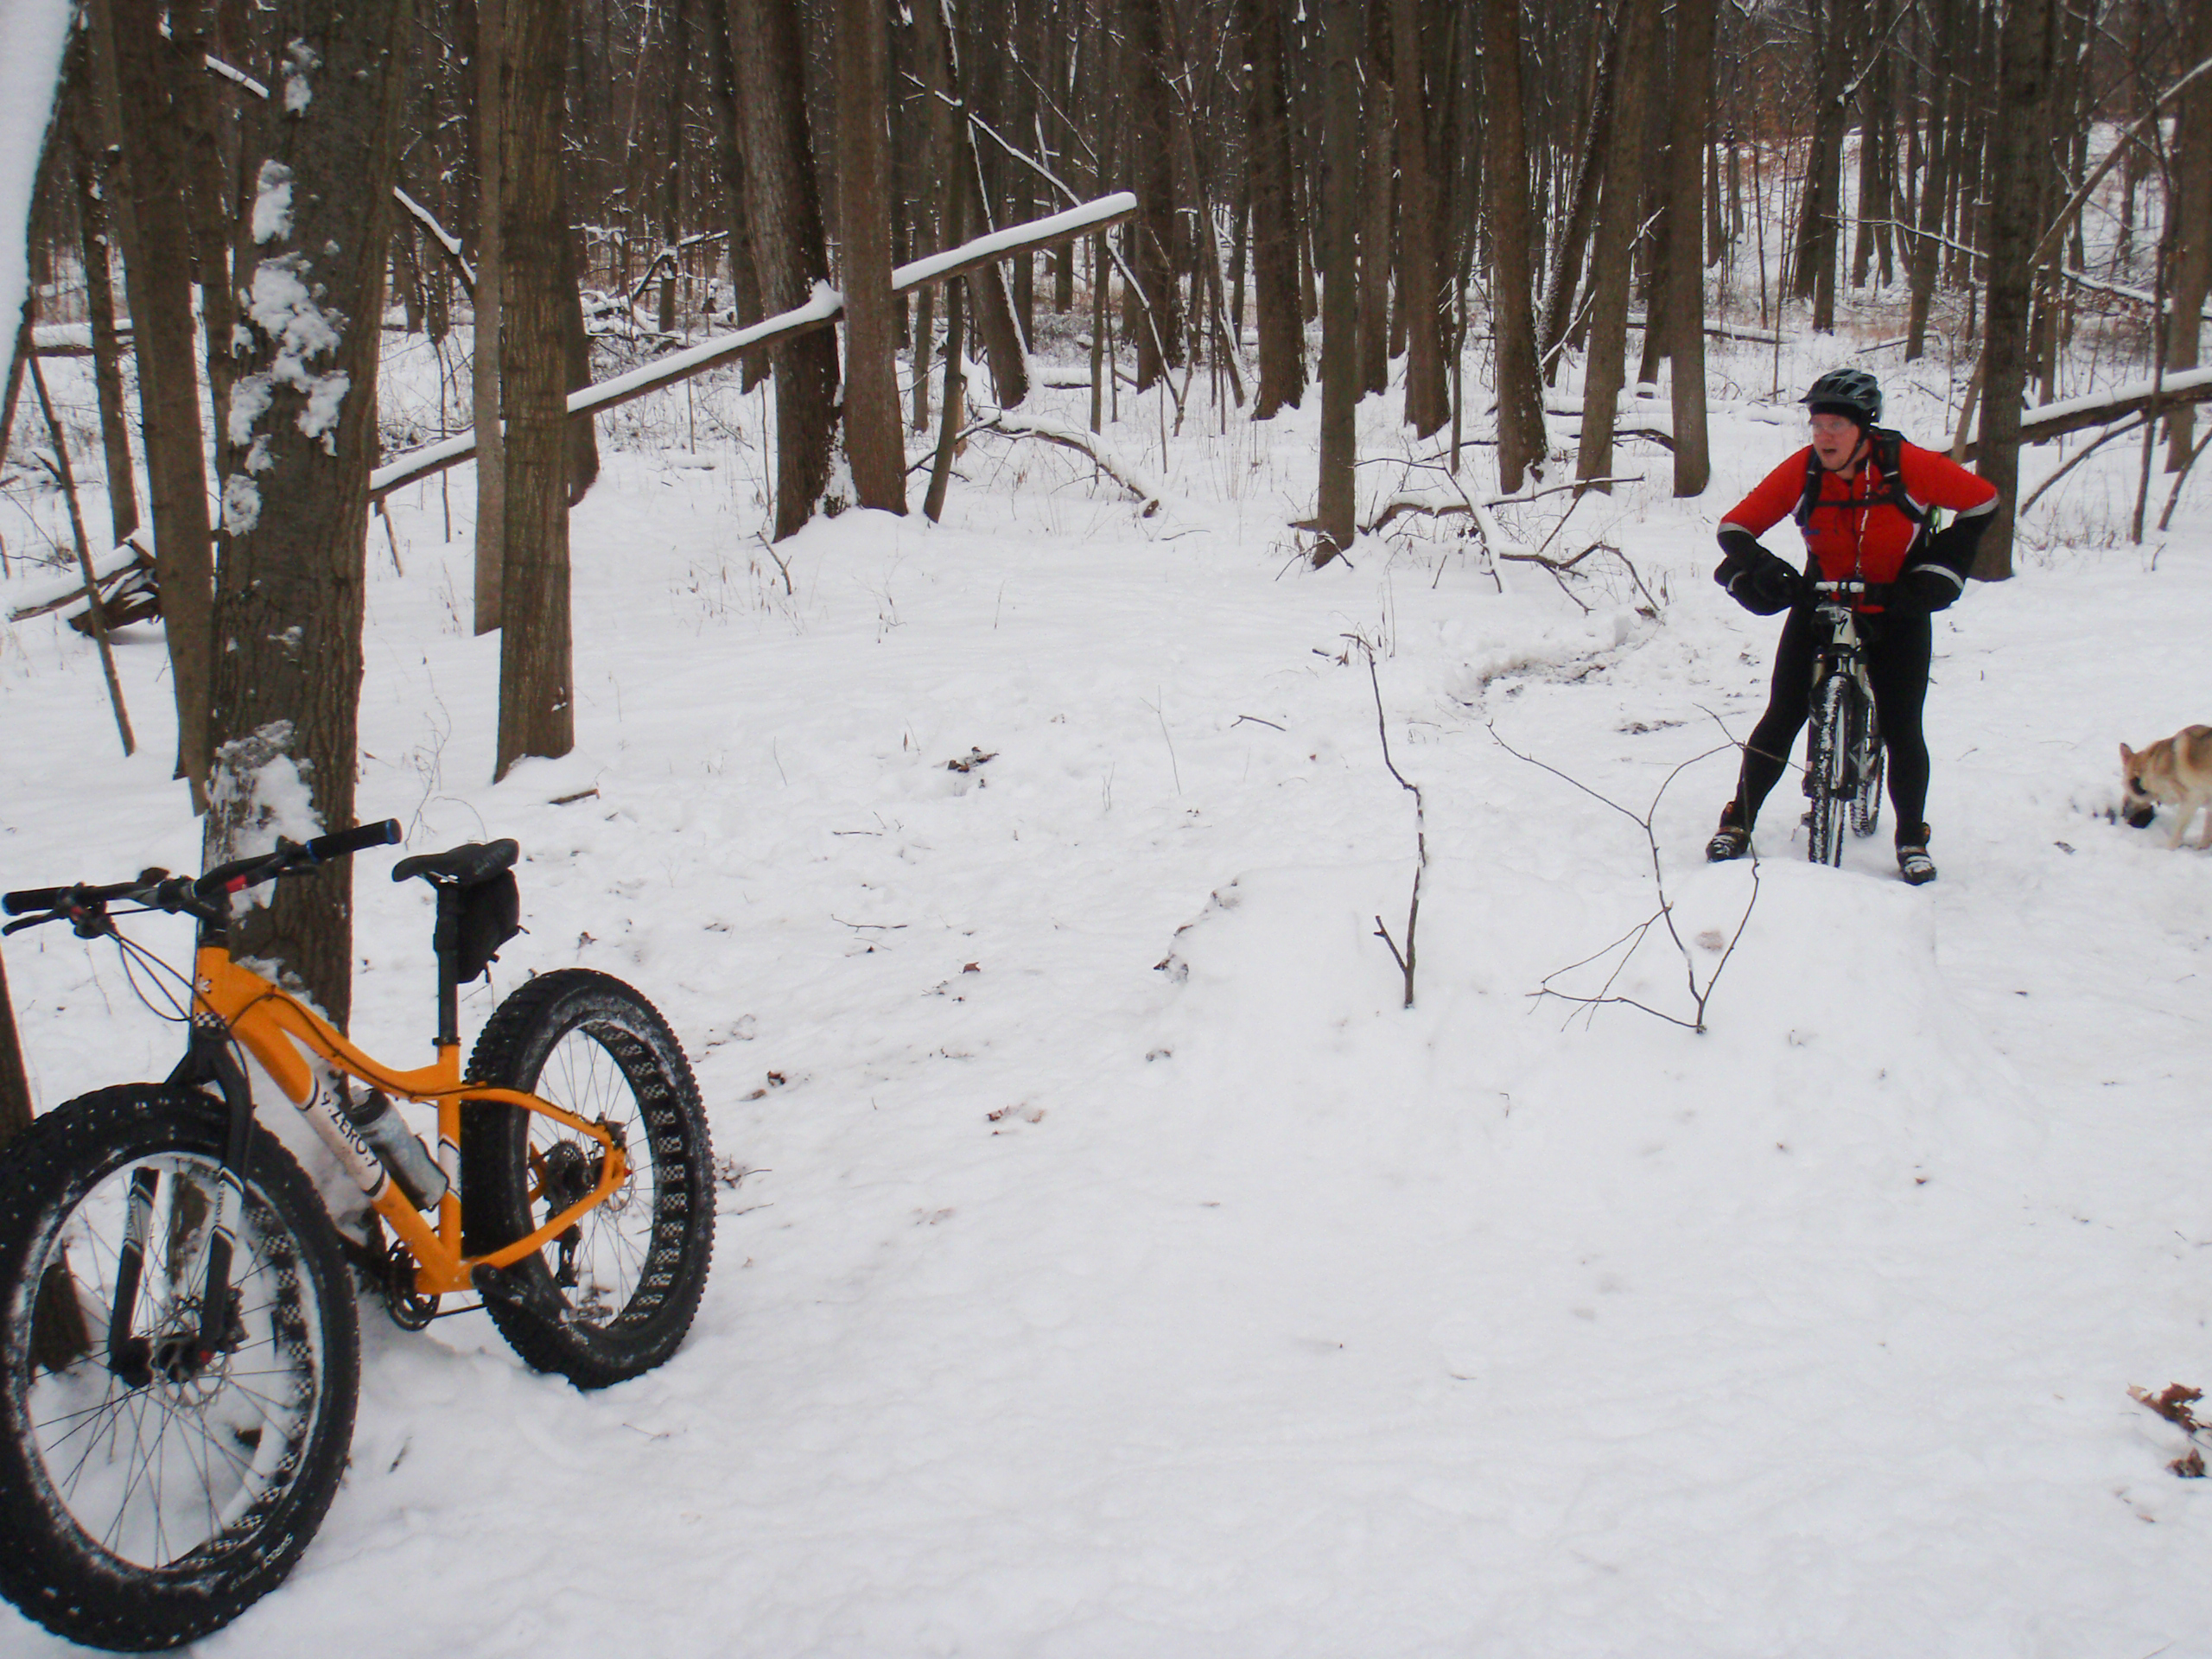
Press "Enter" to skip to content

nuxx.net Posts

Projected LED Die

Needing a new flashlight Danielle purchased this $5.29 BBQbuy@7w 300lm Mini Cree Led Flashlight Torch Adjustable Focus Zoom Light Lamp via Amazon (photograph). It’s small, and the button seems a bit flimsy, but it otherwise seems nice and it meets her needs. One amusing feature is the laser-style warning decal (in gold, none the less) on the body, but the most amusing is that at the narrowest focus setting it projects an image of the LED die.

This was photographed by clamping the flashlight to the camera’s tripod, pointing the two at the same point on the basement wall, and taking a photo with the lights off. I’m almost tempted to modify the focus mechanism to allow a little more movement which would likely allow the image to wholly focus, but I’d probably damage it during disassembly.

Leave a Comment

FOX F29 RLC Seal and Oil Replacement

Today I did my first seal and oil replacement on a FOX fork. I’d watched Erik do his before, but it was a few years back so I didn’t remember much about the process. While I took my time this was easier than I’d expected, and almost everything went smoothly.

To do this work I’d purchased a bottle of 10 weight (Green) Suspension Fluid, a SKF low friction seal kit, 5mL packet of Float Fluid, and a seal driver tool to help seat the seals. I’d also picked up some graduated cylinders for measuring the oil, and a friend made me a very nice tool for removing the top caps. These parts all worked out very well, and following FOX’s documentation for seal and oil replacement, oil volumes, and use of the seal driver I had no problems getting everything together.

The greatest difficulty was removing the old seals, but a little persistance on the first one paid off, and then using this as a model I was able to get the second out much more easily. There were a few small things learned that’ll make the work easier next time, including:

· The foam rings take very little time to soak up oil when pre-soaking them.
· Once the damper is in place, there’s not much room below the damper cap for adding oil unless air is let out of the spring side to collapse the fork. After this there’s a plenty large space to pour in the oil.
· Tilting the fork while adding oil to the damper side makes things slightly easier.
· The nuts on the bottom of each fork leg are identical.
· Crush washers stick solidly to the nuts on the fork legs and blend in. The replacement ones, before being crushed, fit much more easily.
· Suspension oil tends to get all over the place. Even with wiping the entire fork down there is still an oily residue which leaves a nice sheen, especially if the fork is a bit weathered and becoming matte.

I received this fork when I purchased this bike in December of 2009. Since that time I’d put around 5000 miles on the bike, but never rebuilt the fork nor replaced the oil. While I’d been particular about keeping the stanchions clean I was not shy about riding it in poor conditions. FOX recommends changing the oil every 30 hours on forks. I definitely exceeded this, yet the oil in the fork was still quite clear, the foam rings mostly clean and oil-saturated, the stanchions unmarred, and there was still a fair amount of oil in the various chambers. The only way the stanchions look not-new is some fading on the portion which was exposed to sunlight. Here is a photo of the disassembled uppers and lowers showing nothing more than a slight bit of fading.

Hopefully after the work I’ve done the fork continues to work as reliably as it had for these past years.

Leave a Comment

Graduated Cylinders for Oil Measurement

Beyond the fancy socket I also need a way to measure oil before I can rebuild my the fork on my Titus Racer X 29er. FOX shows graduated cylinders being used for oil measurement in their instructions so I’m going to try the same. At $14.99 from Amazon this Karter Scientific set seems like a fair price, and hopefully it’ll work out well. Being glass I also hope that I can sufficiently clean them of oil so they may be used for measuring other things.

Leave a Comment

Series 30 American Lock: Cut Open

My friend Erik uses a heavy cable and a padlock to keep someone from walking away with the bikes on his car rack. He recently lost the keys to one of the racks but wanted to keep the cable, so he needed to cut the lock. Being an American Lock purchased from a locksmith we figured it’d be quite a task to get it apart, but since it ended up to be a Series A30 aluminum body lock it was much easier than we’d anticipated.

Using a heavy duty Hilti reciprocating saw he first tried to cut the hasp, but the hardened steel was only polished shiny by the saw blade. He then cut into the lock body and ended up severing the pin which holds the lock together. It was then easy to remove the core and use a screwdriver to actuate the lock mechanism, releasing the hasp. With a set of picks I was then able to disassemble the core and remove the pins and springs. A quick tug on a small brass ring with needle nose and the ball locks for the hasp were free and the lock was completely disassembled.

Leave a Comment

Television in the Living Room

It’s been a bit over nine years since I fixed up the living room in my condo, and since then (and with Danielle now living here) the room’s needs have changed a bit. I’ve had a nice tube HDTV in the basement and it’s been well used for movie watching and playing games, but up until now there hasn’t been a TV in the living room. Danielle really has been wanting one there, but being oddly shaped I’ve been hesitant and somewhat resistant to trying. After last night’s fiddling with the HTPC and thinking a bunch about how much Danielle would probably use it, I decided to give it a serious look.

By pulling one of the love seats away from the wall and flipping it around I was able to create a nice space for a TV while still leaving the doorwall accessible. The recliner was moved to the basement, the coffee table moved into service as a TV stand, and the end tables kept doing their thing. This setup doesn’t clutter the room so walking through is still easy, and it doesn’t feel like one is sitting awkwardly in the middle of an open space.

This experimentation and talking it over with Danielle resulted in our purchase of a Sharp LC-52LE640 LED-lit flat panel LCD TV. Sears had them on sale for a quite reasonable price with a bonus $100 in-store gift card for a total of $953.99 after tax. This seems to be one of the nicer non-3D models available in this price range, and being in stock locally was a nice treat as it allows an easier return option if necessary.

Beyond the TV there was only a need to purchase one spool of speaker wire to get everything set up. Everything else came from either spares in the basement or things moved from the previous setup. I do need to pick up two replacement front channel speakers on eBay, but the model that I have is both good quality, relatively cheap, and fairly available so this likely won’t be a problem.

The end setup has the television with all devices connected to it via HDMI, except for the Wii which uses component + analog audio. The TV then re-ouputs the audio via TOSLINK to an AMB γ1 DAC that I built a few years ago which is the input for a NAD 705 stereo receiver that feeds a pair of Energy Take speakers and a Yamaha YST-SW160 subwoofer. I hooked the speakers up to the B channel of the amp, leaving the original Gekko GK-1824 flat speakers which I use for room-filling audio while working in the kitchen on the A channel. An original Airport Express also remains connected on one of the other inputs for times when I want to play synchronized audio throughout the house.

Here is a head-on view of the whole setup. I may do a better job of bundling the wires, perhaps replacing some of them with black versions, and I might stuff all of the visible bits inside of split tubing to make it nicer looking. It’s not bad as it is, though, especially for not having a large mass of wired network gear, power supplies, and all hookup cables bundled under the bottom of the table.

Thus far it seems to be working out well, and Danielle seems quite happy with it. I’m really glad.

1 Comment

Asus Eee Box 1501 Upgrades

I’ve been wanting to make the Asus Eee Box 1501 PC that I’ve got connected to the television perform a bit better, so having a spare SSD hanging around I decided to do some upgrading. Using the personal version of XXCLONE I was able to easily copy the old 250GB drive to the SSD, and the RAM was easy to upgrade once I purchased the right stuff. I’d initially made the mistake of thinking I had a 1501P model when mine was actually the plain 1501. This meant I’d accidentally acquired DDR3 RAM, only noticing my mistake when it didn’t fit into the slot. After another trip back to Micro Center (and a bunch of waiting)

As a result of these upgrades the machine feels much faster, and I hope that the problems I was having with Netflix will be gone. The issues seemed disk related, as things would slow down tremendously whenever there was a bit of disk activity occurring. Running diagnostic tools showed a correlation between slowness and disk busyness too. Since this could also have been caused by paging (I didn’t look at it in enough detail to say if it was or not) I also increased the RAM.

Total price for this upgrade was $63.57 ($59.99 for the RAM, plus sales tax), and was only this much because DDR2 is becoming rare and thus more expensive. The upgrade was done in anticipation of seriously reshuffling the video (broadcast TV, internet streaming, etc) setup around the house. That’ll all hopefully happen within the next week or so.

(The photo above shows the inside of the Asus Eee Box 1501. The disassembly was very easy, but I was strongly disappointed by the wireless antenna. While it looks detachable and has a knurled base, turning it broke the plastic off and revealed it to be nothing more than a snap-on antenna with coax that runs directly to the network card. While not completely broken the antenna is now a bit loose and floppy. Thankfully the RF connection is still intact.)

Exchanging the RAM involved waiting in a line to initiate the return, attempting to find the replacement RAM (which listed 5 pieces in stock, but couldn’t be found), locating a suitable alternate replacement, negotiating a price match to the product which couldn’t be found, waiting for the return to be processed, then waiting for the replacement RAM to be brought to the front of the store. This took a total of ~55 minutes.

5 Comments

Second Small Block Eight Sidewall Failure

While getting ready to head out on a lunch time ride I noticed that the sidewall of a recently-installed tire on my Salsa El Mariachi had a bubble in it. This is the same failure mode that I experienced back on April 1st when out at Addison Oaks with Erik and Jeremy. The sidewall tears away from the bead, and the tube bubbles out the side. Thankfully this time it didn’t burst before I caught it.

Both of these tires were purchased from a Kenda rep back in early 2010 when on a trip to Ray’s, and I guess it was time for them to go. The tire has been replaced with a Kenda Slant Six that I picked up last year, which makes for a nice (albeit slightly knobbier) rear tire which will hopefully hold up for a while.

I guess it’s good that this didn’t happen (or result in a full failure) while riding Stony Creek last night. Now, to reschedule today’s riding until after work…

Leave a Comment

Lost 3mm Ball End Hex Wrench

Today while in the parking lots of either River Bends or Stony Creek with my brother in law Josh I lost my 3mm ball end hex wrench. I was carrying it along with the 4mm and 5mm wrenches in case I needed to adjust the dropouts on my single speed (specifically, to tension the chain). But, it appears that when getting out one of the wrenches so I could press my fork’s dust wiper back into place I must have dropped this one, leaving it in a parking lot.

Hopefully I can get another one without buying a full set.

Leave a Comment

Custom 26mm FOX 32mm Fork Top Cap Socket

I need to rebuild the FOX F29 RLC fork on my Titus, so I ordered the supplies to rebuild the fork, but found that I’d need a socket that has had the face ground flat in order to properly (read: safely, without marring the aluminum) remove the top caps from the fork. While openly contemplating what to do about this on Facebook a friend of mine, Mark Dombrowski (also the MCMBA Trail Coordinator for ILRA) offered to make me an aluminum socket to meet my exact needs. He’d done the same for himself in the past, and this one was like his, but with the incremental improvement of a 15mm hex cap for turning the socket.

This sort of socket (or one with the face ground flat) is needed because FOX top caps have very thin flats and are made of aluminum. The internal flaring on most sockets either won’t mate well (best case) or will round off the cap (worst case). Grinding a hardened socket flat can be quite a pain, and having a softer tool for turning the aluminum is a good idea, so he came up with this.

I’m really thankful to have one of these. Once the replacement parts come in I’ll be able to rebuild the Titus’ fork, and I also should be able to use this on the fork which’ll come on the bike that I’ve currently got on order. This is a really nice part.

Here’s a few more views of it:

· Looking into the business end of the socket which mates with the 26mm top cap.
· The opposite end of the socket has a 15mm hex fitting.
· Oblique view showing the nicely machined part.
· Socket with Industrial Sharpie labeling so I can remember its exact sizes.

1 Comment

Fat Tire and Potawatomi

This past Sunday was the Triple Trail Challenge, a rather nifty fundraising group ride out at Pinckney State Recreation Area which spans parts of the normal mountain bike trails and also some trails which are only open to bikes for that day. I headed out with Jeremy and Sol and had a really great time. The route was rather nice and I’d love to do this ride again. The Lakelands Trail was a bit rough, and some of the dirt roads were a bit slimy due to recent grading and spraying, but it all added up to an outstanding 38.5 mile ride.

While the ride itself is free, it’s used as a fundraiser by the Potawatomi Mountain Bike Association by selling t-shirts, beer glasses, and trying to sign up members. This seemed to be really successful, as I heard there were 600+ people out for the ride, they acquired over 100 new members that day, sold out of t-shirts, and were running short on pint glasses. After the ride there were ample supplies of complimentary chili (vegetarian, I believe) and Arbor Brewing Company beer for all those who participated.

I was one of those who bought one of the glasses (t-shirts were sold out when I tried to get one), and it can be seen above filled with some of New Belgium’s Fat Tire Ale. I’m not a huge fan of this beer, but it is a pretty solid, reliable beverage. Since it’s now available in Michigan I’ll probably pick up a few more bottles of their stuff, and it’s nice to know that these glasses nicely hold an entire 22oz bottle.

1 Comment