x0xb0x #496
June 17, 2007
Yay! x0xb0x #496 is done. I had a bit of a problem with the MIDI In circuit, requiring me to replace R16 with a 120Ω part, because its original 100Ω part wasn’t causing the MIDI In line to the CPU to be flapped properly.
Yay! x0xb0x #496 is done. I had a bit of a problem with the MIDI In circuit, requiring me to replace R16 with a 120Ω part, because its original 100Ω part wasn’t causing the MIDI In line to the CPU to be flapped properly.
Ahh, thanks to the wonderful eBay sniping tool known as a kitchen timer, I was able to bid on some tubes four seconds before the close of the auction. Now I’ll also have five NOS 12AE6A tubes for the Millett Hybrid MAX headphone amps, which seem to be the most widely used part. I figure it’ll be good to test both tubes and see which sound best.
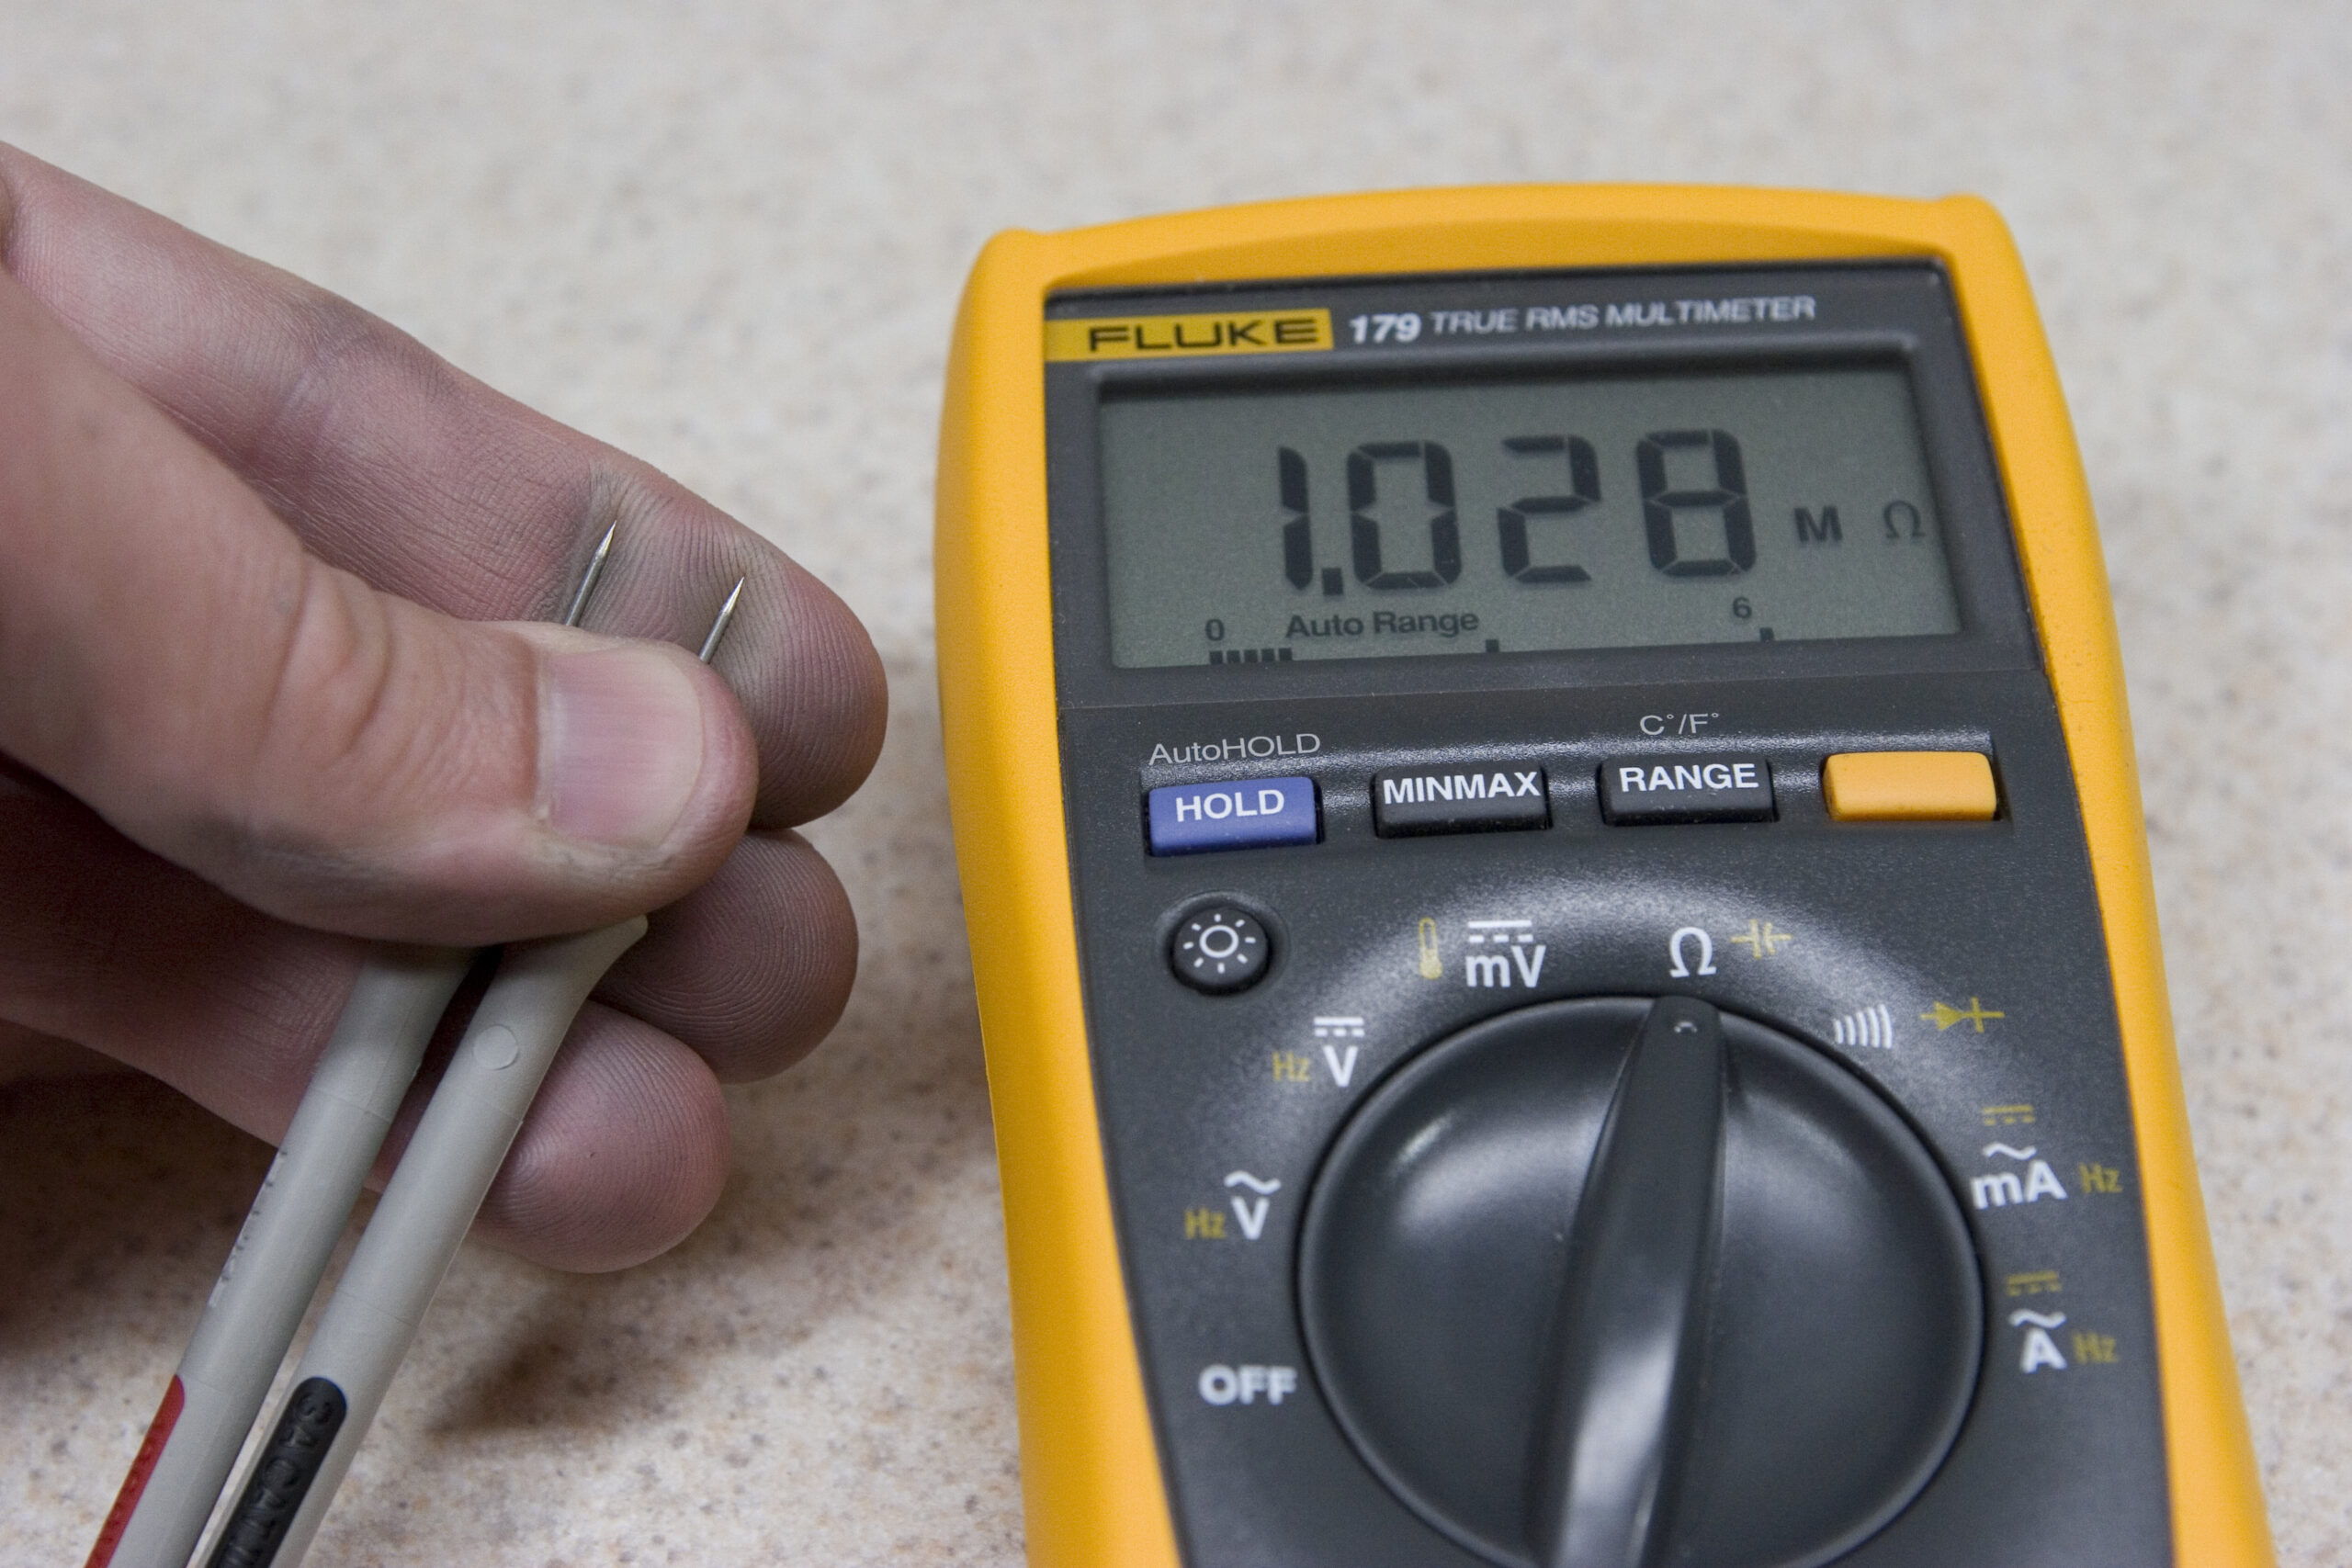 |
My skin being less resistant due to metallic enhancement.
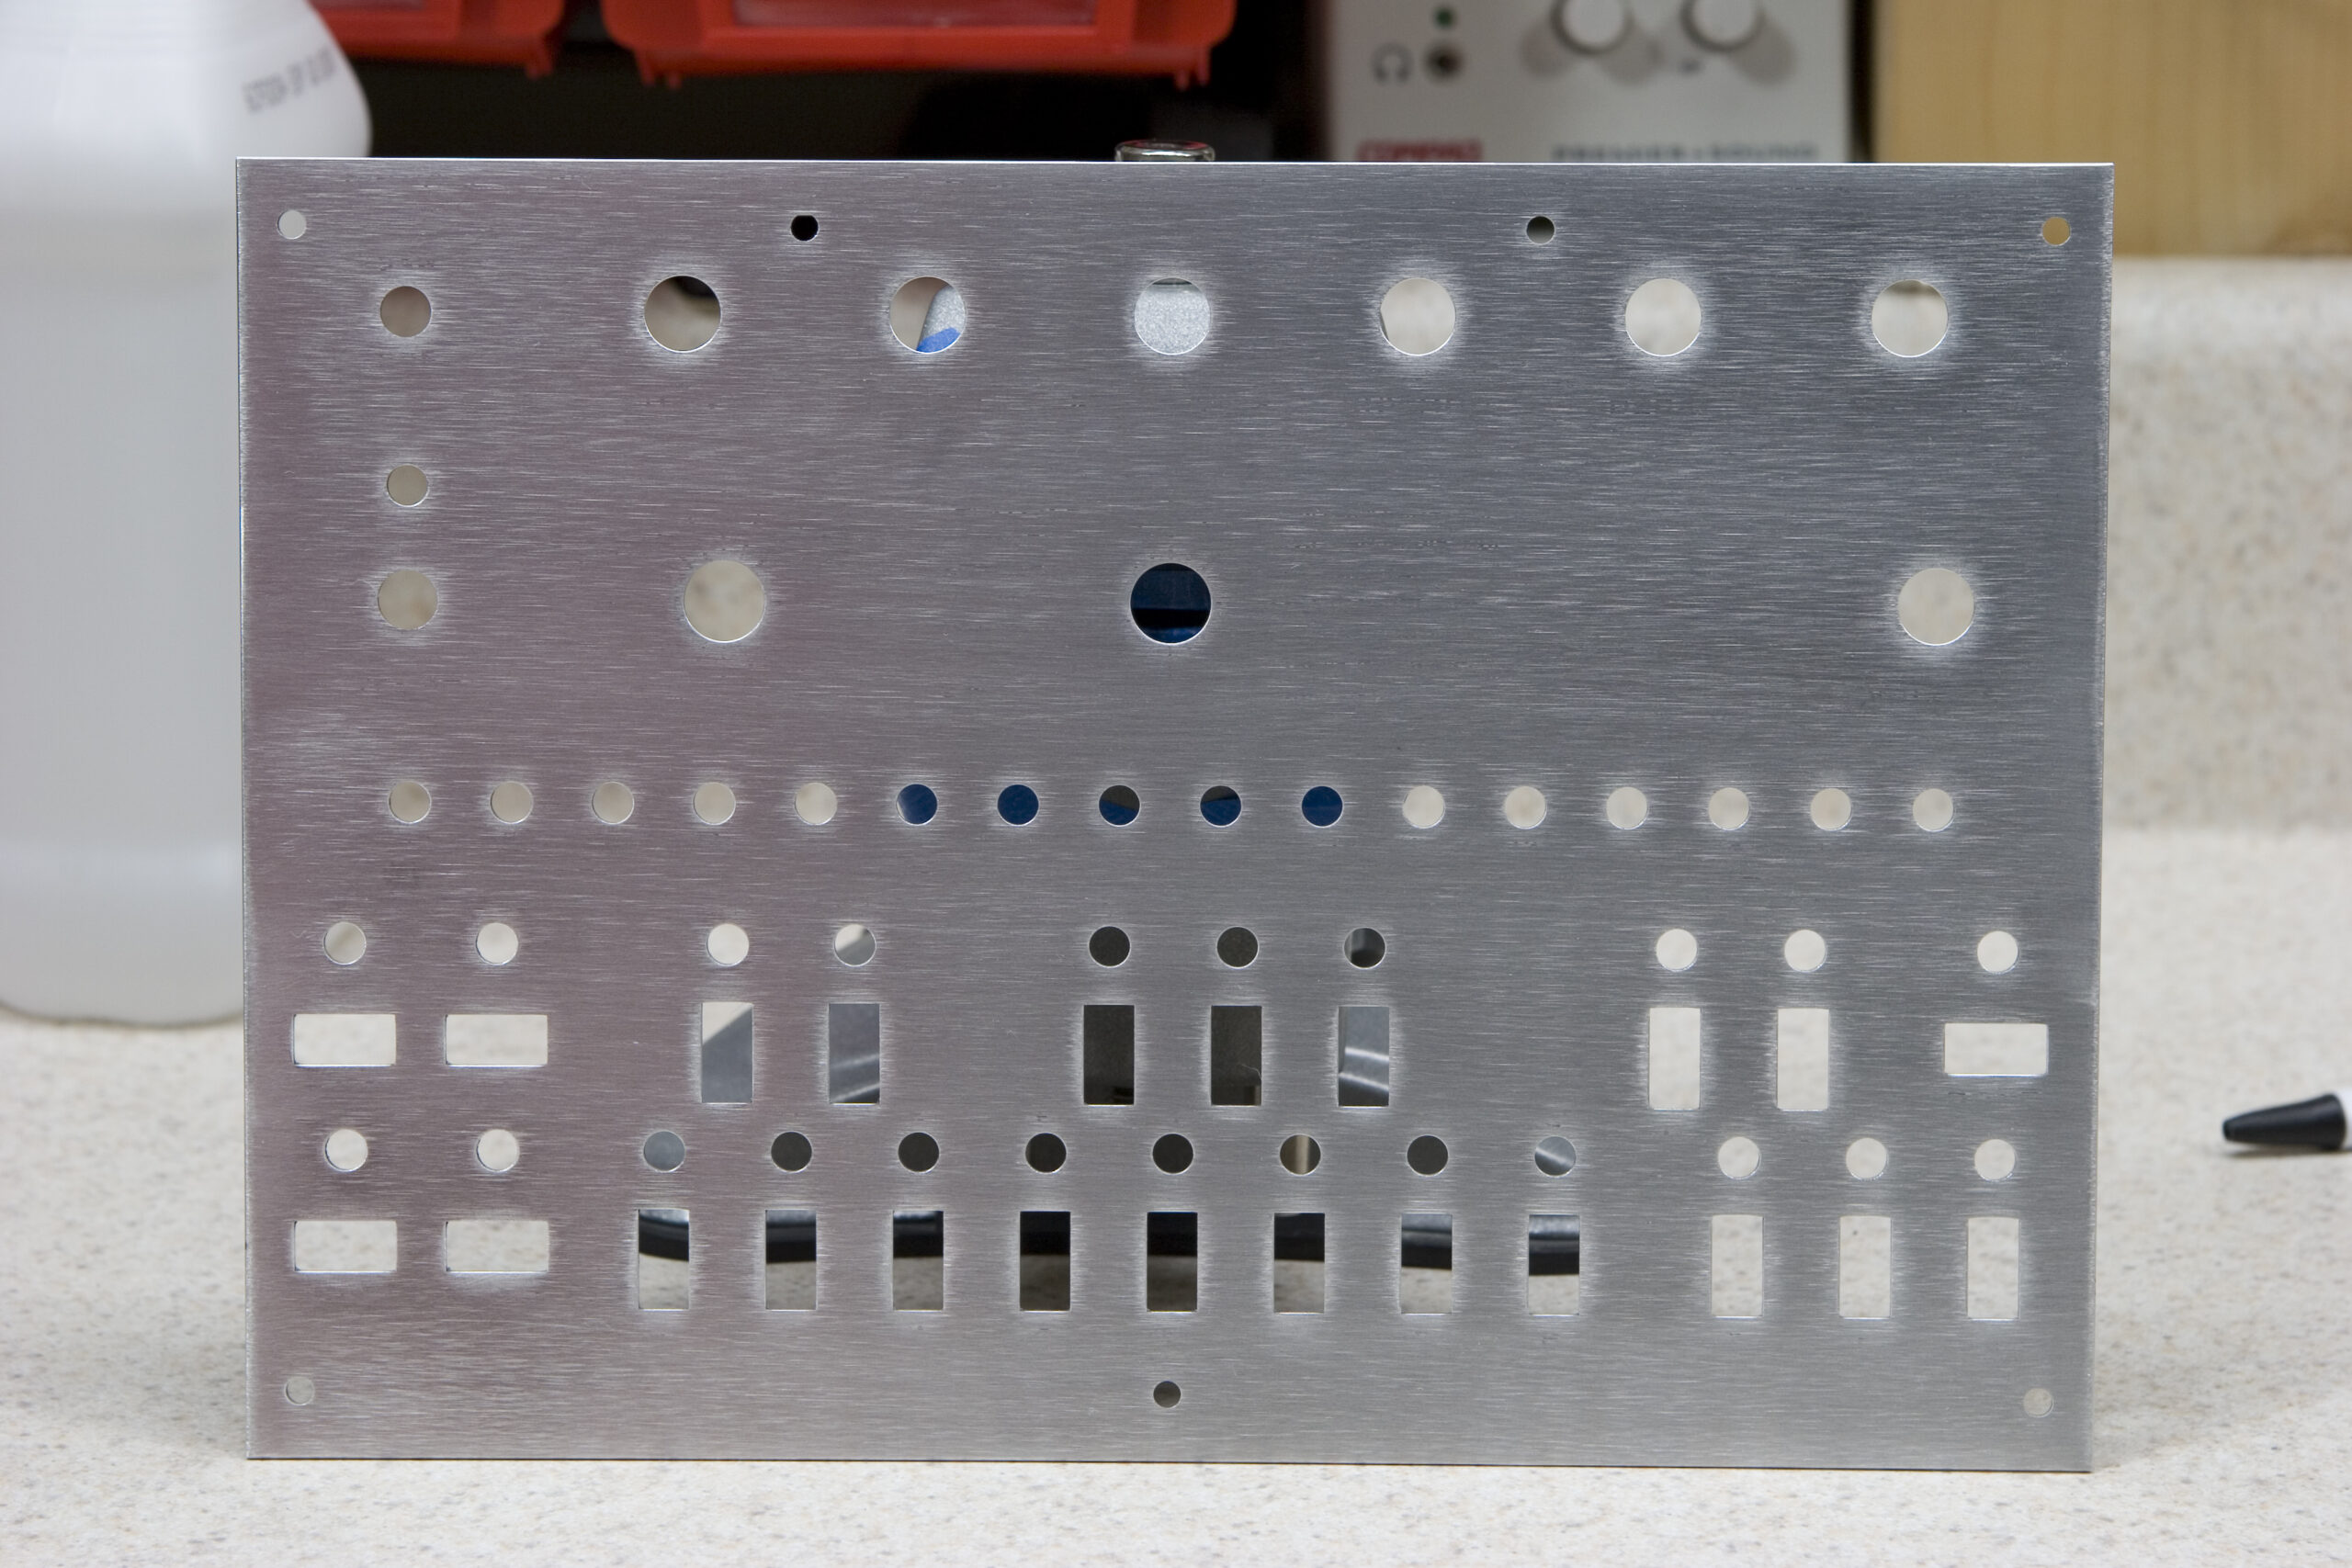
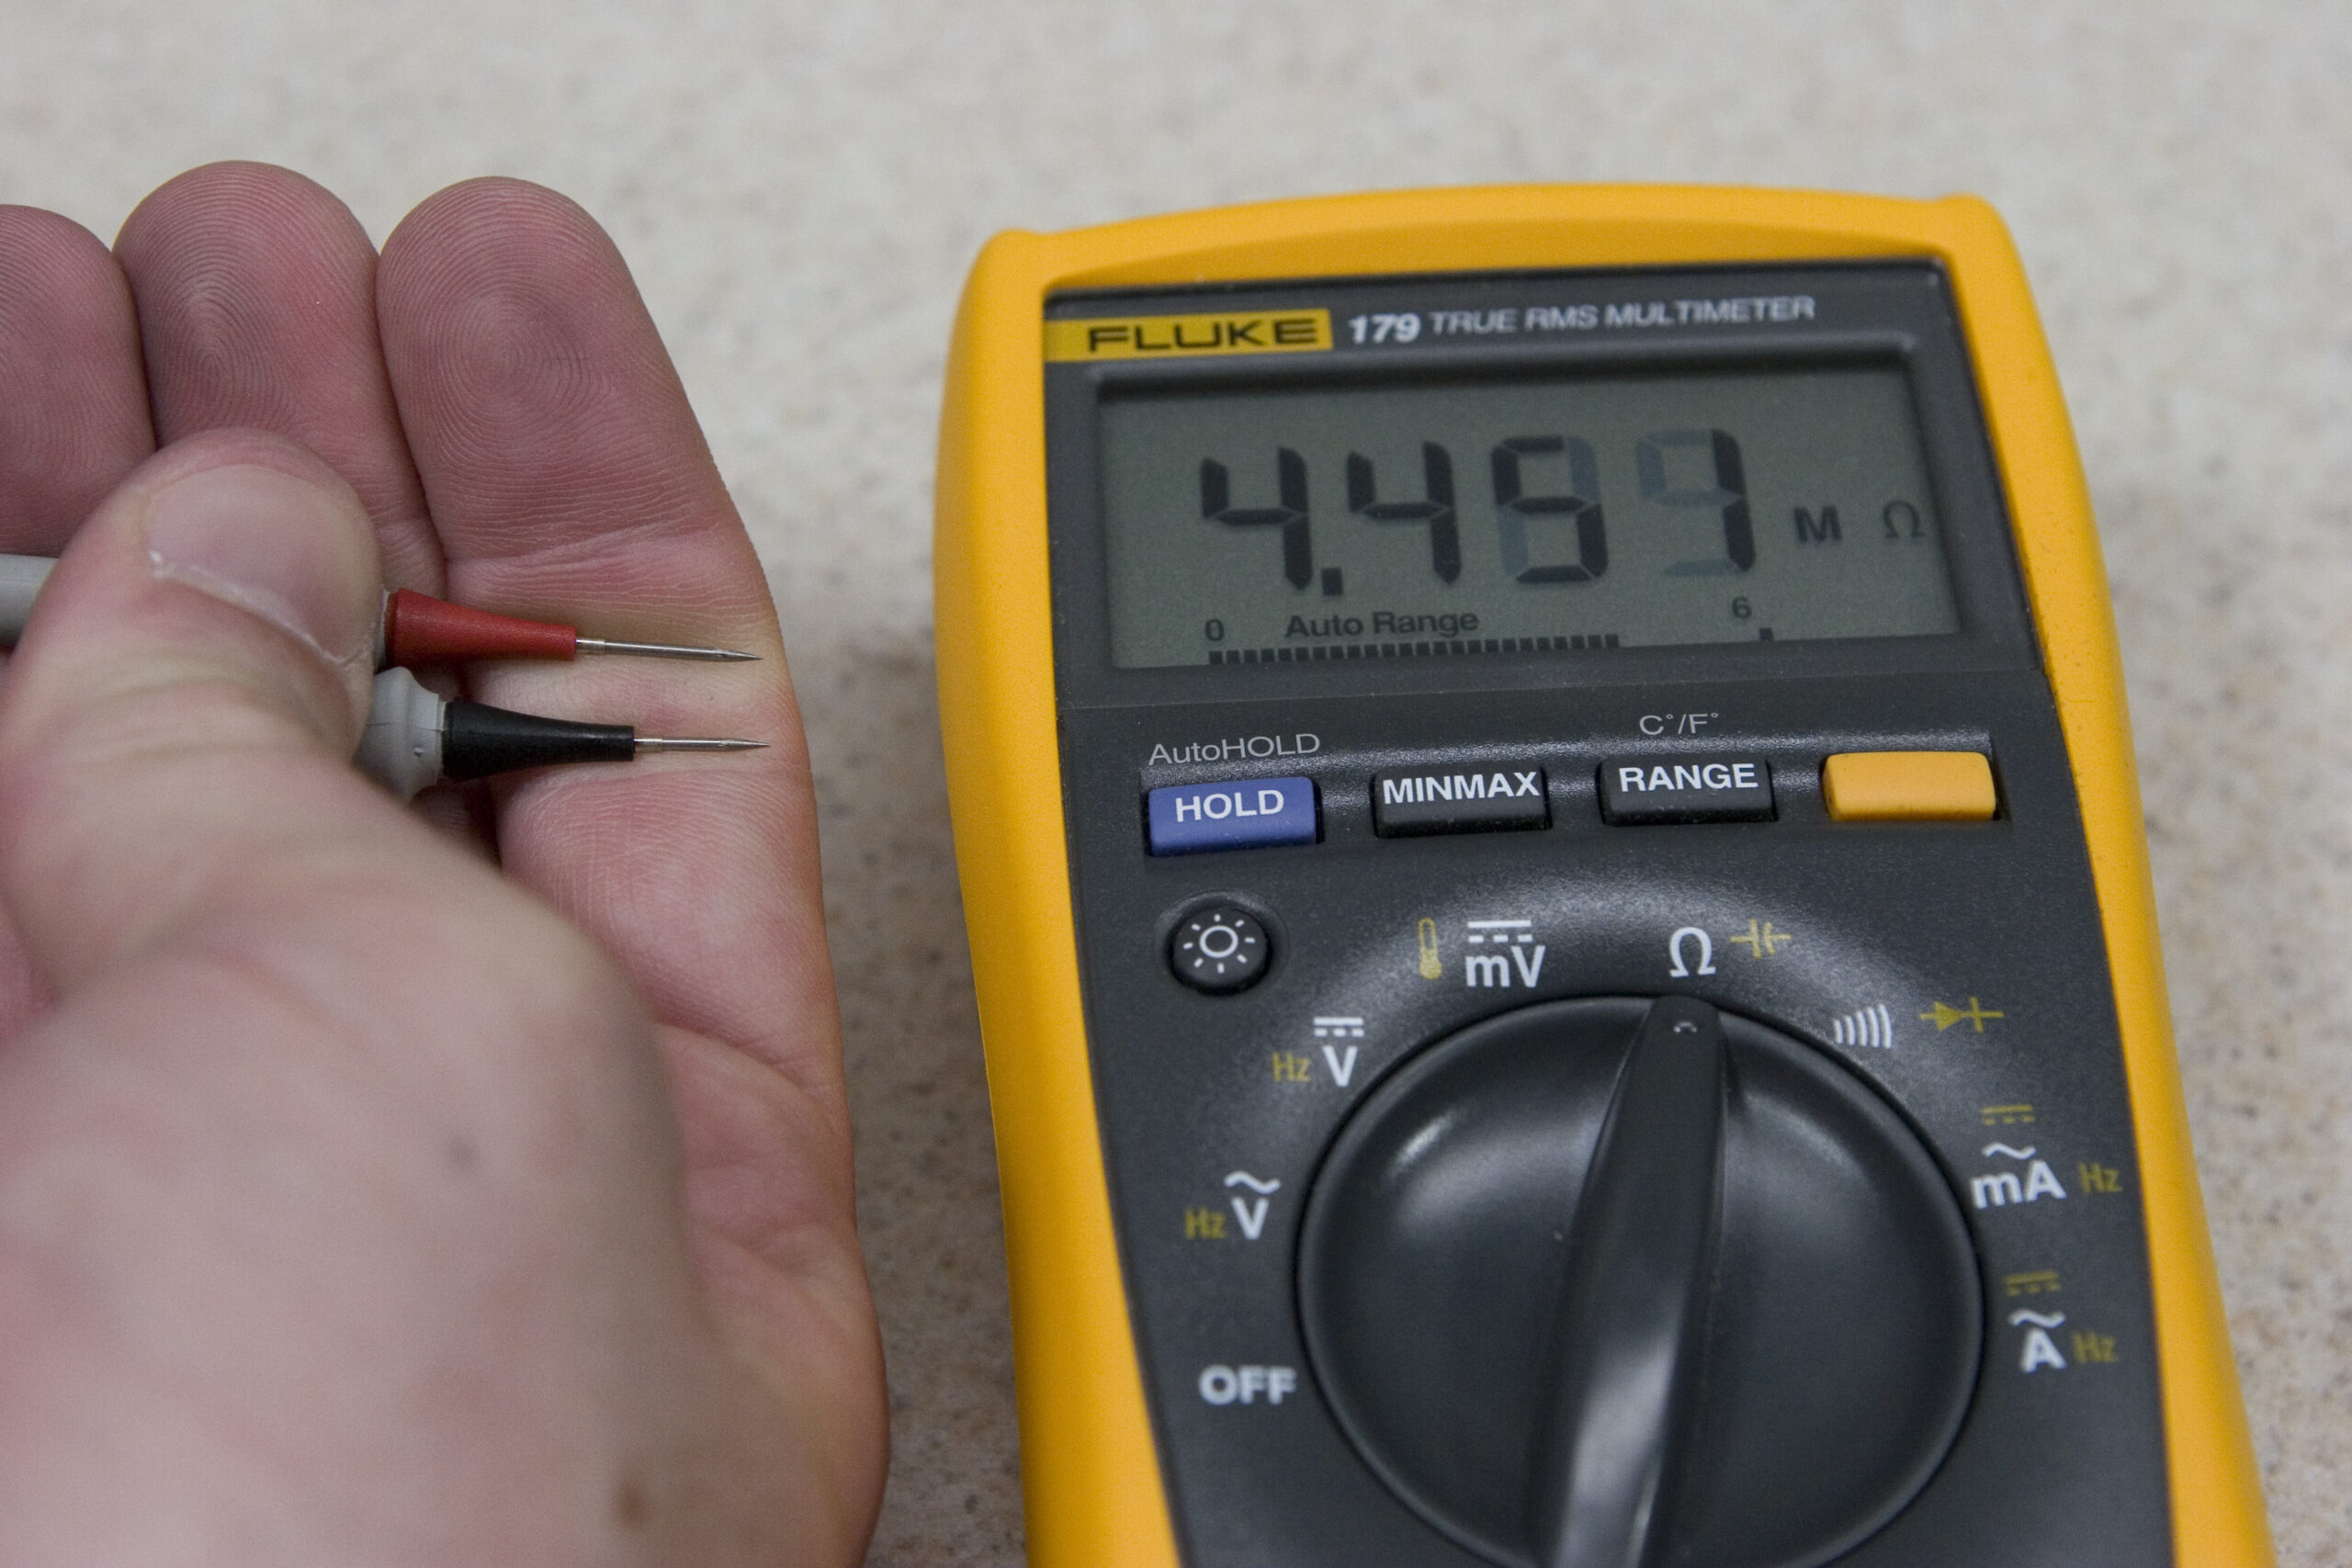
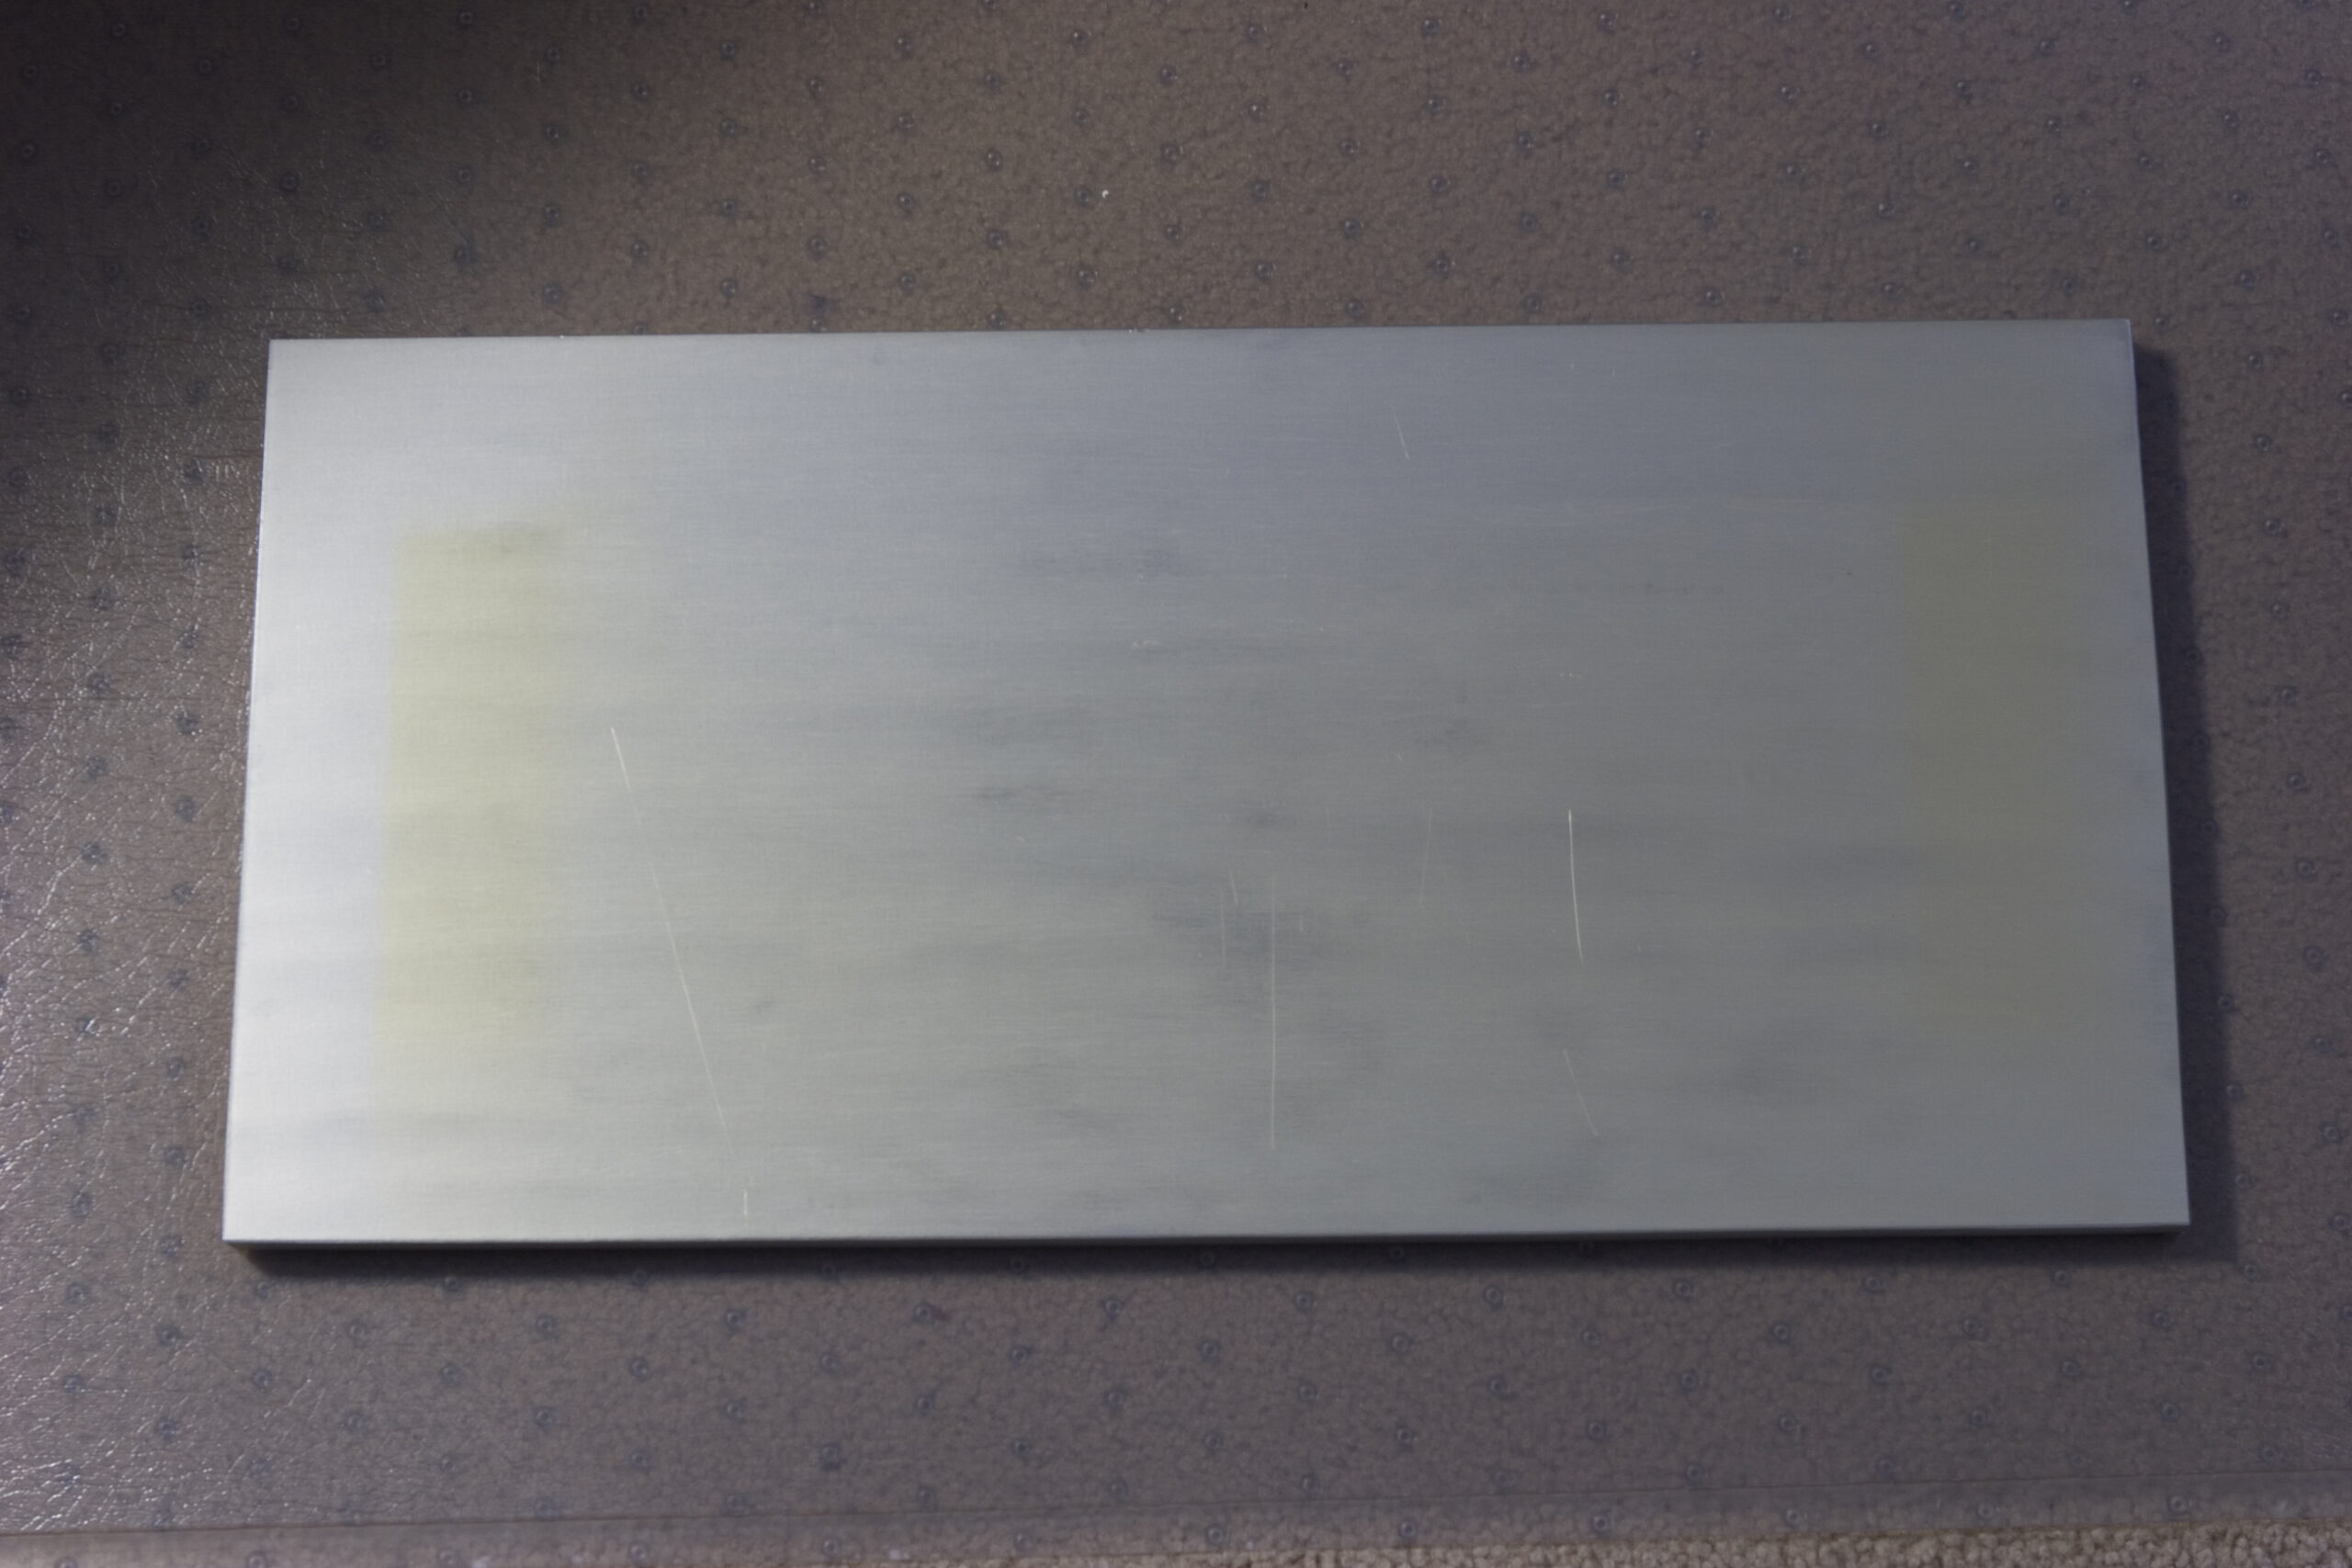
After wet sanding the front panel of my second x0xb0x (in order to ensure that none of the original labeling bleeds through) I found that, per usual, the hand I used to keep the piece of metal from sliding around was a dull grey color. That color comes from the aluminum dust ground off the plate embedded in my skin.
Knowing that there was metal in my skin made me grab the multimeter and see if that part of my skin was more conductive than the other, less metallic hand. Well, as expected, it was. As you can see above, the first finger on my left (metalized) hand provided 1.028MΩ of resistance. The same finger on my right hand, which was also washed a few minutes prior with the same soap, gave a reading of 4.451 MΩ.
There. Another ~$150 later and I think the rest of the parts for the two Millett Hybrid MAX headphone amps have been ordered. I’m fairly certain that everything has been paid for and everything is on the way.
Yay!
(No, this doesn’t include enclosure design nor input circuitry, but that’s okay…)
Well, the PCBs from the group buy, MOSFETs (IRFZ24N /IRF9Z34N complimentary pair) and high-quality pots from AMB audio shop, and 7-pin PC mount sockets from TubeDepot have been ordered.
I still have to source some appropriate tubes (probably 12AE6 or 12AE6A, likely on eBay) and place the order for the bulk of the parts from Mouser. But the difficult things have been selected. :D
Soon
I’m thinking I’ll follow Matt’s lead and mount mine on some sort of wood platform, surrounded by a cage. I’ll probably also incorporate an iPod dock / charger so I can use it where I use headphones most; on my desk at work.
UPDATE: Five NOS GE 12FM6 tubes purchased via eBay for US$20.50 shipped. These have a slightly lower amplification factor than the 12AE6/12AE6A tubes which most people seem to use for them (13.5 – 10 vs. 16.7 – 14.3), but I don’t think this will be an issue.
Now to order the first go-round of parts from Mouser, Digi-Key, and wherever else is needed to ensure that all required parts are in stock. Oh, and an FT232BM to replace the one I stupidly cooked last night.
Arraugh. I think I overheated the FT232BM in the x0xb0x. That is, the surface mount USB to RS232 chip which is used to update the firmware and such.
I had a really fine screwdriver tip (about the size of a needle head) and the iron was turned way down, but I had a little trouble soldering it, and when I was done it didn’t work. I think I need to get another one (at $4.95/each) and try again with the 1/64″ conical I’d used for other SMT work. <sigh> Unfortunately that also means desoldering the current part… At least I can do that. (Worst case I’ll just cut all the legs and remove them once at a time.)
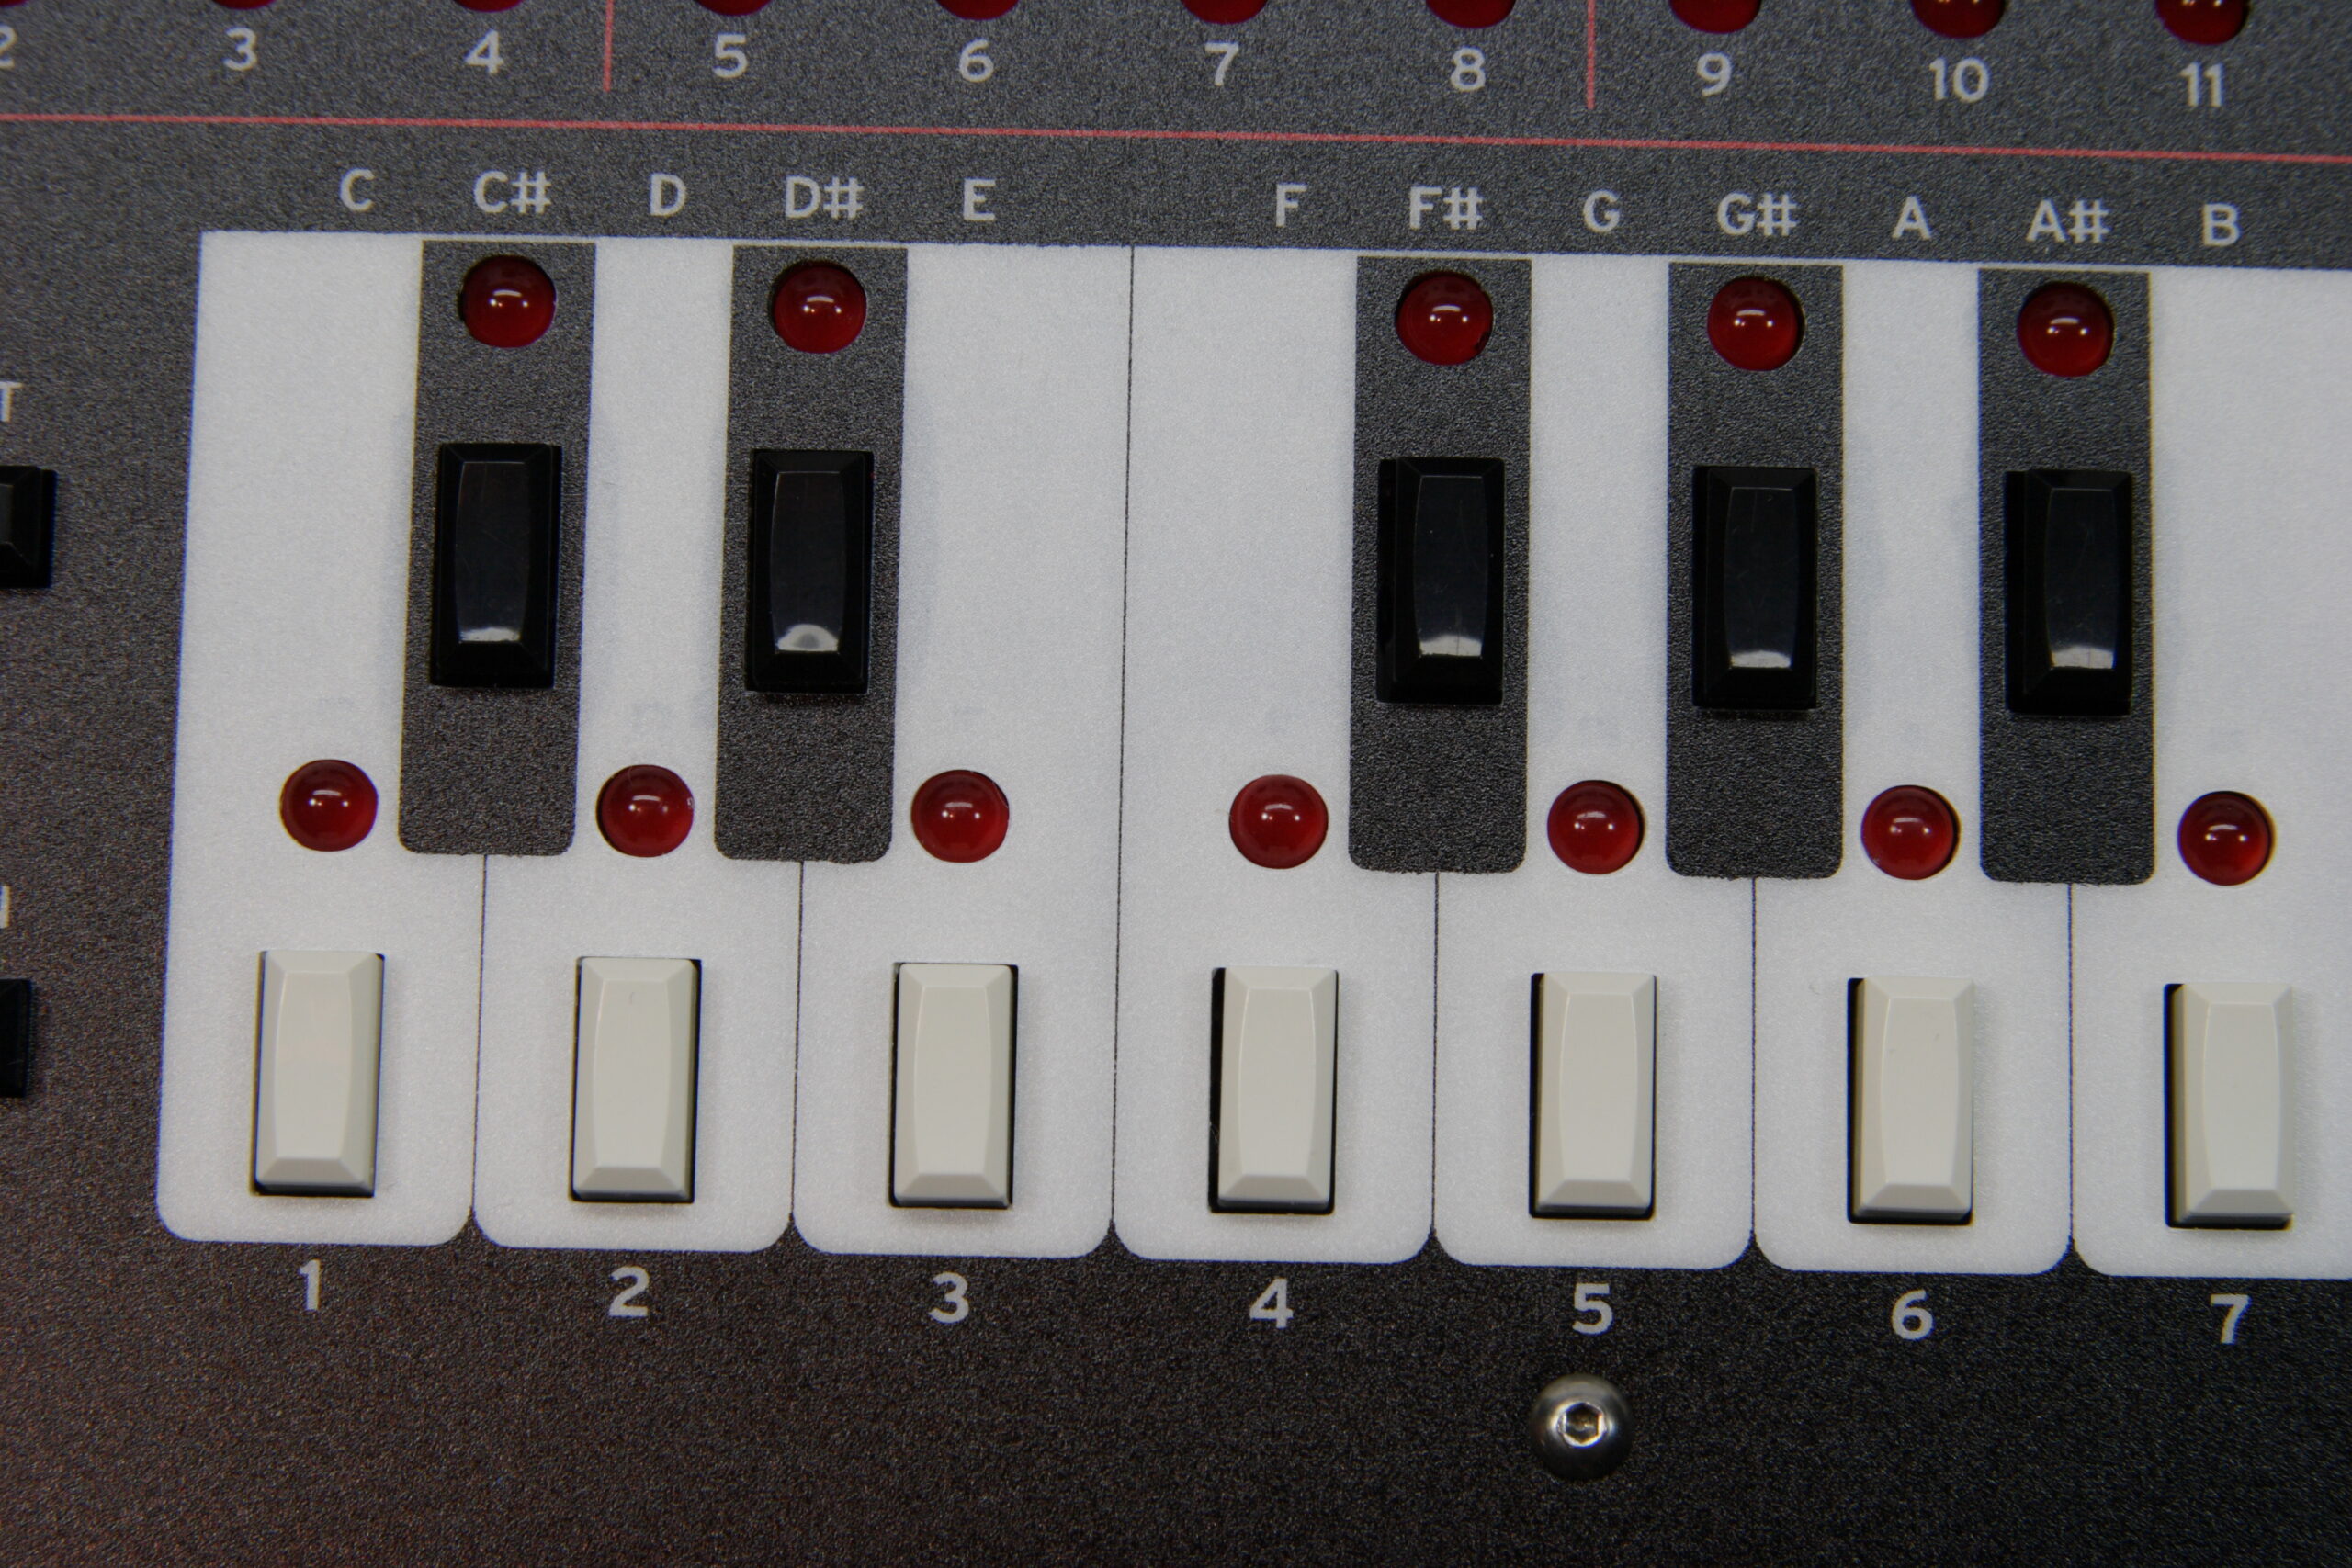
Other than that, the x0xb0x is ready for its first flux removal, before I install the LEDs, pots, tactile switches, rotary encoder, rotary switch, etc. Then after I complete the rear panel it’ll be done. Oh, and once I fix the damned USB stuffs. It’s not needed, but if I’m going to sell it, it has to be working.
 |
I can’t think of words to say how important and moving it is to me to see manned spaceflight continue.
Instead I’ll just give you these captures of STS-117 (photo gallery retired) during it’s launch which happened just over 15 minutes ago.
I think I’ll start building my second x0xb0x tonight.
This one has red PCBs, and I have all the parts I need to build it at home, including one final piece of custom artwork.
The only thing which will take a while is checking out the parts to be sure they all shipped, drilling the hole for the power switch, and painting the rear panel.
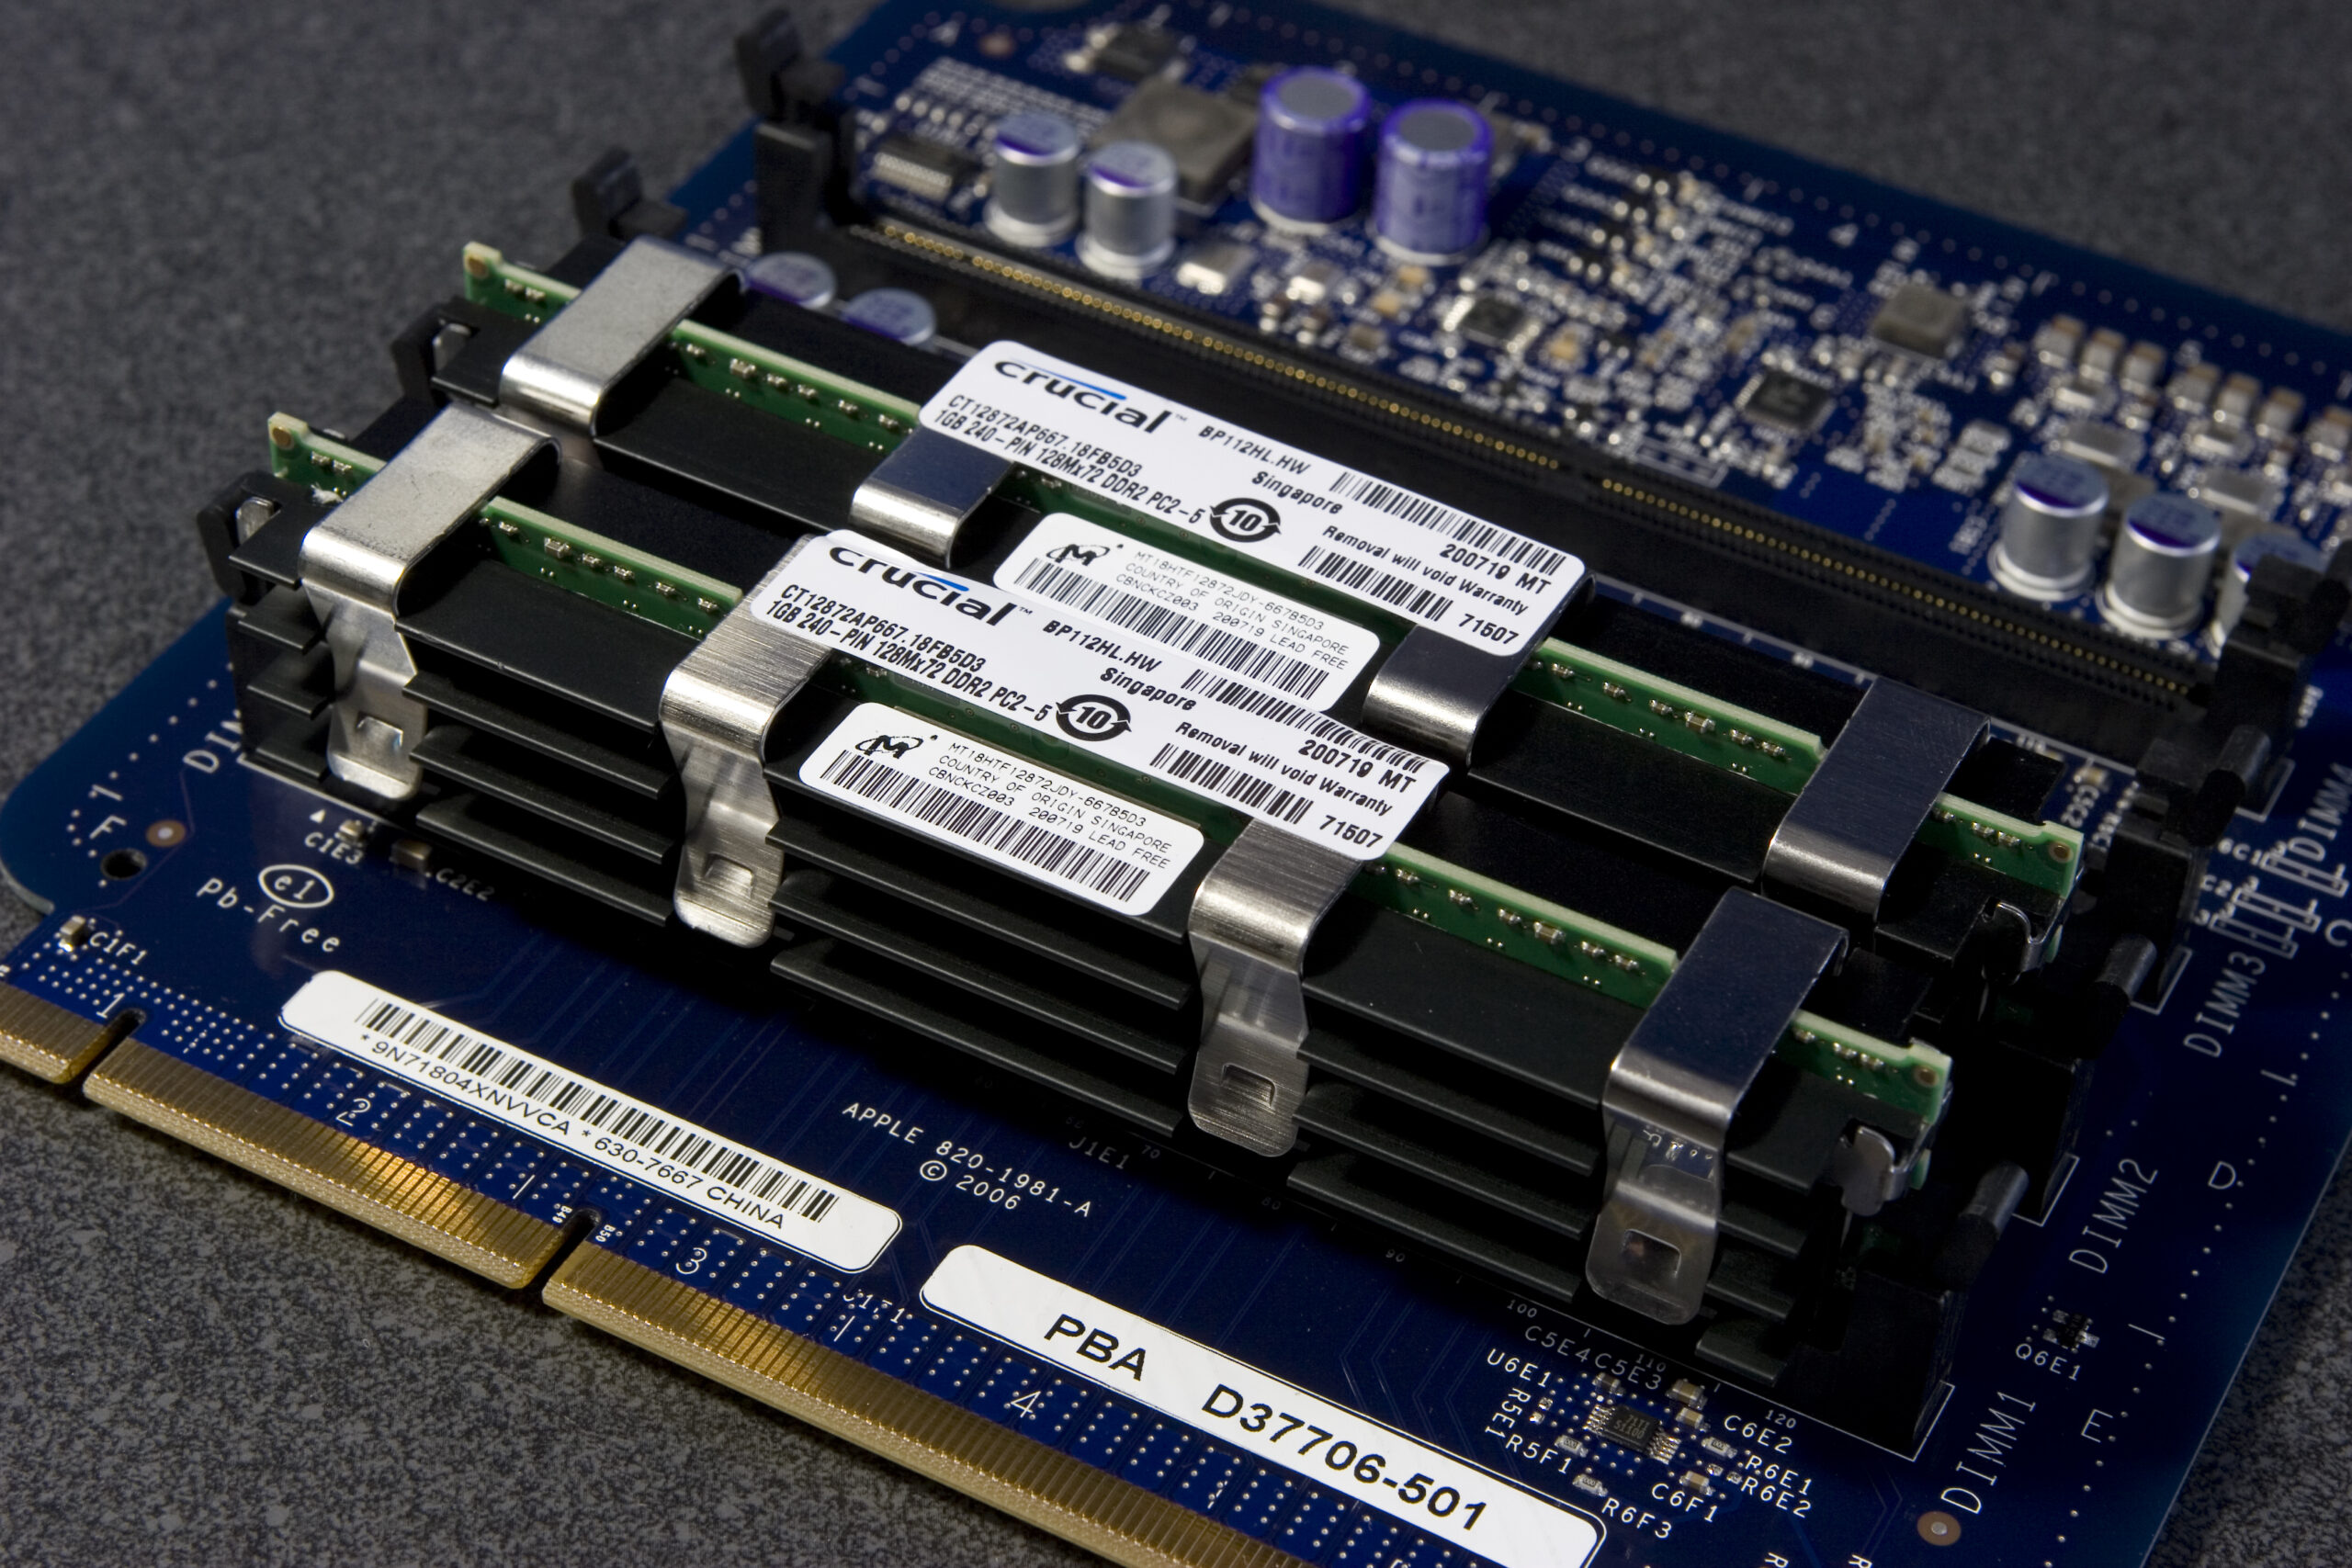 |
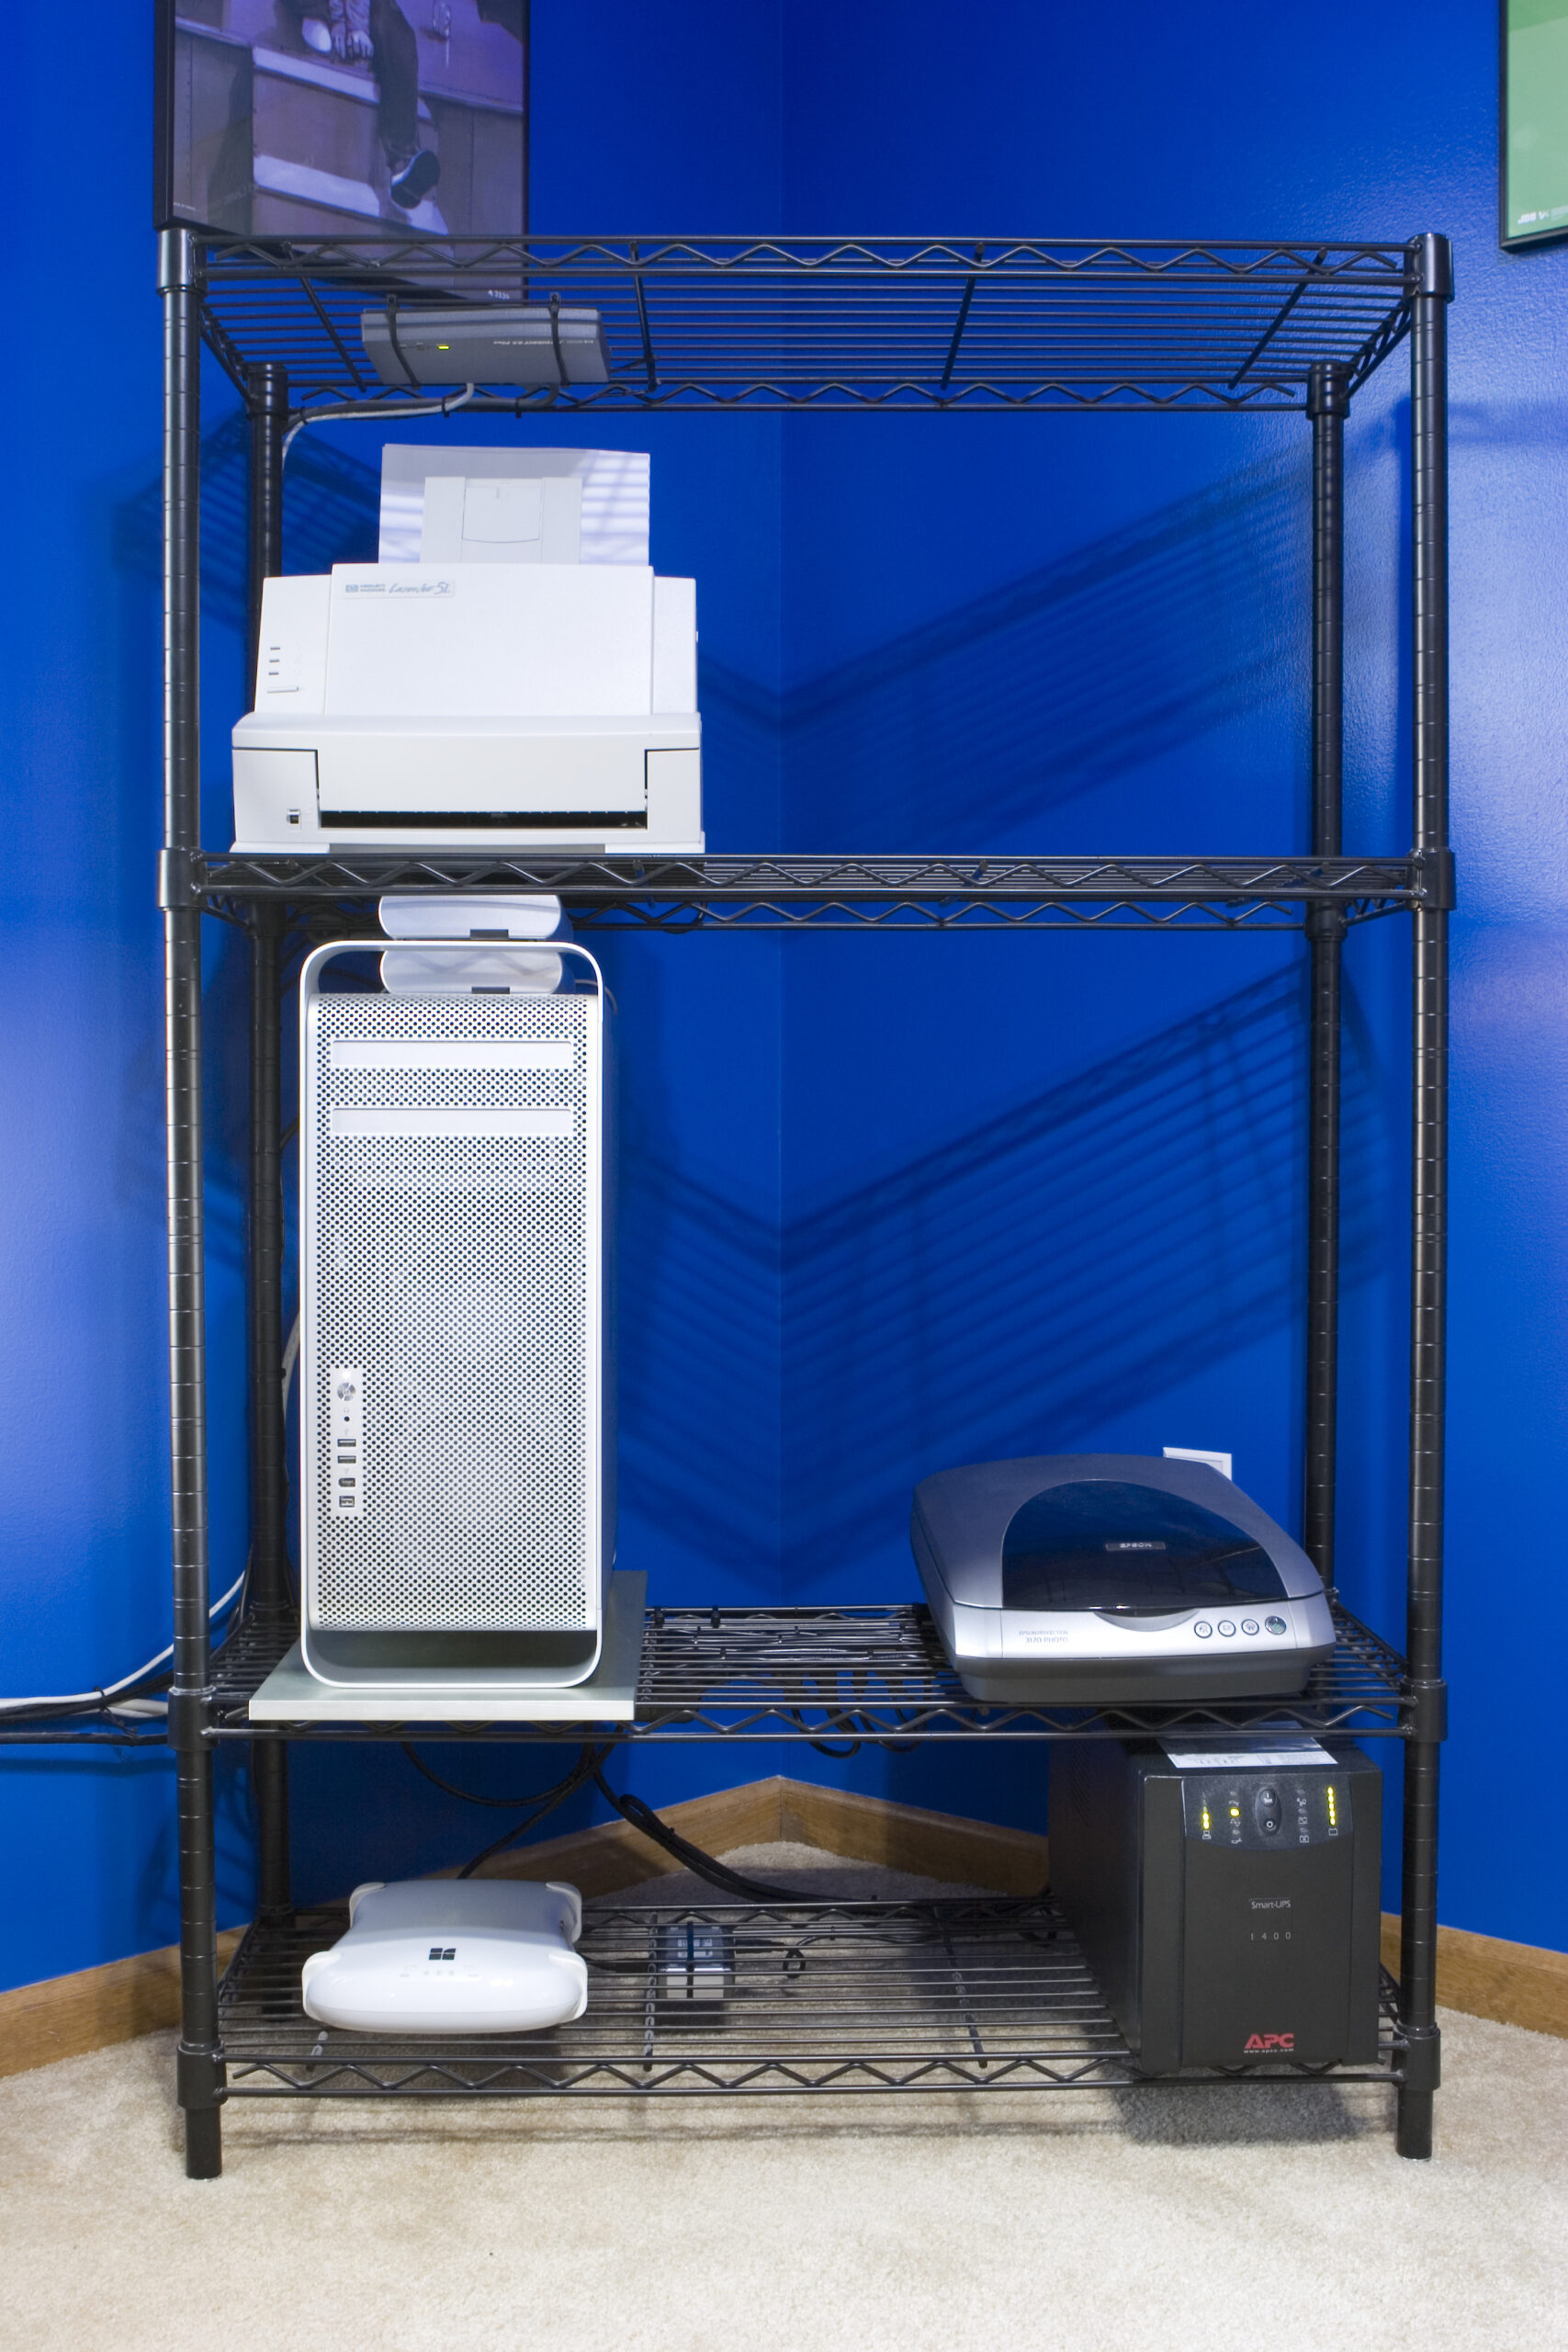
RAM Board in Mac Pro w/2GB of Crucial RAM
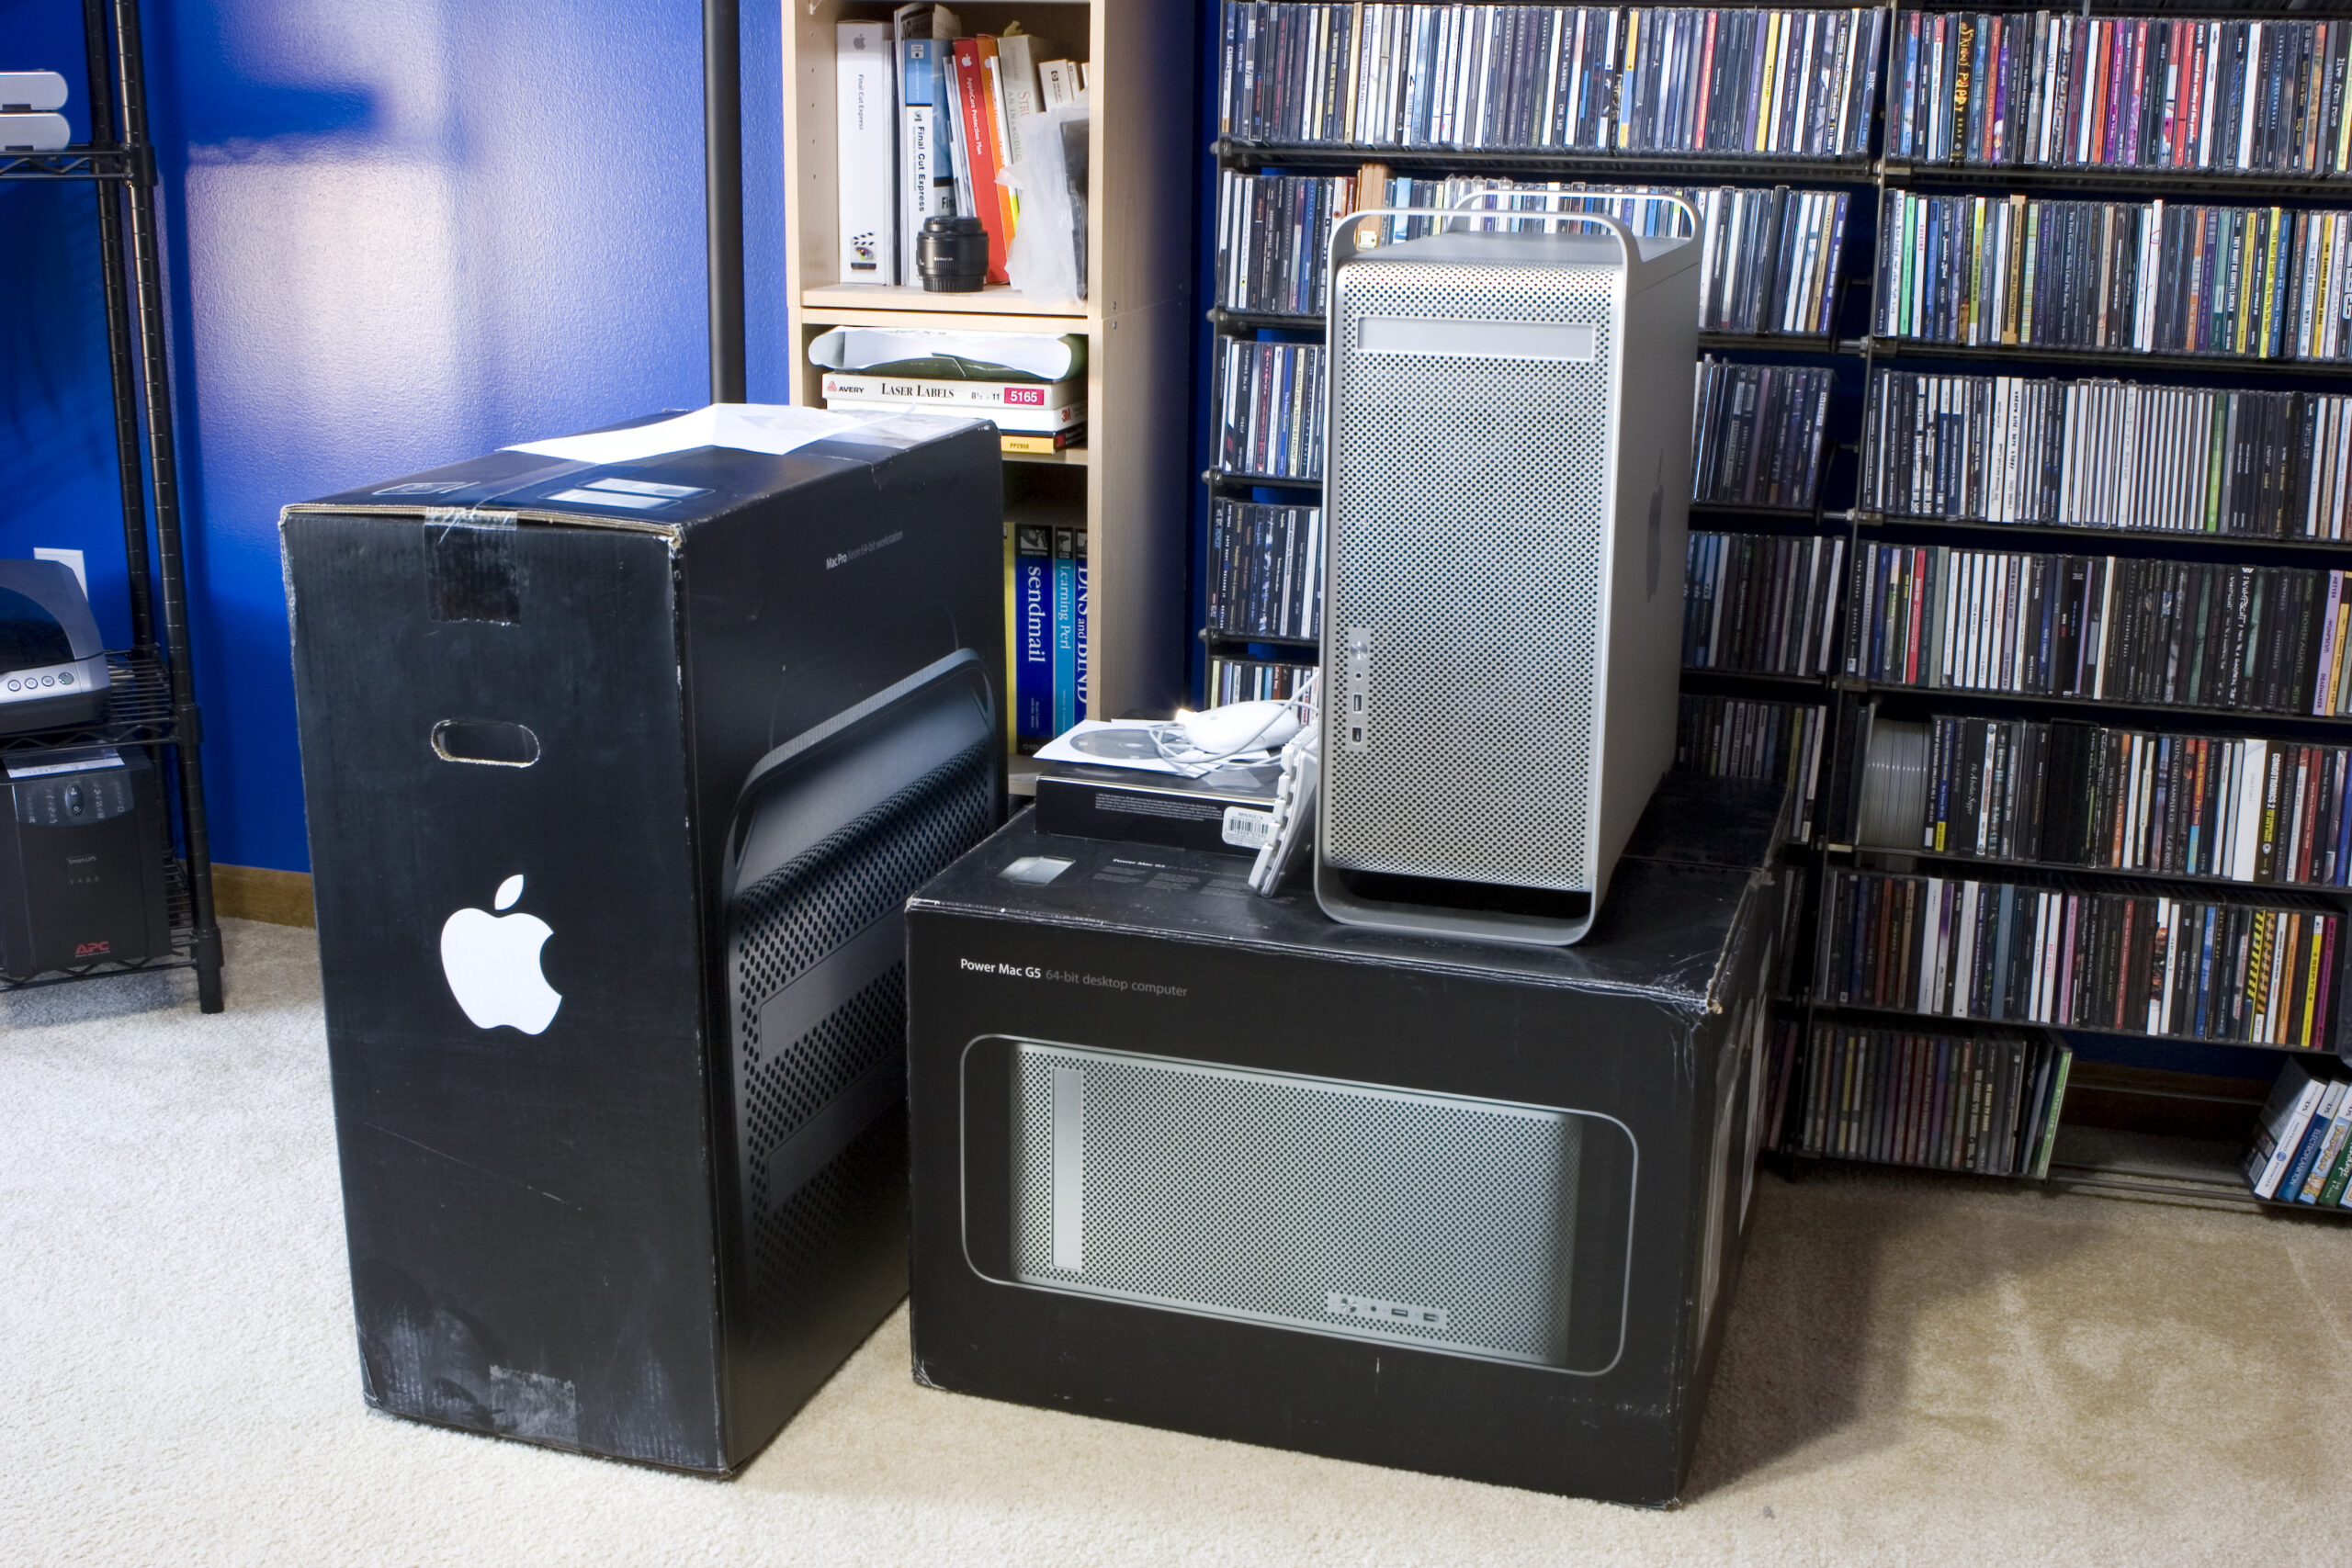
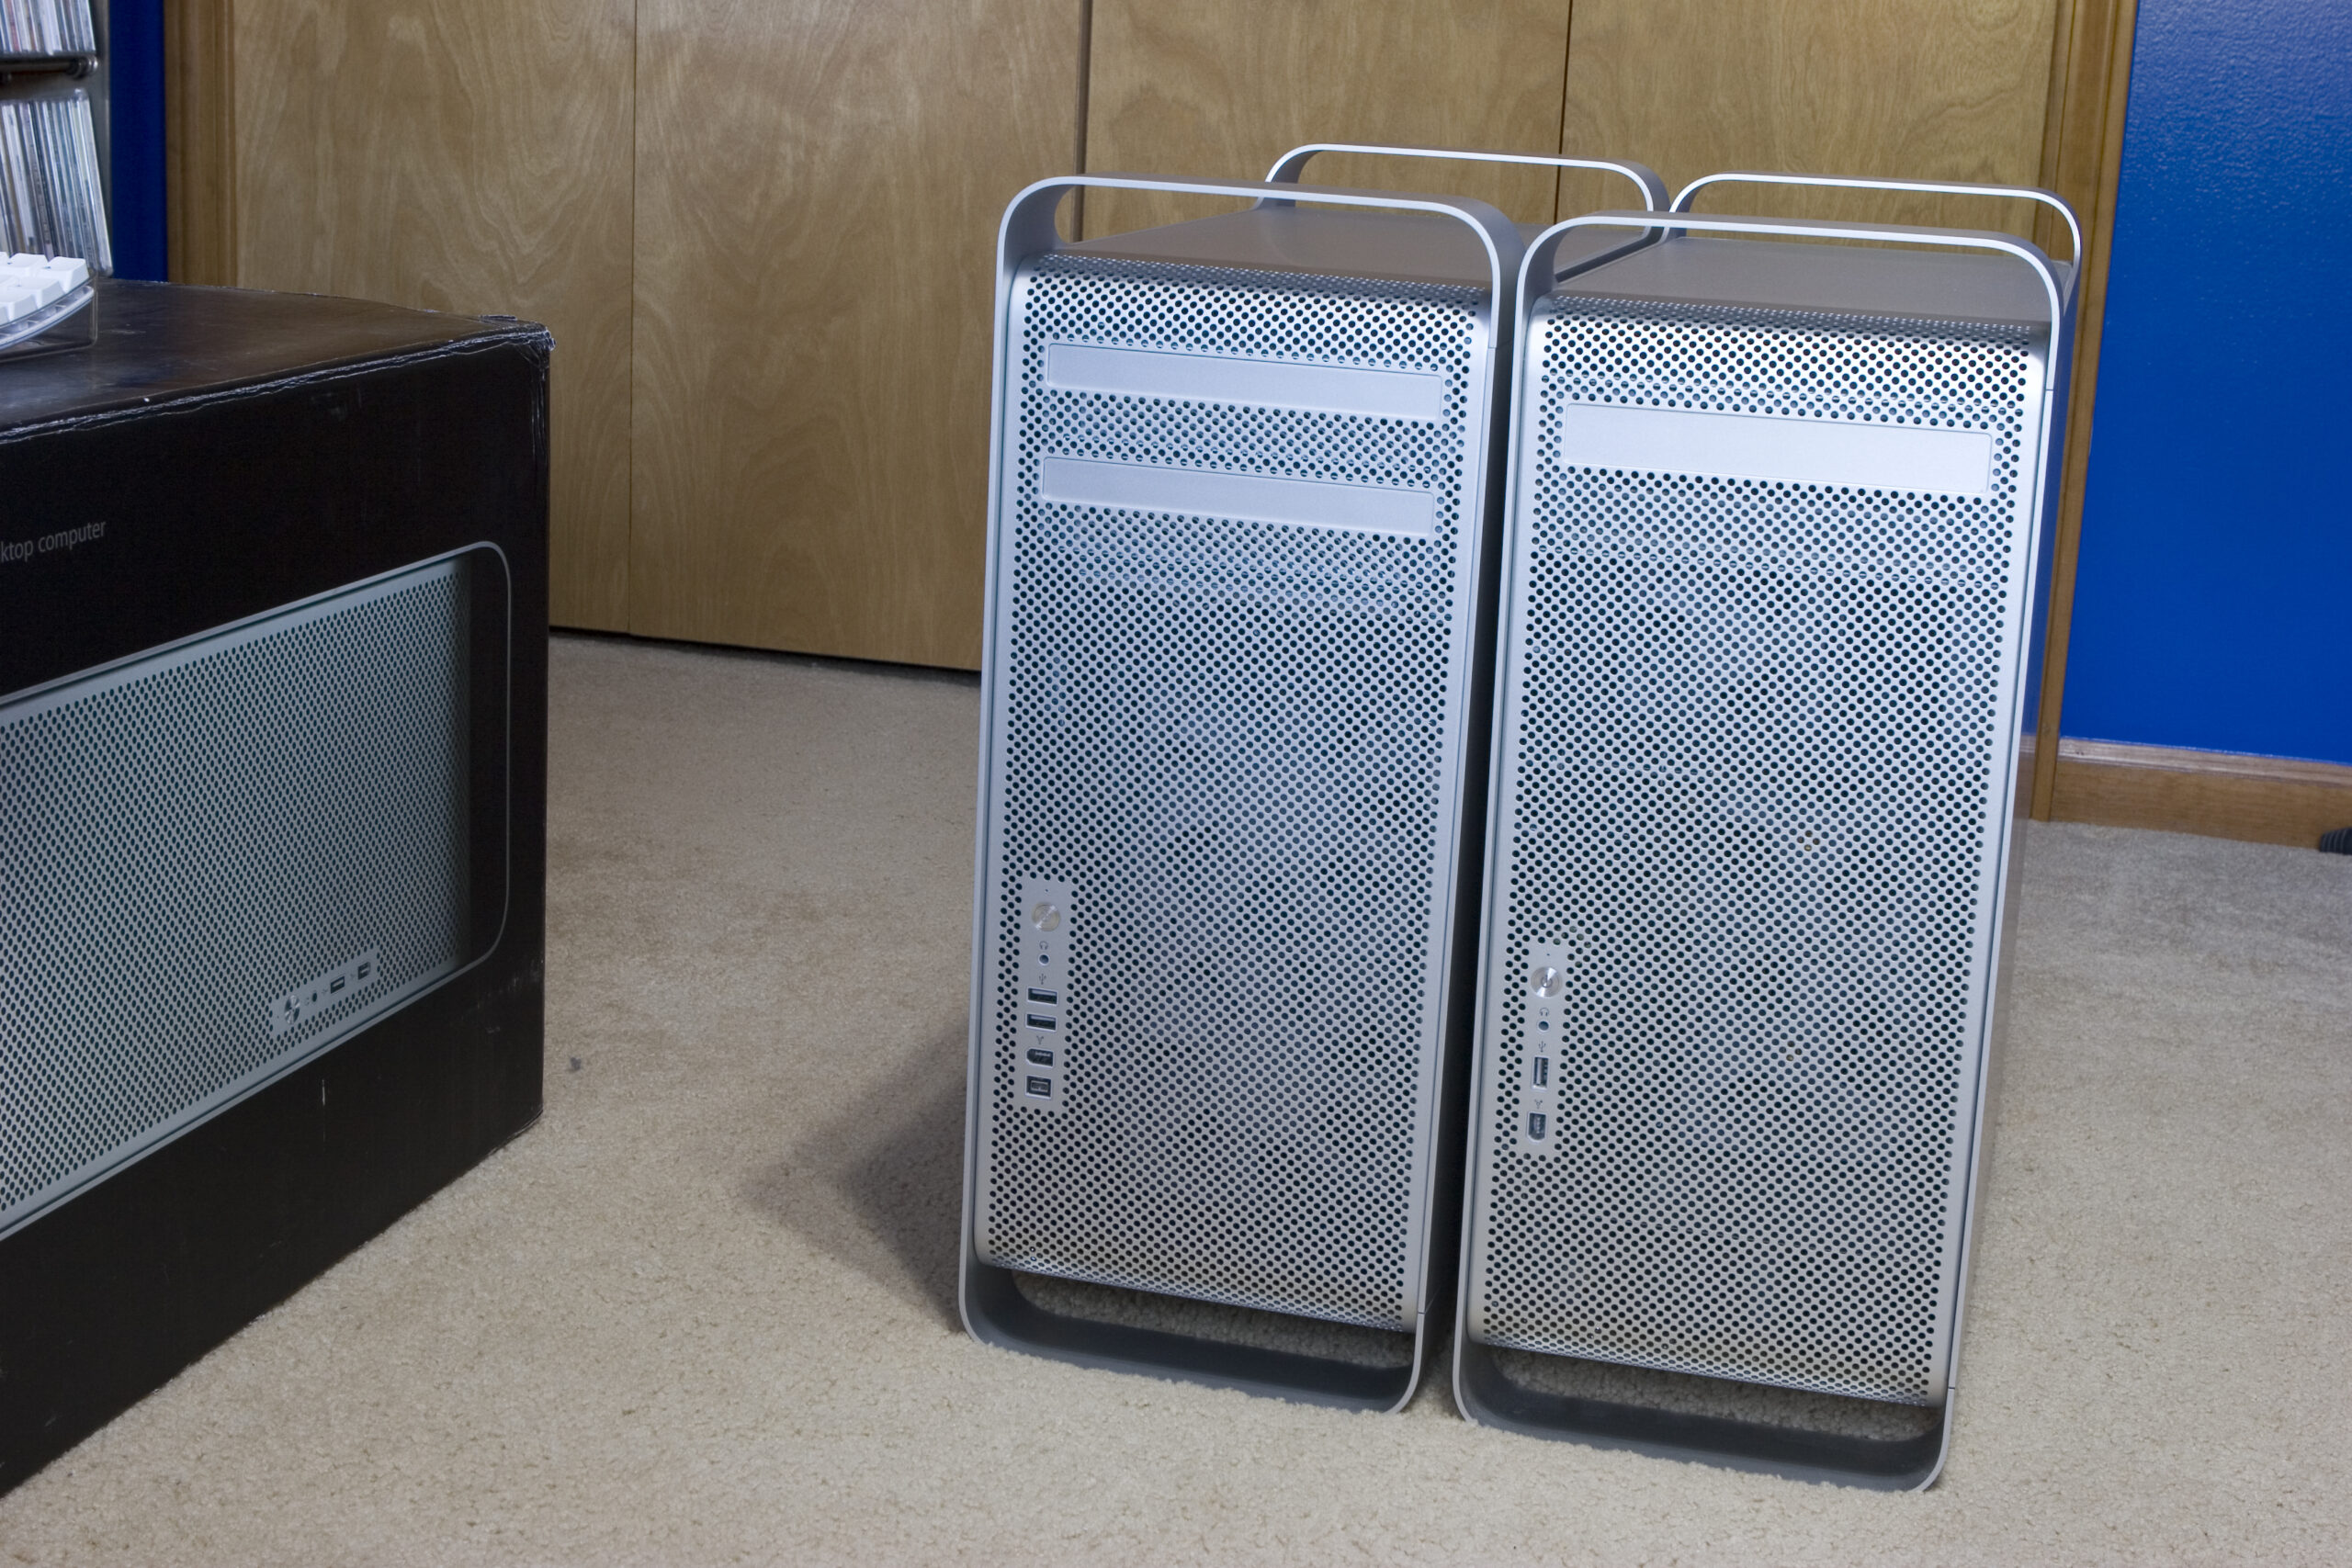
I’m not sure if any of you are interested, but I’ve posted some photos of unboxing and setup of my Mac Pro (photo gallery retired). The box is a bit different shape from that of the G5, but the two machines are practically identical. This is good because it ensured that the aluminum shelf I made for it a few years ago still worked great once the machine was placed in the rack.
Also, this machine is amazingly quiet. It’s just as loud as my work laptop and loads more powerful. :D Anyway, here is the link to the Mac Pro album (photo gallery retired) if you are interested.
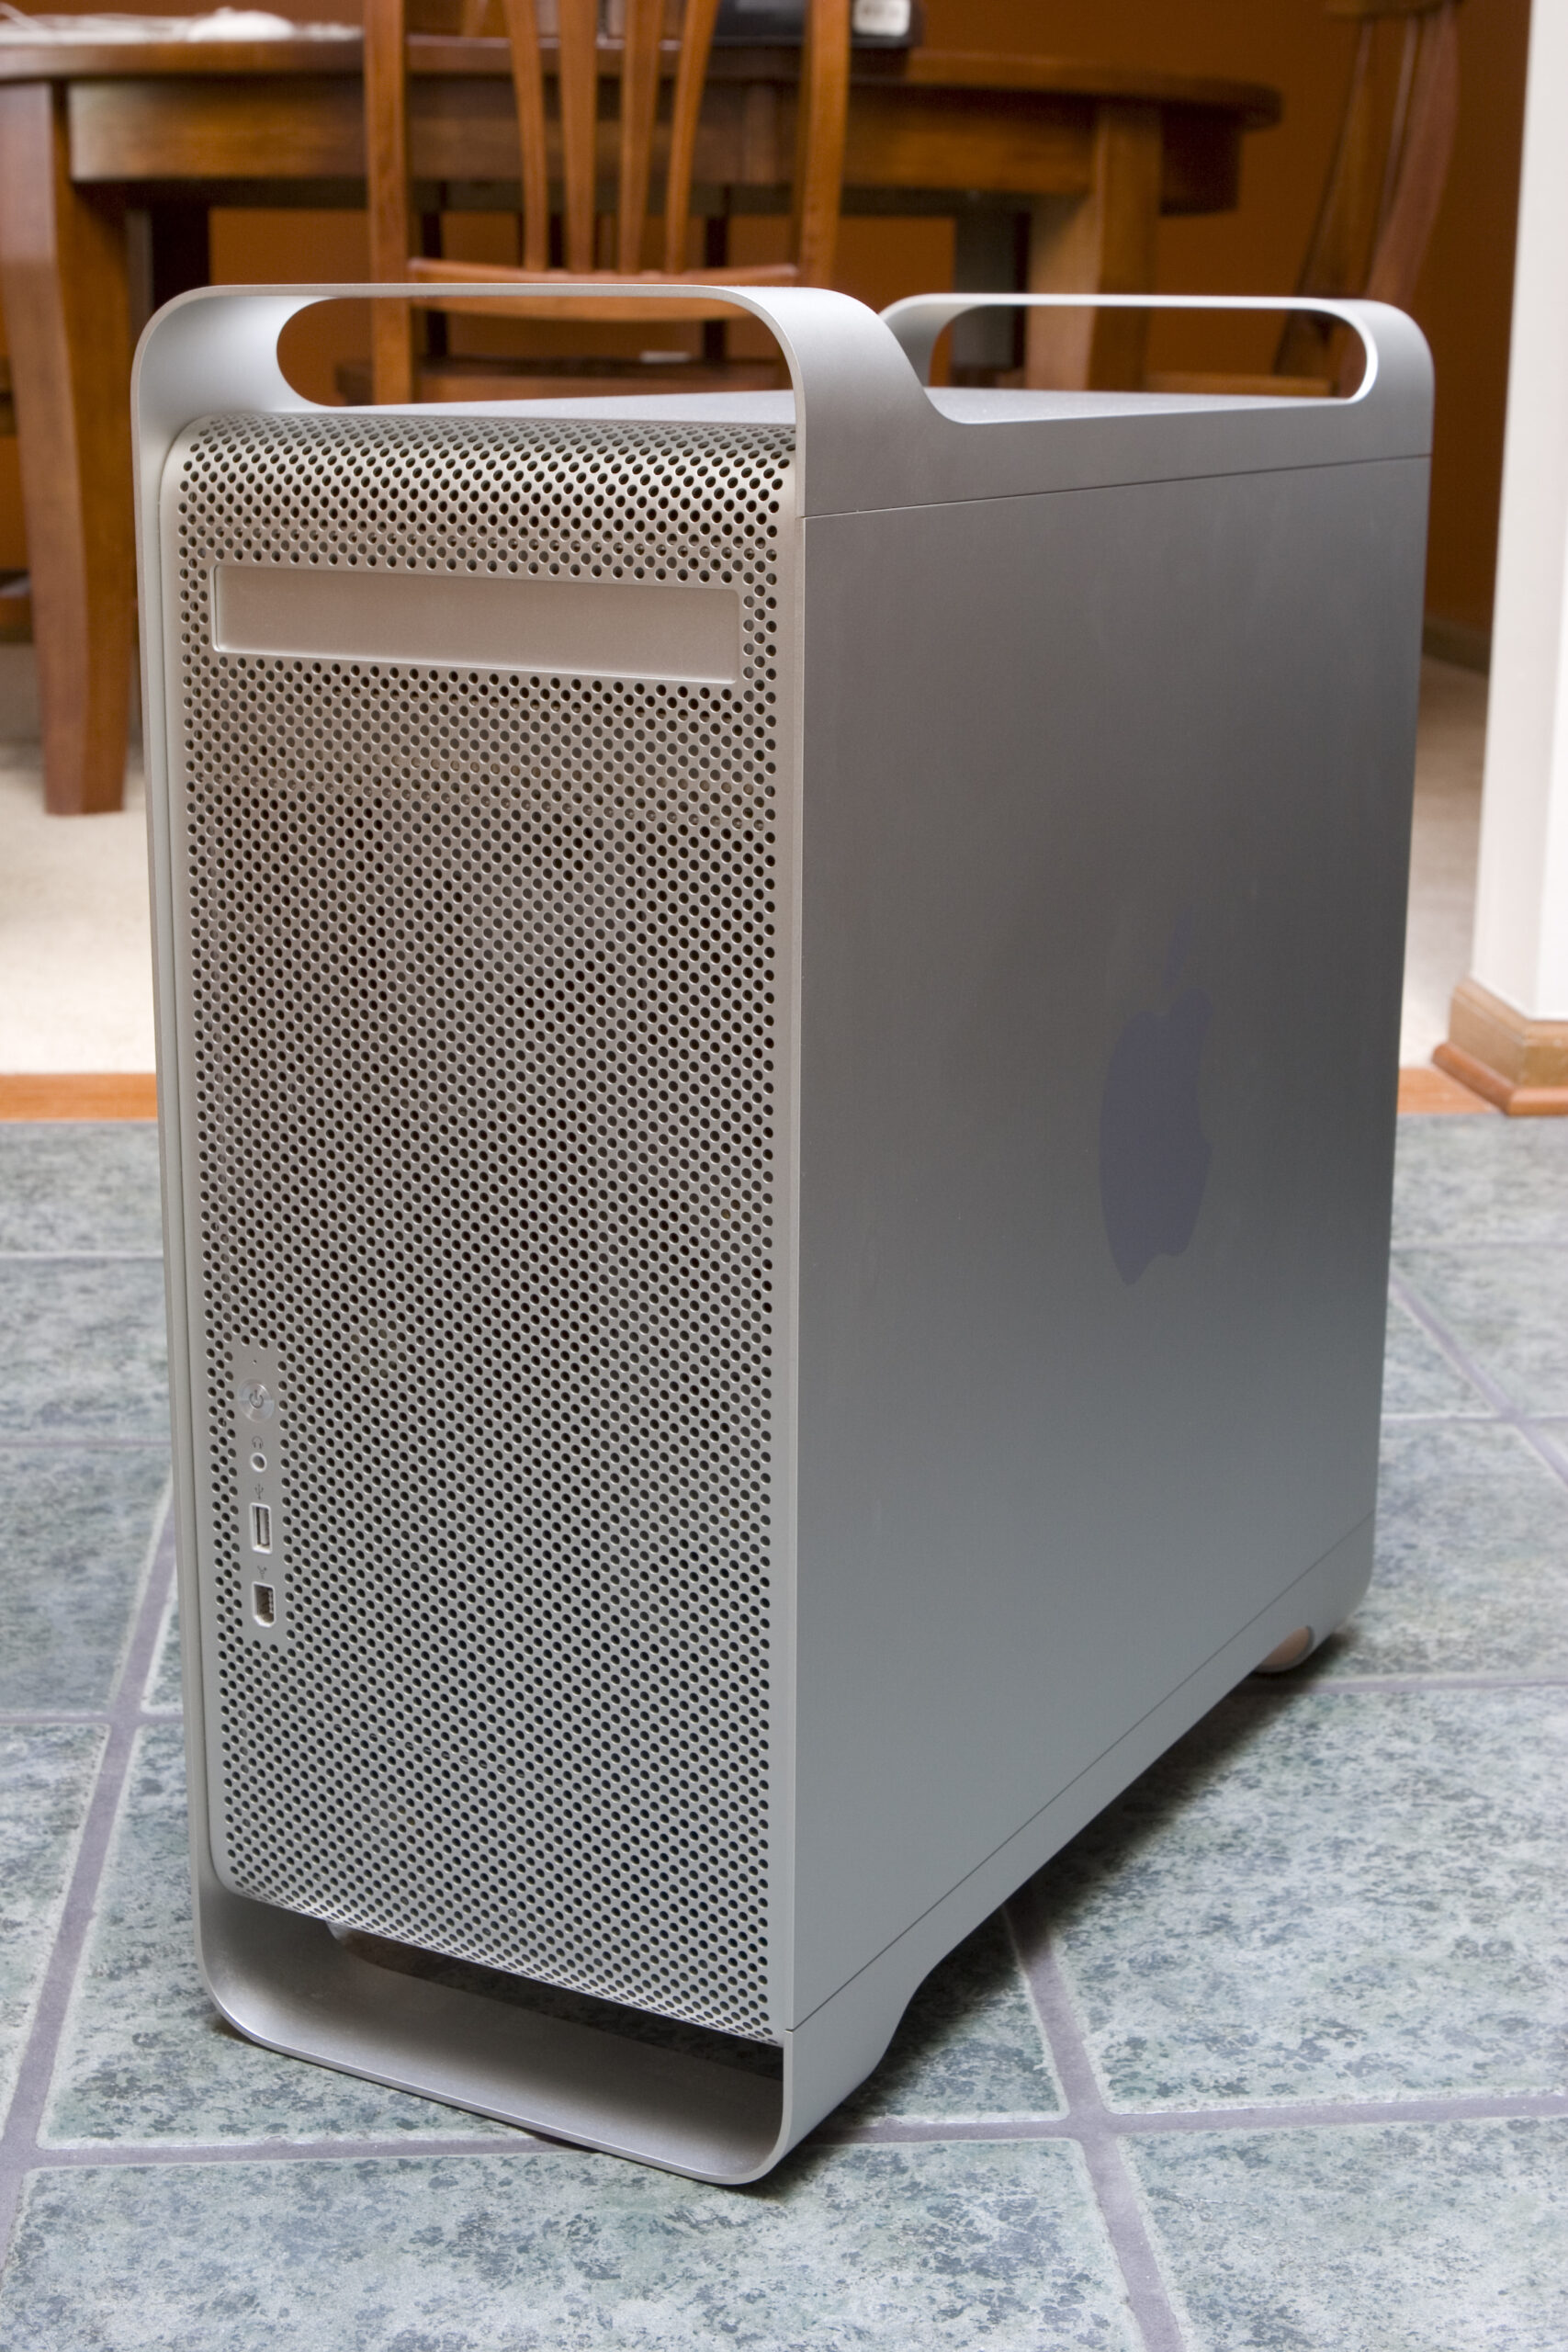 Power Mac G5 for Auction
Anyone want to buy my Power Mac G5? Well, it’s now up for auction, starting at $0.01.