nuxx.net
Making, baking, and (un-)breaking things in Southeast Michigan.

Production Run

20 PCBs with Resistors.

Nothing special here, I just fitted all the resistors to the first production run of the v2.0 boards I’ve been working on. I’ve got about 1.5 weeks to get them finished, so I’m probably going to do one step per night. Tonight was resistors, tomorrow ICs, then… well… maybe I’ll do more over the weekend. After ICs will be the caps, then the transistors, then the pin headers and RJ45 jacks, then the LEDs and screw terminals. Then washing, drying, testing, packaging…

…or, something. :) It’ll all get figured out / built / tested in time.

electronicsmaking thingsmoved from livejournal

Culture Club!

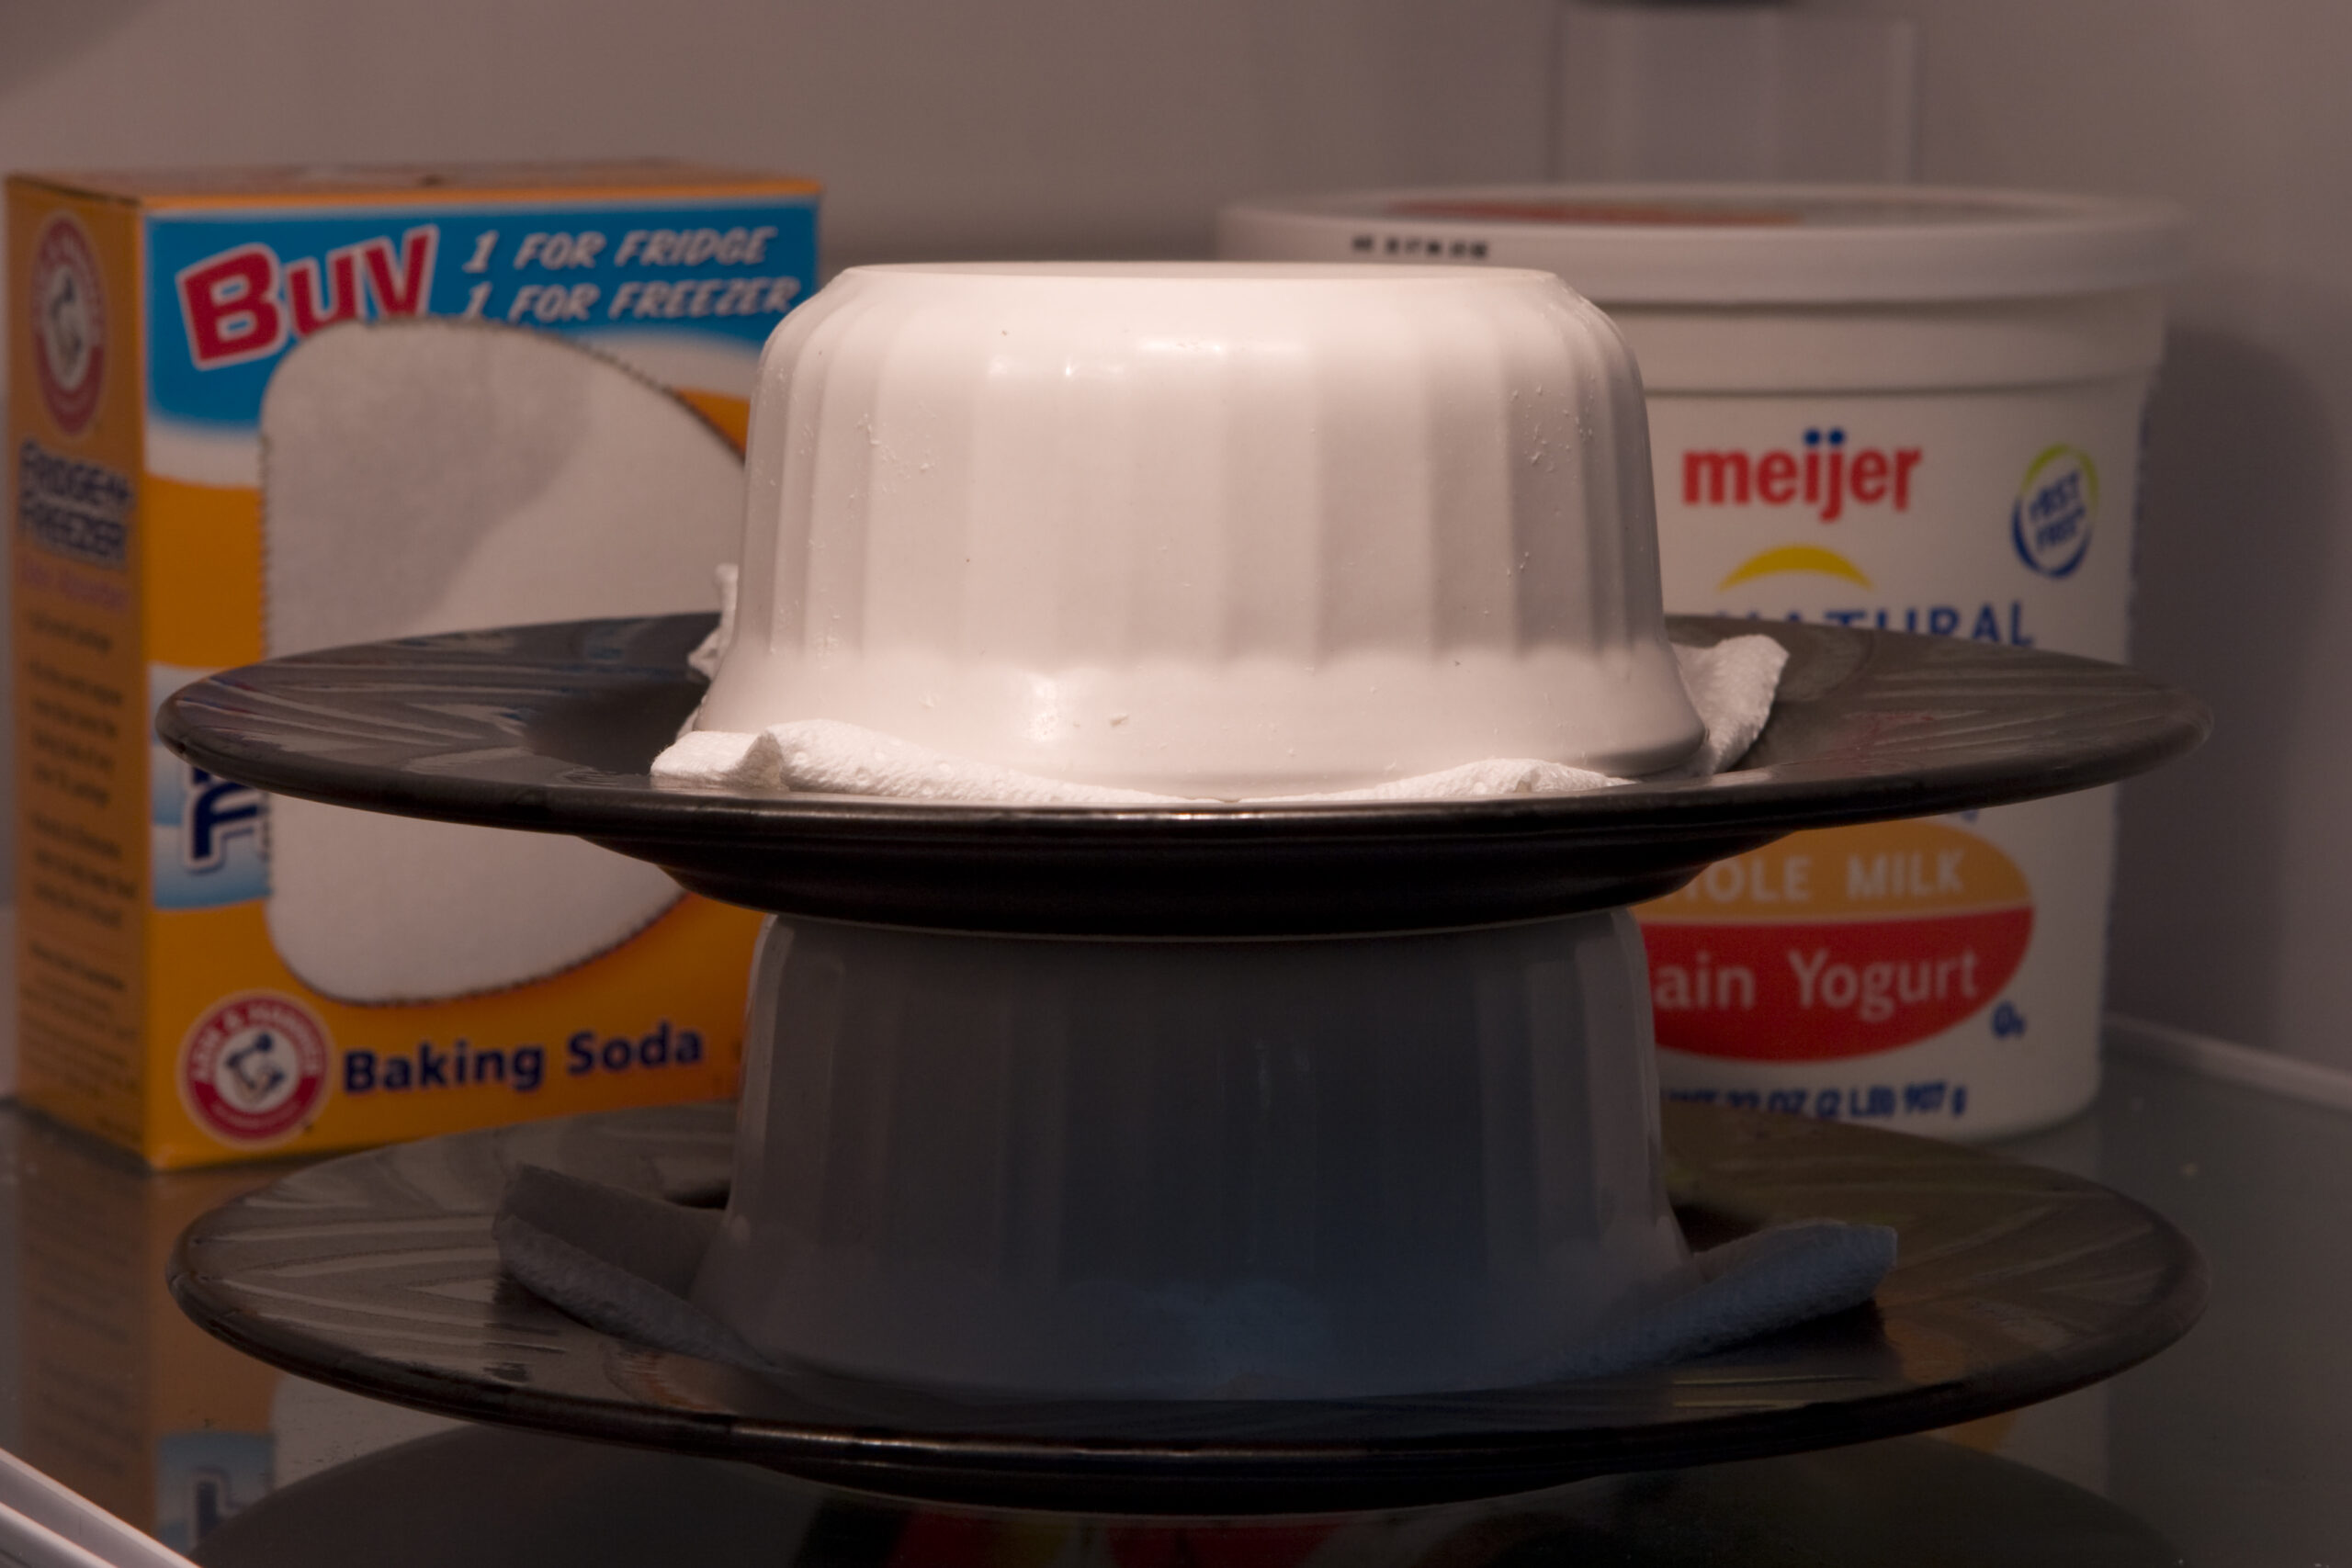
Cultured butter cooling in the fridge.

Yay! I now have two large ramiken of Butter++ chilling in the fridge.

Here’s how I made it:

1) Put a pint of heavy cream in a clean container.
2) Stir in a large spoonful of fresh, plain yogurt.
3) Cover and let it sit at room temperature for ~24 hours.
4) Put the cultured cream in a water-tight container and shake the container until solid butter forms.
5) Pour the butter / buttermilk mixture into a bowl and work with a spoon until as much buttermilk runs out as possible. Pour the buttermilk off and save it for pancakes.
6) Fill a large bowl with a mixture of ice and water.
7) Spoon the butter into the bowl in clumps.
8) Break the chilling butter into smaller clumps with your fingers.
9) Stir the butter around to wash it.
10) Form golf ball sized clumps of the cold butter with your hands, ring it out, then put it back in the water. Repeat until all the small clumps are in larger clumps and generally rung out.
11) Take a larger clump out of the ice water, shake it off, then squeeze it a few times to remove any remaining water.
12) Pack the cold butter into a ramiken.
13) Invert the ramiken on a pad of paper towel on a place and place in the fridge.
14) As the butter is chilling, occasionally press on the butter to squeeze out more water / buttermilk. Change paper towel if necessary.
15) After the butter has chilled, cover tightly and use lovingly.

I have no idea how long this keeps for, but I figure that it’ll last for about two weeks if tightly covered. If you salt the butter (after step 5) it’ll keep for a bit longer.

Any flavoring (herbs, honey and cinnamon, etc) can be stirred in after step 11. Oh, and Danielle first told me how to culture butter, and since I love making butter I thought I’d give it a go. I also read that washing butter is common in commercial production, so I tried that as well.

Cultured butter.

foodmoved from livejournal

Accident.

Accident Along I-75

While heading north at lunch time I was stuck in a whole bunch of traffic on I-75. From the burnt out flares and the use of construction employees to narrow lanes of traffic I figured that the accident had been there for a while.

What you see above is all I could see of the accident. I think it was a Chevy Malibu MAXX in a dark grey/silver color, but it was crushed / torn up enough that I couldn’t quite tell.

Beyond the damaged body pieces and broken out windows the passenger compartment didn’t look particularly crushed, so hopefully the occupant was okay. If there were side curtain airbags and they had their seatbelt on, I imagine they might be… Hopefully they are…

automotivemoved from livejournal

RS232 to Eaton Leonard Interface v2.0 – First Run

RS232 to Eaton Leonard Interface v2.0
(Bottom View)

Well, there it is. That’s one of the first pieces of the RS232 to Eaton Leonard Interface v2.0, part of the lot of five I assembled tonight. They are bagged up and ready for delivery so that the customer can test them out before the inital install (at one of their customer sites) at the end of the week. The PCBs were ordered last week as a prototype run and they arrived today, so I got to work as soon as the UPS driver showed up with the box.

Everything went great with the boards, and the v2.0 design meets all its goals. It is simpler than v1.0, easier for me to assemble, uses fewer parts (both count and type), and can be configured to talk to itself. Yep, this one can act as either end of the cable. Thanks to this the jumpers can also be configured so that a simple loopback can be plugged into its EL connector and all the electronics on the board can be tested outside of a production environment. (This makes testing loads easier for me as well.)

So, that’s about it. I’ll be assembling the rest of the first run this week and weekend and hopefully delivering them early next week. Yay!

electronicsmaking thingsmoved from livejournal

2006 Honda CR-V Stereo

2006 Honda CR-V stereo

Here. Have a picture of the 2006 Honda CR-V stereo which arrived today from this eBay auction.

I’m really looking forward to getting the whole car audio test setup going on my workbench. I just hope I’m good enough to figure out the protocol. We’ll see.

Now, to caption the photos for the RS232 to Eaton Leonard Interface, v2.0.

acquired thingsautomotivemoved from livejournal

Starting the Millett Hybrid Maxed (Millett MAX)

My partially completed Millett Hybrid Maxed PCB

That right there is what I did tonight… Well, I assembled as much of the Millett Hybrid Maxed PCB I reasonably could. I still have to get a few more parts for the board (headers, fuses, fuse holders, resistors), wash the board, fit a few more parts, build the enclosure, and a few other things. Then it’ll be done.

I also have to send his parts for it, which I’ll do after I get the rest of the parts.

Tomorrow I should received the PCBs for the RS232 to Eaton Leonard Level Shifter v2.0, and I’m going to try and build five tomorrow night. Hopefully they will work, work well, and be acceptable to the customer.

Photos from the beer fest, bricors’ place, and other things coming later. This was a good weekend. :D

electronicsmaking thingsmoved from livejournal

v2 Parts!

Ceramic Caps

Today a received a gigantic box from Mouser containing all the parts for the RS232 to Eaton Leonard Level Shifter v2. This includes over 100 DIP ICs, 110 BC557 transistors, shunts (jumpers), tantalum capacitors, screw terminals, LEDs, 2×3 headers, RJ45 connectors, resistors, and the FETs for current reversal protection.

I also finally bought a lead bender, so that the bends in resistors will be a lot more accurate / consistent.

Assembling these 25 is going to be a chore, but will also be worthwhile. Yay!

Now, to go to Meijer and get extra foodstuffs for the weekend.

electronicsmaking thingsmoved from livejournal

Hacked SPI Decoder

SPI Decoder Hackery

Here’s a design I just threw together for a hokey SPI decoder so I can watch what is going on internally in the Honda Music Link. It’ll read both SPI lines and turn it into RS232 data on the PC. Basically, the software on the PICs will just data out of the SPI buffer as it fills (and triggers an interrupt) then write that out the UART. Should work, I think. The only big problem will be the decoding software on the PC.

Anyone want to write up some decoding software for me? It should be easy to do… Just needs to watch a serial port (or maybe both) and decode packets as they come in. Hell, if you can write the framework for it, I can add the decodes as I figure them out.

(The point of this is to basically reverse engineer how Honda talks to CD changers.)

electronicsmaking thingsmoved from livejournal