nuxx.net
Making, baking, and (un-)breaking things in Southeast Michigan.

Category moved from livejournal

Erma’s Frozen Custard, et all.


Erma’s Is Open!!!
(Click for more moblog photos…)

So, I screwed up. I thought I had a dentist appointment today, so when arriving at my dentist’s office at 5:50pm, he was there alone, most of the lights were off, and he was rather surprised to see me. We discussed what’s going on with his computers for a bit, then I headed home. Well, that was the plan, but then I ended up heading over to Holland Ponds Park to wander around.

Here’s some photos from there. The one with the flag in it would have made a better title photo, but… Yeah. Just look at them:

· A nicely twisted, mangled tree in Holland Ponds Park in Shelby Township, MI.
· A plastic American flag hanging from some dead branches, found along the bank of the Clinton River in Holland Ponds Park.
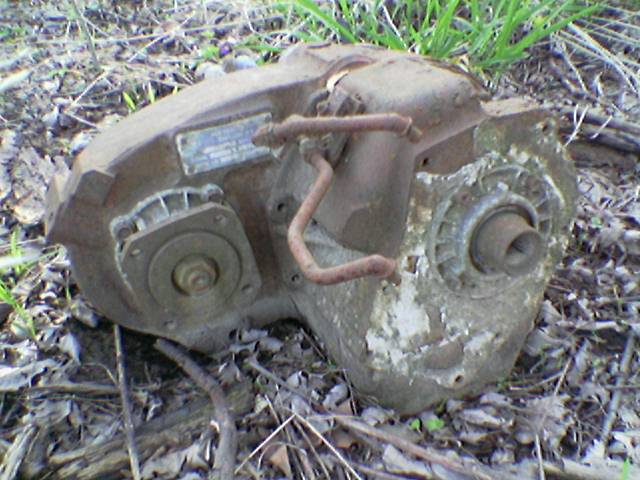
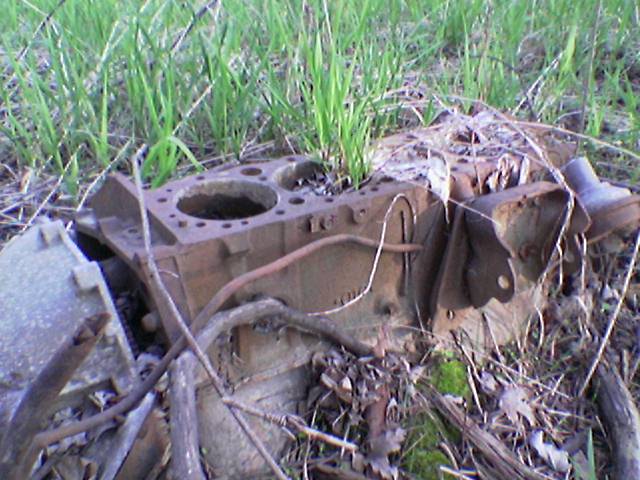
· Another portion o the previously pictured engine which I came across in Holland Ponds Park.
· An engine block I came across in Holland Ponds Park.
· A nesting Canadian Goose setting on top of a fallen tree in the middle of the Clinton River in Holland Ponds park.

After that, I decided to use the last $2 in my wallet to head over to Erma’s Frozen Custard in Utica for some classic southeast Michigan frozen custard. Mmm. Erma’s being open means that springtime has definitely arrived.

And yes, that’s where this icon is from.

Now, I’m home. Just simply home. There are sheets in the laundry, the precipitate from disposing of the ferric chloride is drying in the garage, I’m making some final tweaks to my SIDbox’s board layout, and there is another bottle of Dark Horse’s Double Crooked Tree IPA chilling in the fridge, waiting for me to drink it later.

I use ferric chloride to etch PCBs. Well, the solution I have was becoming a bit weak, so I decided to dispose of it. In retrospect I could probably have used it a few more times, but… Oh well. It’s already neutralized.

In order to dispose of it, one needs to add a base (I used baking soda) until it’s pretty neutral, then it is let set in order to separate. The liquid can be poured off the top, and the precipitate can be thrown out. Unfortunately the precipitate stains with ridiculous vigor, so my laundry tub now has some brownish orange stains in it. Ah well.

In a few days I should be able to safely toss the containers of dry chemical, then head to the dollar store and get a few more. I’ll also have to source some more PCB etchant. That’ll be harder to find…
foodmoved from livejournaloutdoors

…to avoid mad display…


Harbor Freight Digital Caliper

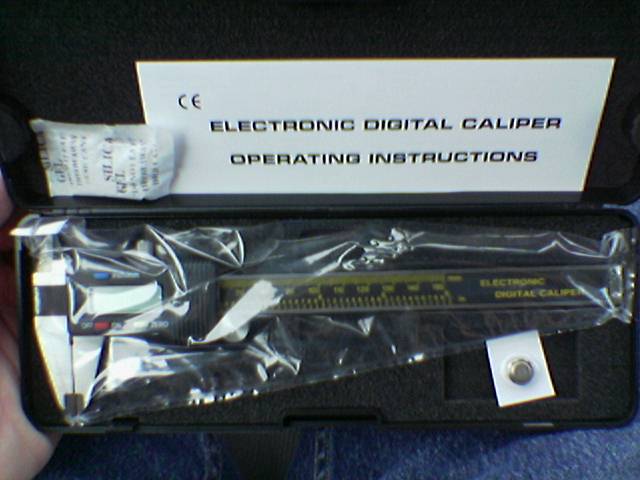
I feel embarrassed. I bought a digital caliper from Harbor Freight Tools. It was $15.99, and it passed tests like zeroing it, QUICKLY sliding it half-way opening it, reading the measurement, zeroing it again, then snapping it shut. And it still read the inverse of the other reading. It also does metric and standard, and appears… Not bad. At least not for a $16 caliper.

There are some engrish gems in the ‘operating instructions’, though. For example, “Clean caliper bar with dry cotton fabrics before using to avoid mad display…” or “Never apply any electric pressure on any part of the caliper and never use an electric pen for fear of damaging its chip.”

The original reason I went there was to get some slatwall-type plastic sorting bins to put electronic parts into. I managed to get what I wanted. A small metal stand with 15 plastic bins, for US$20. A bit high, but not too bad.

Time to go clean up my work bench area.

acquired thingsmaking thingsmoved from livejournal

SIDbox Update

Well… I just ordered about $150 worth of components for the SIDbox project. This is everything needed to build the first prototype except etched end panels, the PCBs, and the power supply. I’m waiting to order the PCBs until I can confirm the switches work as expect. The power supply is somewhat dependent on the type of SID installed in it. And the etched end panels… Well… They are just a finishing item, so those will wait until I’m certain that this thing actually works.

Also, I’m nailing down some final things on the PCB layout. Just… Tweaks and stuff.

electronicsmaking thingsmoved from livejournal

SIDbox PCB


SIDbox PCB (Click for 300dpi)

Yep, there it is. The first draft of the PCB for the SIDbox thingy I want to make. I need to do a good bit of checking to be sure I’m happy with it, but if I am, I’ll likely be ordering 5 of them. Then the Mouser parts order will be placed… Then (hopefully) I’ll put it together and it’ll work. I hope.

For now, though, I’m going home. On the way home I’ll stop to get something tasty (and fairly good-for-me) for dinner. Maybe tonight I’ll have a good beer, too. I’ve done enough electronics work for one evening.

Oh, and there is a copy of the Boondock Saints waiting for me to watch. Yes, I’ve never seen it.

UPDATE: Whoops, I just realized something that’s wrong with this… My hope is to solder on just the socket and pin header, then program the chip using my PICkit2 programmer. Well, without a line running from JP1P2 to VDD on IC1 (the PIC) I won’t be able to do it. Must change that…

Also:

· Rename all parts appropriately.
· Clean up BOM with new part names.
· Move JP1P1 indicator arrow to other side to align with the PICkit2’s indicator. Done.
· Establish values for the resistors for the LEDs.
· Also, maybe fix how the LEDs are connected. Currently the polarity for PWR_LED is different than MIDI_IN_LED and MIDI_OUT_LED. Maybe fix this. Probably should if kits may be sold. Done.
· Connect JP1P2 to VDD on IC1 so IC1 can be programmed with only JP1 and itself installed. Done.

electronicsmaking thingsmoved from livejournal


Click for full res…

Hmm, I think I’m done with the SIDbox schematic. Also, all the parts have packages matching the BOM I’ve been making up. I also replaced the standard MIDIbox programming header with one that matches the Microchip PICkit2.

Uhm… That’s all. I think it’s time to start laying out the PCB. I’ll probably do that tonight or tomorrow.

electronicsmaking thingsmoved from livejournal

SIDbox

Over the past couple days I’ve been attempting to learn to use CadSoft EAGLE better. I think I’ve come pretty far on it, and I’ve started working on a project that I’ve been wanting to tackle. That is, building a stand-alone SID module. Think of something about the size of an external hard drive, with MIDI IN / THRU / OUT jacks, and a pair of 1/4″ jacks for audio in and out.

Well, I think I’ve gotten pretty far on it. If any of you are interested in seeing the schematic as it stands right now, please take a look here: SIDbox Schematic

Also, if any of you who are a bit more electrically inclined could take a look at the power supply, that’d be really great. I’m not sure it’s right… I think so, but I’m not certain.

For what it’s worth, I’m hoping to feed PWR_TIP and PWR_RING 15VAC from a wall wart.

If the SID is a 8580 (the newer version) instead of a 6581, then I’ll replace the 7812 with a 7809 (since it only needs 9 VDC) and replace a few of the caps in the SID portion.

electronicsmaking thingsmoved from livejournal

Aperture v1.1

Just so everyone knows, Apple has released Aperture v1.1 and dropped the price to US$299 (US$149 for students). Everyone who purchased it before at the higher price is eligable for a US$200 e-coupon. (US$100 if EDU was purchased.)

With the educational price being so much lower, I think it’s time that I pick it up. Canon’s DPP is nice, but Aperture seems ideal. Also, Canon has told me that they currently have no information on when a Universal Binary version of DPP will become available.

Hmm, now, do I buy a 4GB memory card (about US$230) for the upcoming UK trip, or do I buy a 2GB and a copy of Aperture? I think Aperture + the 2GB is a better idea…

acquired thingscomputersmoved from livejournal

Casio SK-1 MIDI Adapter


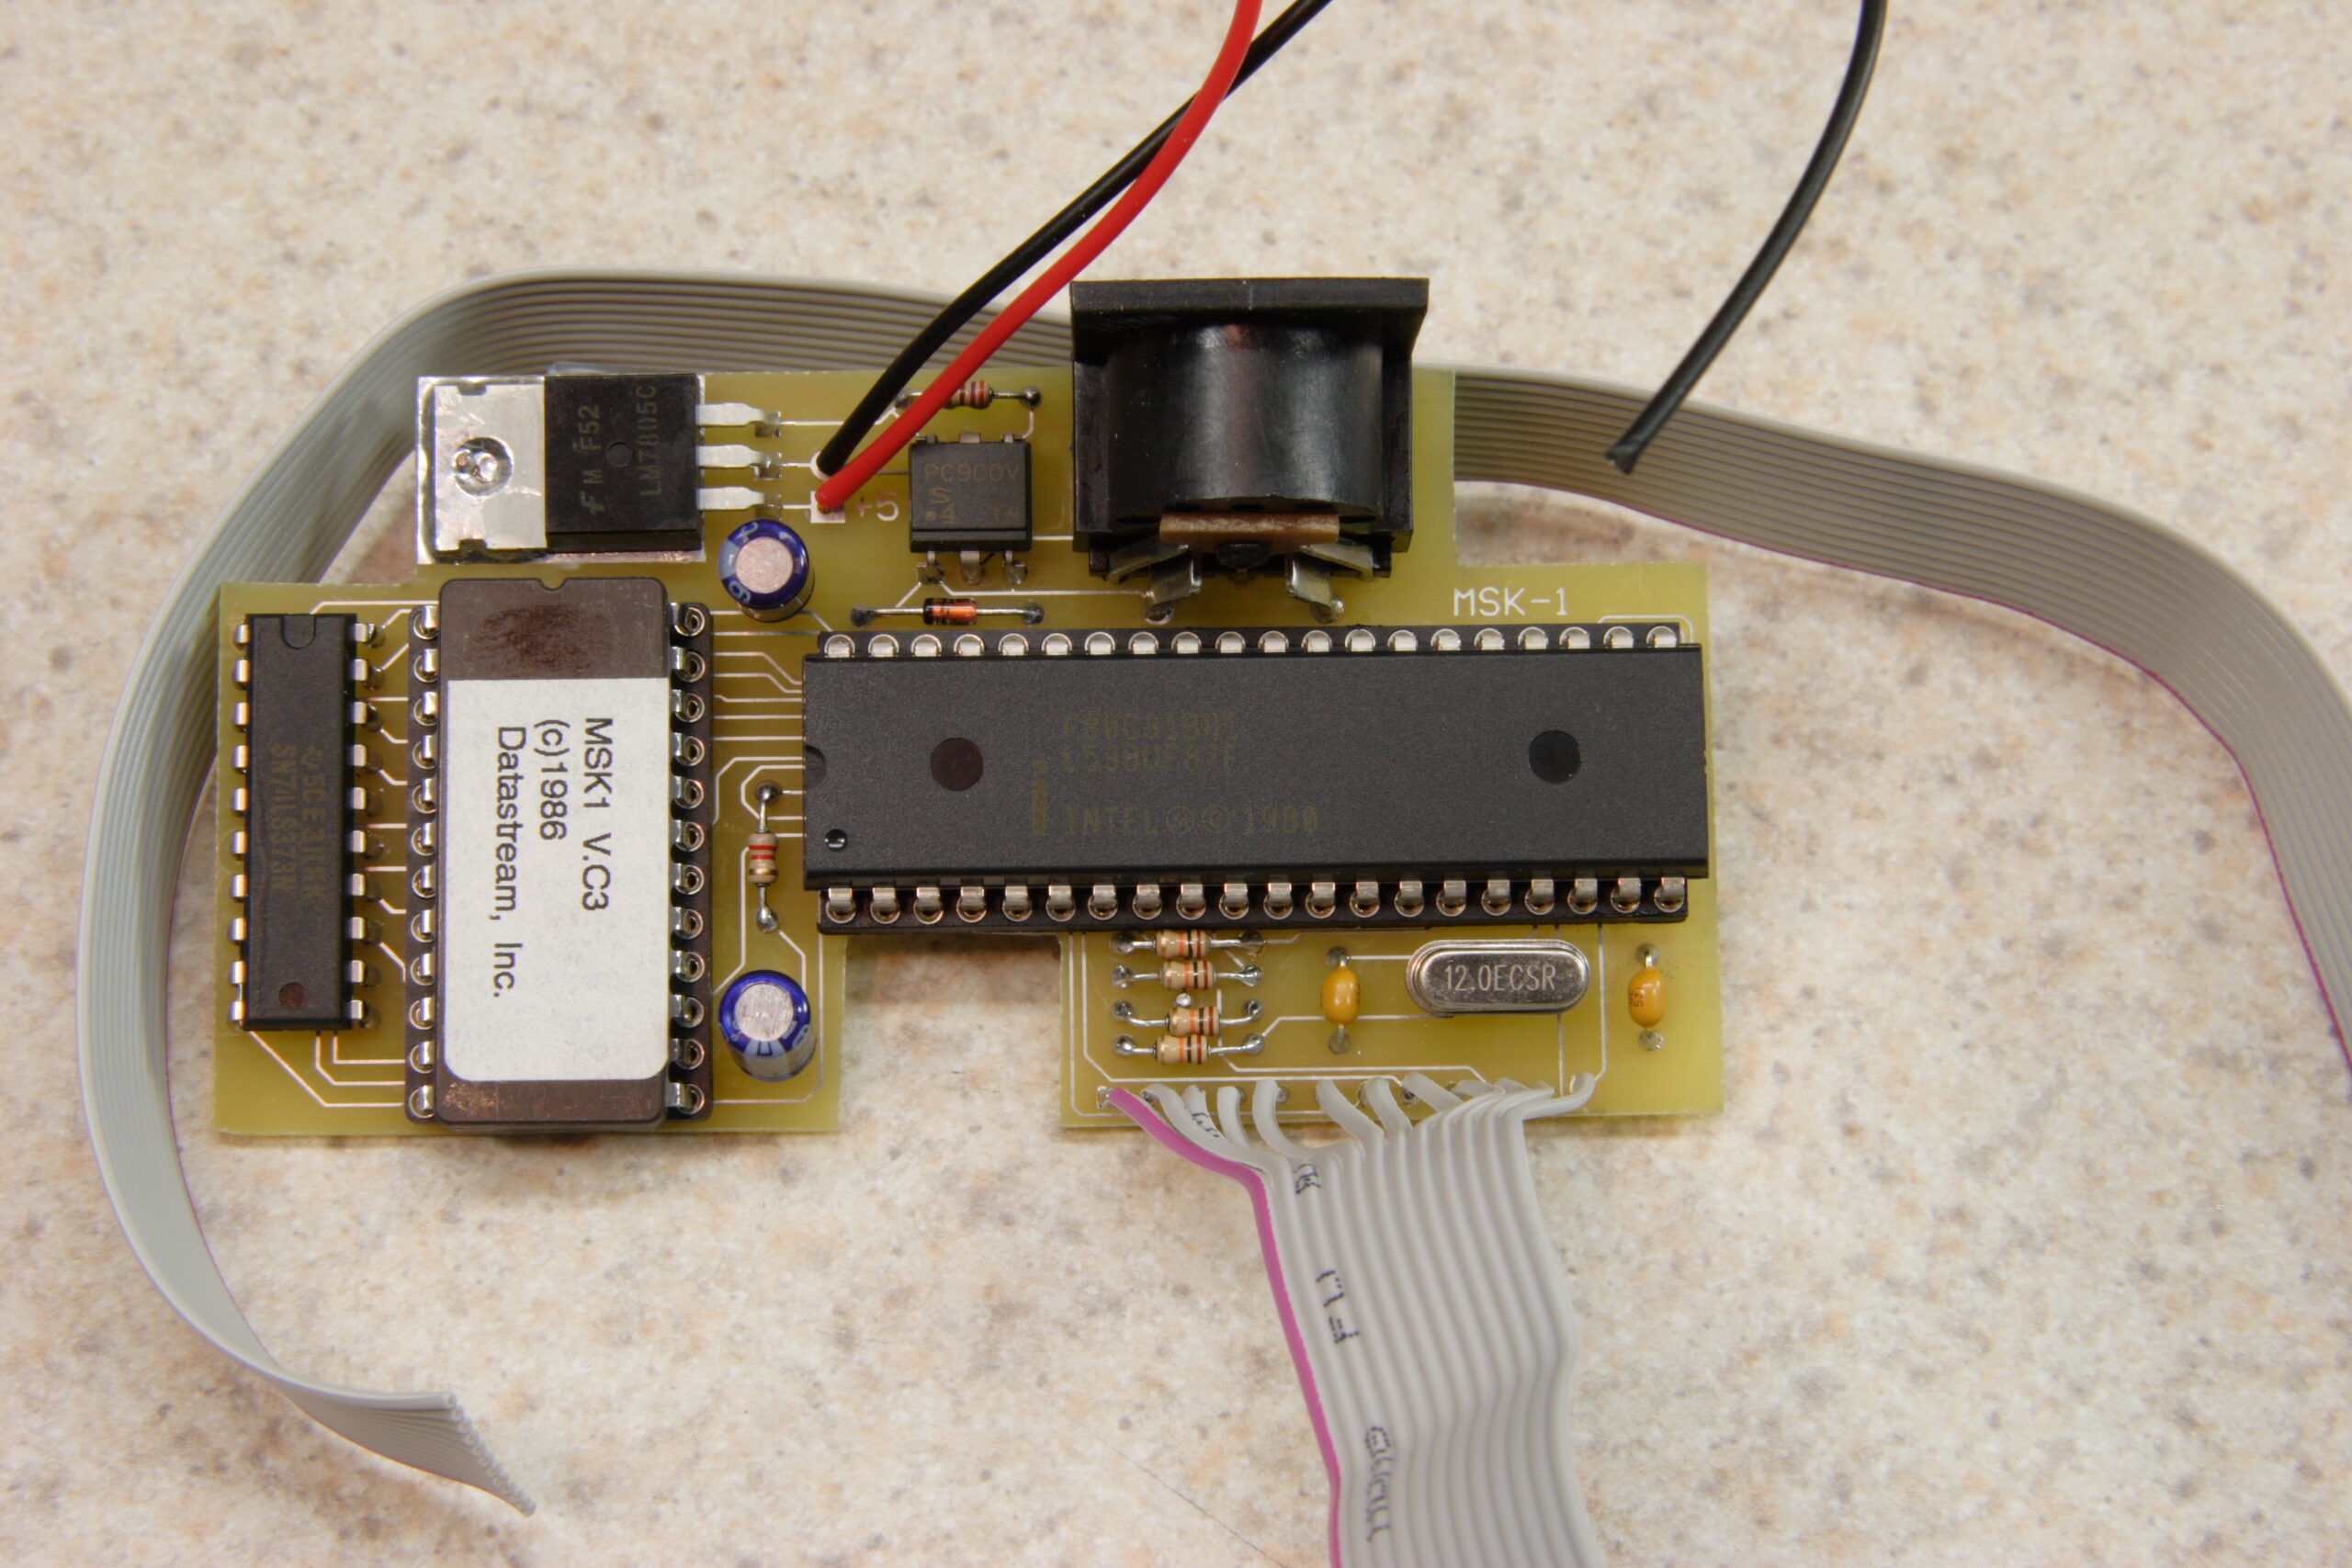
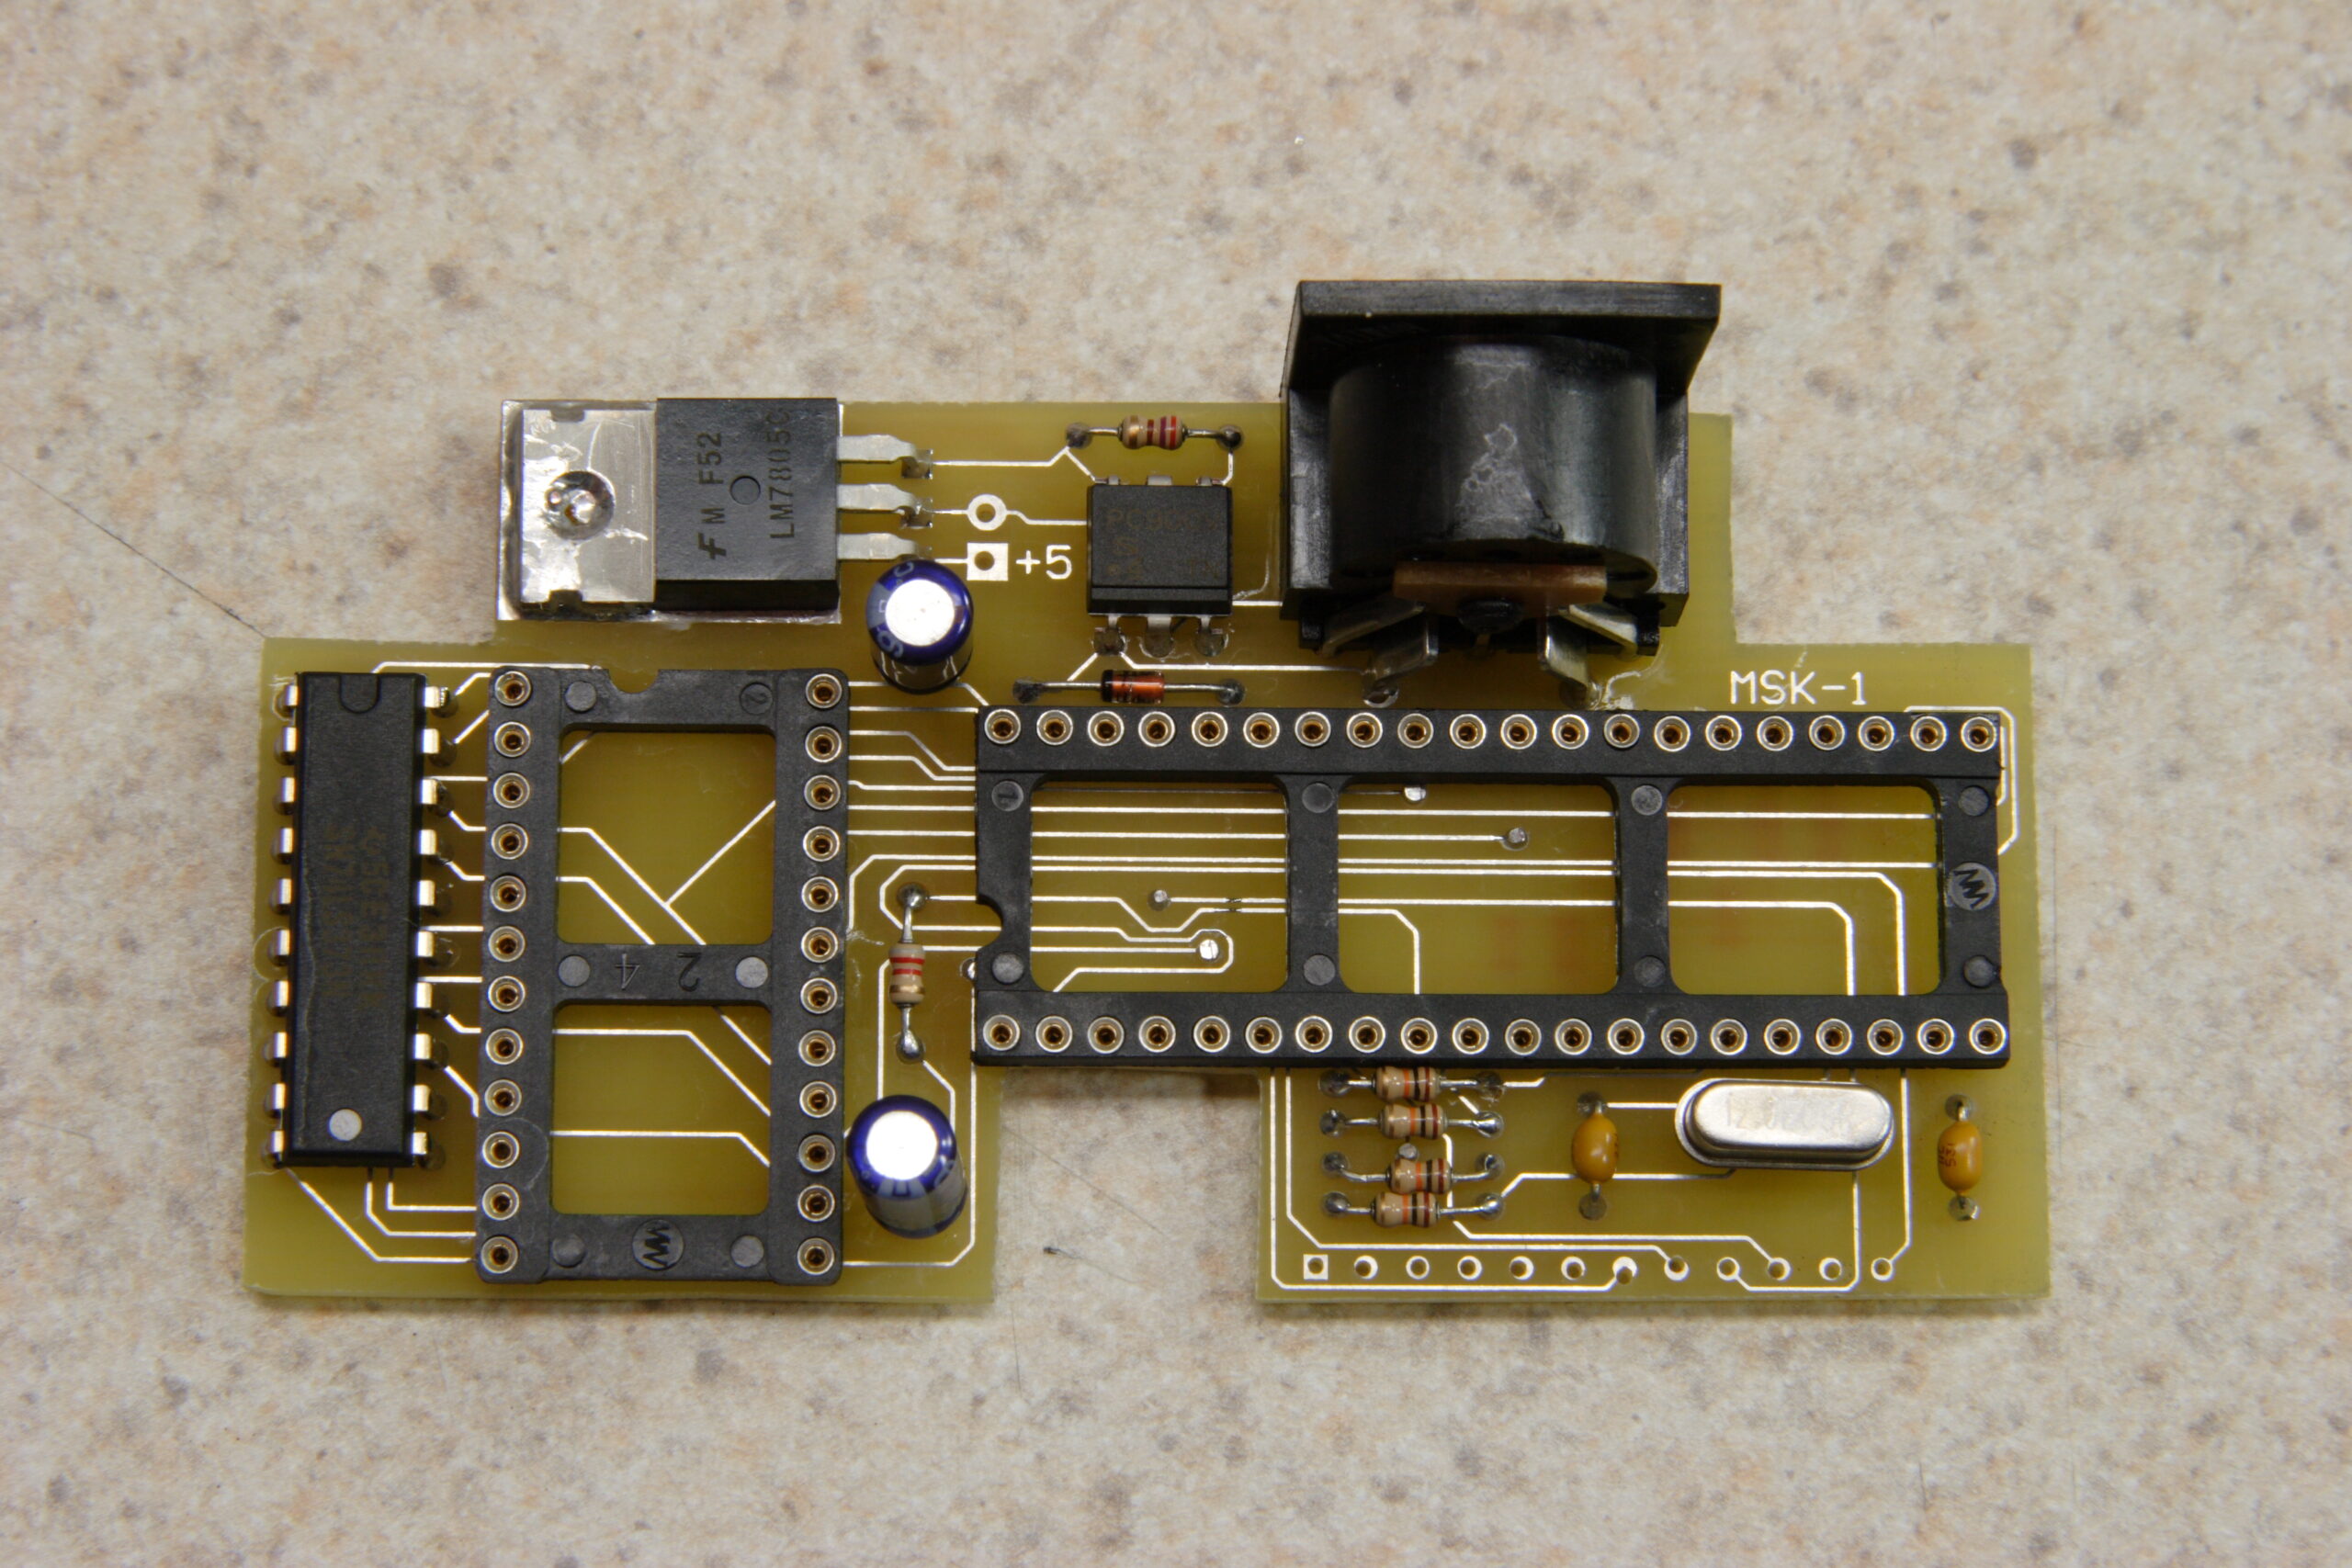
Completed Casio SK-1 MIDI Adapter
(Click for full res.)

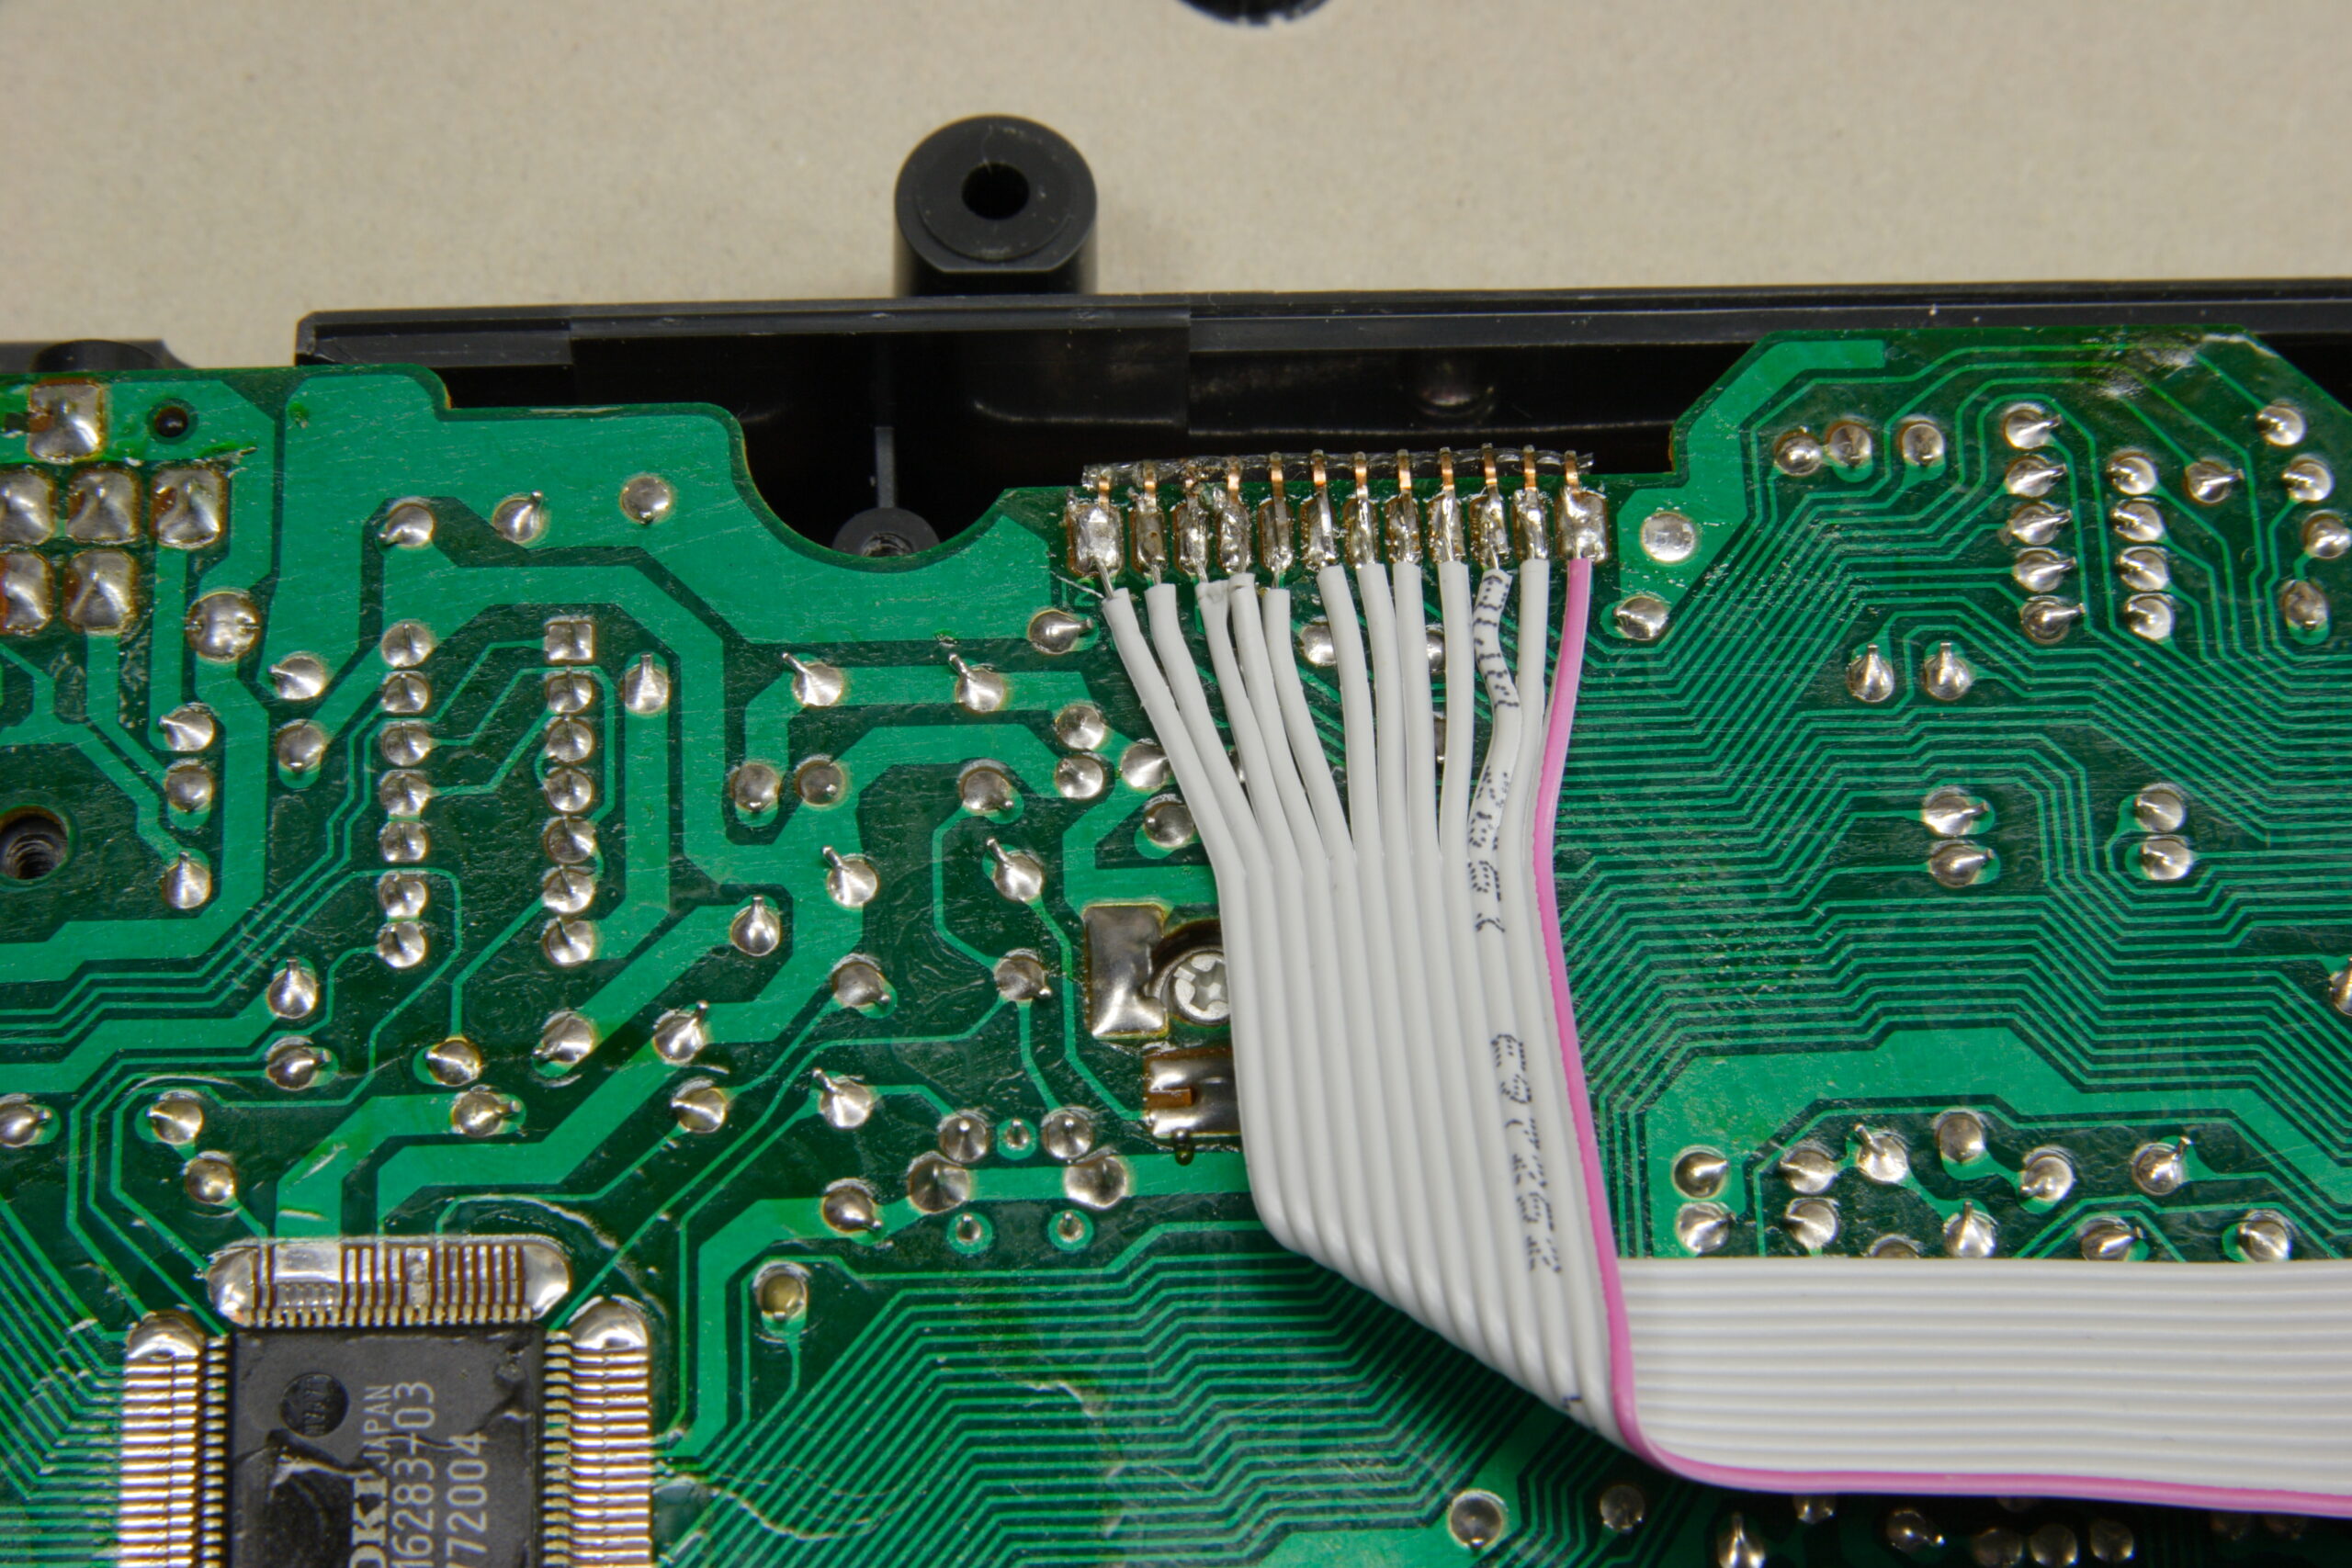
On the up side, I completed the PCB for the Casio SK-1 MIDI adapter that I’ve been working on. On the down side, it doesn’t work. After reassembling the SK-1 after cleaning it, everything seemed to work great. Then, after I hooked up power, fitted the PCB into the enclosure (without gluing it yet), and attached the ribbon cable to the SK-1’s keyboard connections, the SK-1 just makes a humming / buzzing sound. I think the problem is likely some part I missed soldering on top of the board or something. Or possibly a bad PCB-side connection on the ribbon cable.

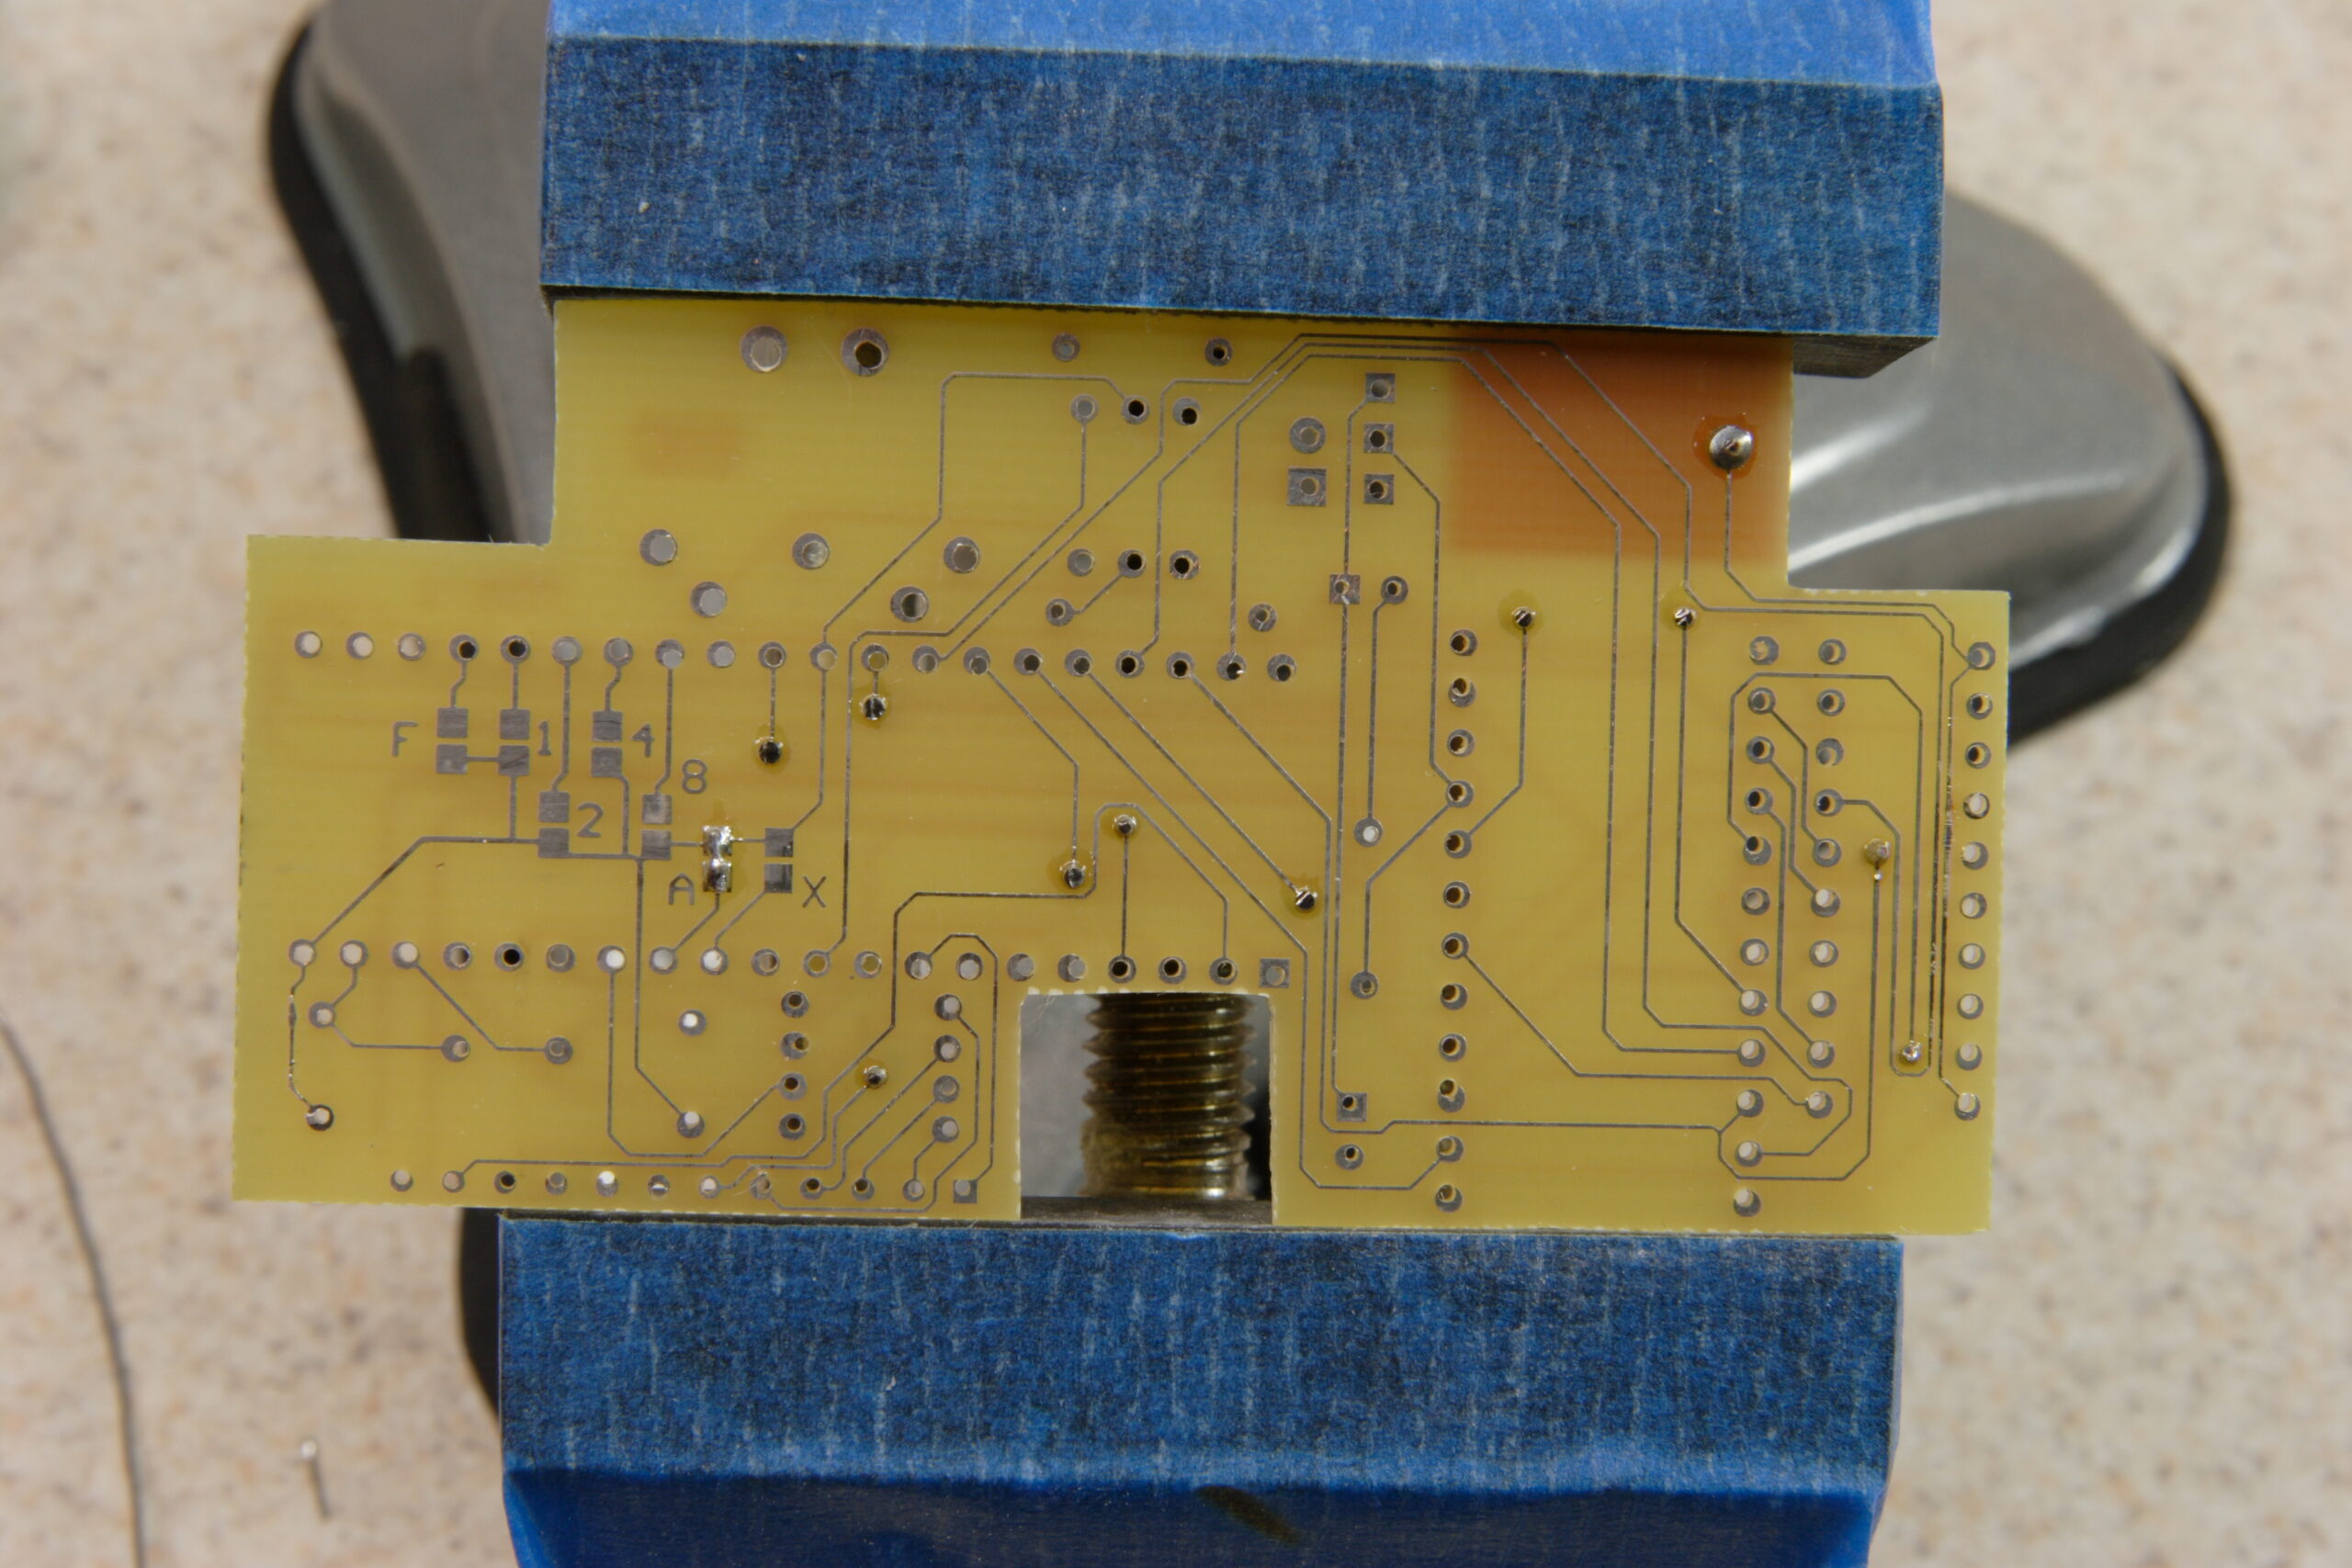
When making one’s own double-sided PCB, the holes aren’t plated on the inside with metal, so one has to solder parts on both the top and the bottom of the PCB. It was a bit of a hassle to solder things on both sides, but I thought I it taken care of in most places. Maybe I’m wrong, though… Ah well, tonight (or sometime this weekend) I’ll remove the PCB, remove the power lines and ribbon cables, and double-check everything against the schematic.

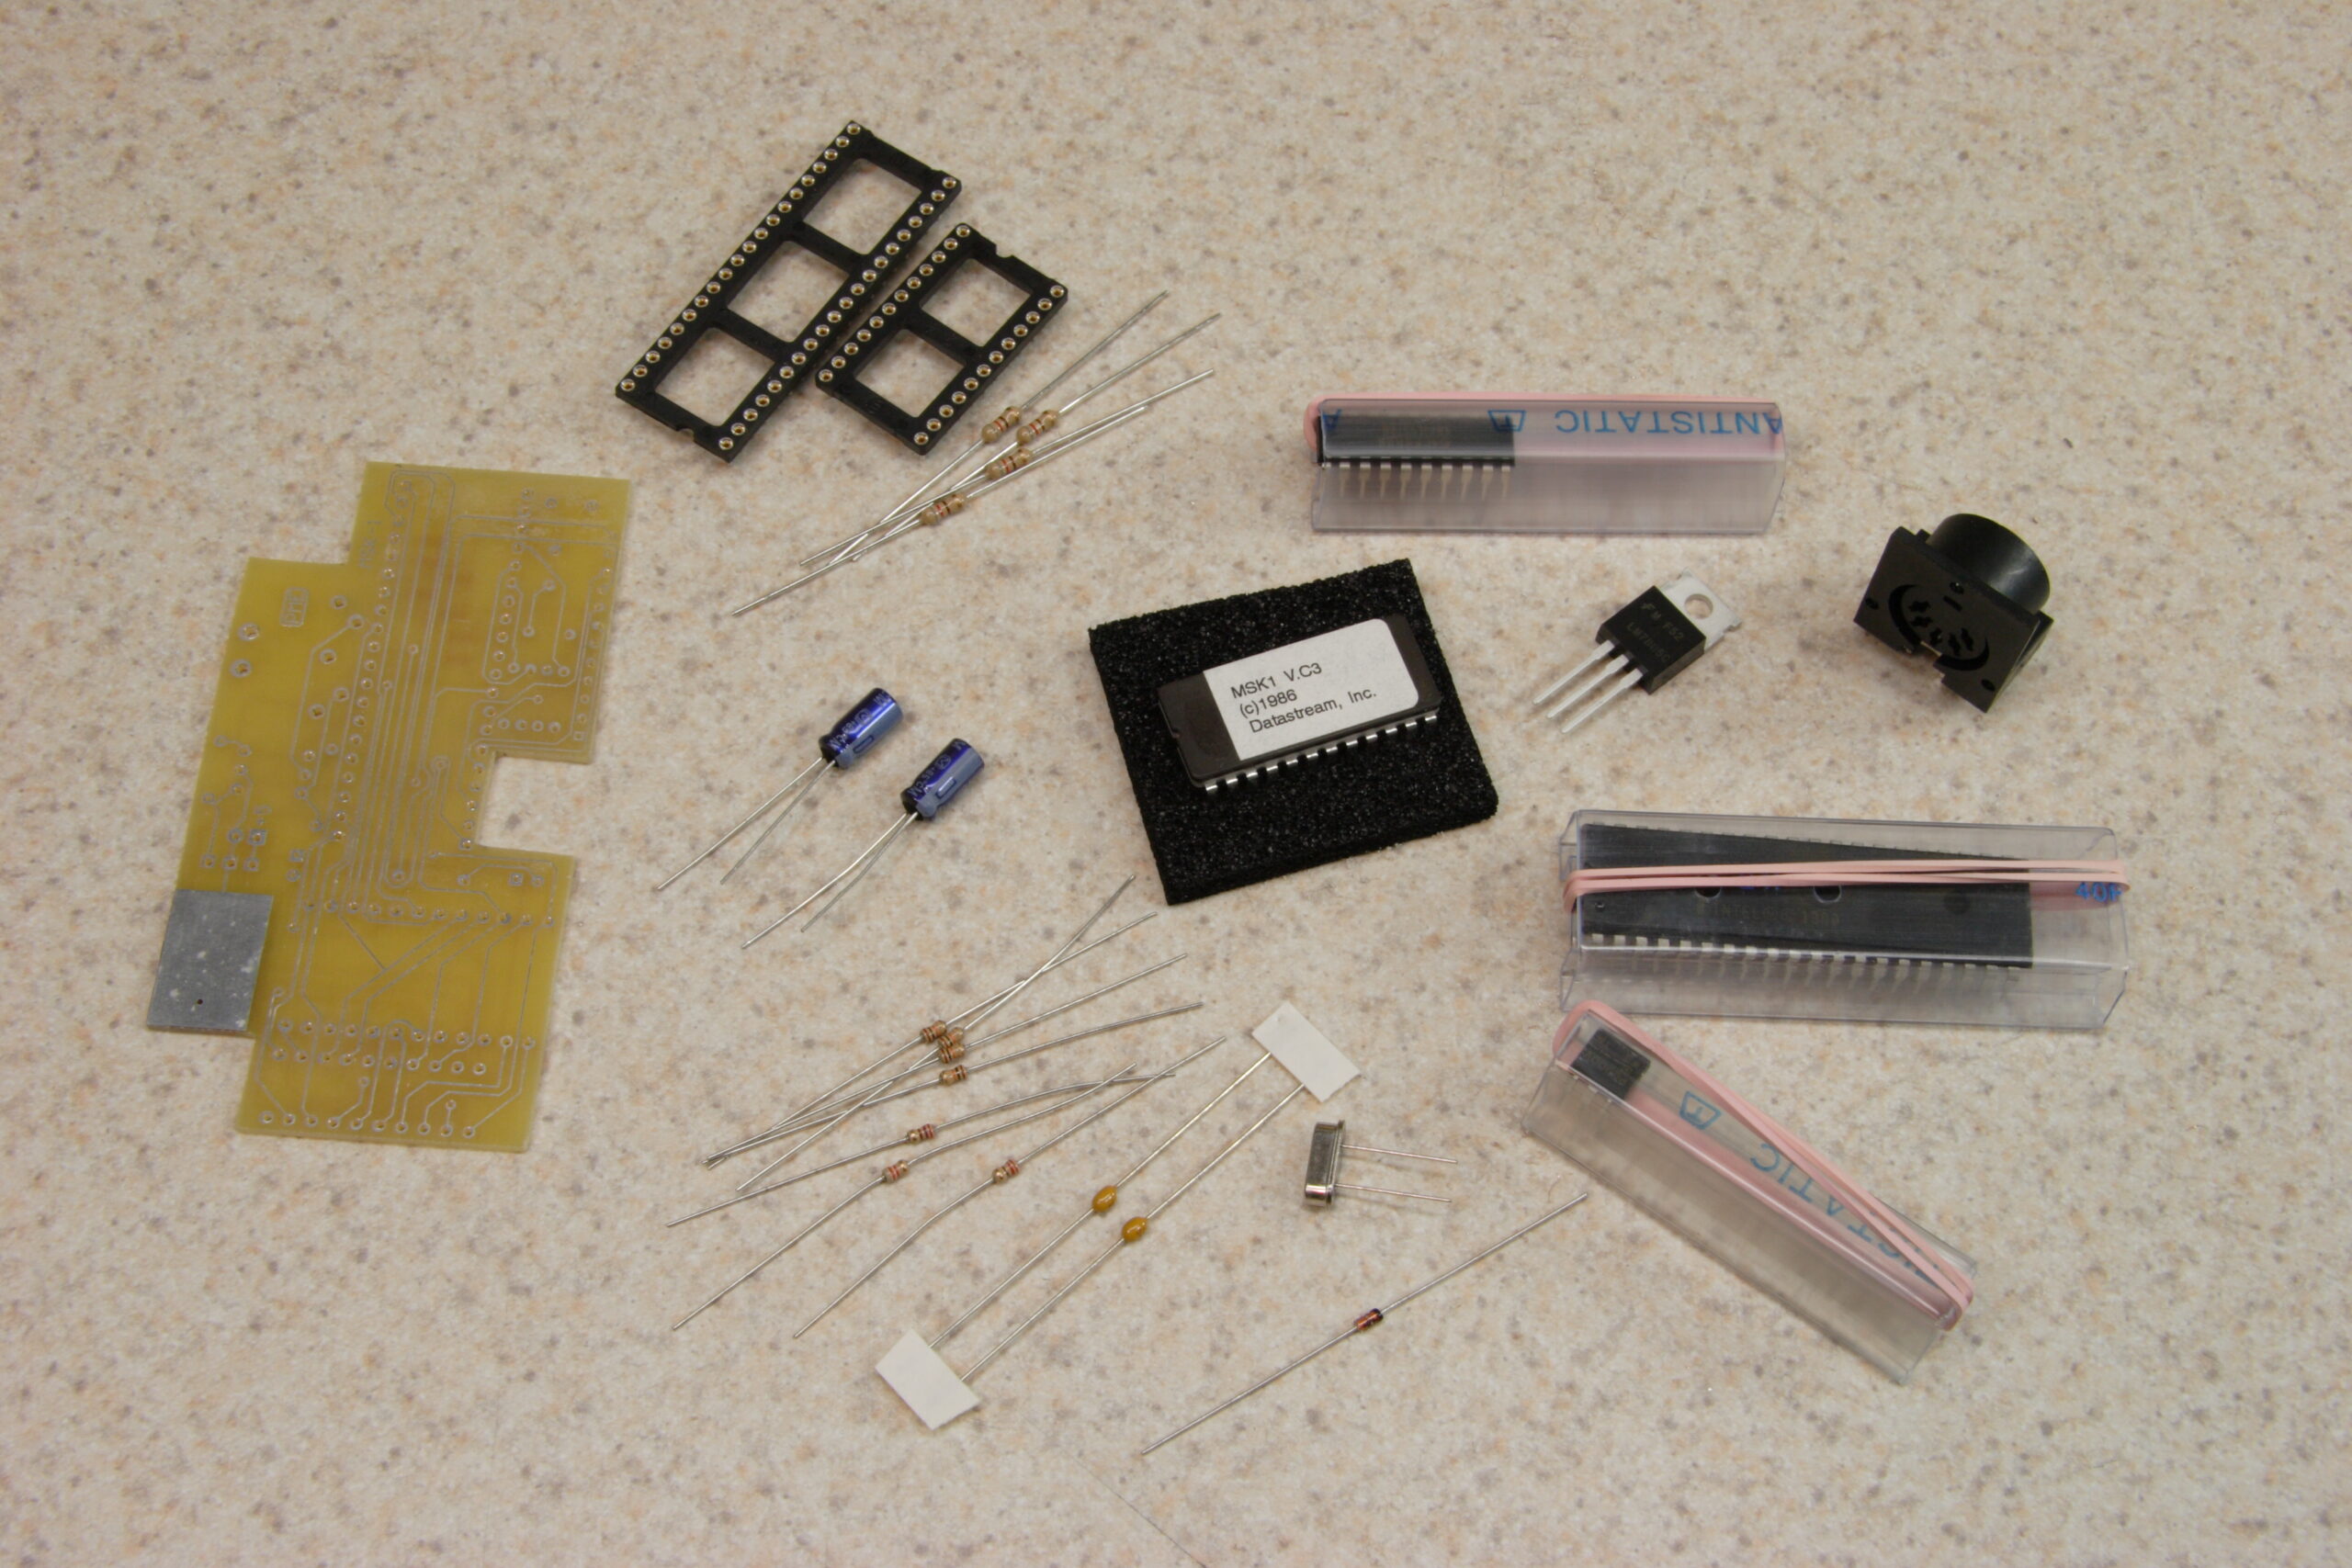
Here’s some of the pictures from my work on this last night:

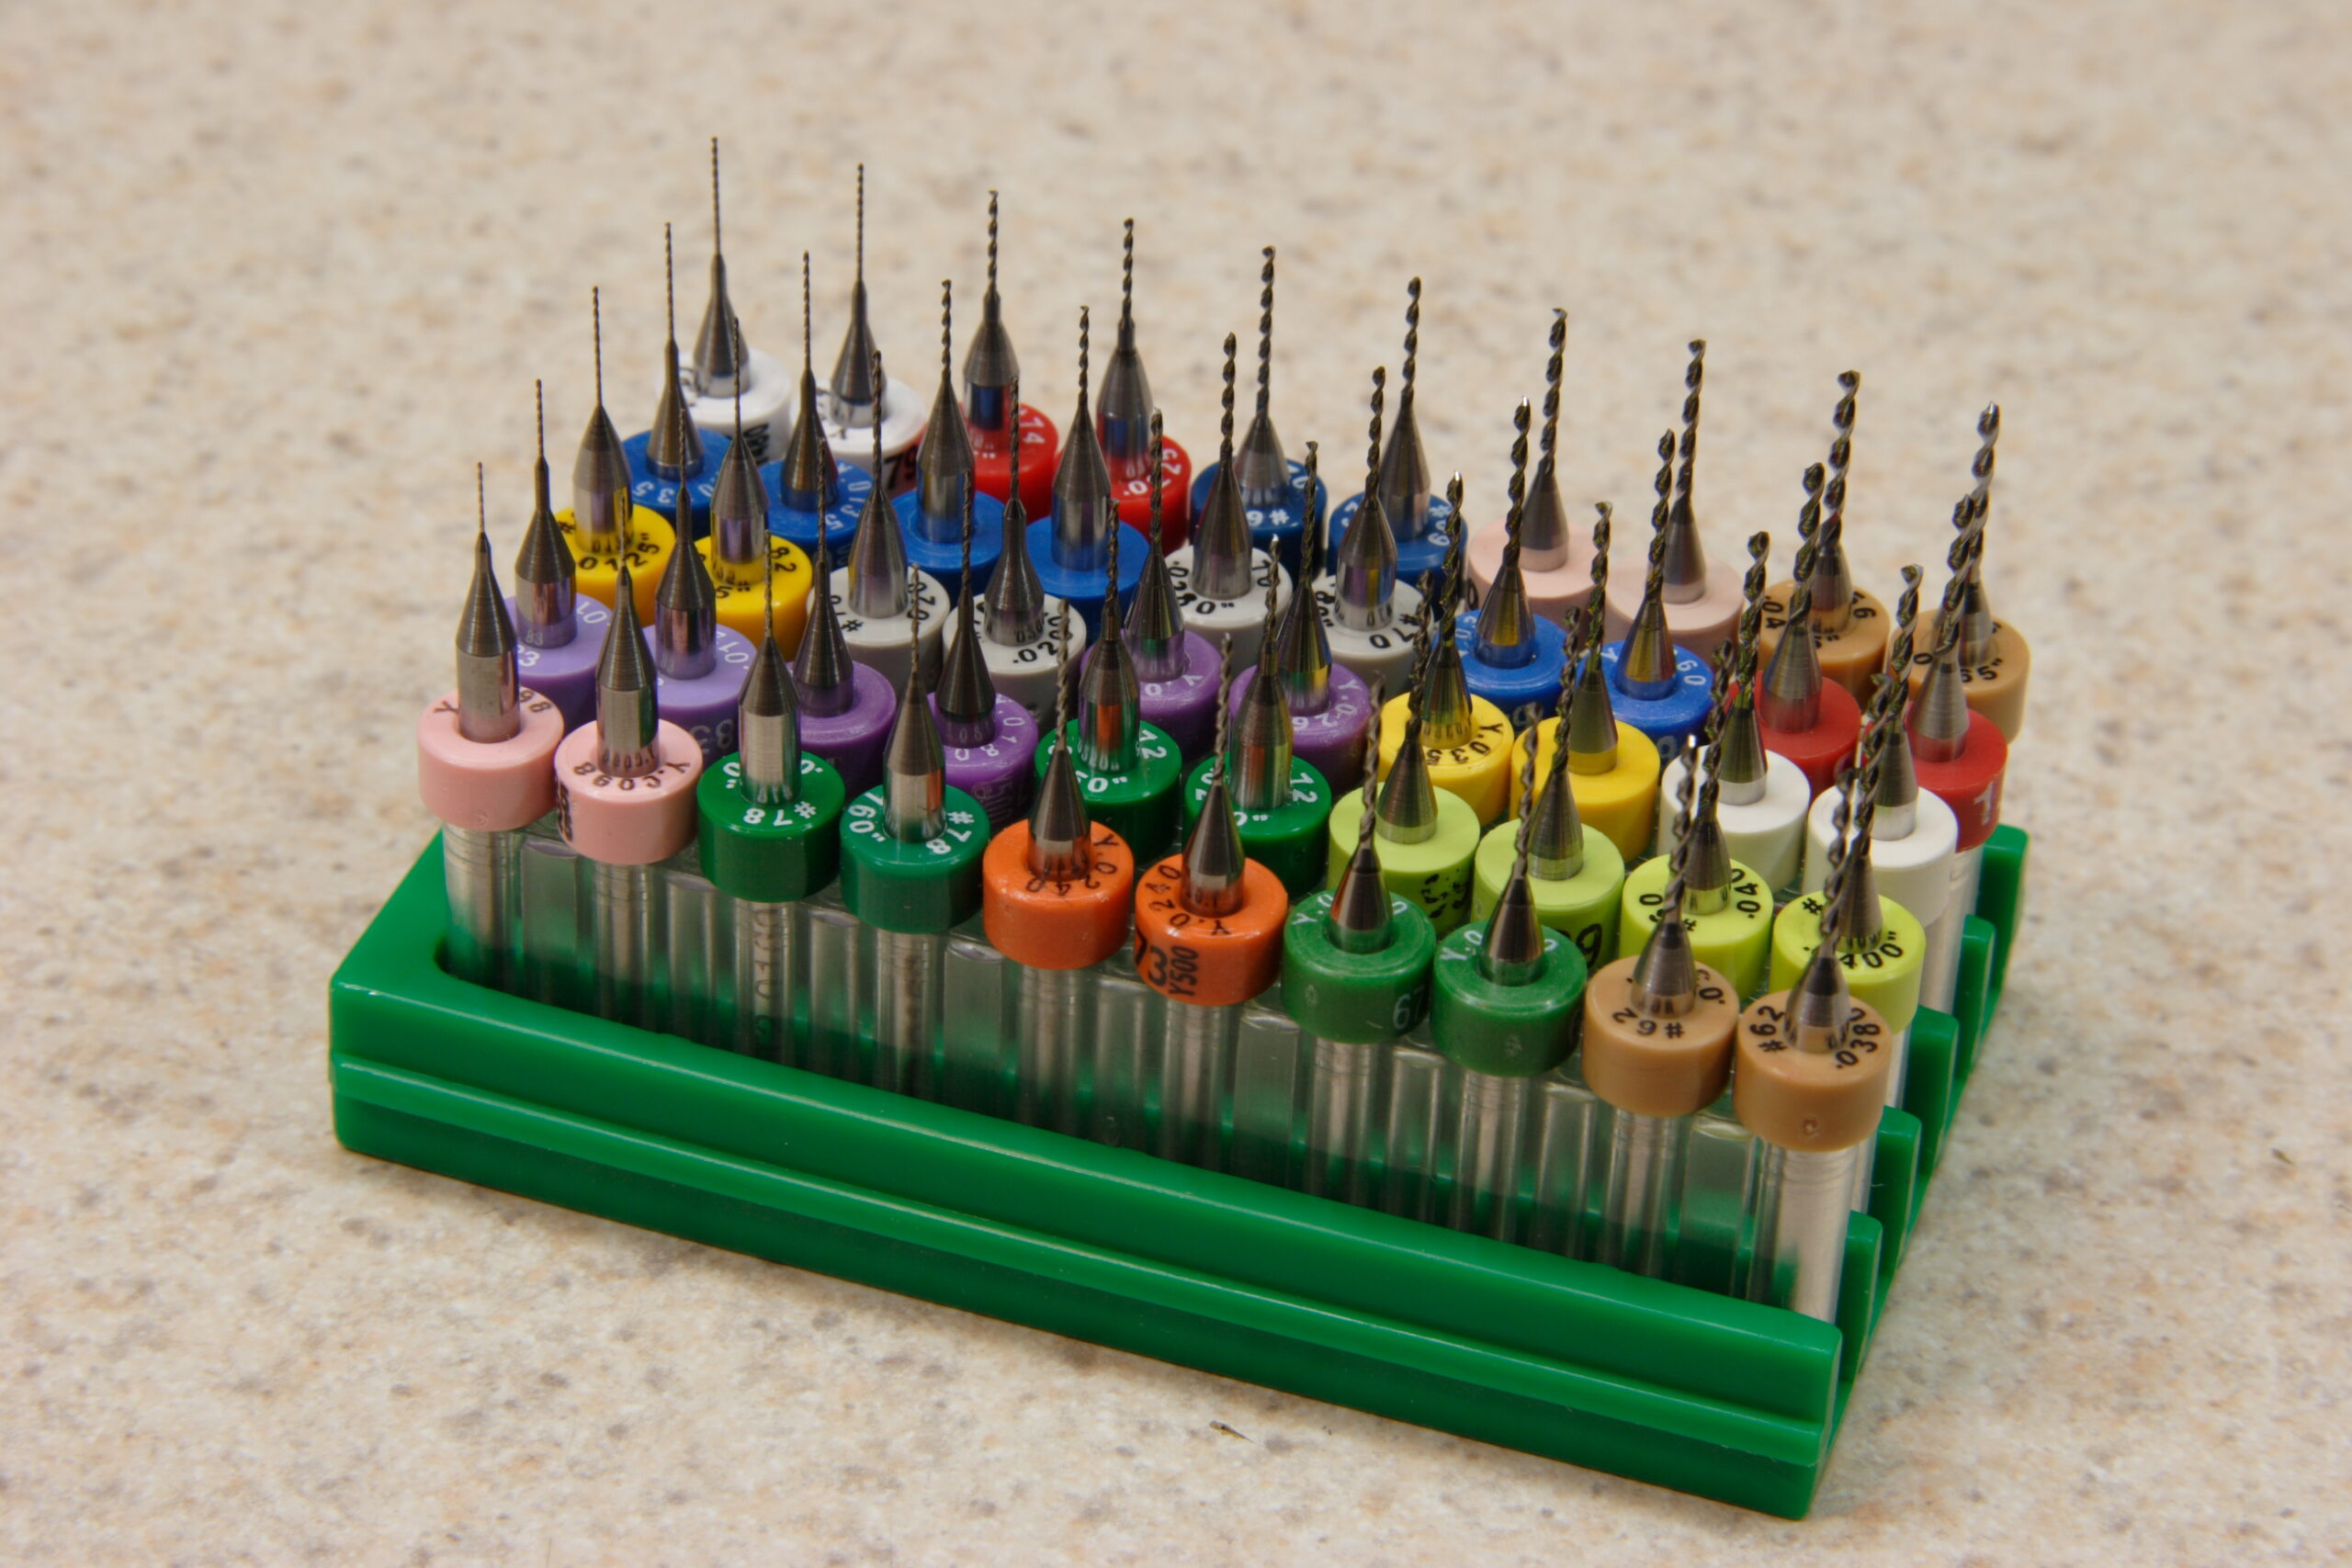
· Resharpened PCB drill bits, acquired from eBay. They are really, really small. The shafts on those bits is 1/8″.
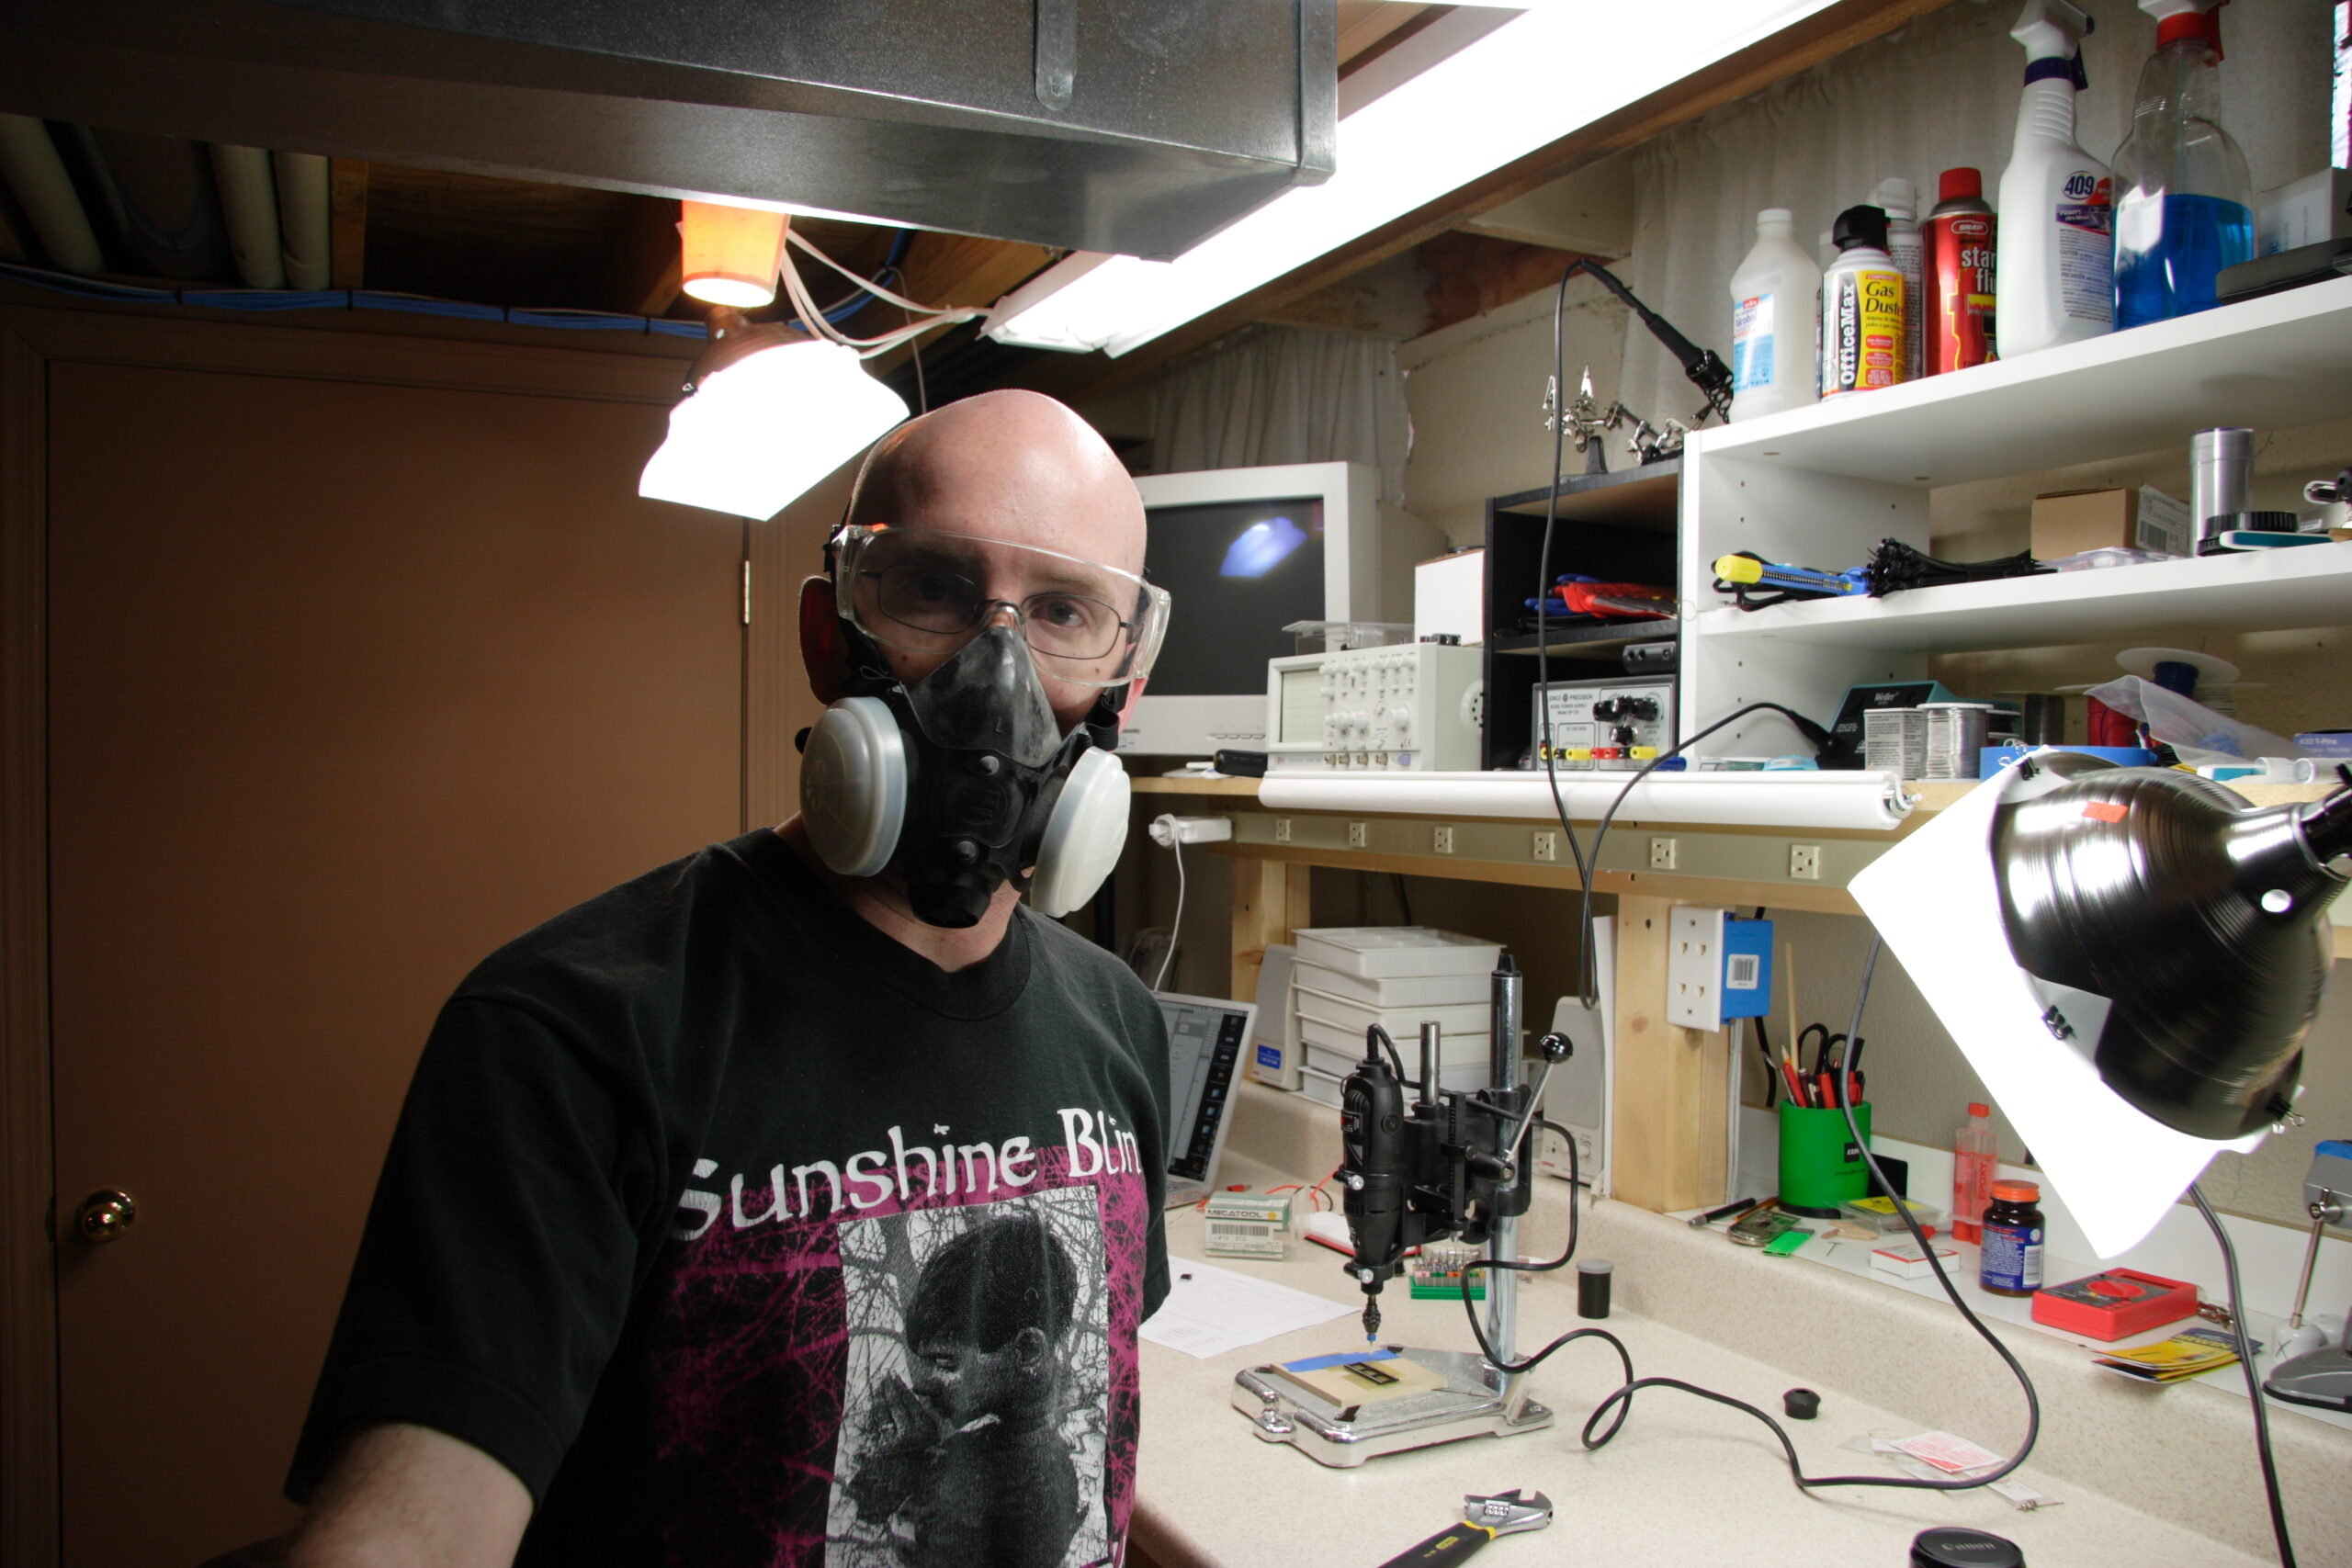
· A very unshaved me, wearing a respirator and safety glasses. Both are needed as drilling and cutting PCBs makes lots of fiberglass / epoxy dust.
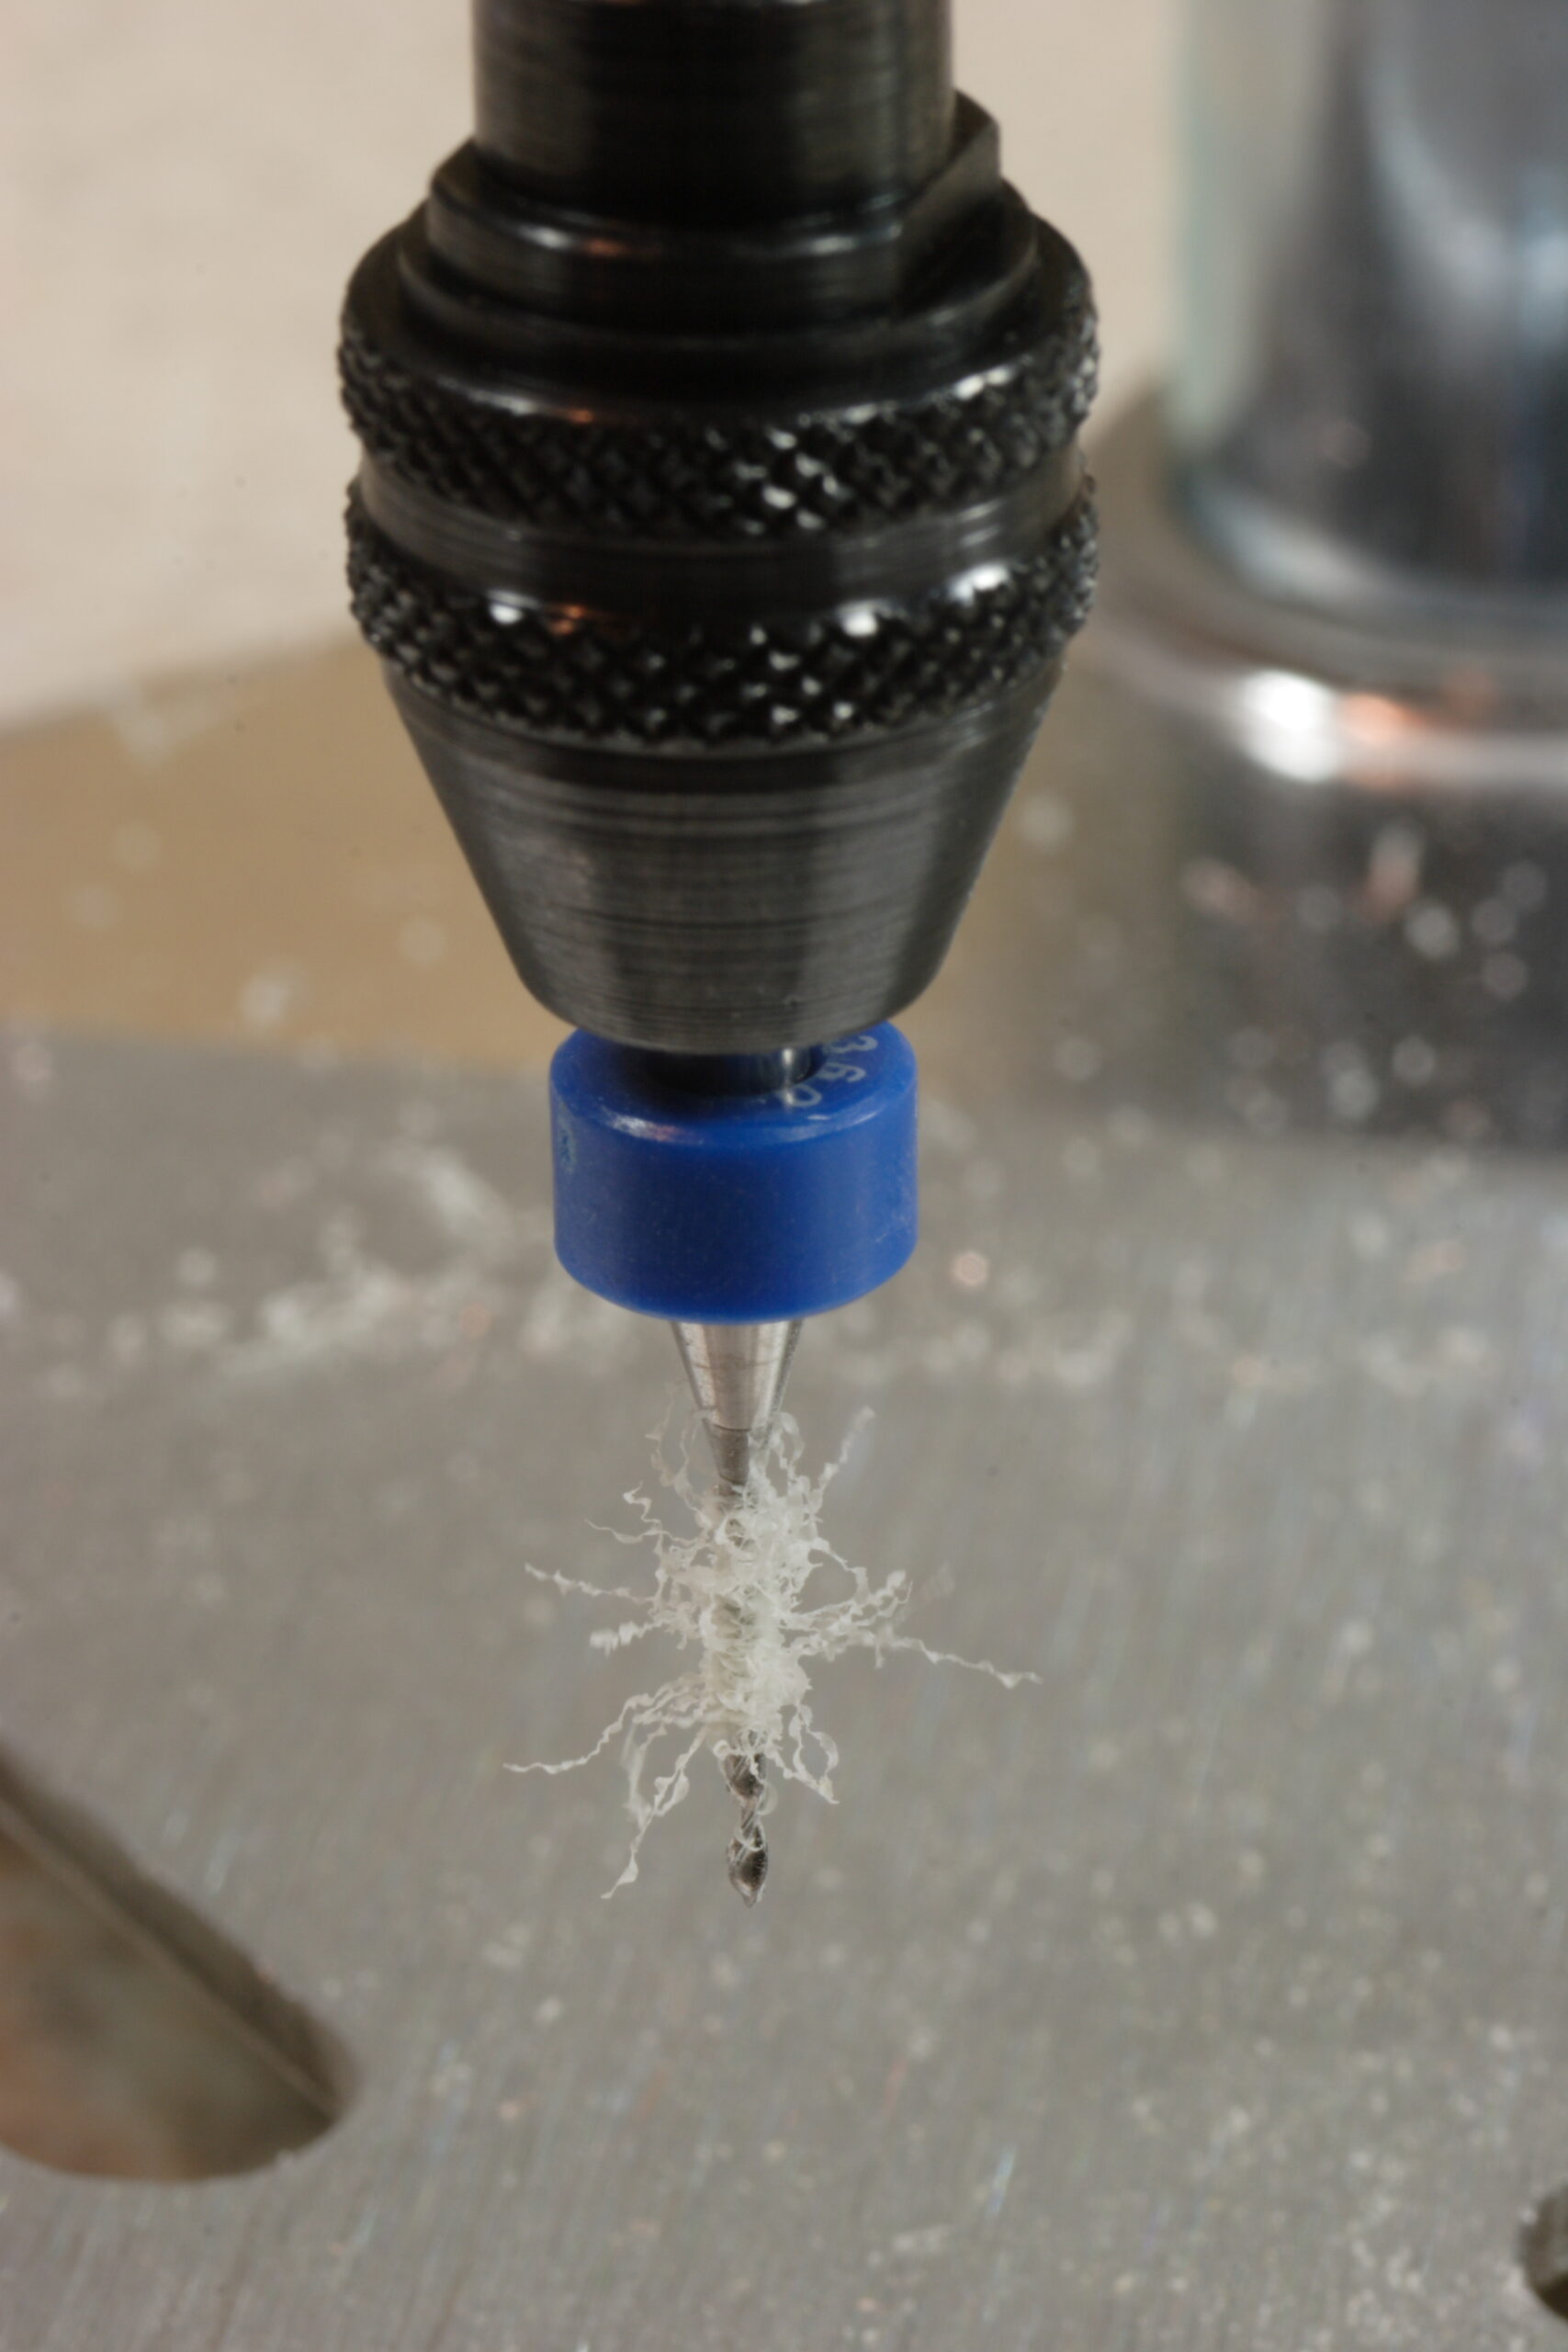
· One of the bits (26 mil, I think) in the chuck of my Dremel.
· The pile of parts needed for assembling the adapter, including some spare resistors sacrificed for their leads, which were needed to solder vias.
· All vias soldered, and jumper A placed to turn off wrapping of notes from outside the keyboard’s normal range.
· All parts (except for microcontroller, ROM, and wiring) attached to the board.
· Completed board, with power wires and ribbon cable.
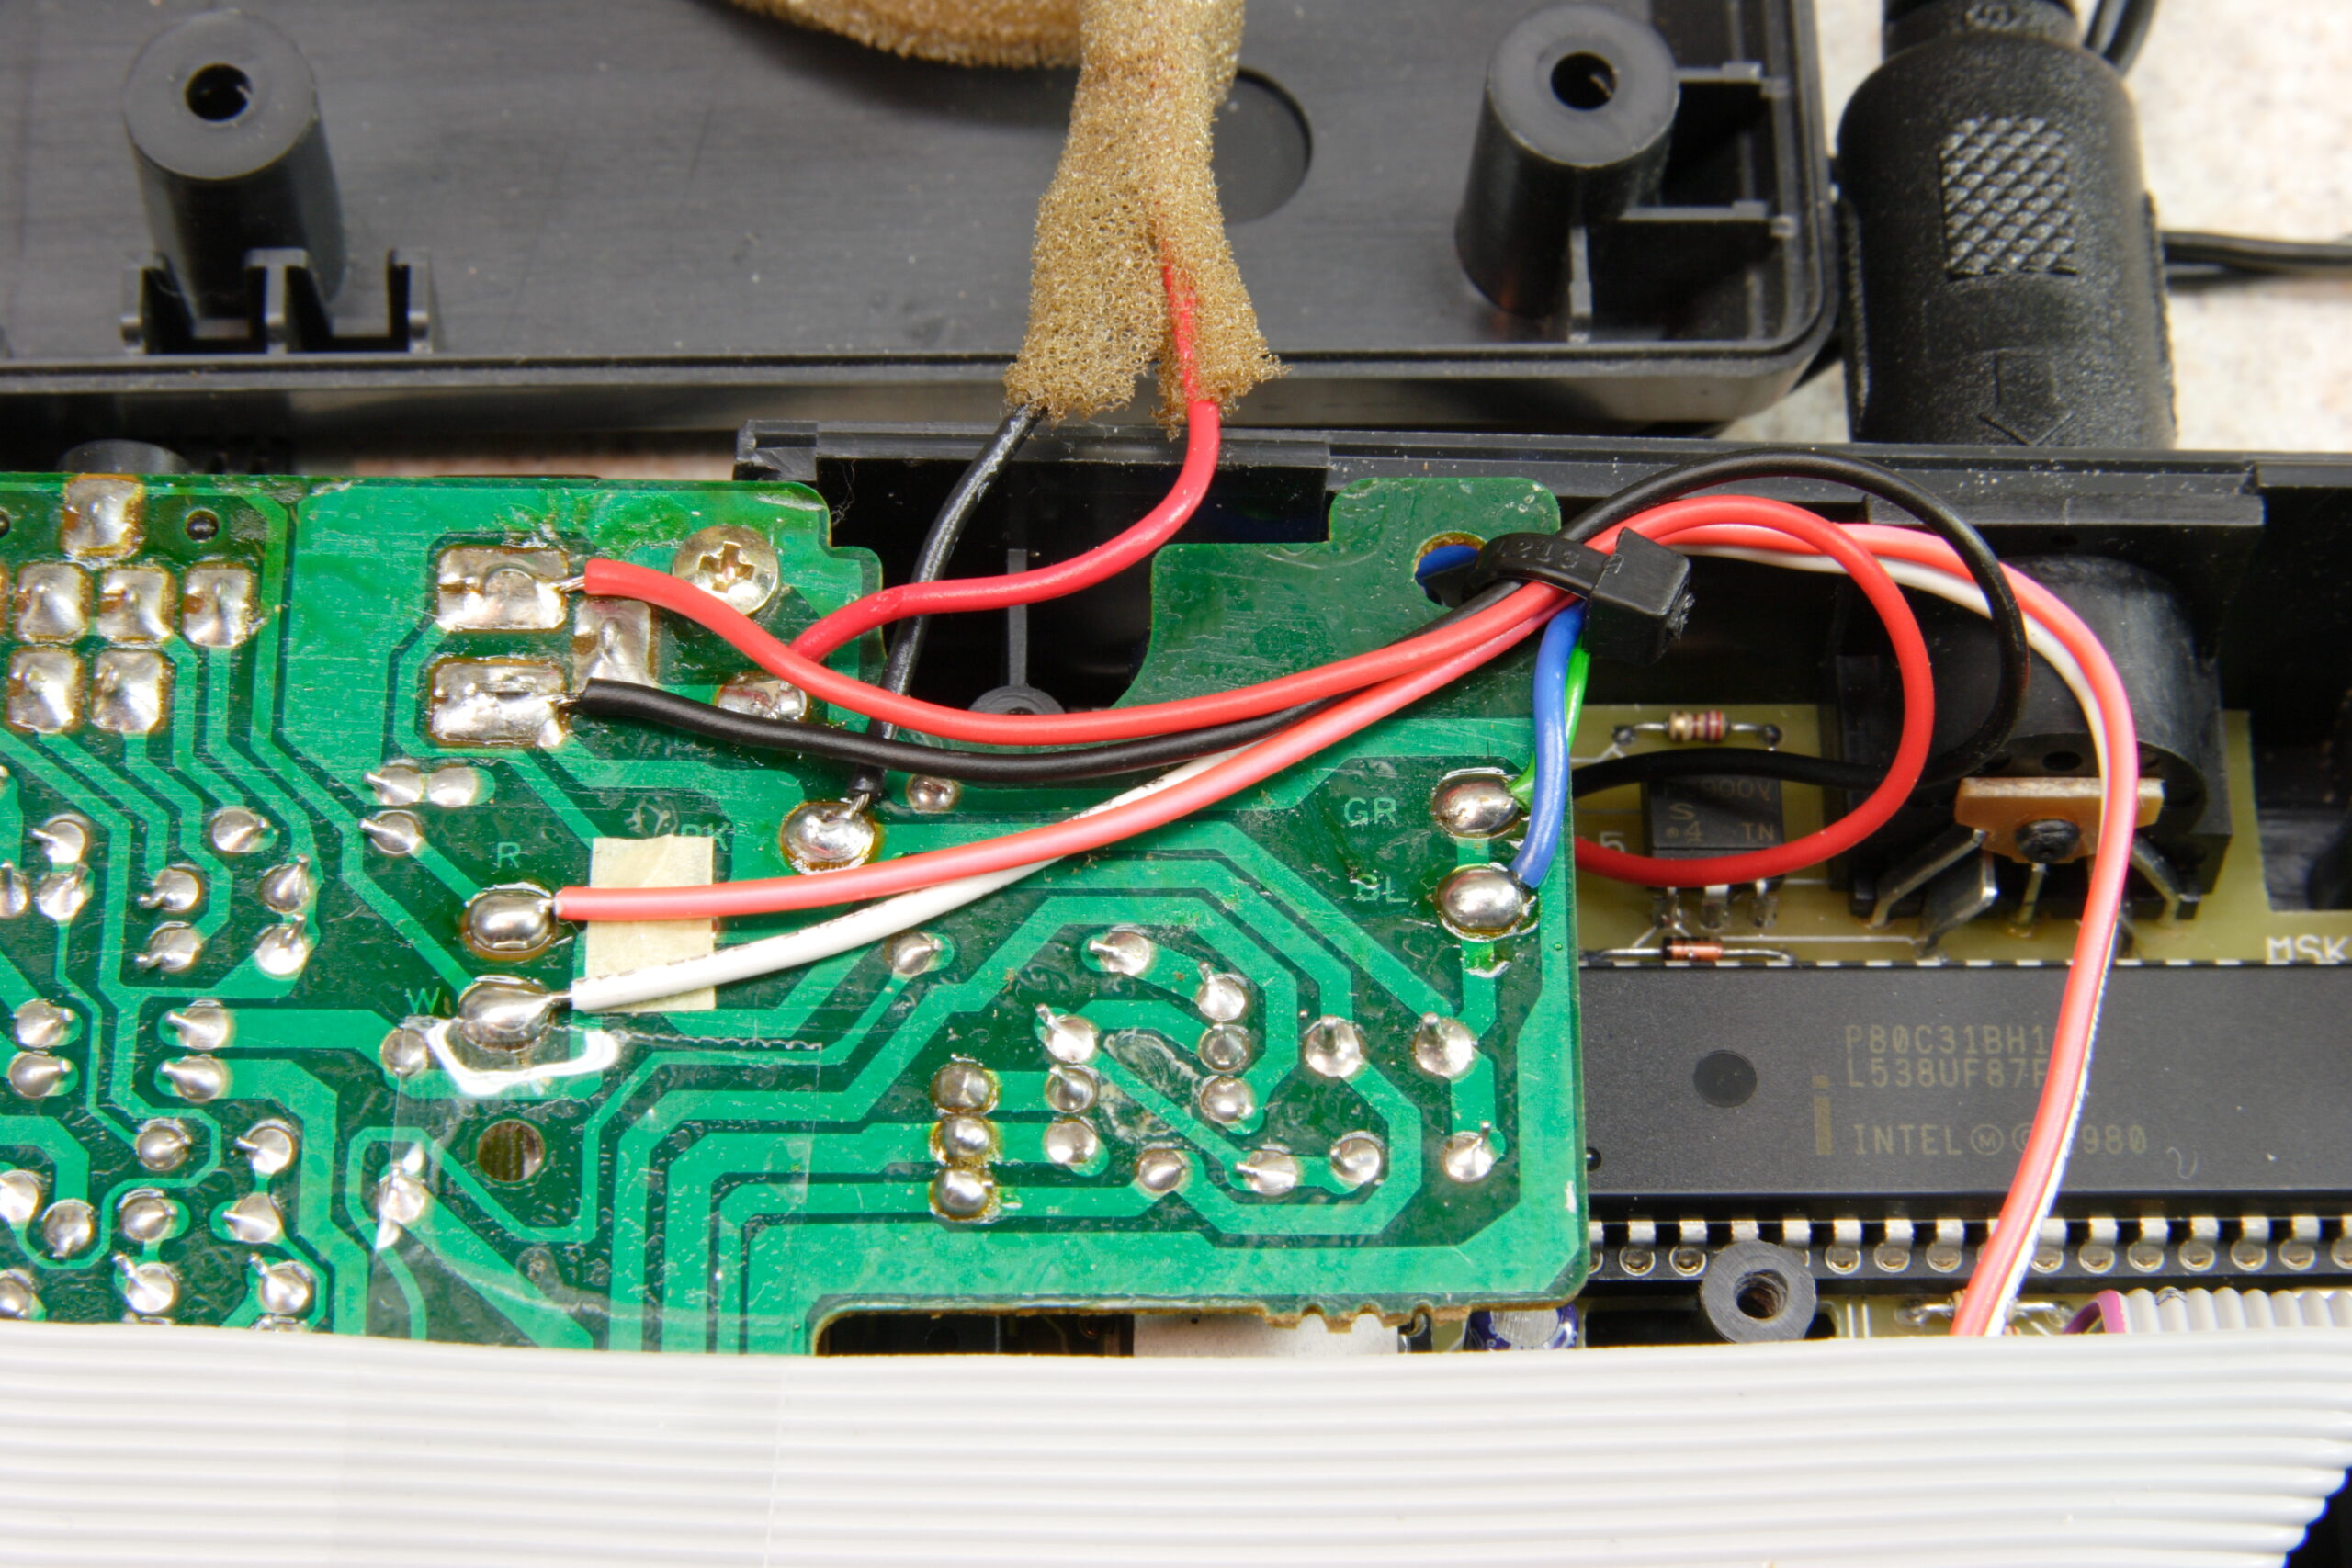
· Ribbon cable attached to Casio SK-1’s keyboard connection.
· Power wires attached to the external power jack and the PCB fitted next to the speaker.

So, that’s that. I’ve still got more to go with regards to fixing everything. I know it’s getting power… I just don’t know what else it is doing yet. By the time I had the board installed it was nearly 11pm and I’d been working on everything for about 4.5 hours. I needed a break. Hopefully things will progress further tonight / this weekend. At least I don’t work until Monday or so.

electronicsmaking thingsmoved from livejournal

Sequencer Project

Hrm. It seems that I may need the $400 version of CadSoft Eagle to lay out a PCB of the size I need. The free version can only do 100mm x 80mm boards, and the $200 version can only do 160mm x 100mm.

This is disappointing. I guess I should figure out if there is another way I can do it.

computerselectronicsmoved from livejournal