2007-2008 Hard Cider Bottled

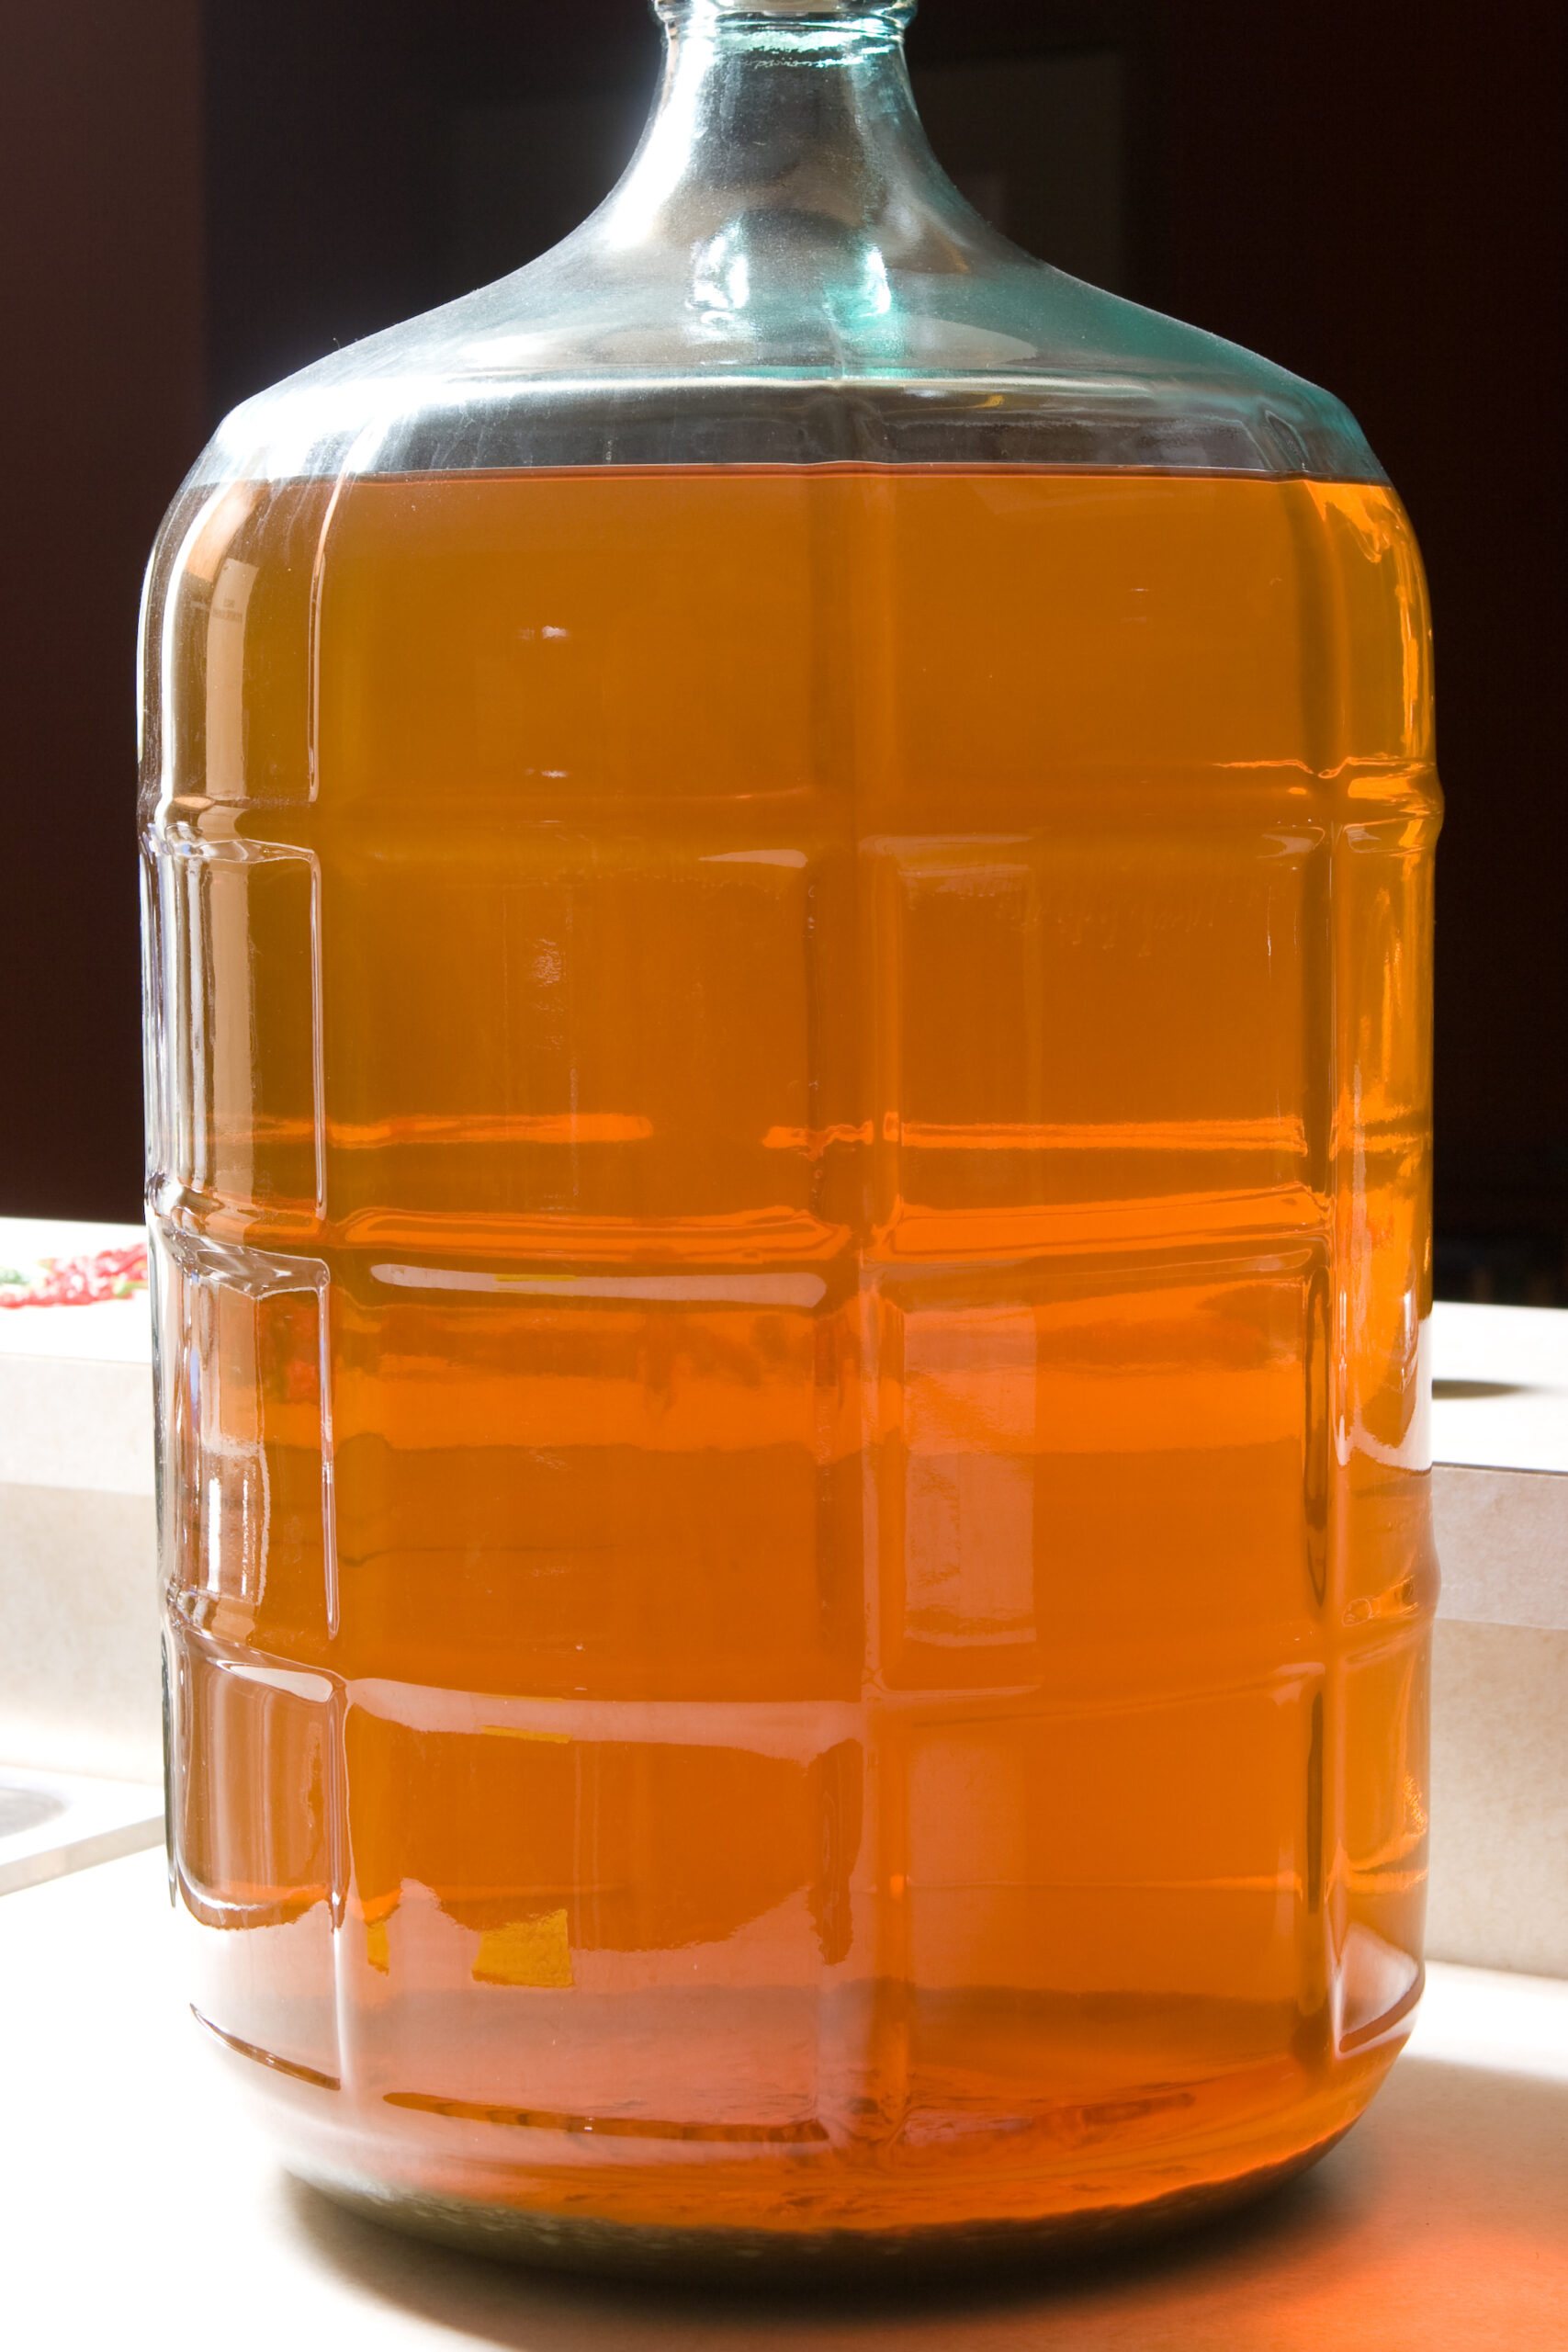
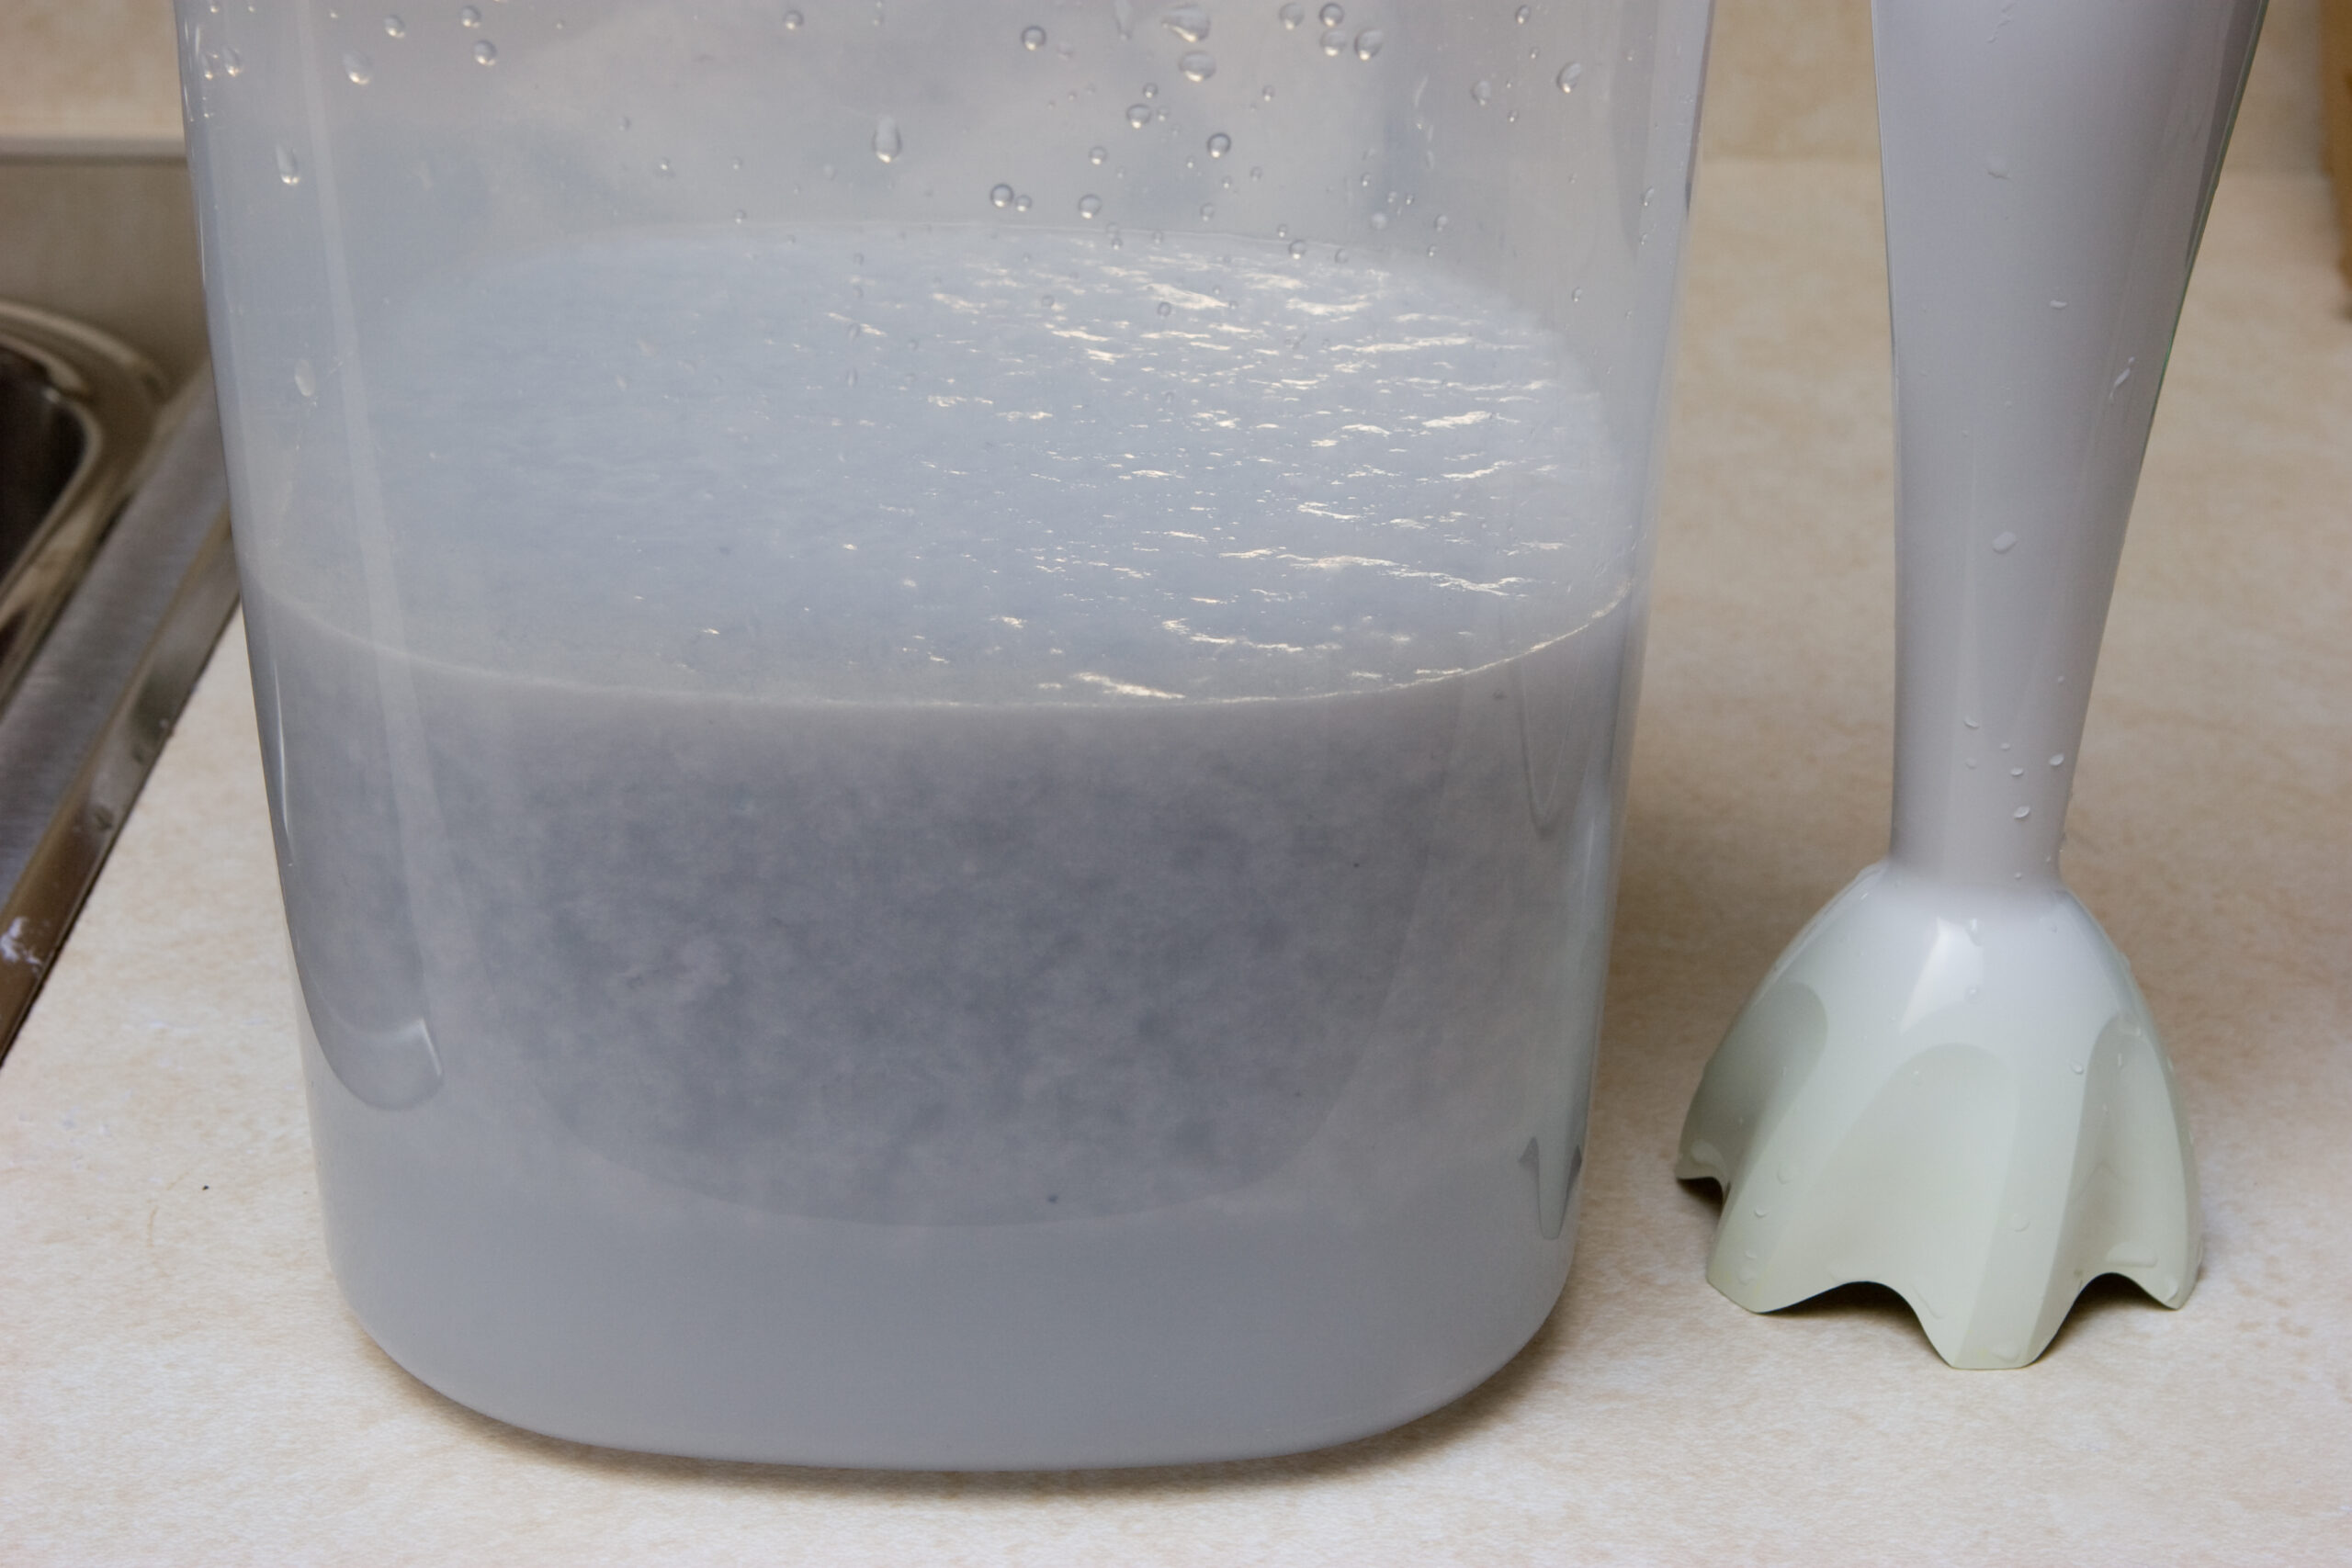
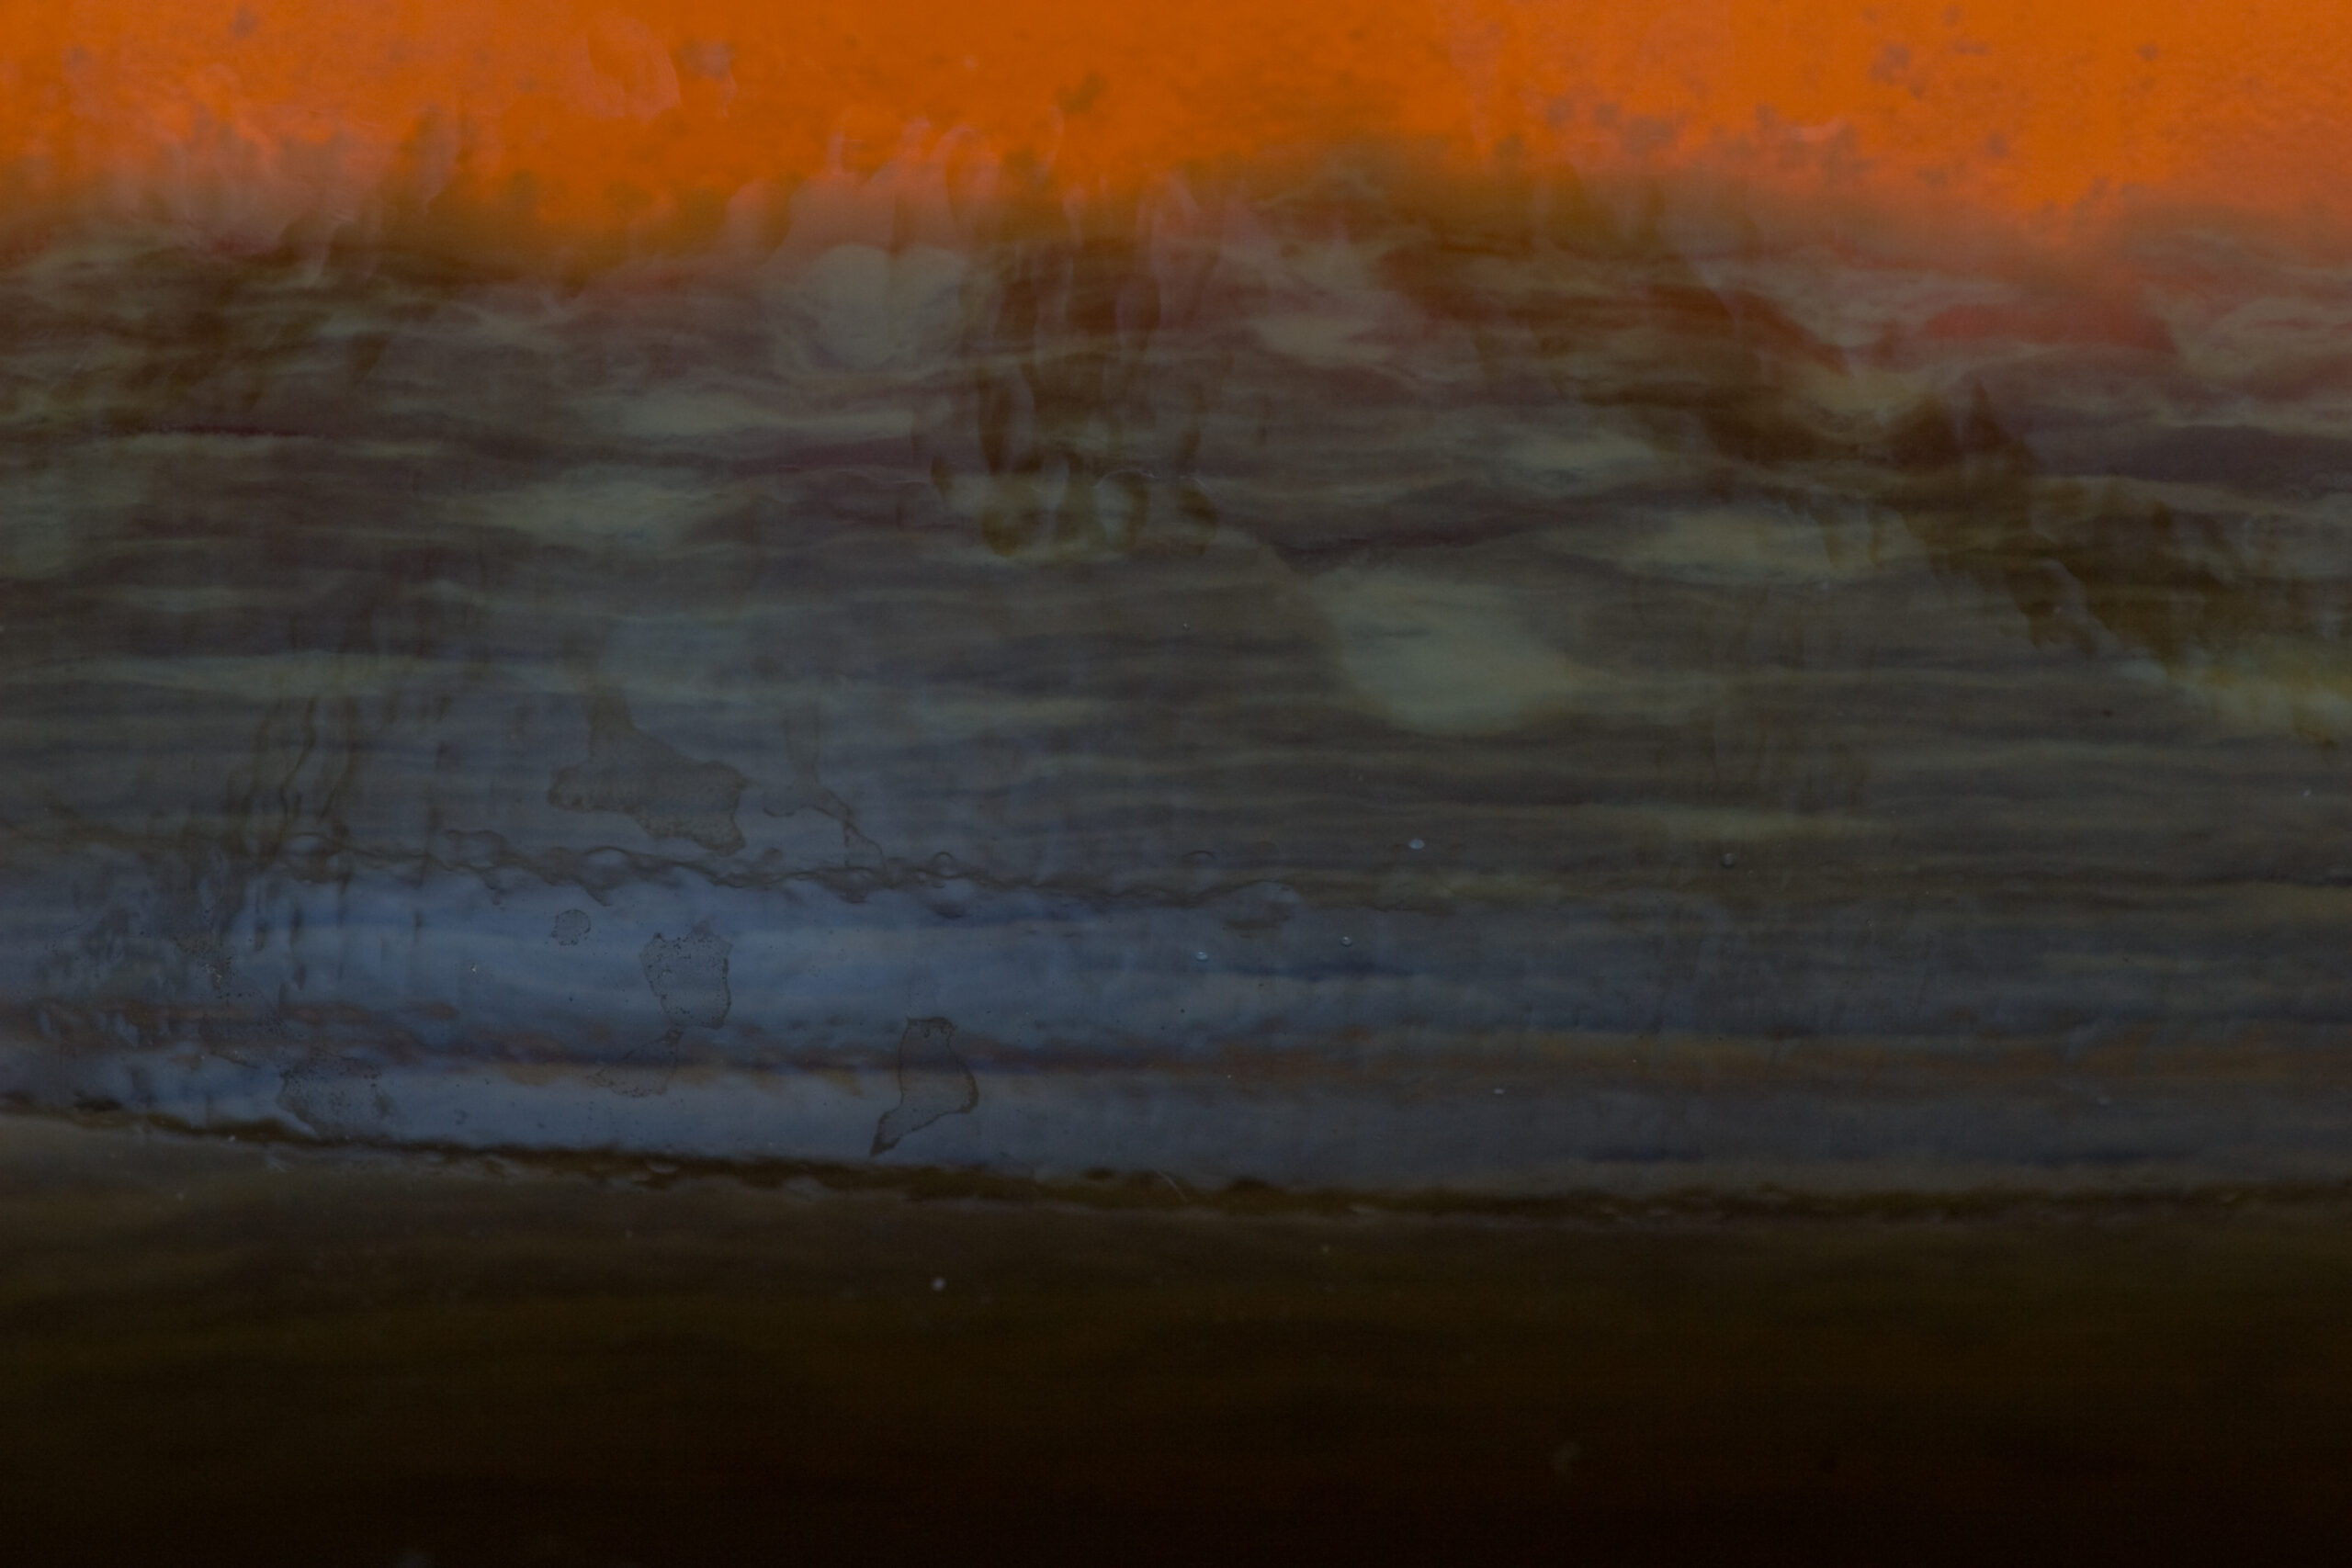
After letting it age in the carboy for almost a year I bottled my latest batch of hard cider tonight. Having sat for so long it had almost completely cleared, resulting in some interestingly stratified sediment in the bottom. After racking it into the bottling bucket I added 160g of dextrose and a packet of Red Star Pasteur Champagne Yeast which made the cider cloudy again, but it should settle in the bottles after carbonation.
I was able to get exactly two cases (48 bottles) filled, plus one plastic bottle as a carbonation test container. Three of the glass bottles from the case used the dregs so it might have a bit more yeast in the bottom, but it should taste fine. These were specially marked so they may be avoided.
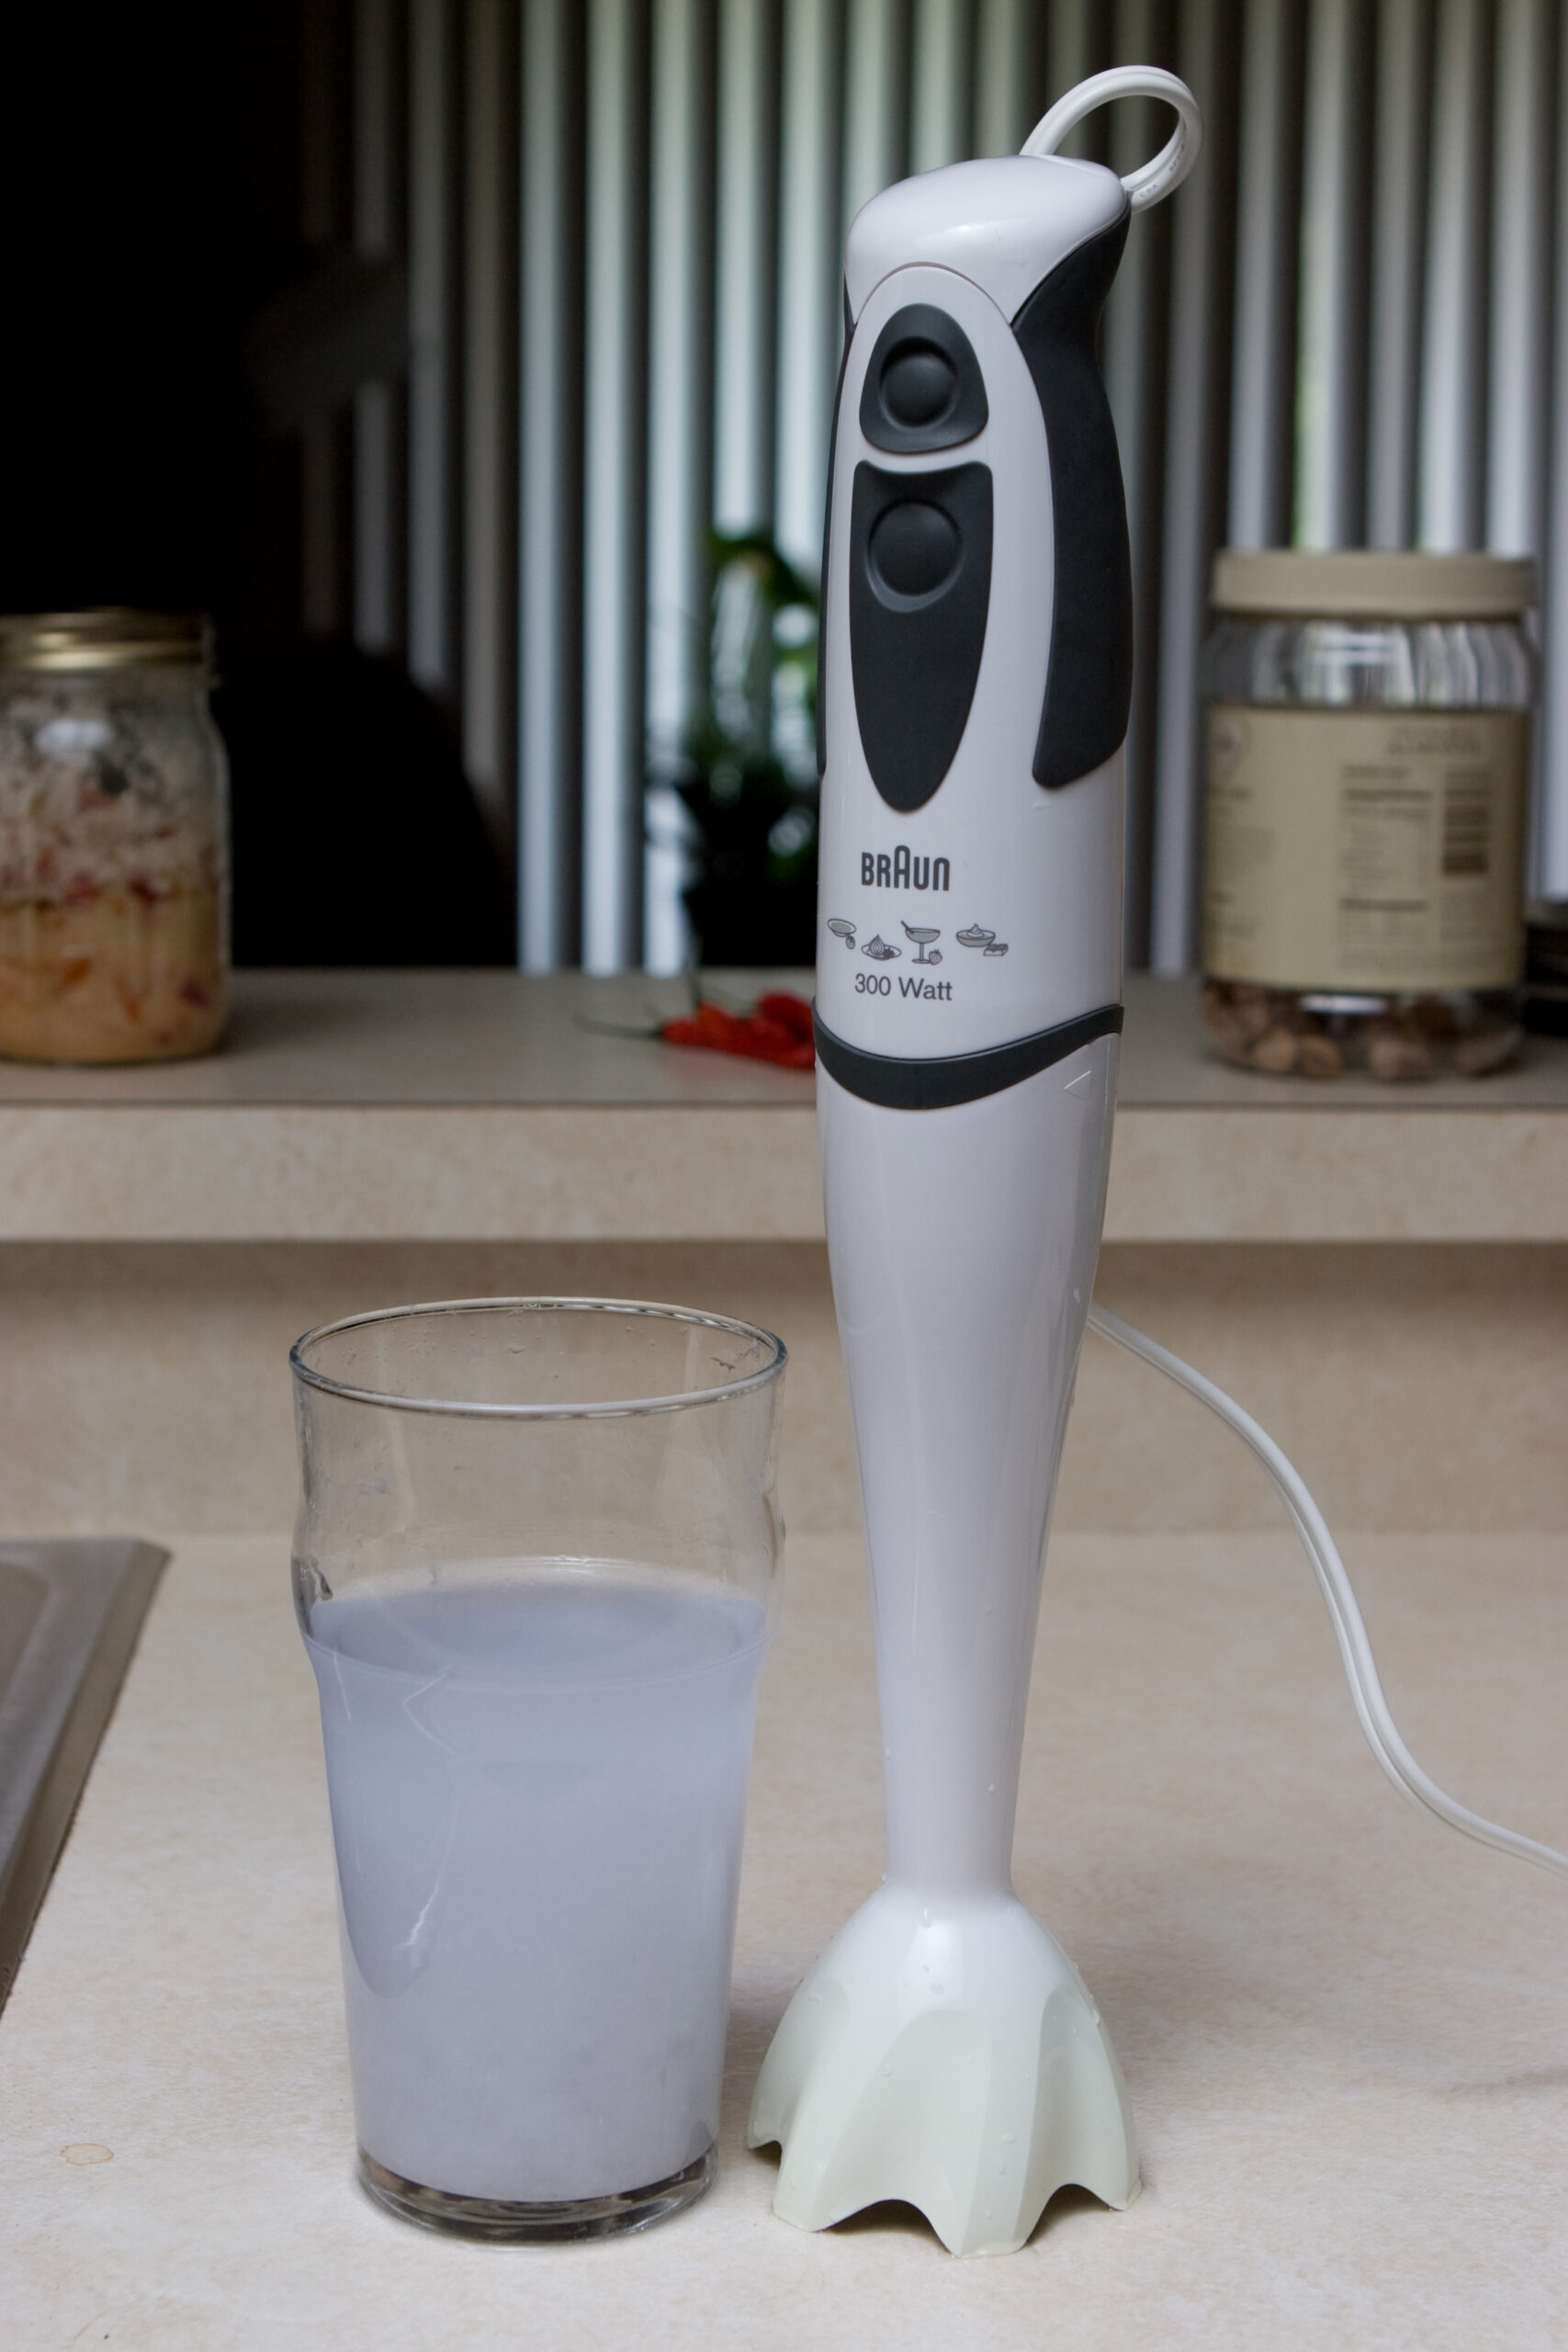
This cider started out with an original gravity of 1.082 (on 10-Nov-2008 at 5:00 PM), was at 1.020 when racked to the smaller carboy for aging (24-Nov-2007 at 3:34 PM), and today read 1.005. Based on the formula in this Wikipedia article those numbers puts the cider at 10.4% ABV. Not bad for some local cider, dark brown sugar, and local honey.
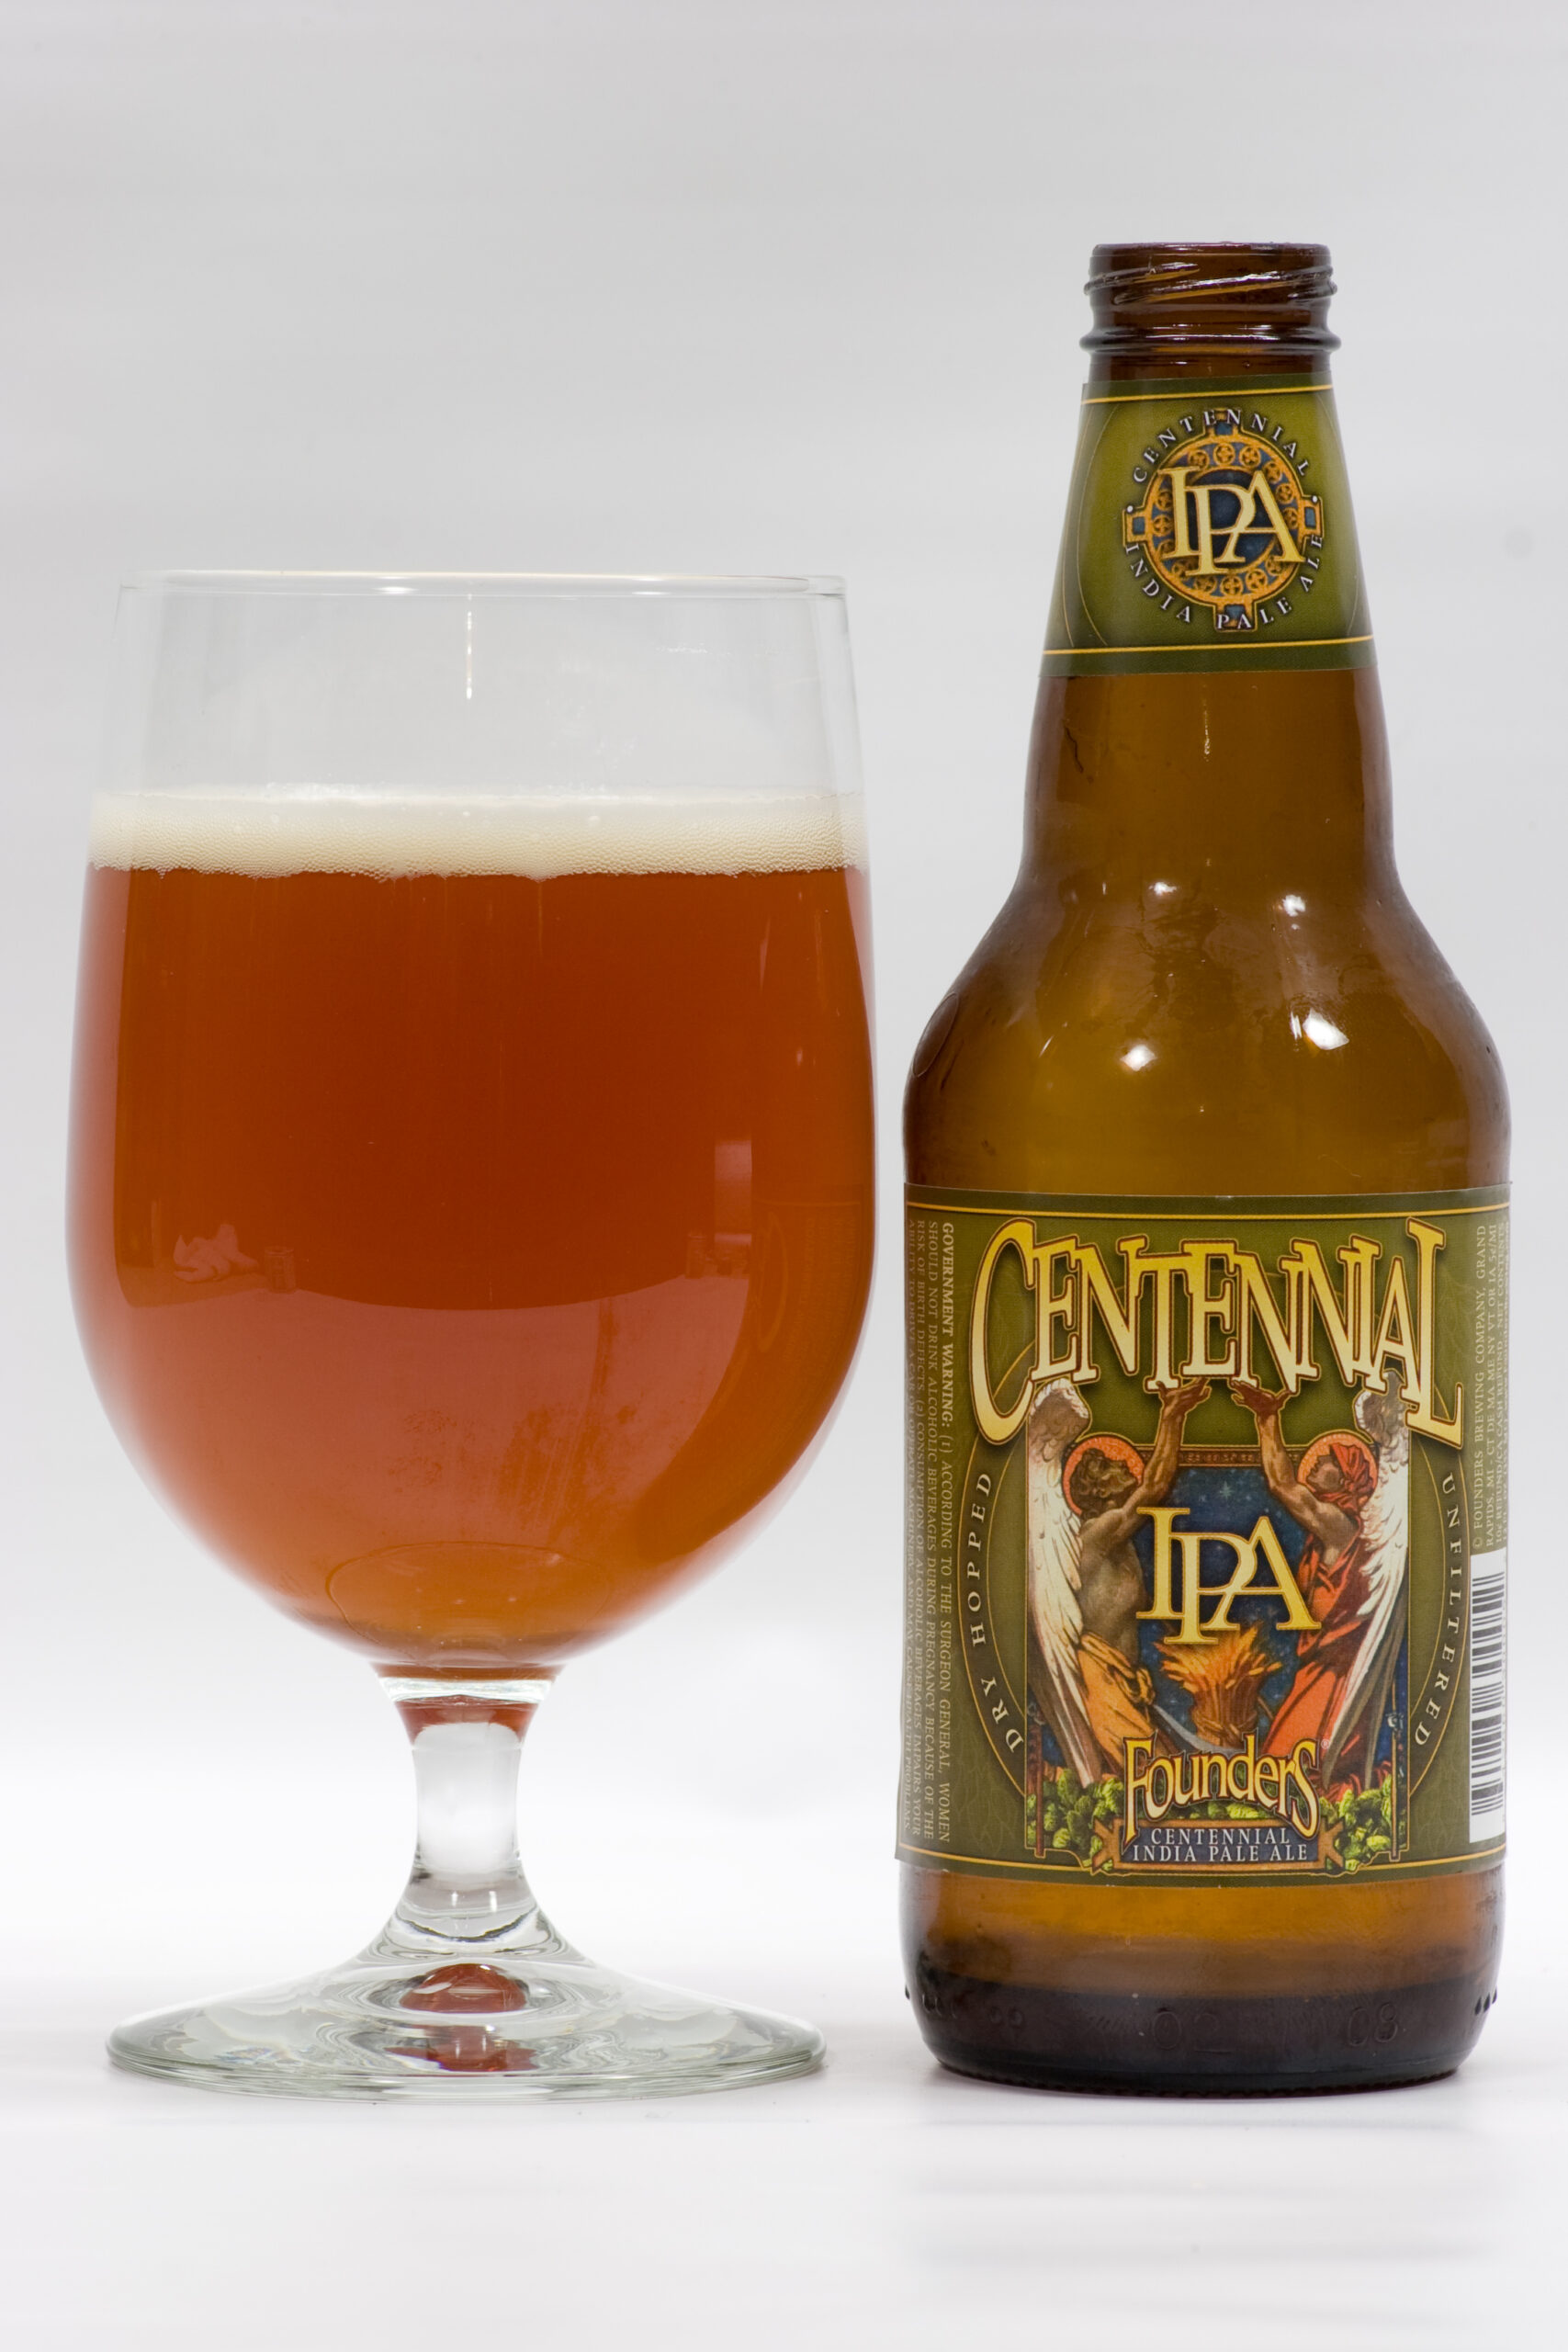
Now I just have to wait a few weeks or so for it to carbonate before trying it. After that it might take a few more months to finish settling out and completely clear again, but it should be good to drink as soon as its fizzy. Tonight I drank the leftovers from establishing density and that tasted like a tart, lightly sweet heavy apple wine, so I have good hopes for it once it’s fizzy.