
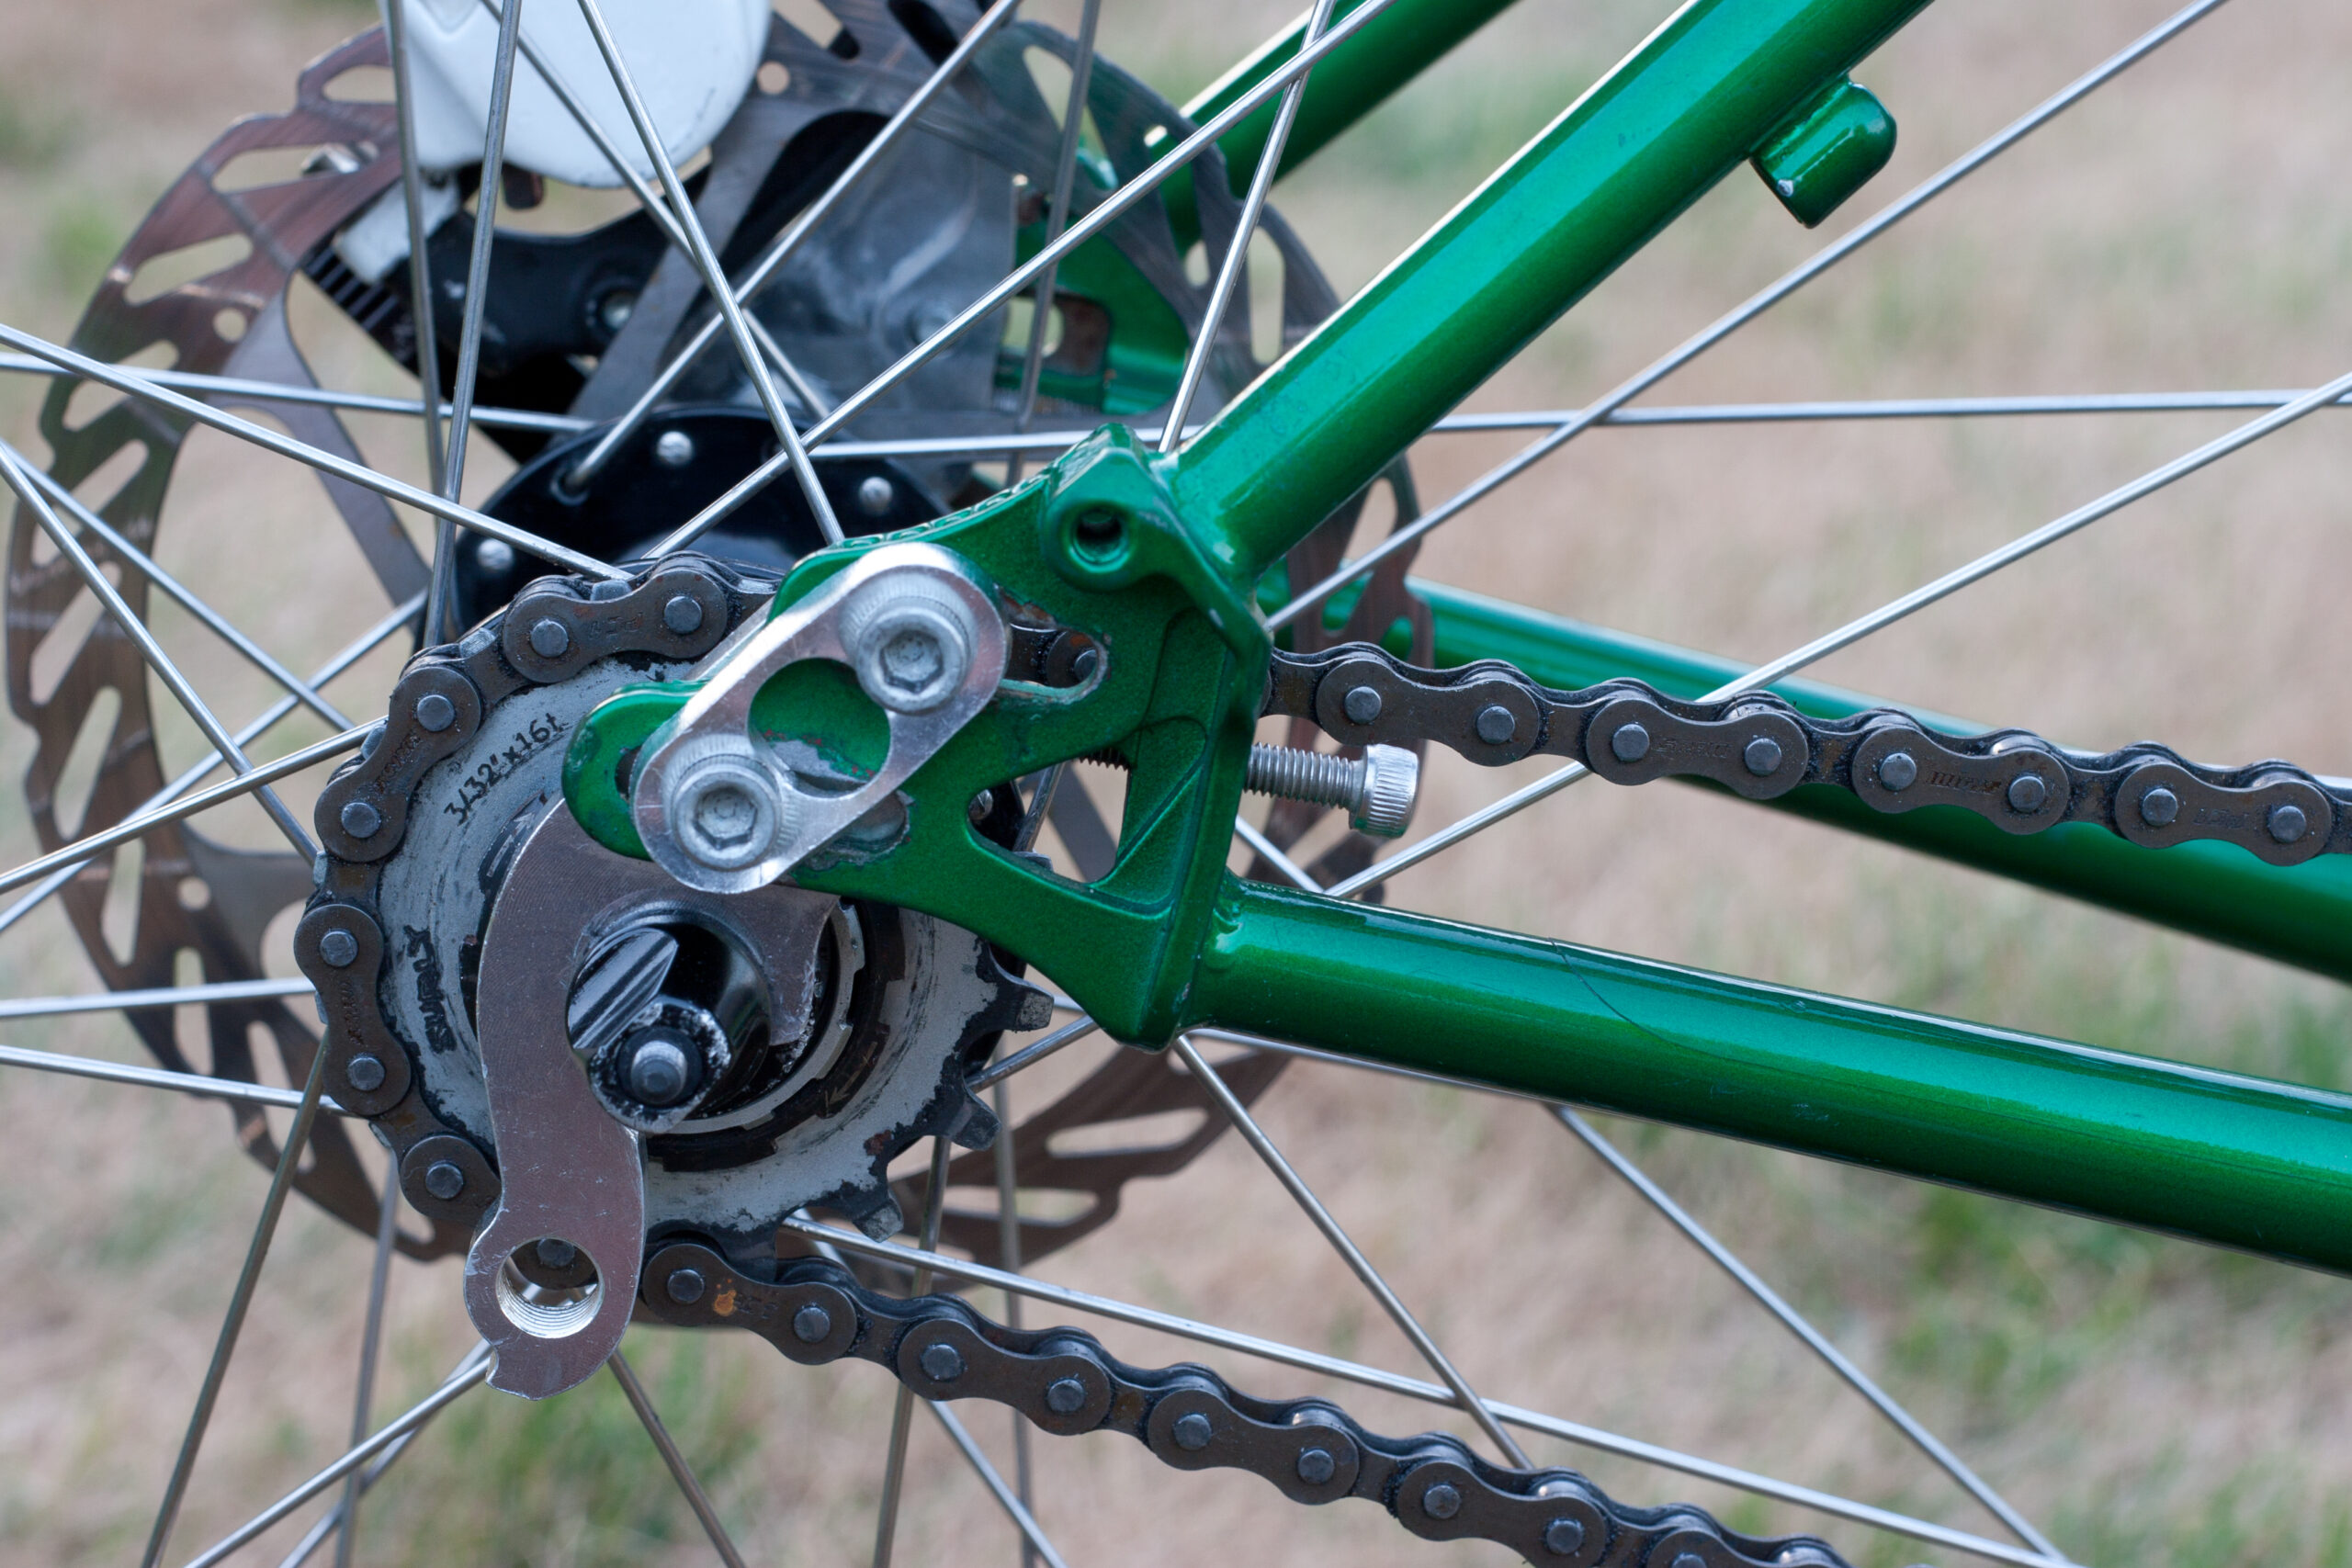
After washing off the remainder of the mud from yesterday’s race I set about trying to fix the problem with the rear wheel rubbing on a chain stay. This appeared to be due to one of the sliding dropouts sliding, but after looking into it more I think what’s actually happening is that the dropout is rotating slightly while braking due the the bolts being slightly smaller than the slots they go through. So, as can be seen above (when contrasted to this picture) I added some ground down wingnuts to the dropout adjustment screws and changed the outer plates to a set of flat and split lock washers.
The original outer plates appear to have raised ridges in them to alleviate this shifting, but the ones I have are so squished and worn that I don’t think they fit quite right and thus were having the same issue. I’ve tried emailing VooDoo Cycles on Wednesday to buy replacement sliding dropouts, but they haven’t replied, so I think I’ll have to take other steps.
Knowing what forces are in play on the dropouts will hopefully allow me to set things in proper place so they don’t shift any while riding. An initial test around the neighborhoods seemed to help, but not being on trails there was very little braking to be done. If this doesn’t work I’ll also try Fiber Grip to increase friction in the frame vs. dropout area, making larger outer washers/plates, and adding bushings around the screws. I’m also considering adding a link to the chain to both get a quick link in place and allow the wheel to be moved backwards putting the edge of the tire at a wider part of the stay to alleviate/offset the tire rubbing giving it more room to flex/move to the side if it does slip.
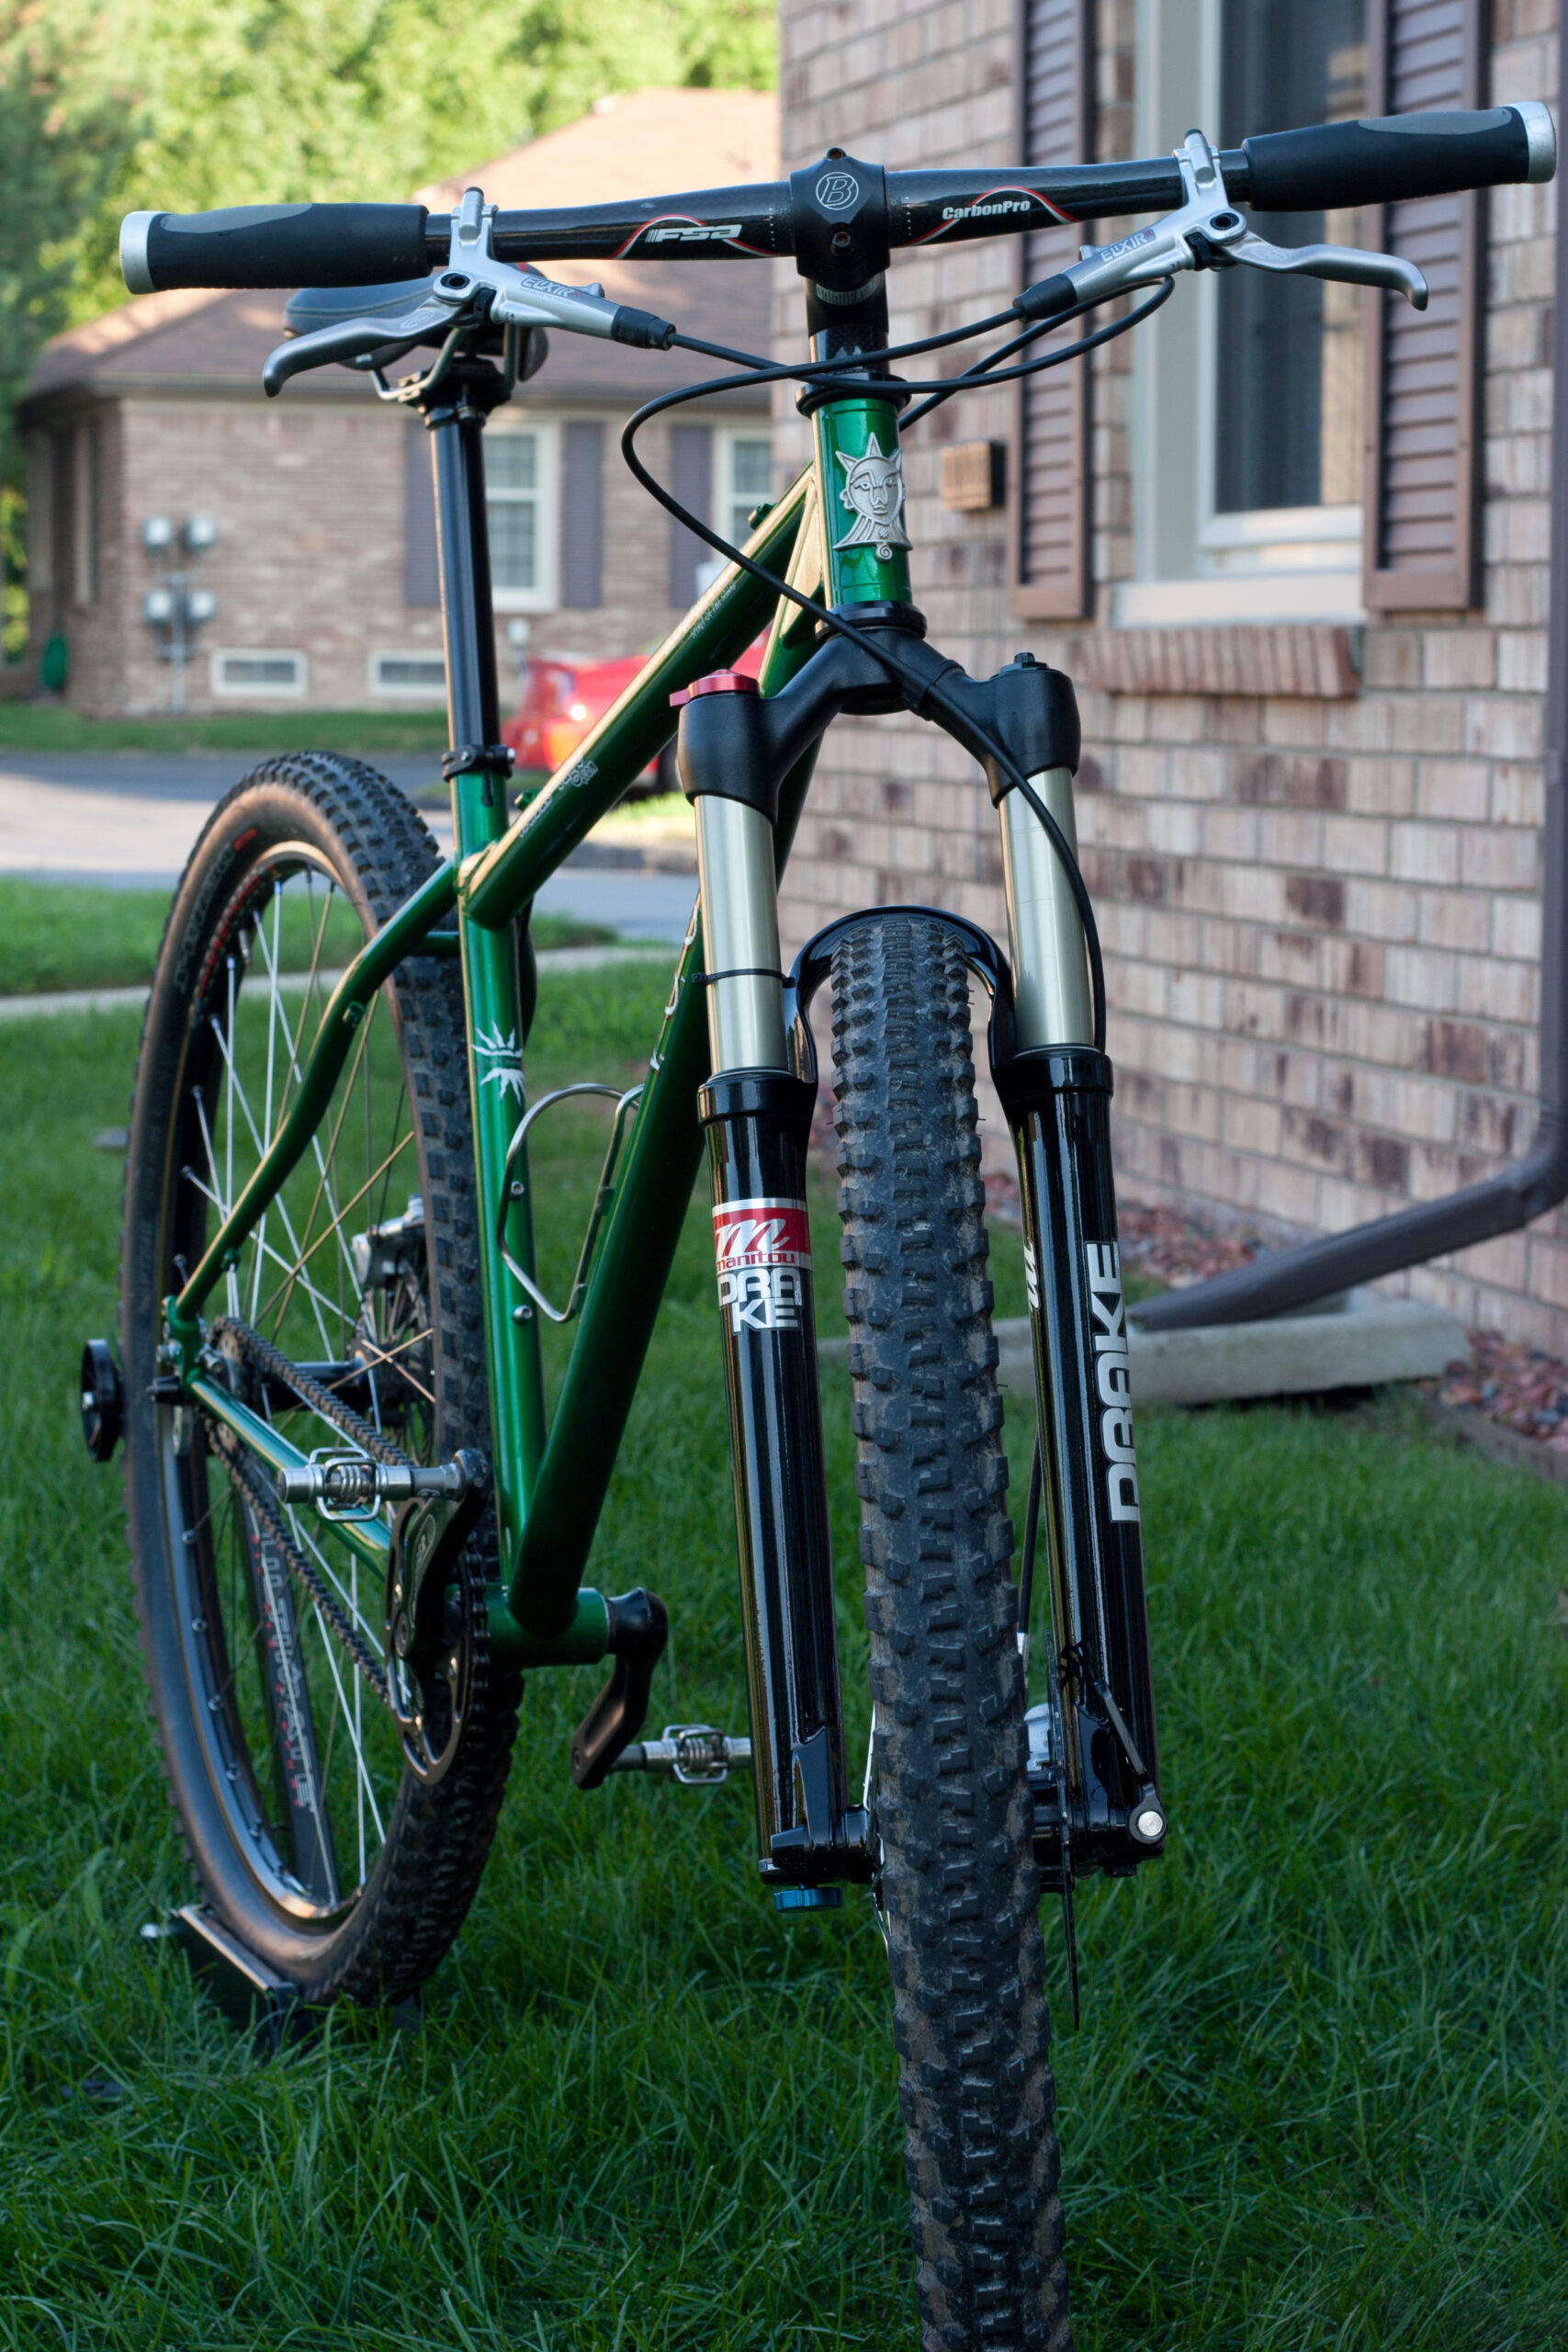
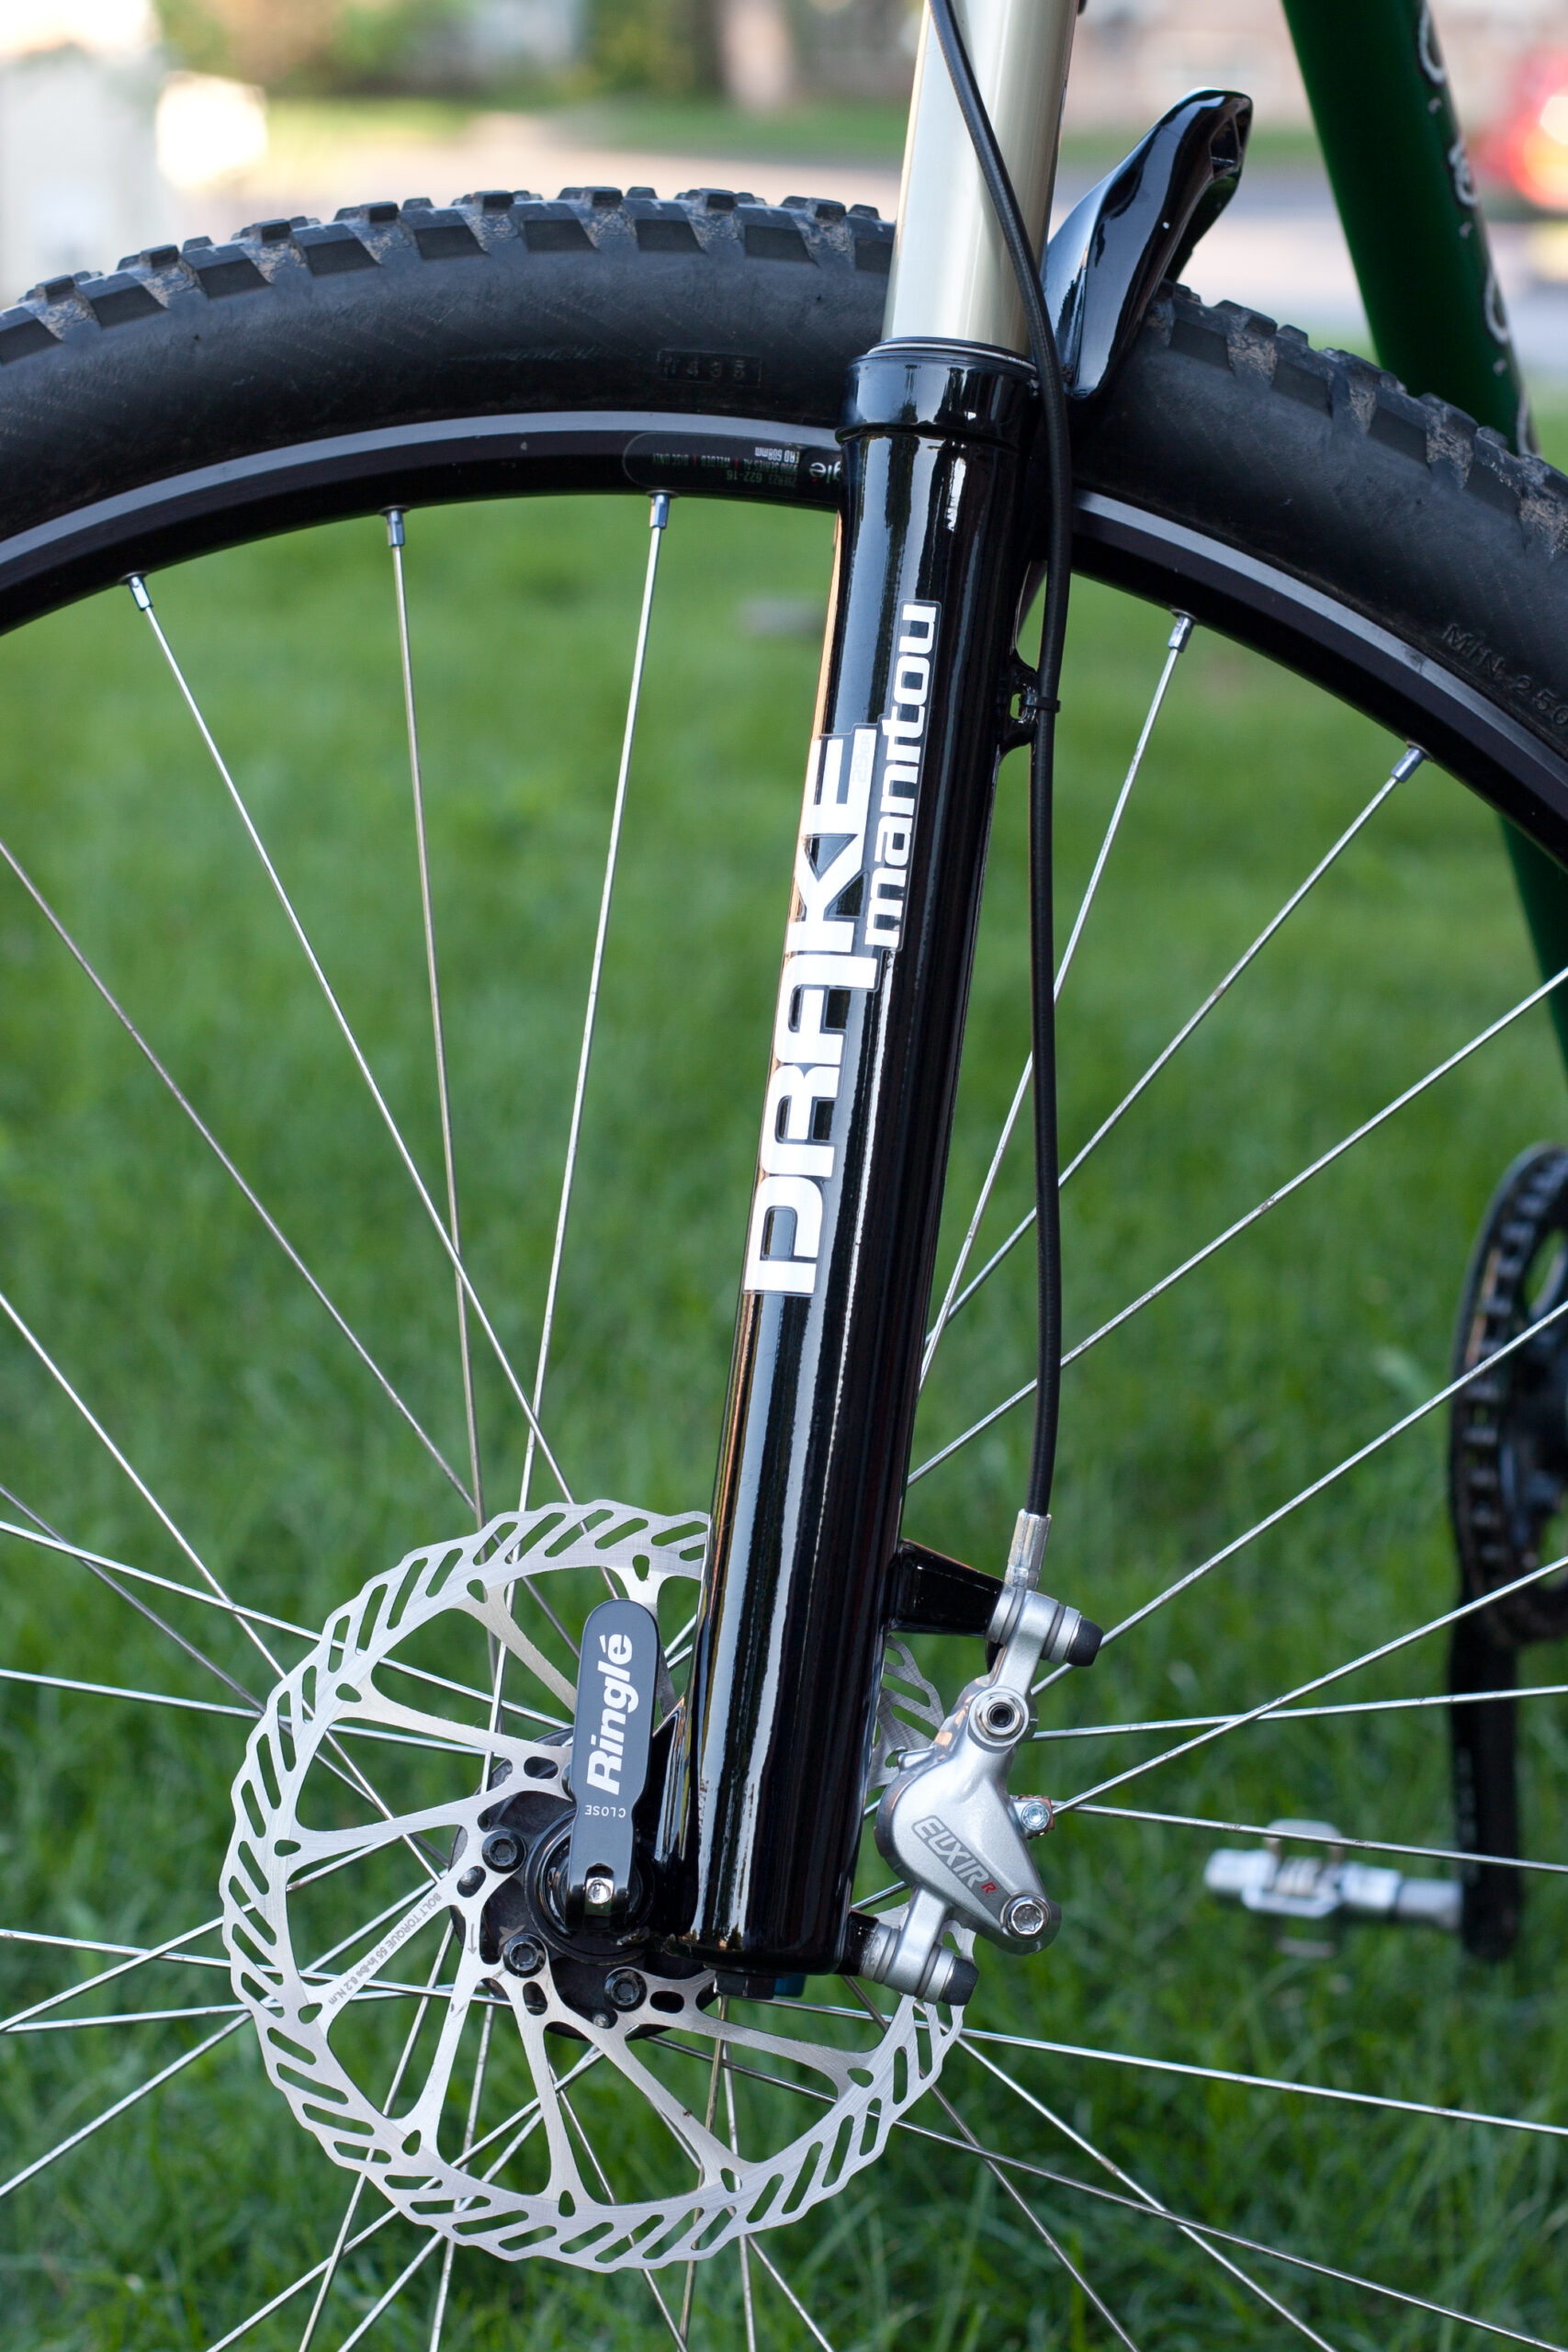
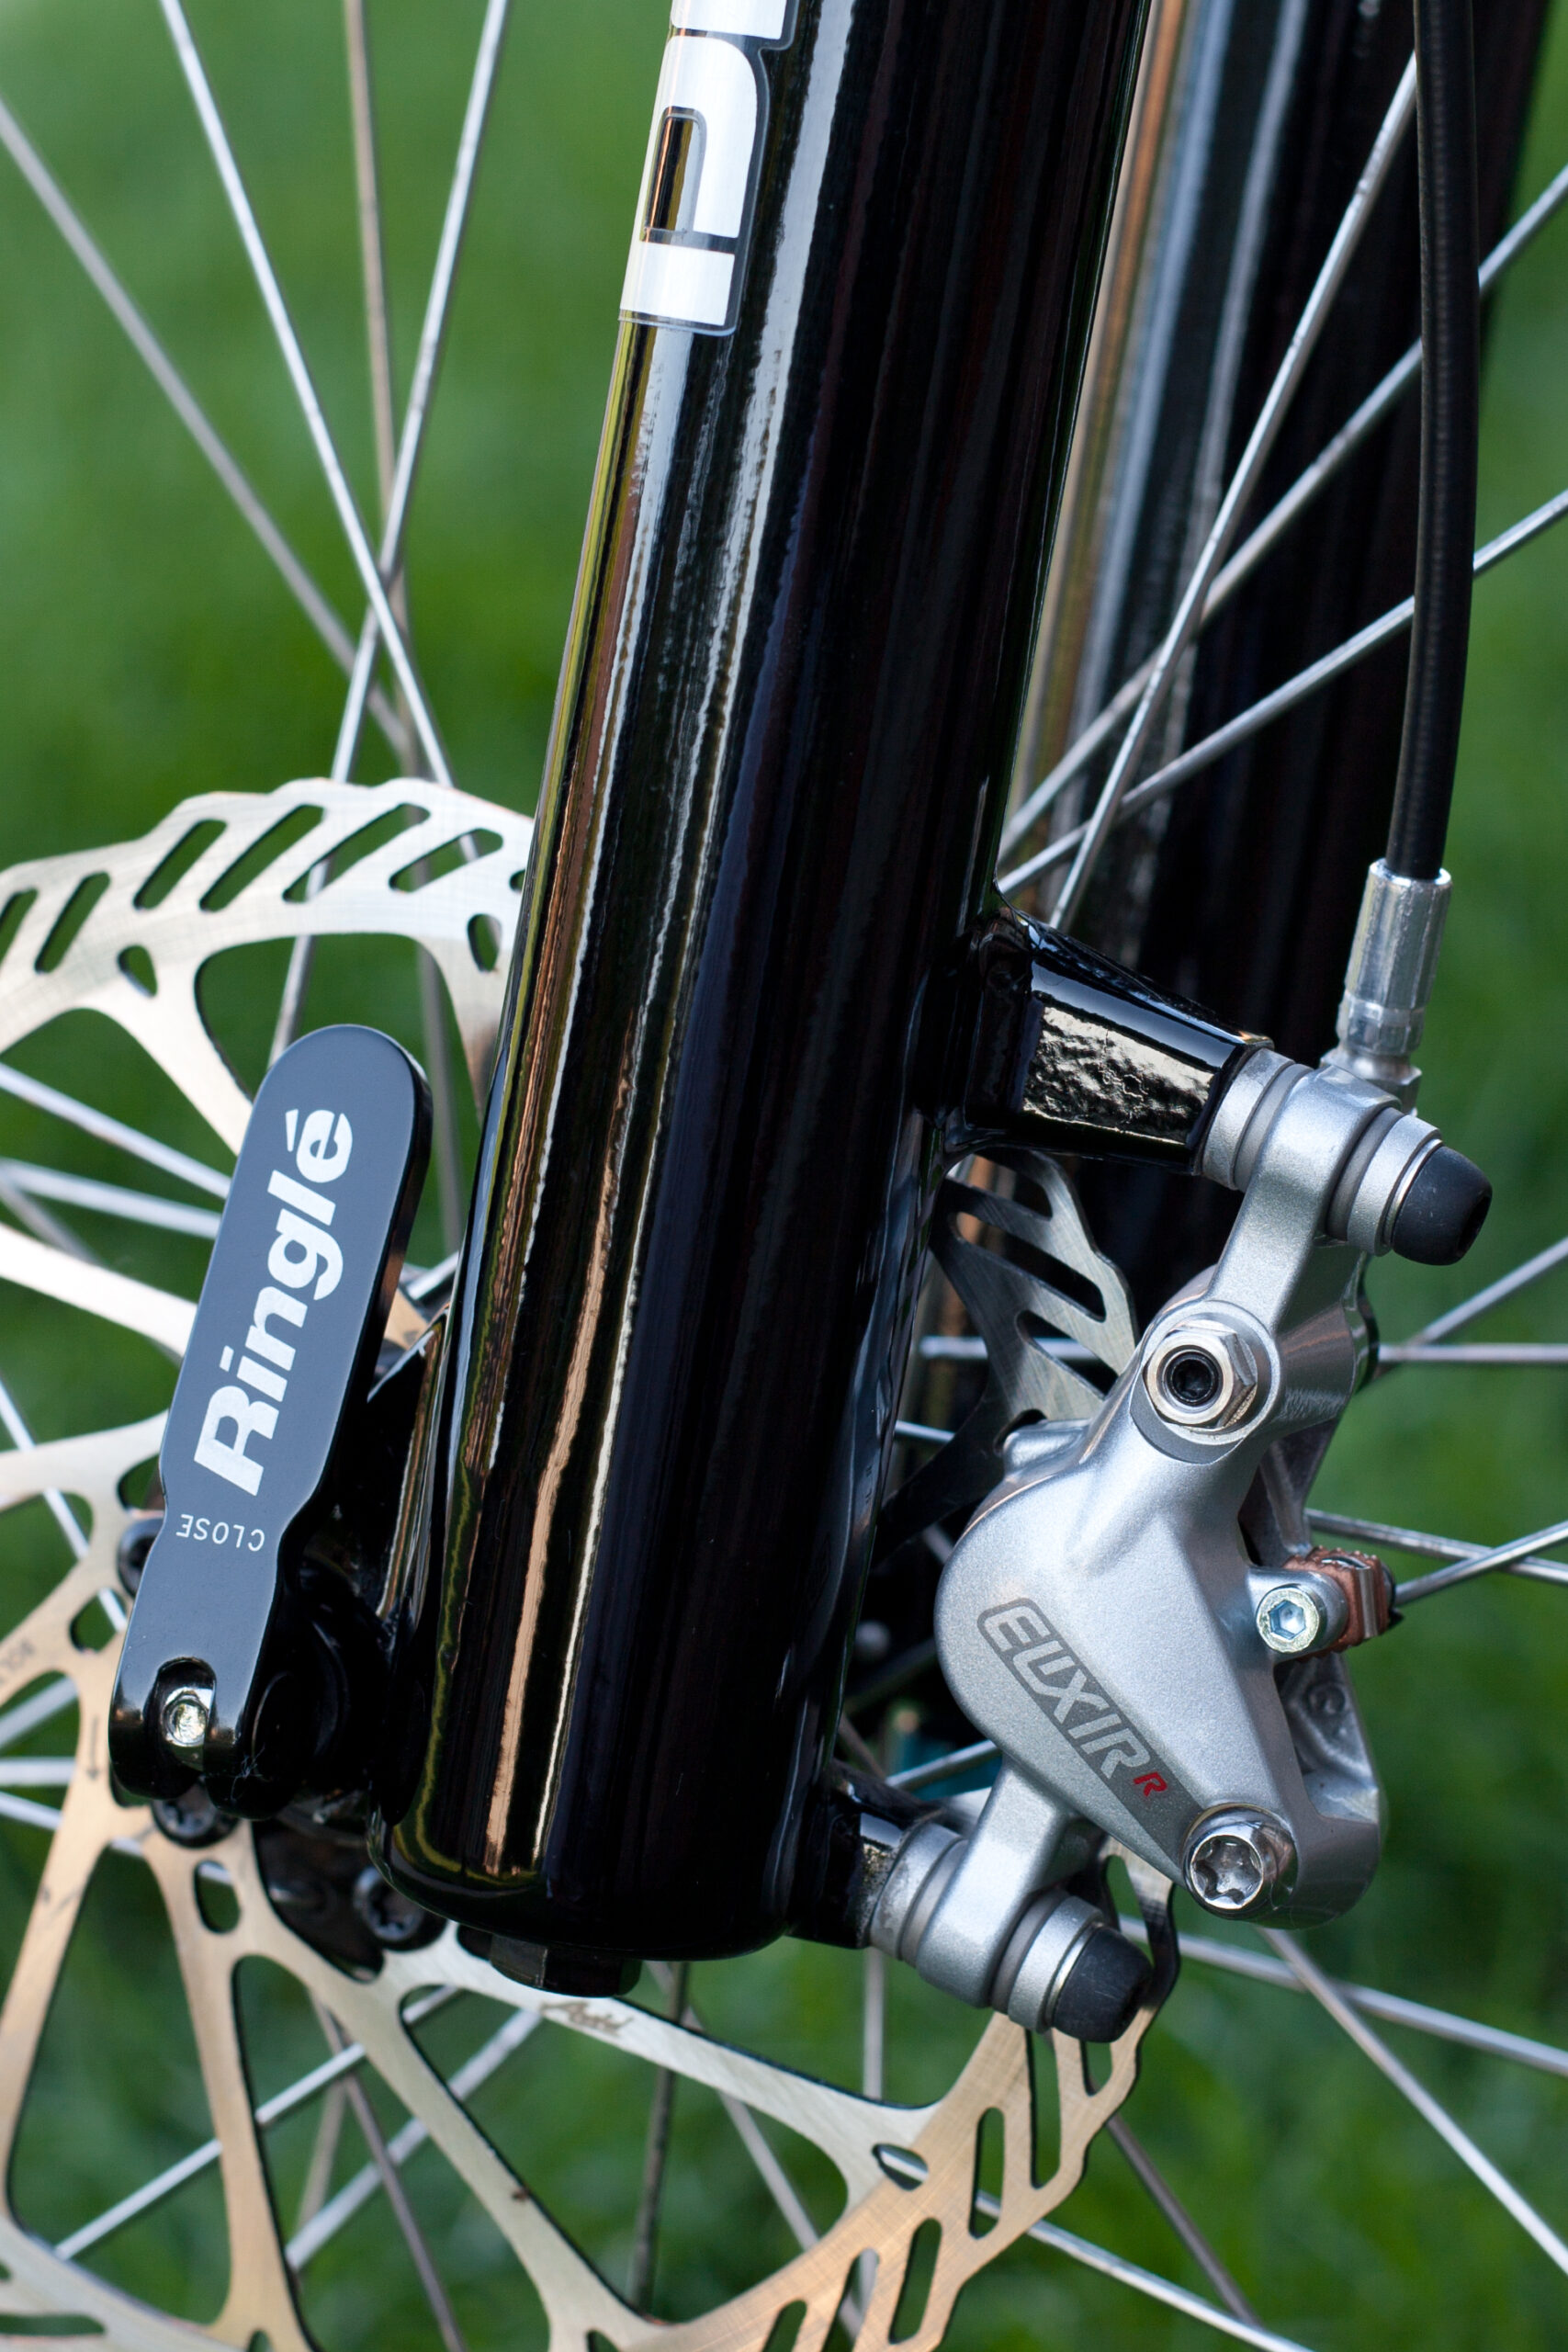
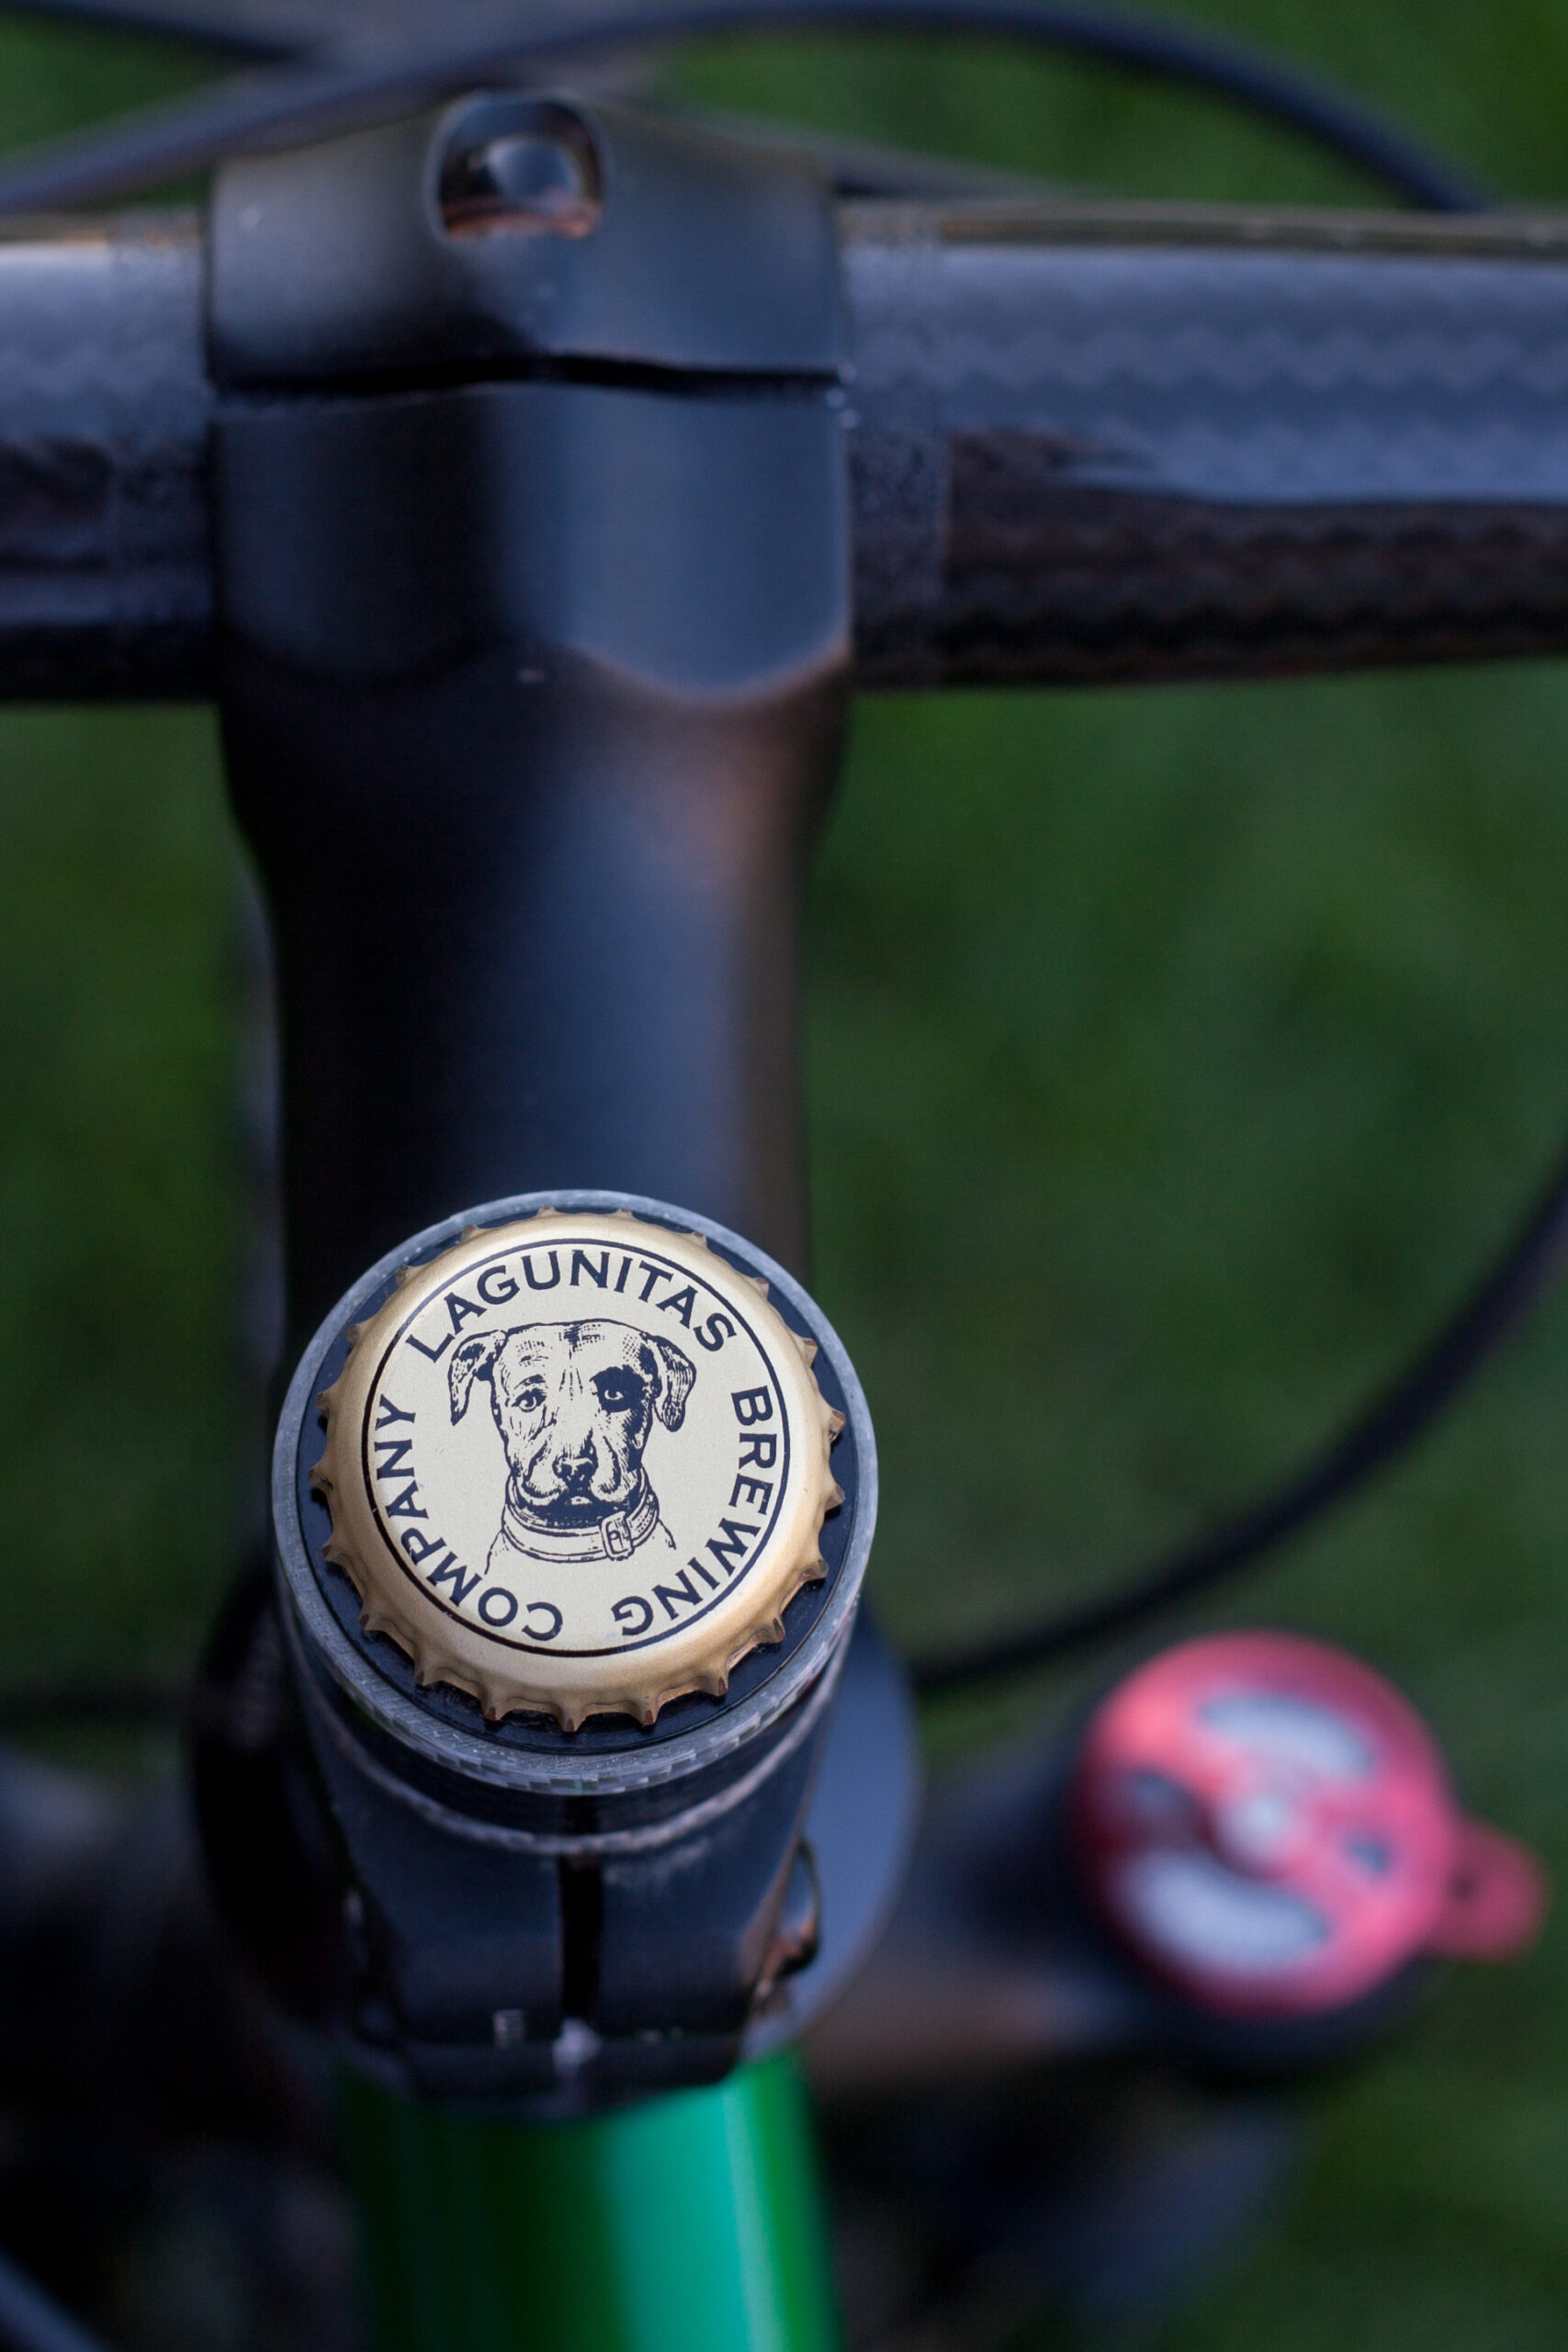
Here’s a couple photos of the bike with the new suspension fork, brakes, and Lagunitas Brewing Company cap (on a Niner YAWYD (photo gallery retired)) on it: 1 · 2 · 3 · 4.
Save for the slipping dropout issue I rather like this setup. The fork isn’t the greatest, but it’s a good squishy fork that fits the bike well and is comfortable to ride on.


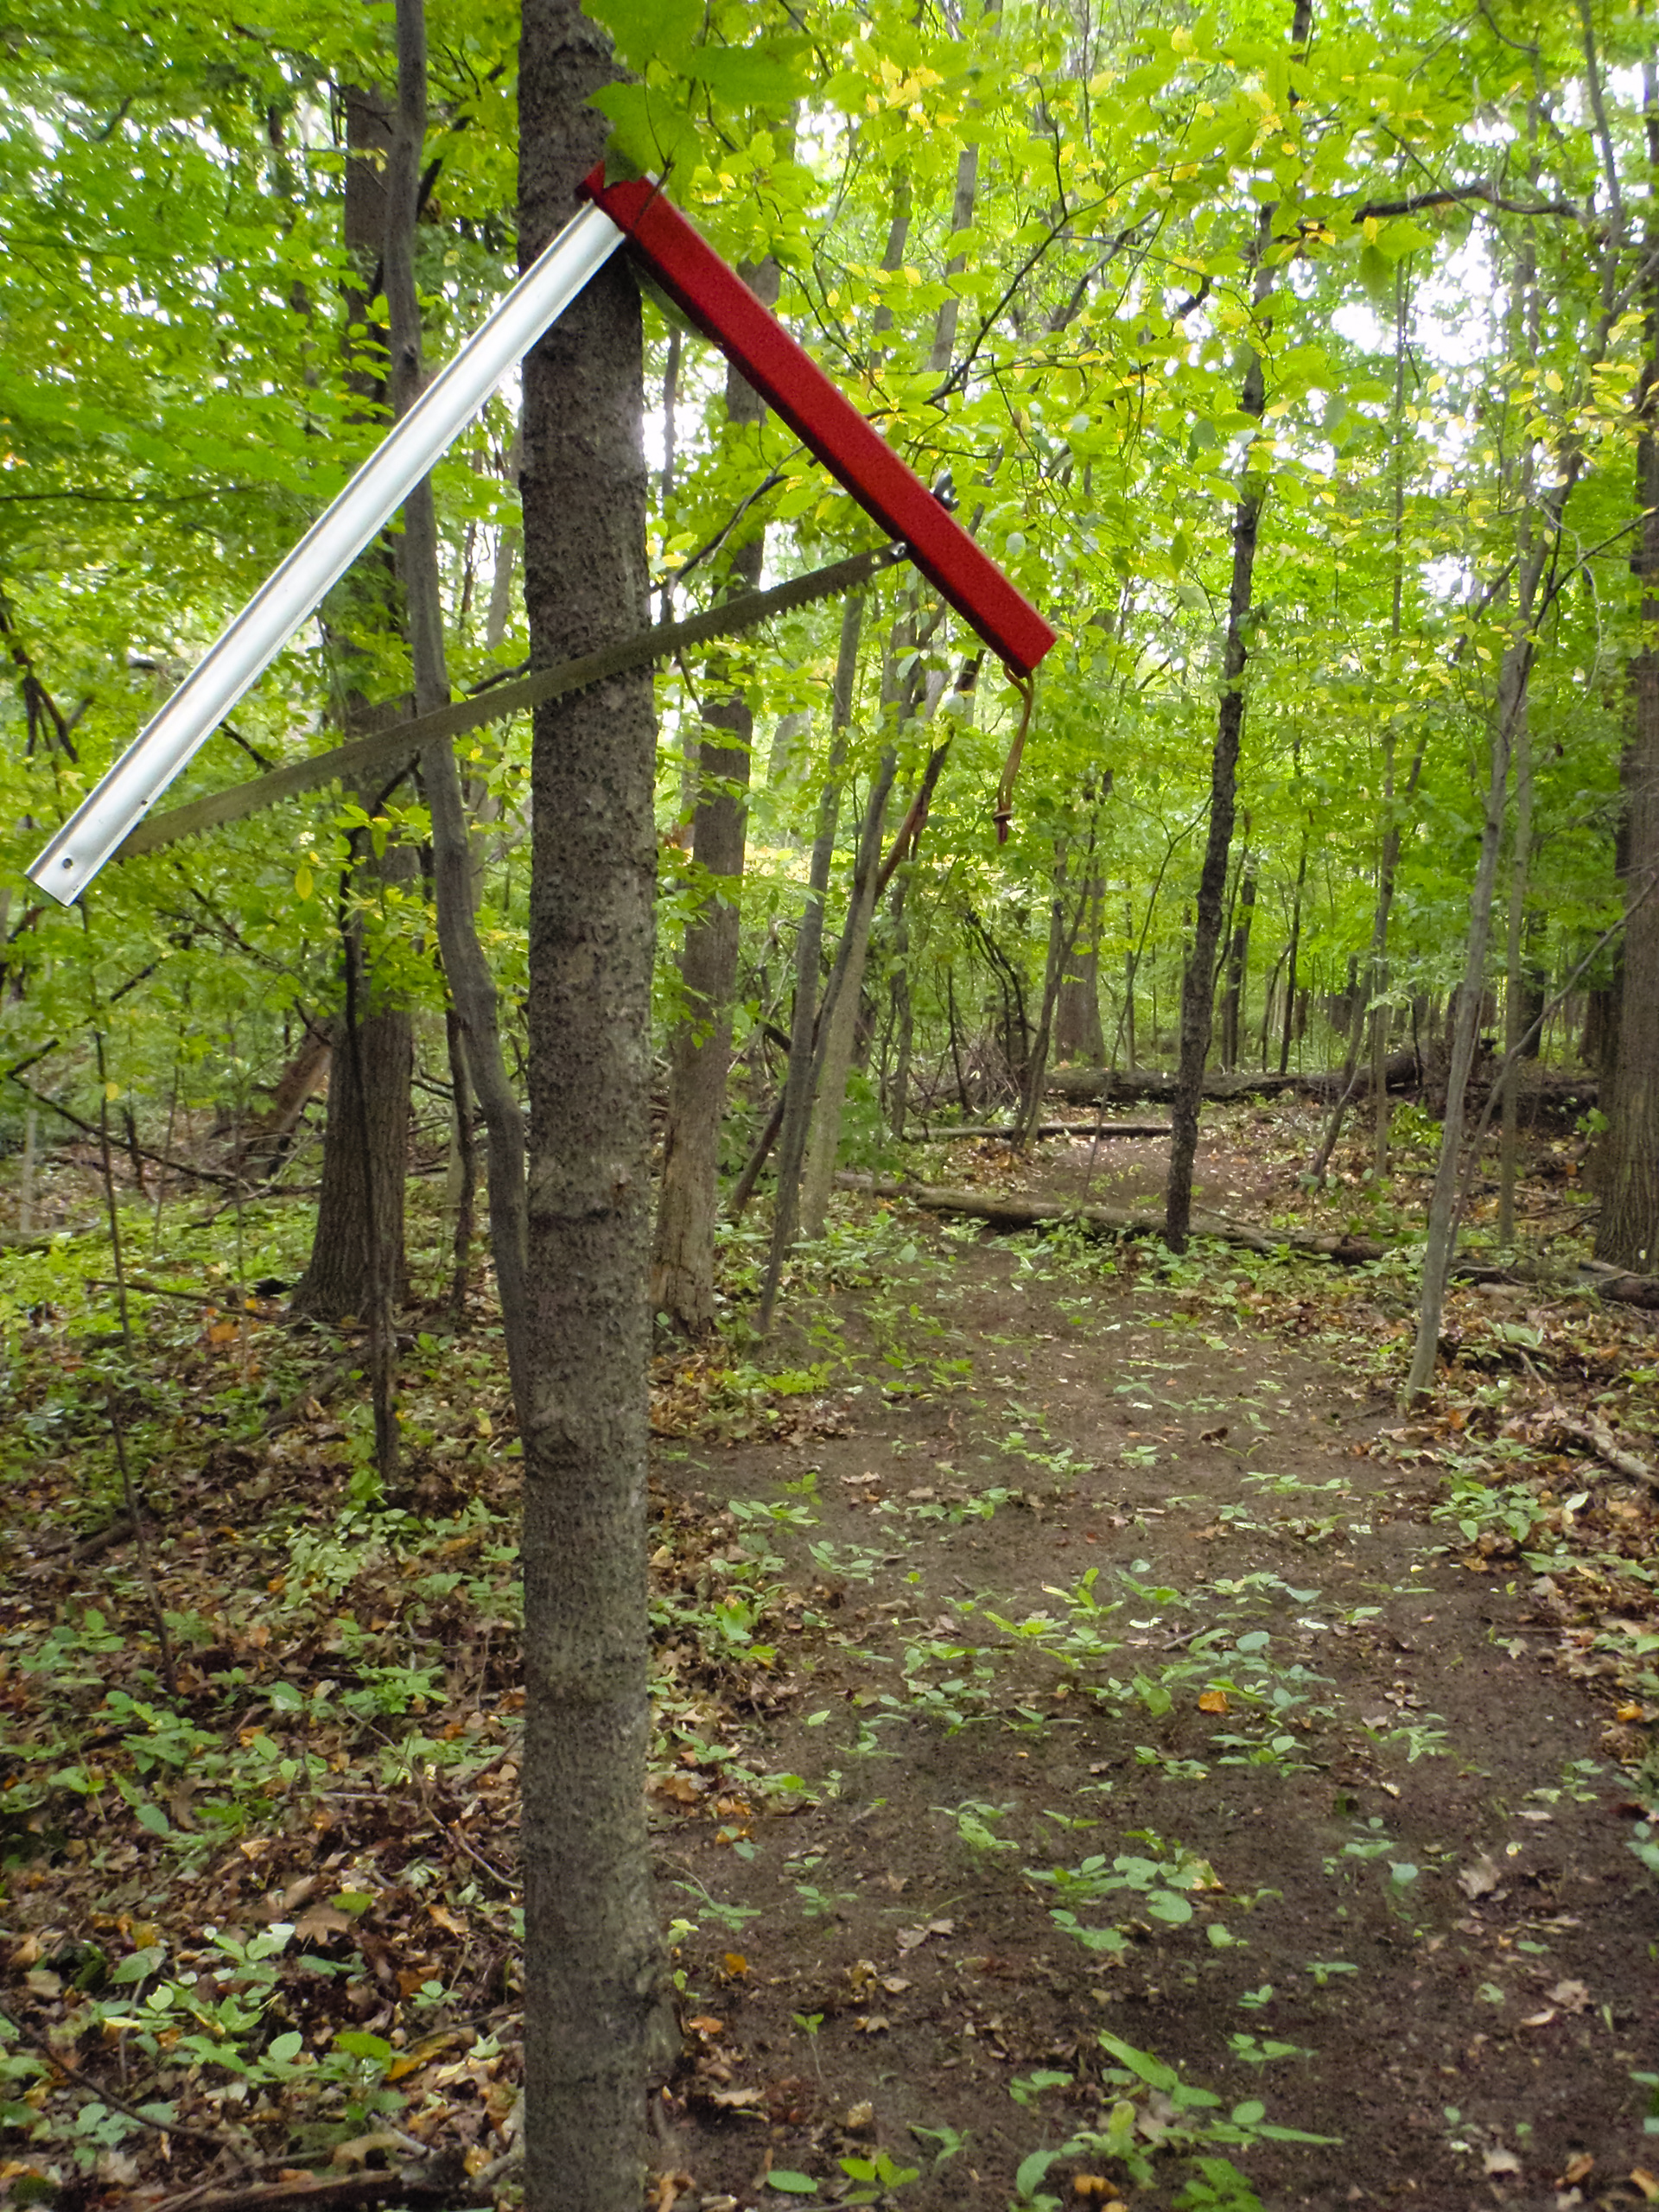
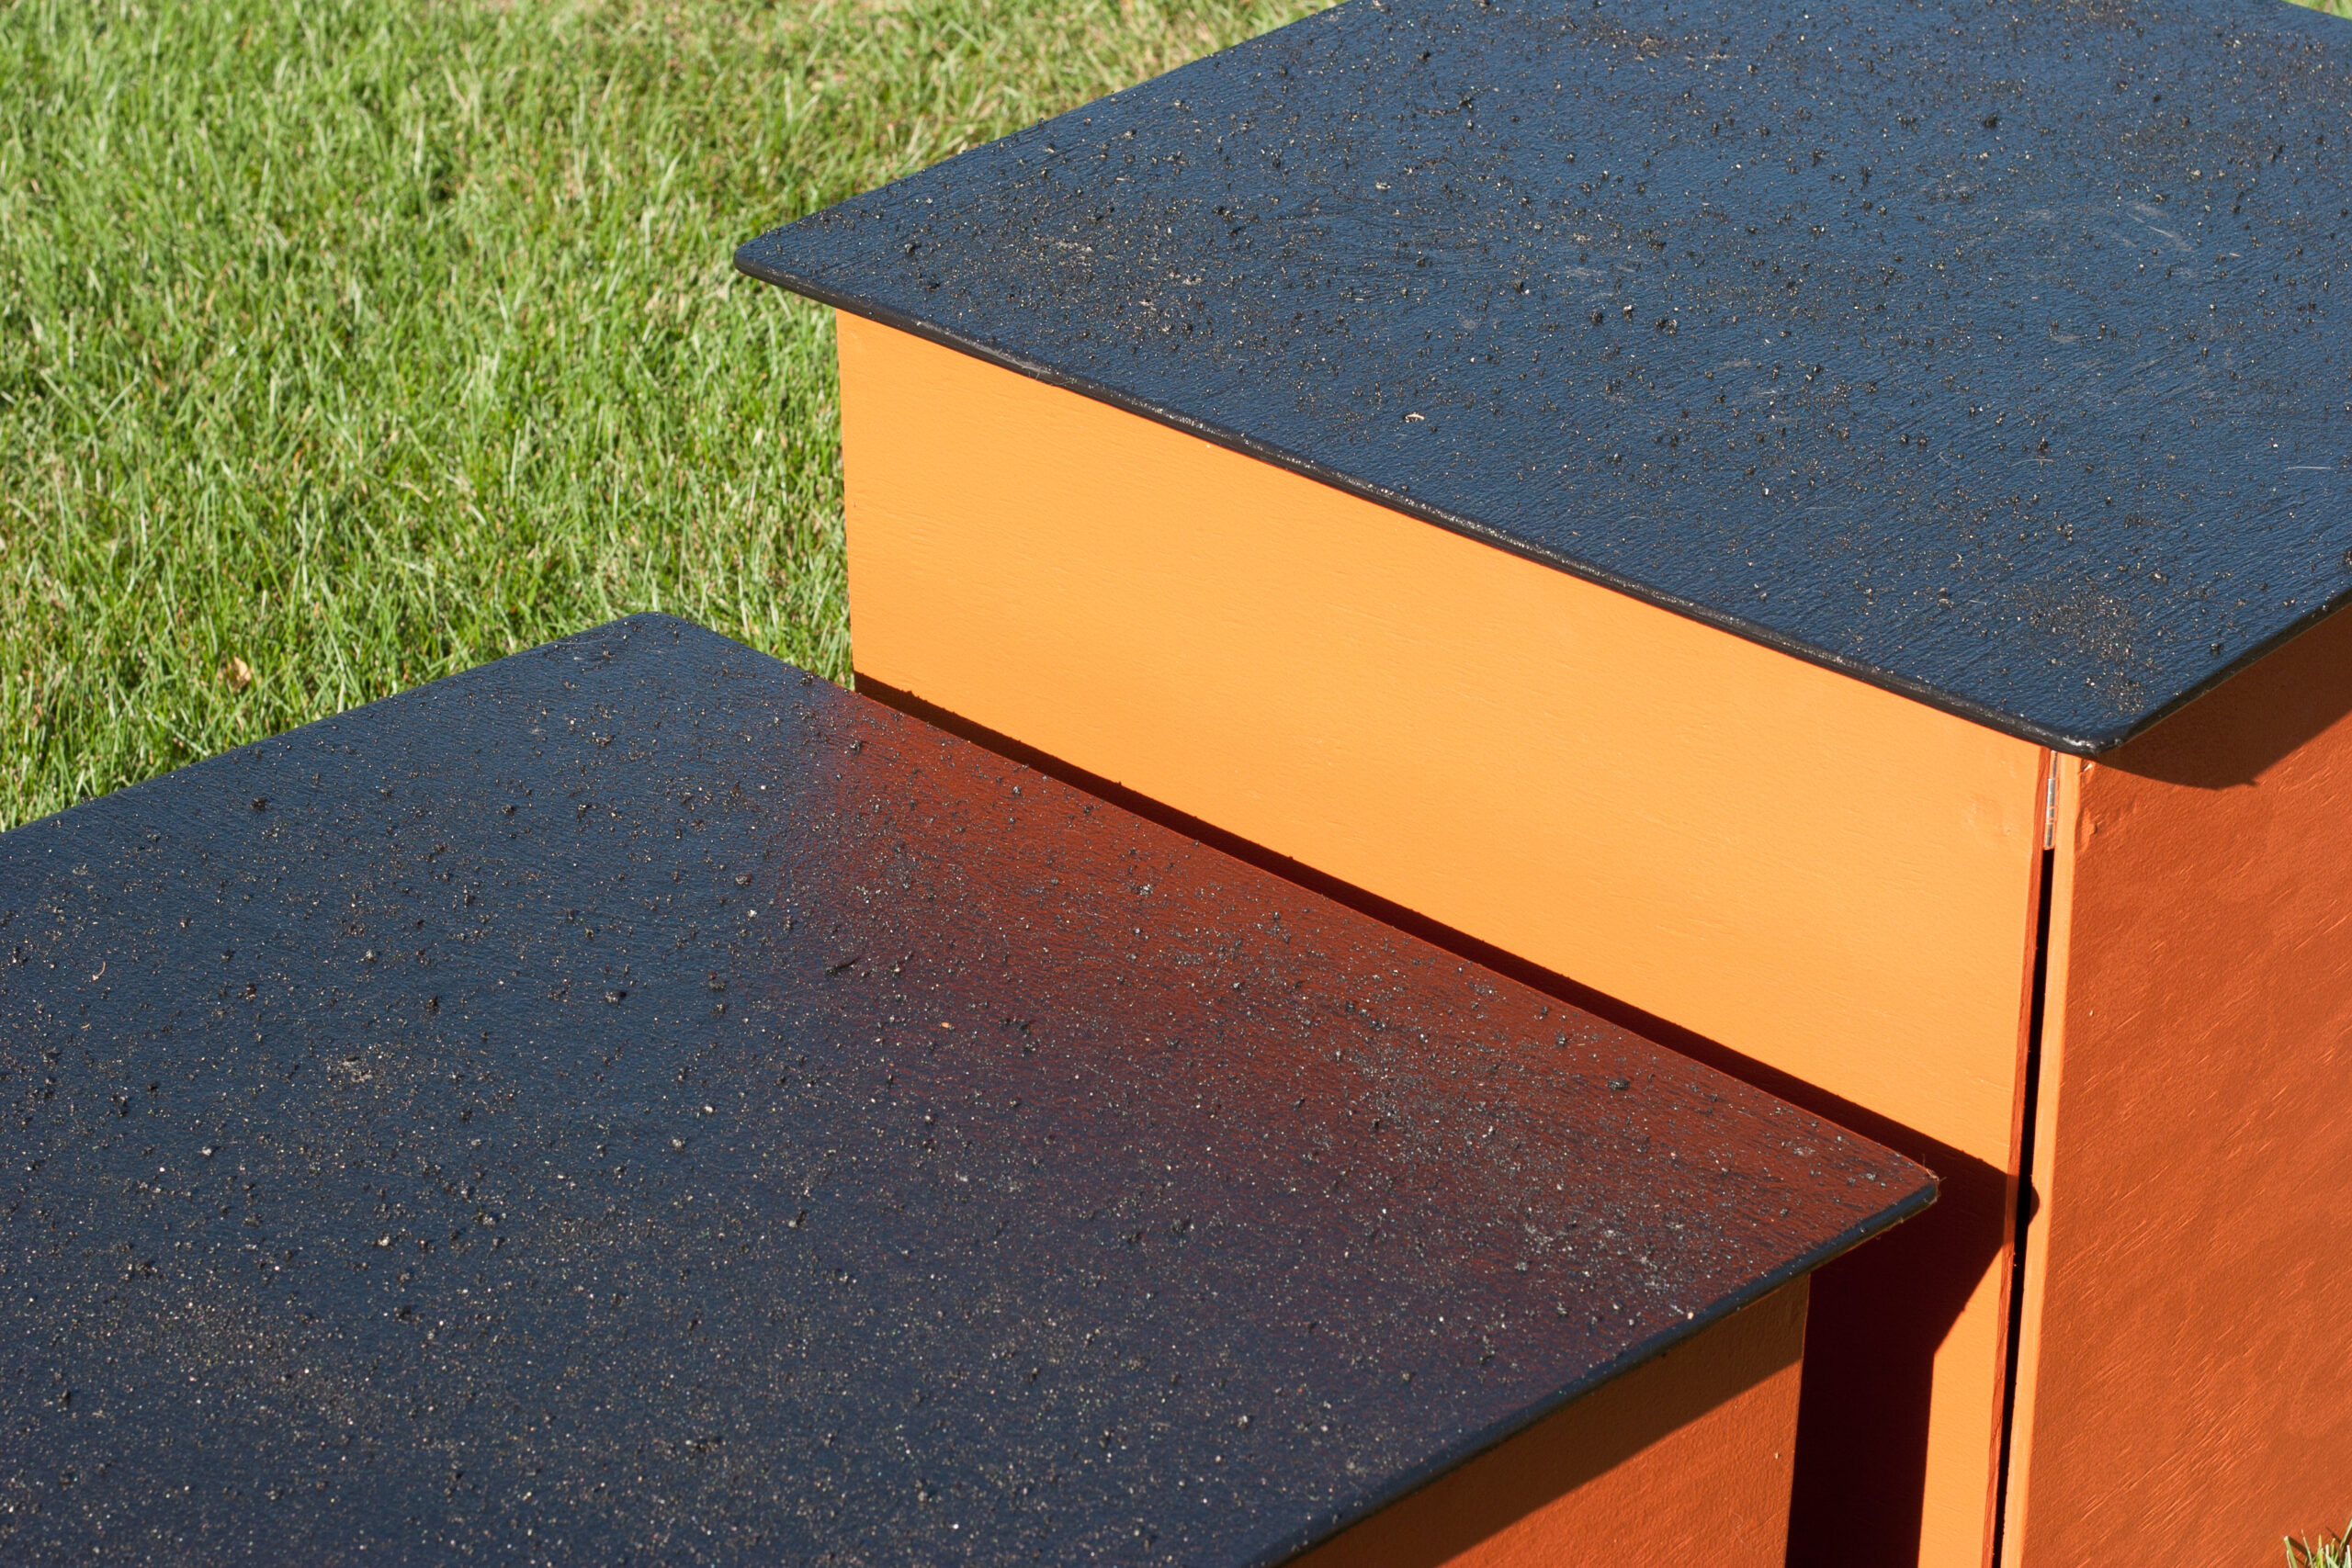
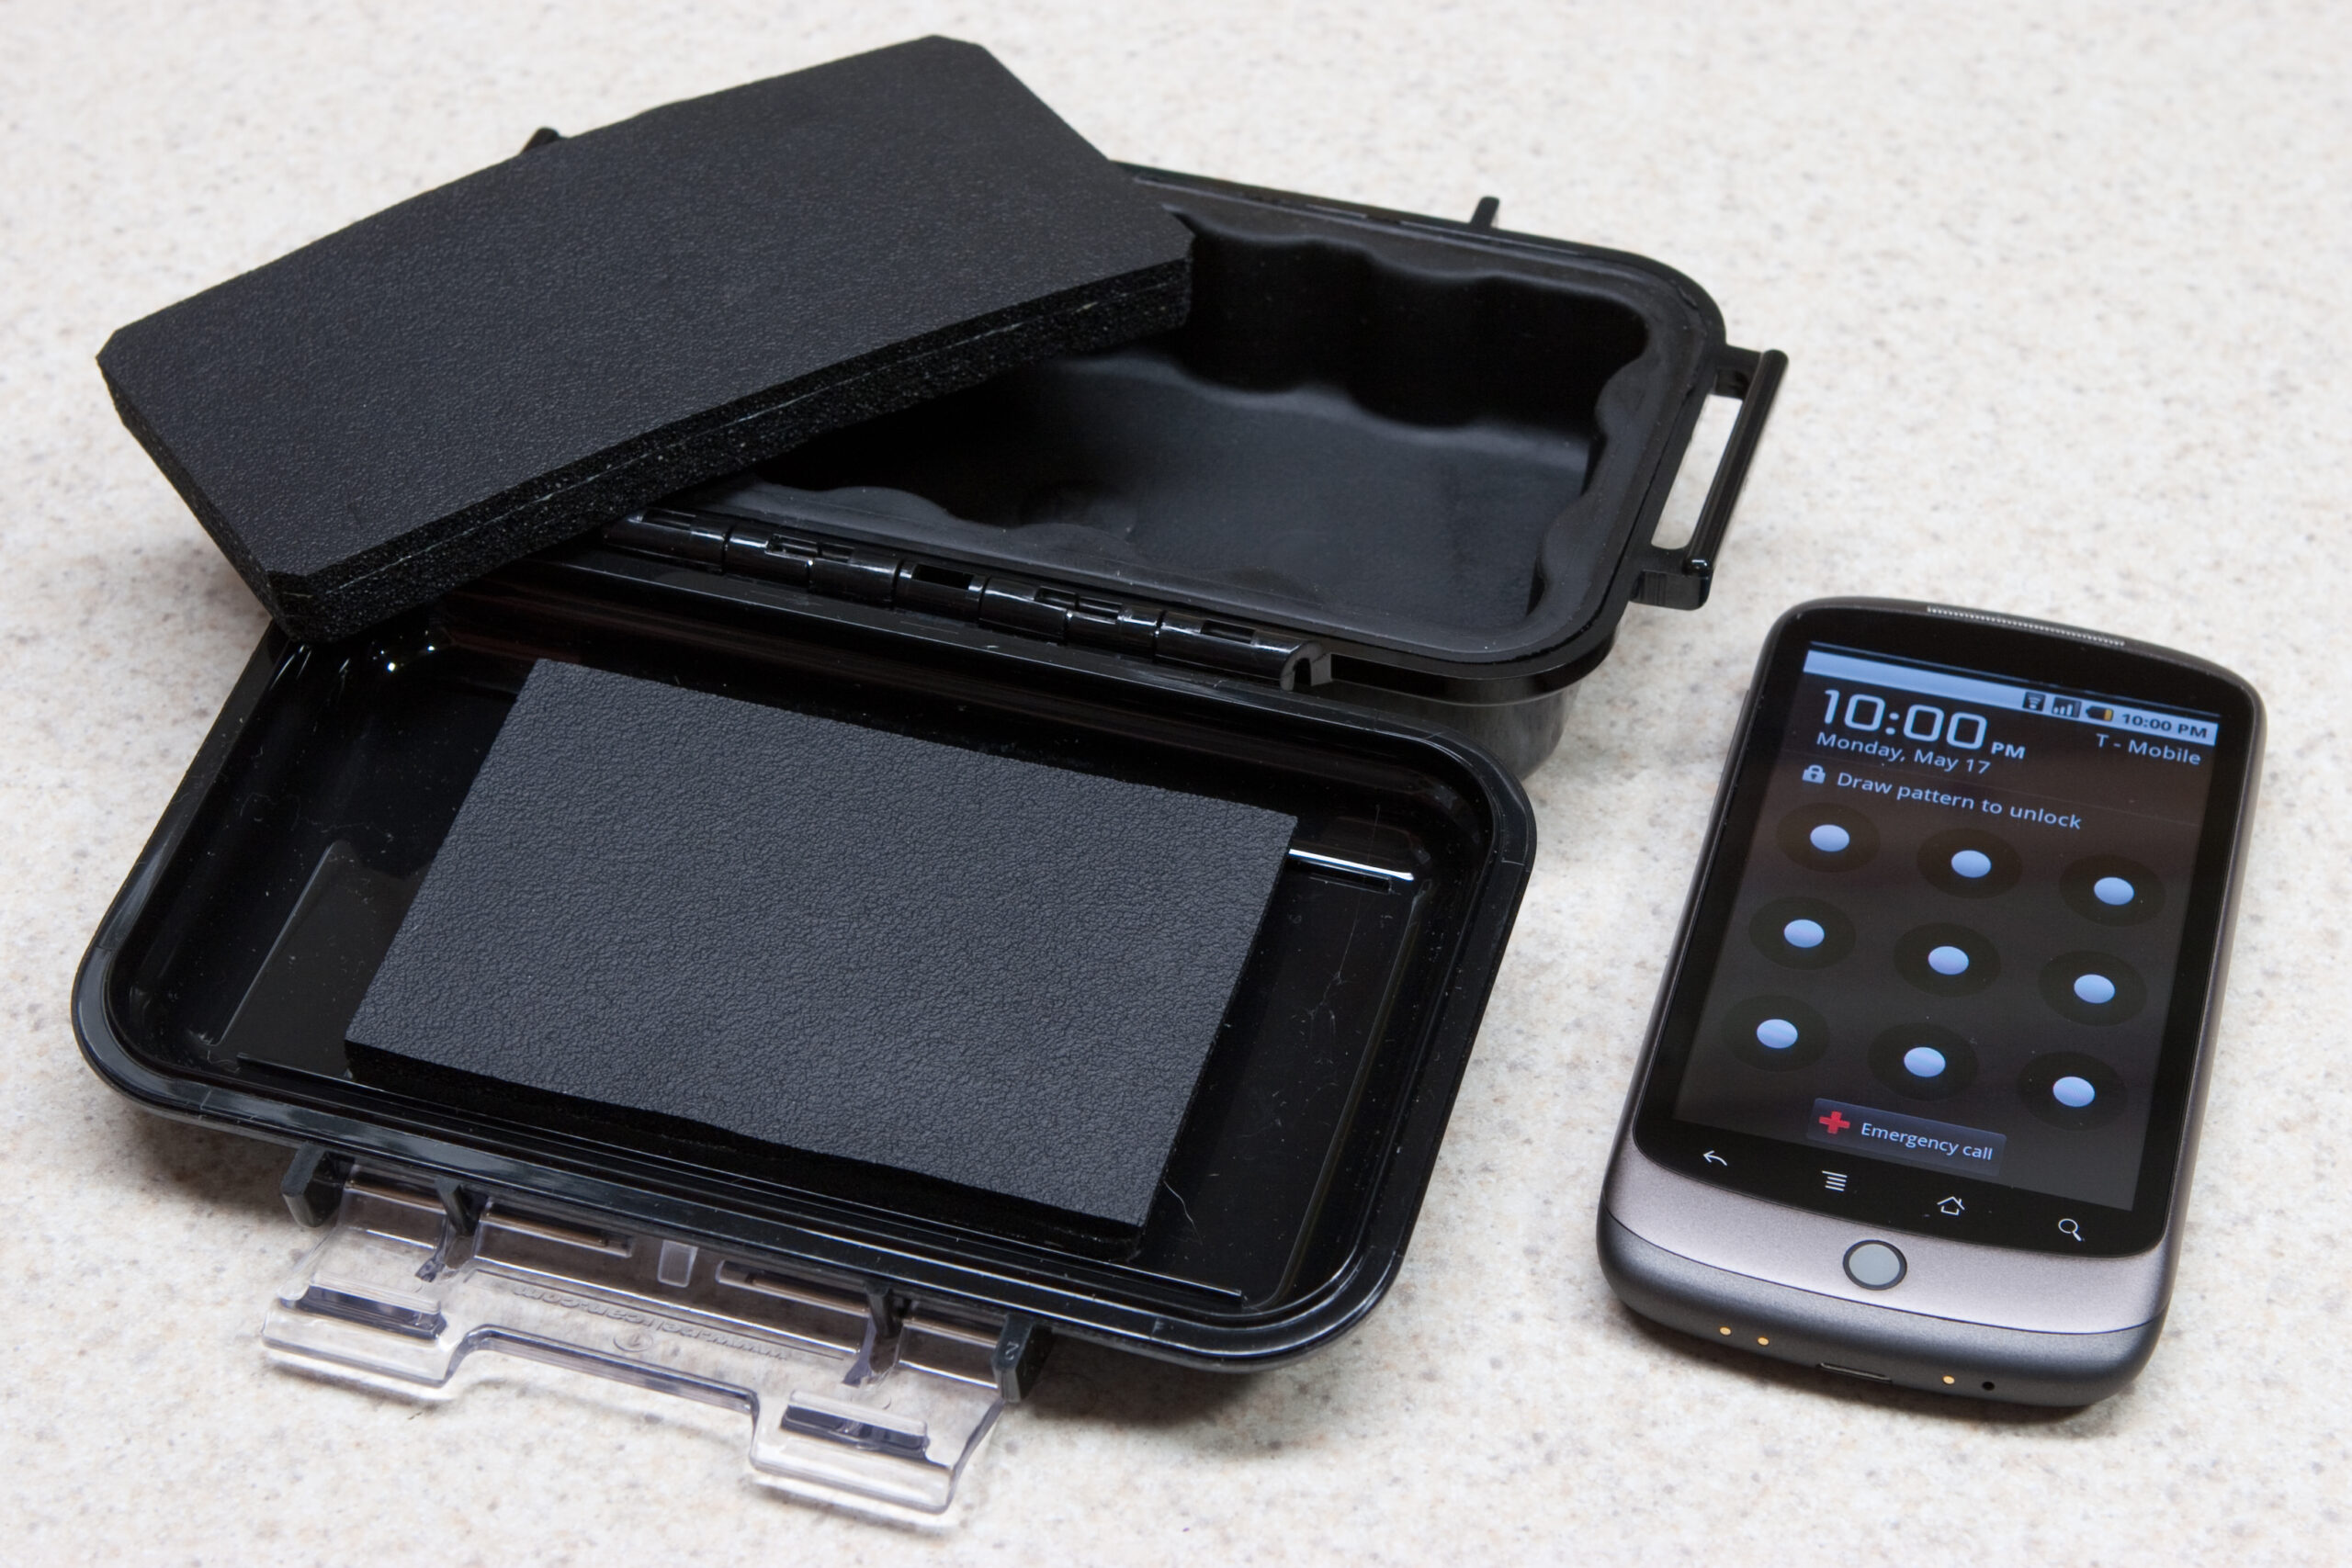
 built and I painted, including non-slip top.")


