nuxx.net
Making, baking, and (un-)breaking things in Southeast Michigan.

Category making things

Kegged Beer Cooler Ingress Fittings

Meijer is great for when it’s 10pm and the next step of your project requires Great Stuff spray foam insulation.

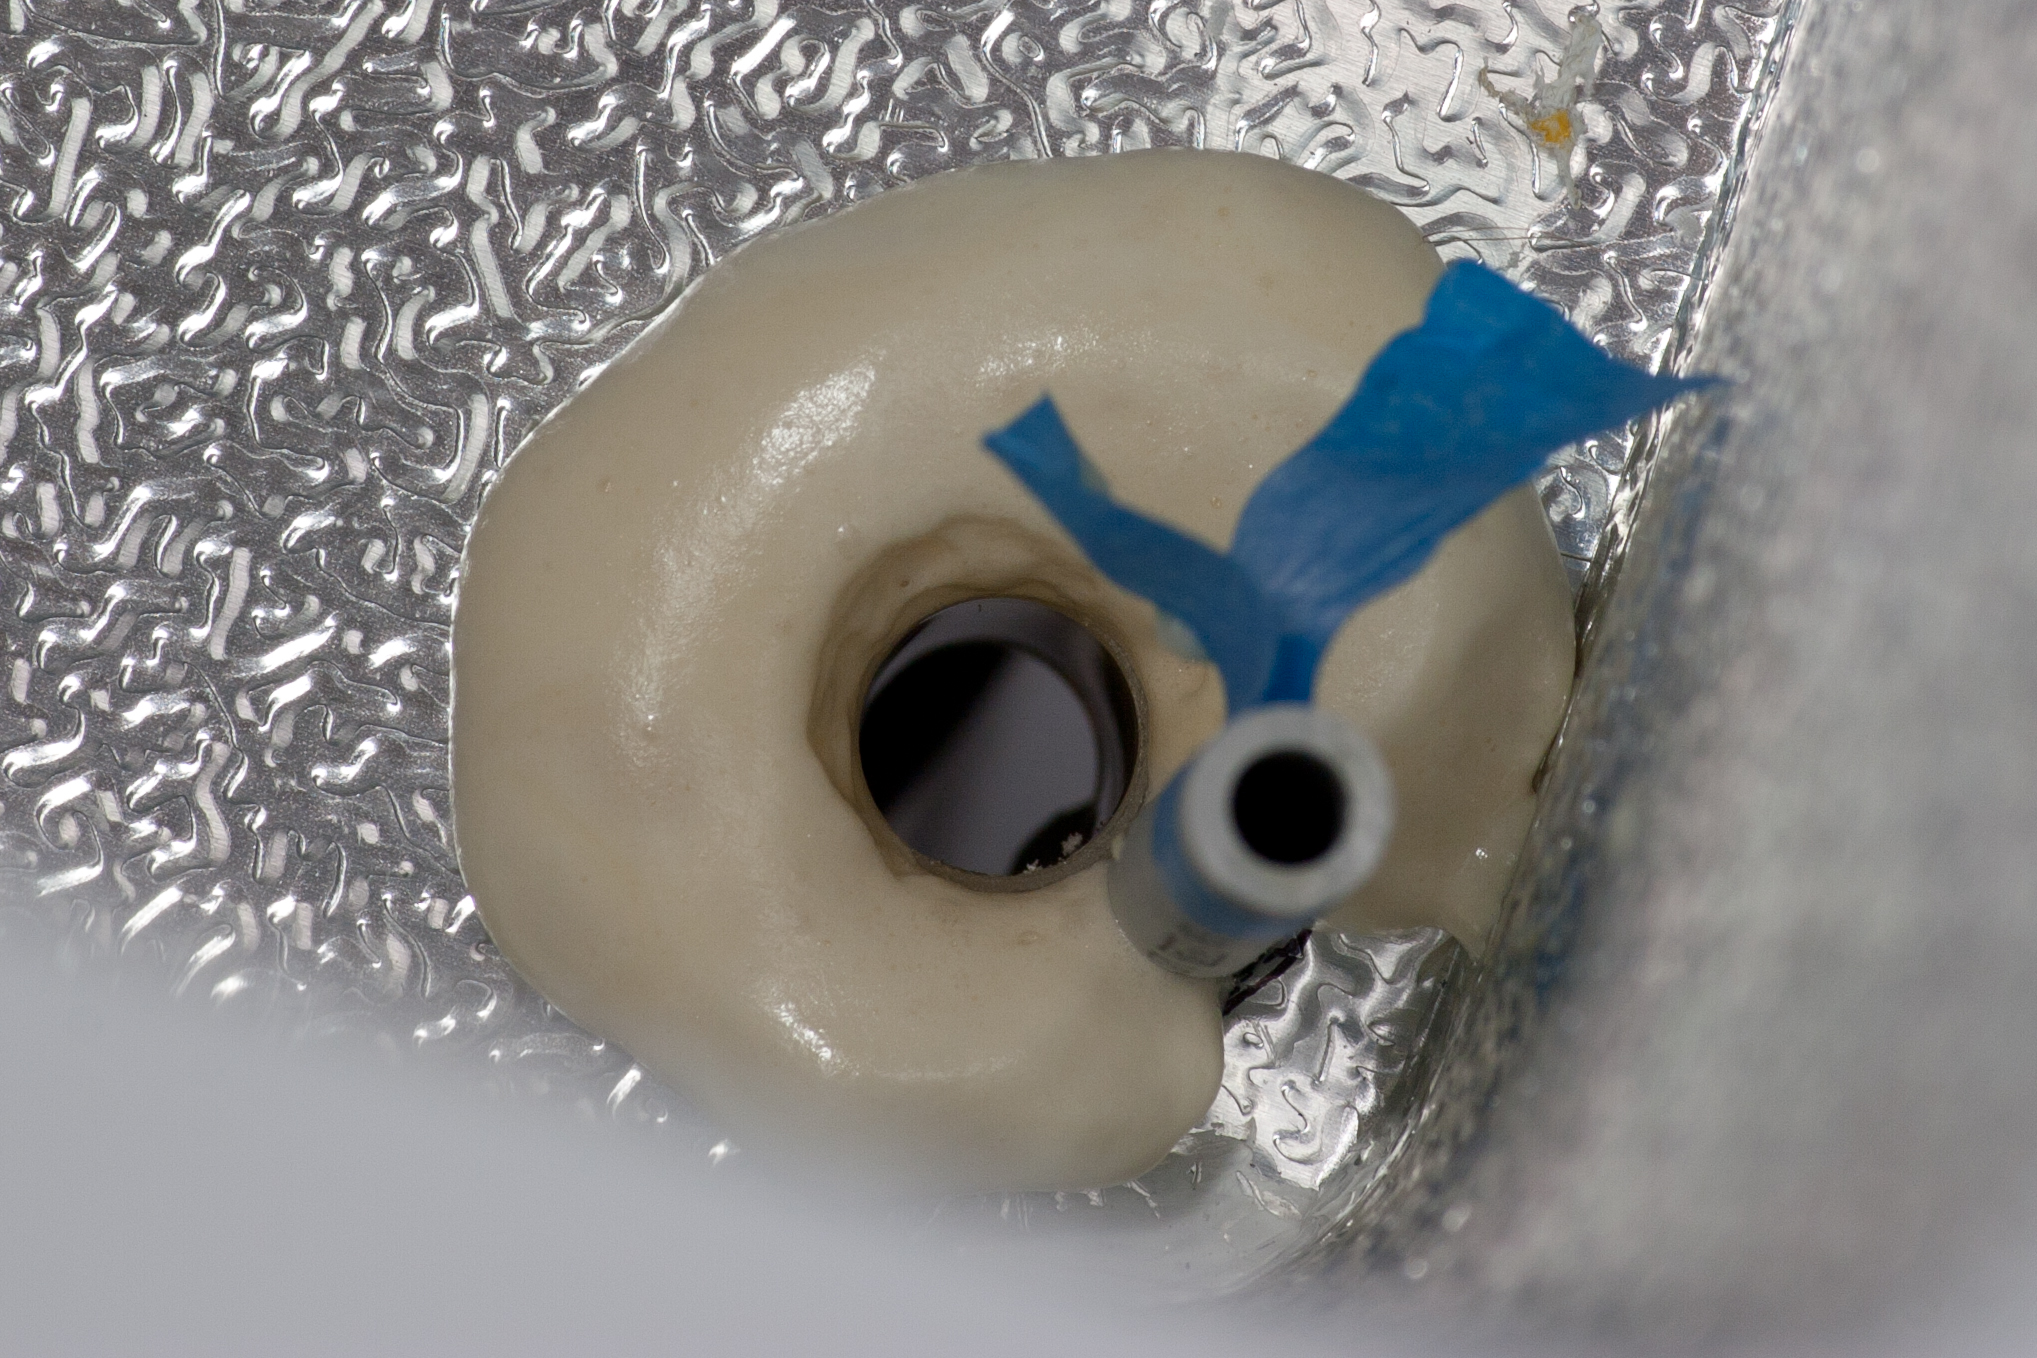
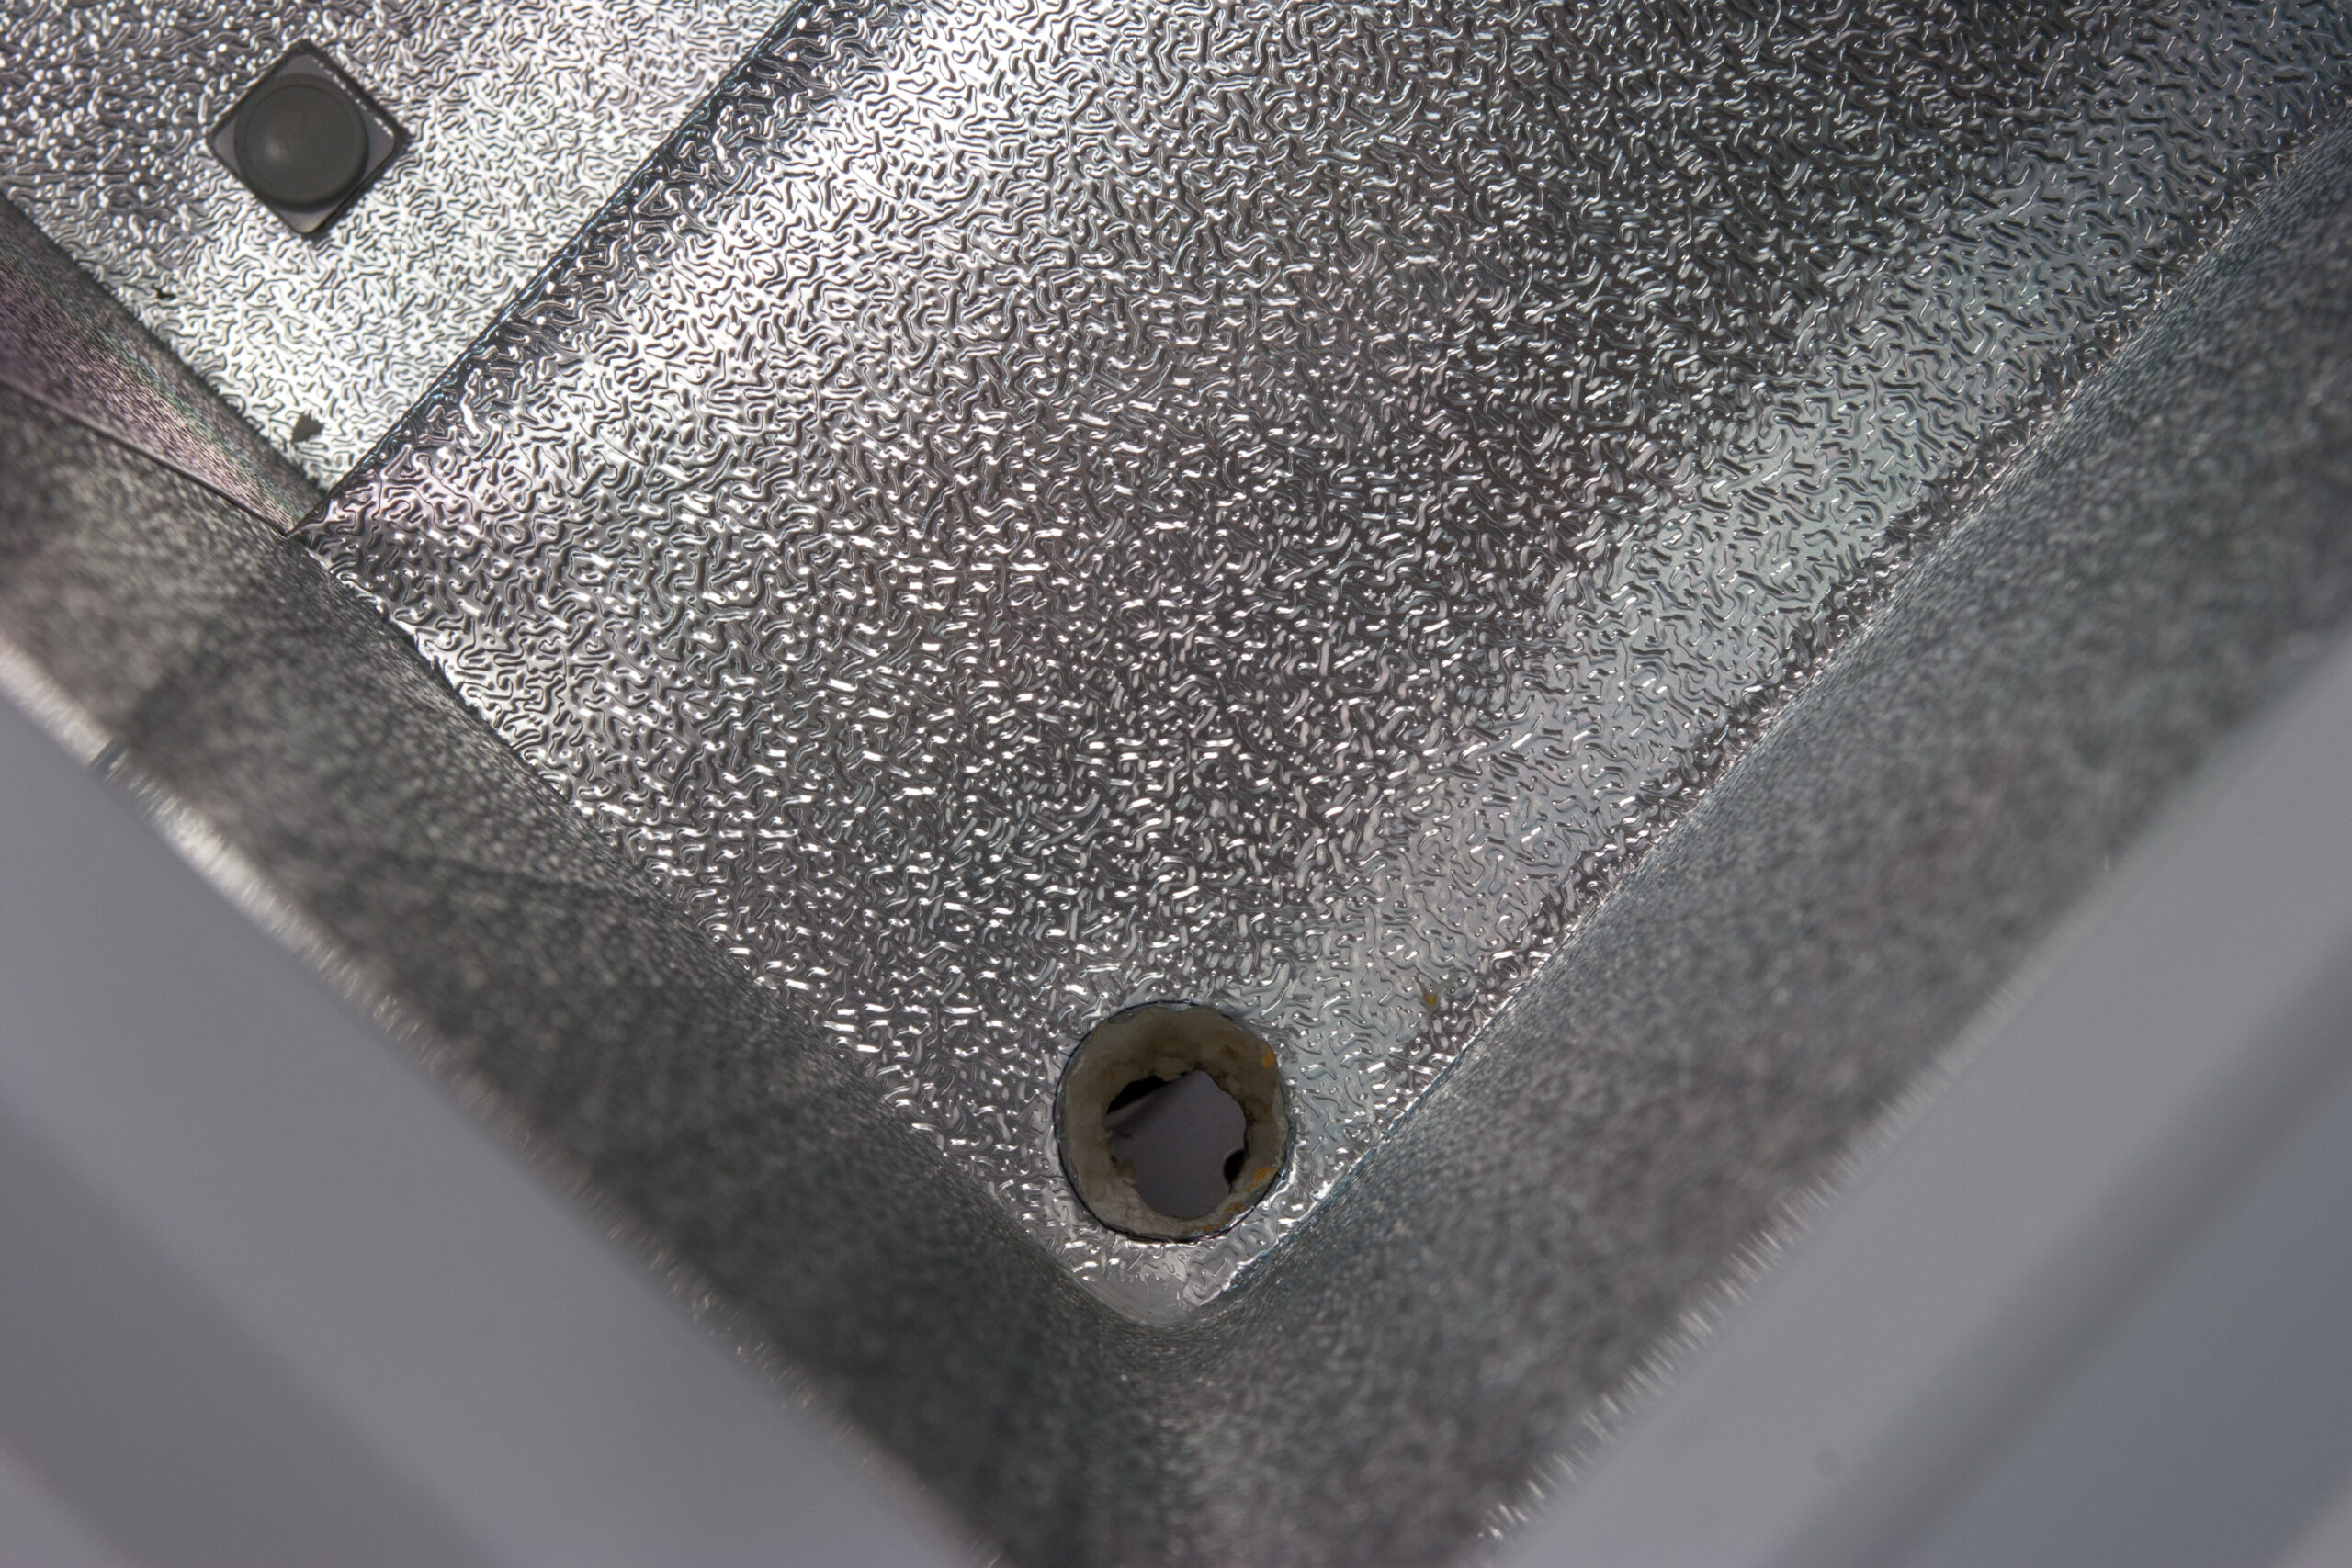
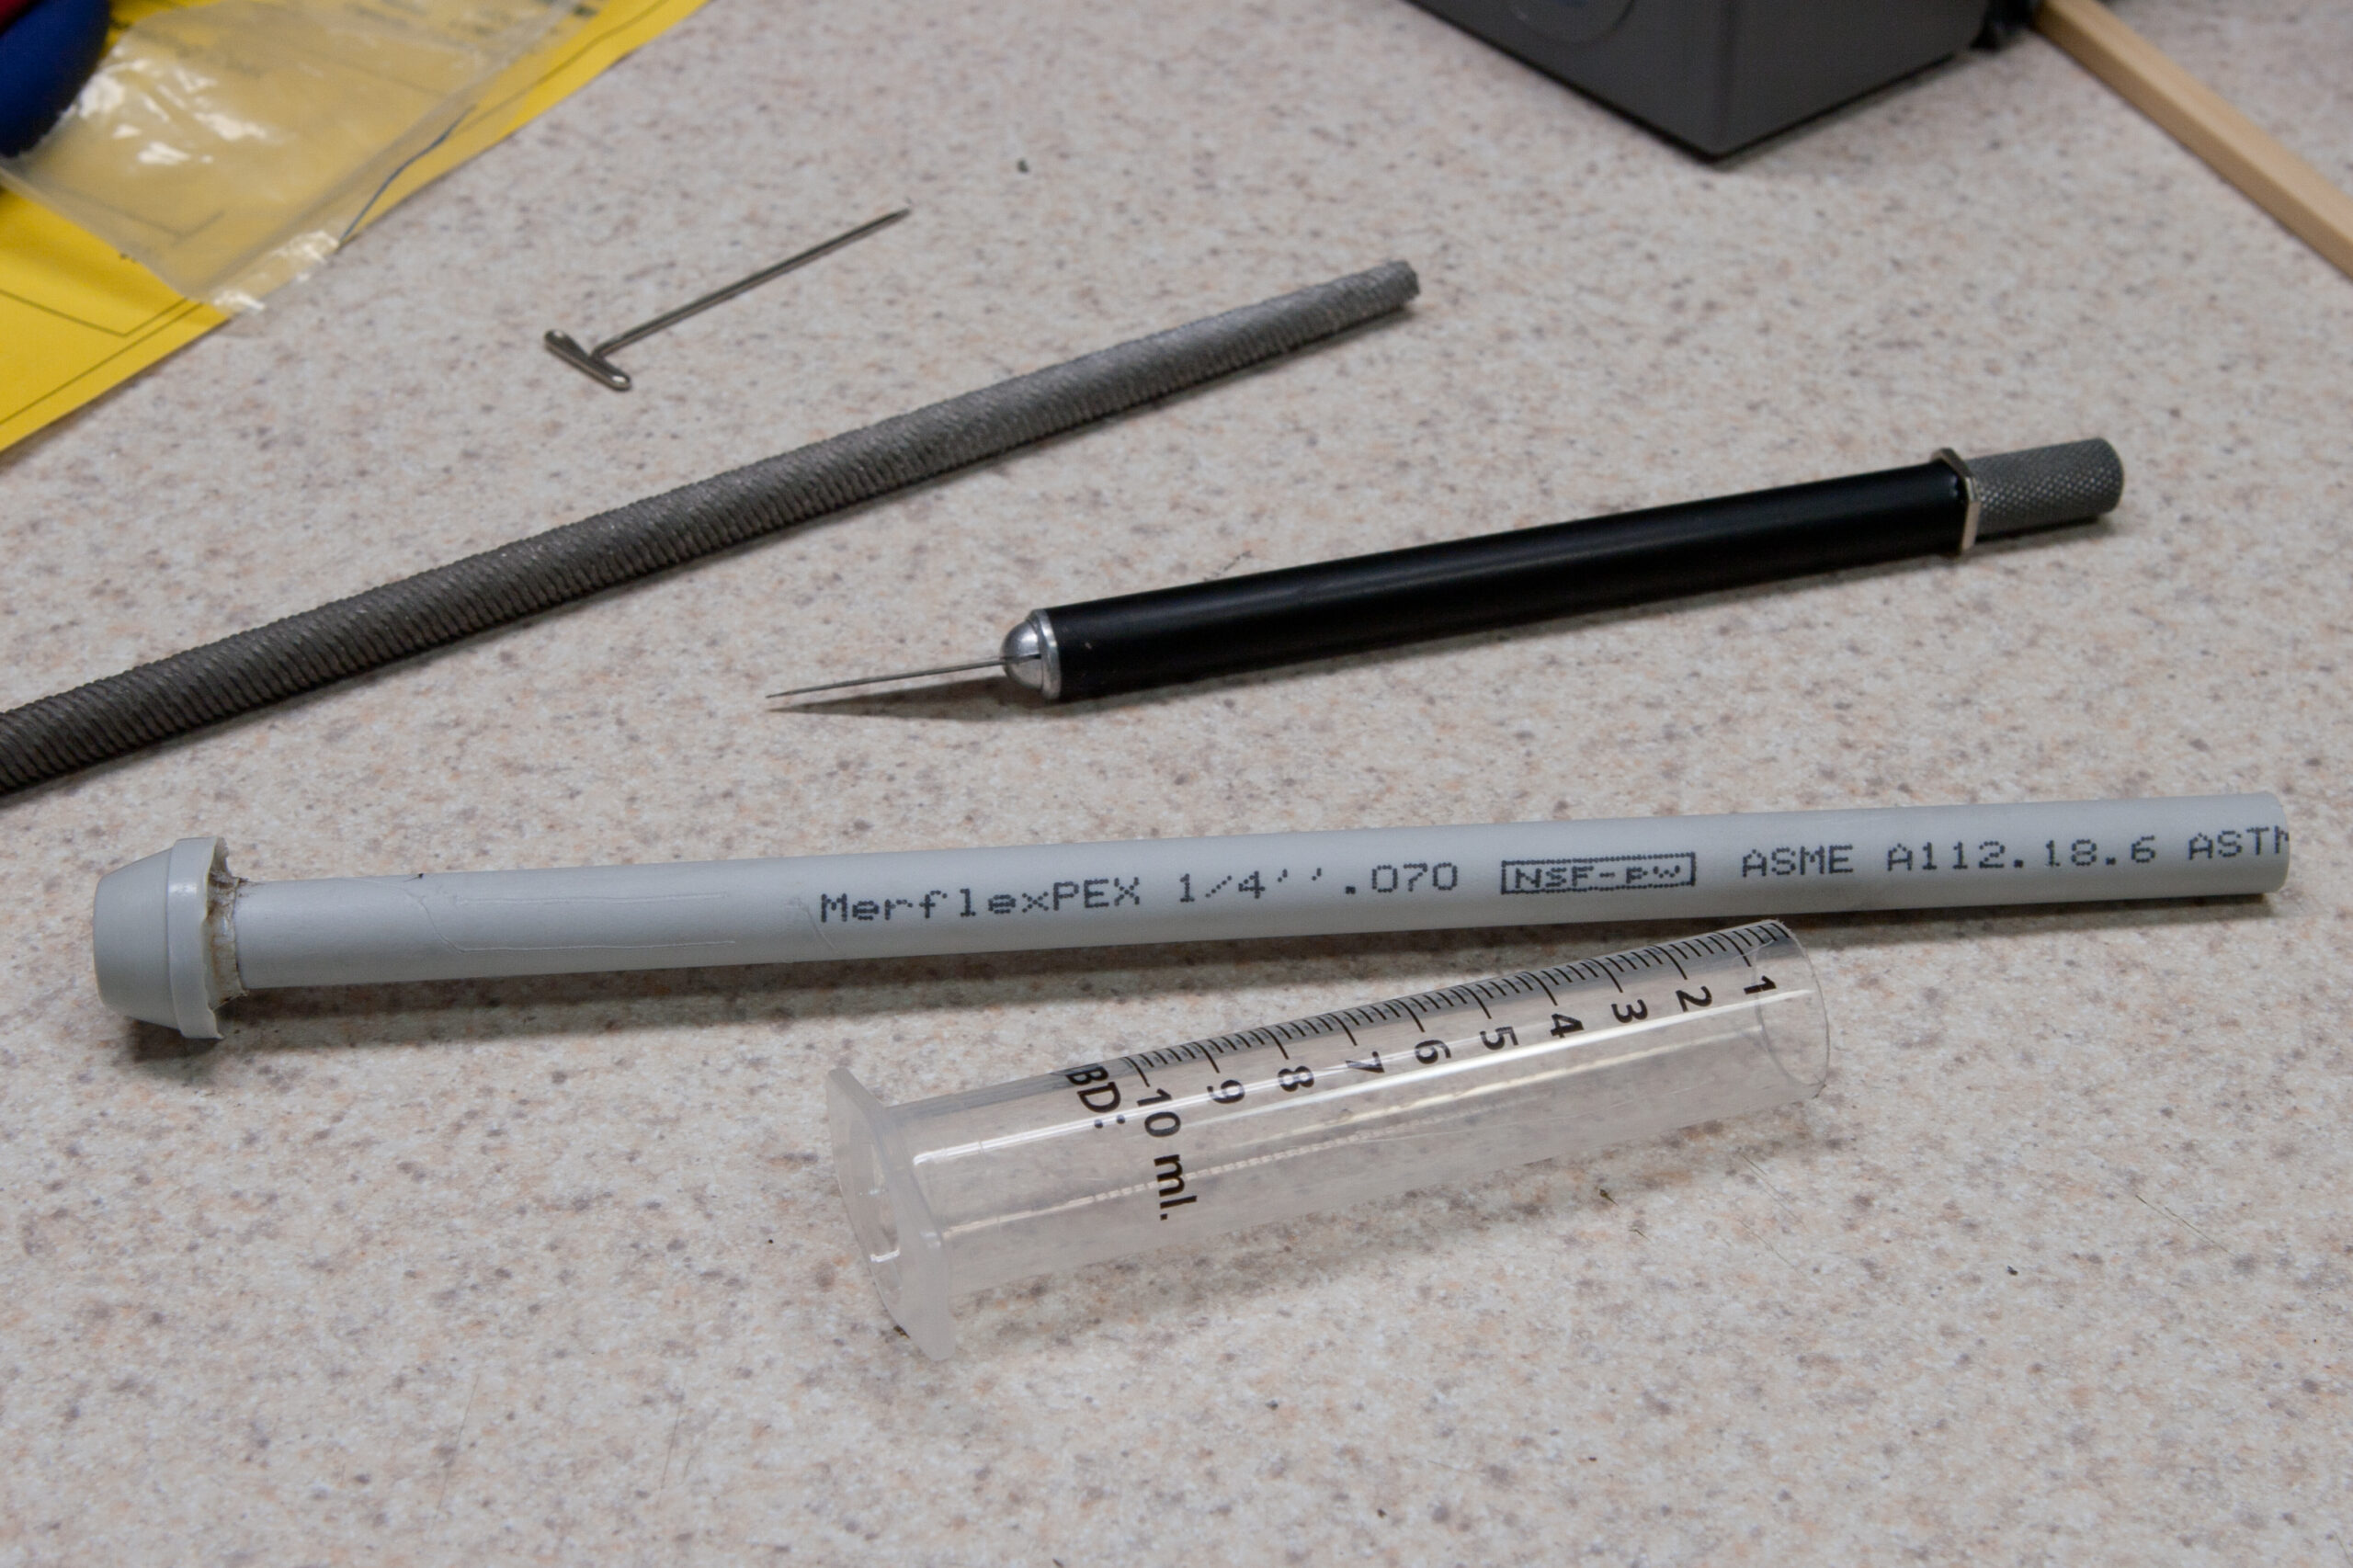
Continuing the project to turn a chest freezer into a temperature controlled cooler for home-brewed beer (previously) I made a hole inside the cabinet (picture) the size of a film canister without hitting any of the gas lines. This was done by marking a hole, then carefully tearing away the aluminum liner with pliers, then digging through the foam with a screwdriver before finishing off the hole with a drill and file. Looking around the basement I came across some plastic pieces that were perfect for the gas and temperature probe ingress fittings, fashioned out of a 10cc syringe and a used bathroom water supply line that I’d once had (incorrectly) fitted to my to my toilet (picture).

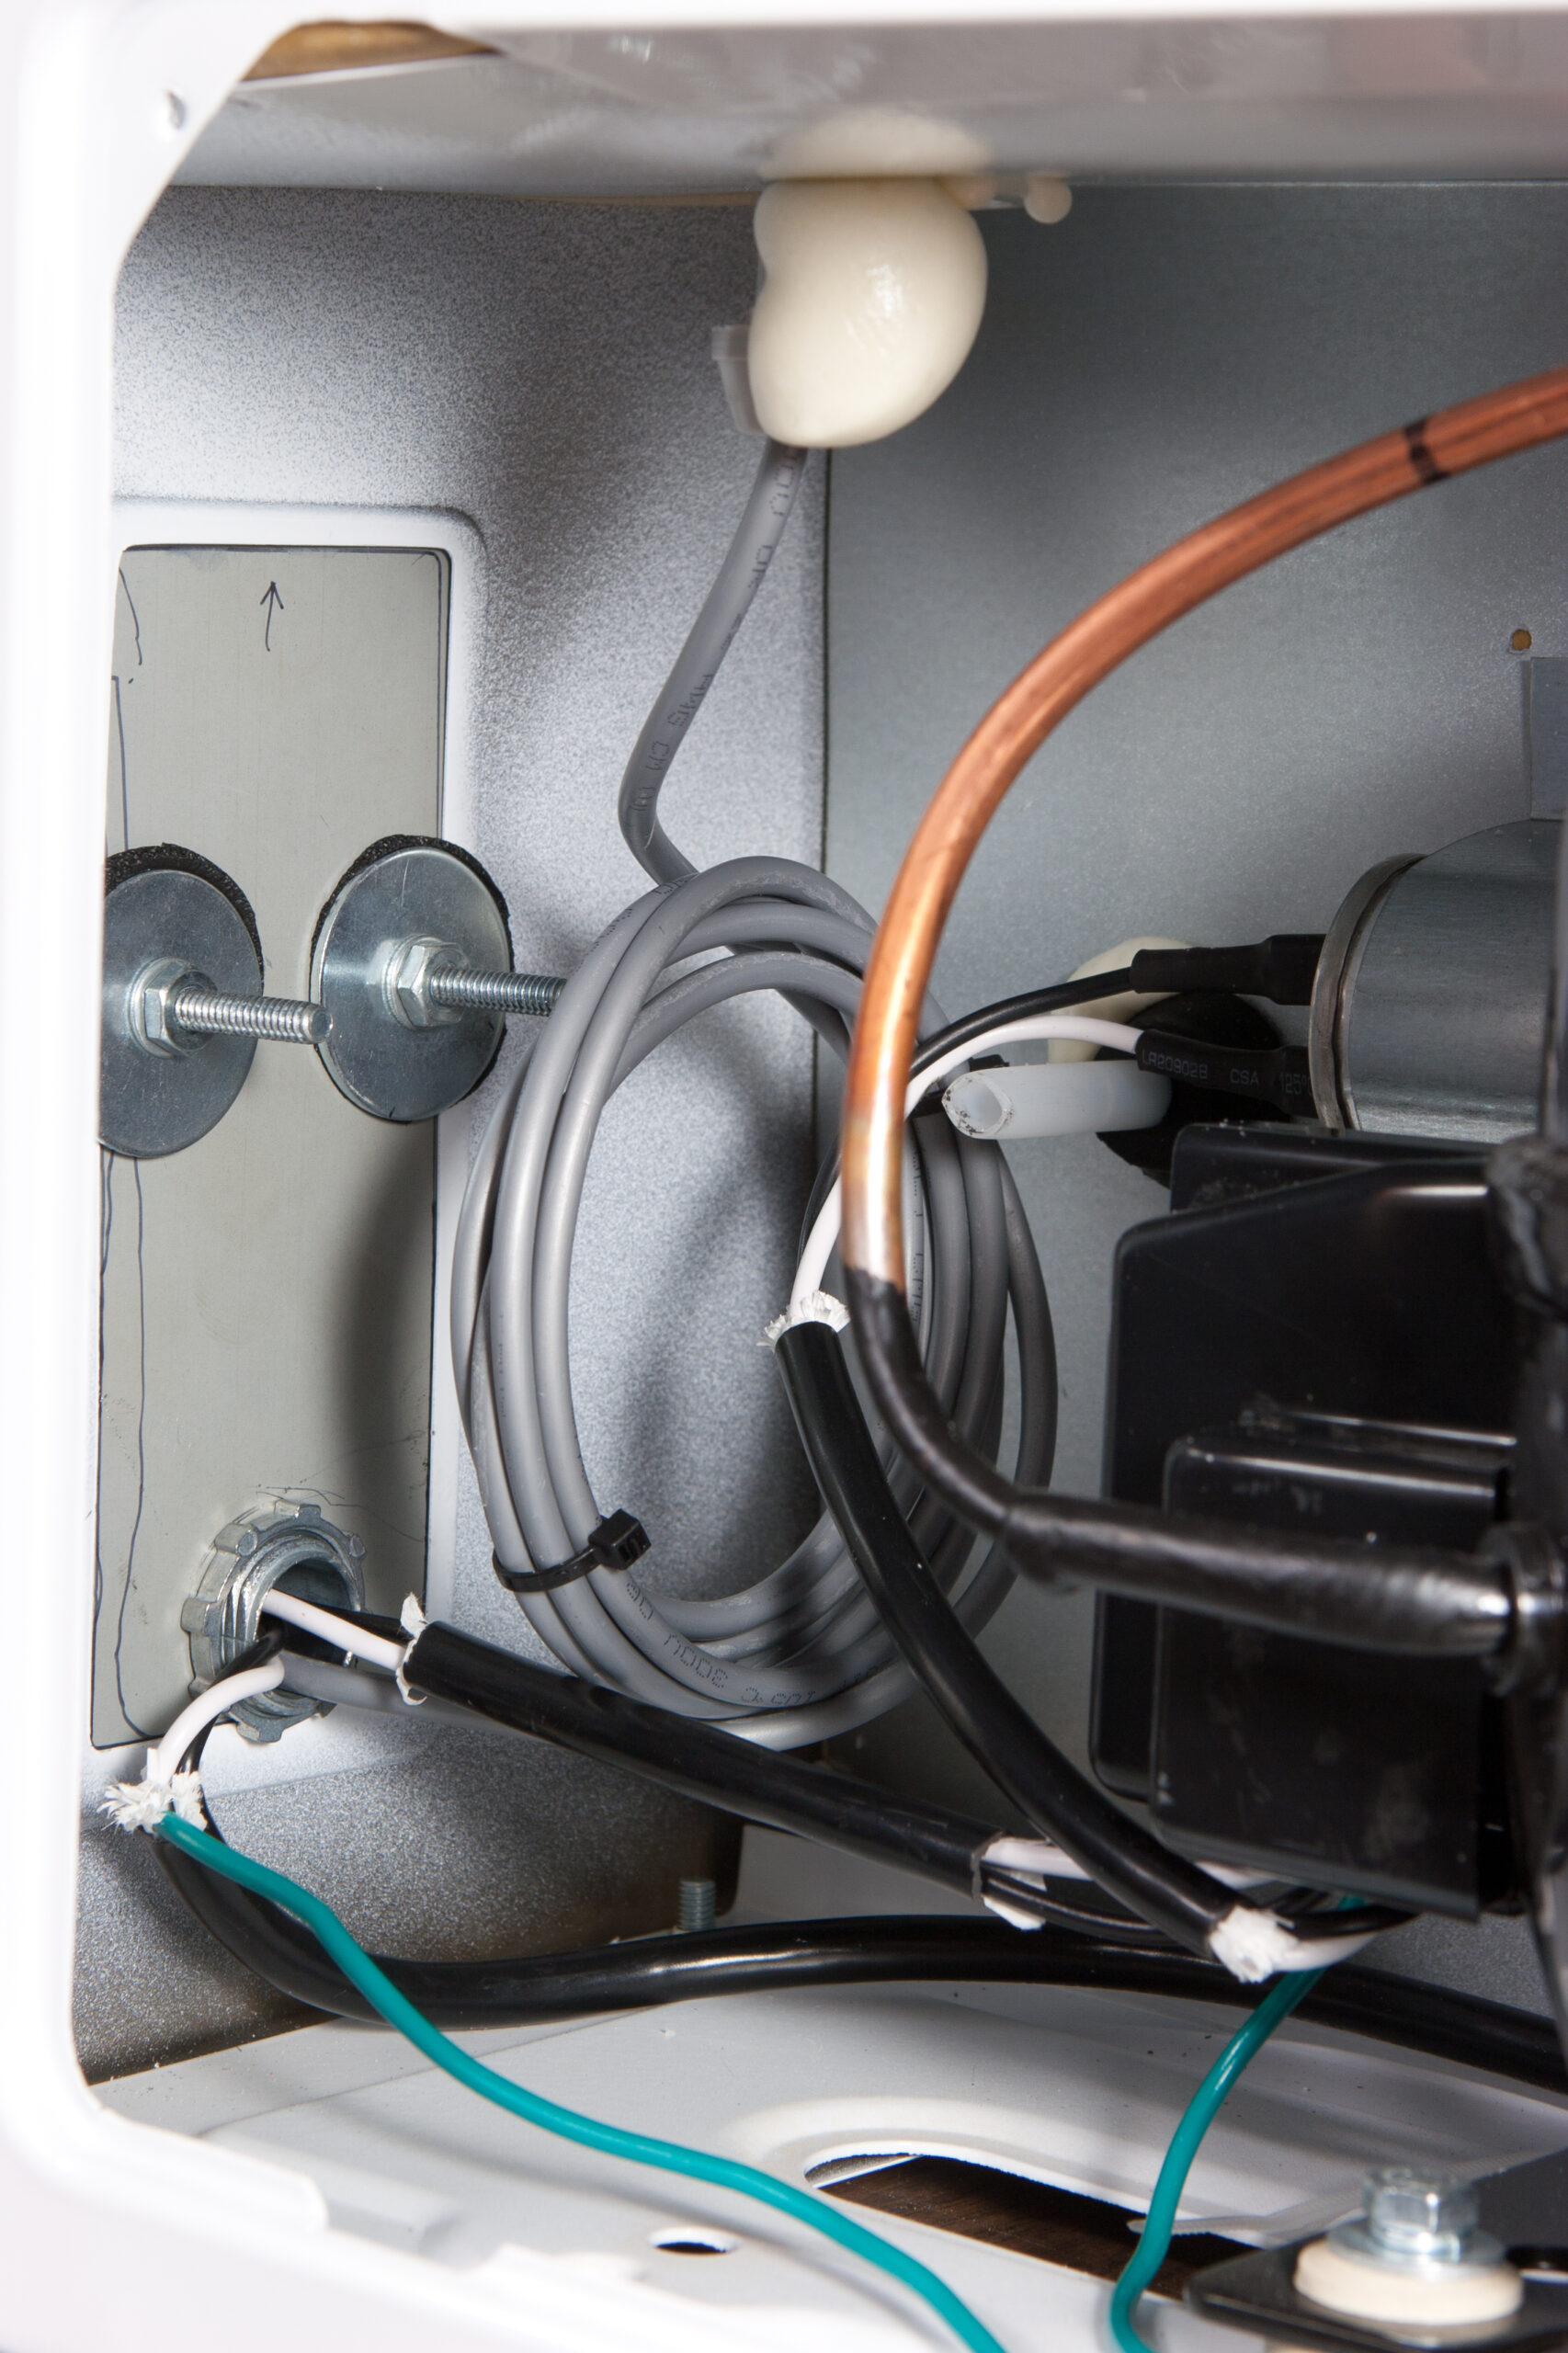
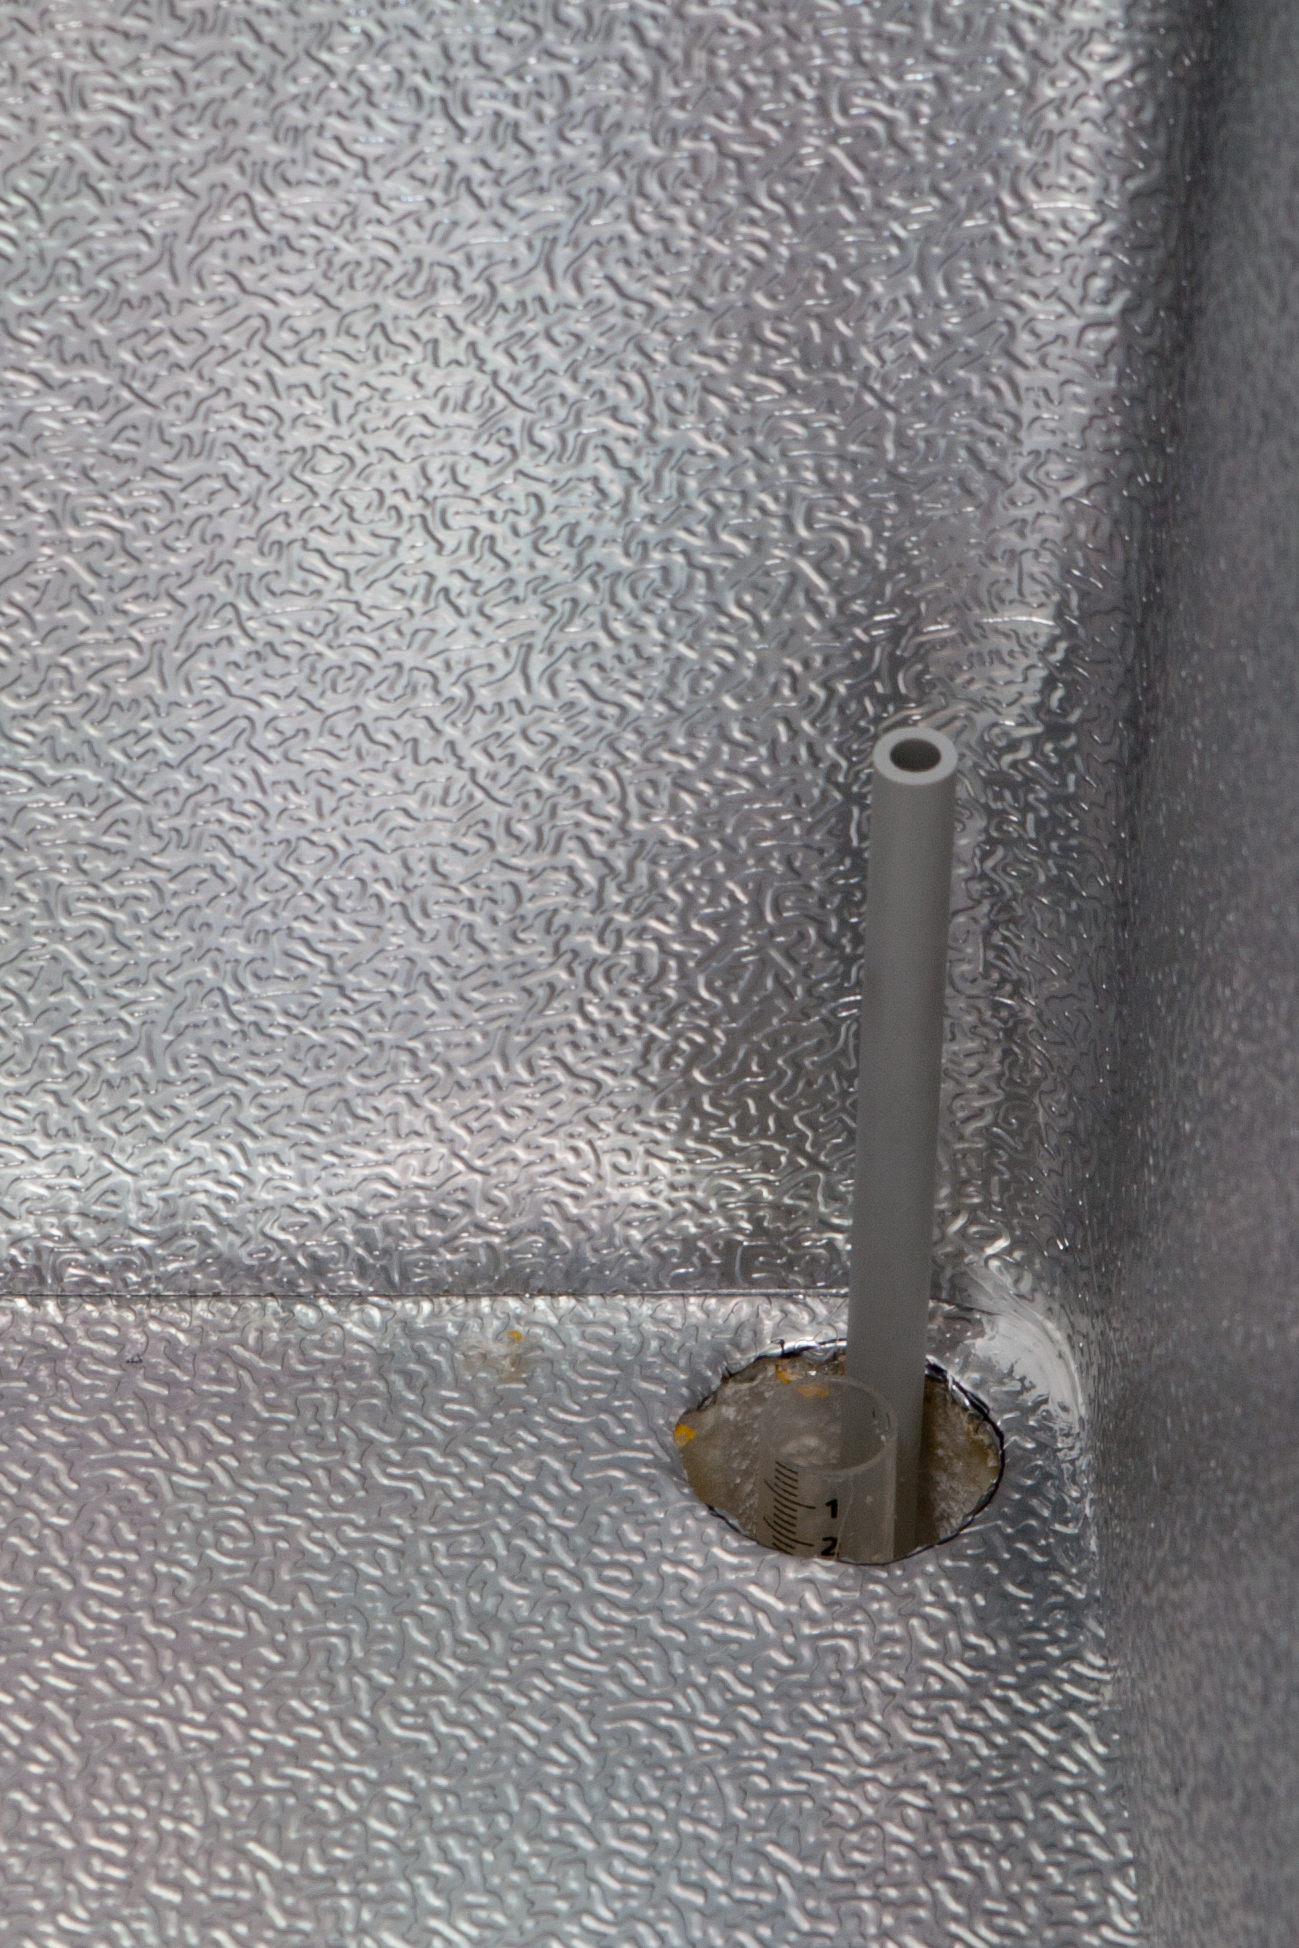
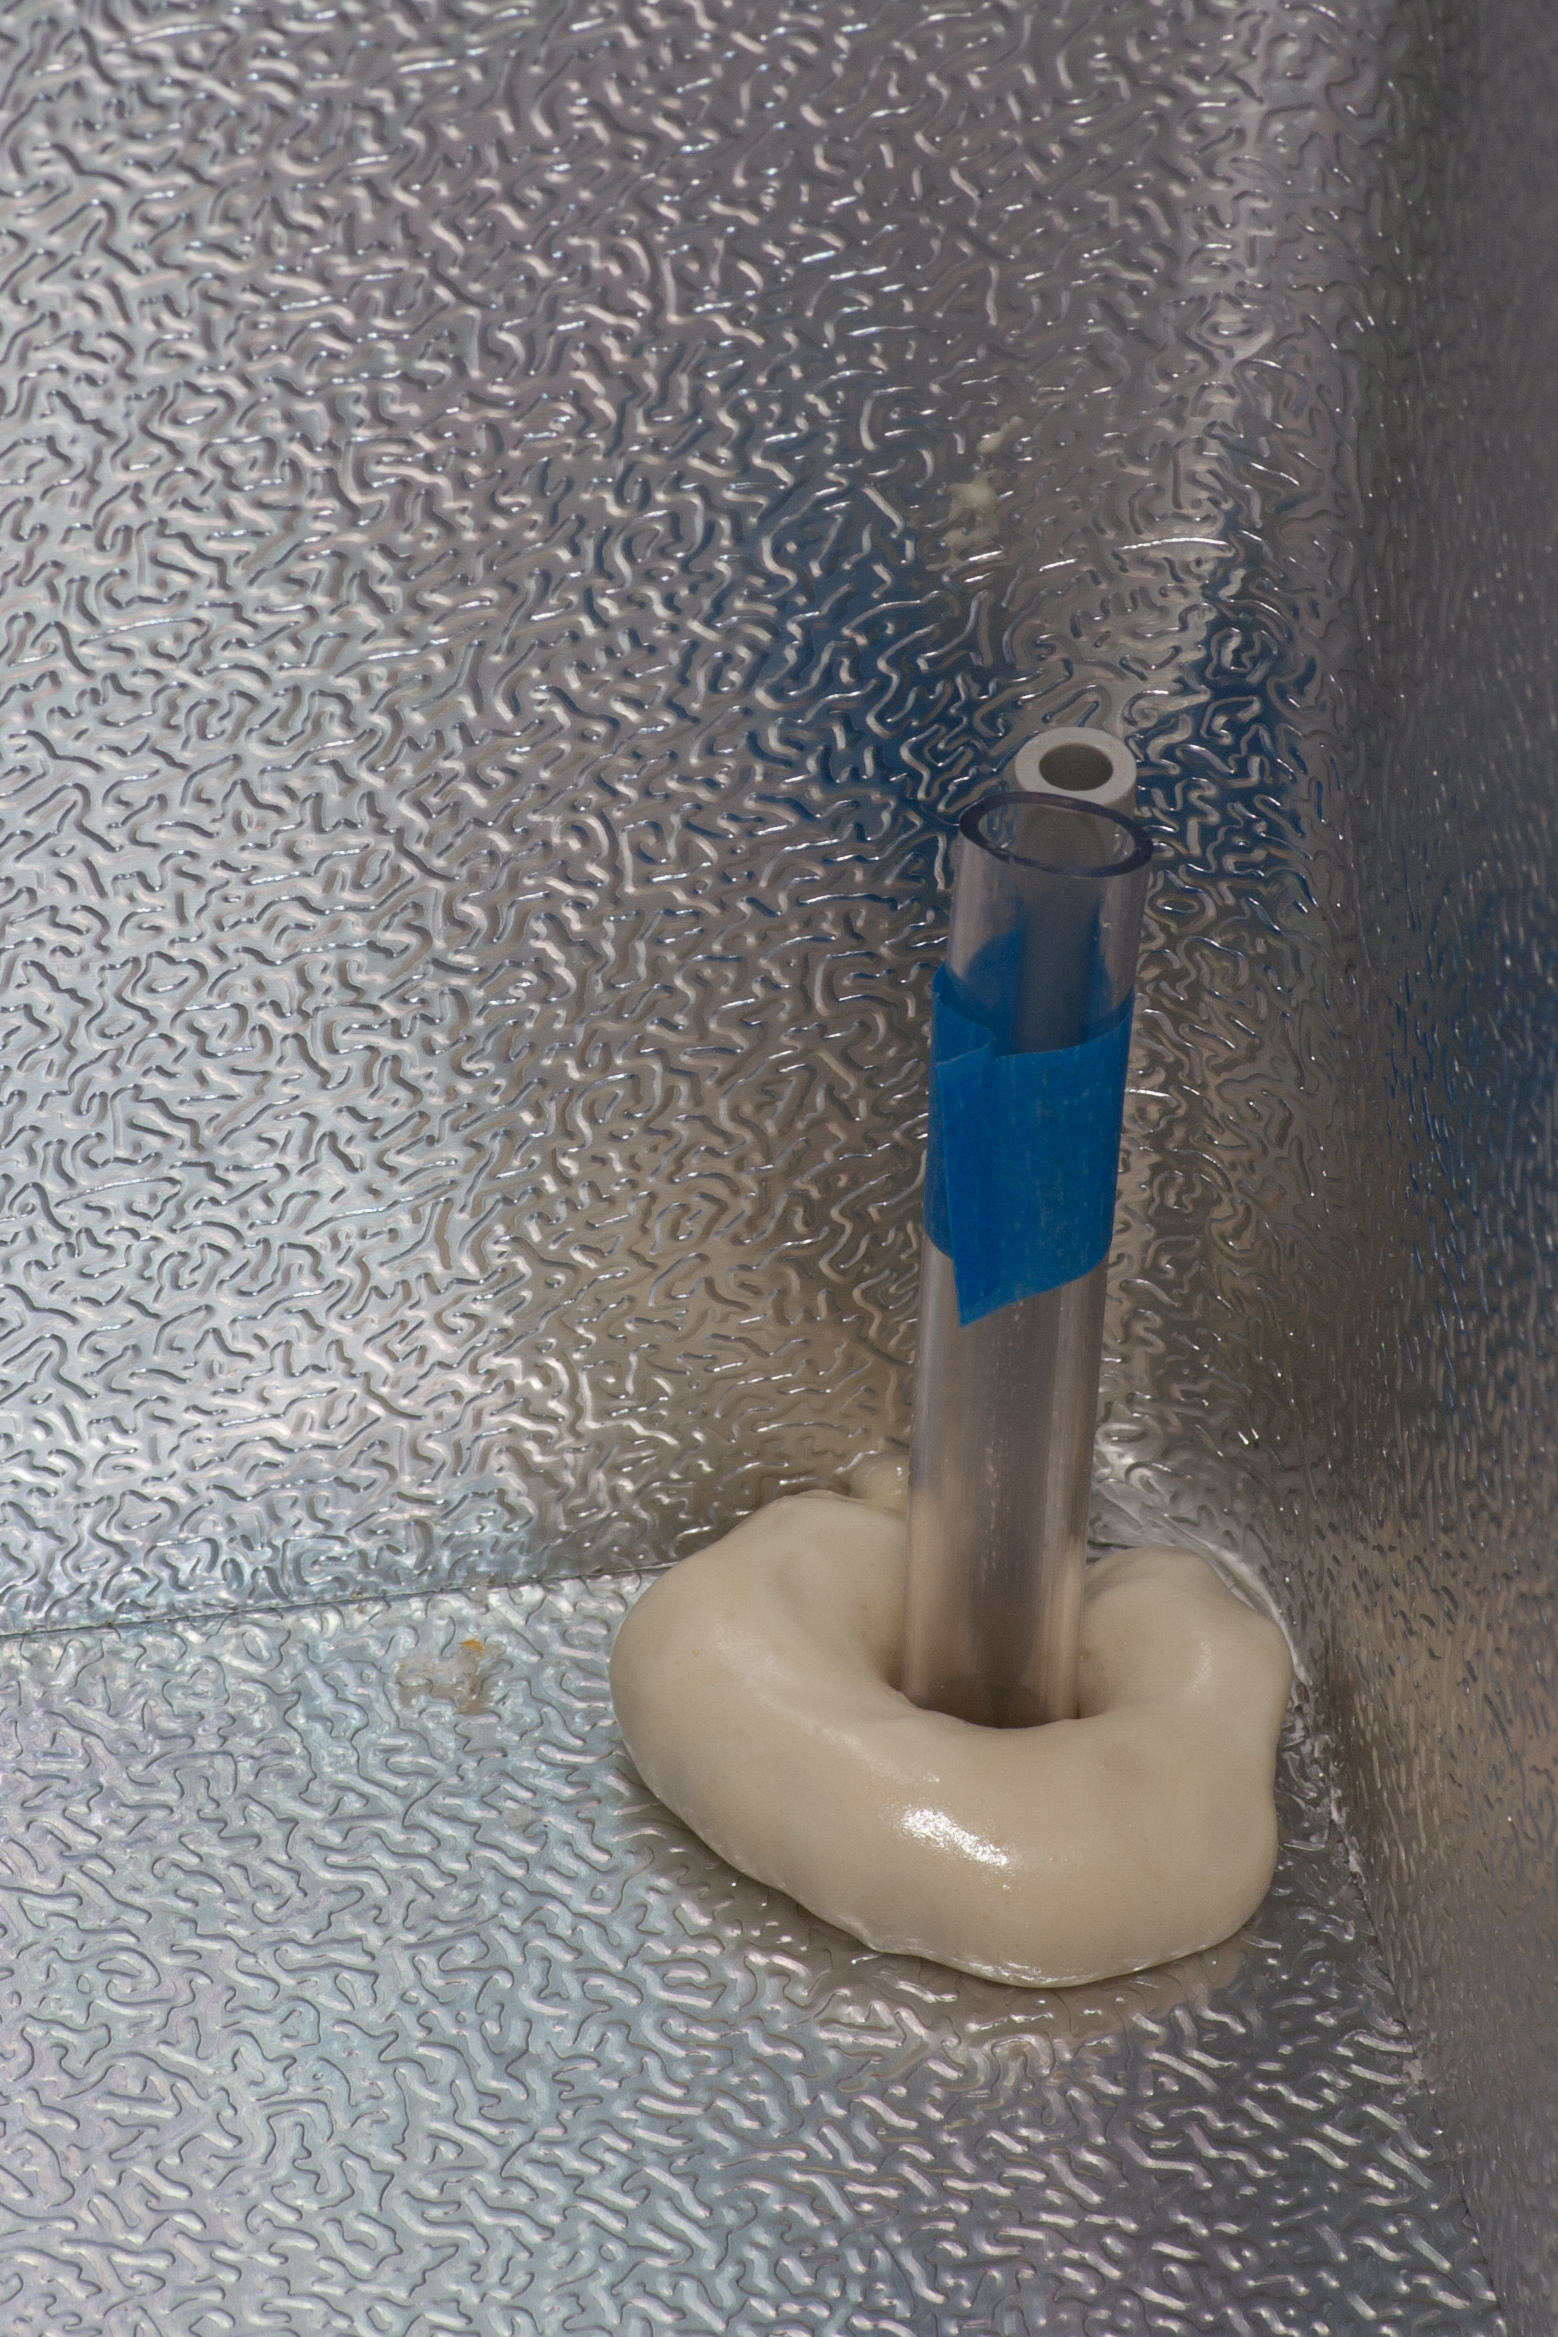
These fit very nicely into the hole. With the flange on the syringe and the water line nicely fitting up against the inside of the freezer’s compressor compartment both plastic bits nicely stayed in place nicely (picture) making surrounding them with spray foam insulation (picture) very easy. I fitted a scrap piece of vinyl tubing in the syringe housing to keep foam out, and it did a great job. Once removed (picture) there is now a clear ingress for gas, and the temperature probe should sit nicely on top of the grey plastic tube holding it nicely mid-level in the unit without touching any sidewalls.

Now all I have to do is fashion a mount for the temperature controller, wire it in, fit the temperature probe, run gas lines, and build a CO2 tank retention system. This is probably only a couple more evenings worth of work, which should be right in time for the wit that I’ve currently got aging and which is due to be kegged on Monday. Oh, and I might cover the lid with some horrible contact paper design, perhaps even something as bad as butcher block.

(Yes, this does mean that all beer served from this cooling unit will be heavily dependent on both an old (but unused) syringe and something which once supplied water to one of my toilets.)

around the housebeerfoodmaking things

Chest Freezer First Steps

Now that I’m brewing beer again and kegging it (1 · 2 · 3 · 4), the approach of warm weather means that I have to find a way to keep the kegs cool so that I may serve them. To do this I purchased a chest freezer and am in the process of adapting it to use a more precise temperature control system so that I may try and keep the kegs at a consistant 40°F.

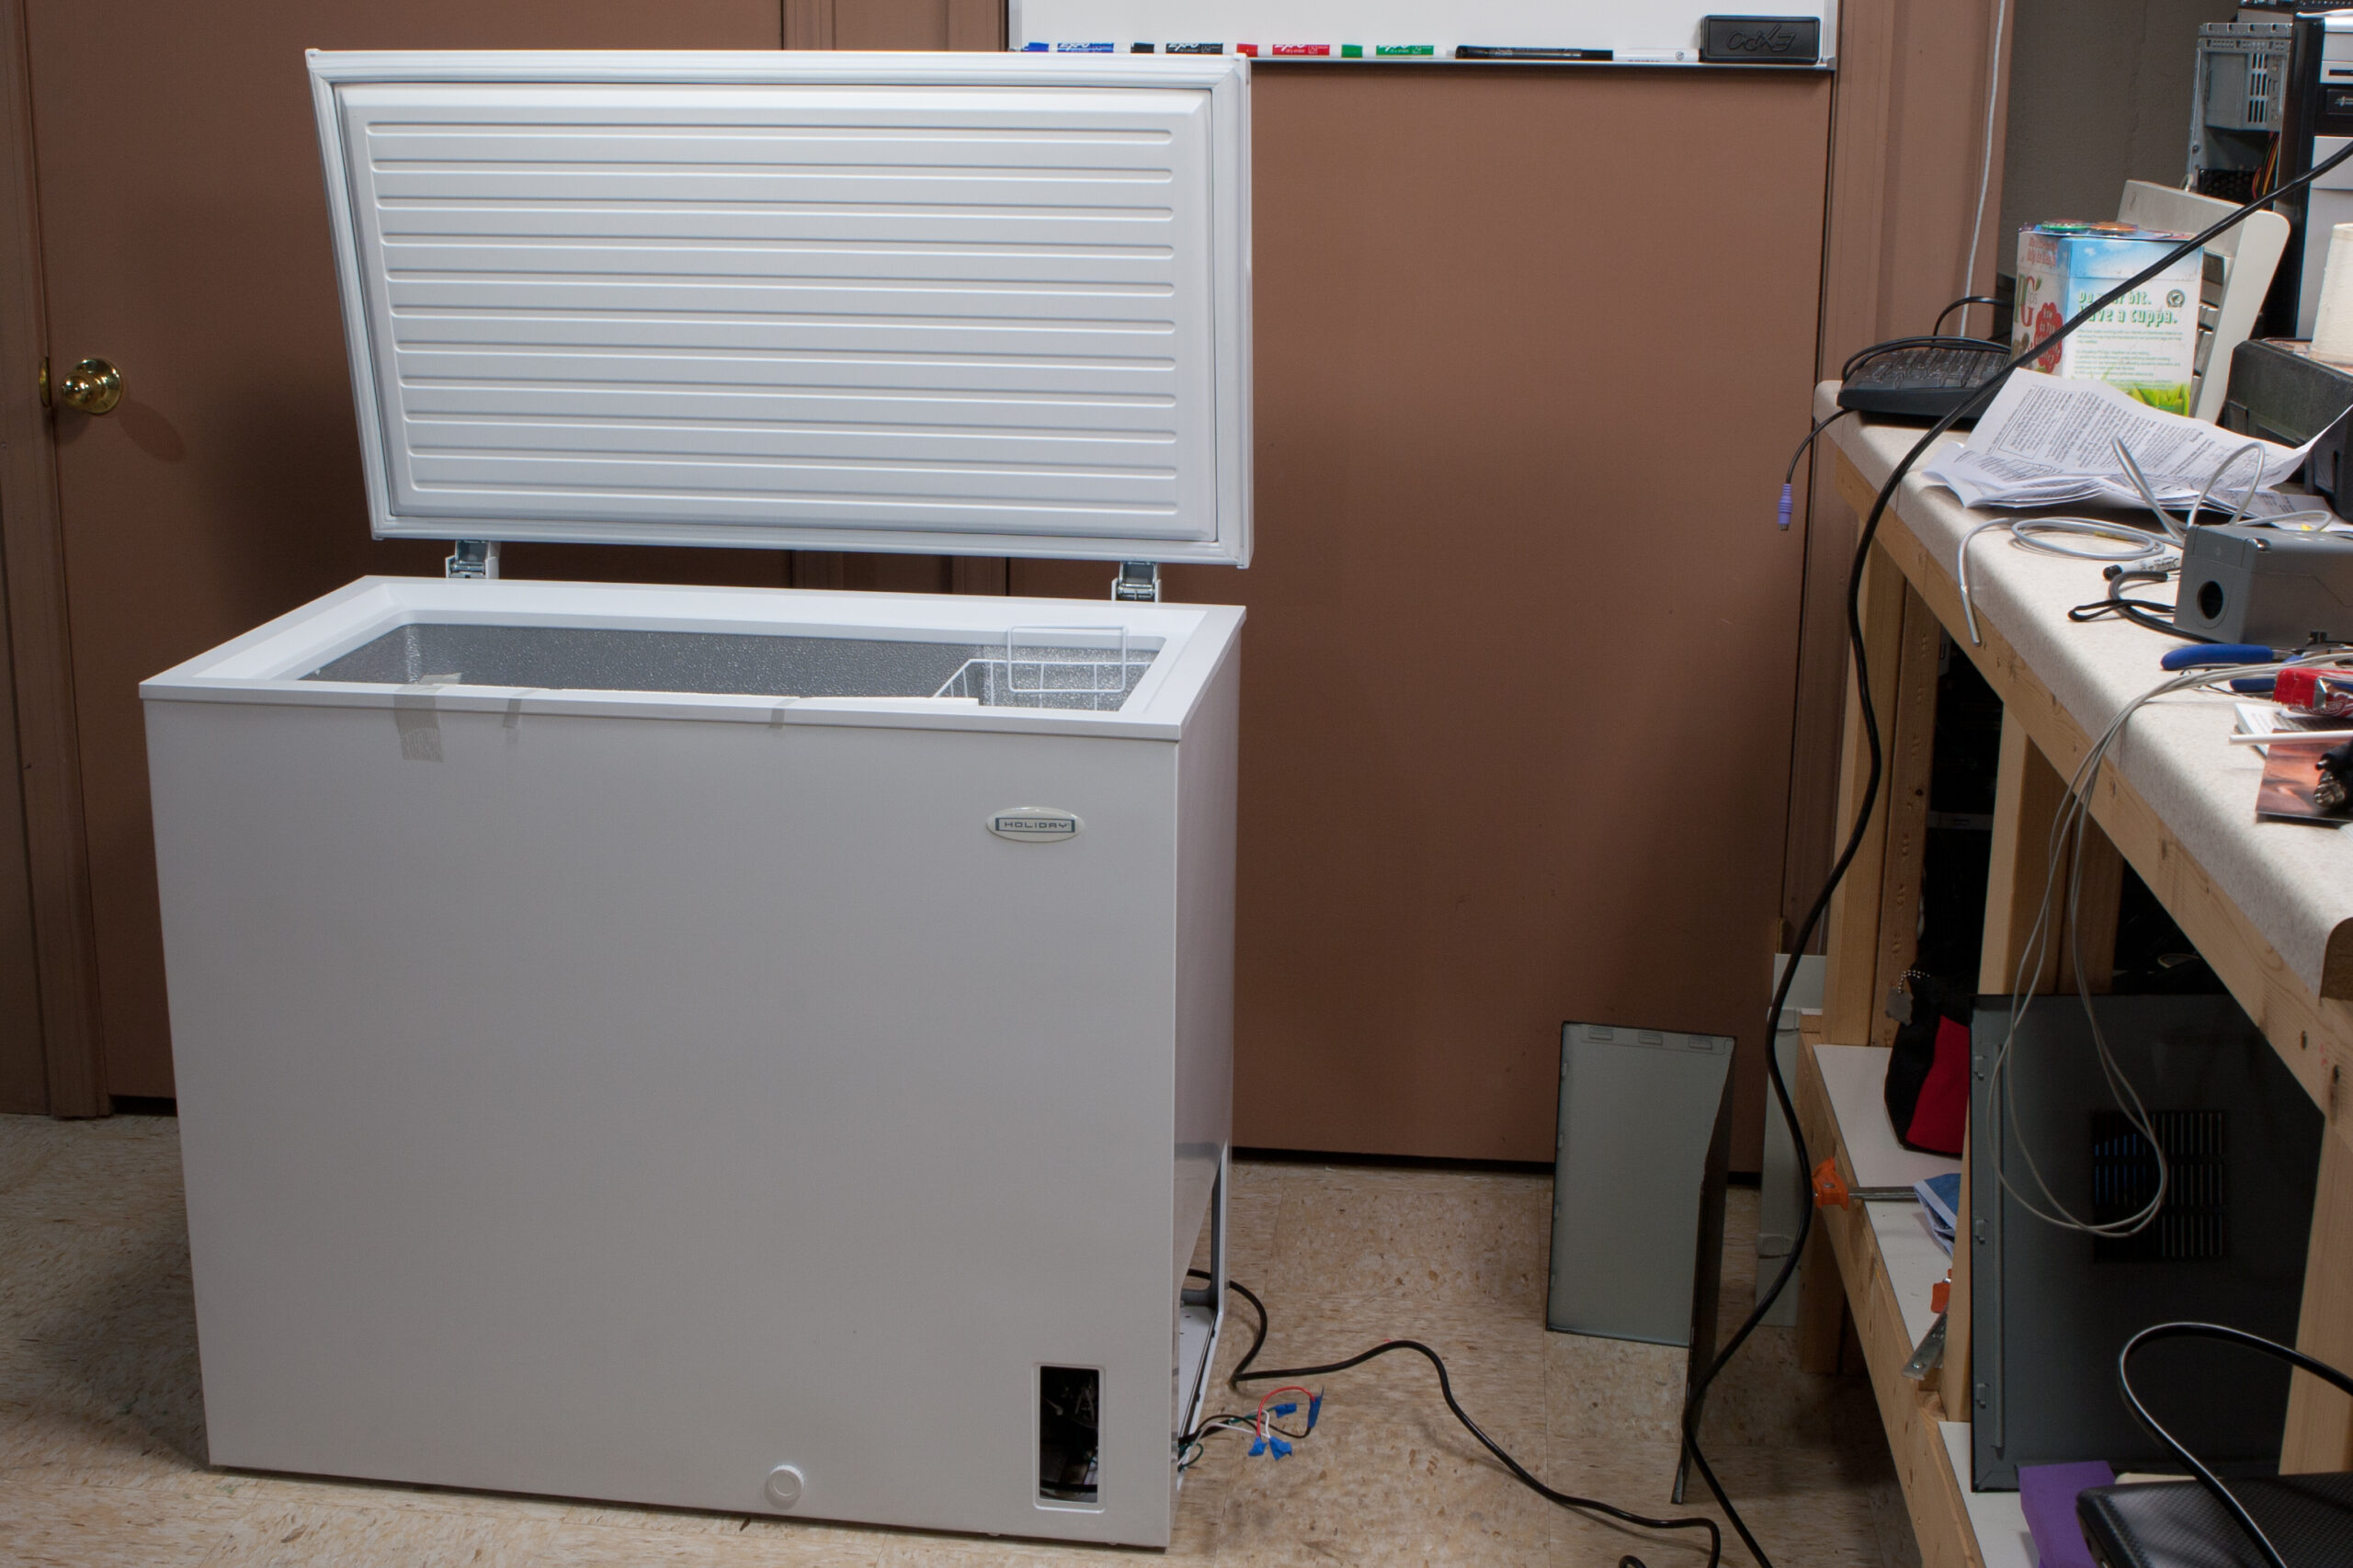
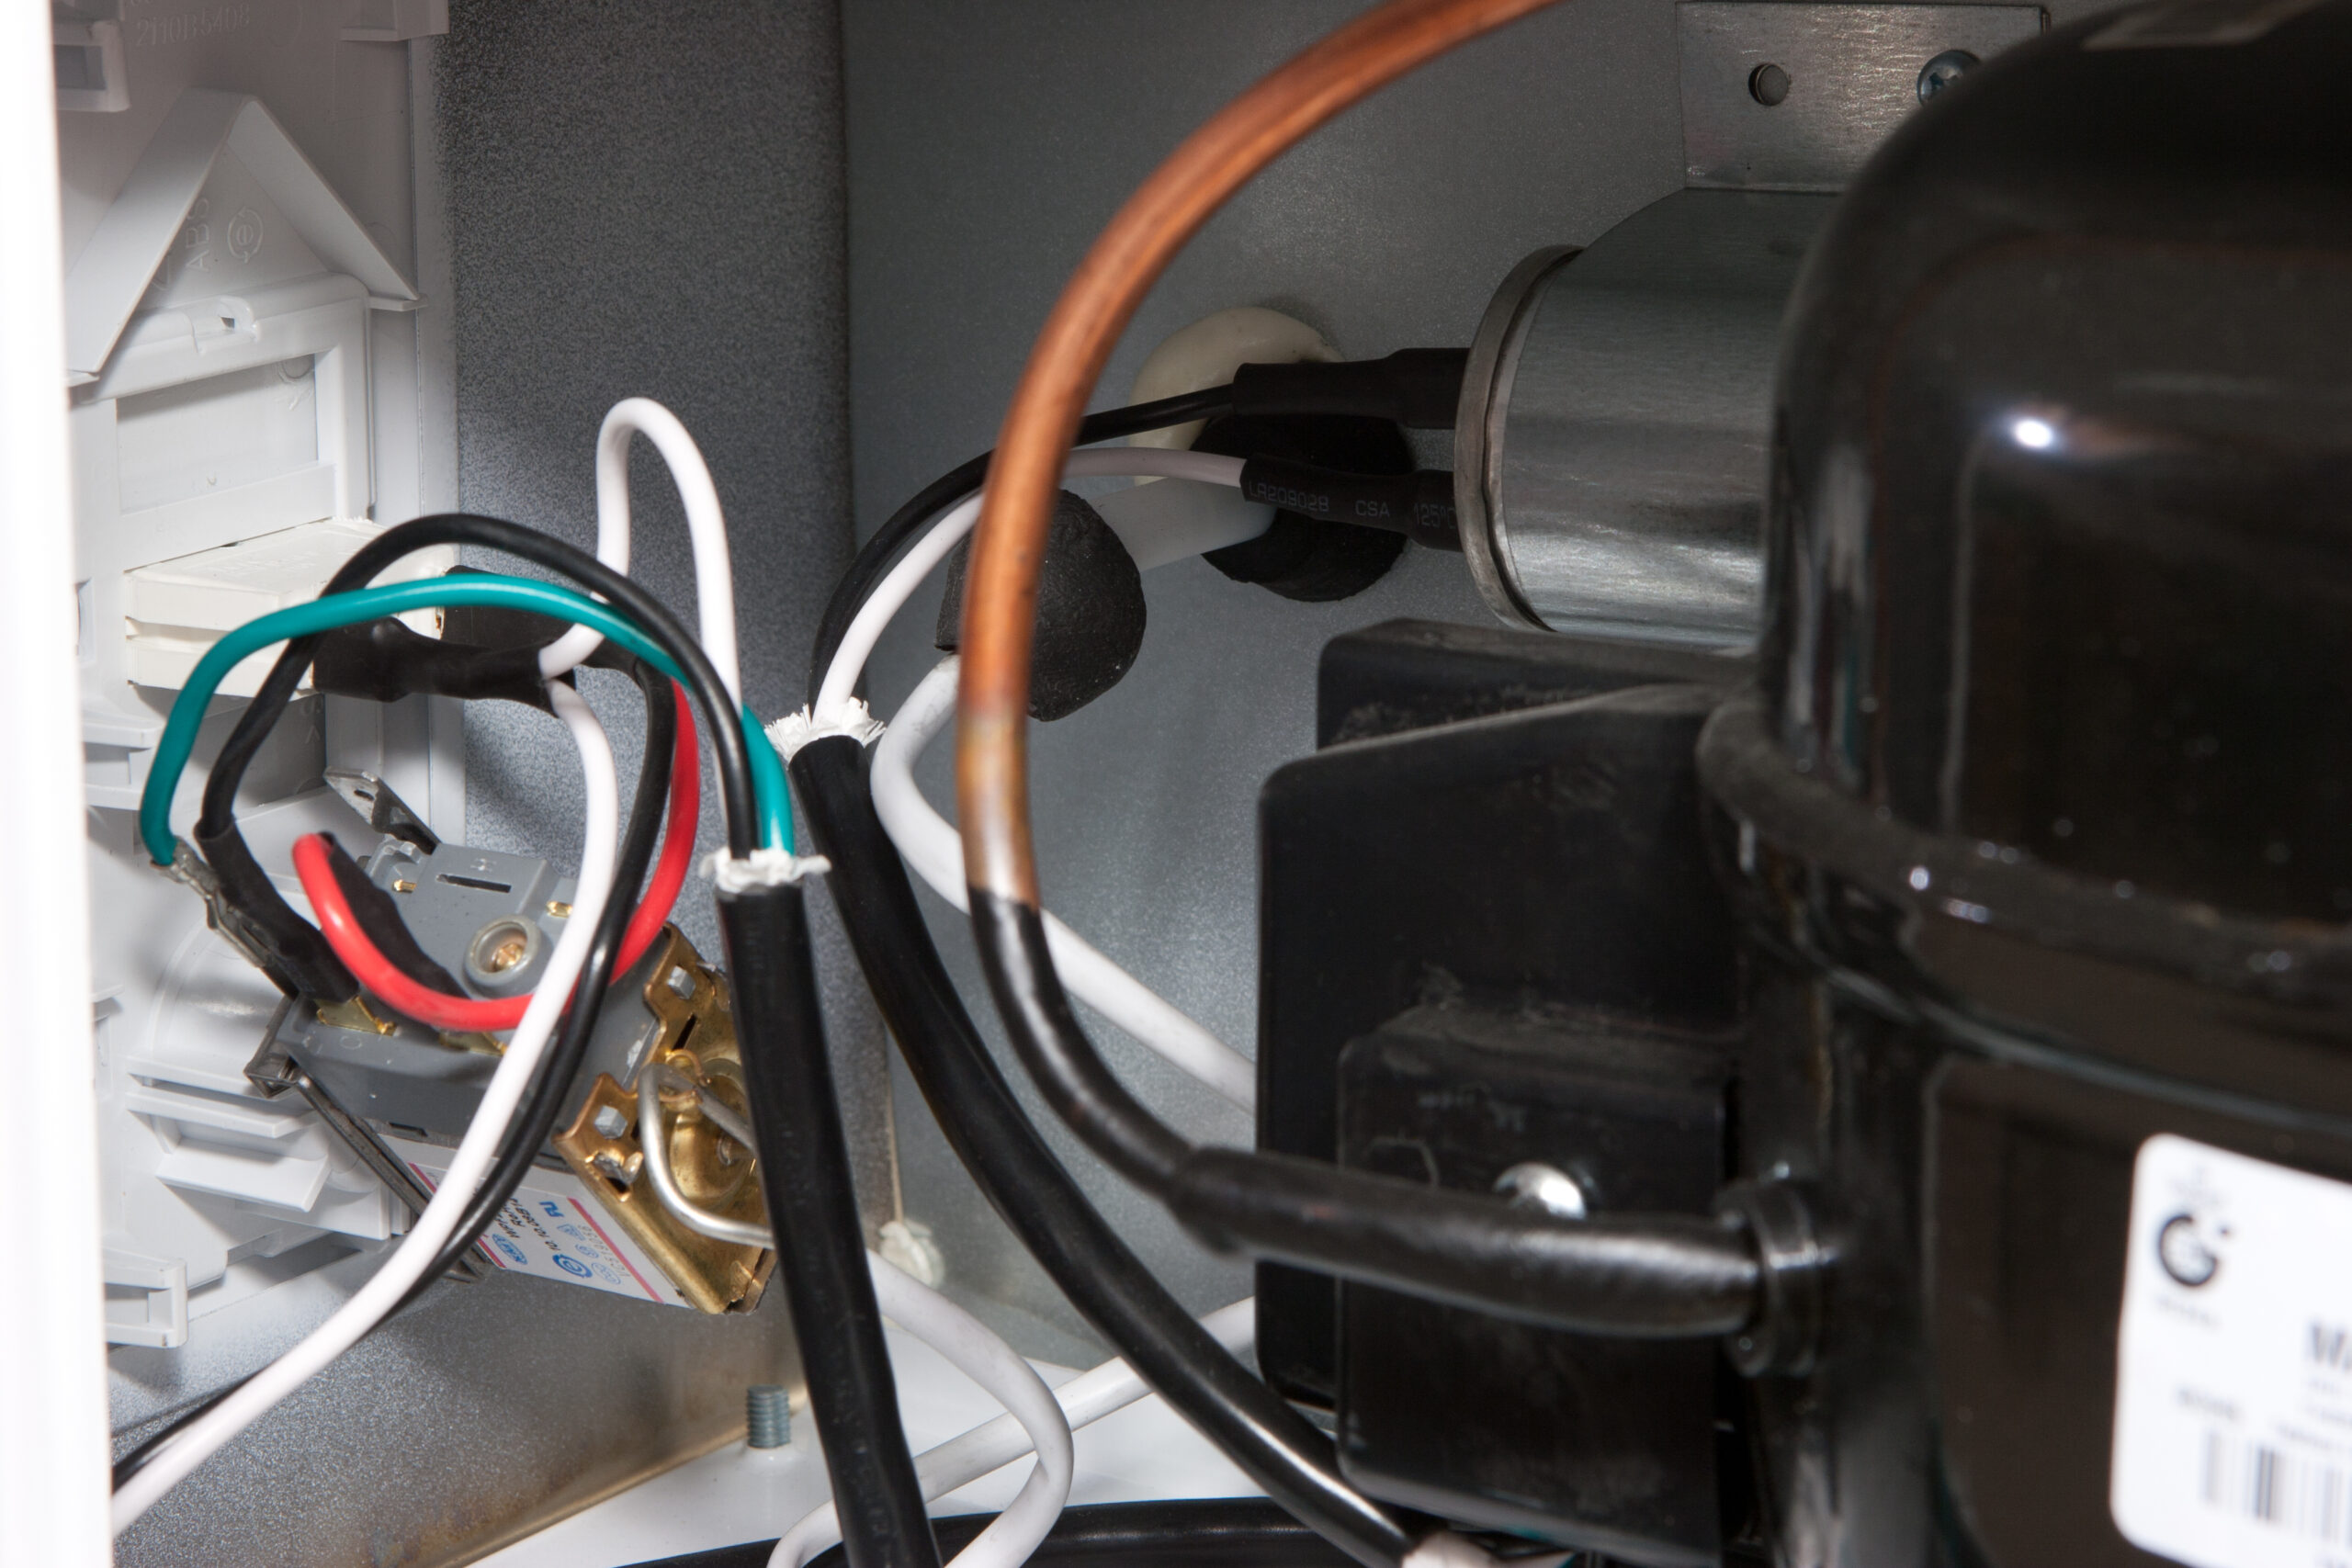
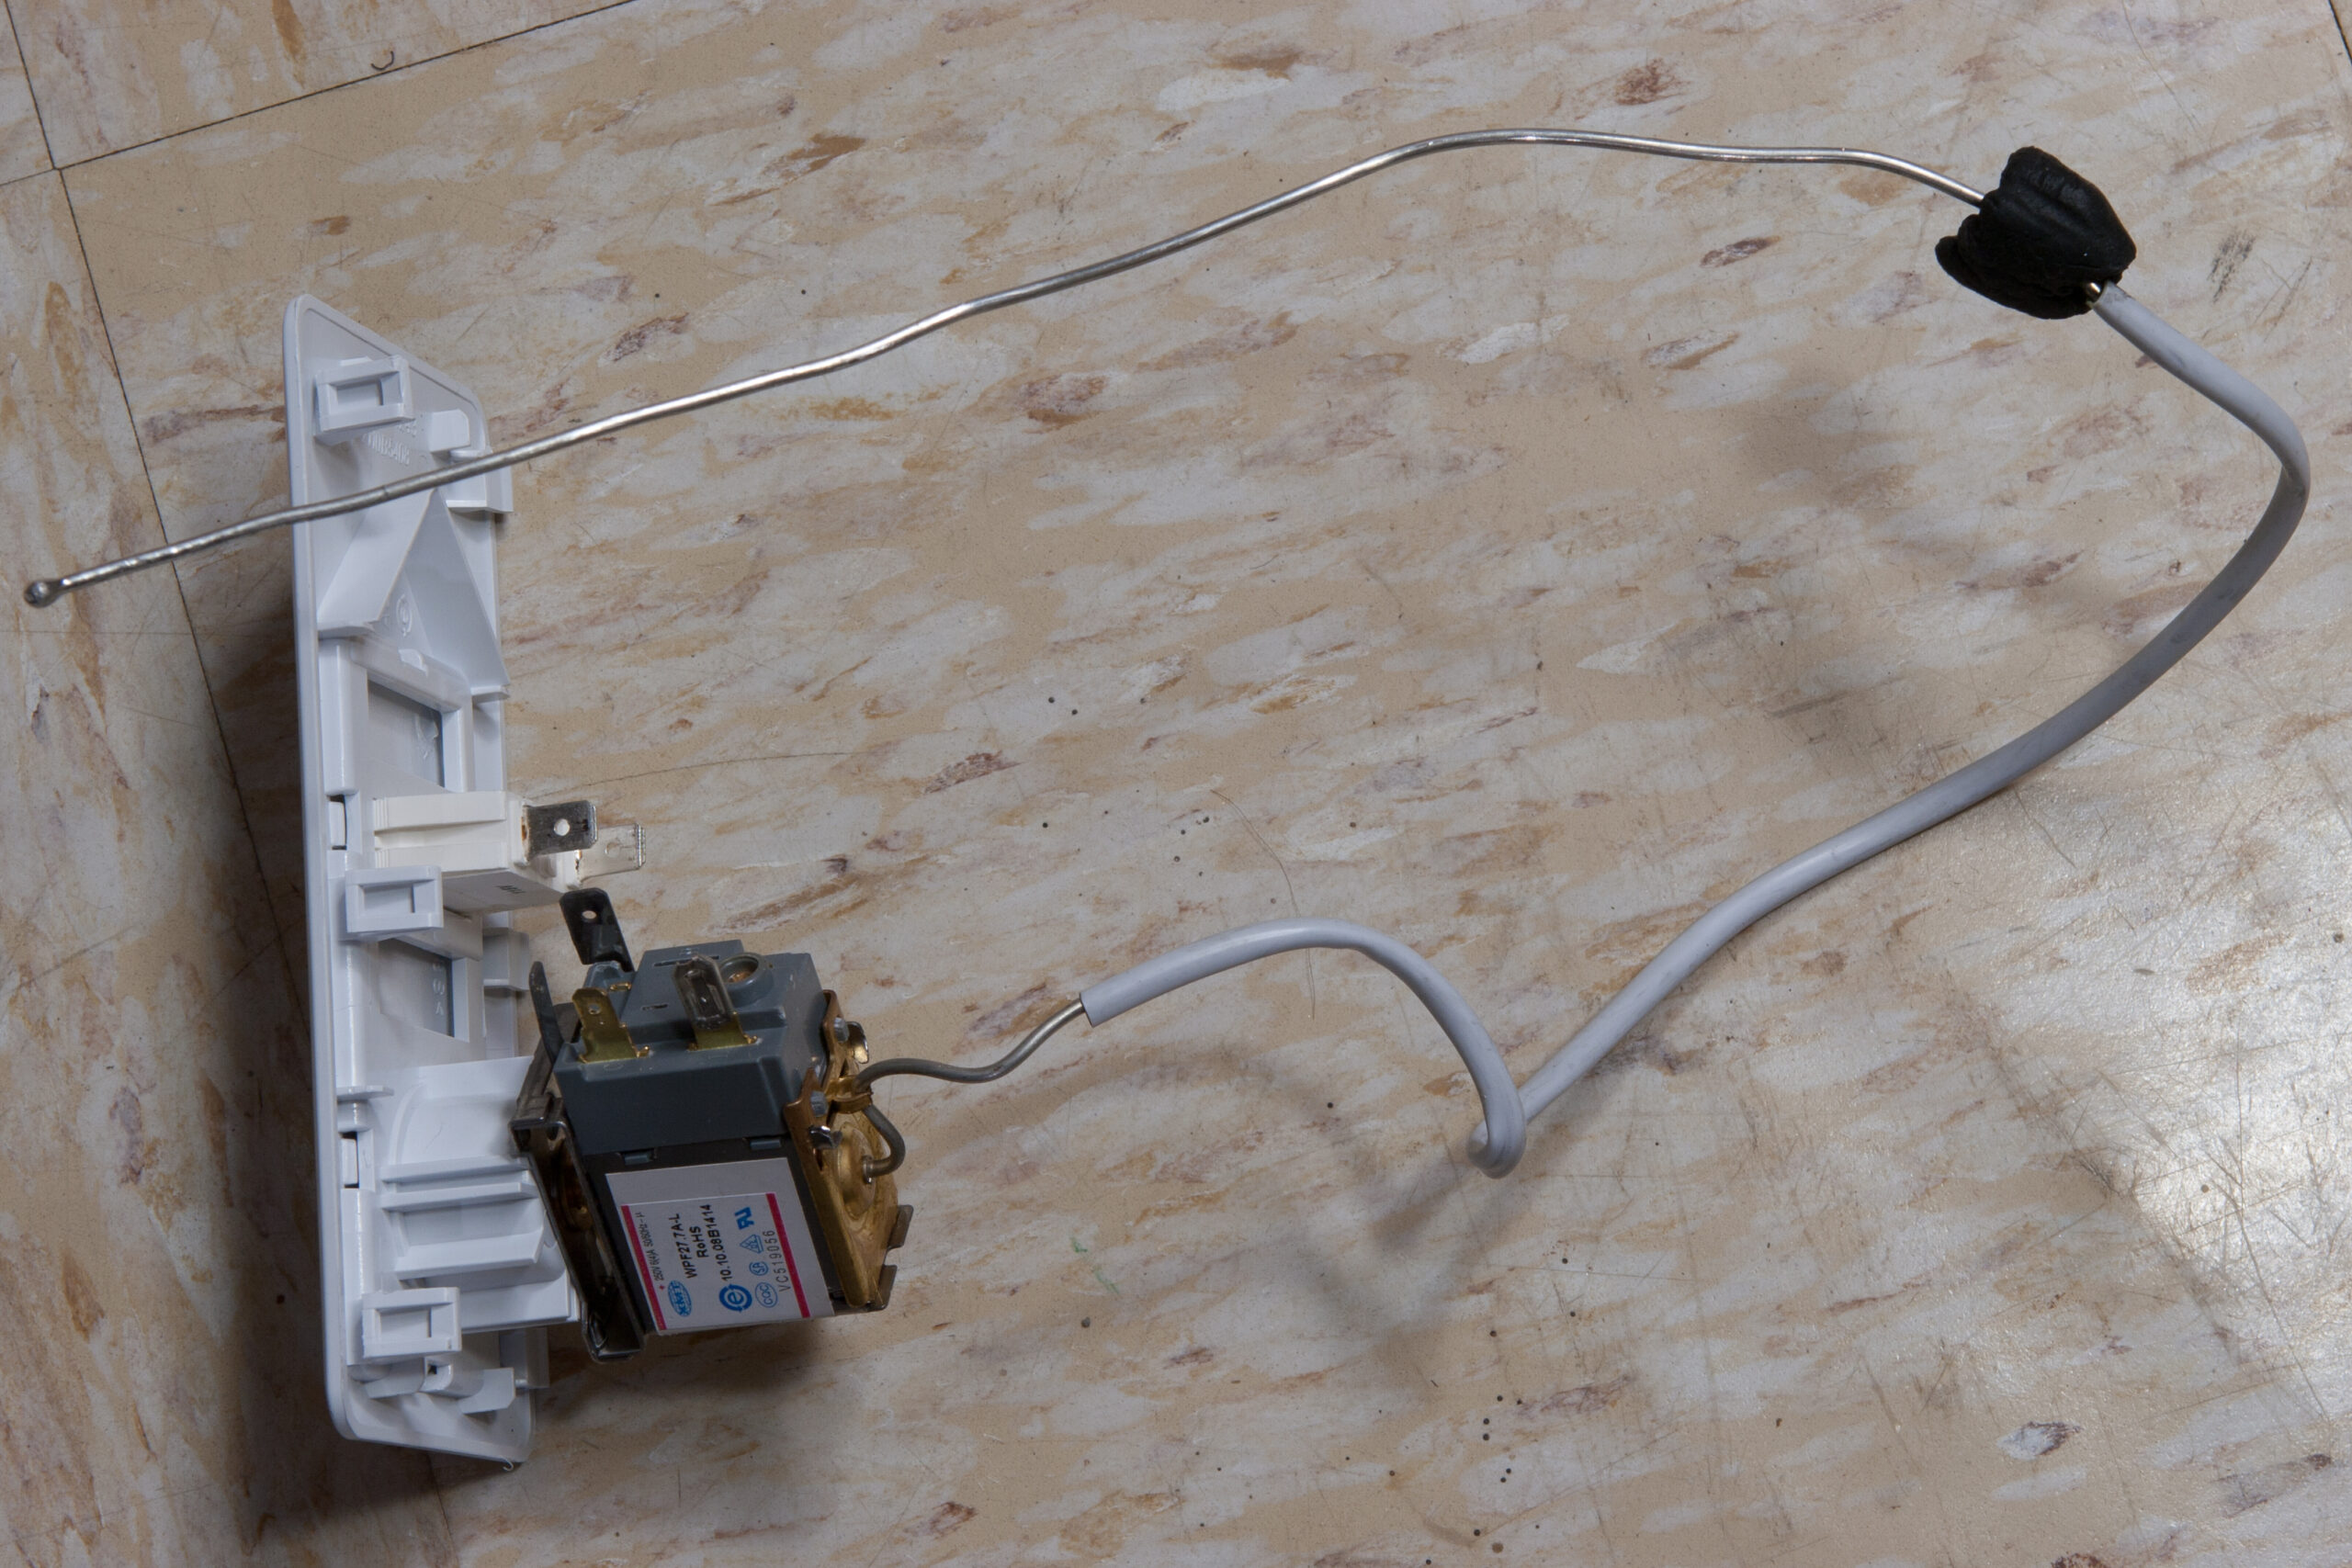
After receiving a Johnson Controls A419ABC-1C temperature control I opened up the 7.0 ft3 Holiday-brand chest freezer acquired from Lowes (item number 0073849) and set to understanding it’s temperature control system. It turns out that this chest freezer just has a basic on/off control that switches mains on and off for the compressor based on a temperature probe fed into the wall of the freezer. This should make it very easy to replace the controller with the A419.

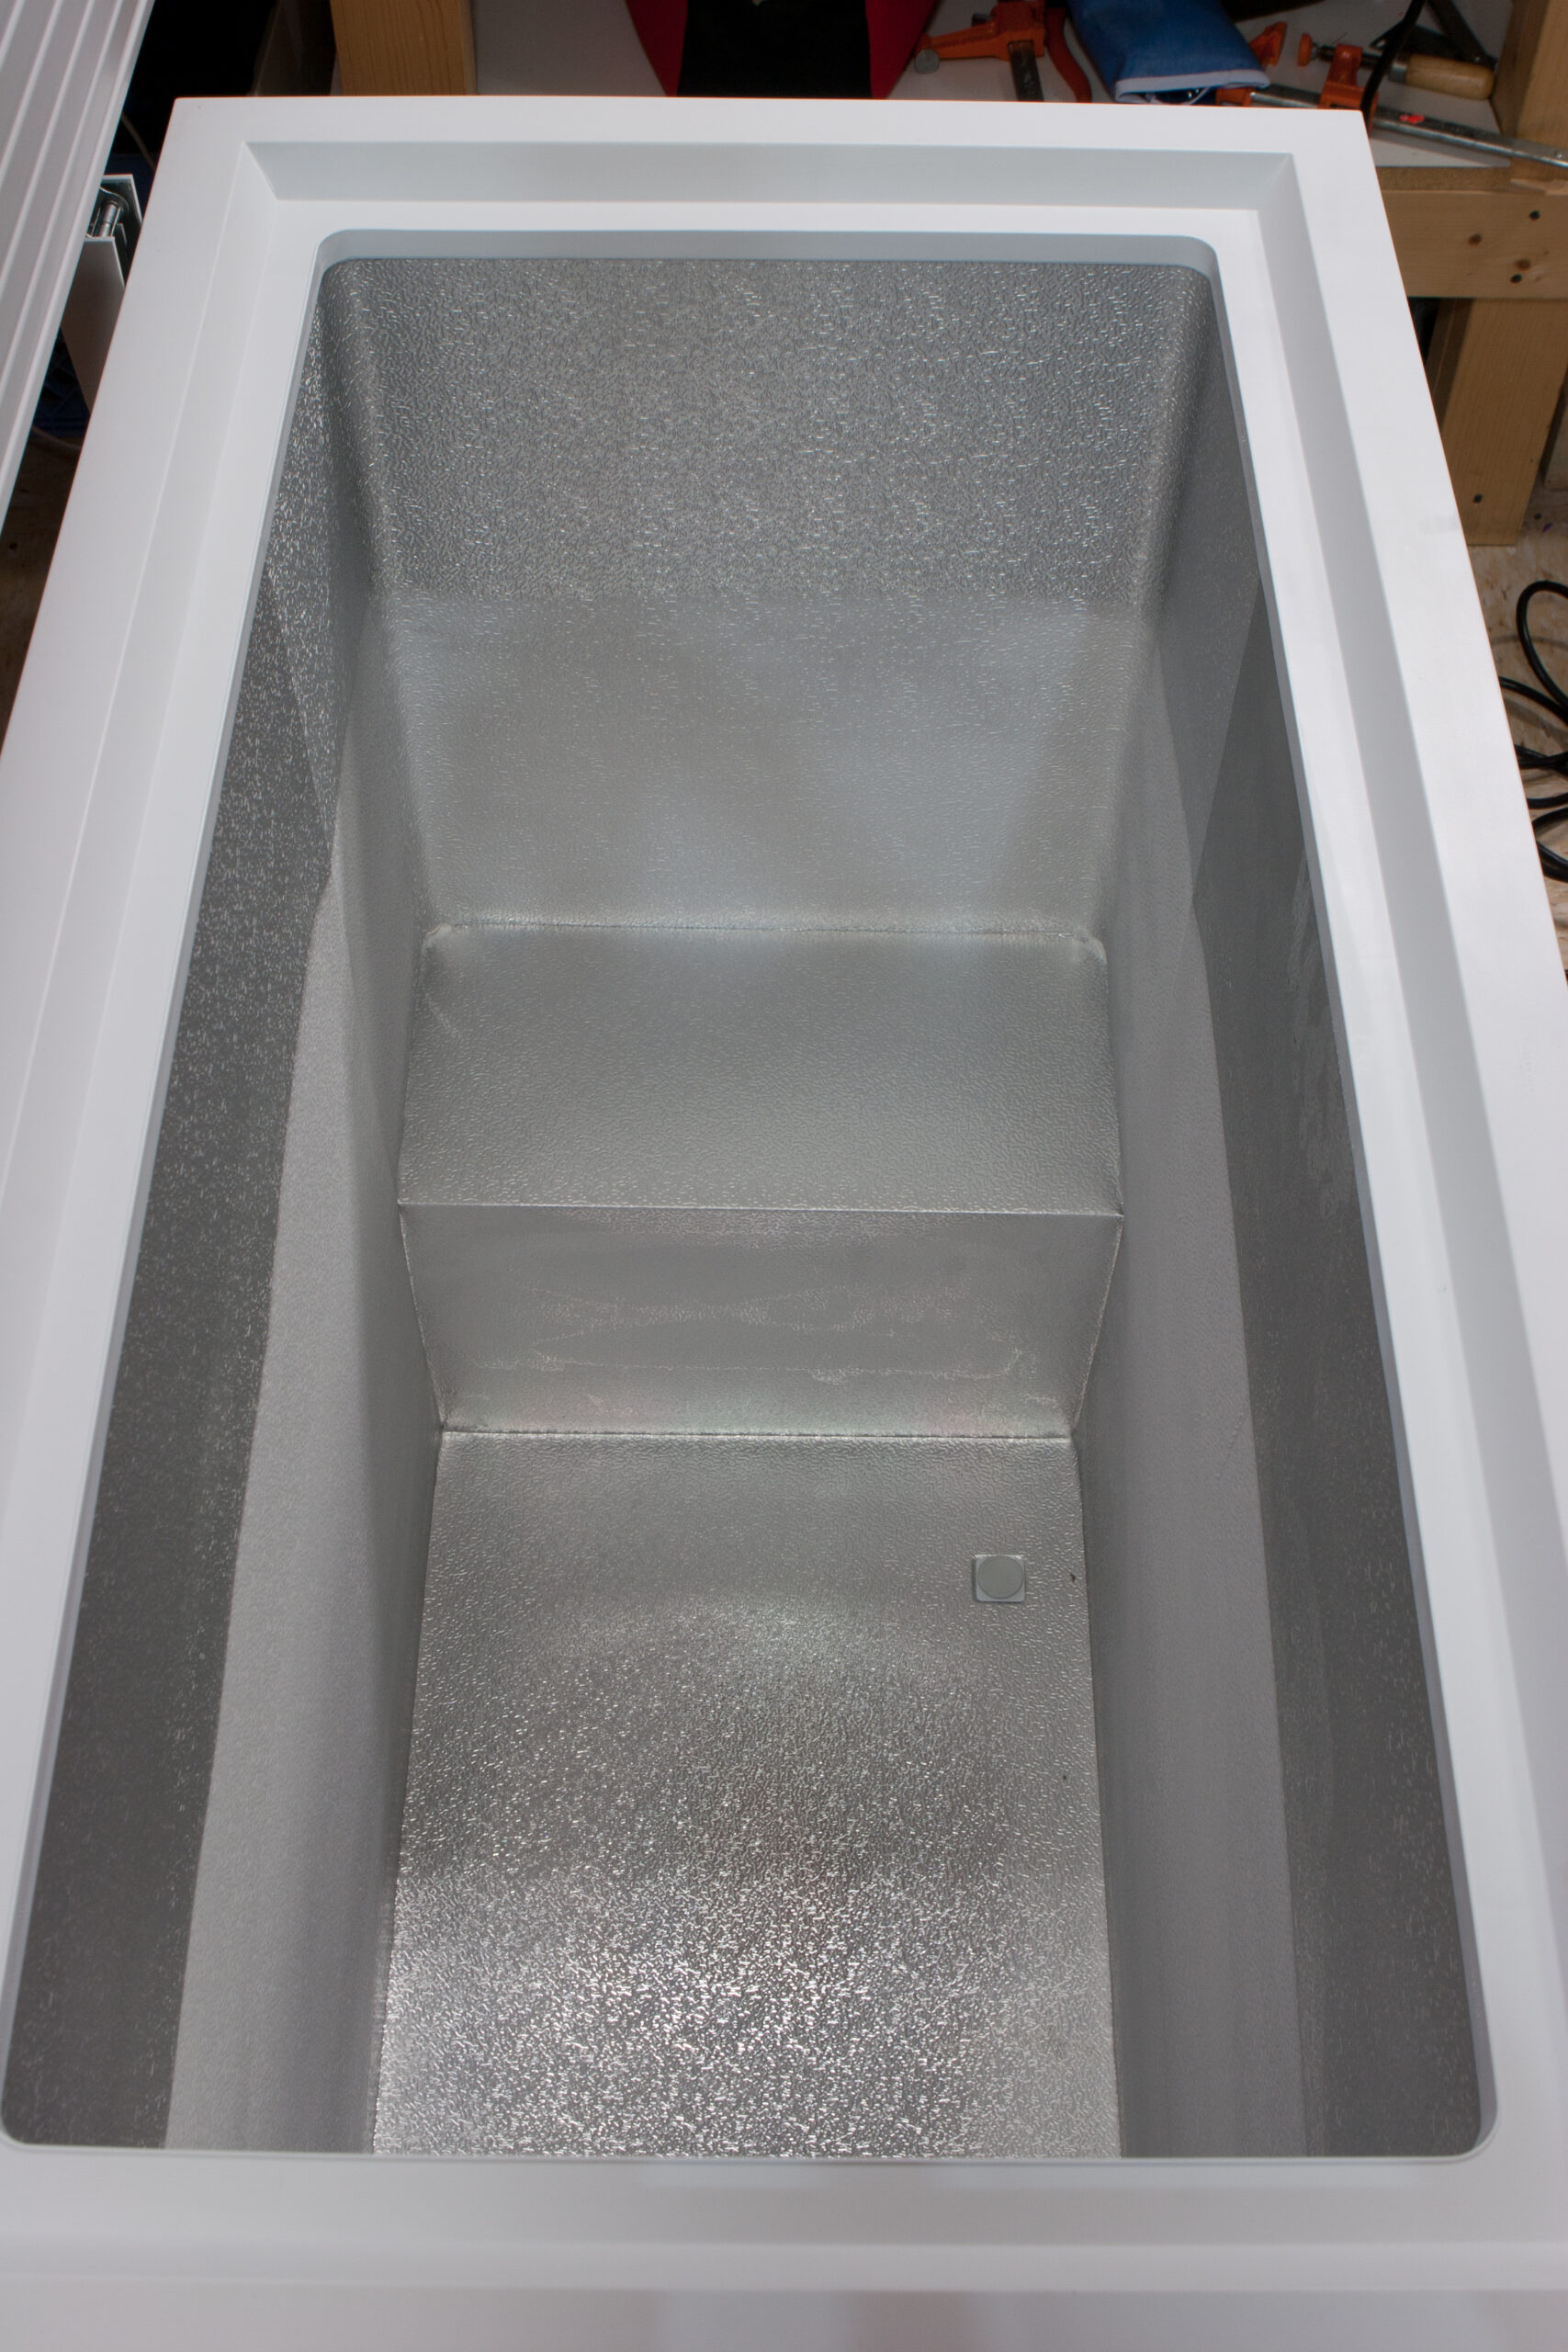
Part of converting a chest freezer to beer keg holding requires one to drill holes for both CO2 and the temperature control, which is a very risky task because hitting the refrigerant lines will vent the freezer’s cooling system rendering it useless. To try and understand where the coils are I started the freezer, let it run for a bit, then placed 1L of boiling water in it with the lid closed. The result was this, a nicely frosted freezer showing that almost all of the bottom part contains coils. Knowing this I’m going to attempt to drill the gas/probe holes by first carefully removing some of the lining metal then picking away at the foam to be sure that I’m not going to hit a line when widening the hole. I will start in the corner in the upper right of this picture, as this will allow for both easy gas and temperature probe access once everything is assembled. Hopefully that’ll go well.

If you’re interested, my first photos from this project can be found here (photo gallery retired).

around the housecomputersfoodmaking things

Area 51 is Drinkable!

It might possible be a bit cloudy, but the Area 51 American IPA (previously), which is really more of an American Pale Ale, is ready to drink. Comparing it to other beer photos of mine I think it’s pretty spot-on style-wise, and taste-wise it’s really quite nice. This is the first beer that I’ve made which I’d easily think came from a proper brewery had I not known that I made it.

This, plus the ease of kegs, is a good thing. If I can keep up quality like this I’ll be quite happy and likely brewing a lot of my own beer in the future.

beerfoodmaking things

Blue Cheese and Bacon, etc

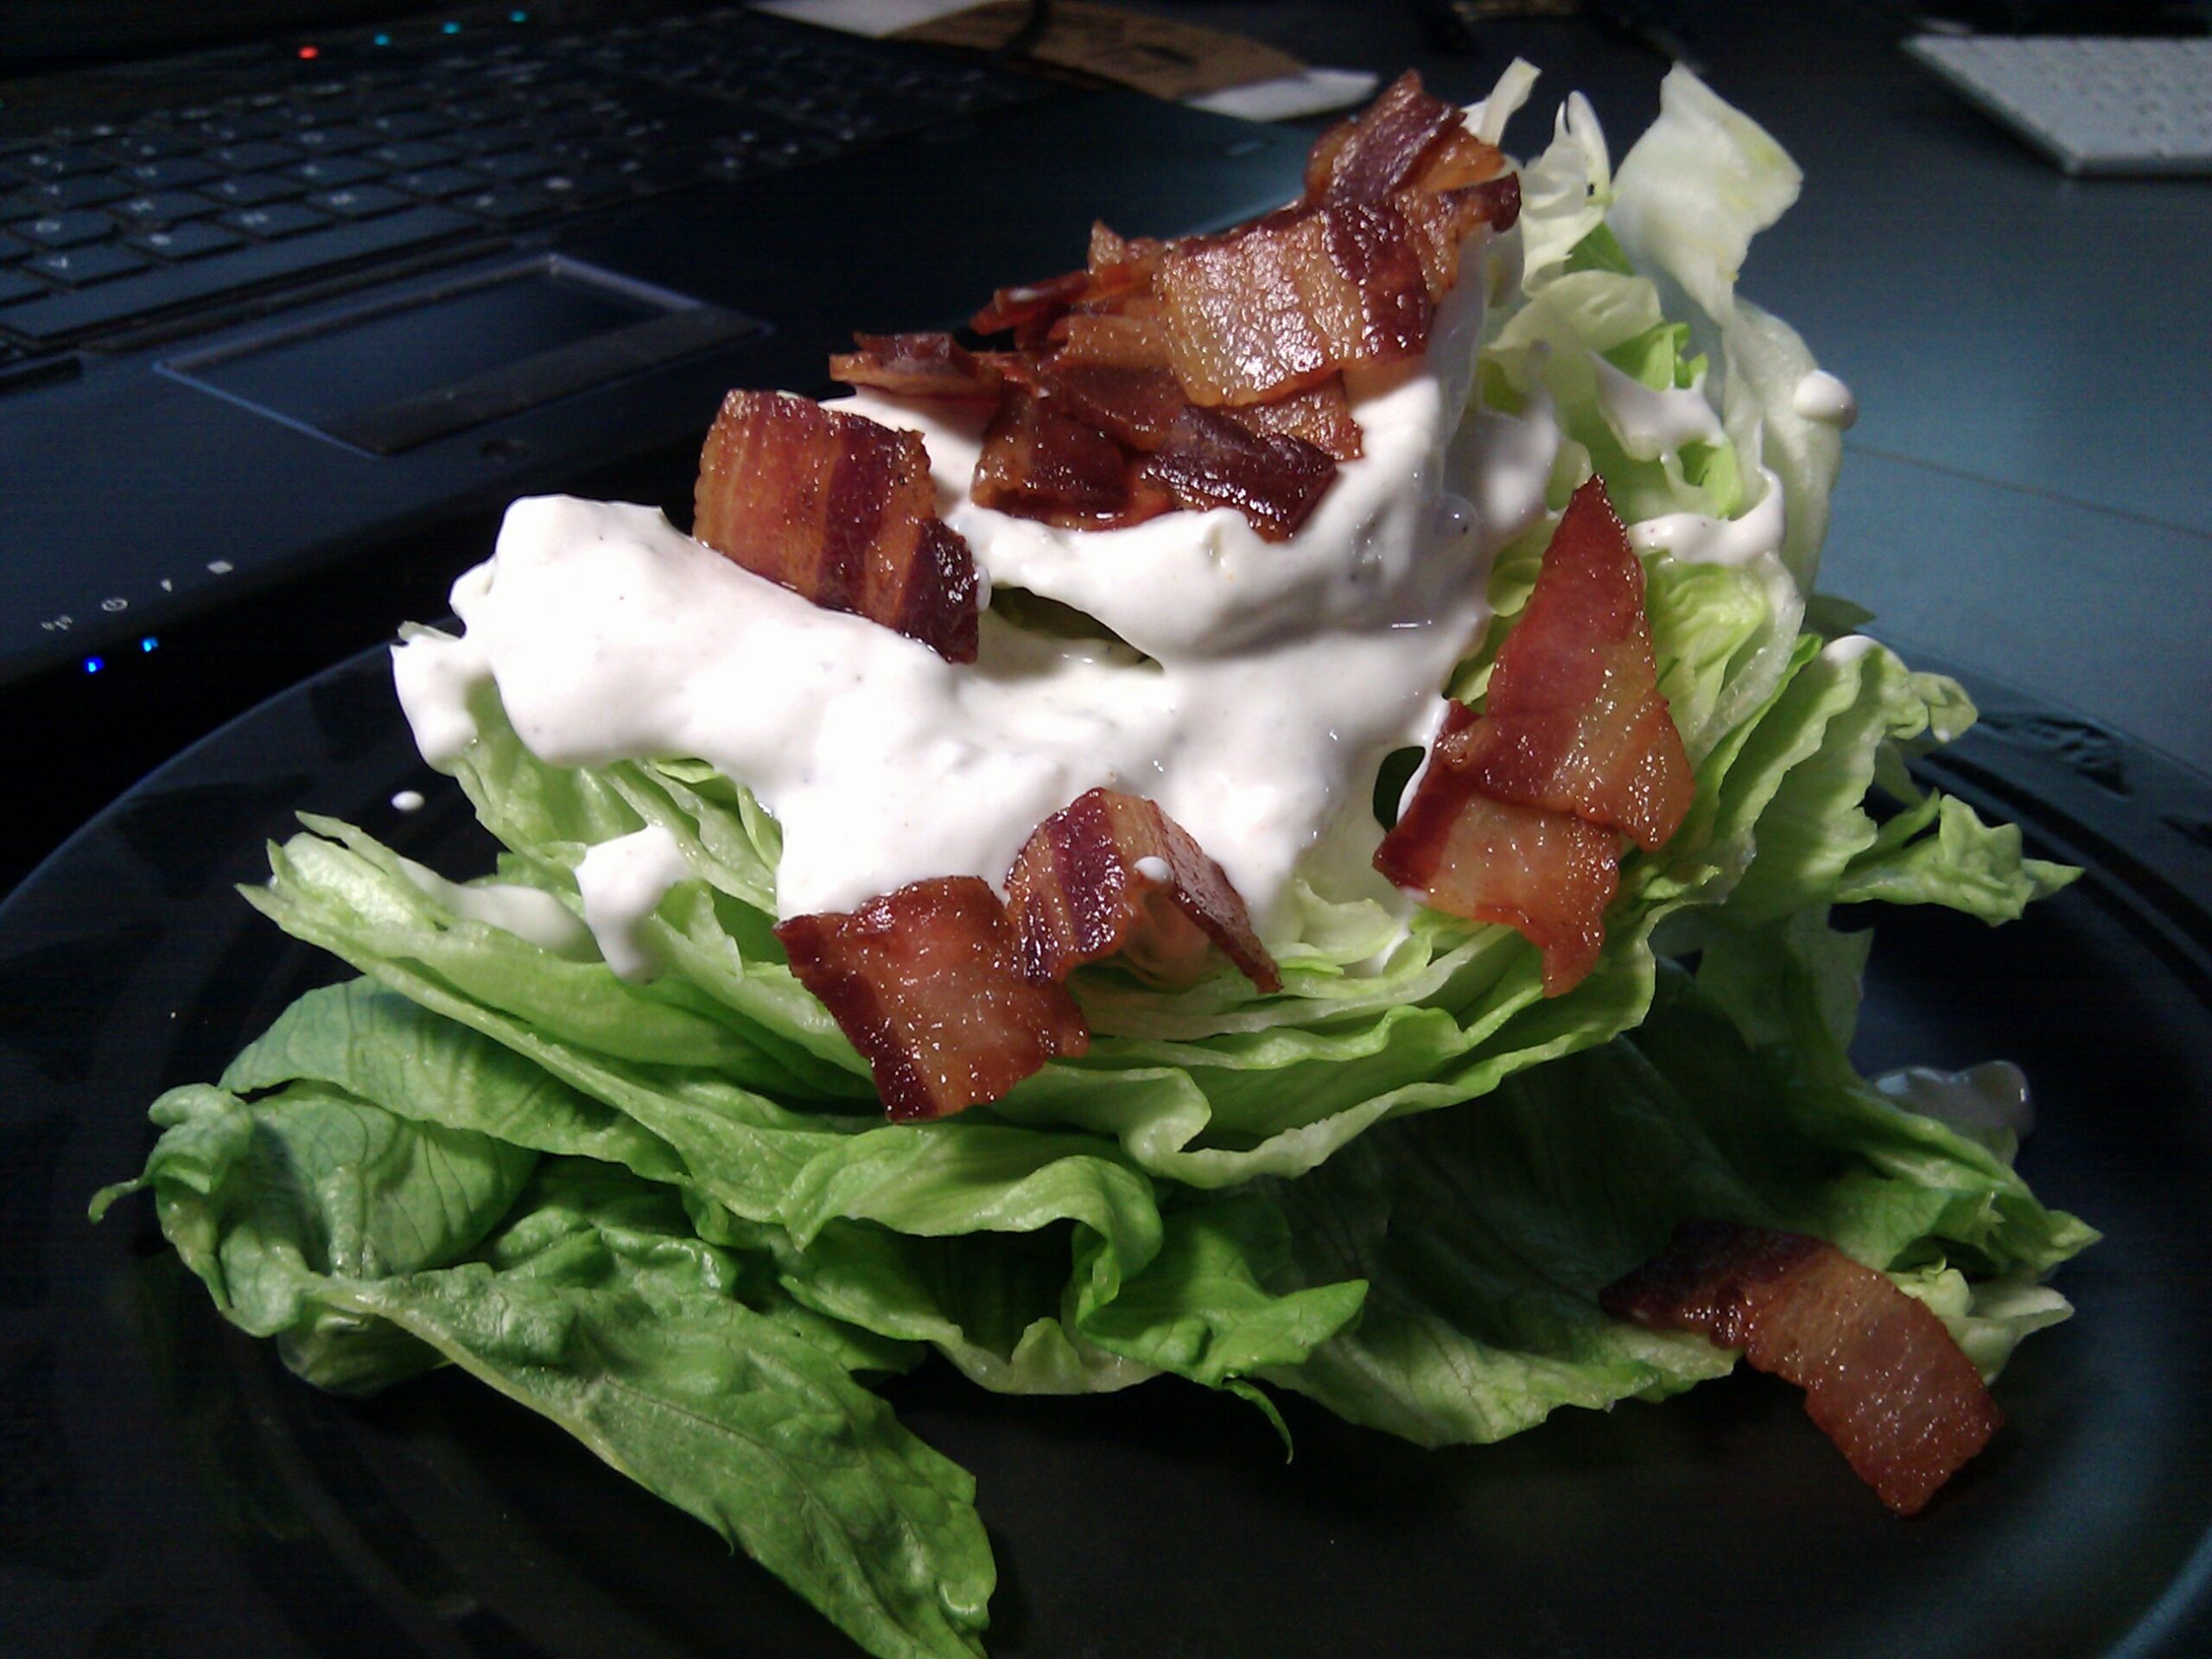
Here is a blue cheese dressing and bacon salad made with a wedge of iceberg lettuce. Danielle made this for dinner on Monday evening and it was absolutely wonderful. I had more of it for lunch the next day, and it really hit the spot then too.

Here’s some other moblog (photo gallery retired) photos that I’ve taken recently:

· Looking out from an elevator at the RenCen at an artificially accelerated sunset.
· My reflection in an elevator while heading down to my car.
· Yay! I have a trash can at work!
· Blue cheese and bacon salad made by Danielle with fresh dressing and extremely high quality bacon.
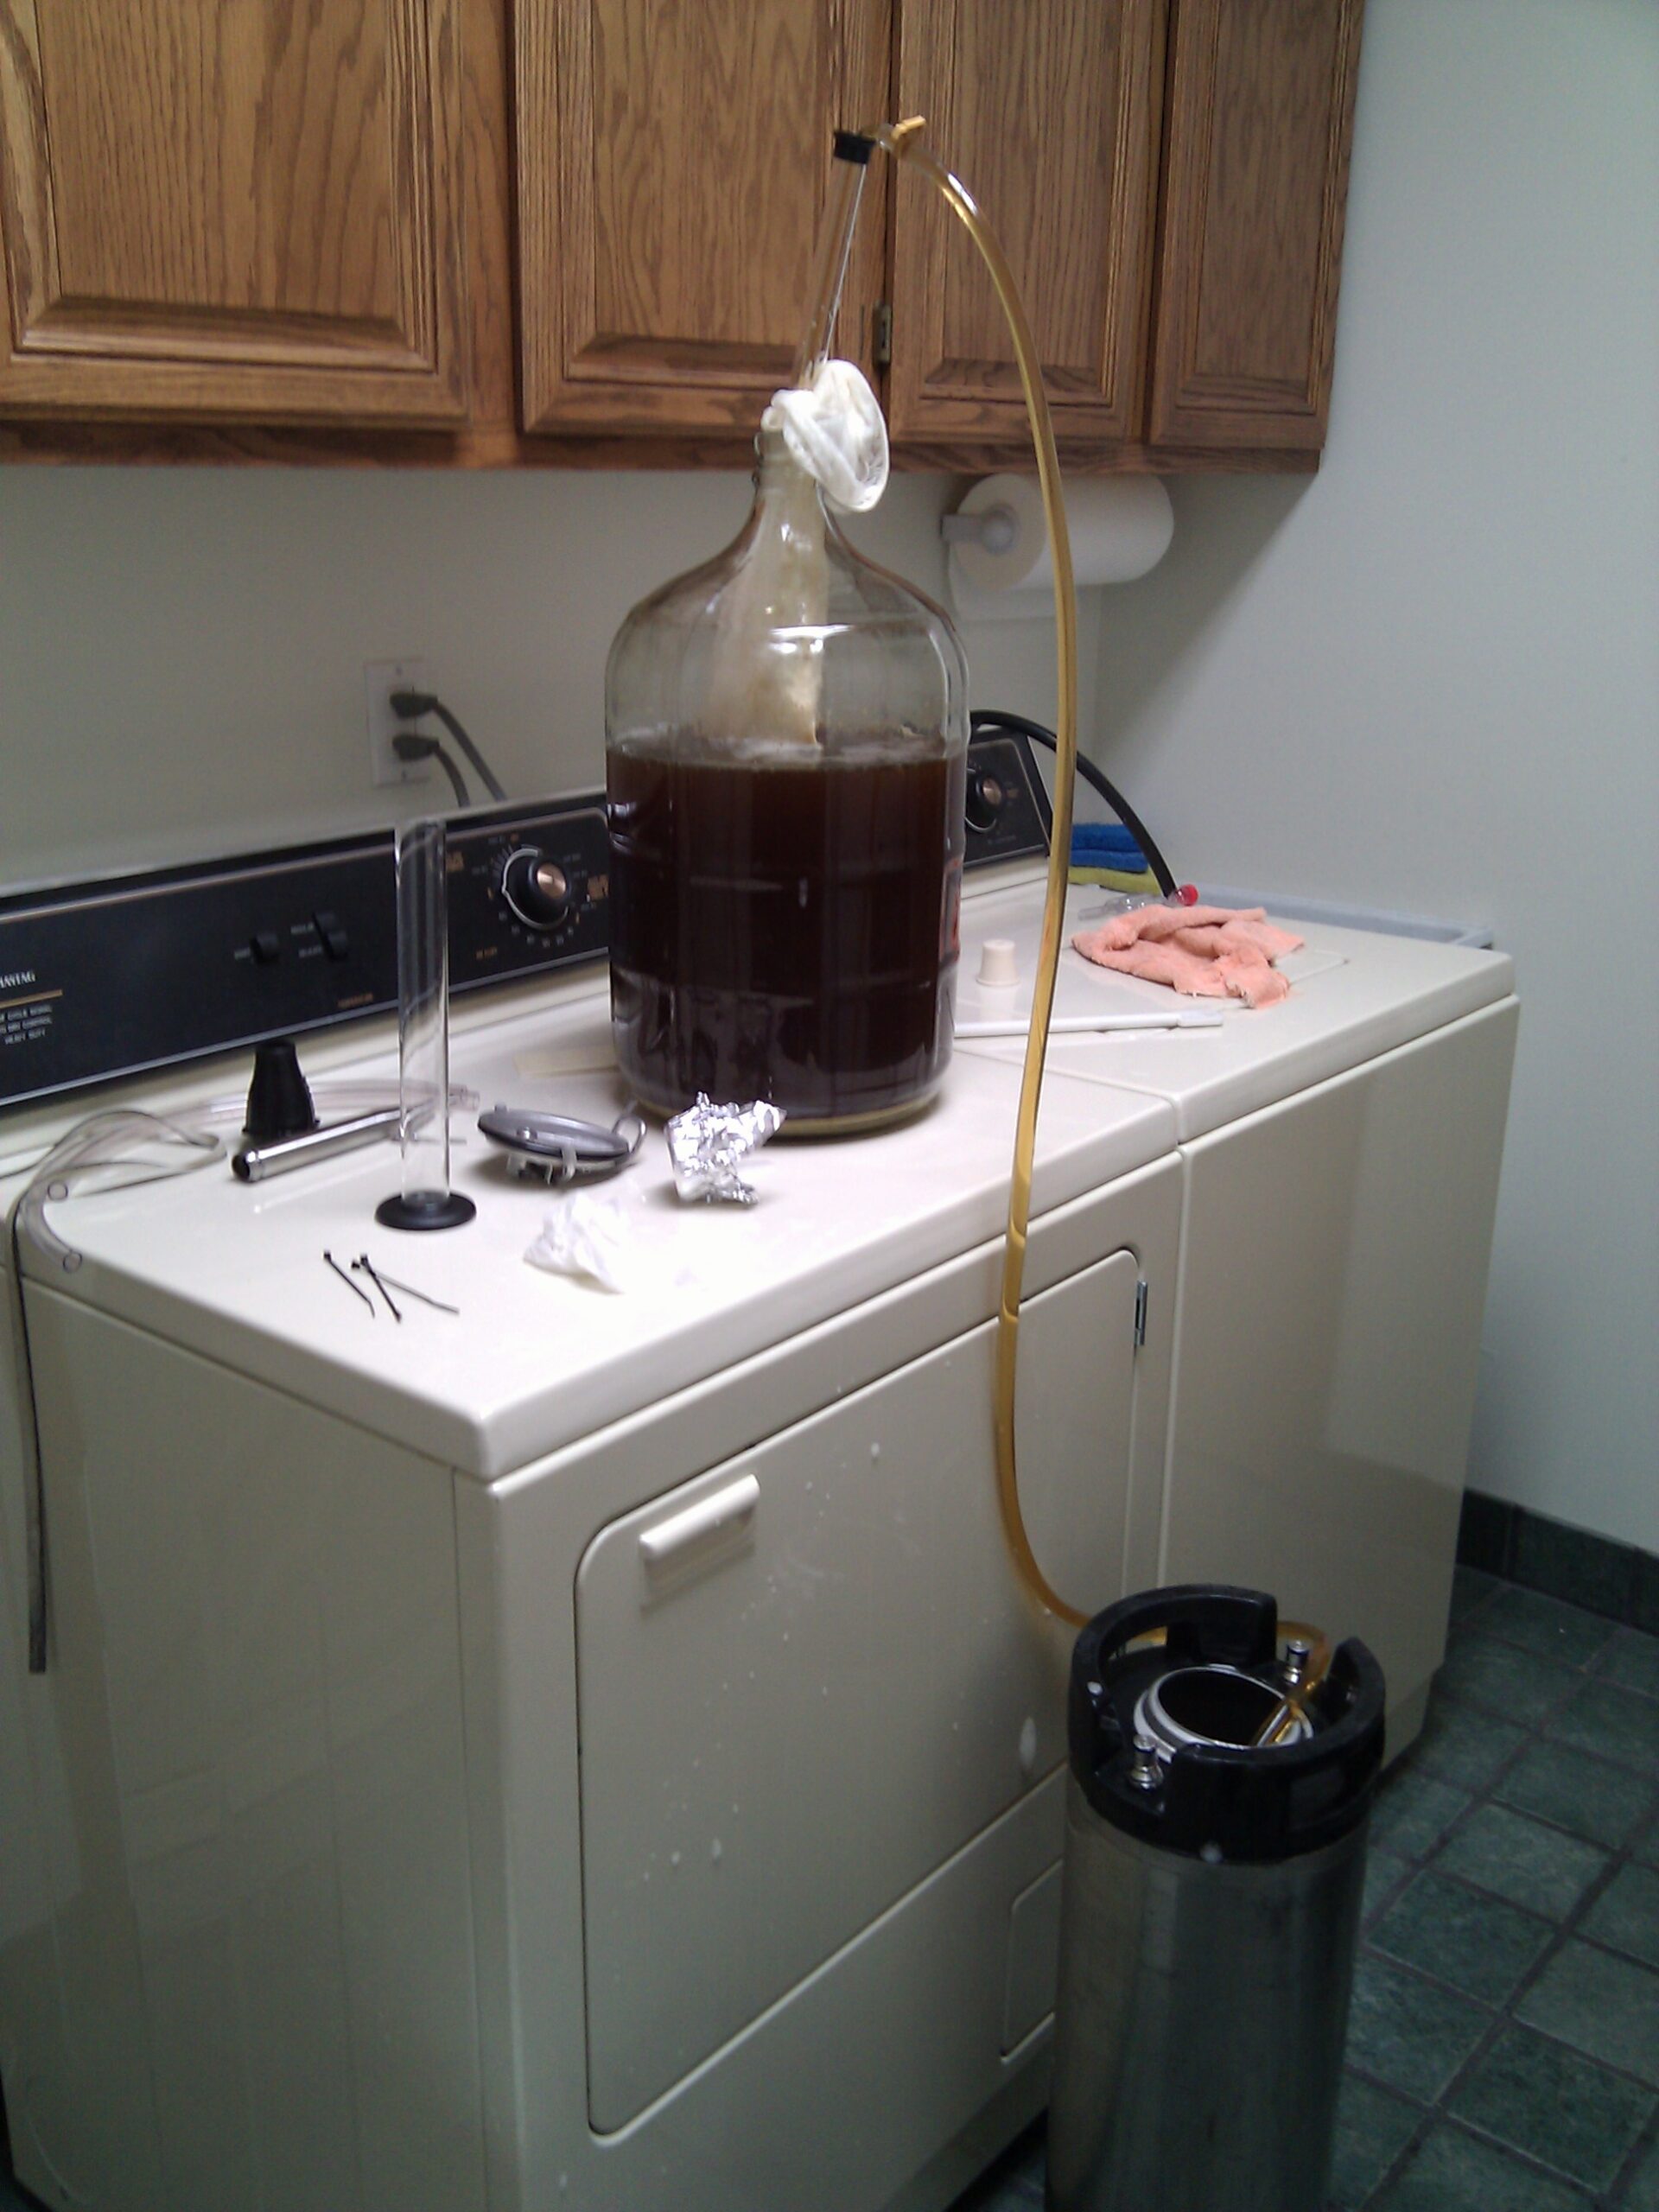
· Racking the Area 51 American IPA to a corney keg for carbonation.
· The non-dairy creamer at work has one of the worst possible fonts.
· Arek eating a sandwich at Al’s Famous Deli on Woodward.
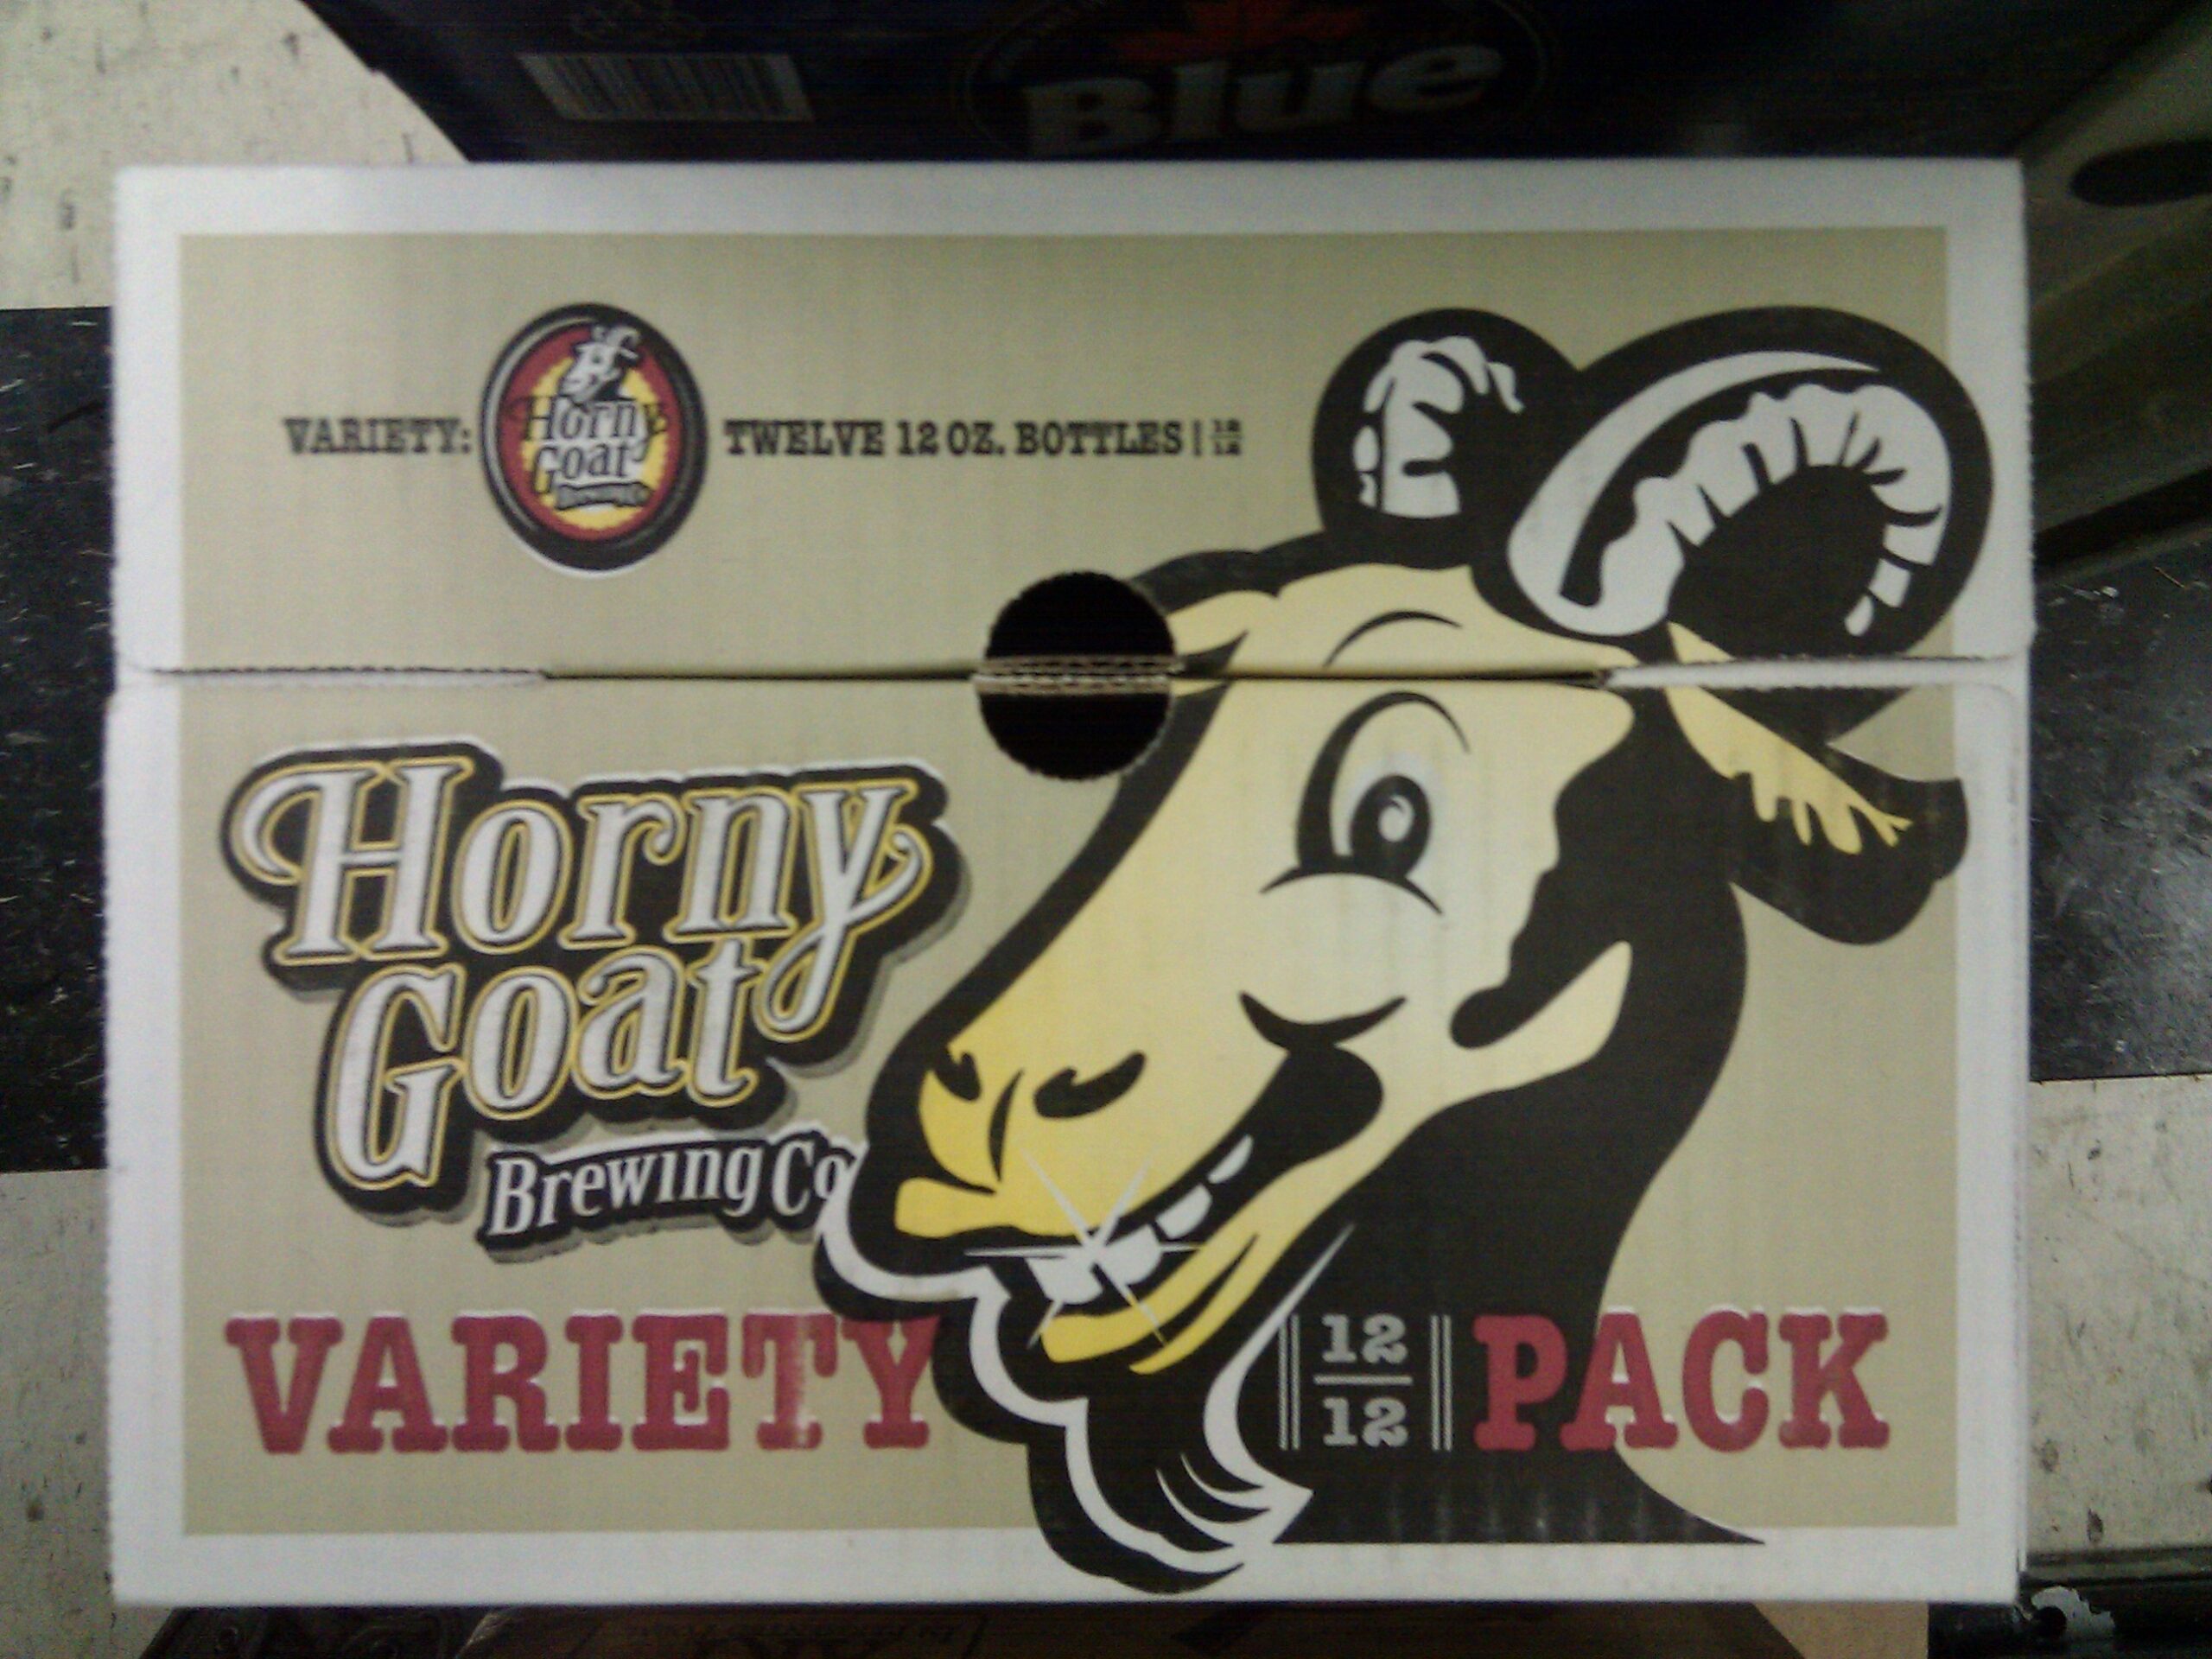
· Horny Goat Brewing Company Variety Pack.

beerfoodmaking thingswork

Lazy Stout is Ready!

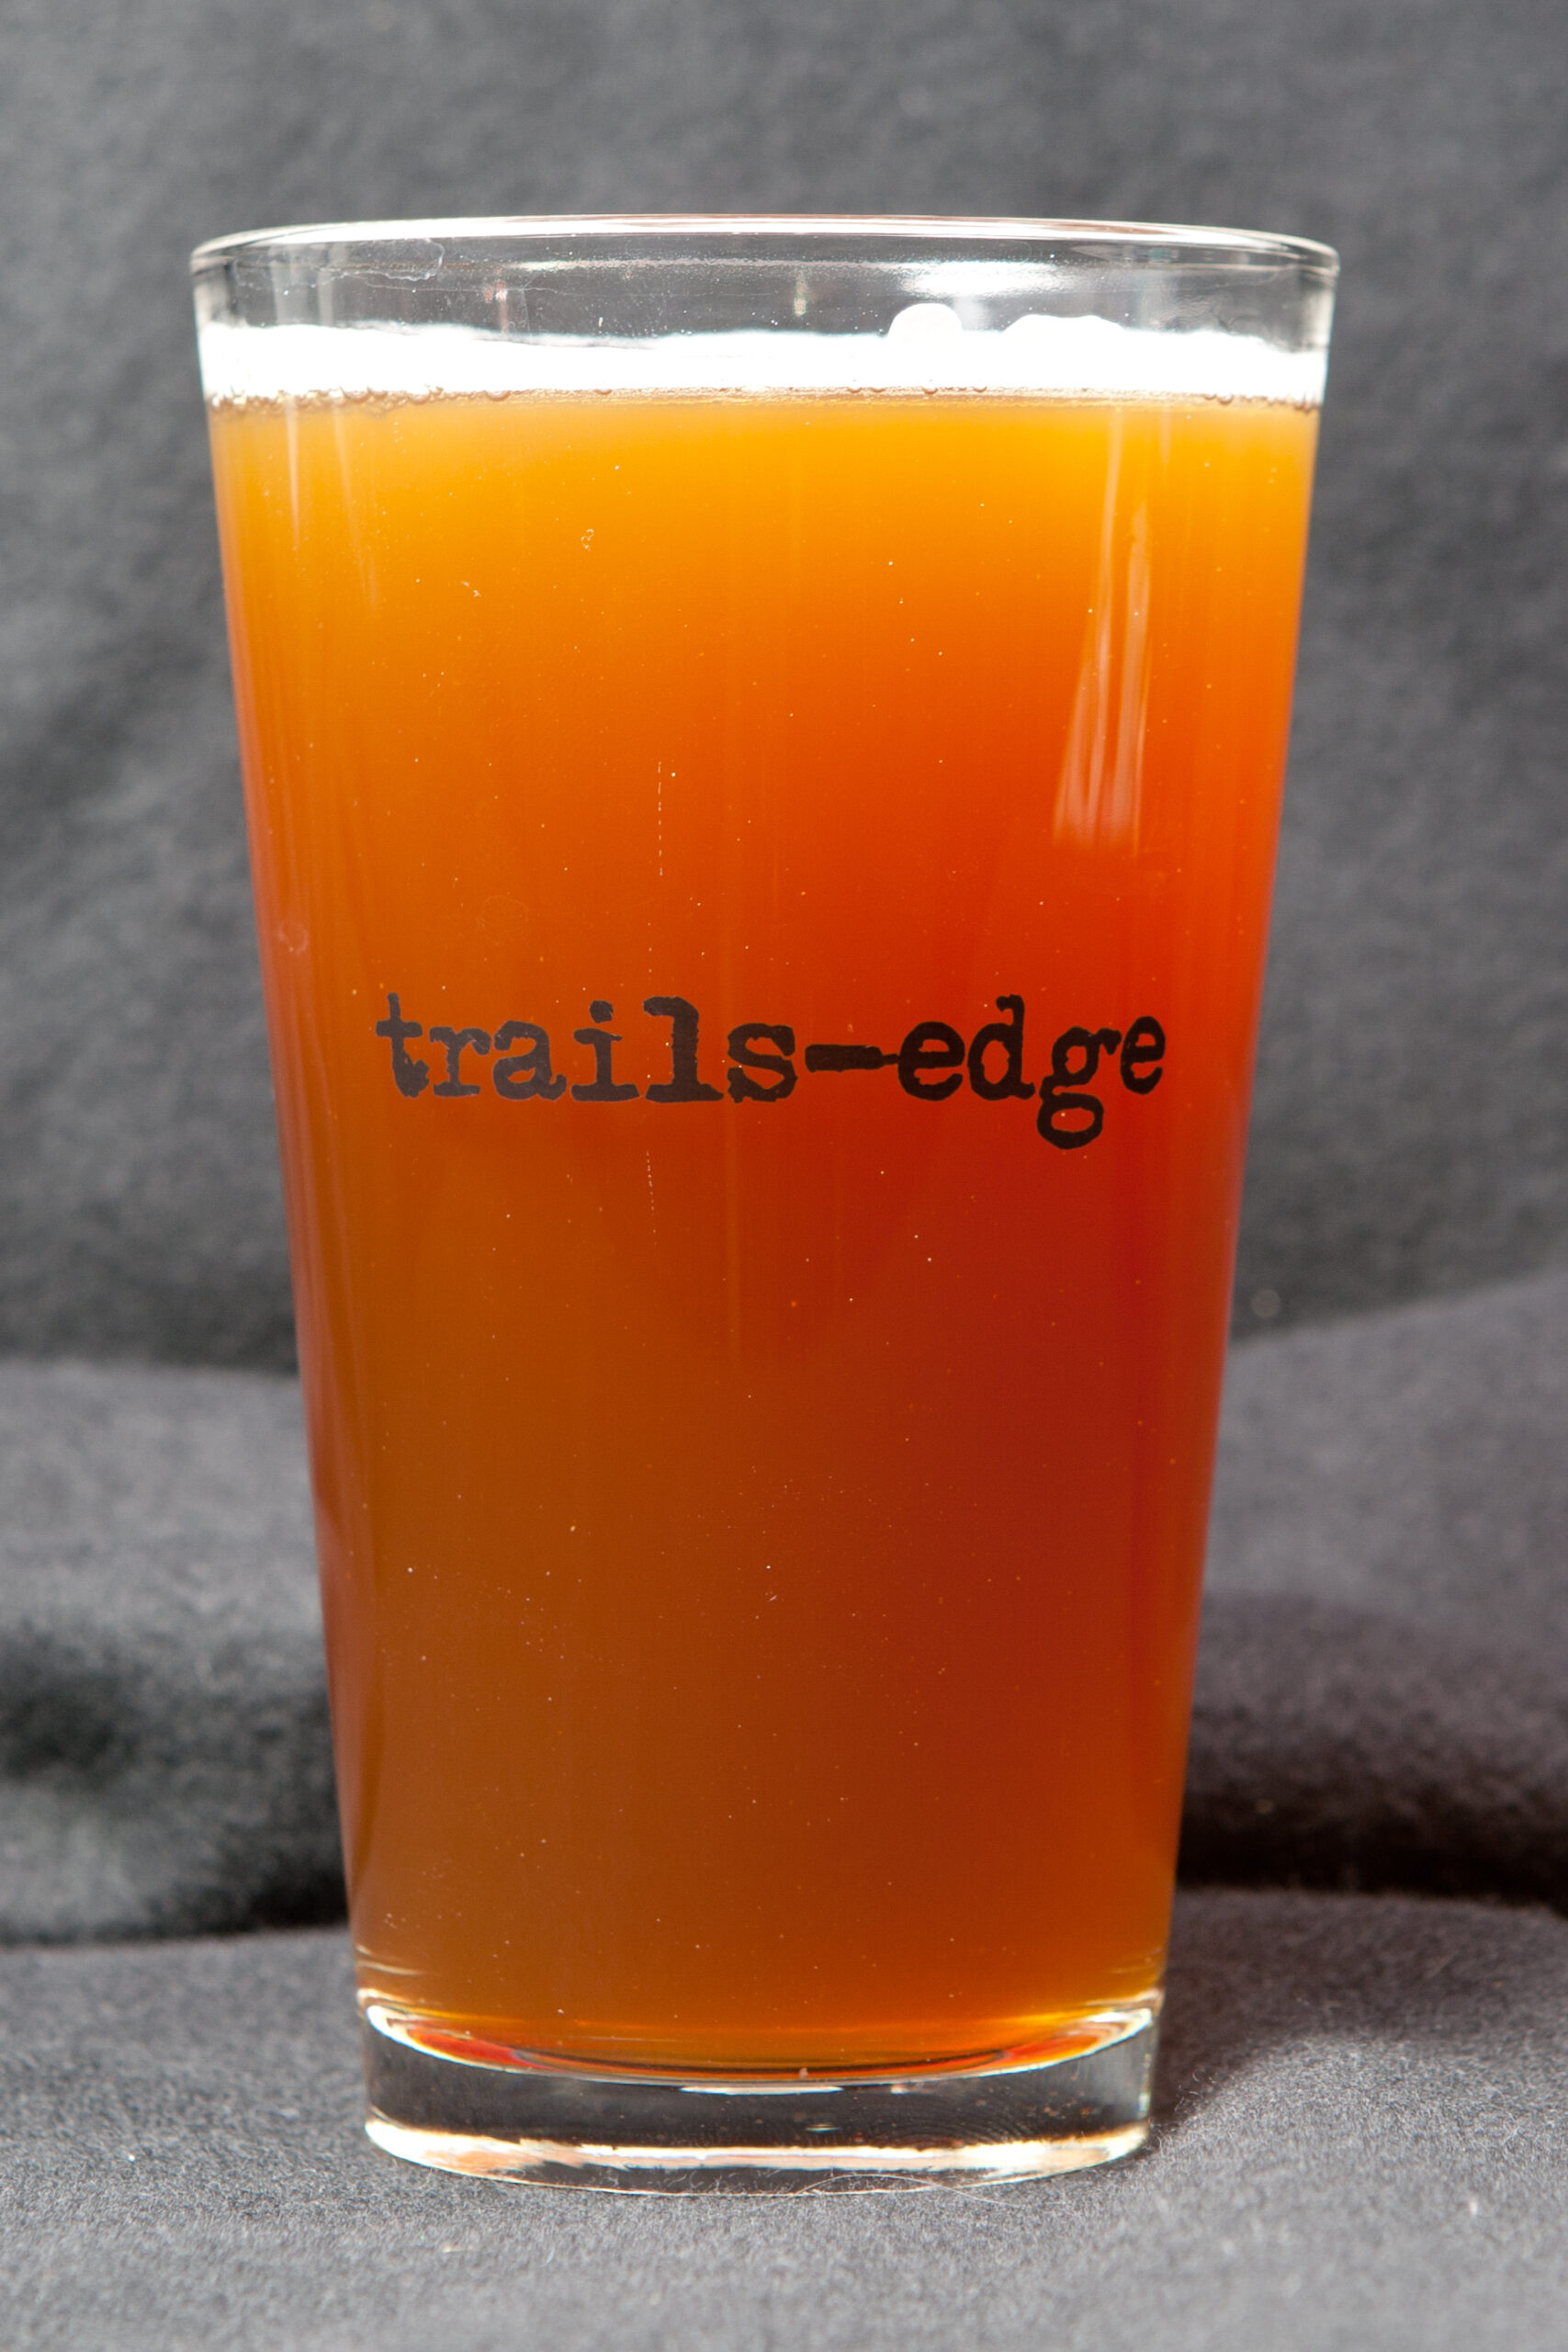
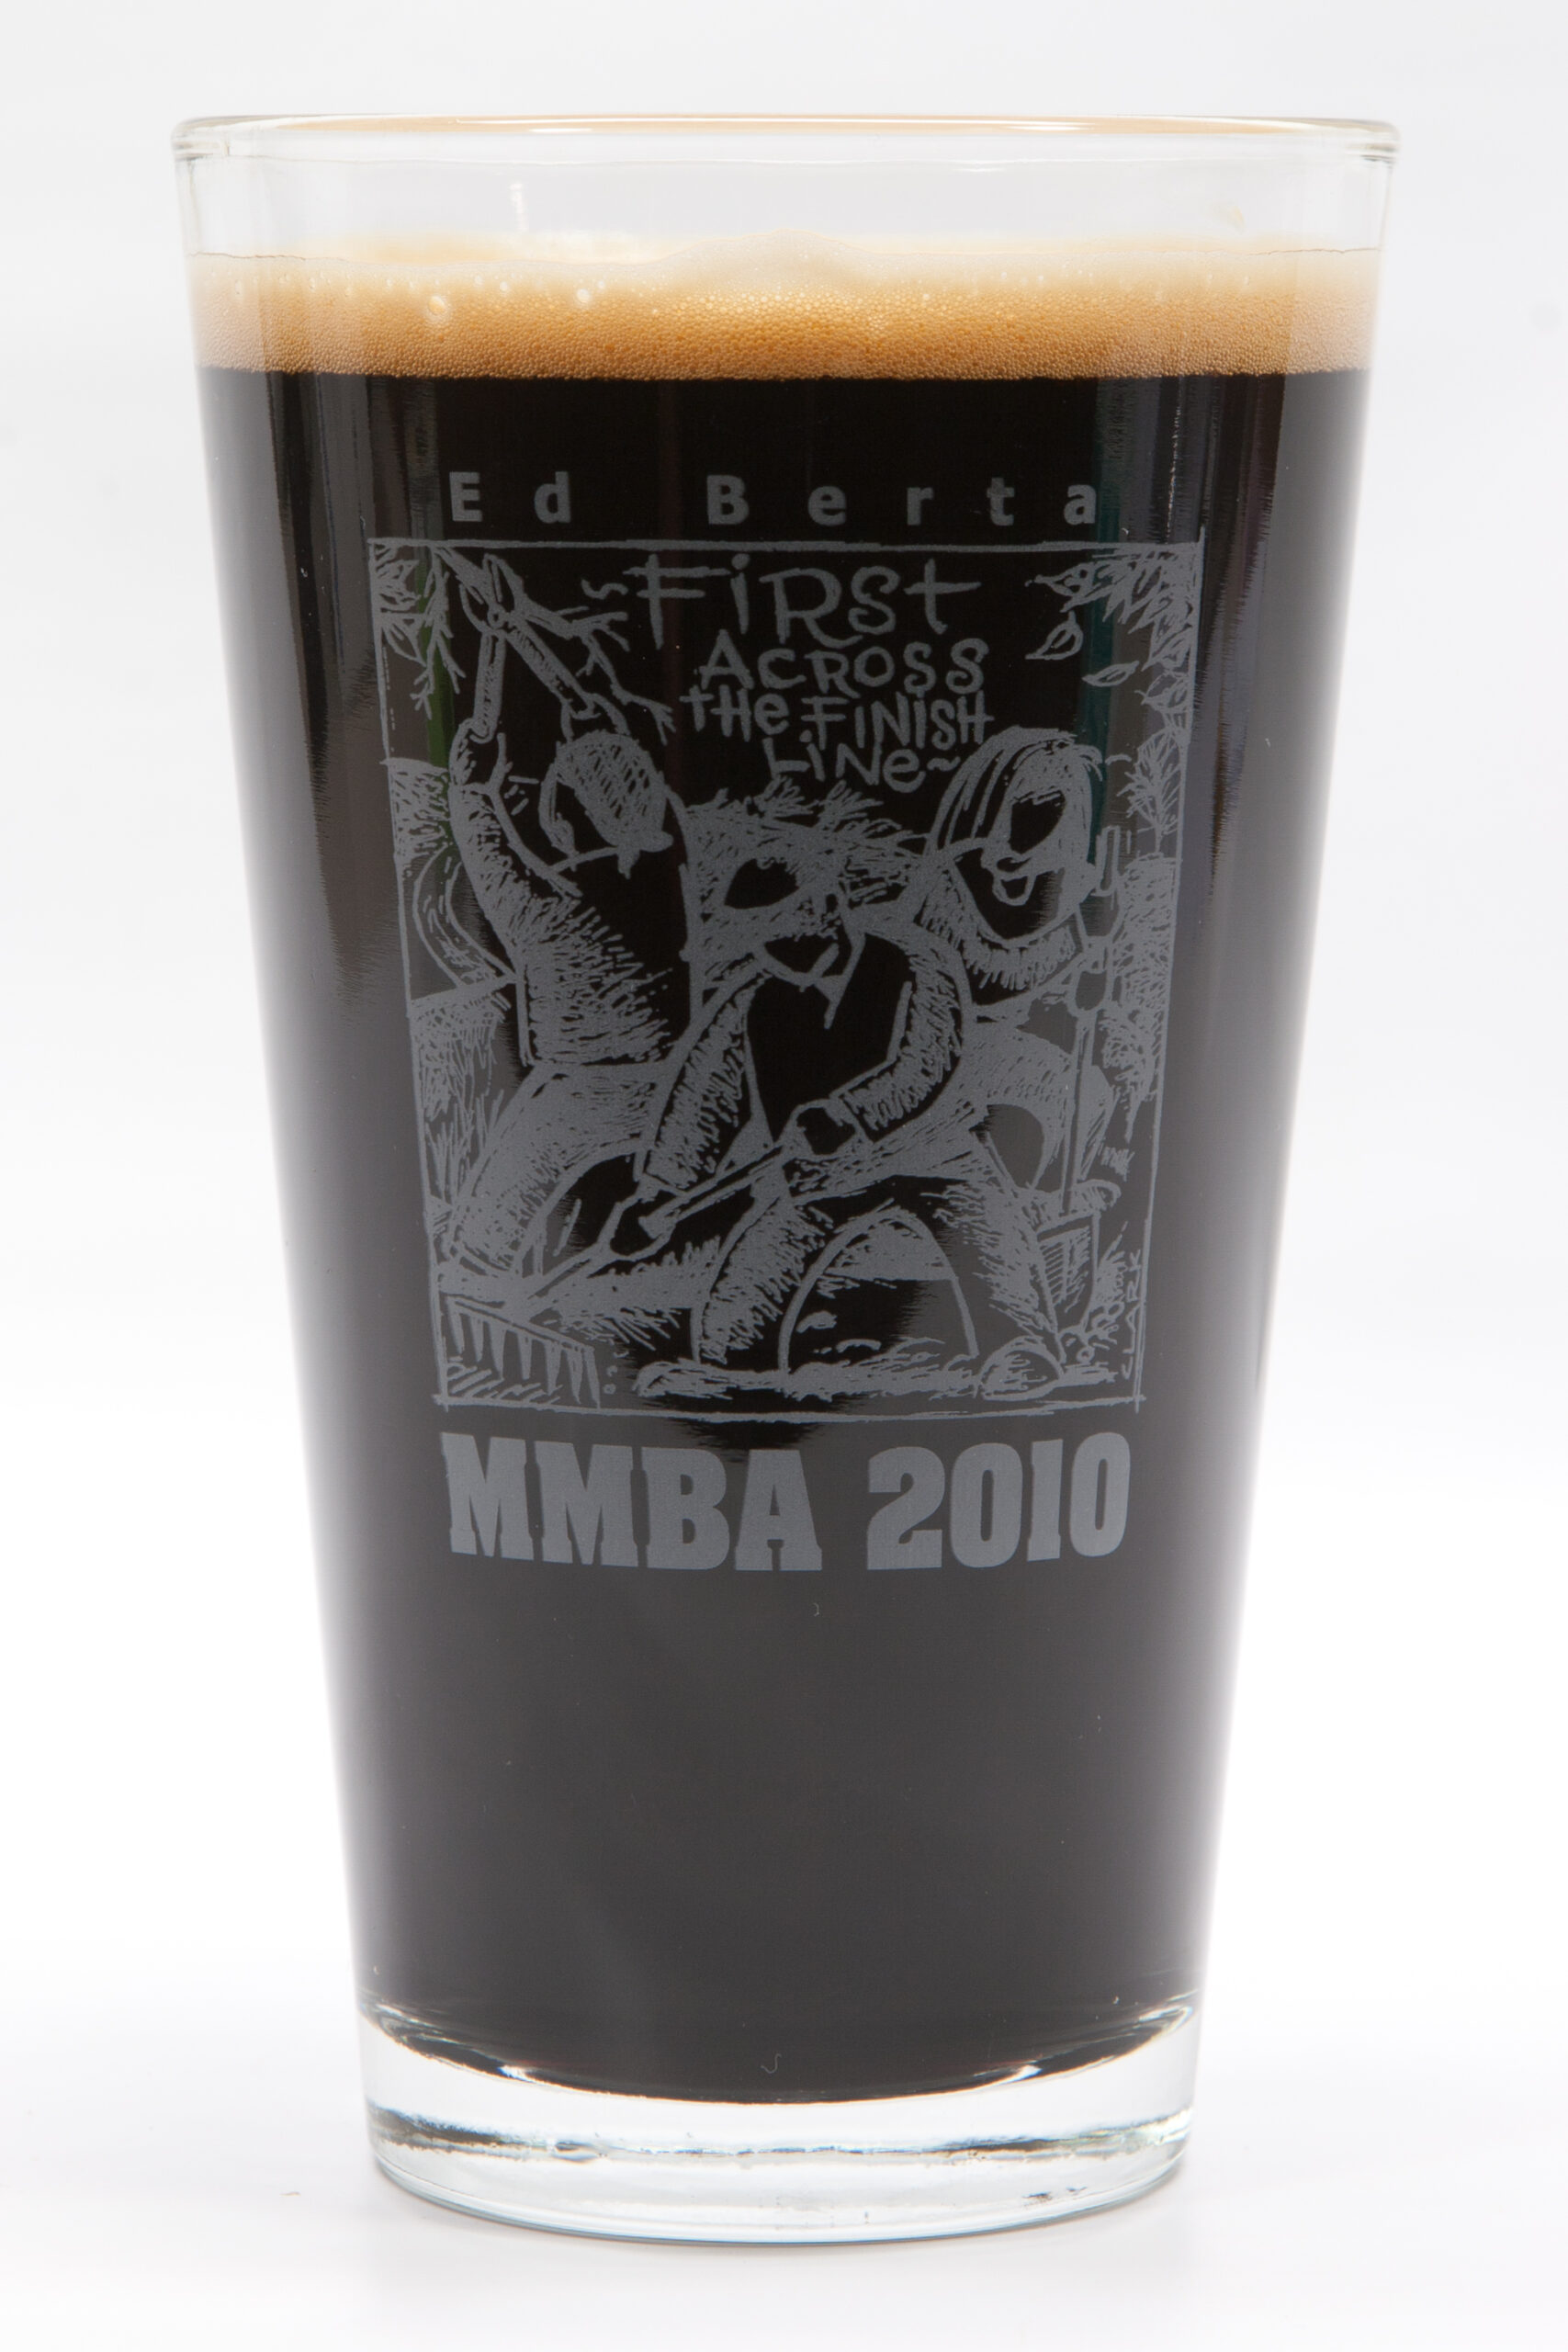
Here is a glass of Lazy Stout all ready to drink. It’s well-carbonated, with the ~10psi working out well in the ~40F temperature that the keg settled to. There is a slightly odd flavor to the beer that I dislike and I think comes from using all extract, but Danielle likes it and doesn’t notice anything odd. I also think it’s a bit too roasted-tasting for me, so maybe next time I’ll have to try it with both a dark and light extract. Still, overall, it’s good.

Now to finish this off and get the Area 51 into the keg and carbonating. I suspect this will take a while. Anyone want a growler fill?

beerfoodmaking things

CF Card Hole in Netgate alix2d13 Enclosure

This morning when a beta version of pfSense on my PC Engines alix2d13-based firewall crashed I decided to make it easier to swap the CompactFlash card from which the OS runs. While physical access to the card is not normally required to upgrade the OS, there have been a few cases recently where I had to remove the card and image it. After the third time of removing 12 fasteners just to remove the card I decided to follow pfSense developer Jim-P’s example cut a hole in my firewall’s enclosure.

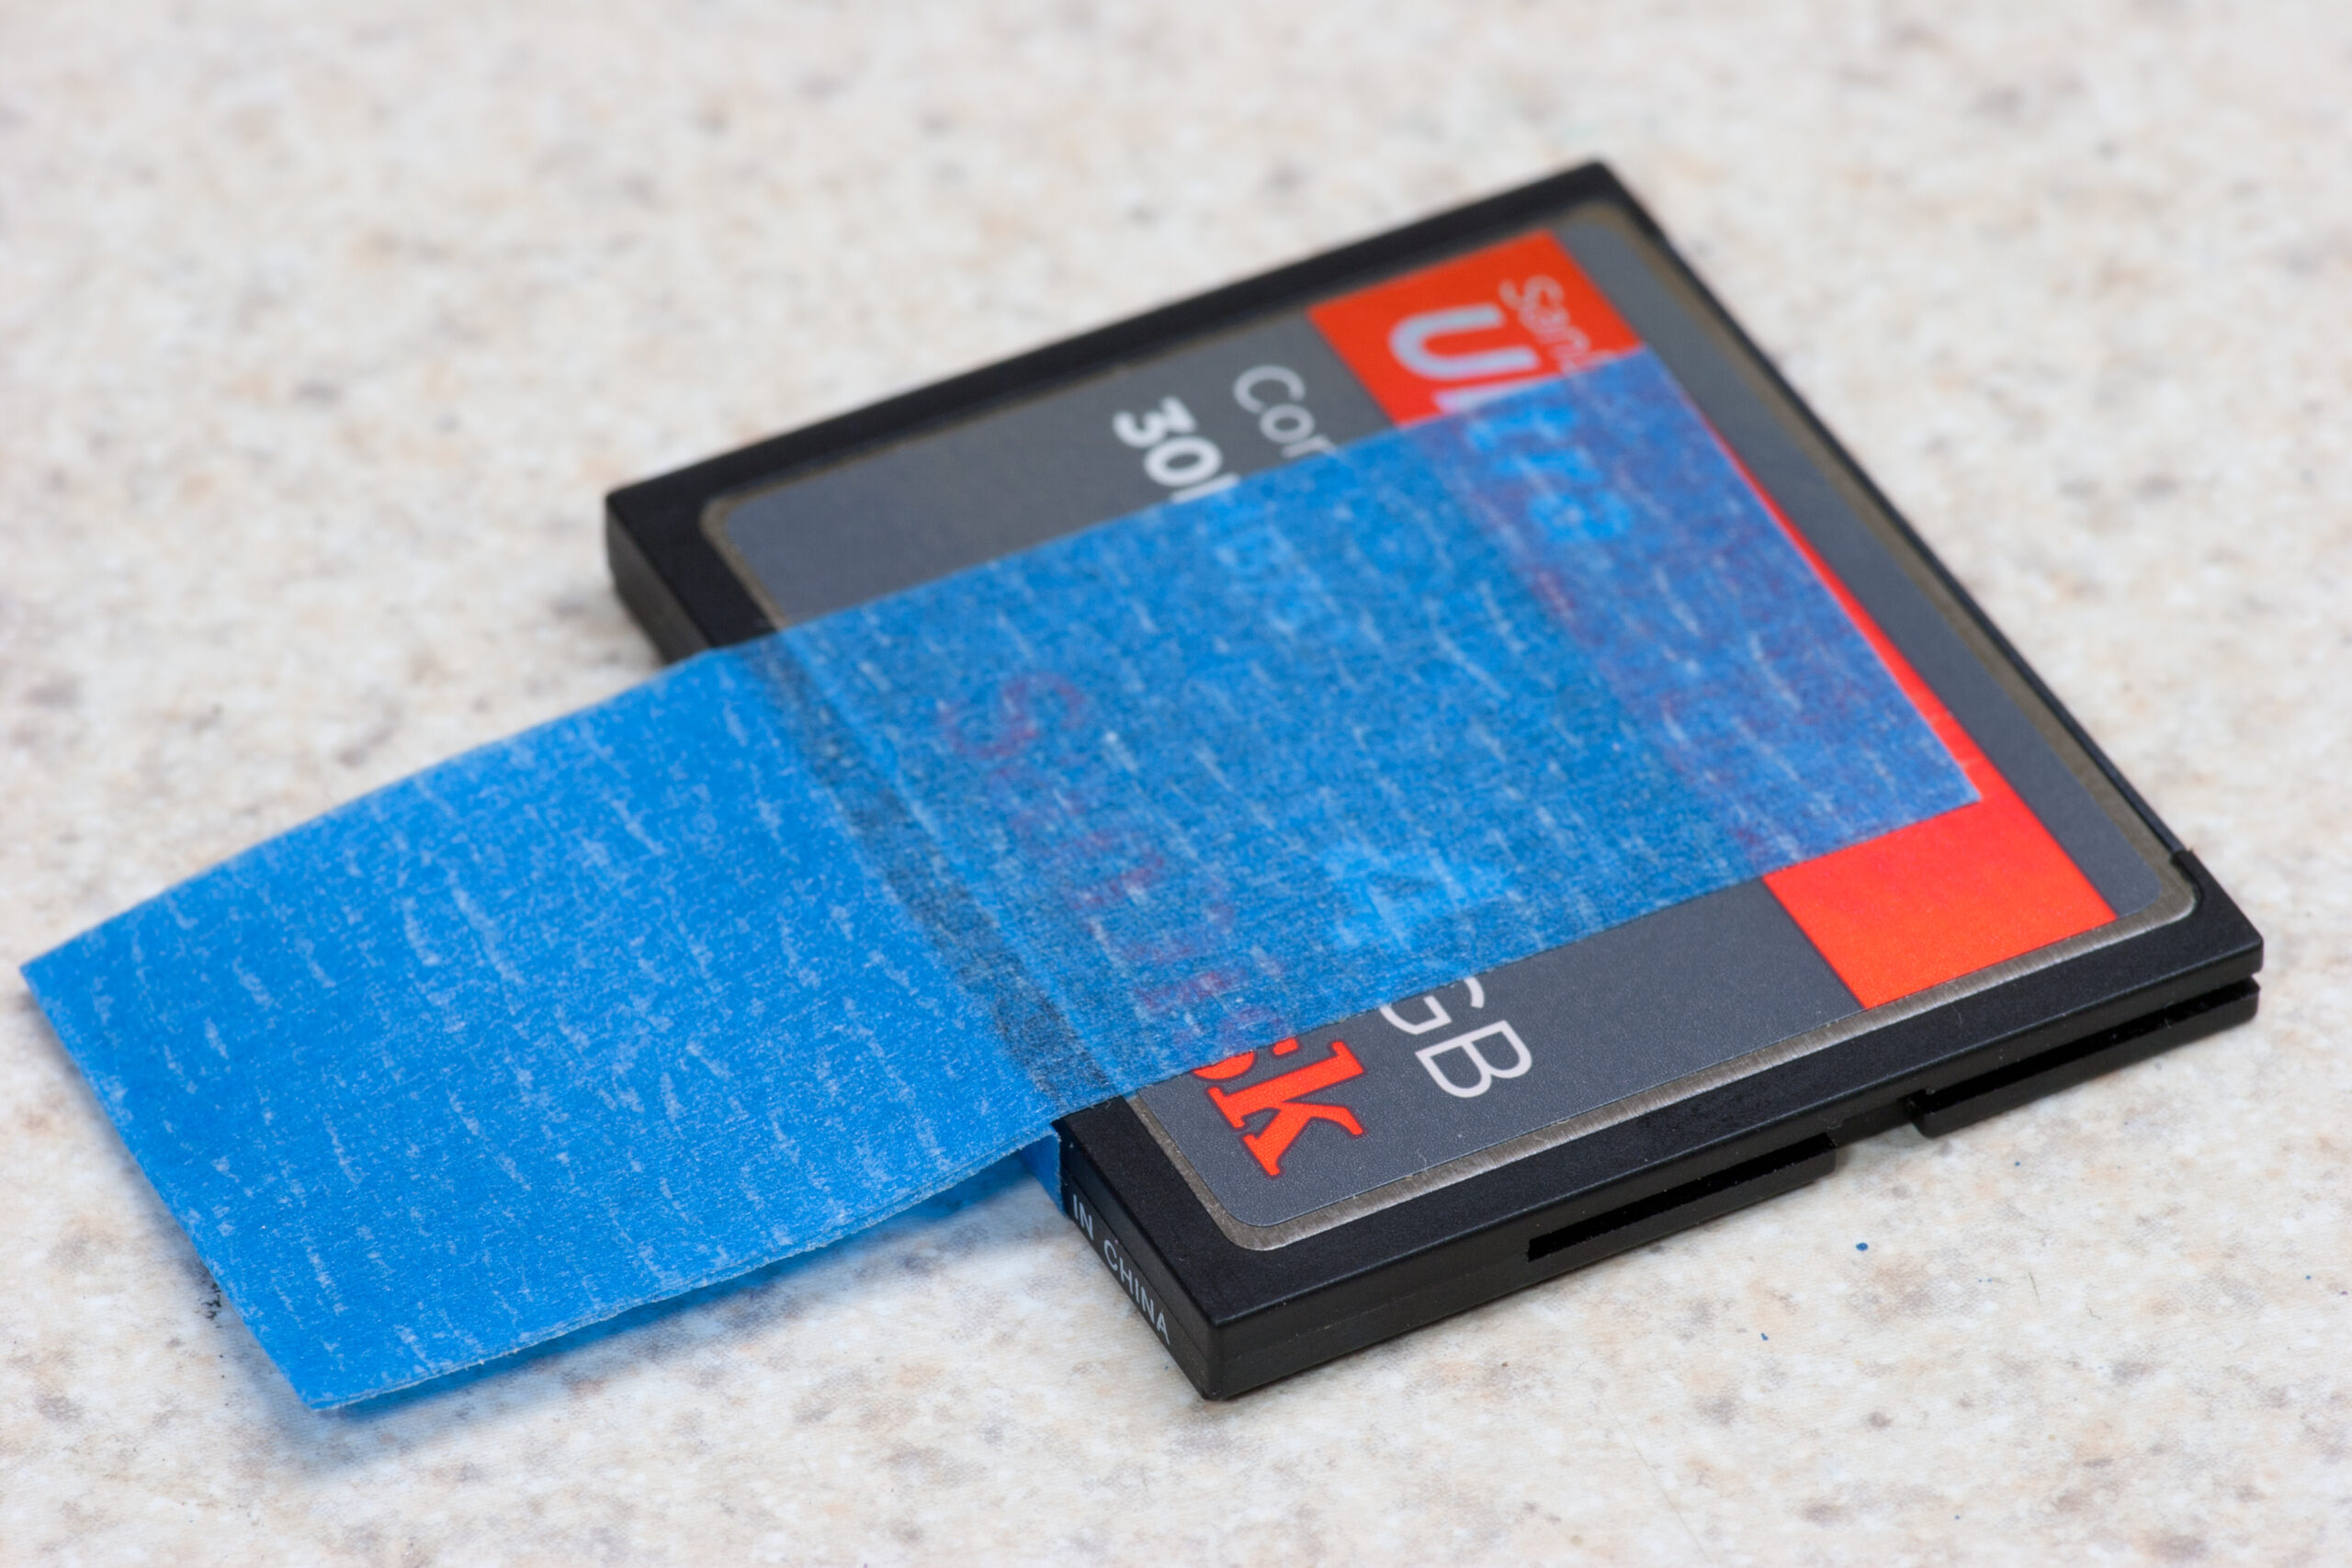
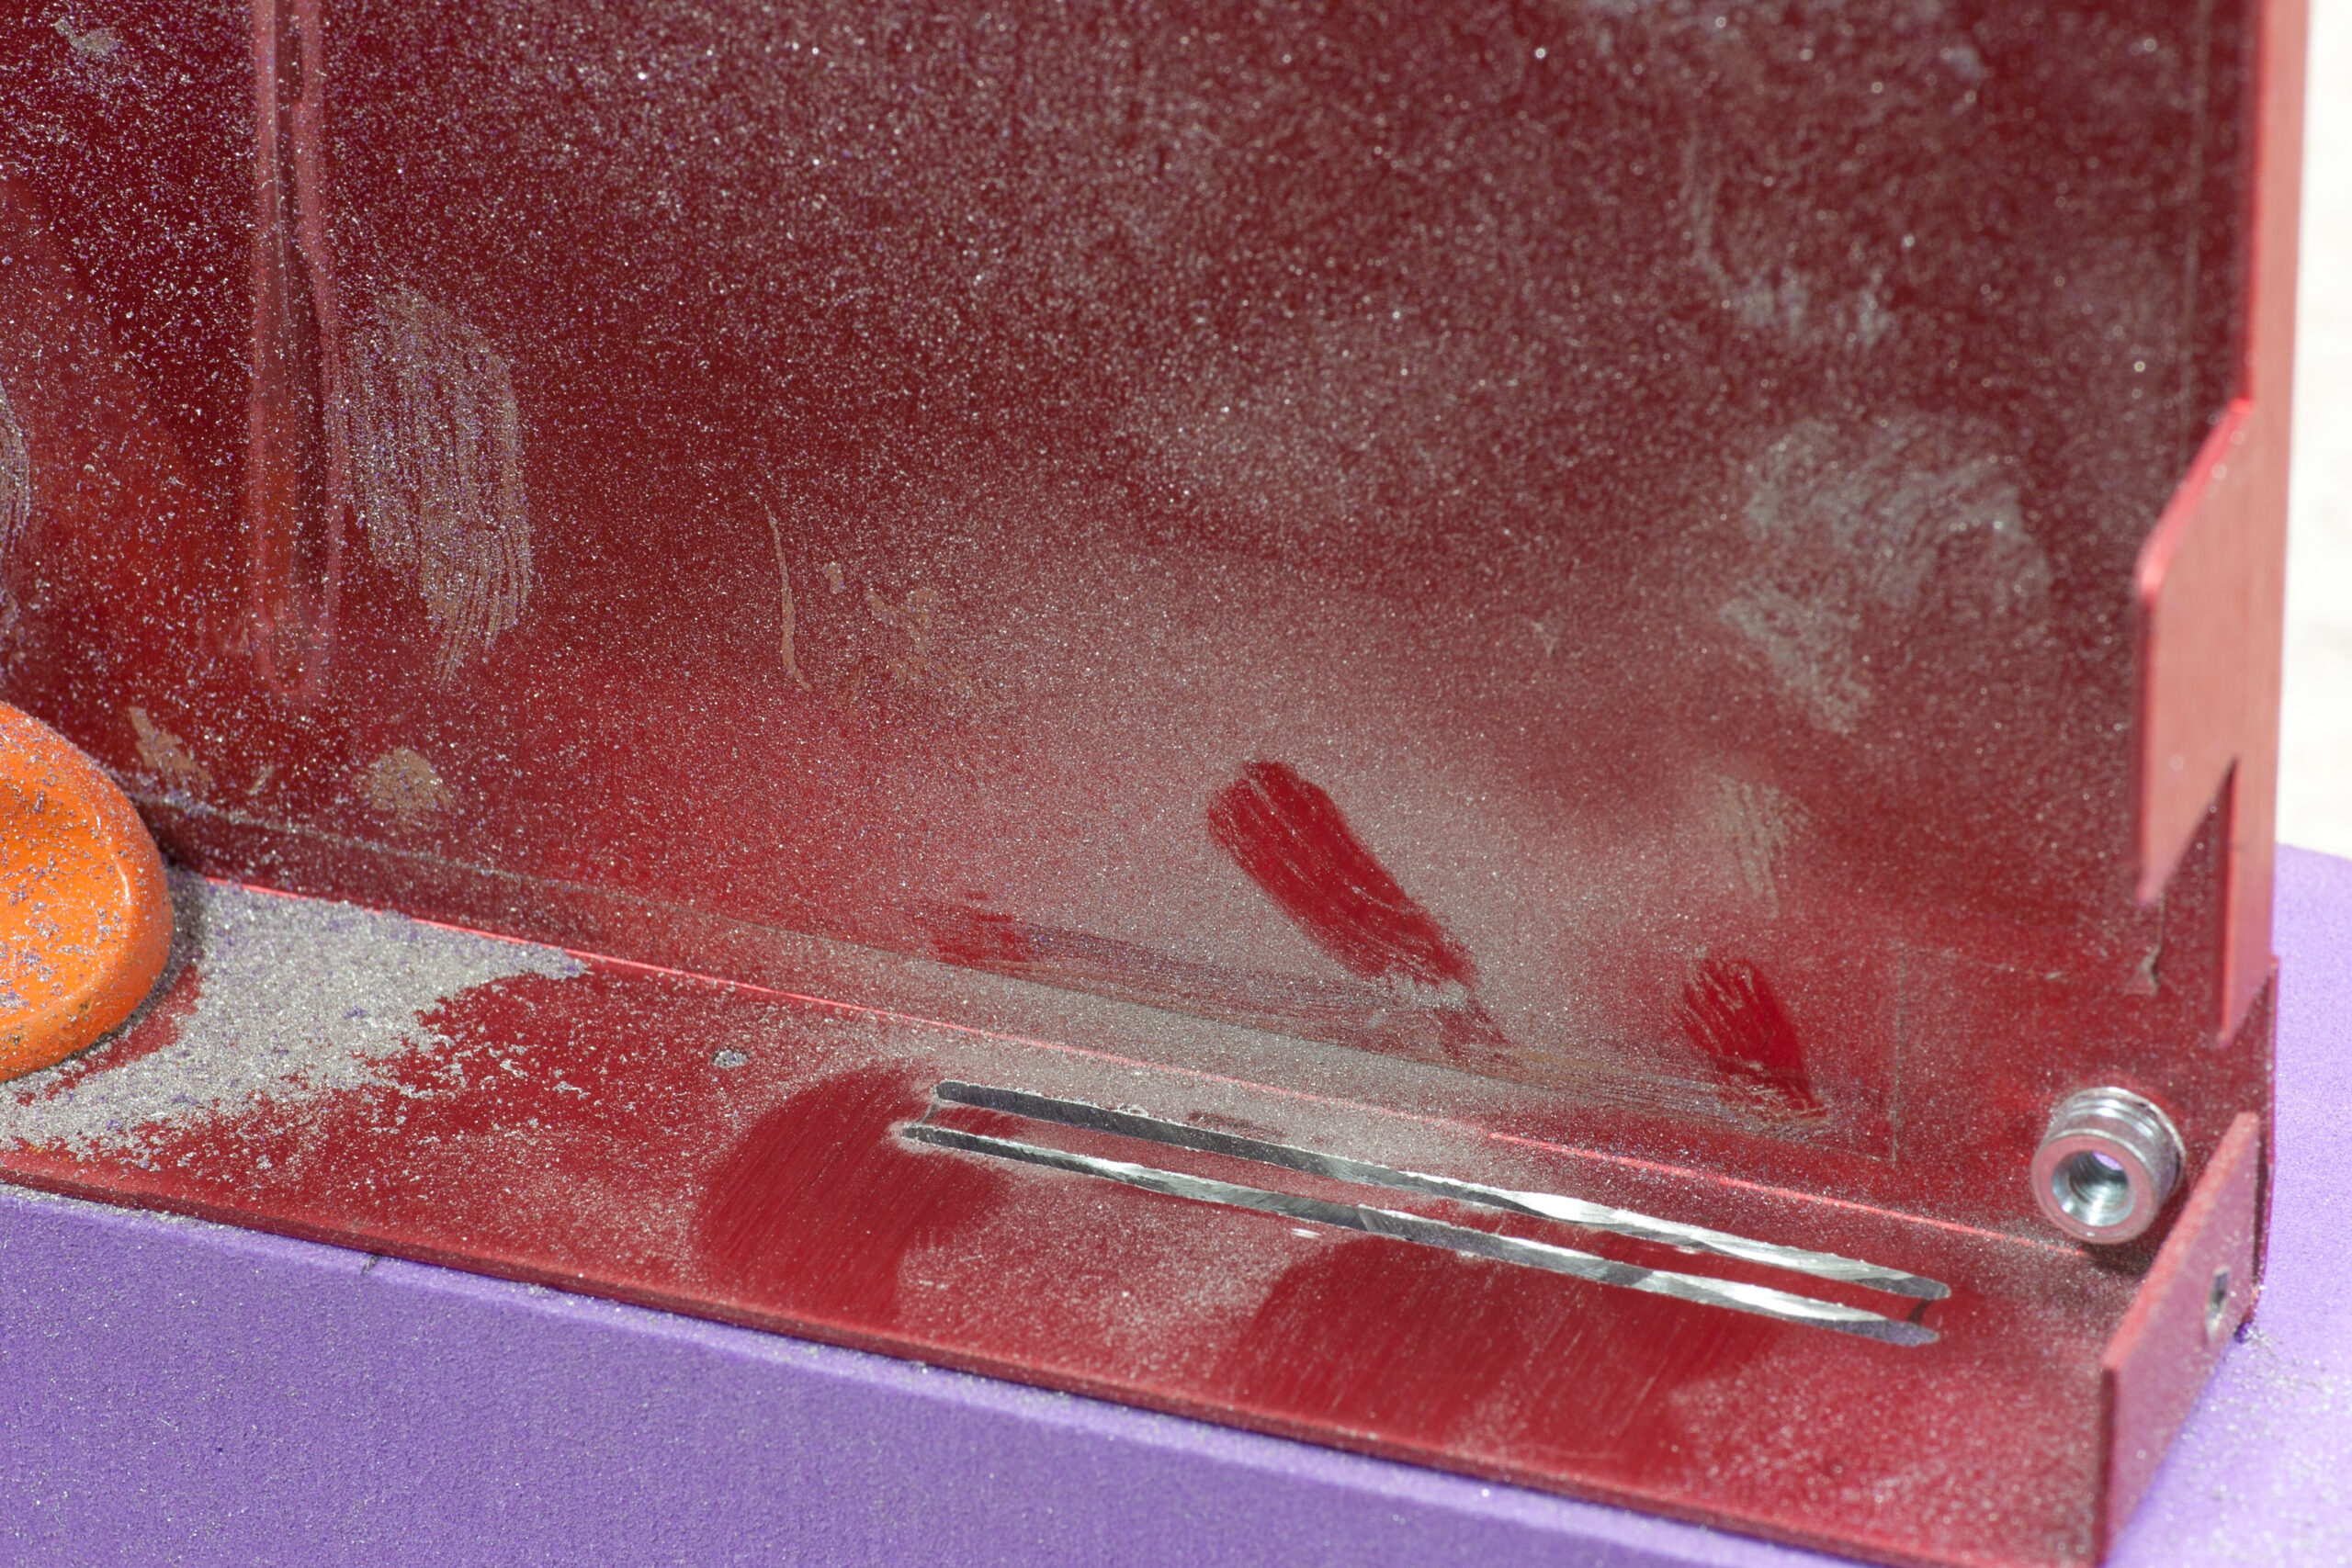
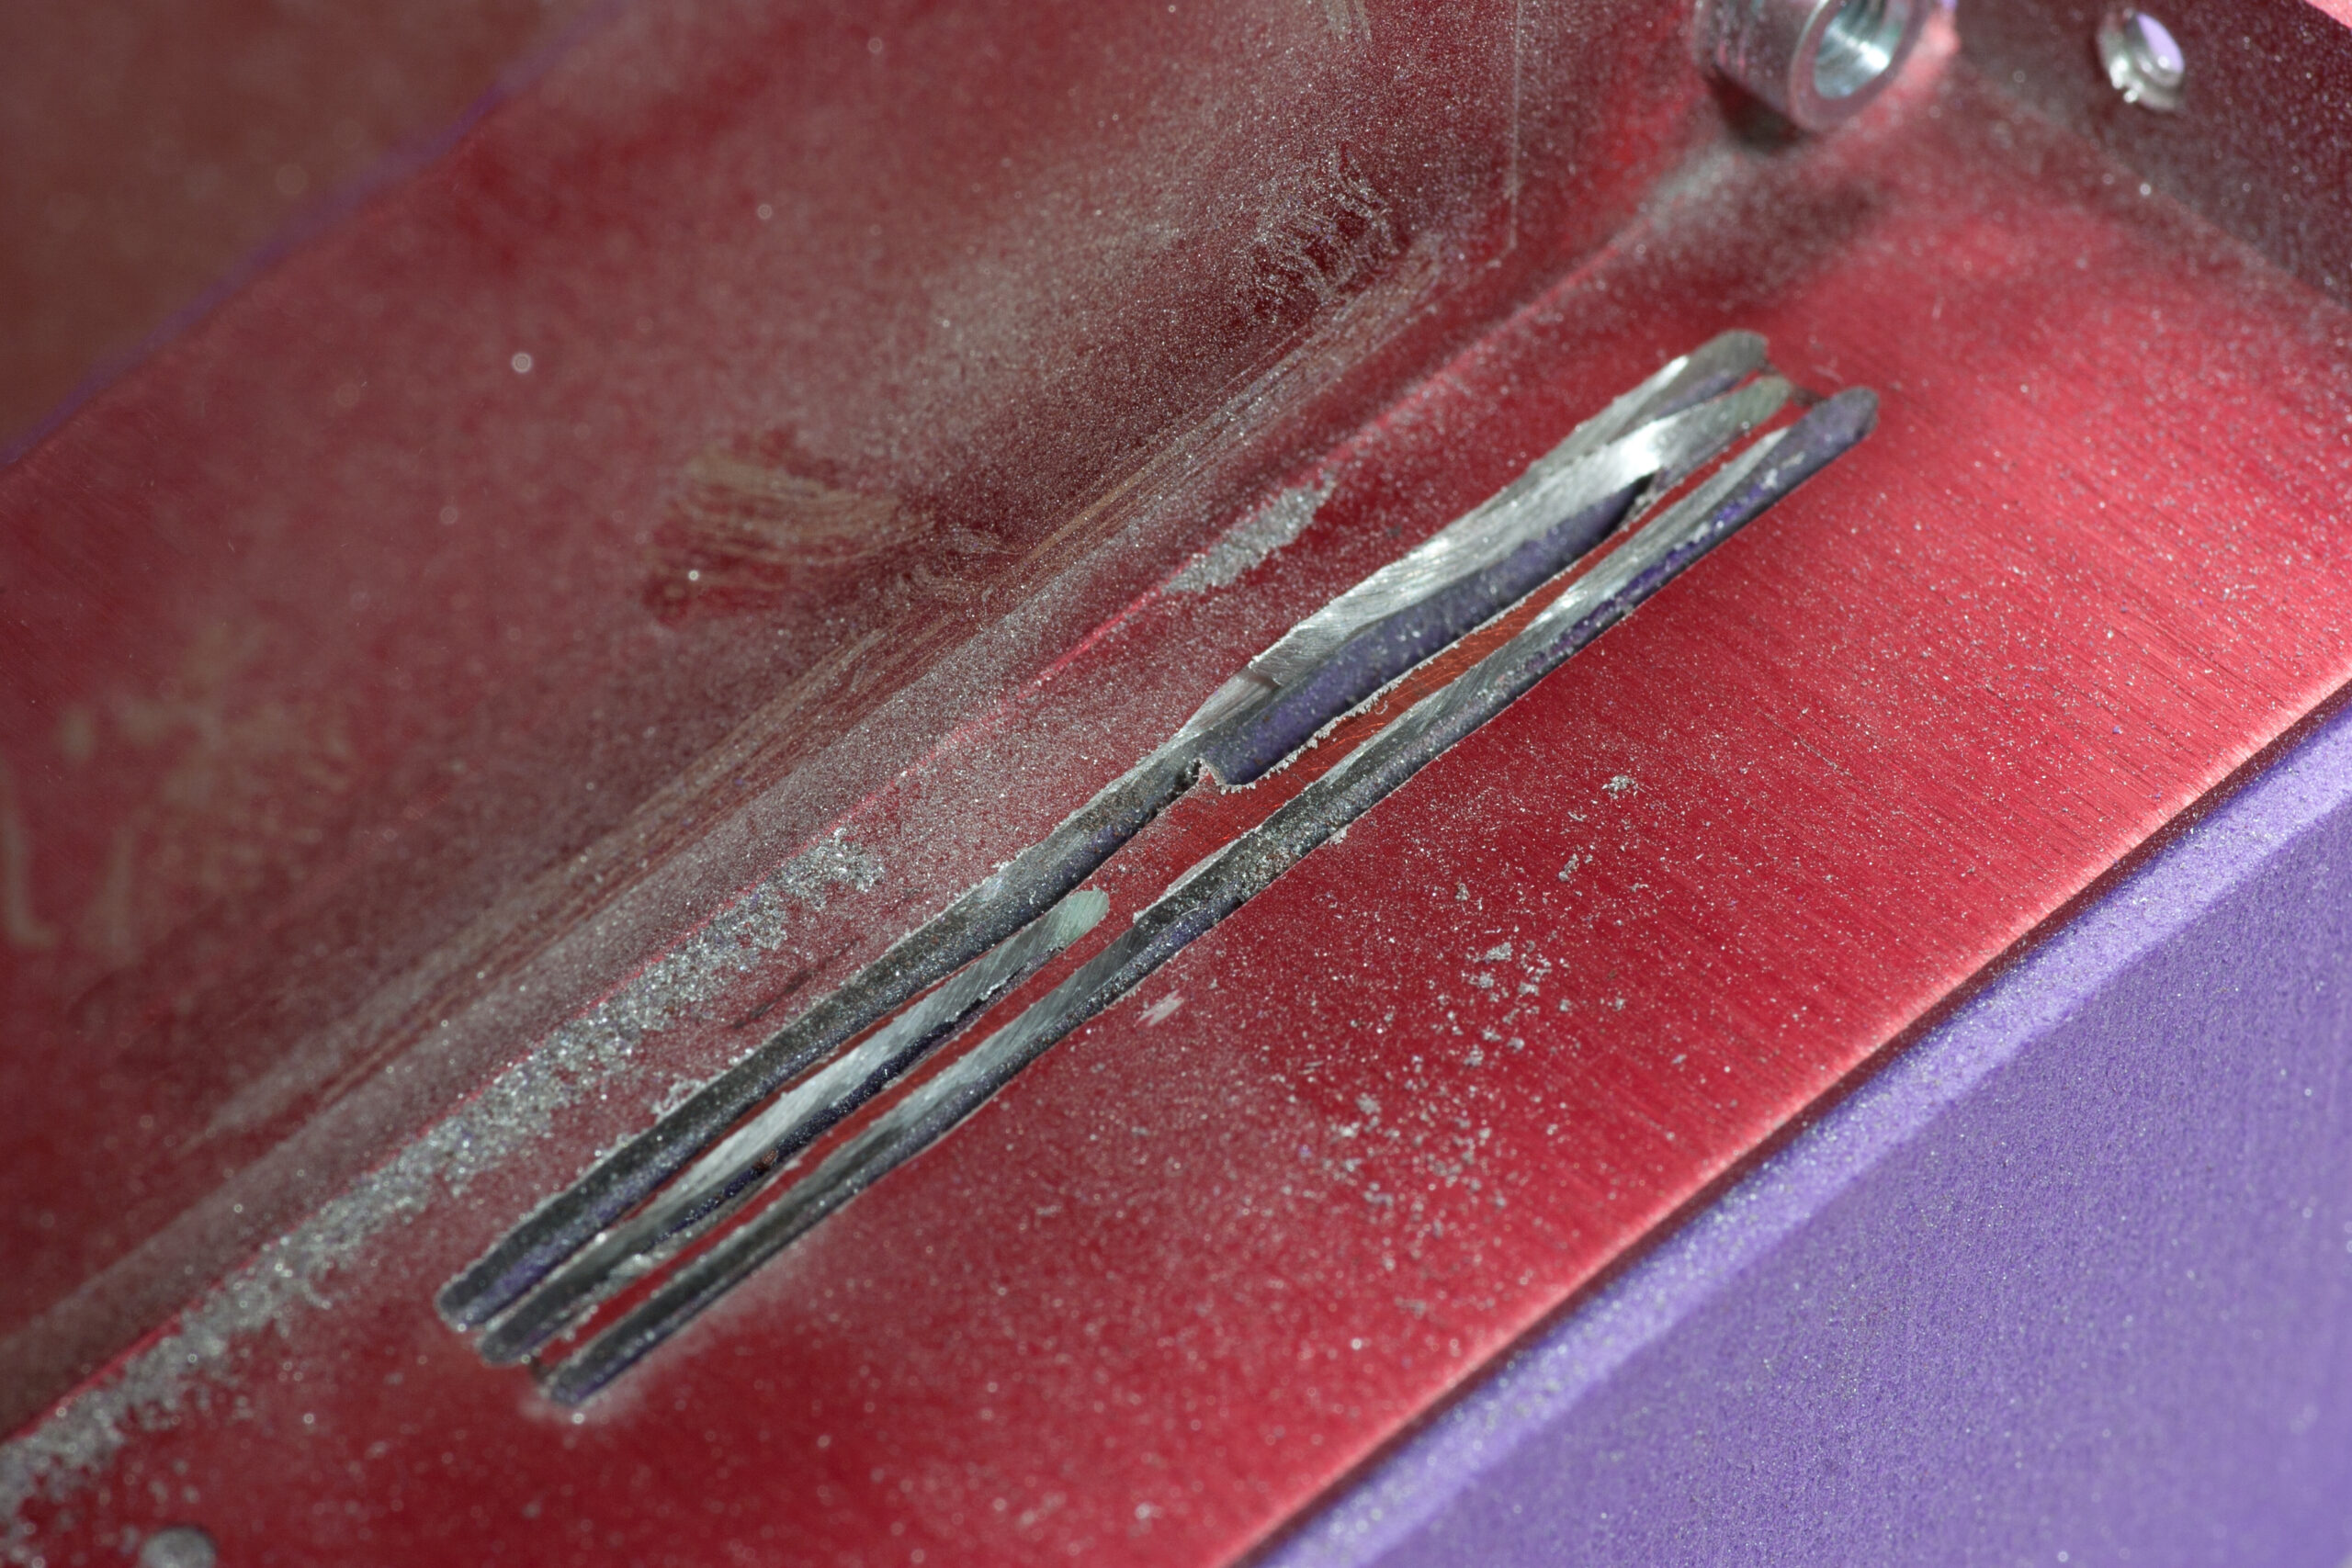
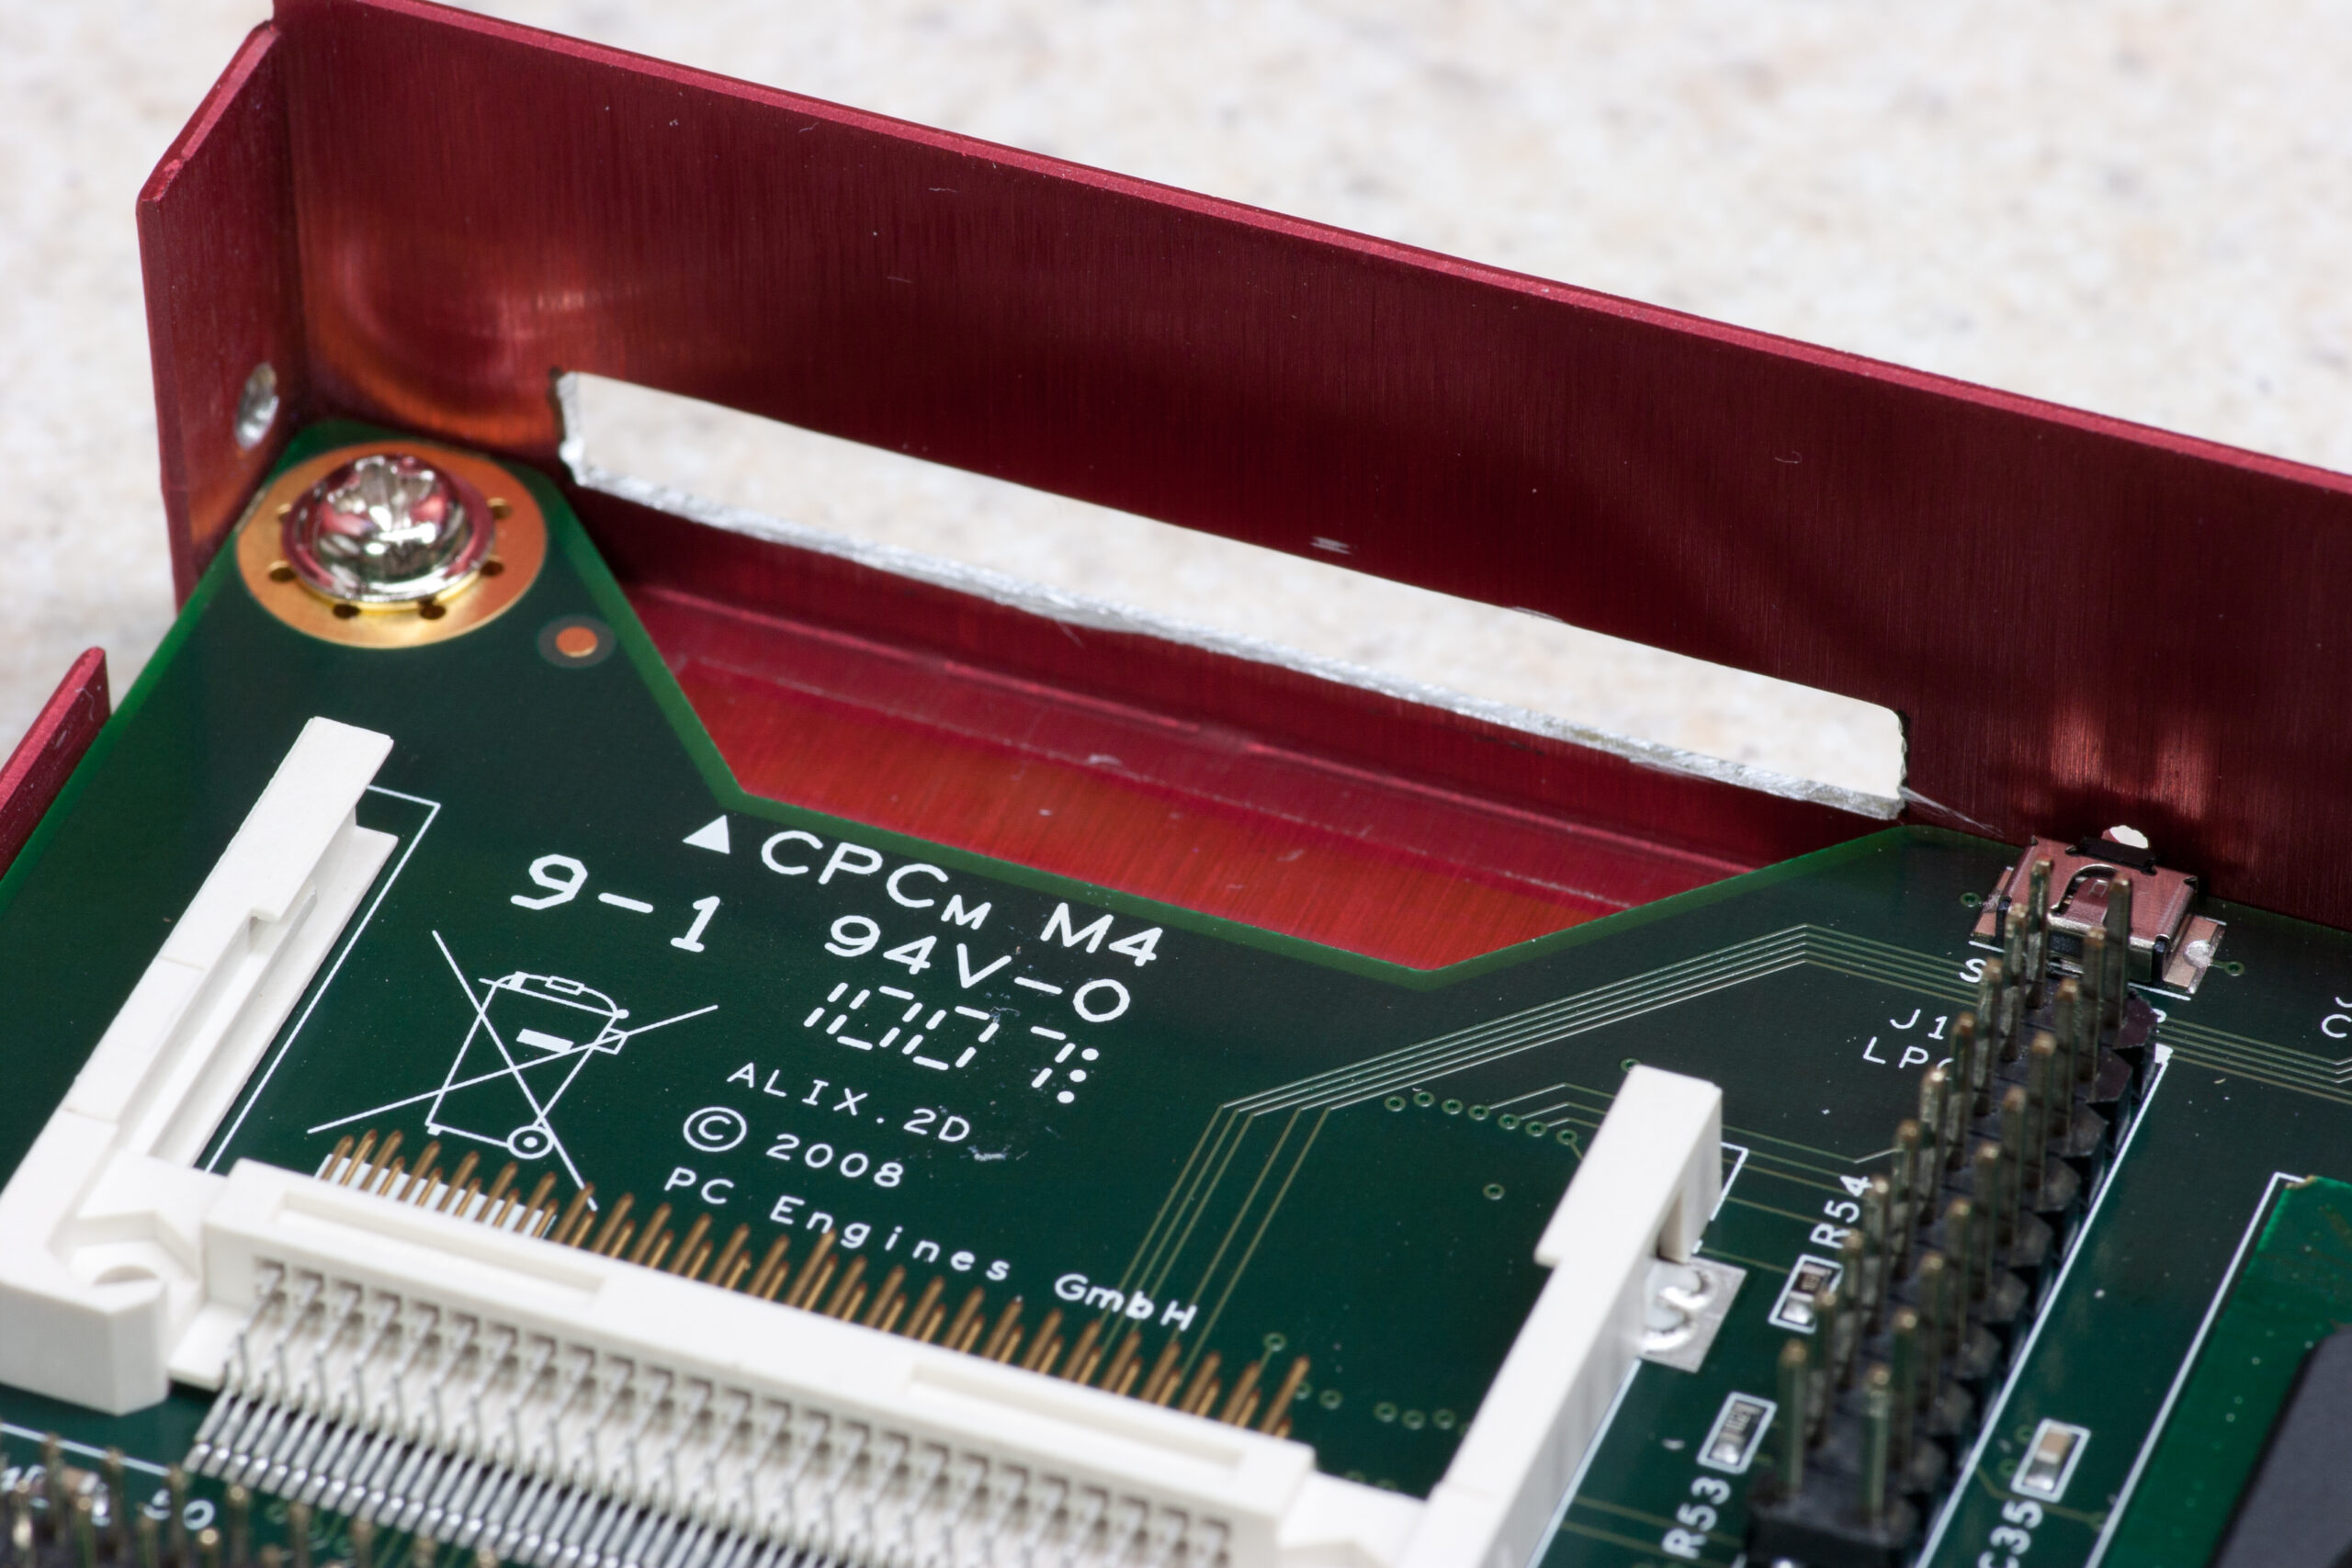
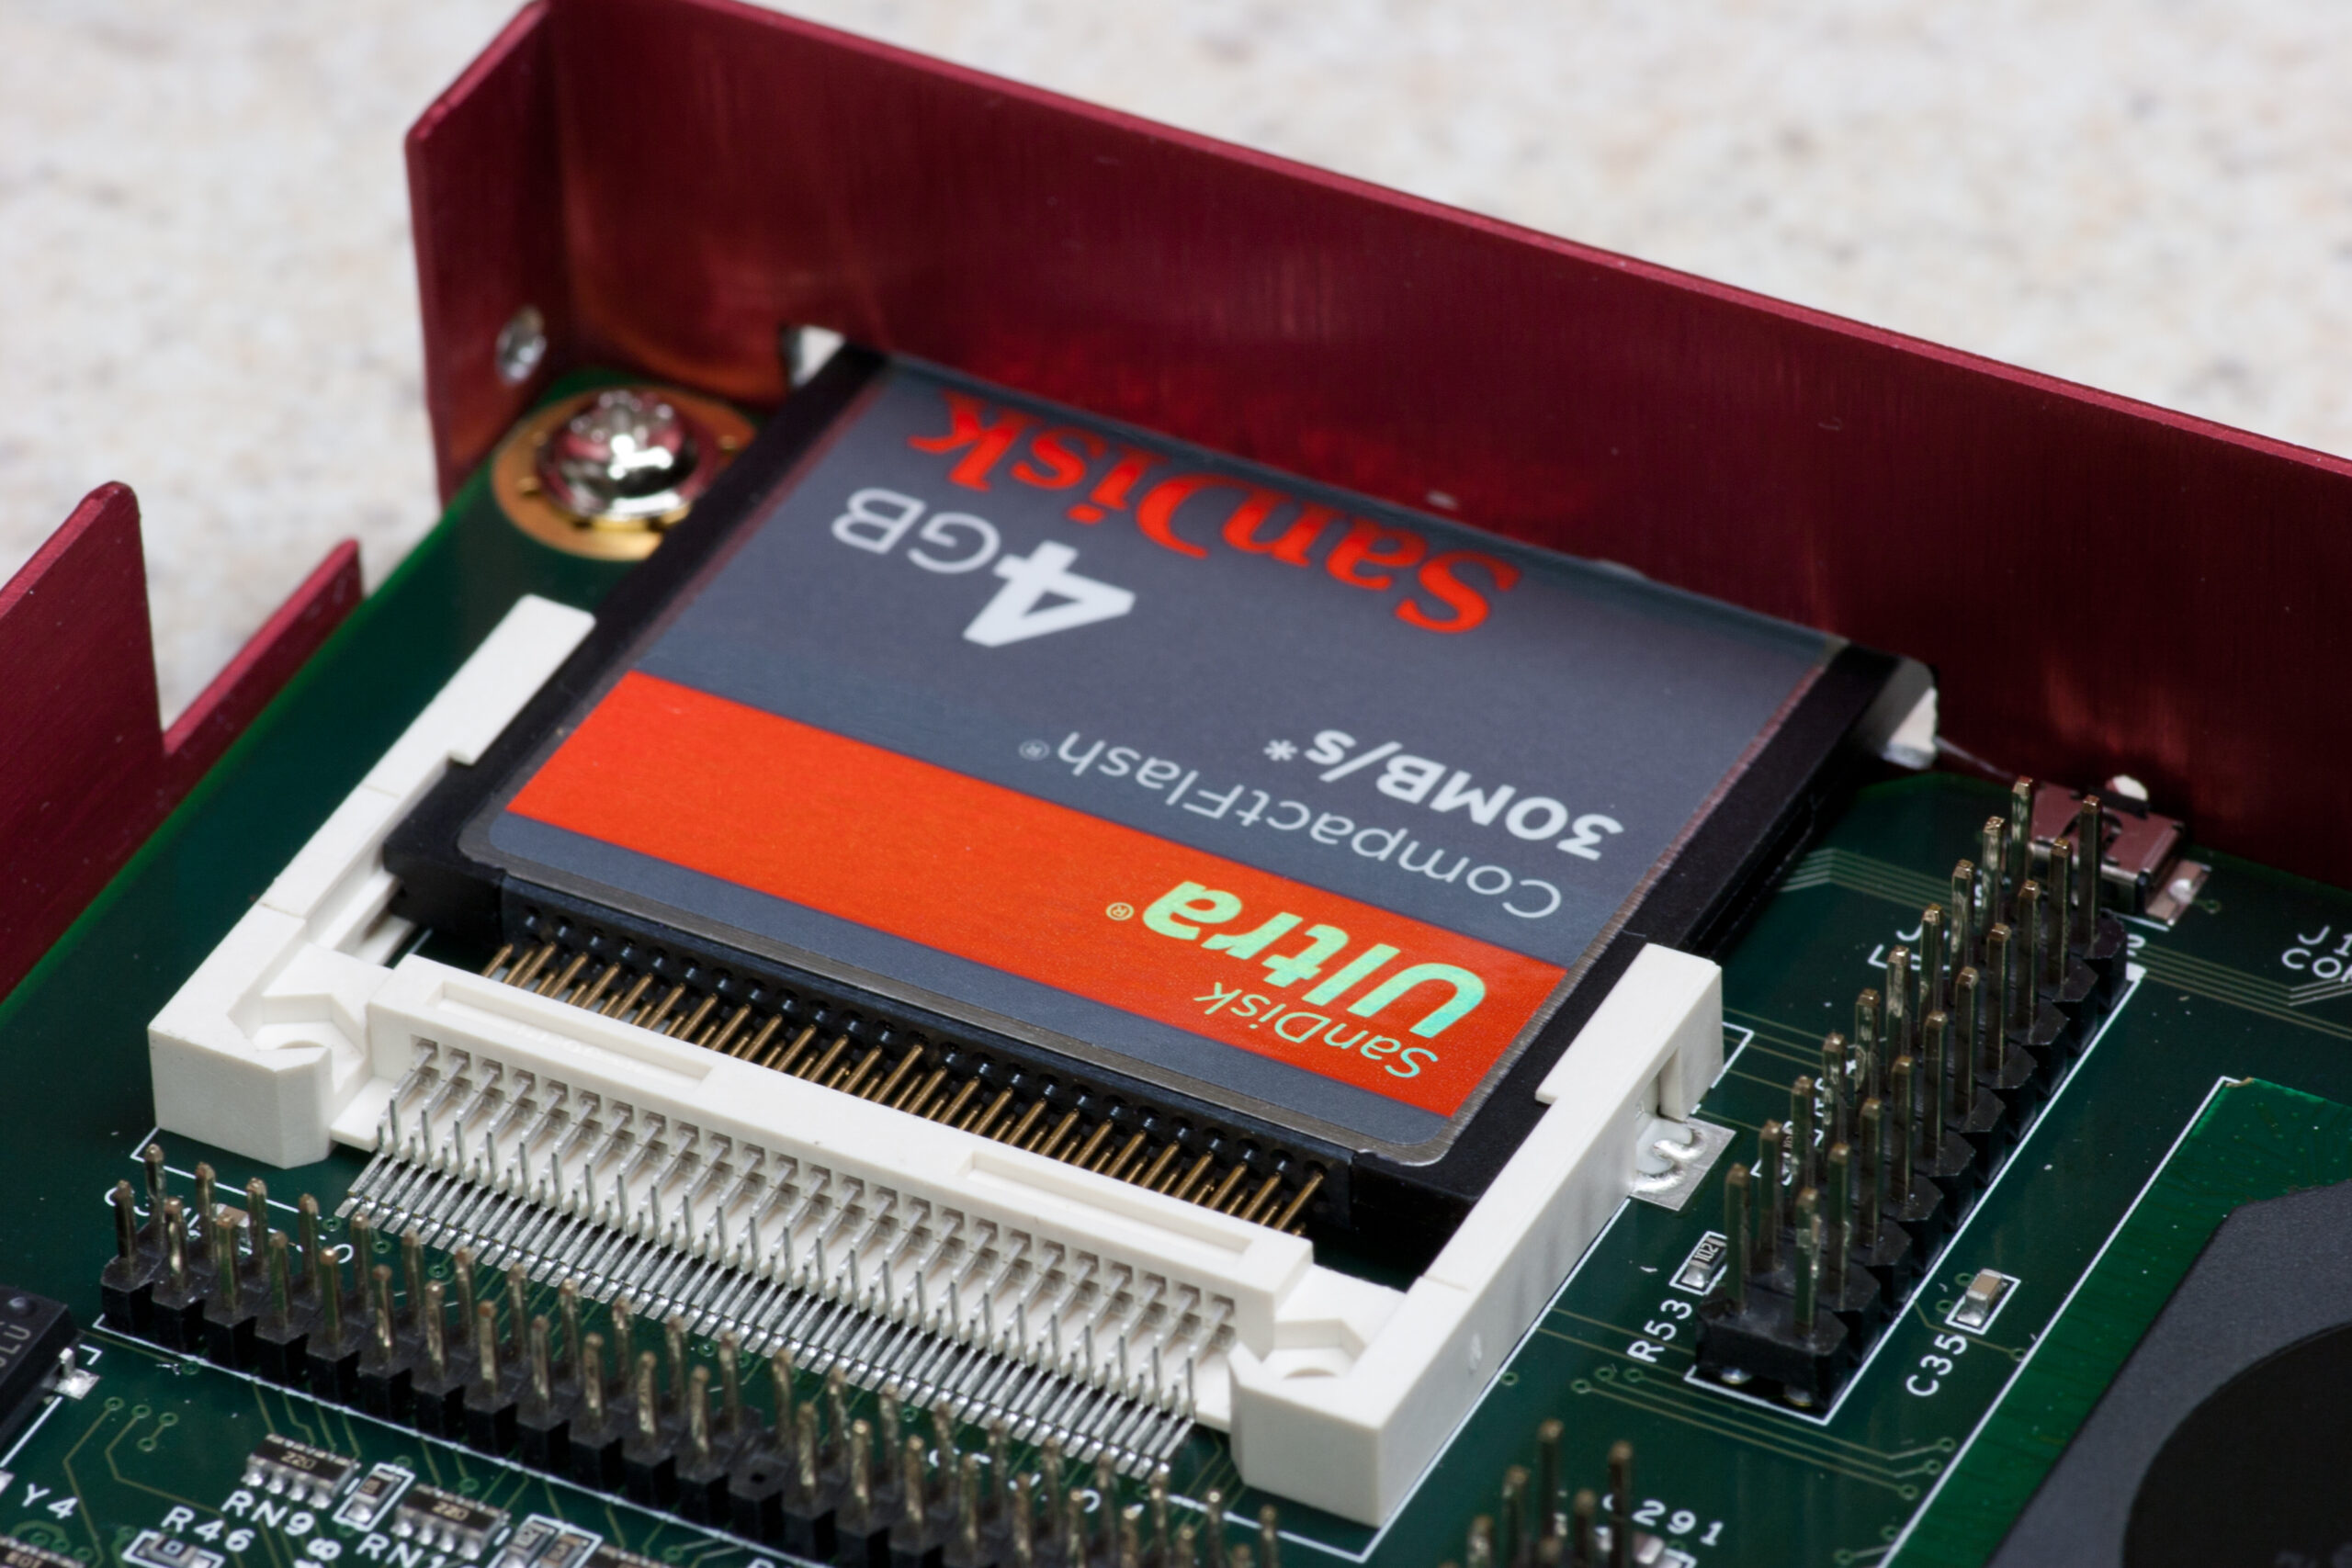
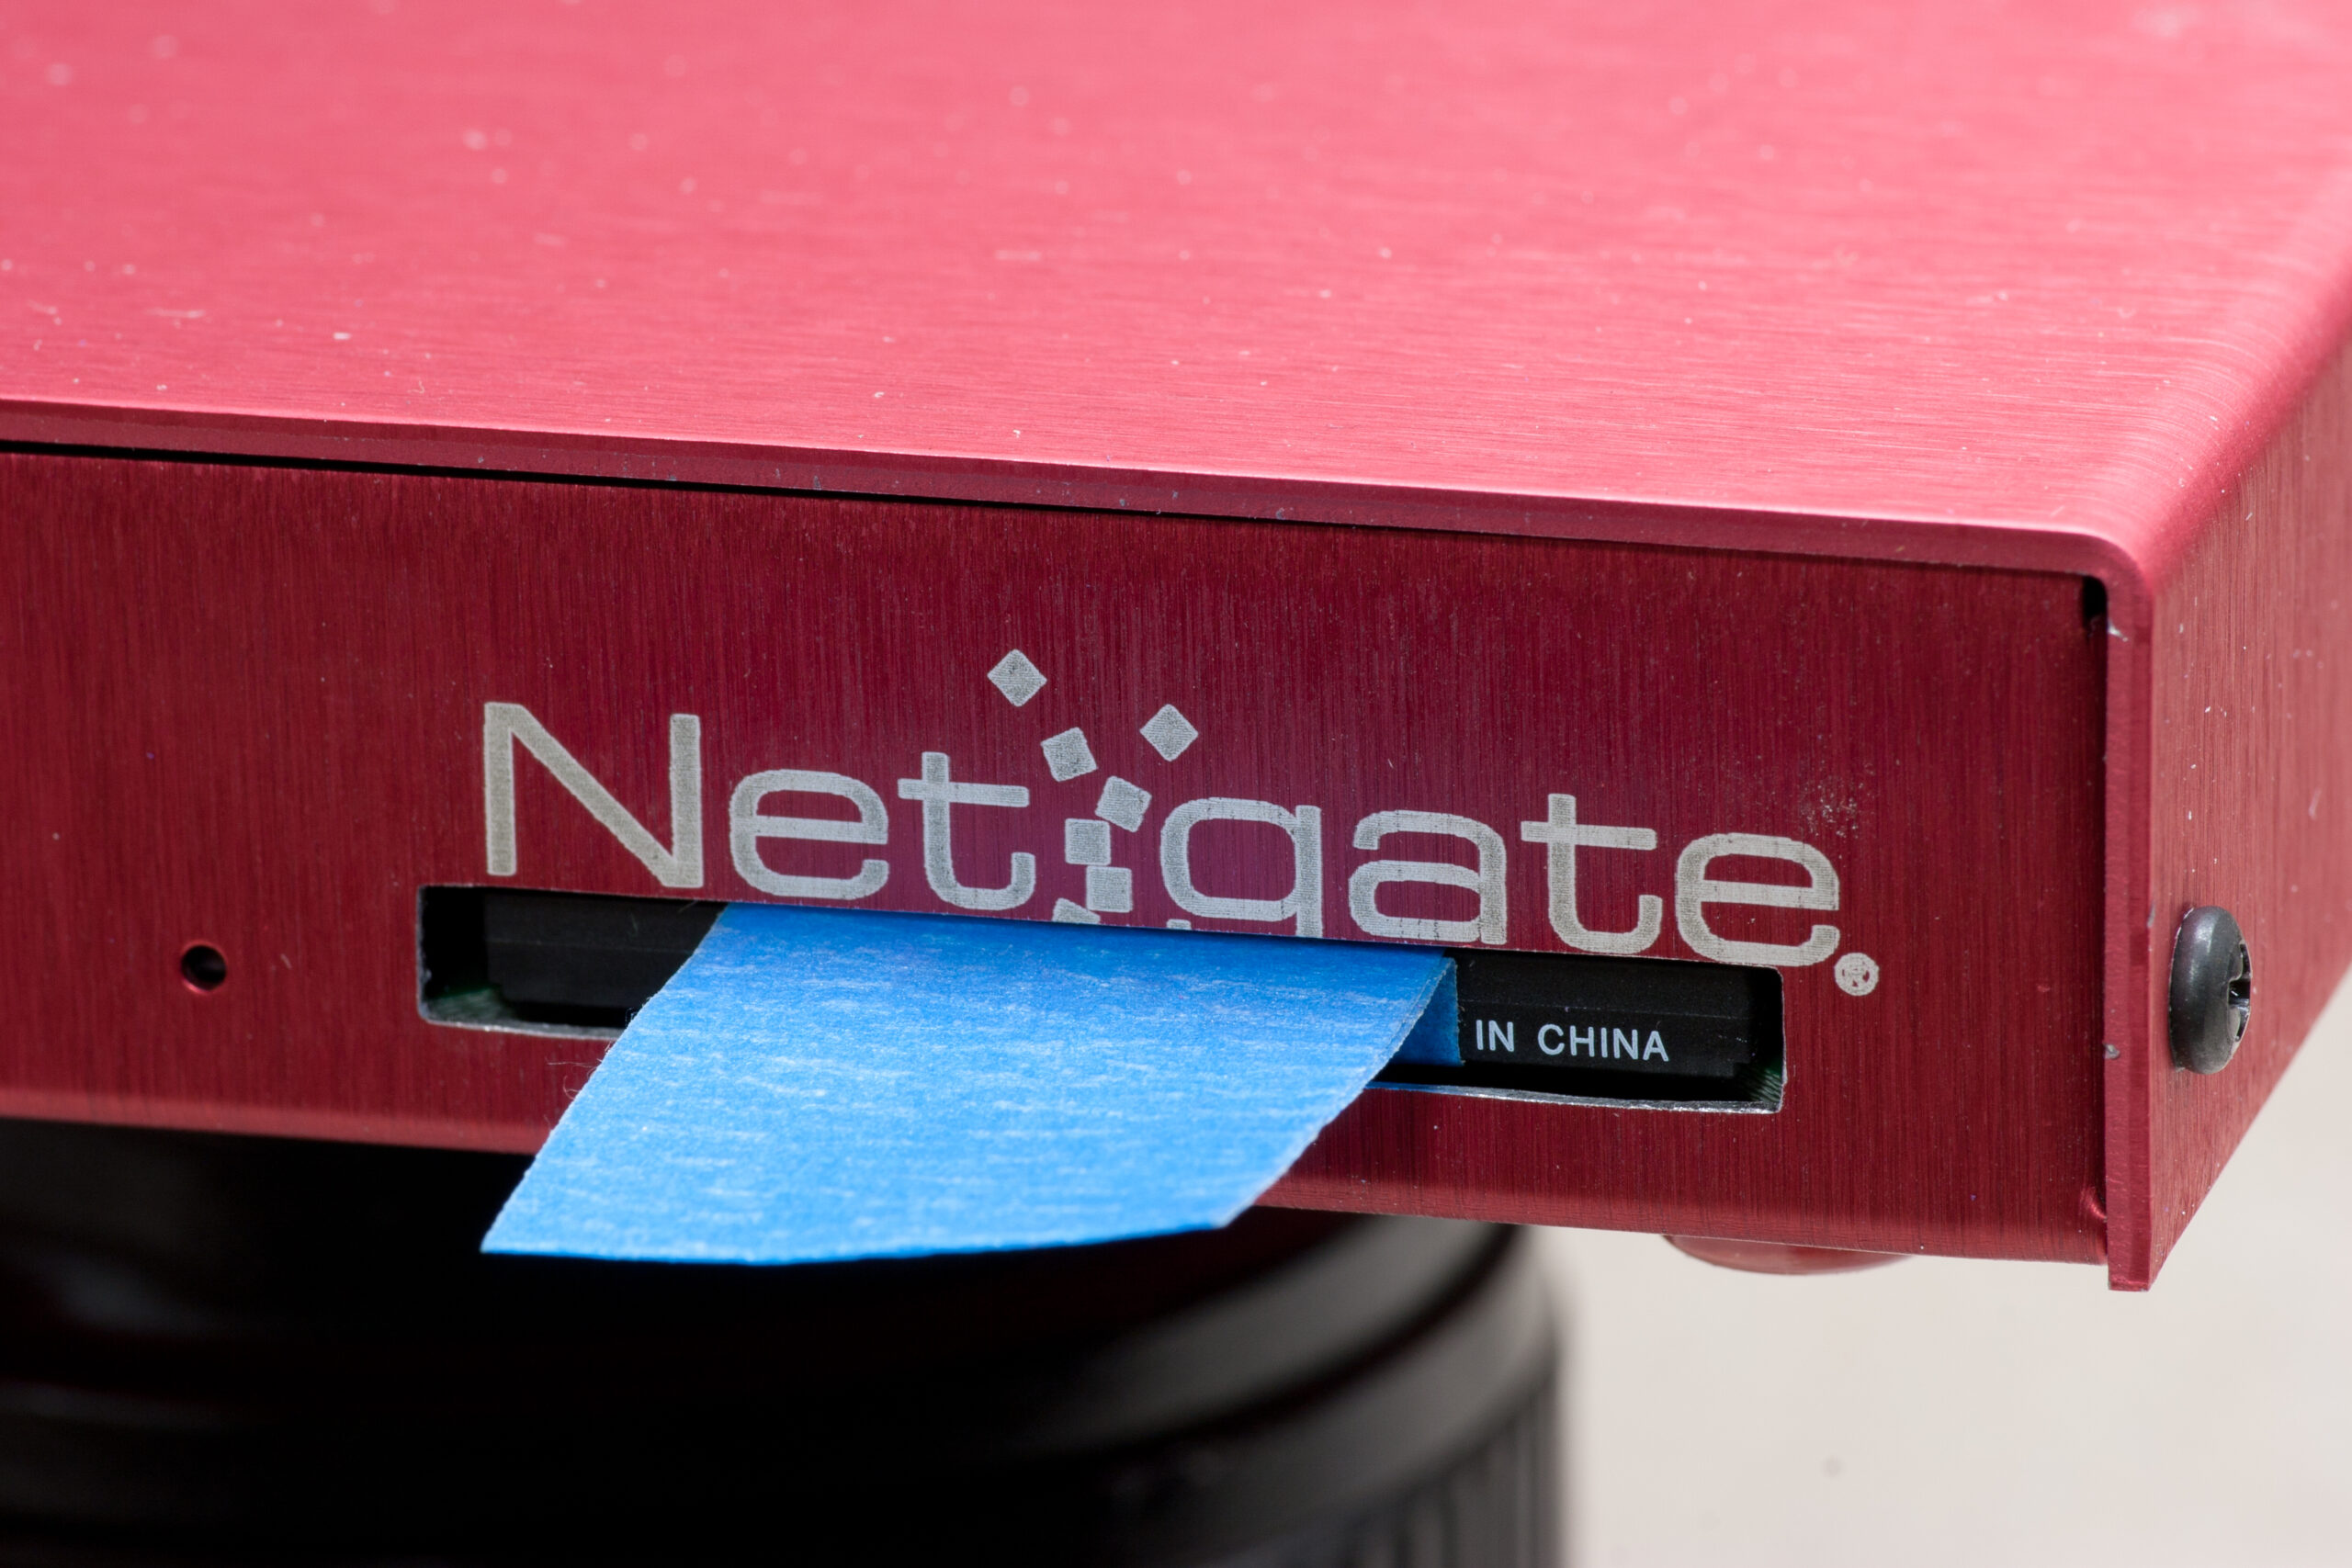
After marking the CF card location in the case and stripping it, only three cuts with a small cut-off wheel were needed to make the long cuts, then the remaining bits of metal were easy to bend out of the way with a flat-blade screwdriver. A bit of quick smoothing and deburring work with small files resulted in a nice, smooth hole through which the CF card easily fits. While the card remains not hot swappable, it’ll be much easier to remove the card should I need to access the card from another machine. Since the card sits a bit inside the face of the enclosure I had to add a tape flag to make it easy to remove. Pushing it back in is a little awkward as well, but as this won’t be done much it shouldn’t be a problem.

Here’s a few photos taken tonight while cutting the hole in the case:

· After marking the enclosure was clamped to some very dense foam for cutting with a cutoff wheel.
· More cuts made with the cutoff wheel. After this point the metal was gently bent away and the hole was filed.
· Looking at the Netgate enclosure from inside showing the nice alignment with the CF card slot.
· Front view of the Netgate enclosure with a CF card hole cut in it.
· The CF card fits very nicely in the hole.
· View from inside showing how well the CF card fits.
· Because the CF card will not hang out of the slot tape was added to facilitate extraction.
· CF card placed in the alix2d13 board via the hole in the Netgate enclosure.

Now to wait for the next build to come out and reimage my CF card. This build should contain three ftp helper changes that should resolve the issue I had this morning. Hopefully a problem that I had with disappearing certificate authorities is also fixed.

acquired thingscomputerselectronicsmaking things

Stout Blowout!

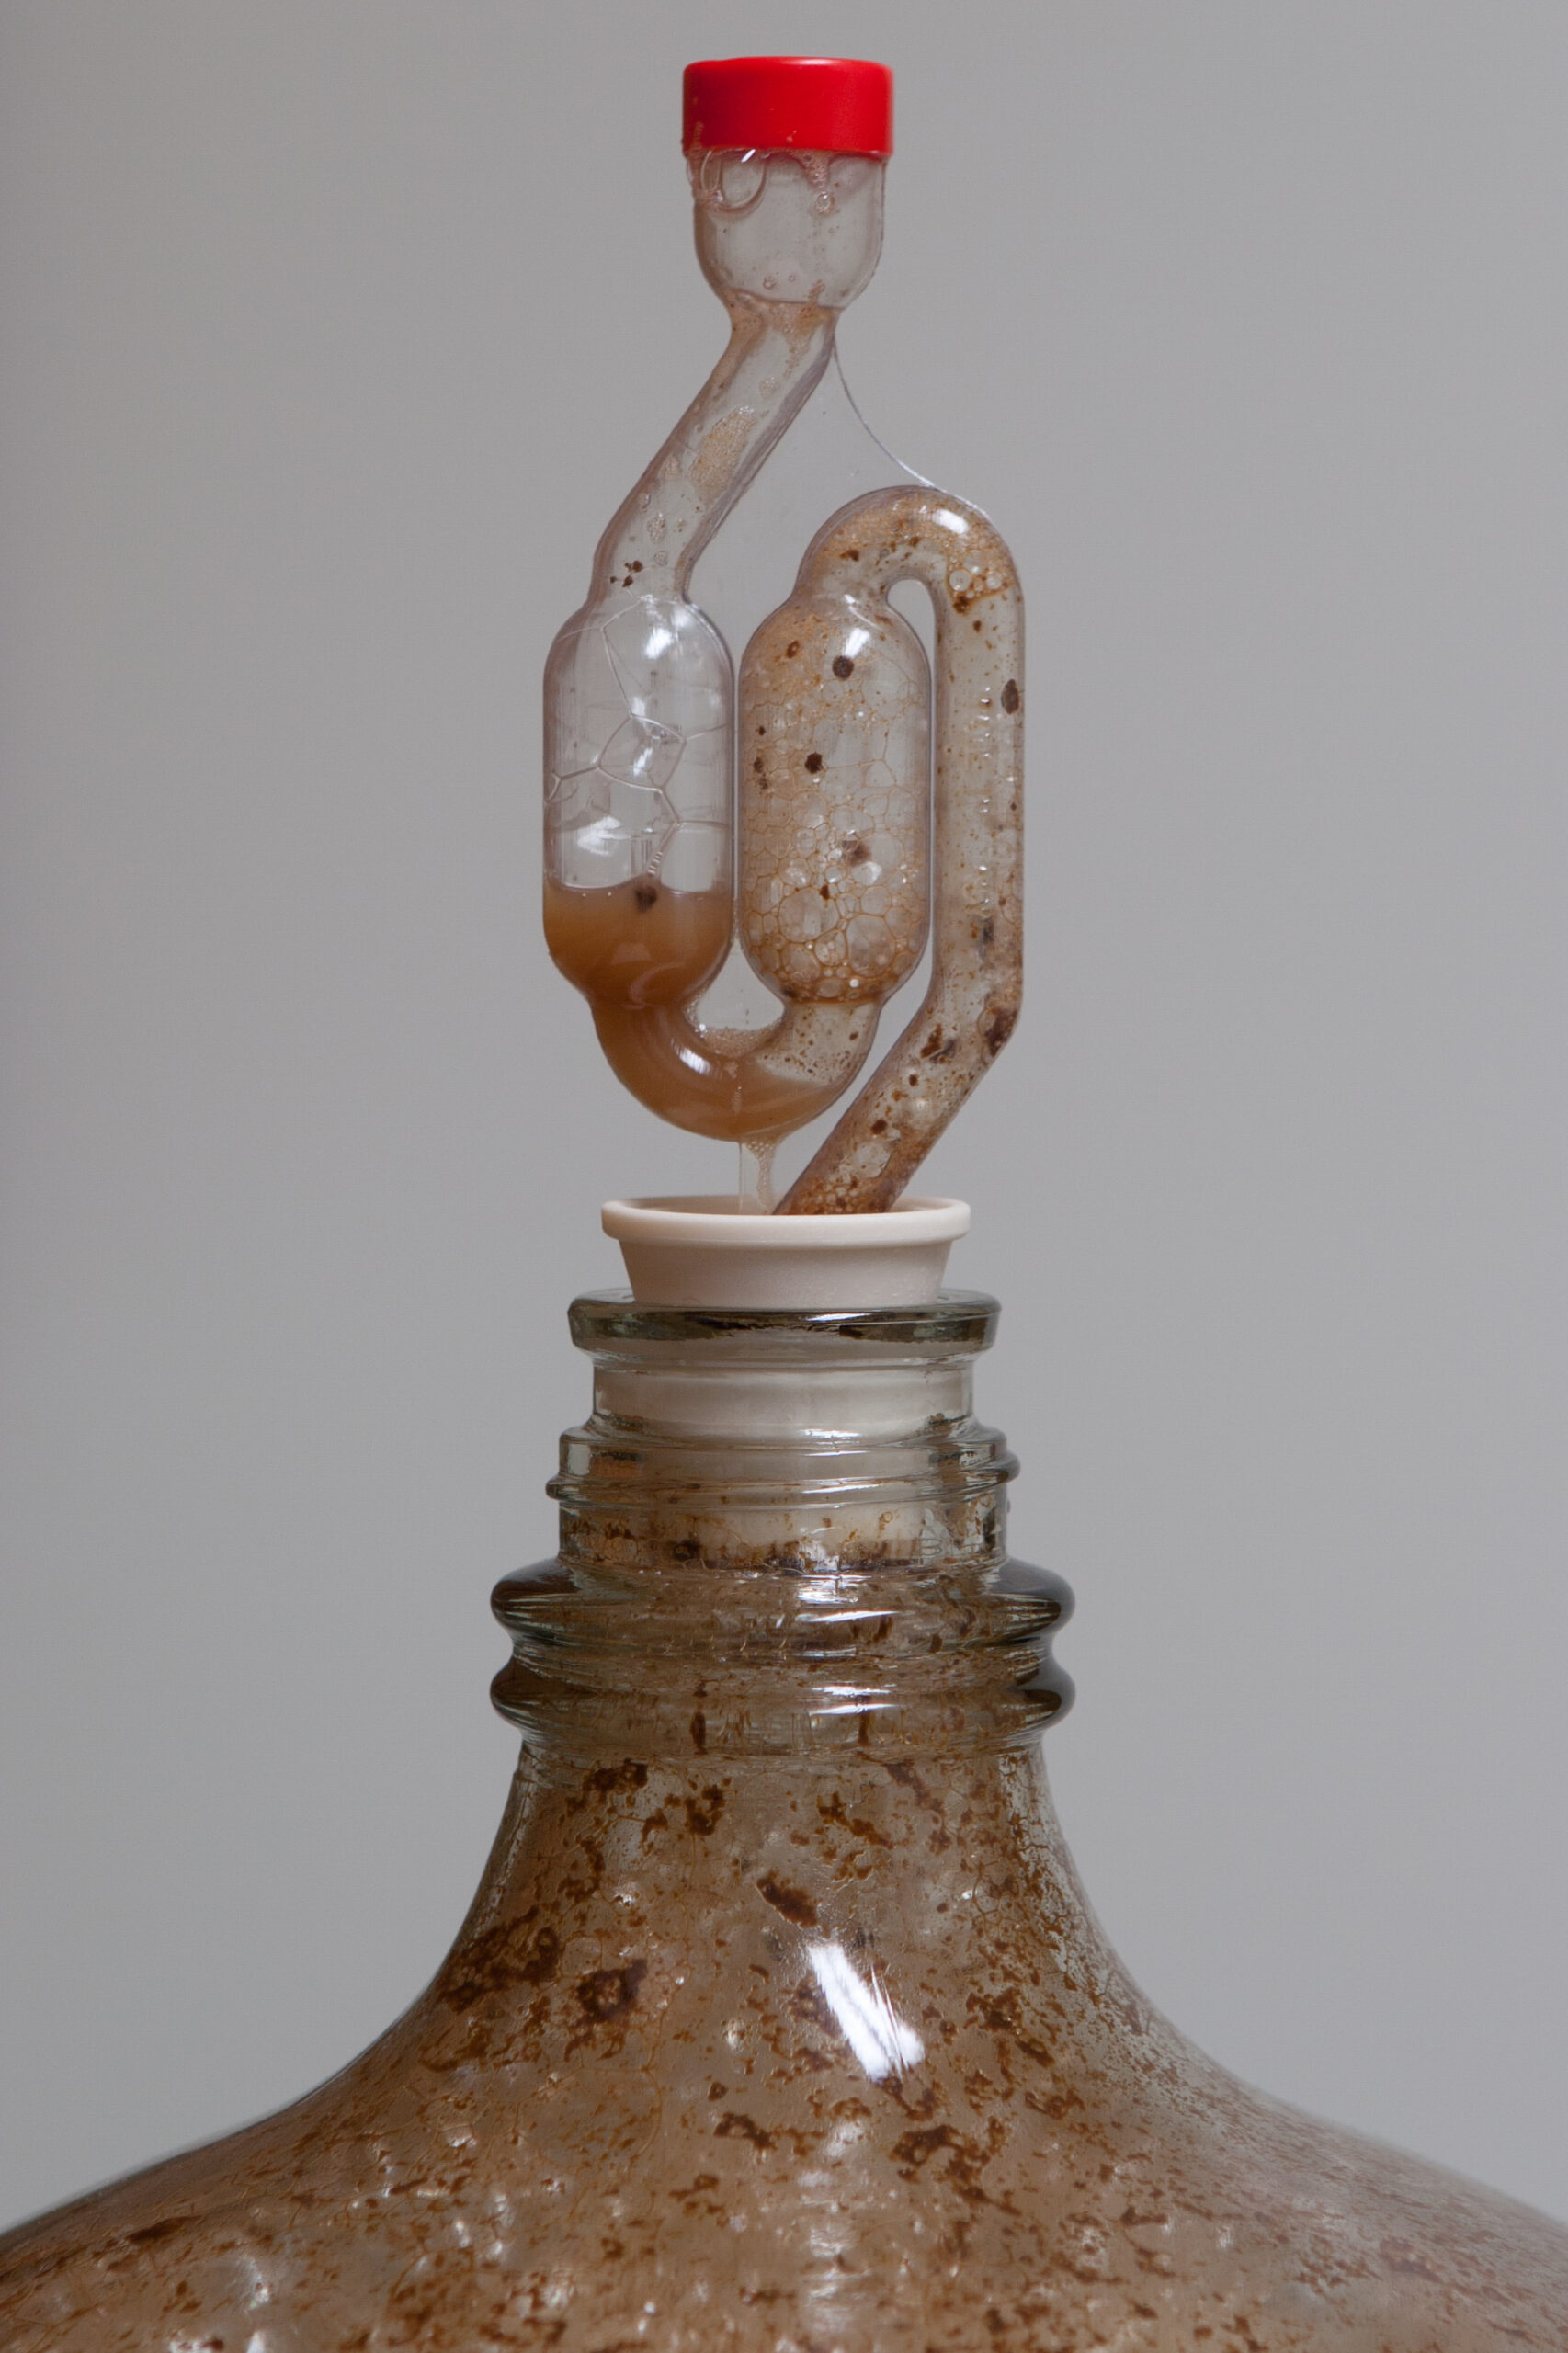
48 hours after pitching yeast into the Lazy Stout I arrived home to find that the krausen had blown out the airlock. This surprise me, as it’s not a high gravity beer and didn’t seem to be particularly thick. Looks like the yeast is definitely doing its job, though.

beerfoodmaking things

Rebuilt Keg, Force Carbonation Test

When I purchased my beer kegging supplies the keg came used, complete with some flavor of Canada Dry residual liquid sloshing around inside. It’s common to buy used kegs for home brewing, and I knew that before I used it I’d have to rebuild it and replace all the o-rings to ensure no off flavors contaminate the beer.

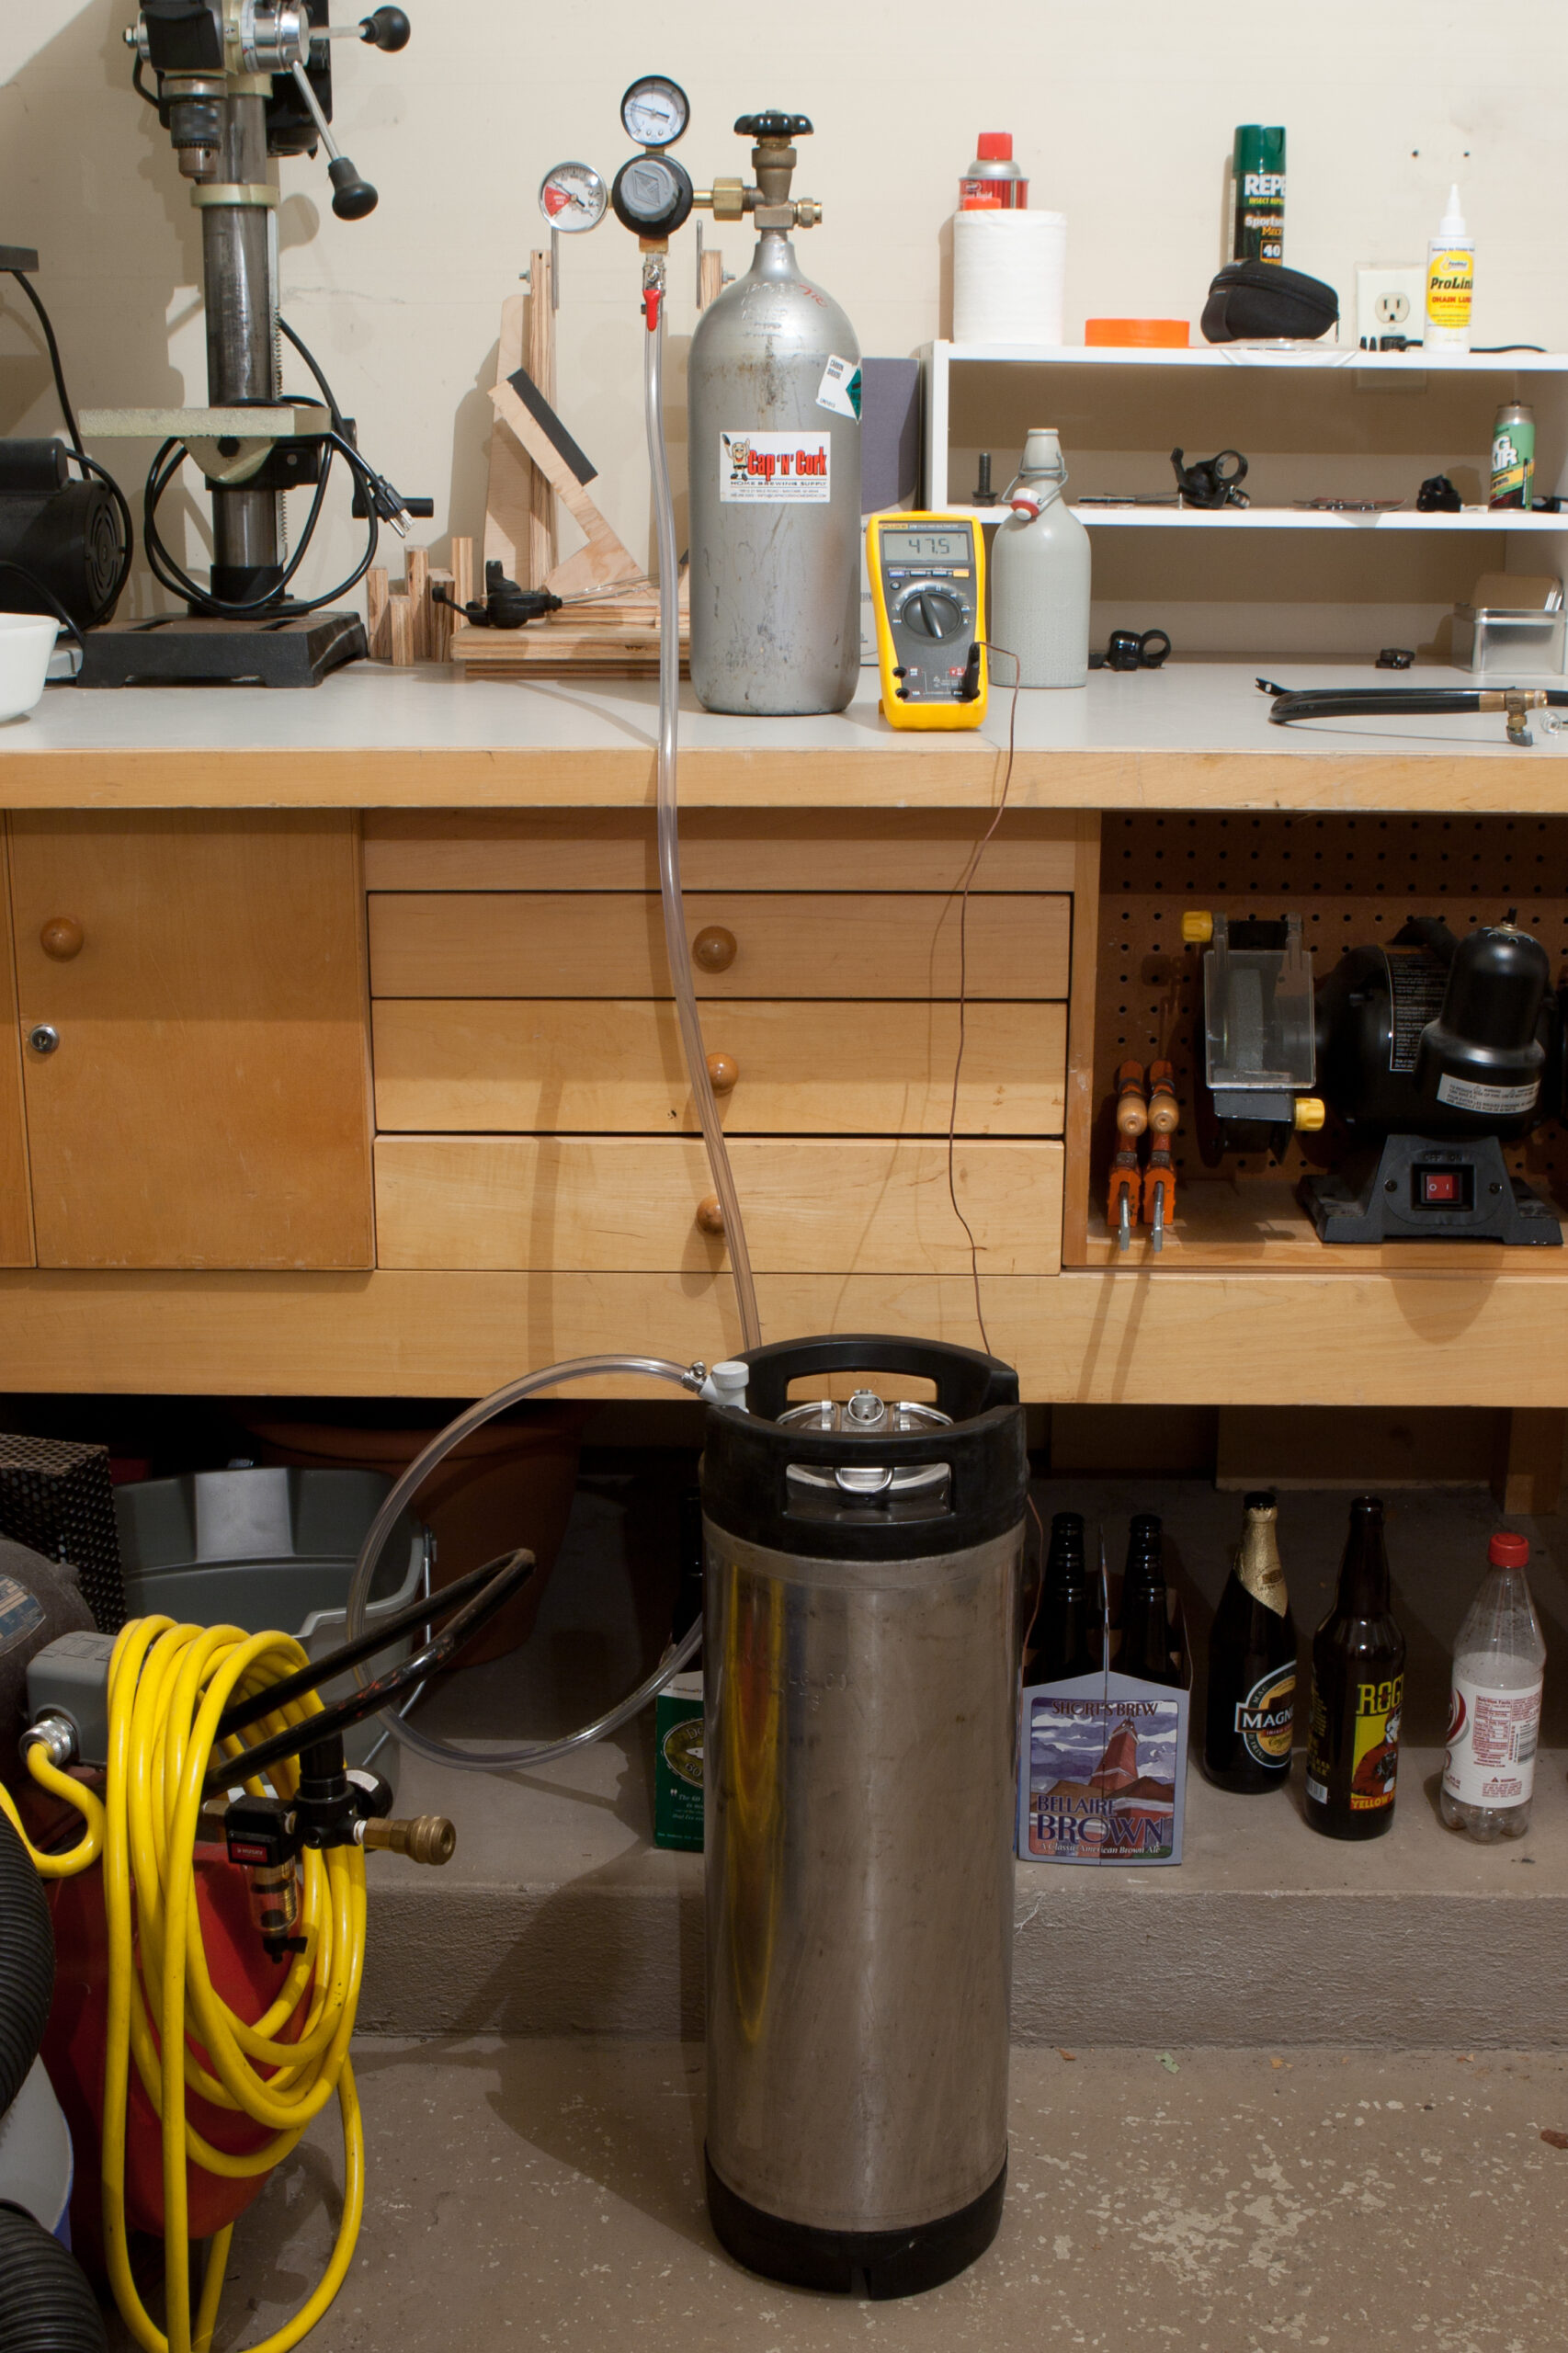
This evening I pulled the keg apart, scrubbed all parts with a sodium percarbonate solution, then reassembled it with food-safe grease and new seals. After assembly and pressure testing I filled it with filtered tap water and set it up as seen above. This 15psi supply of CO2 should force carbonate the water to 2.5 volumes (or so) of CO2, depending on how cold the water actually ends up. After proving out that this method works I’ll then try it on one of the future batches of beer, carbonating it either in the garage or a kegerator, if I assemble one.

For more information on force carbonating, take a look at this article.

beerfoodmaking things

Lazy Stout!

One week after brewing the Area 51 IPA kit I decided to use up some other beer ingredients from around the house and threw together this quick stout. I’d had a four pound can of Mountmellick “Famous Irish Style Stout” Hopped Malt Extract, so on the recommendation of the local brewing supply store I added a 3.3 pound can of Thomas Coopers’ dark liquid malt extract and set it to ferment with a leftover packet of Safale US-05 (PDF) yeast. I’d considered adding more hops, but I was told that hopped extracts are usually aggressively flavored and thus it’s probably not necessary.

With 6.5 gallons of water + extract in the pot I set to boiling it. Danielle and I took turns near the kettle so I could run in the house and fetch supplies. After an hour of boiling I was able to cool the wort and set exactly five gallons to ferment, and here it is. While this isn’t a complicated recipe, I hope it’ll result in something quick and easy that Danielle and I both enjoy the taste of. There isn’t much krausen on the beer now but it does seem to be producing enough CO2 to be coming along well.

This should come out to about 5.25%, but we’ll see once the numbers are done in a week or so:

OG: 1.053
FG: 1.021
ABV: 4.2%

I think that next I’ll try and make some manner of Ginger Beer. I’m not sure if it’ll simply be a carbonated soda or something fermented, but ginger does sound tasty.

beermaking things

Carbonated Coffee

For my first carbonation attempt I tried coffee. I brewed one serving (about a pint) via the usual method then added another half cup of water, chilled it, and then force carbonated it at ~27psi until it seemed to stop taking gas. After letting it sit in the fridge for 20 or 30 minutes I impatiently tried it, but the initial opening produced a LOT of foam. After dealing with some bottle overflow I tried a couple ounces, and it was both what I expected and something bizarre. It was cold (like iced) coffee, but with an extra bitter flavor likely from the carbonic acid formed during the carbonation.

I’ll drink it tomorrow, likely with breakfast or lunch. It should be colder and less foamy and maybe even enjoyable. After that I’ll probably try making some soda, likely ginger or cream. I feel like I’m getting dangerously close to molecular gastronomy. If I post about acquiring a Dewar and some LN2 please warn me.

(The photo above was taken while letting the bottle sit after a round of shaking.)

foodmaking things