
Meijer is great for when it’s 10pm and the next step of your project requires Great Stuff spray foam insulation.
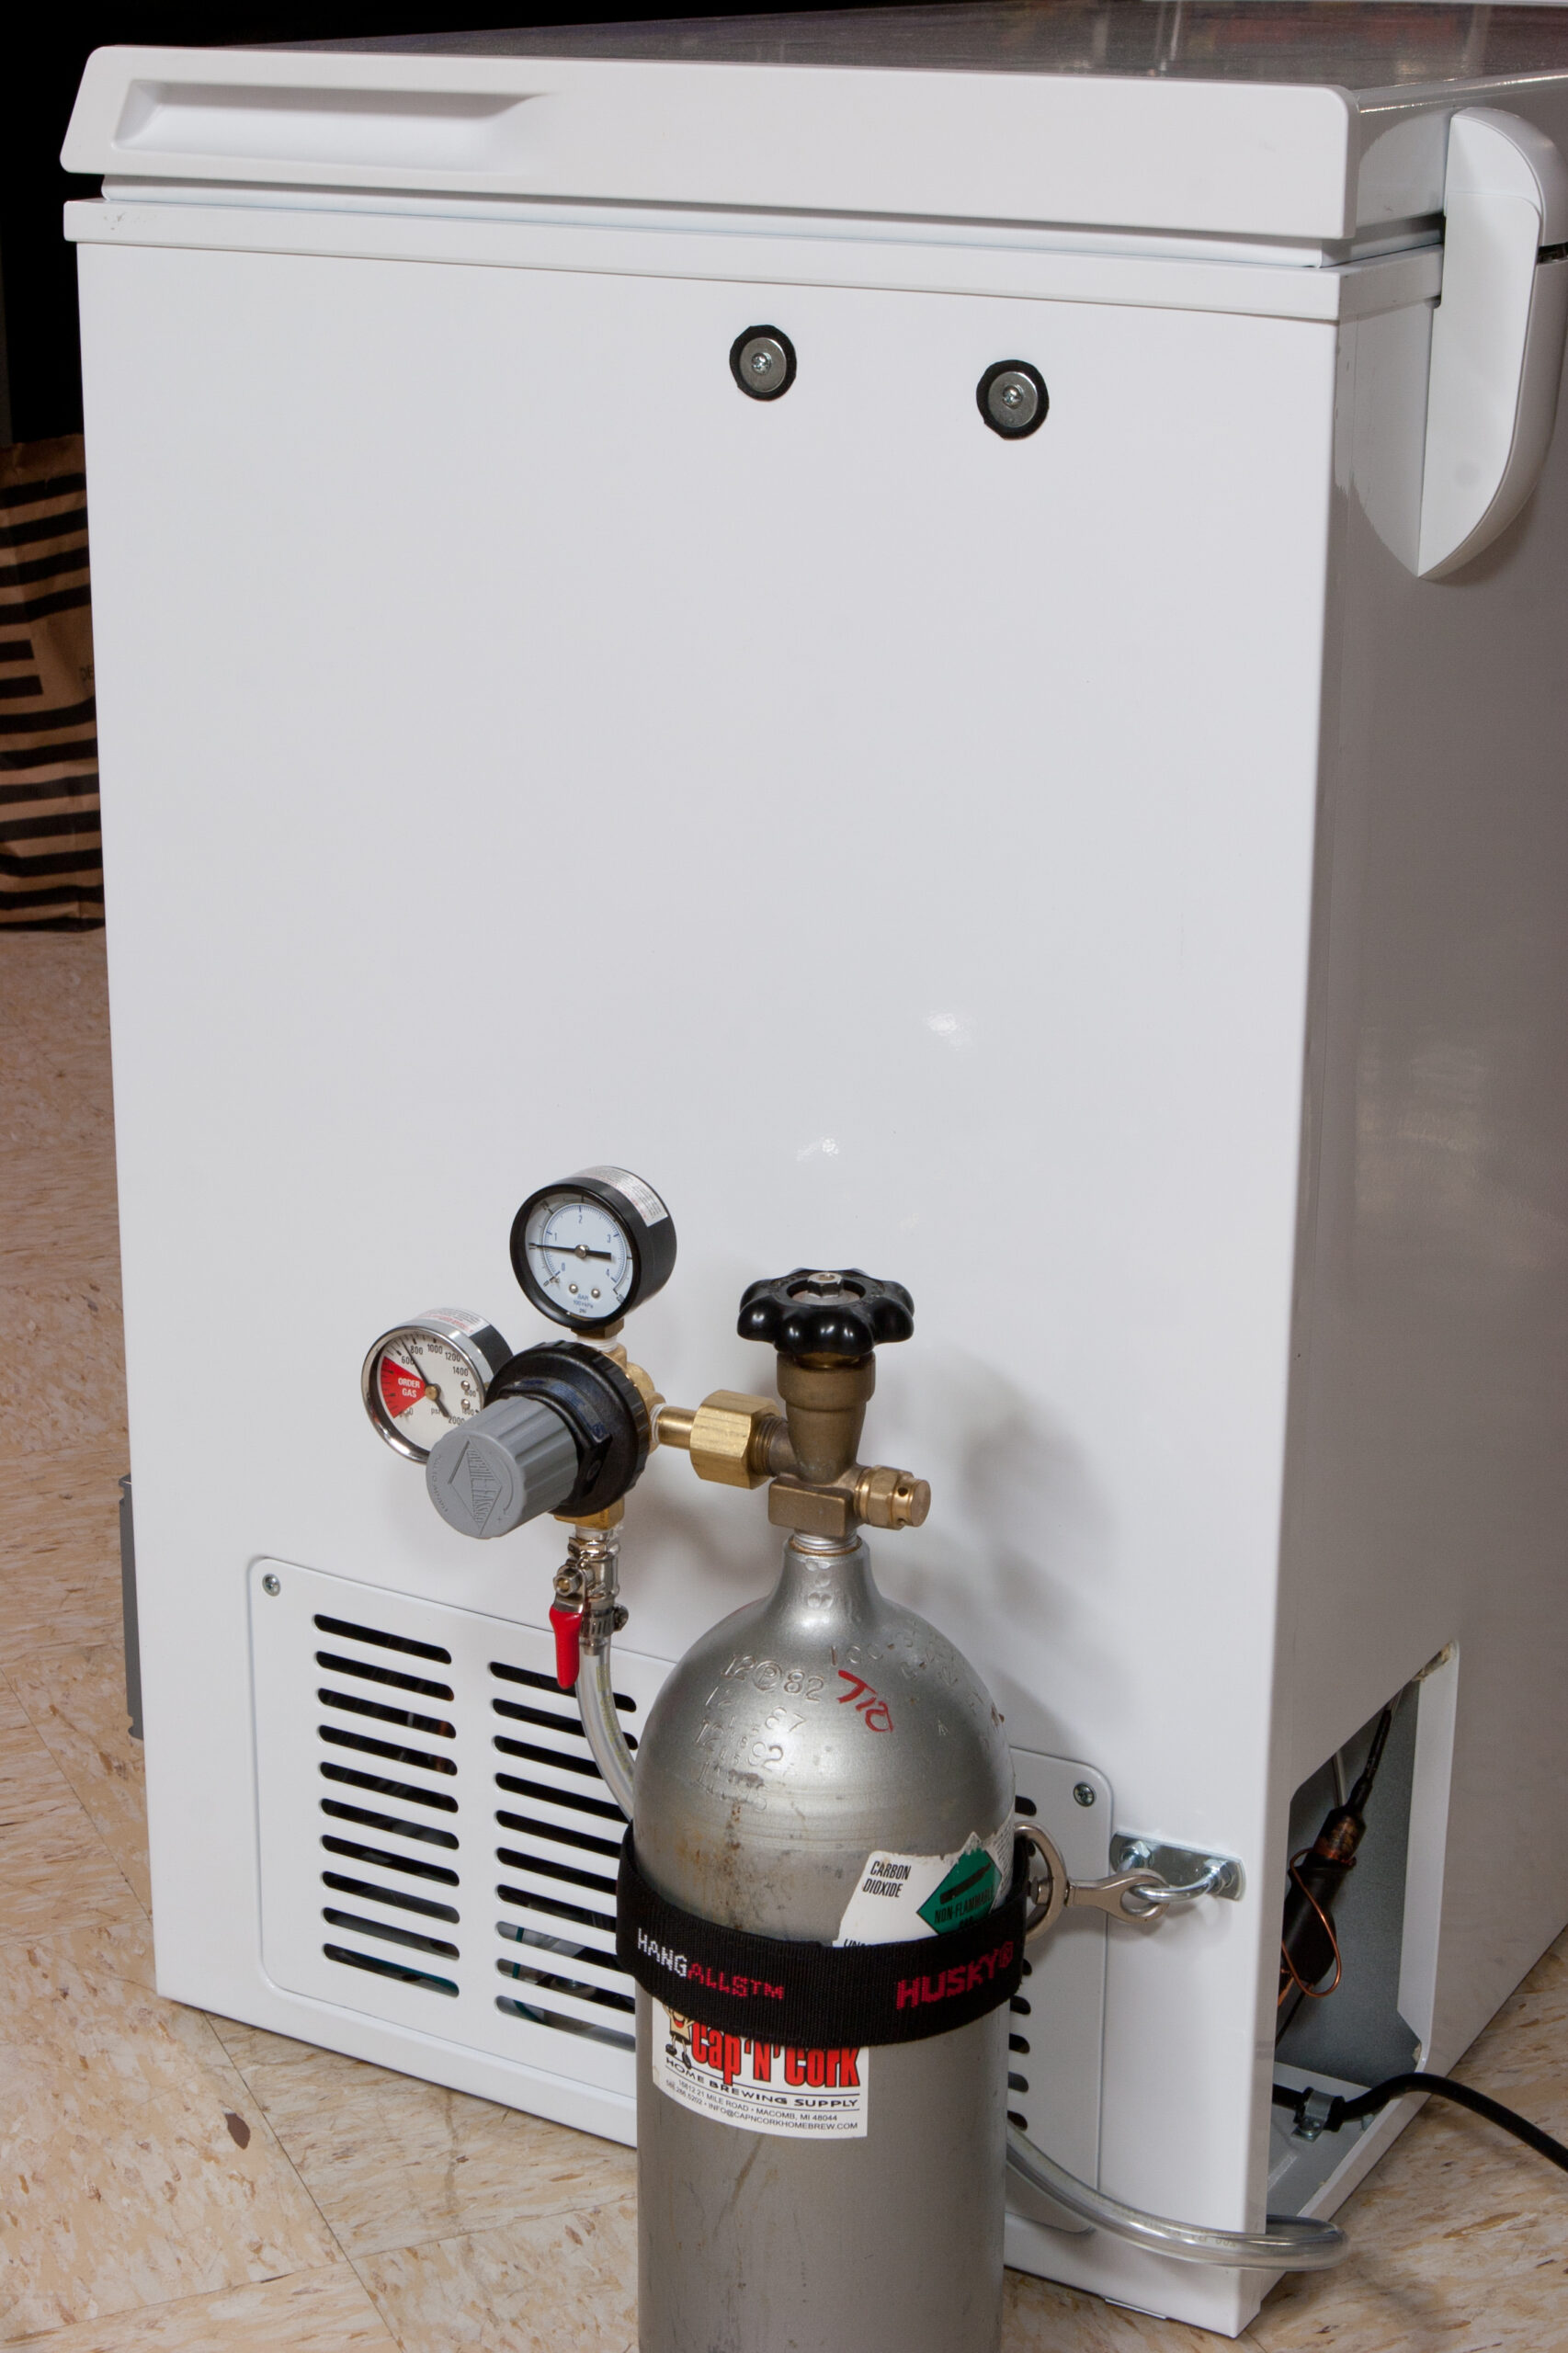
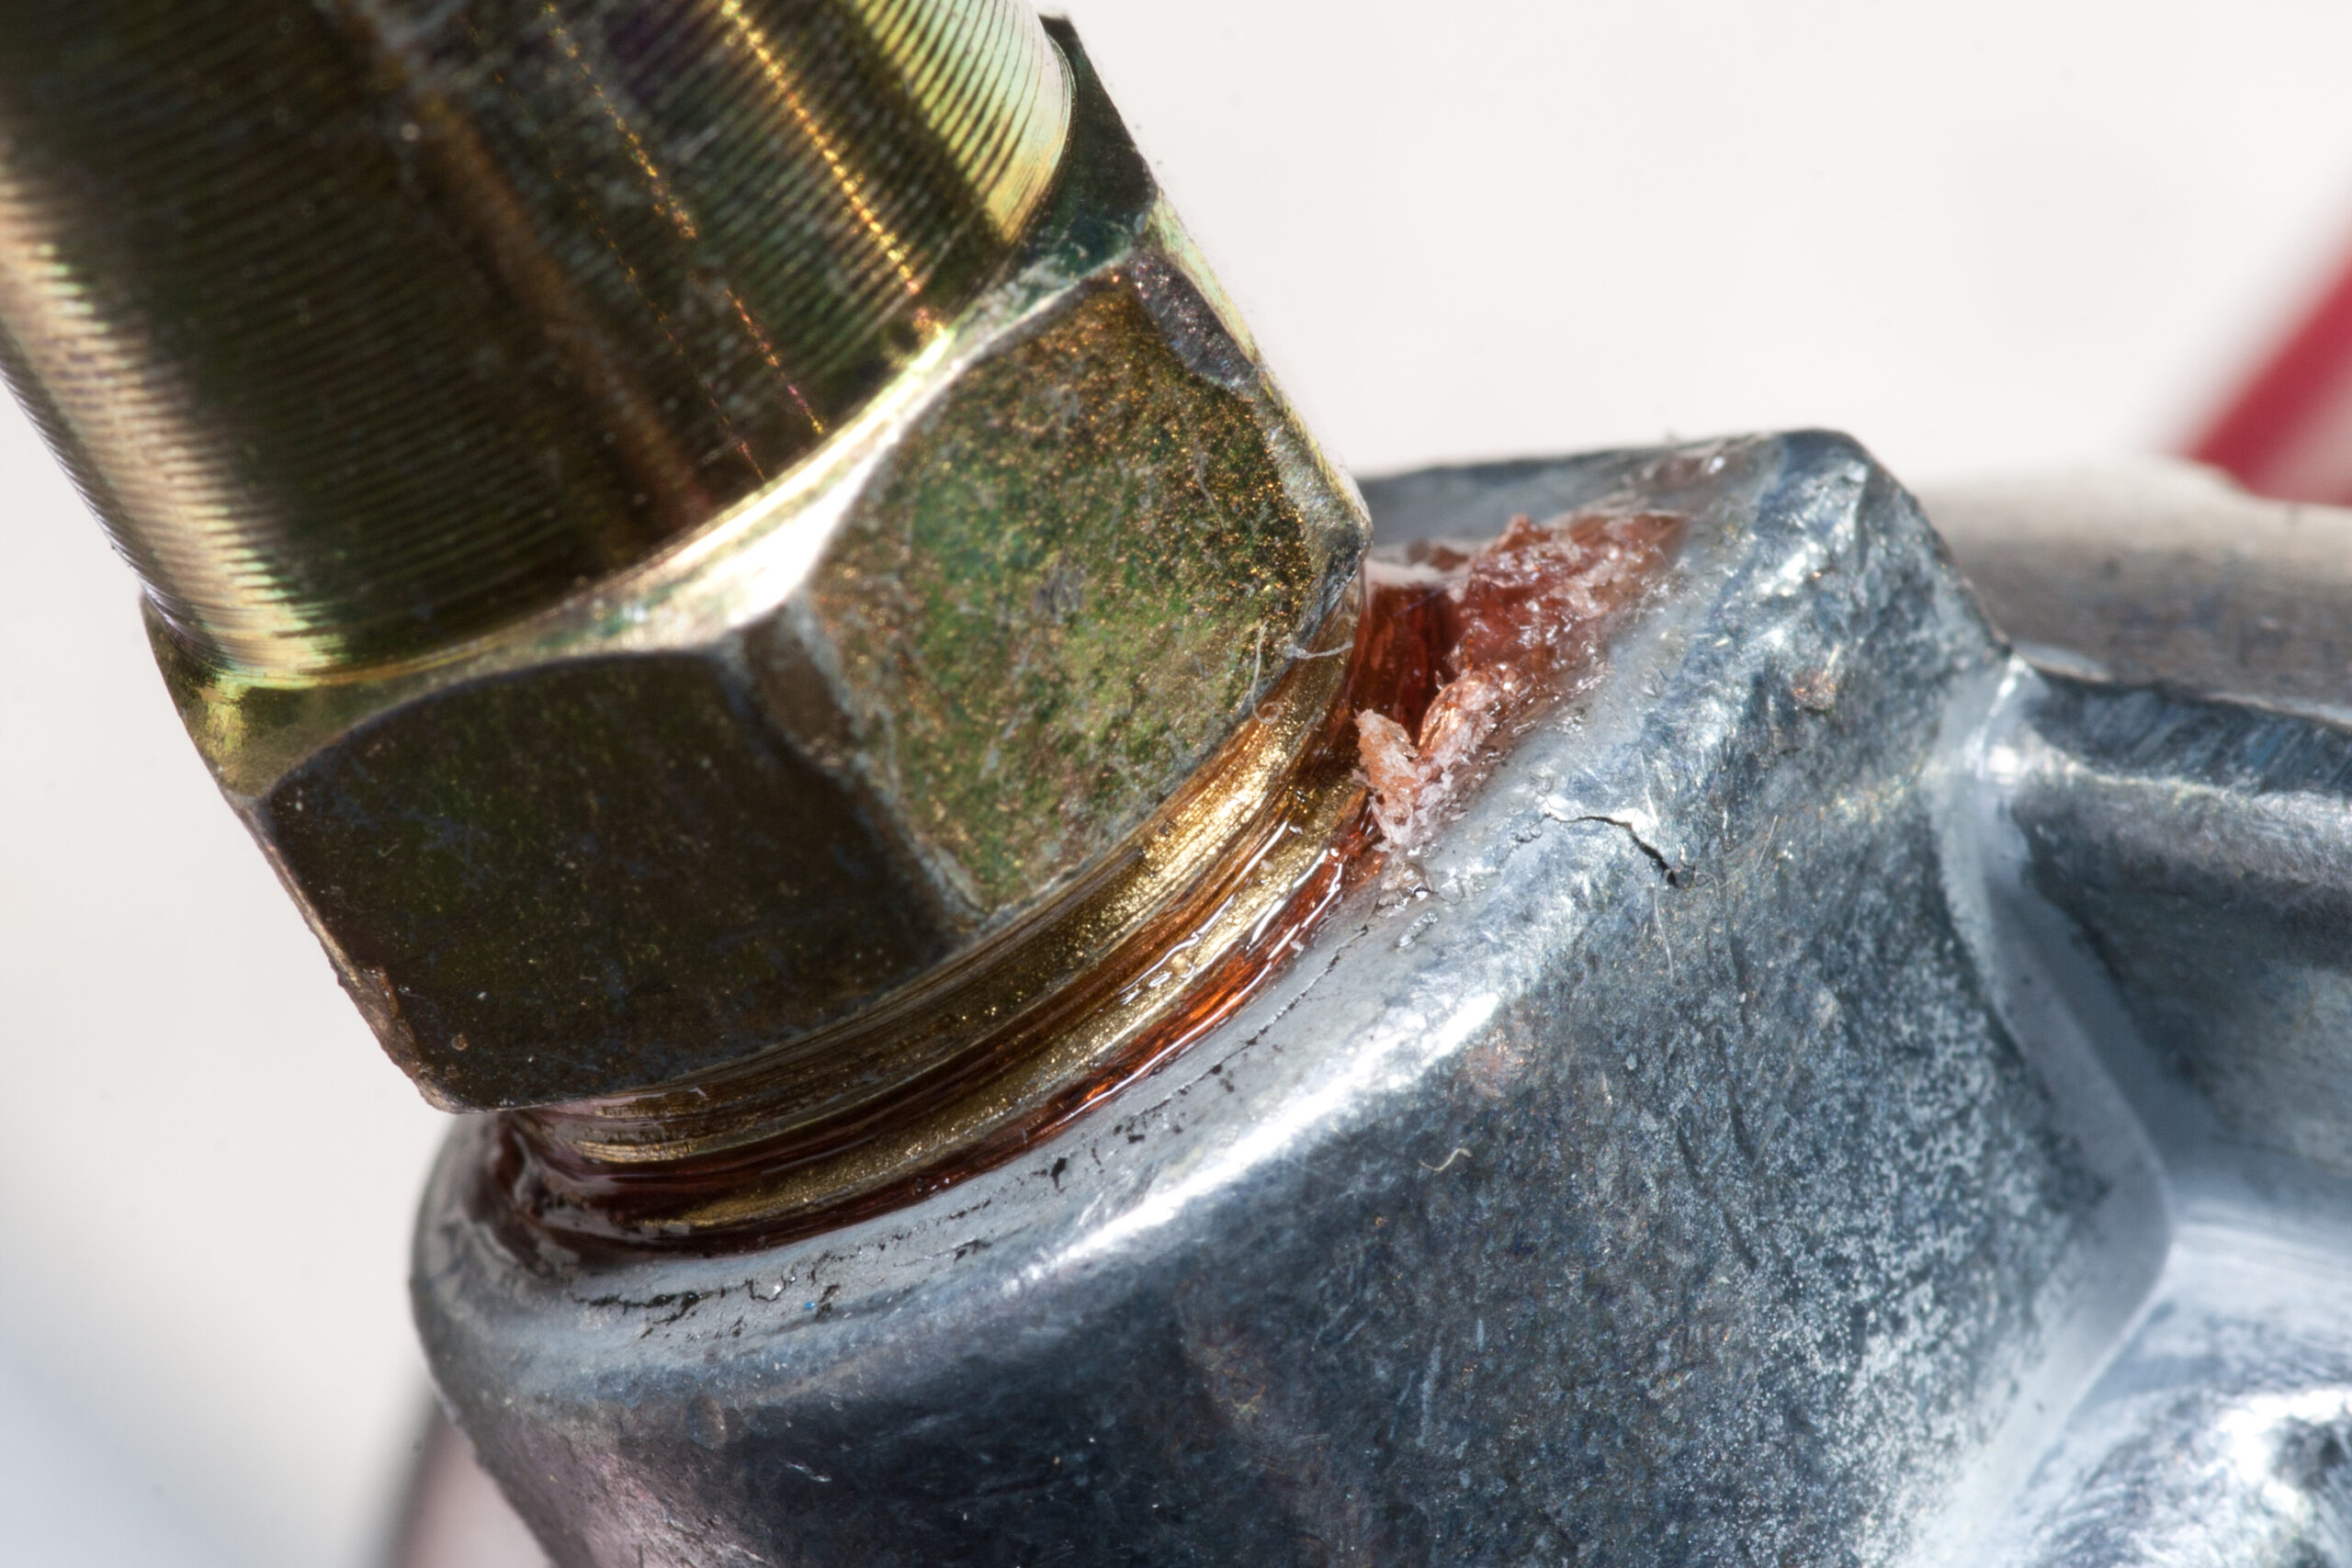
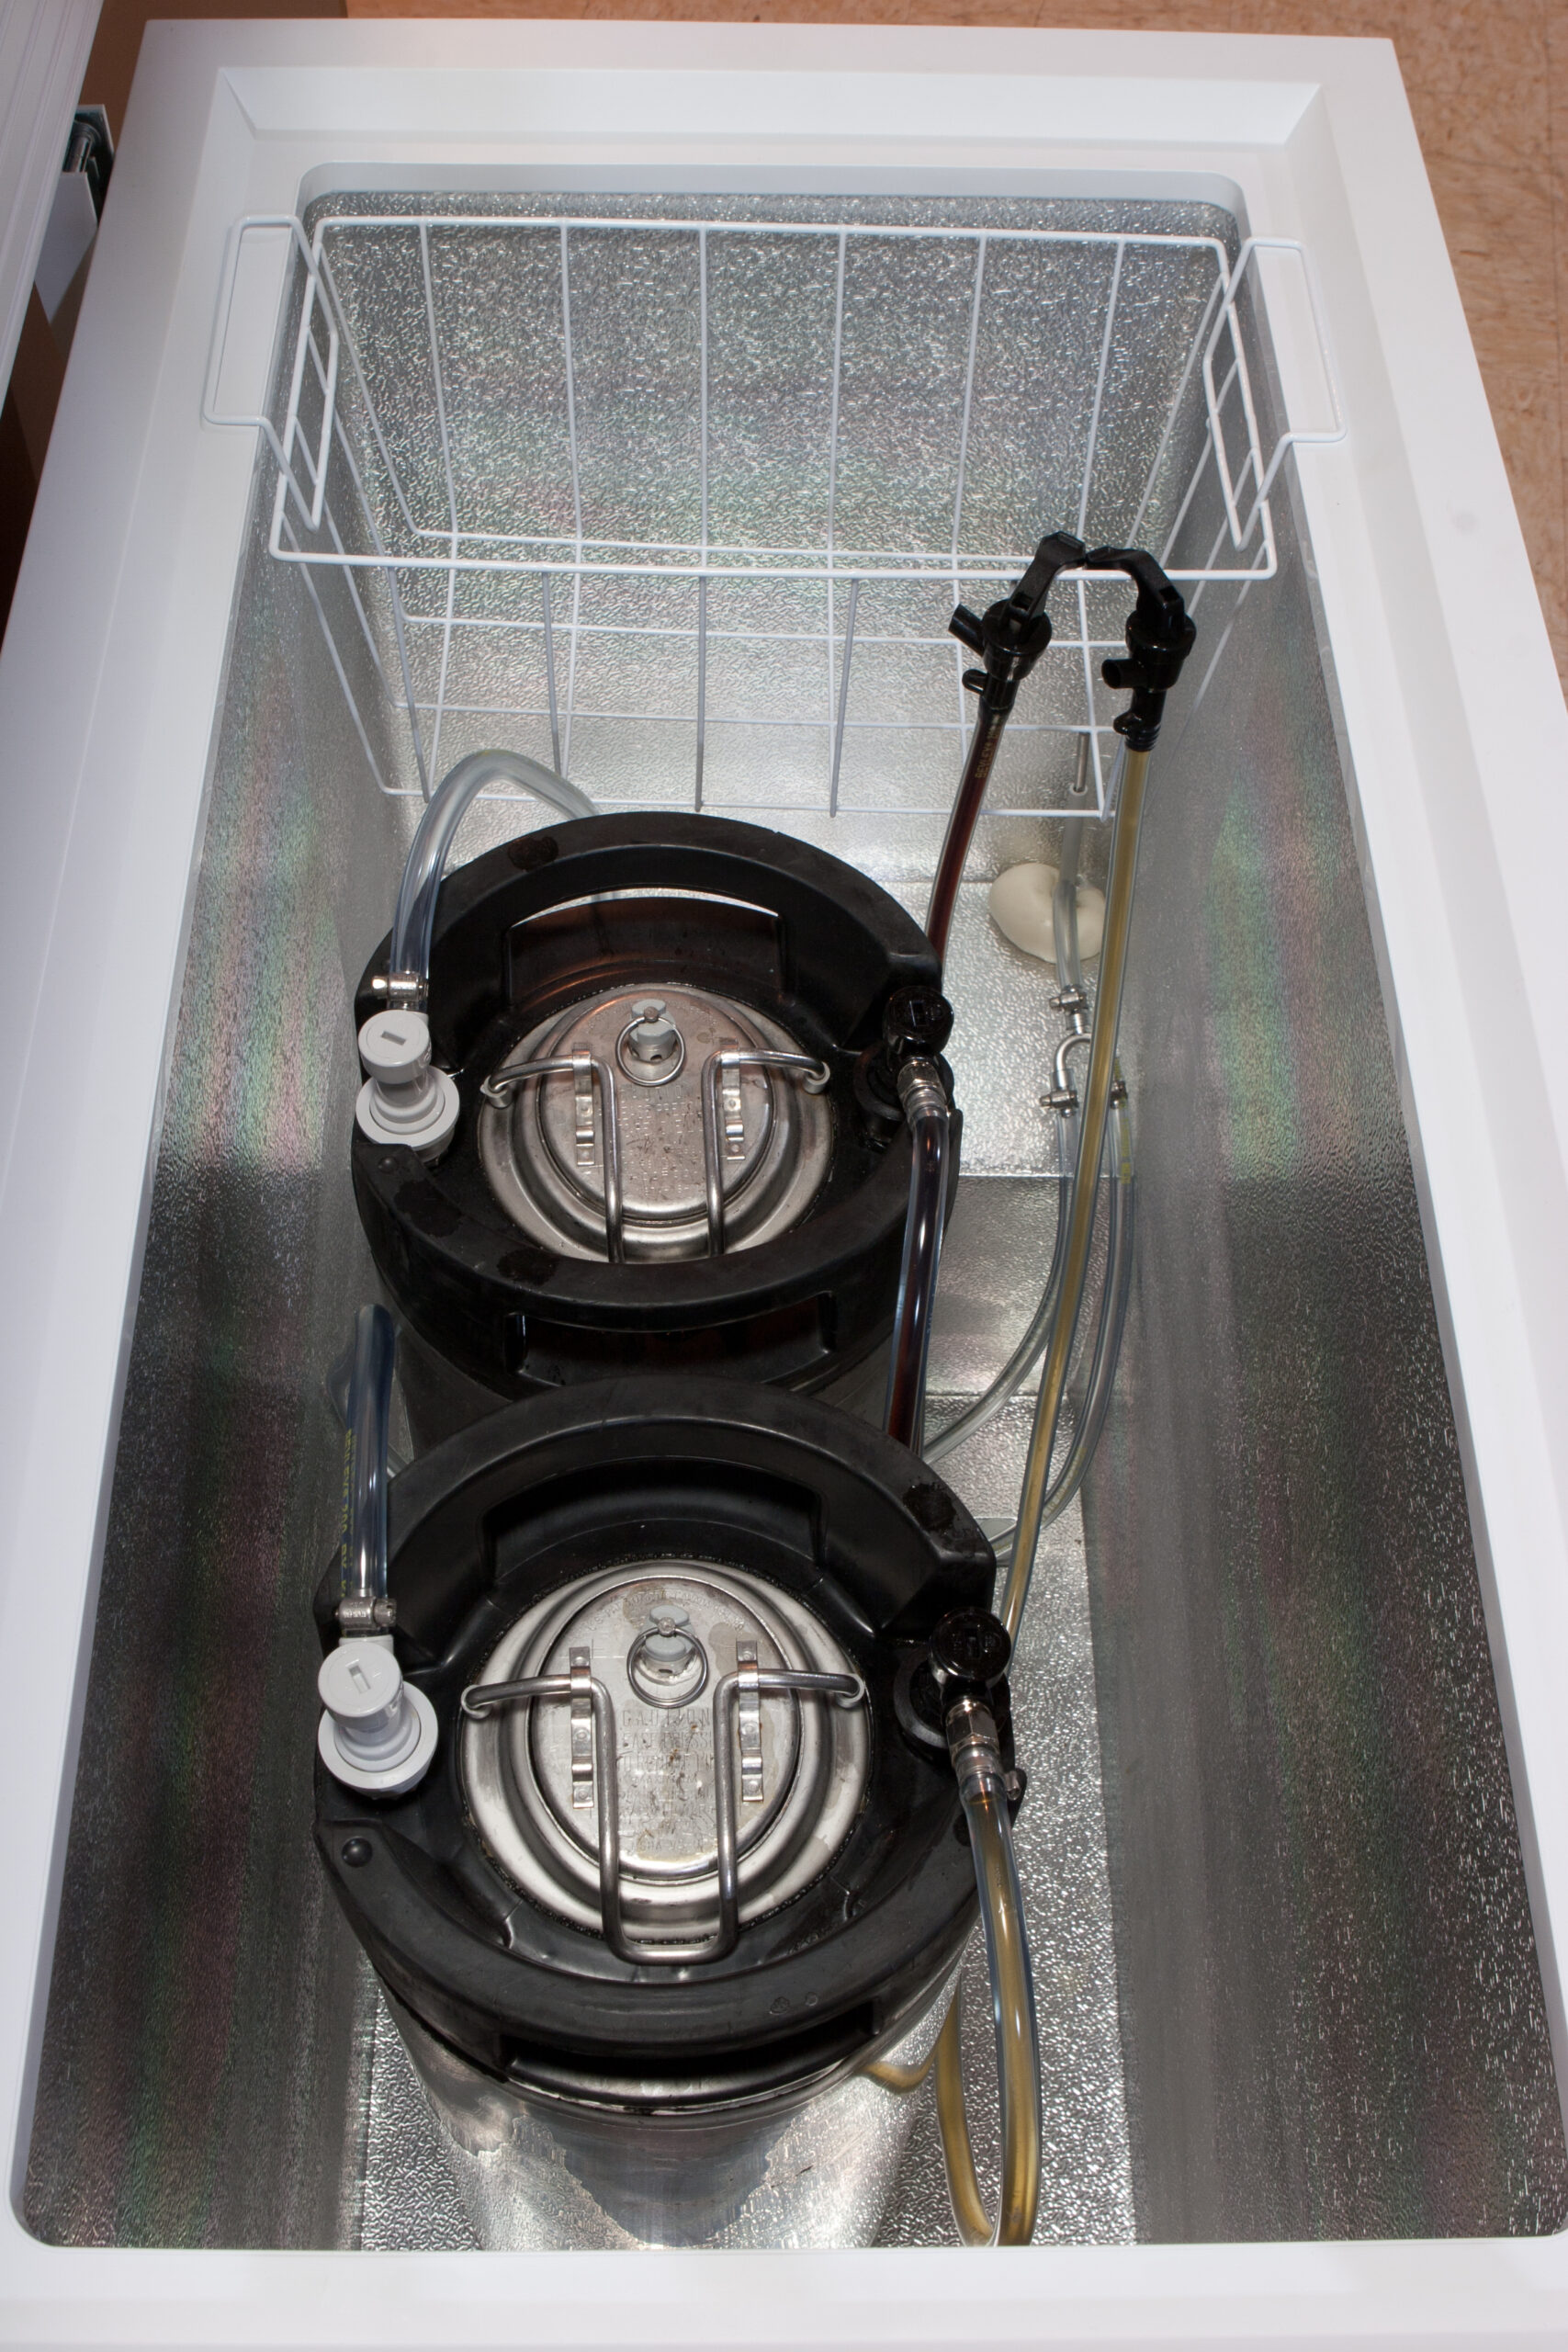
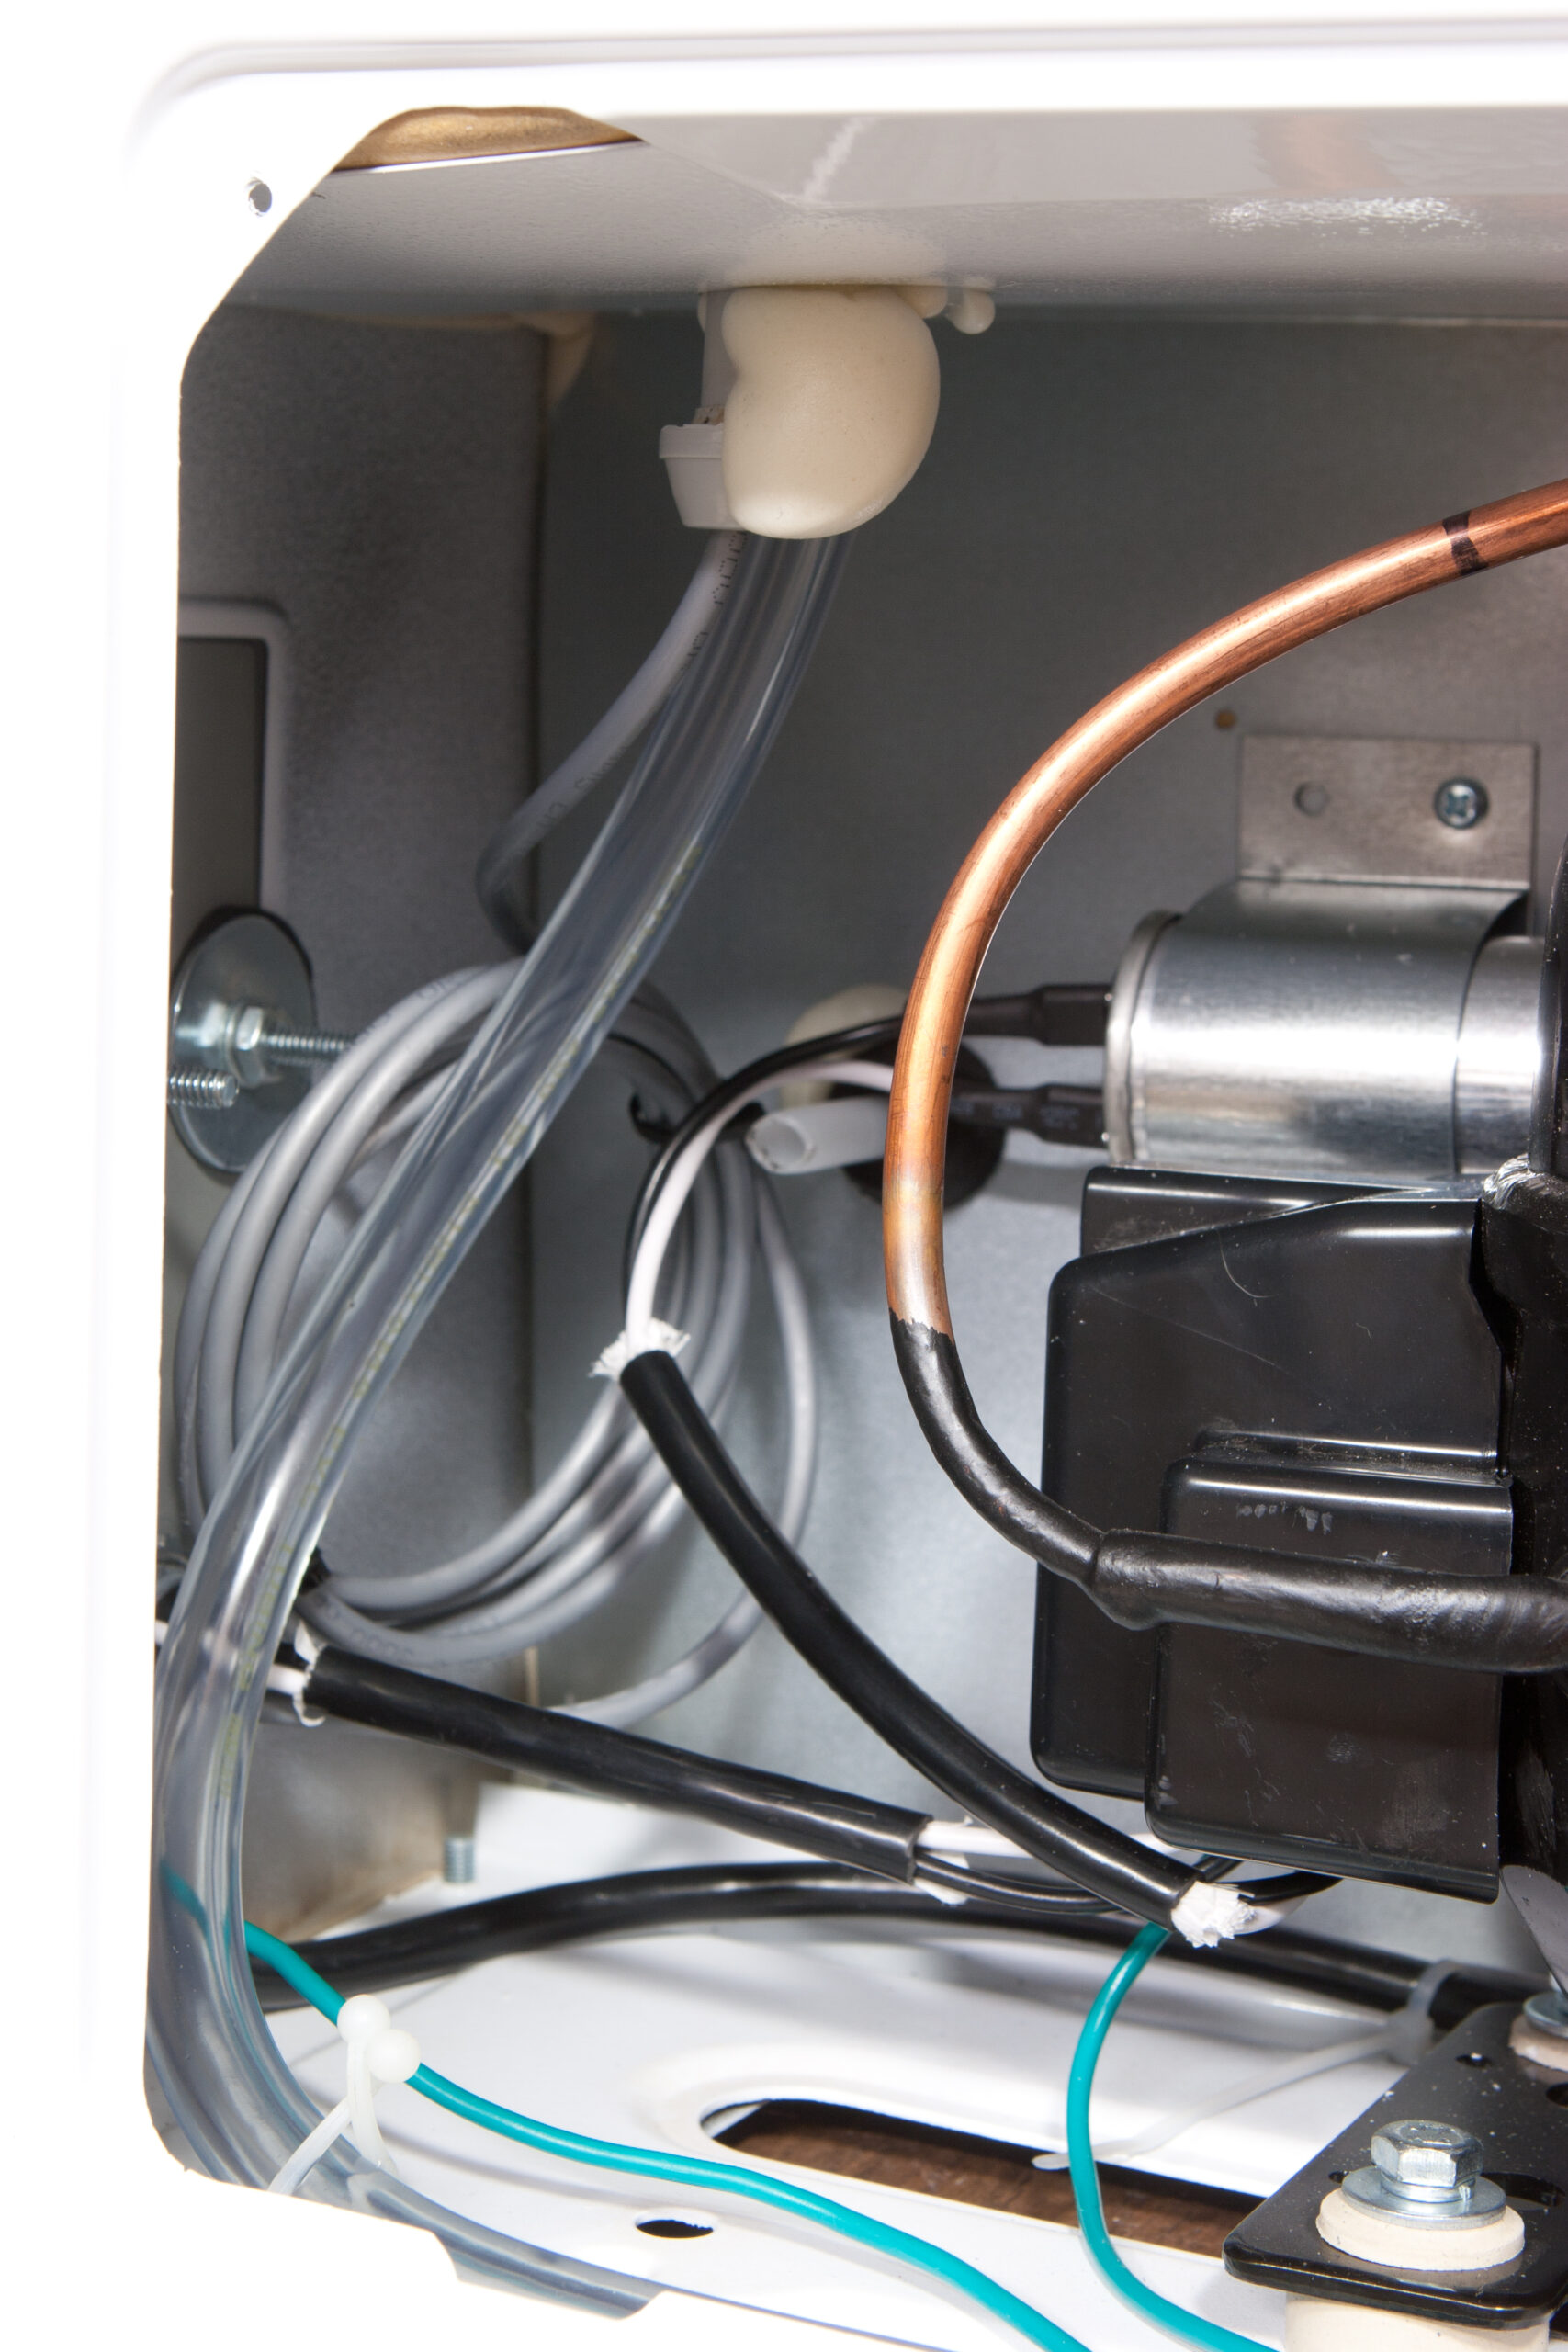
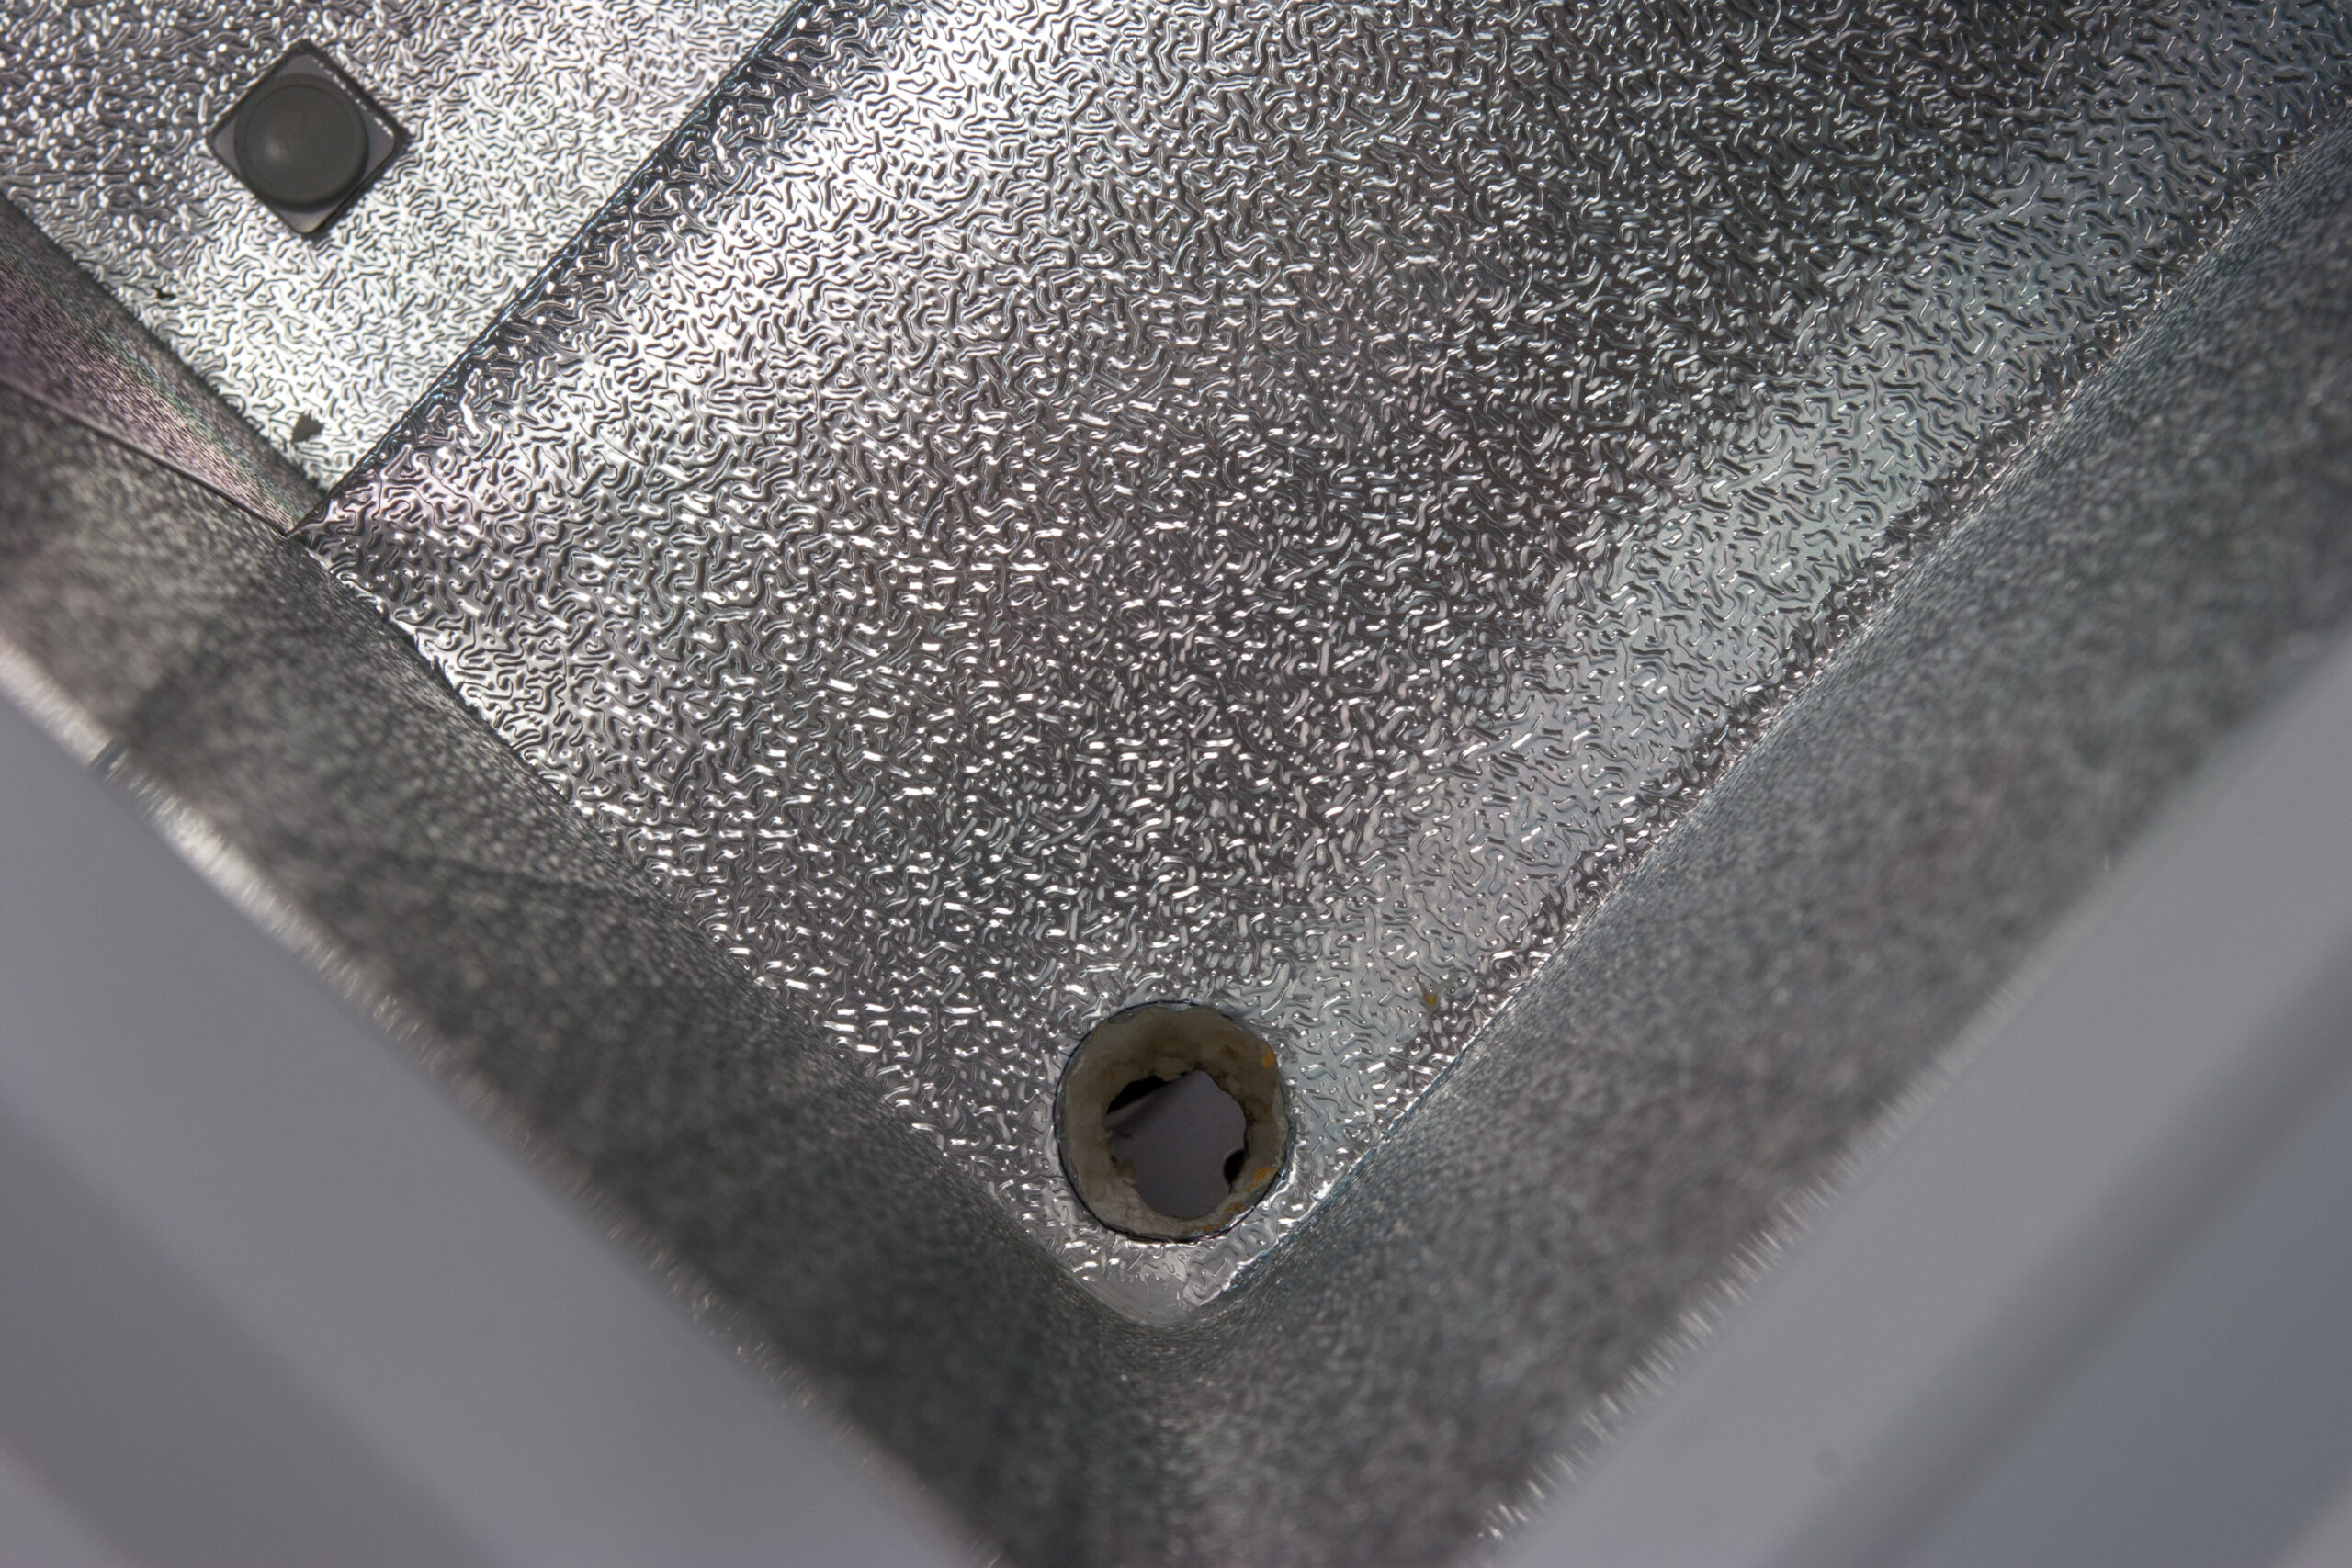
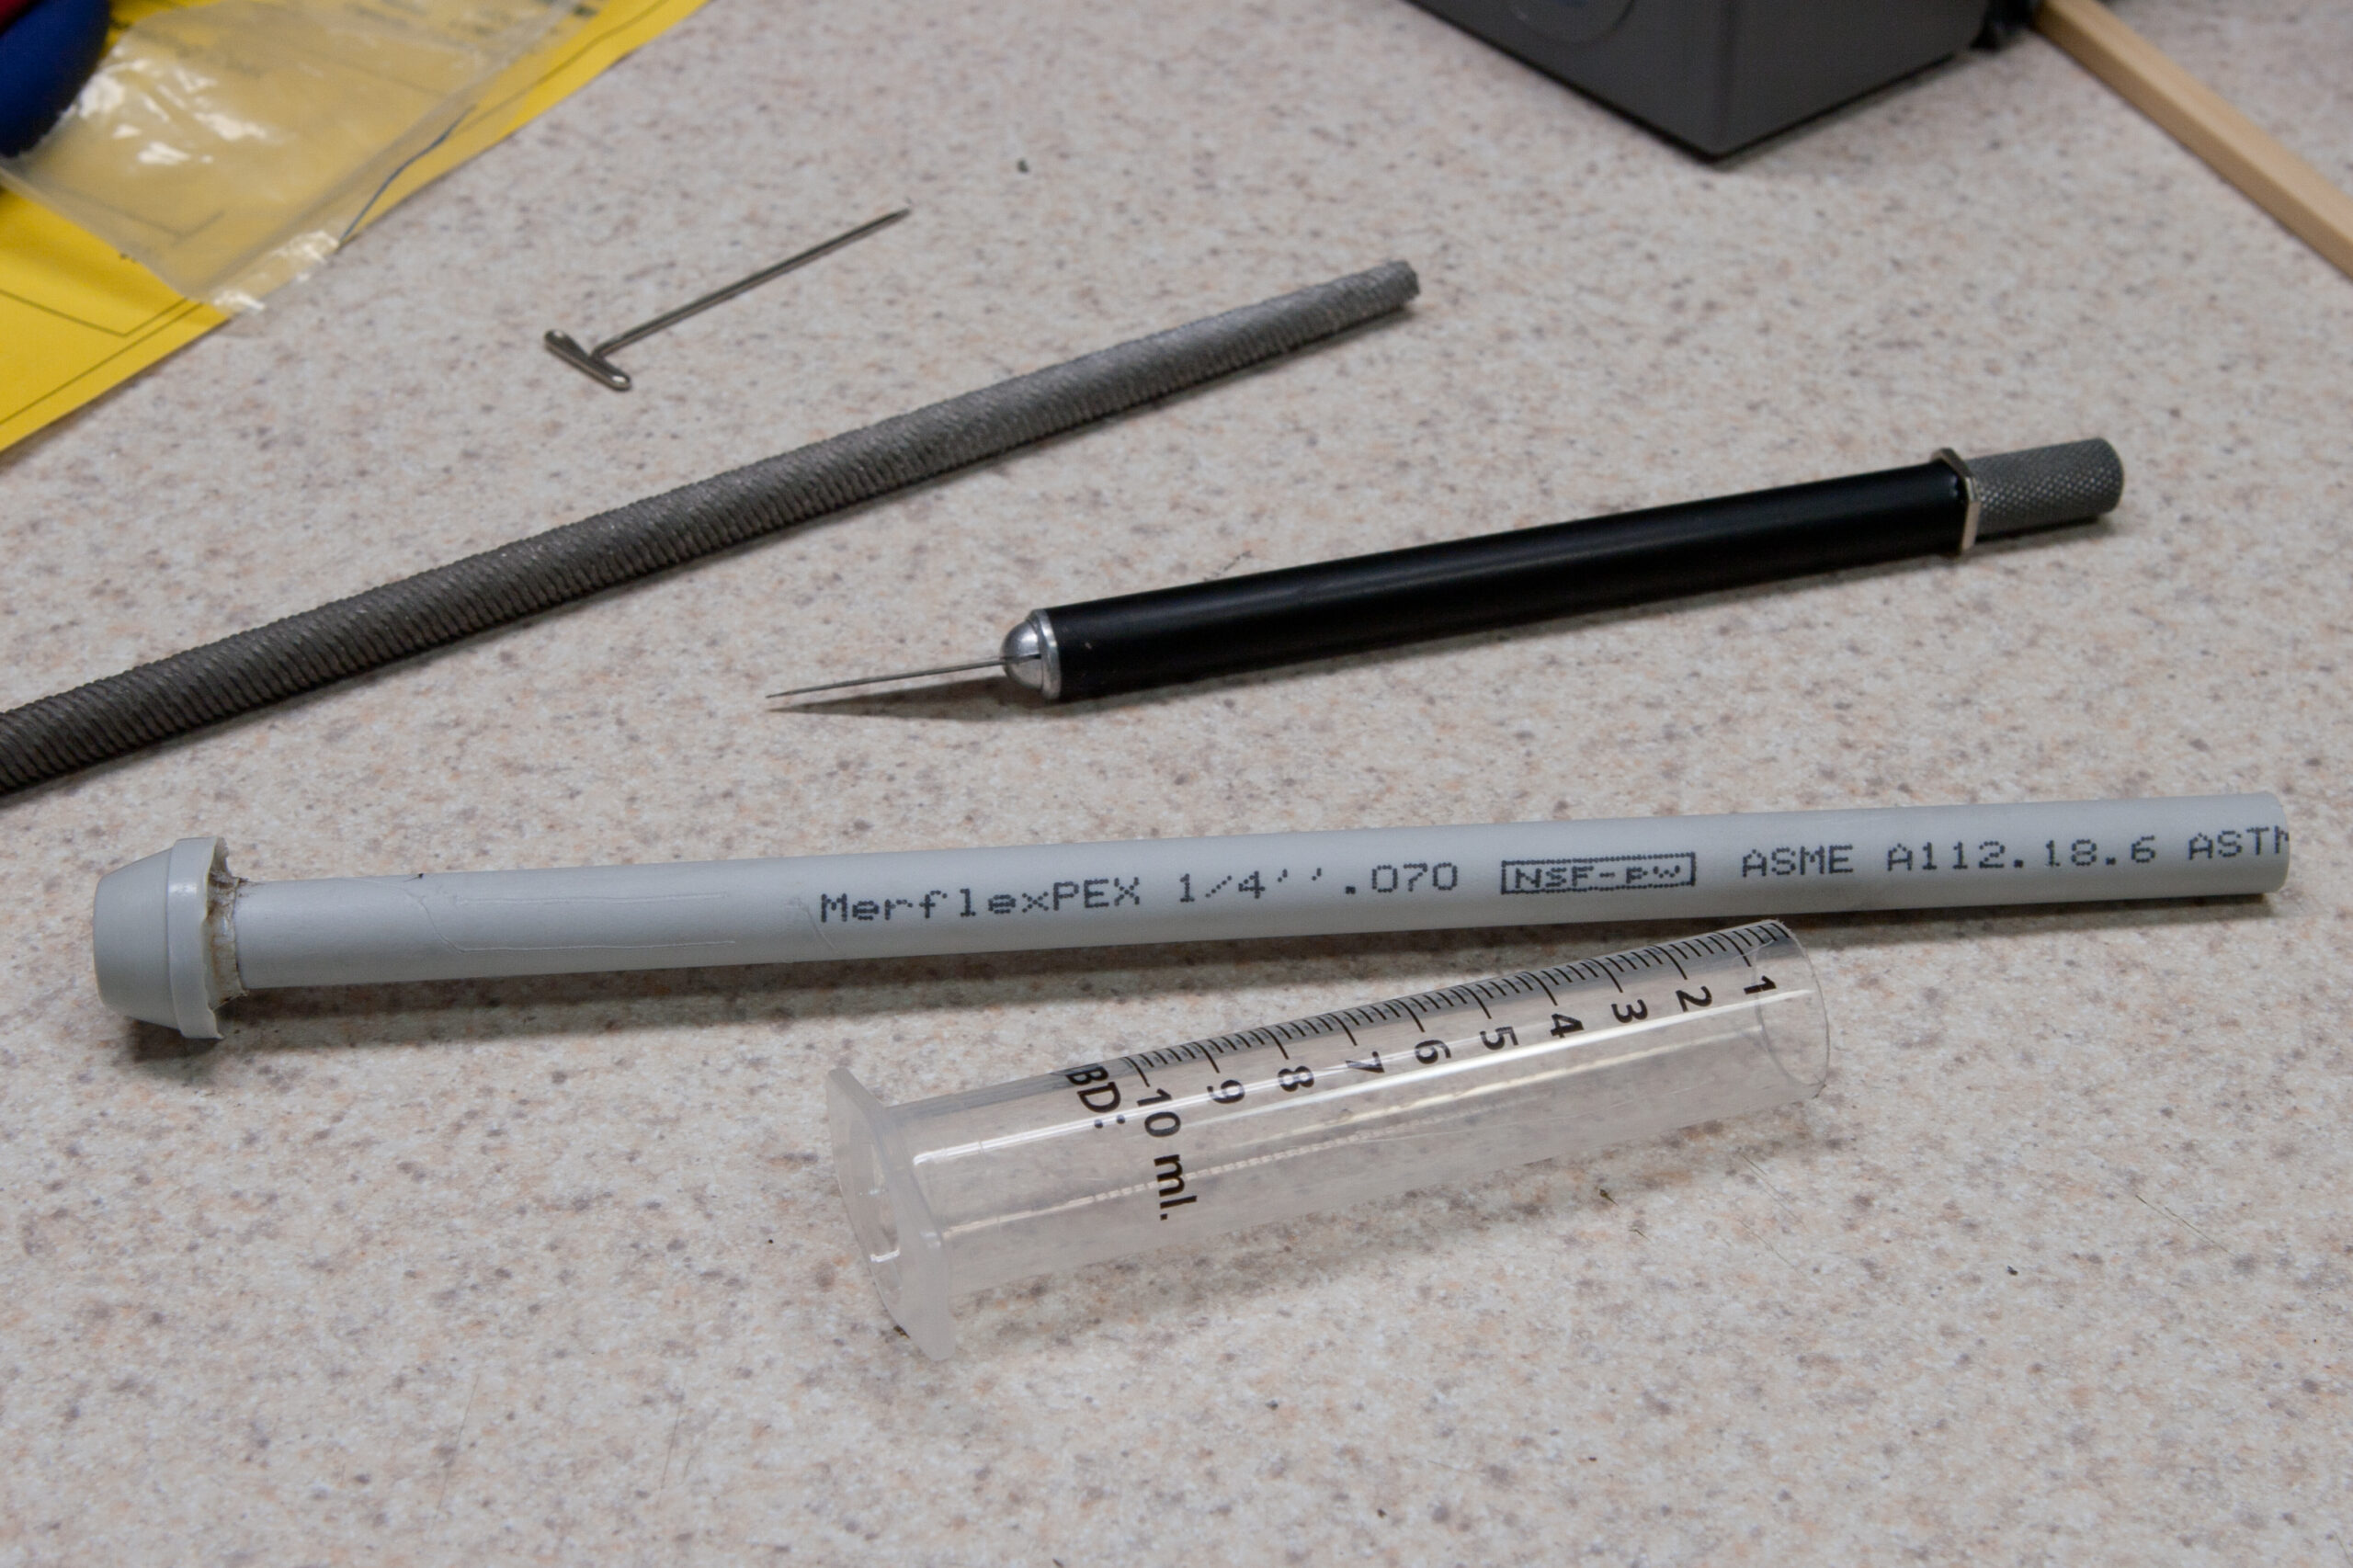
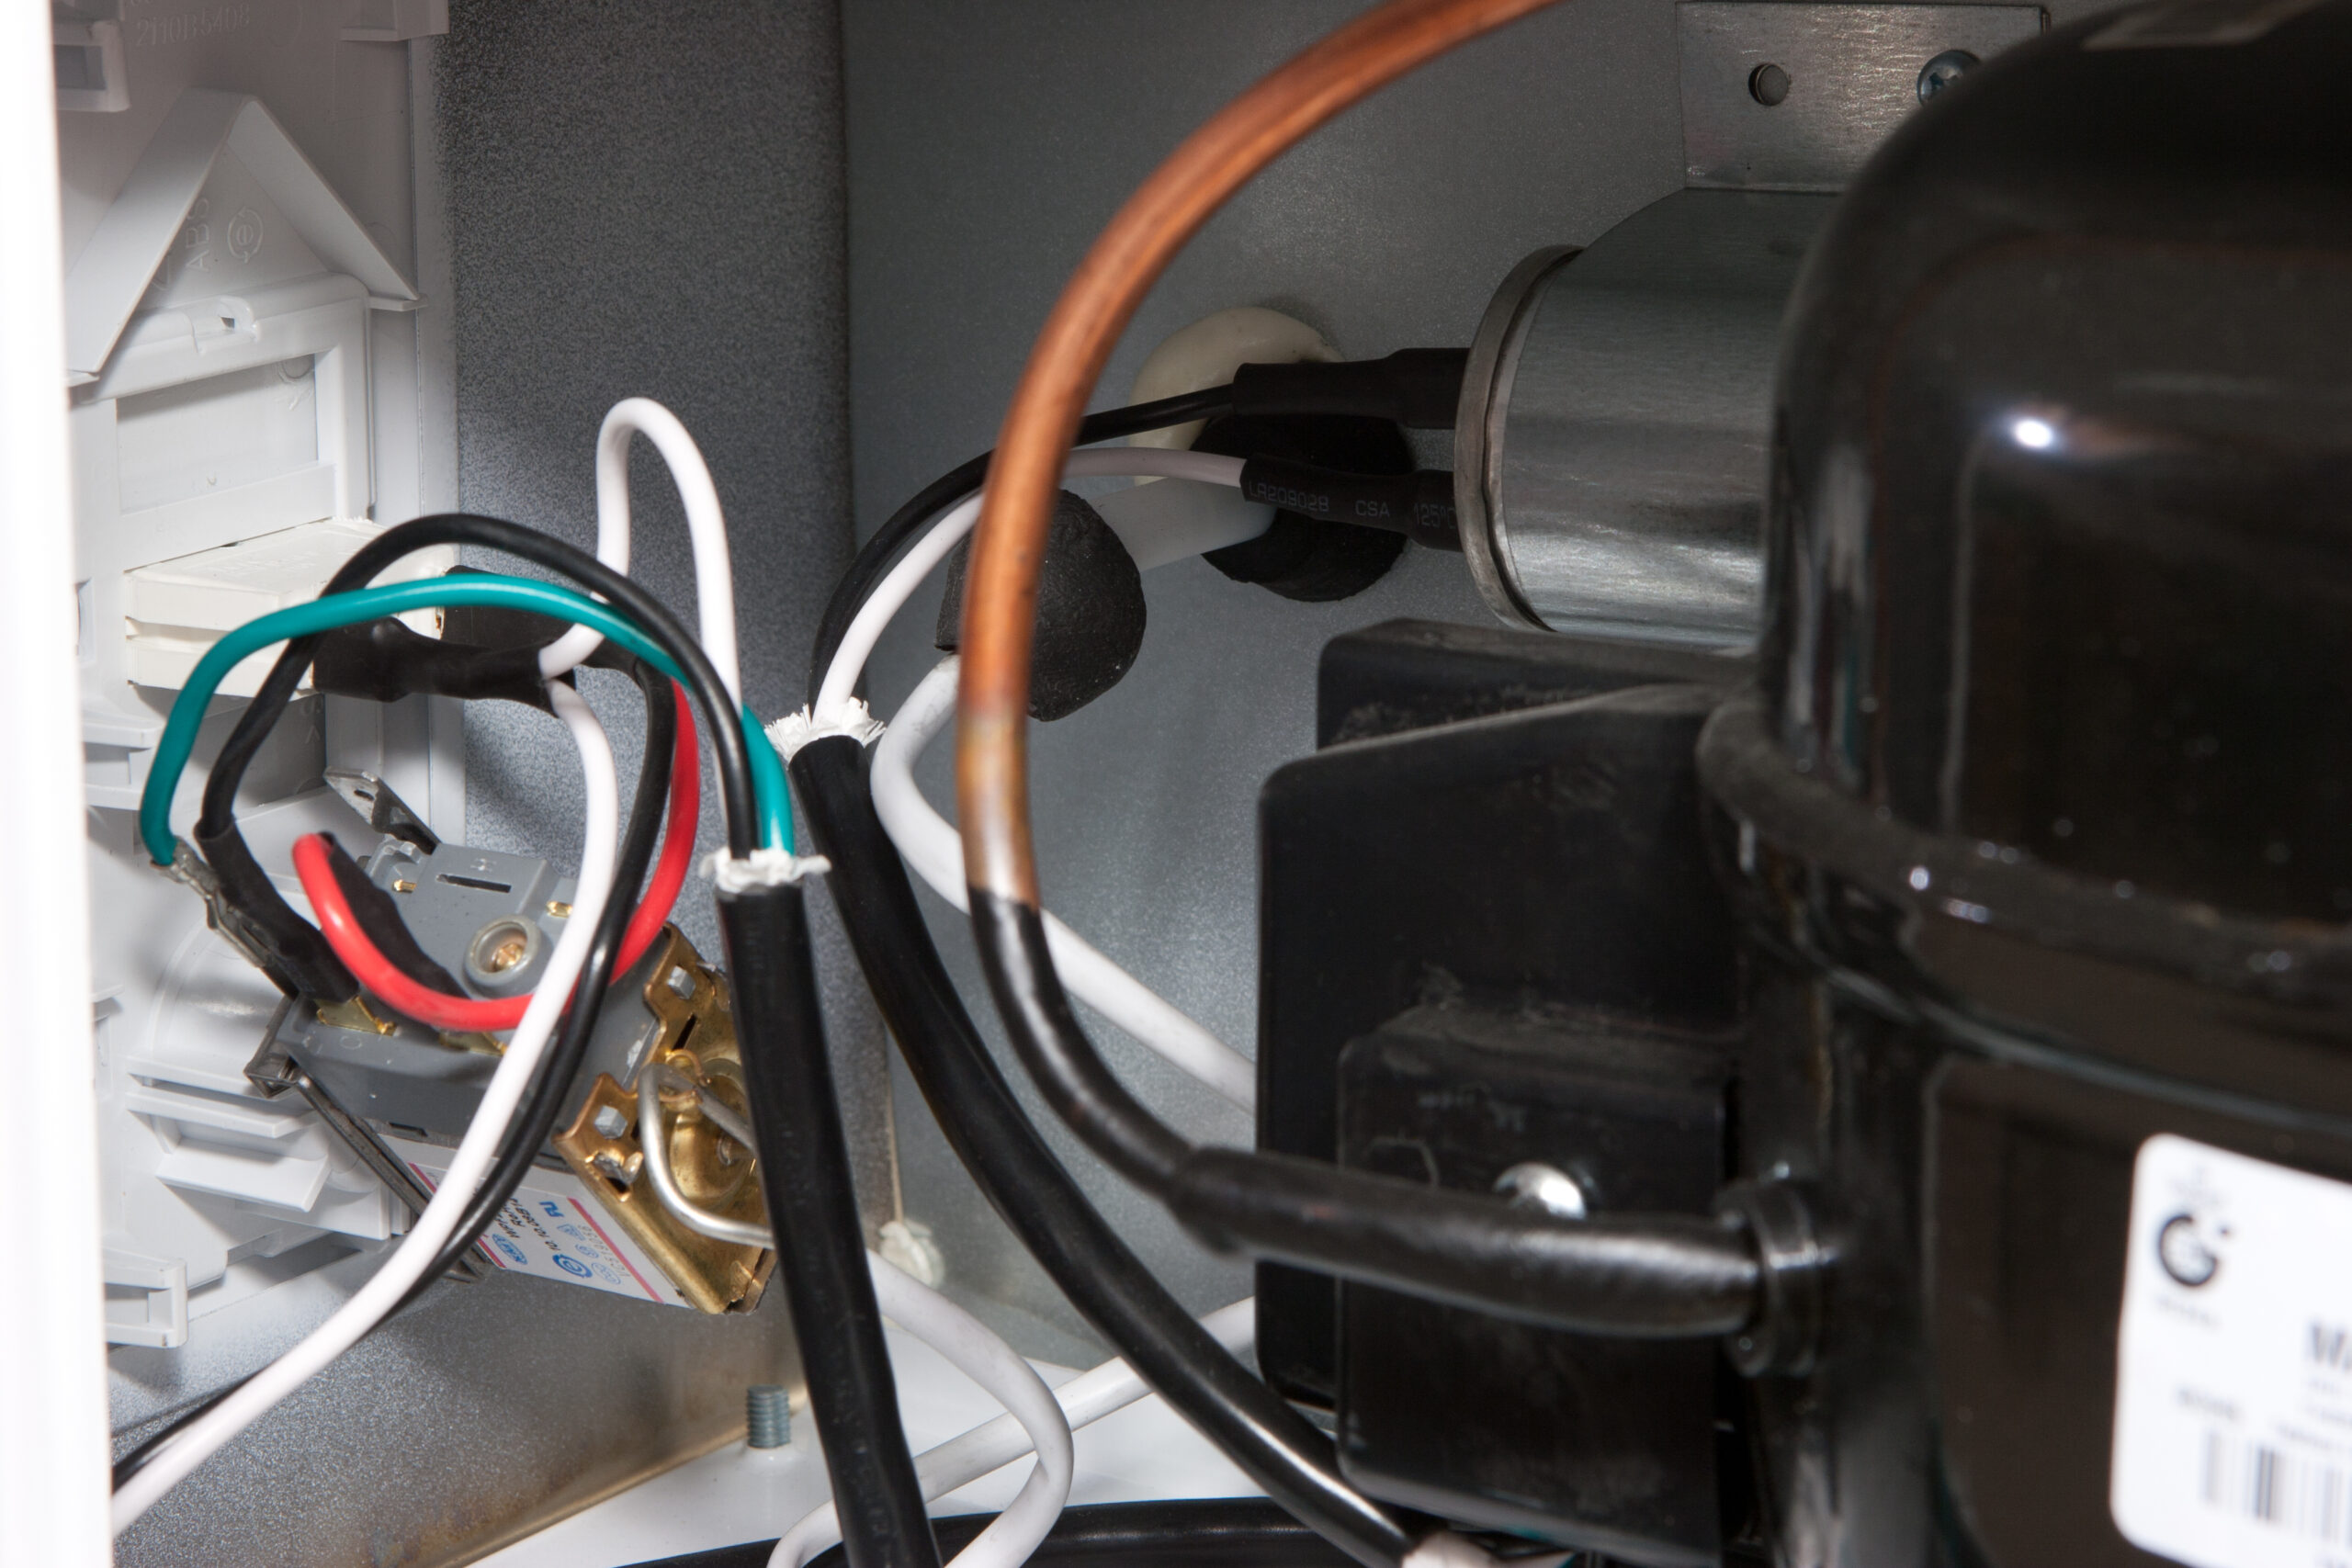
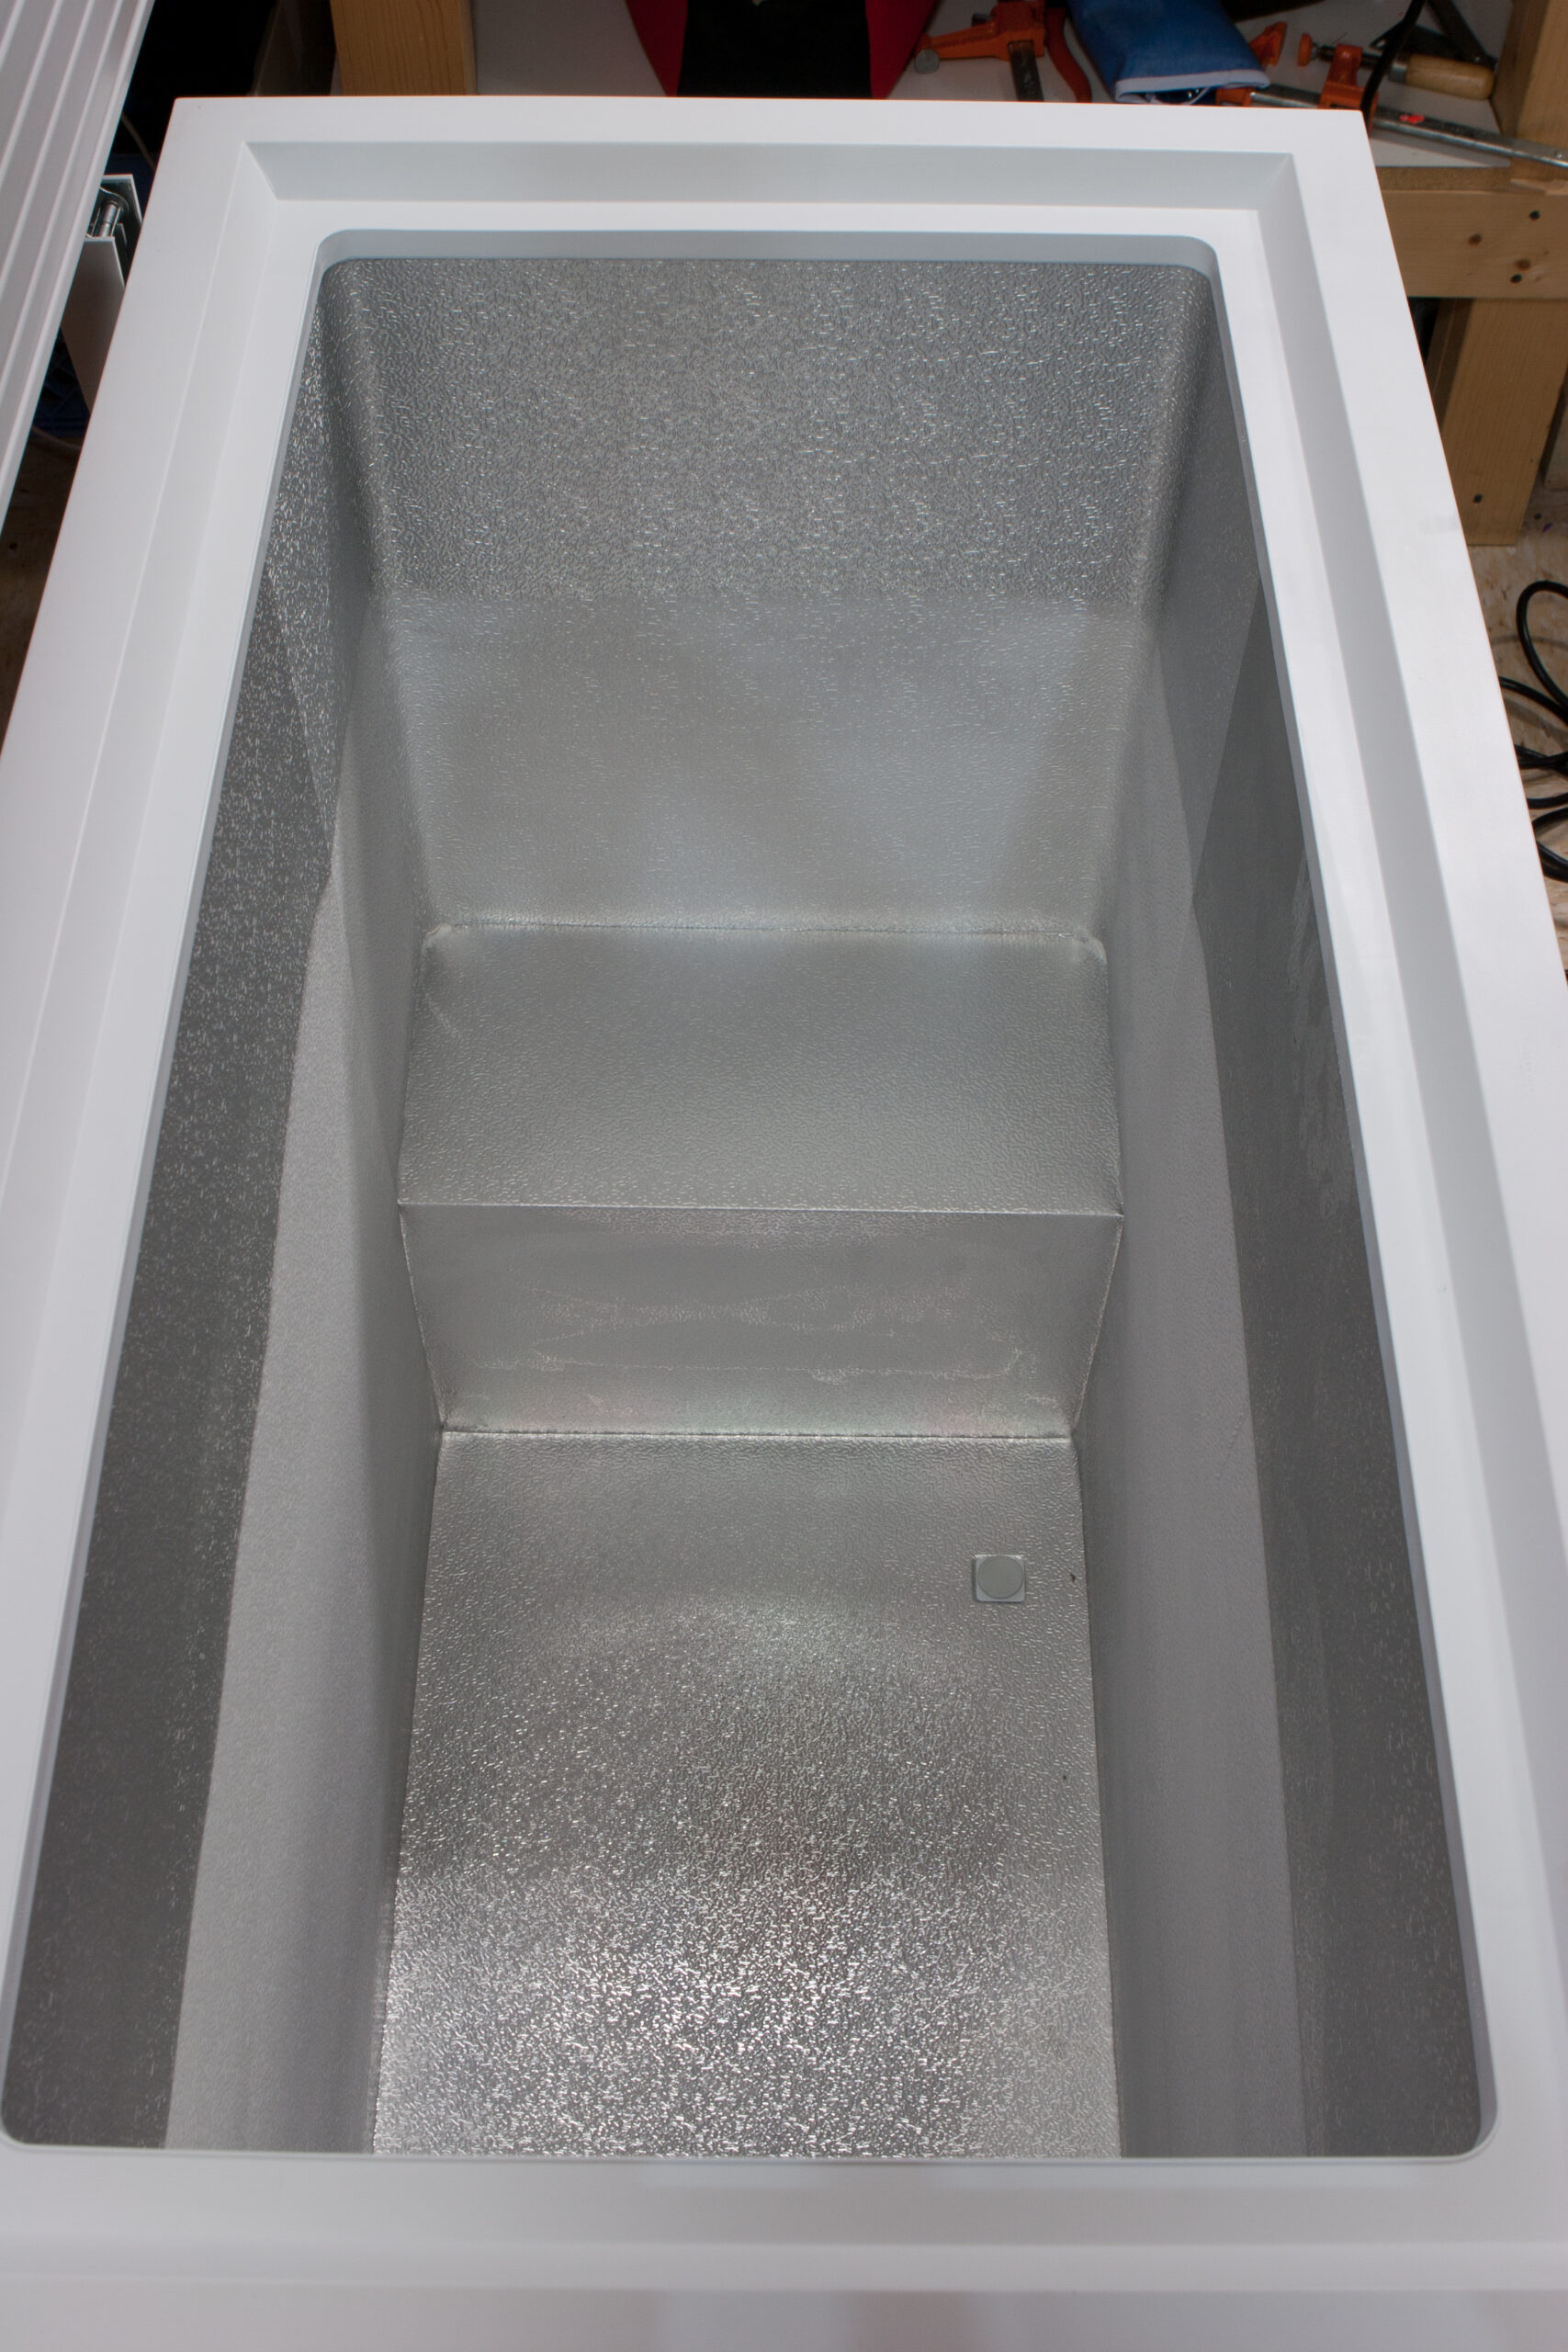
Continuing the project to turn a chest freezer into a temperature controlled cooler for home-brewed beer (previously) I made a hole inside the cabinet (picture) the size of a film canister without hitting any of the gas lines. This was done by marking a hole, then carefully tearing away the aluminum liner with pliers, then digging through the foam with a screwdriver before finishing off the hole with a drill and file. Looking around the basement I came across some plastic pieces that were perfect for the gas and temperature probe ingress fittings, fashioned out of a 10cc syringe and a used bathroom water supply line that I’d once had (incorrectly) fitted to my to my toilet (picture).
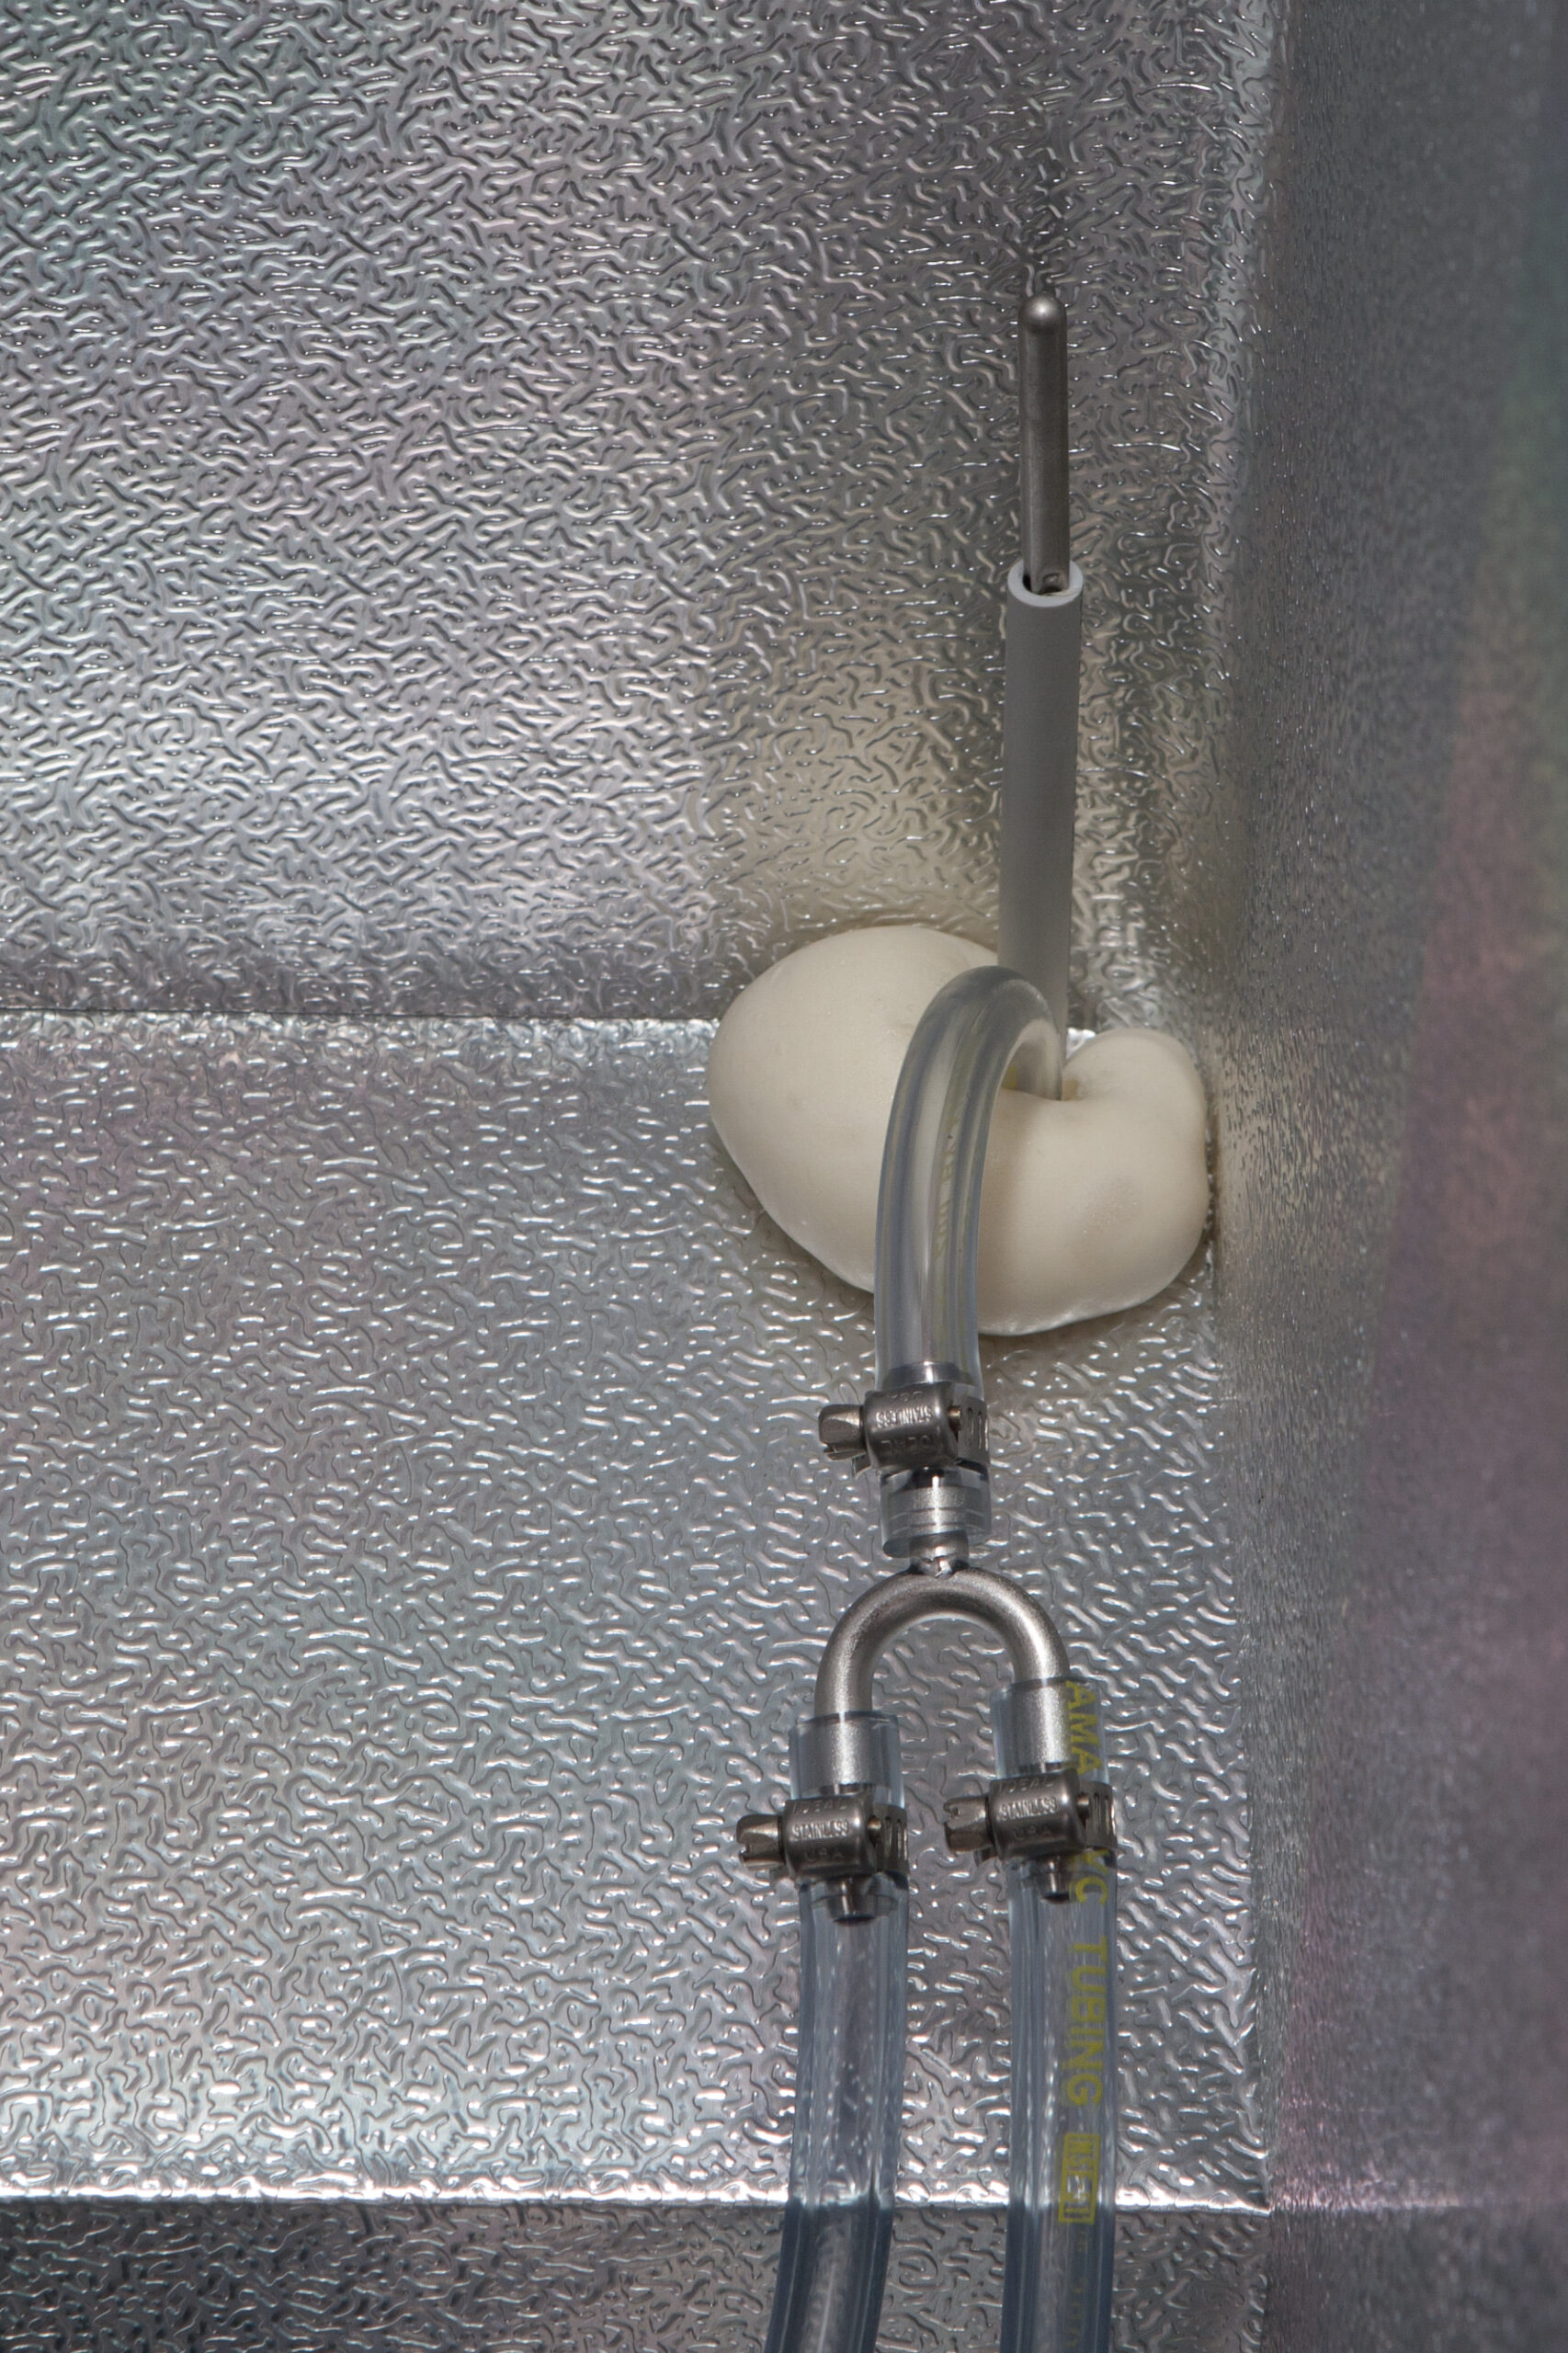
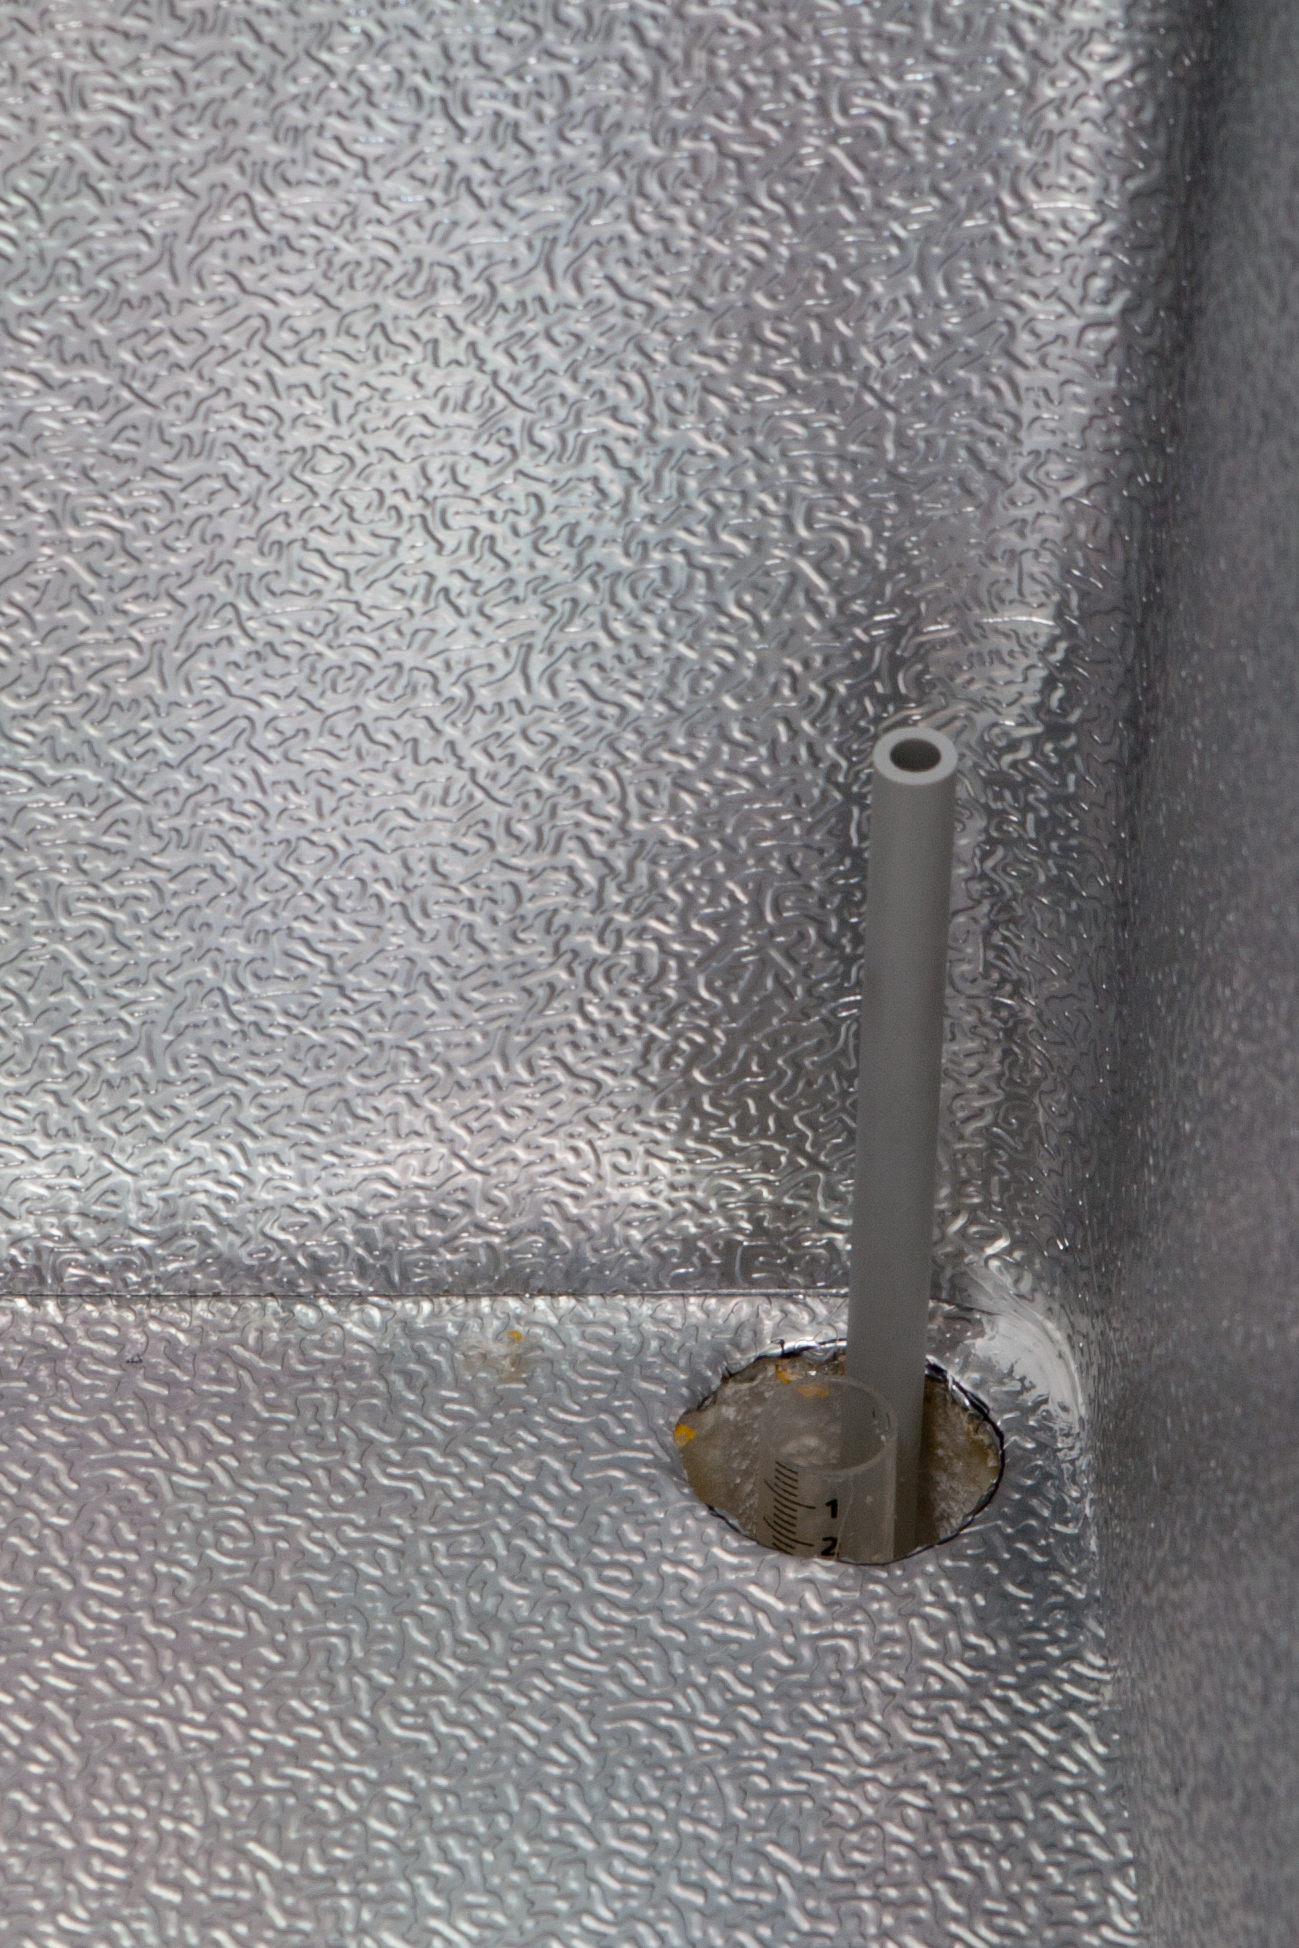
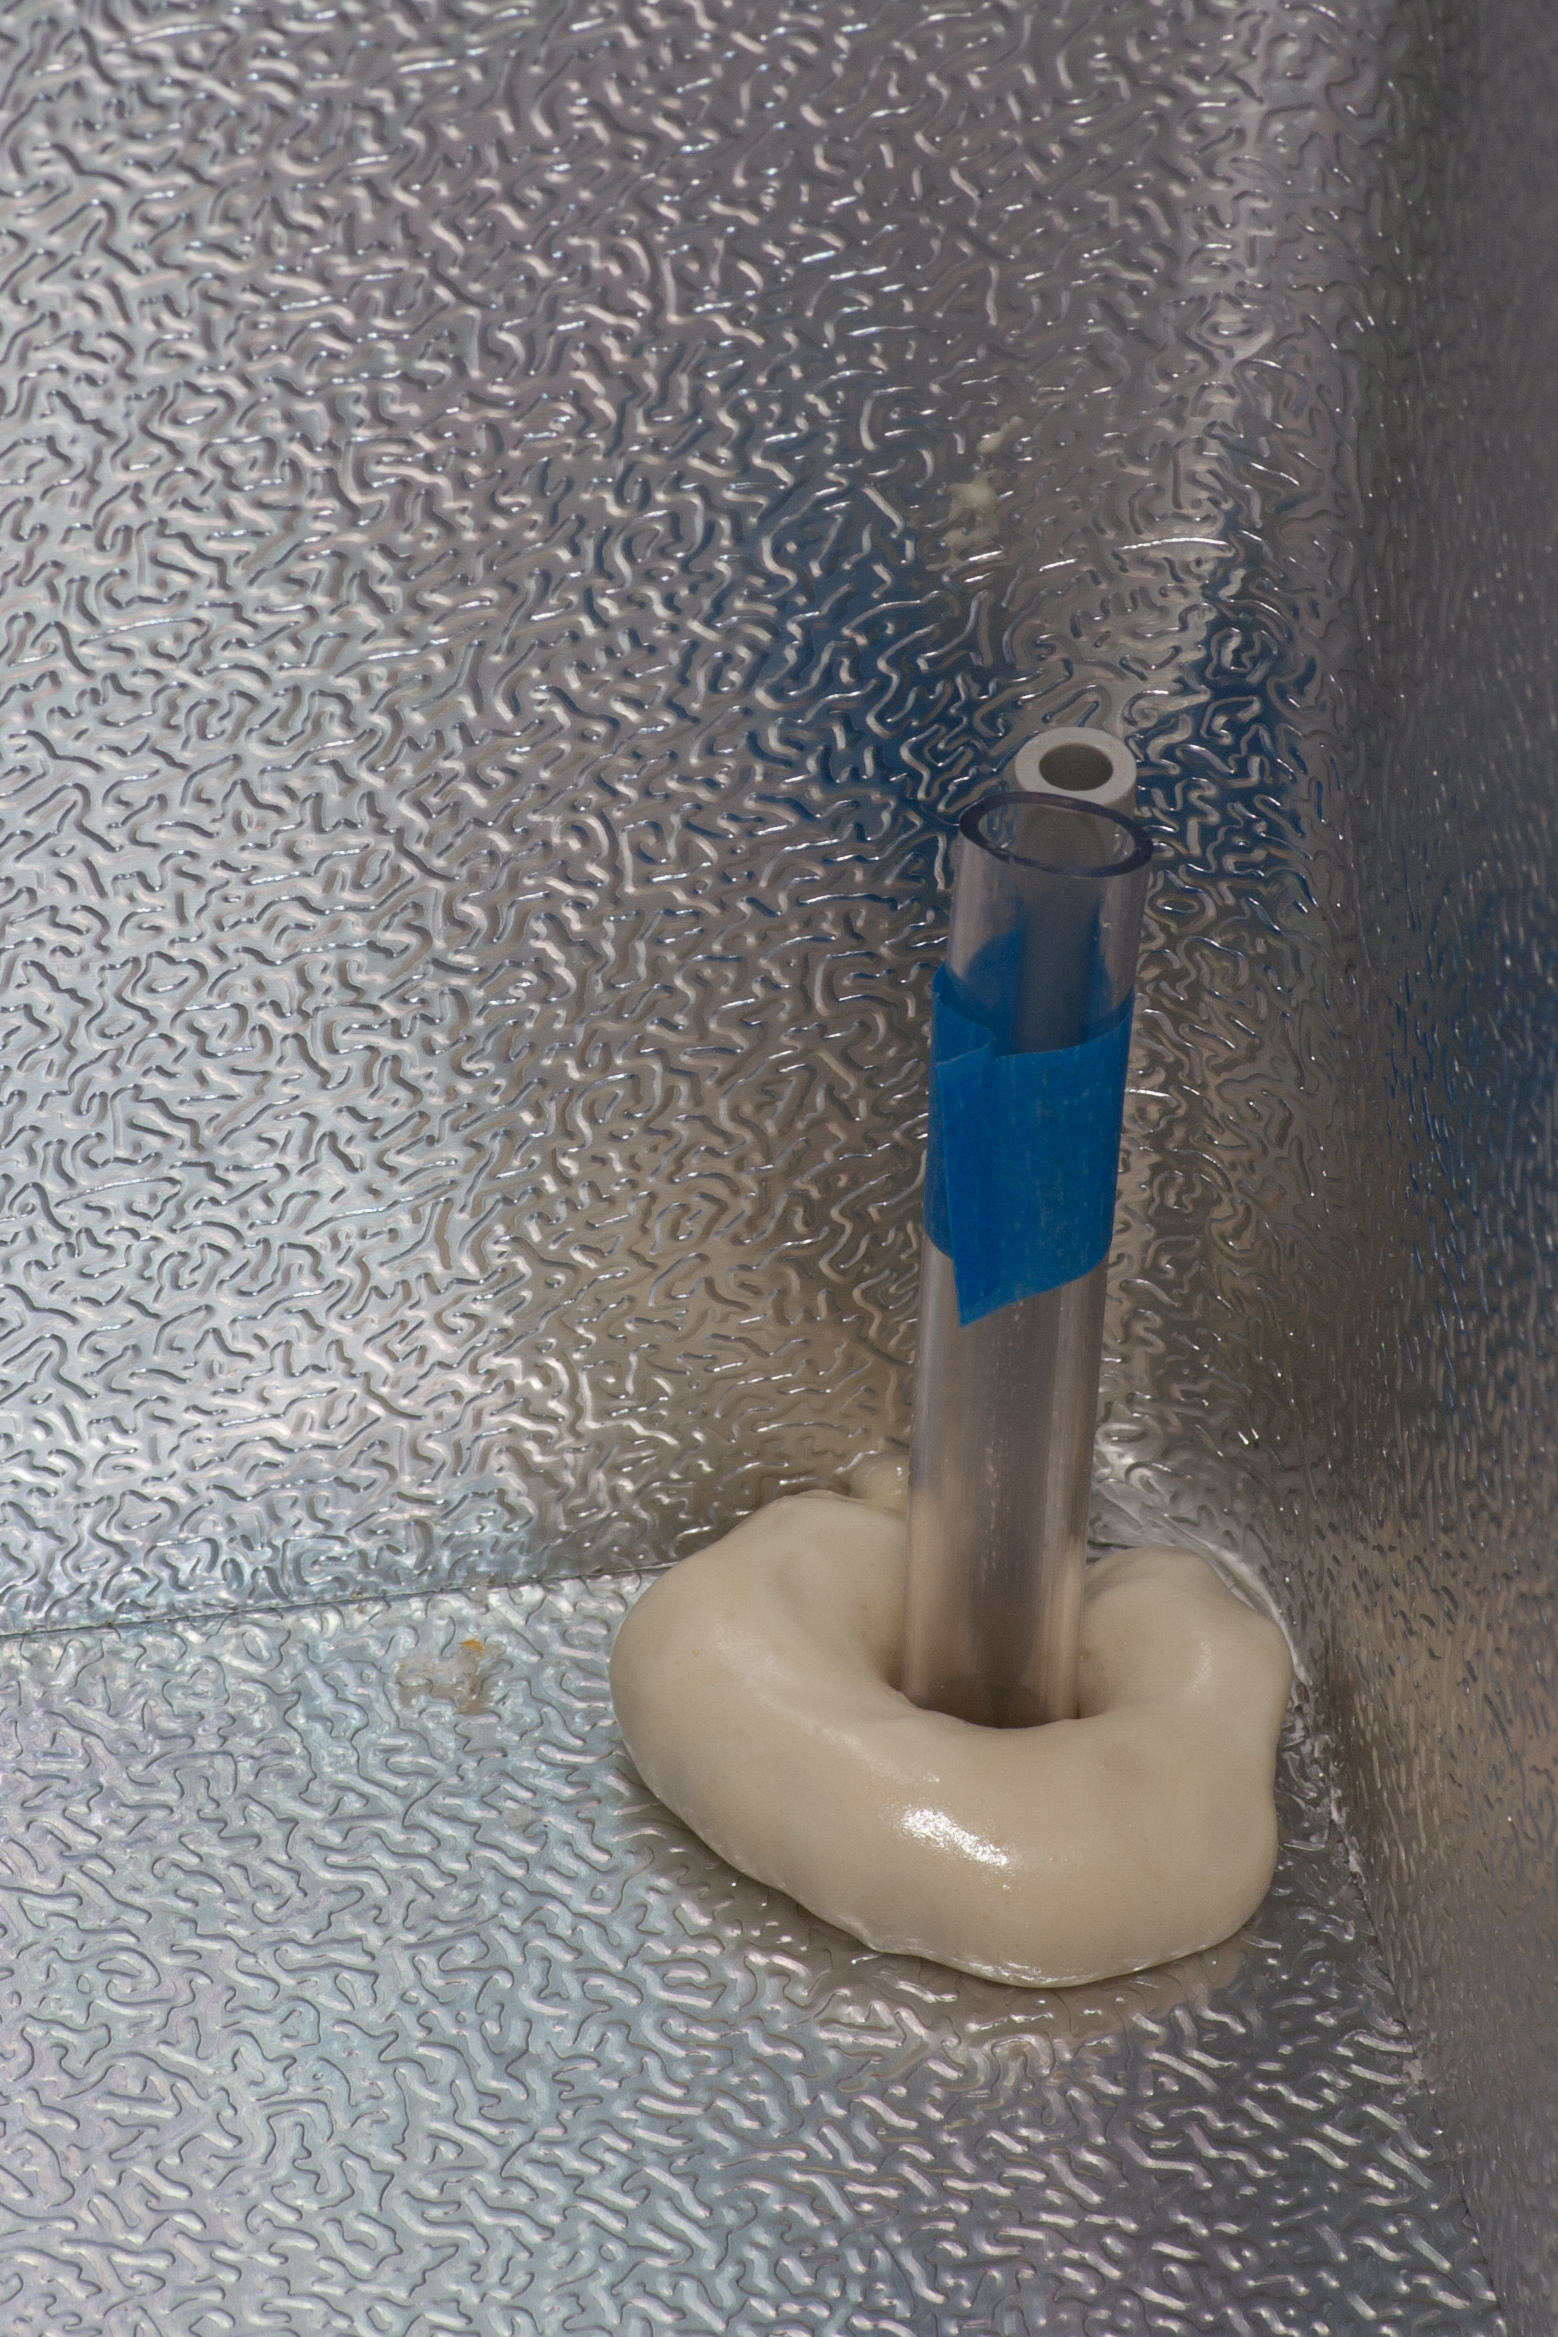
These fit very nicely into the hole. With the flange on the syringe and the water line nicely fitting up against the inside of the freezer’s compressor compartment both plastic bits nicely stayed in place nicely (picture) making surrounding them with spray foam insulation (picture) very easy. I fitted a scrap piece of vinyl tubing in the syringe housing to keep foam out, and it did a great job. Once removed (picture) there is now a clear ingress for gas, and the temperature probe should sit nicely on top of the grey plastic tube holding it nicely mid-level in the unit without touching any sidewalls.
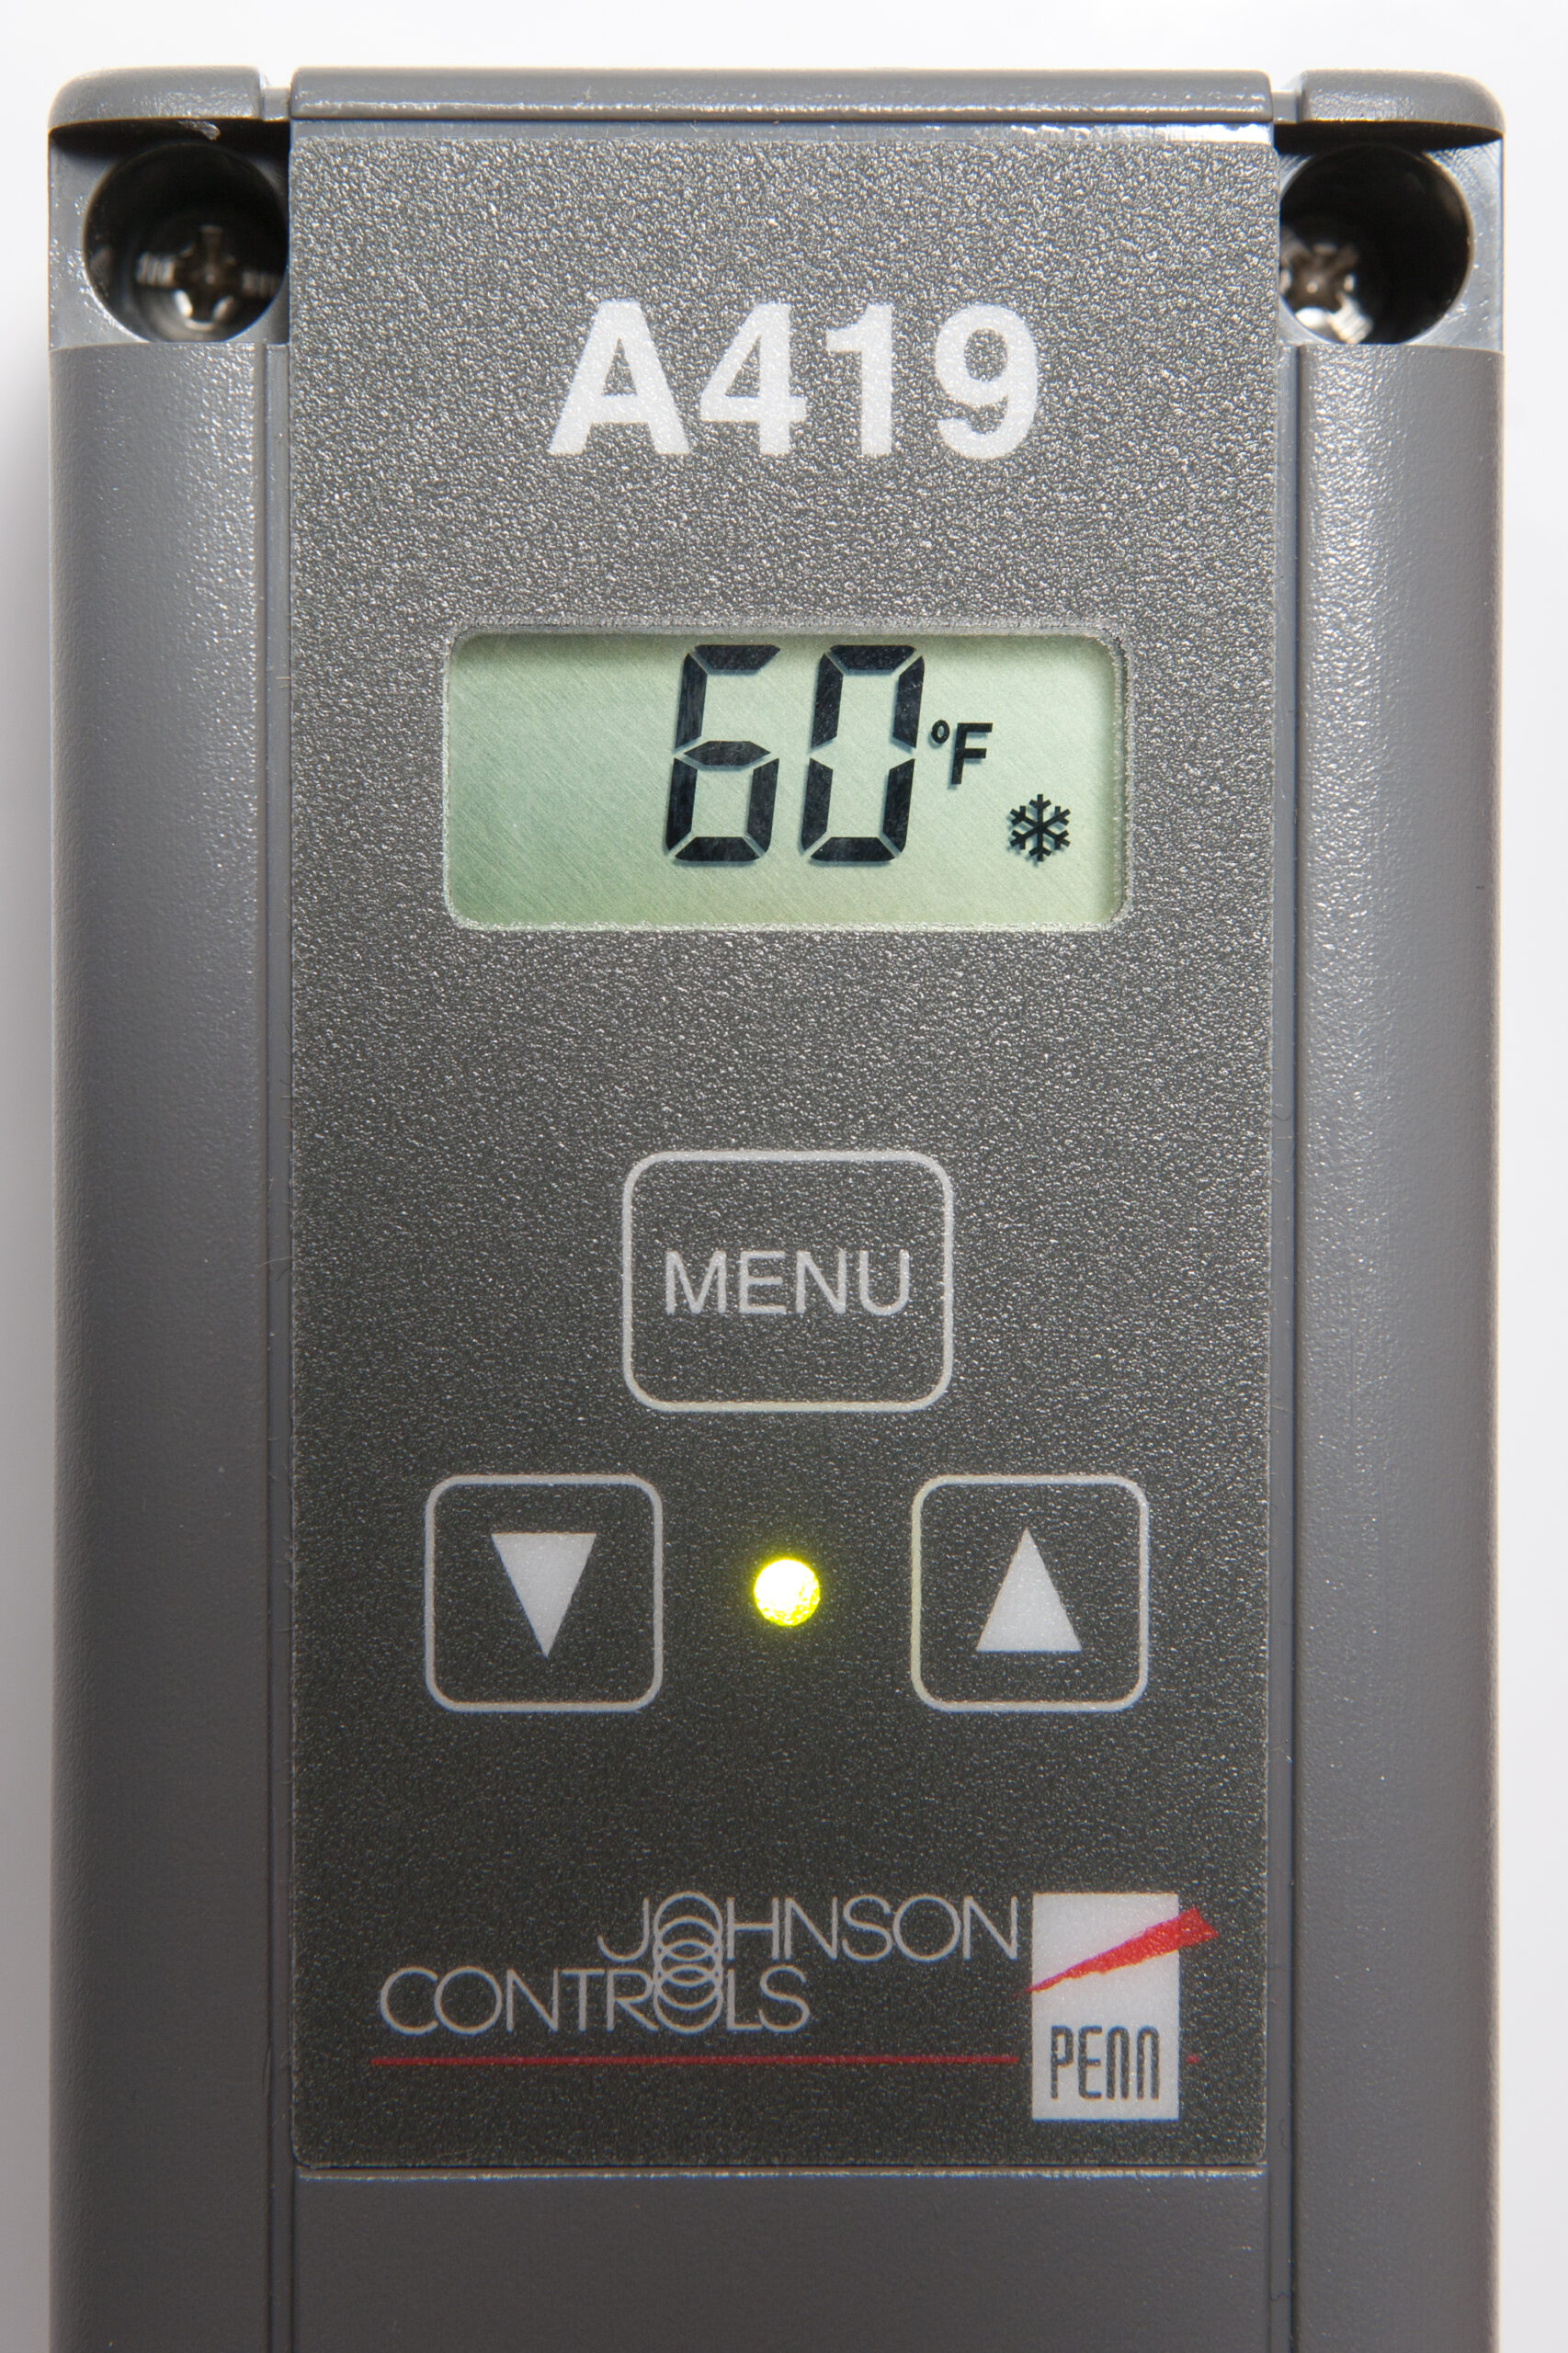
Now all I have to do is fashion a mount for the temperature controller, wire it in, fit the temperature probe, run gas lines, and build a CO2 tank retention system. This is probably only a couple more evenings worth of work, which should be right in time for the wit that I’ve currently got aging and which is due to be kegged on Monday. Oh, and I might cover the lid with some horrible contact paper design, perhaps even something as bad as butcher block.
(Yes, this does mean that all beer served from this cooling unit will be heavily dependent on both an old (but unused) syringe and something which once supplied water to one of my toilets.)

 that is usable when printed in B&W or color. Adds more paved path and roads, and river and railroad for reference.")

 stainless steel pot for beer brewing.")


