 |
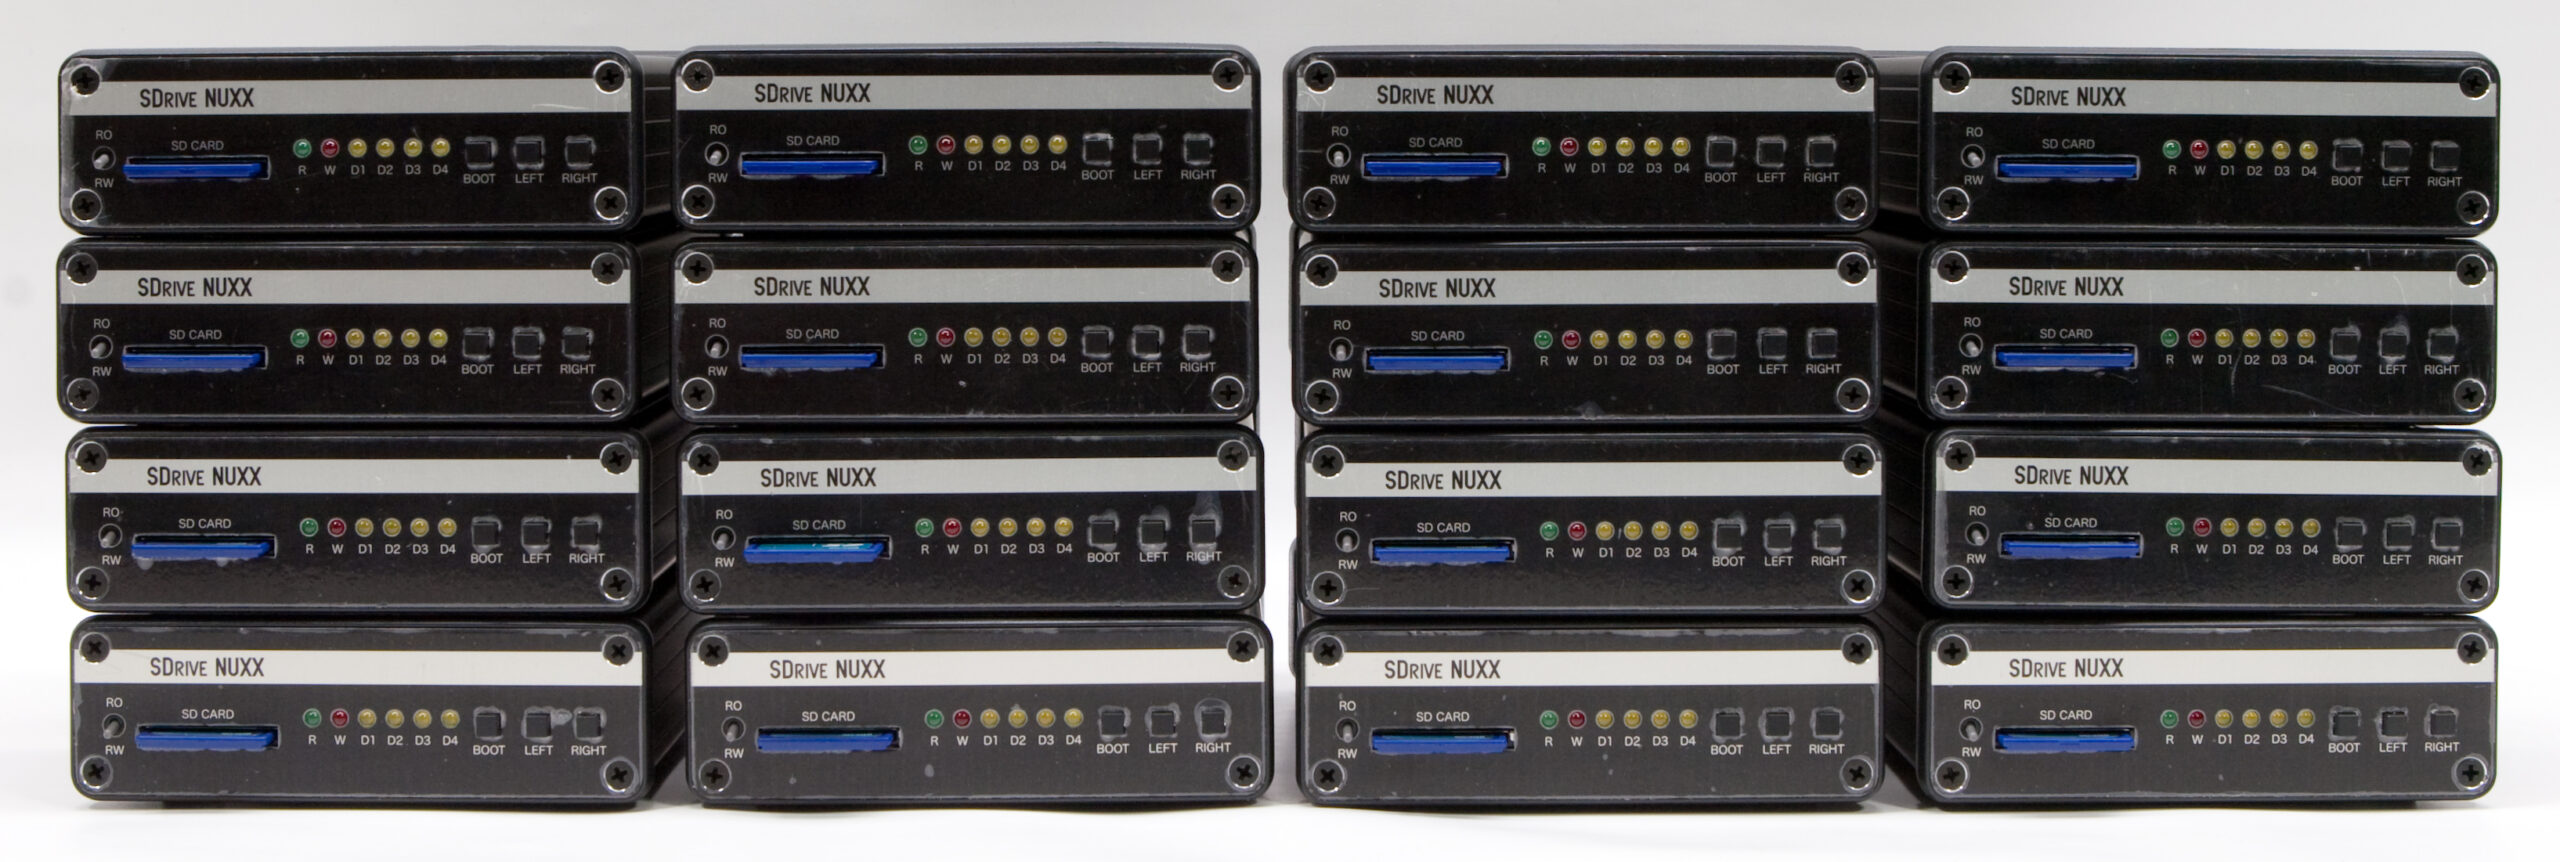
Here’s one more SDrive NUXX photo for tonight: sixteen fully assembled devices with 2GB SD cards in the slots, awaiting final testing. Here’s a few more photos, which I’ll just link directly to:
· 16 front and rear end panels snapped into 32 bezels, ready for final assembly to begin.
· Rear panels fitted to the cases. Note that the plastic is left on the panels to protect them.
· PCB slid into an enclosure with the rear panel fitted, showing the front edge components.
· Front panel fitted on an SDrive NUXX showing the nice alignment of the tactile switches, LEDs, toggle switch, etc.
· Rear panel of an assembled SDrive NUXX showing how the DIP switches, reset button, and SIO connector align with the panel.
· SDrive NUXXs with panels and PCBs fitted, waiting for the installation of rubber feet and switch caps.
· Detail of the SDrive NUXX end panels, shown with the protective plastic film still in place.
I hope to have these, and all the other related orders (PCBs, uCs, kits, etc) ready to ship by the end of the weekend so that I can get them out on Monday.
1 Comment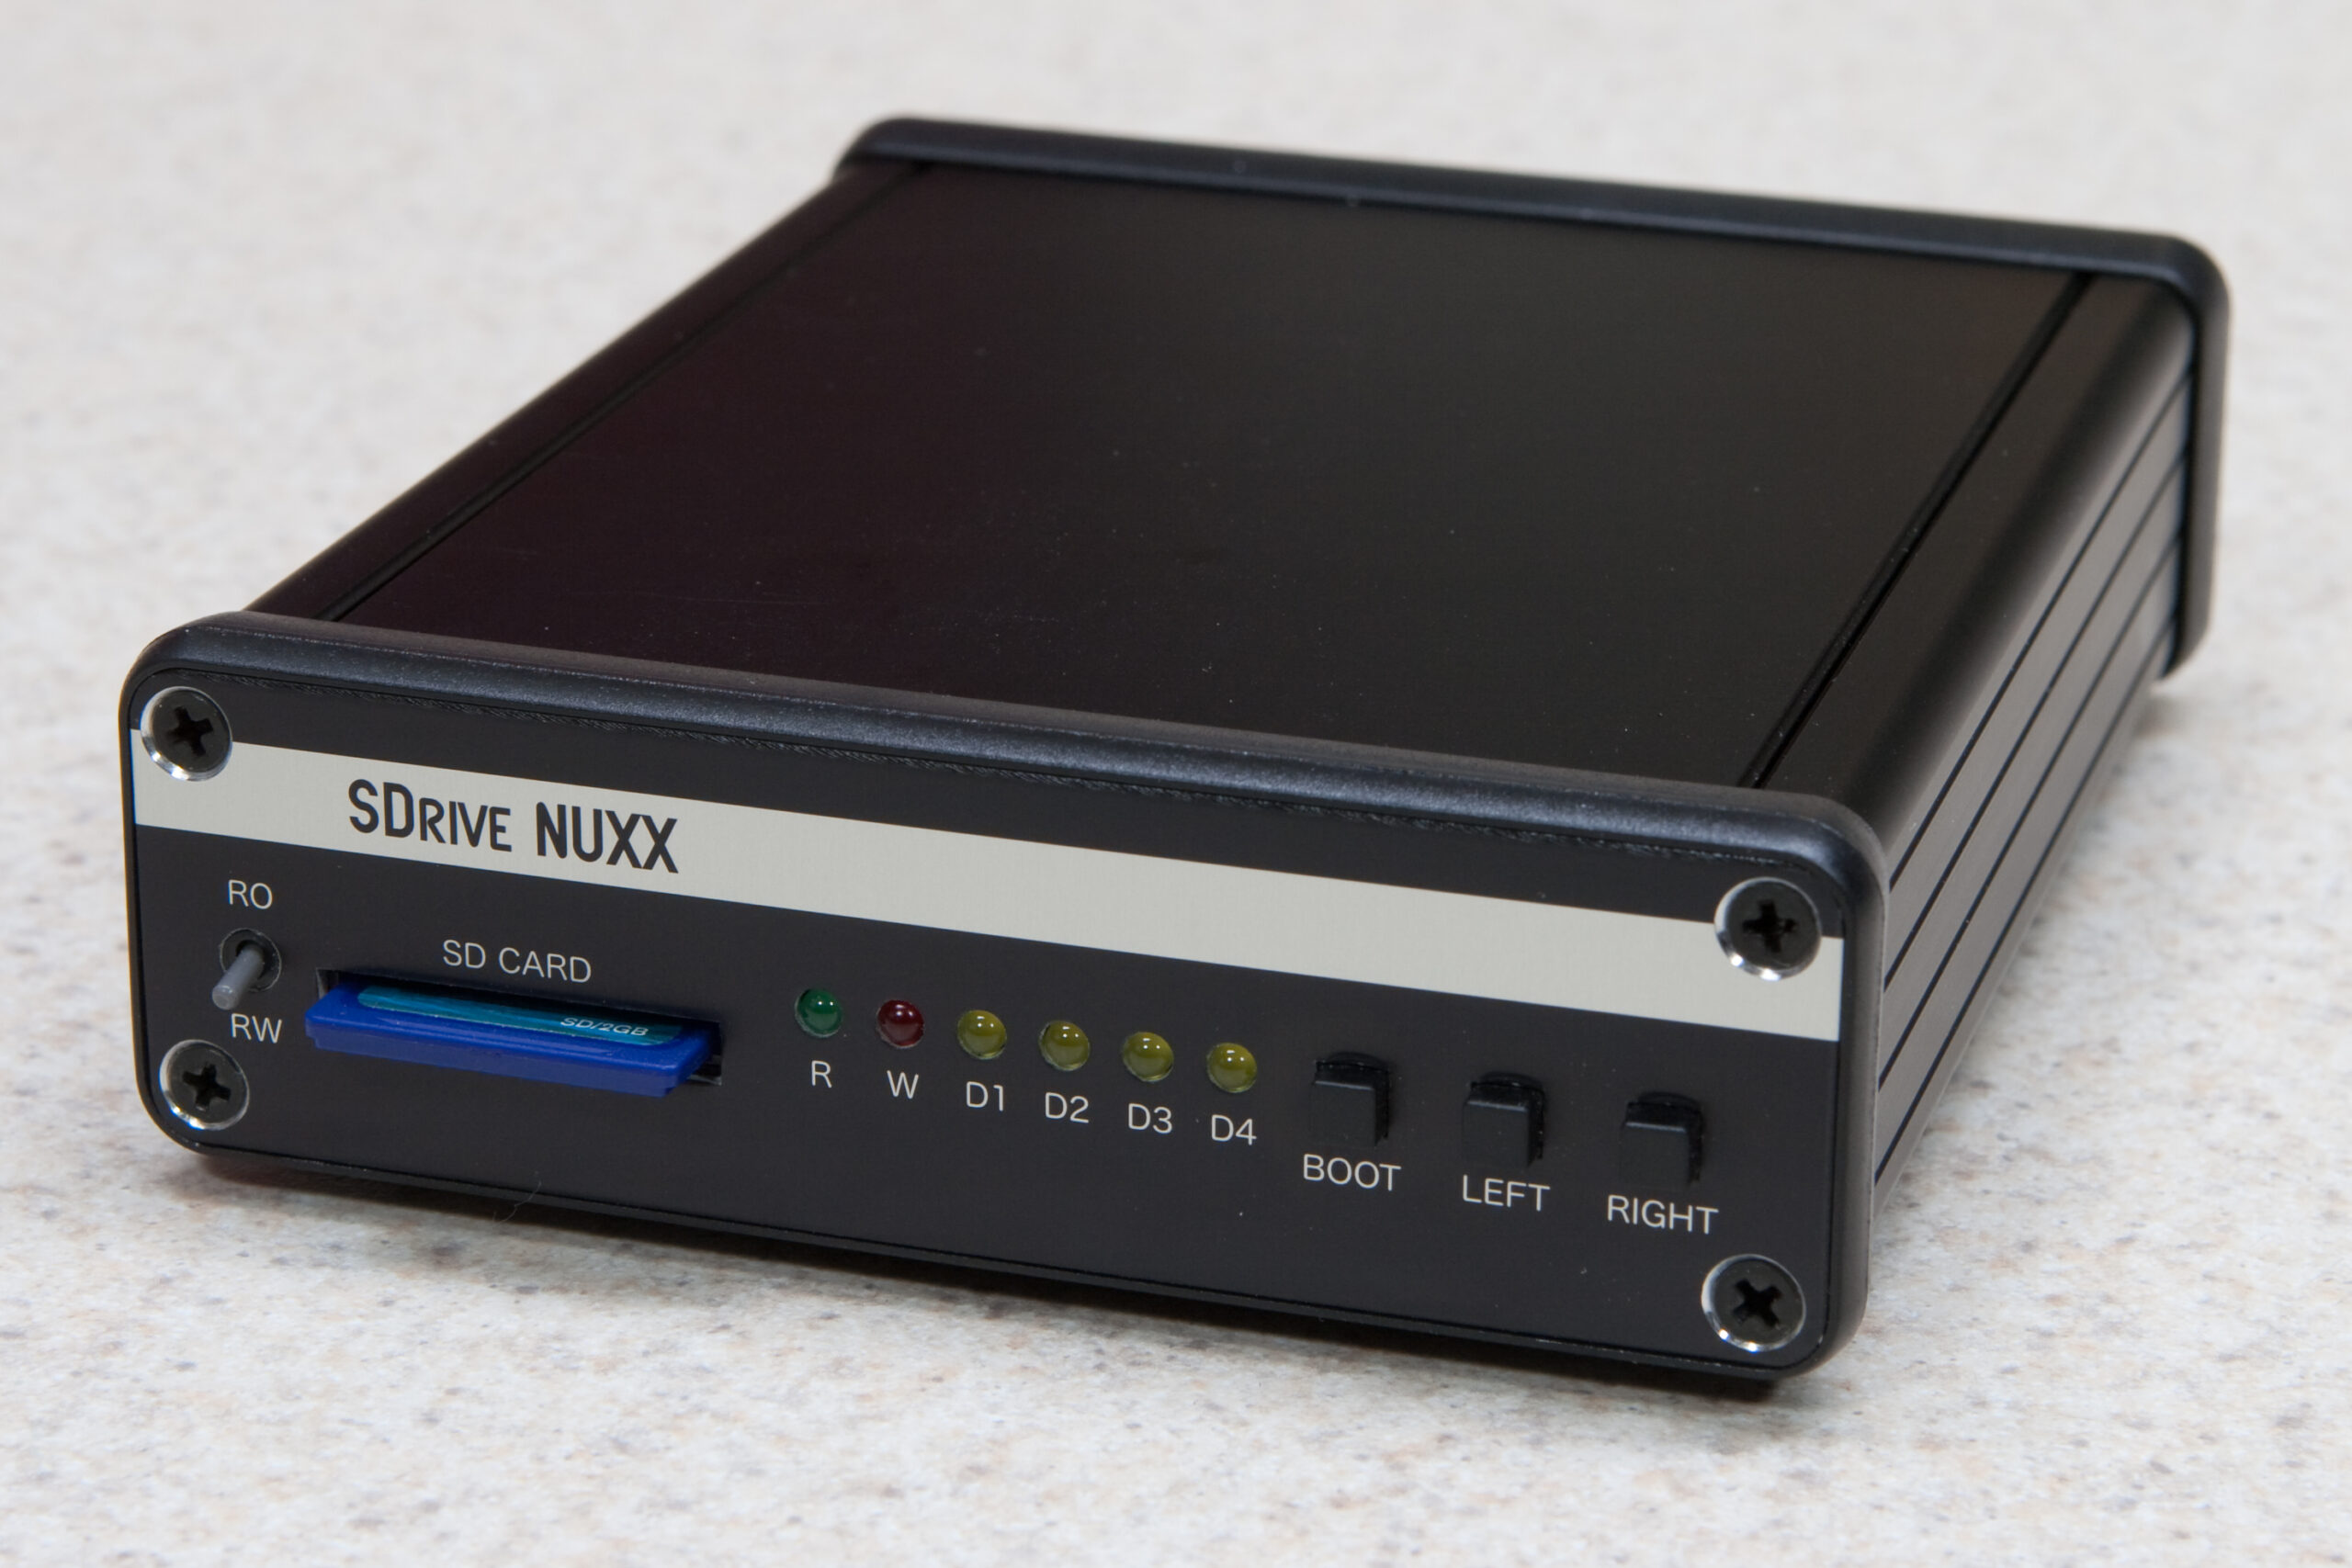

