Having vacation time to use up I decided that heading out to Interbike would be pretty nifty. I didn’t have time to set things up for attending as a proper attendee (one day I would like to go representing CRAMBA-IMBA to get us more sponsors/donors), but Mike Flack at Trails-Edge was able to get me on the Interbike by Invitation program.
This new program allows invited consumers to attend the last day of Interbike as a VIP and receive a gift bag on registration, for a $50 fee. This seemed reasonable to me, so I booked a trip to Las Vegas.
On my first night in town, Wednesday, I planned to attend CrossVegas, which was recommended by both the Interbike site and CX-fan friends. This is where I hit the first wrinkle: Interbike passes were required to board the shuttle to the race site, but by Invitation people couldn’t pick up their passes until the following morning. I ended up taking a $40 cab ride out to the venue and was able to just board a shuttle back without showing a badge, so everything worked out. But, it was a bit frustrating to not be able to use the outbound shuttle.
The CrossVegas race itself was great. A full writeup on the race can be found here at Cyclocross Magazine, and the venue is a great bowl-shaped grassy area with great visibility. There was also plenty of reasonably priced beer and burritos (from Qdoba, but still decent) available. I’d love to attend races like this more often.
When collecting my ticket for CrossVegas I received an interesting coupon: offering my admission to Interbike on Friday, the same day I was already limited to via by Invitation, for $25. This is half the price of the way by which I’d registered, and didn’t involve receiving a bag of goodies, but upon receiving mine the following day I found it to not be worth the $25 up charge. My bag included a poster, long-form uber-stylish cycling magazine, cooling band, size small T-shirt, and some sample self-adhesive reflectors. I feel bad and wasteful saying this, but it is mostly stuff that I’ll toss out because it is completely not useful to me.
The following evening was the USA CRITS final in a parking lot of Mandalay Bay, the venue for Interbike. This was a pretty fun and exciting race as well, but due to the onsite food being handled by the resort it was a good deal more expensive ($6.50 for what seemed like a 12oz cup vs $5 for 16-20oz at CrossVegas), and I suspect this contributed to the more mellow crowd. I’d never seen a crit before, so it was pretty exciting to see pros holding ~27MPH for 1.5 hours around a twisty, metal-edged 1km course.
After getting a good night sleep I woke this morning, excited to attend Interview and see what the show was like. Overall this was a really good time, but I was actually a bit let down as many of the brands that I hoped to check out weren’t present. Of QBP‘s family only Surly was there, which disappointed me as I really wanted to see All-City who, per this blog post, chose to skip the show citing strong sales. Salsa also wasn’t there; maybe they are doing so well that they don’t need to be touting their wares at a B2B show.
There also seemed to be a strong standoffish feeling from many vendors, which I can’t help but think from our notably different …by Invitation badges. While I can’t really fault internal sales folks for being apprehensive about talking to the general public, it seemed as if some of the brand reps didn’t want to say much. Then again, it was nearing the end of the last day of what’s probably their most hectic week of the year.
It was also pretty clear that the brands people were dancing around their normal show sales, with tape covering (or changing to MSRP) prices for show specials and others just saying that the product (even those which aren’t shipping yet or were special Interbike versions) are available at your local bike shop. This is good for the shops in general, but always came after some awkward checking of ID tags. A couple vendors offered me their products on a deal anyway, and while I’d love to have tried the two, I didn’t really need them and they would have been awkward to carry. I probably could have snagged some cheap carbon rims or a frame from one of the Chinese vendors as well, but again… no need.
I did get to see some pretty interesting folks as well. For some reason I kept crossing paths with Jeff Jones, and saw Kirk Pacenti,
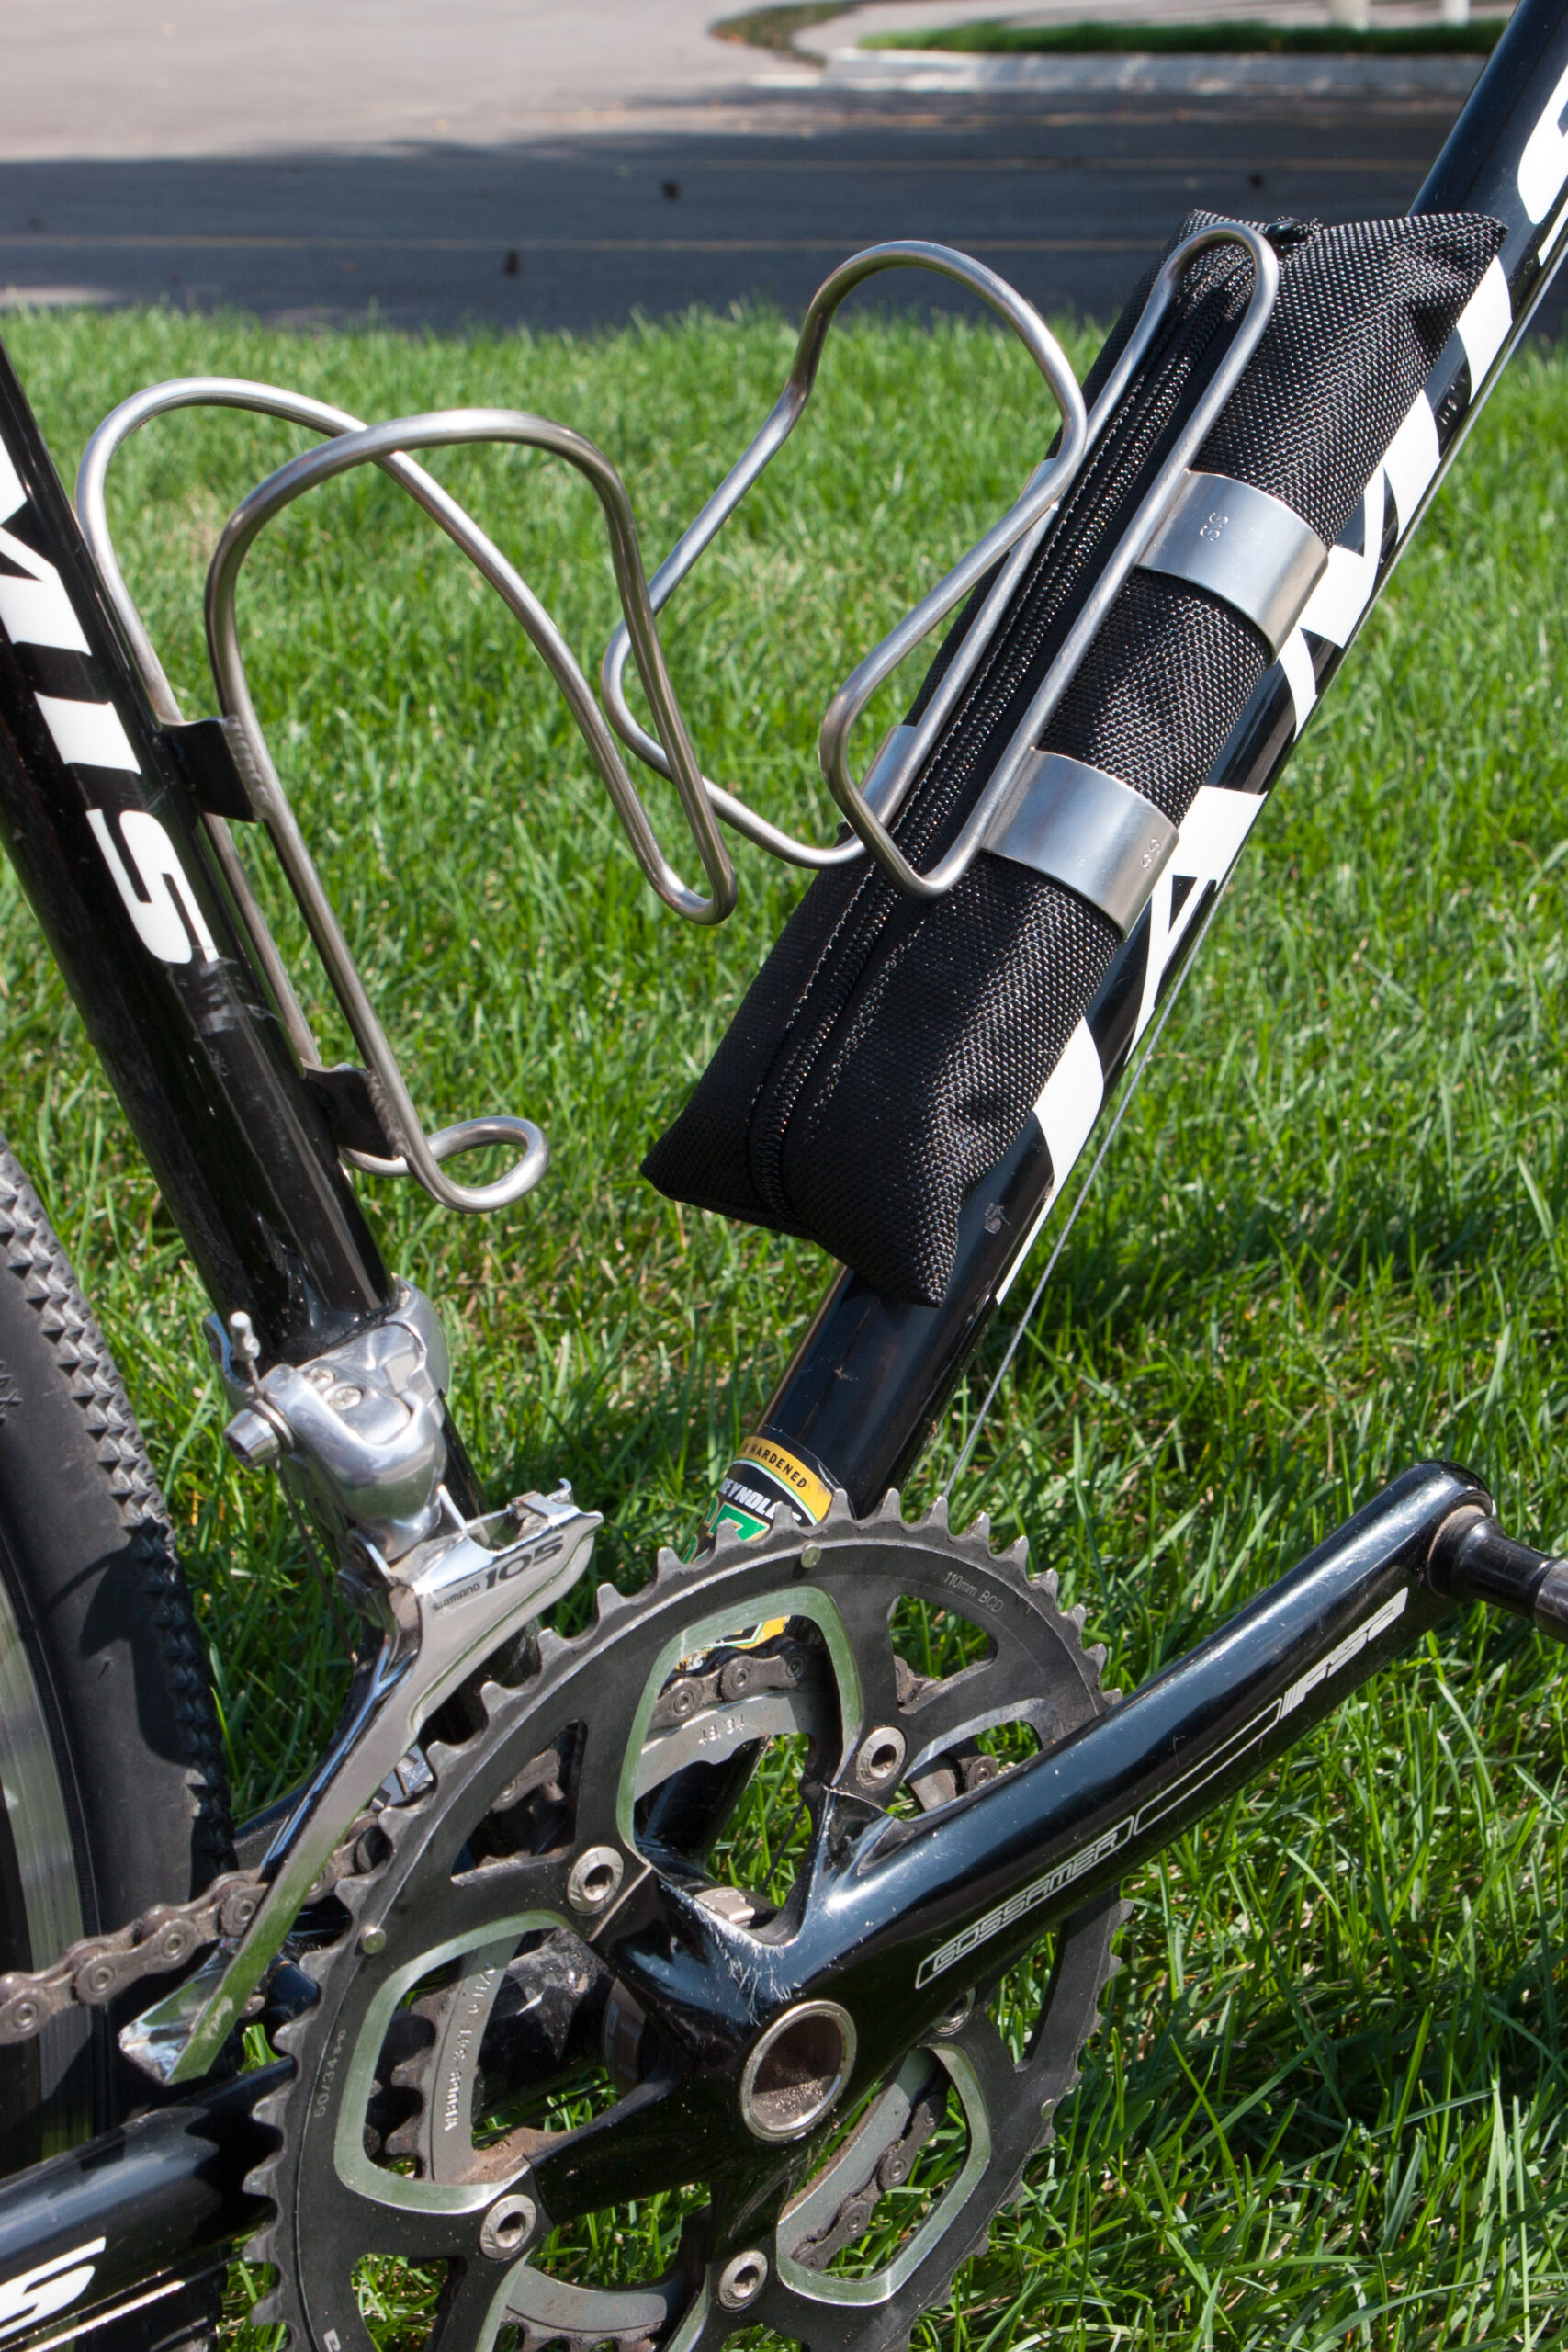
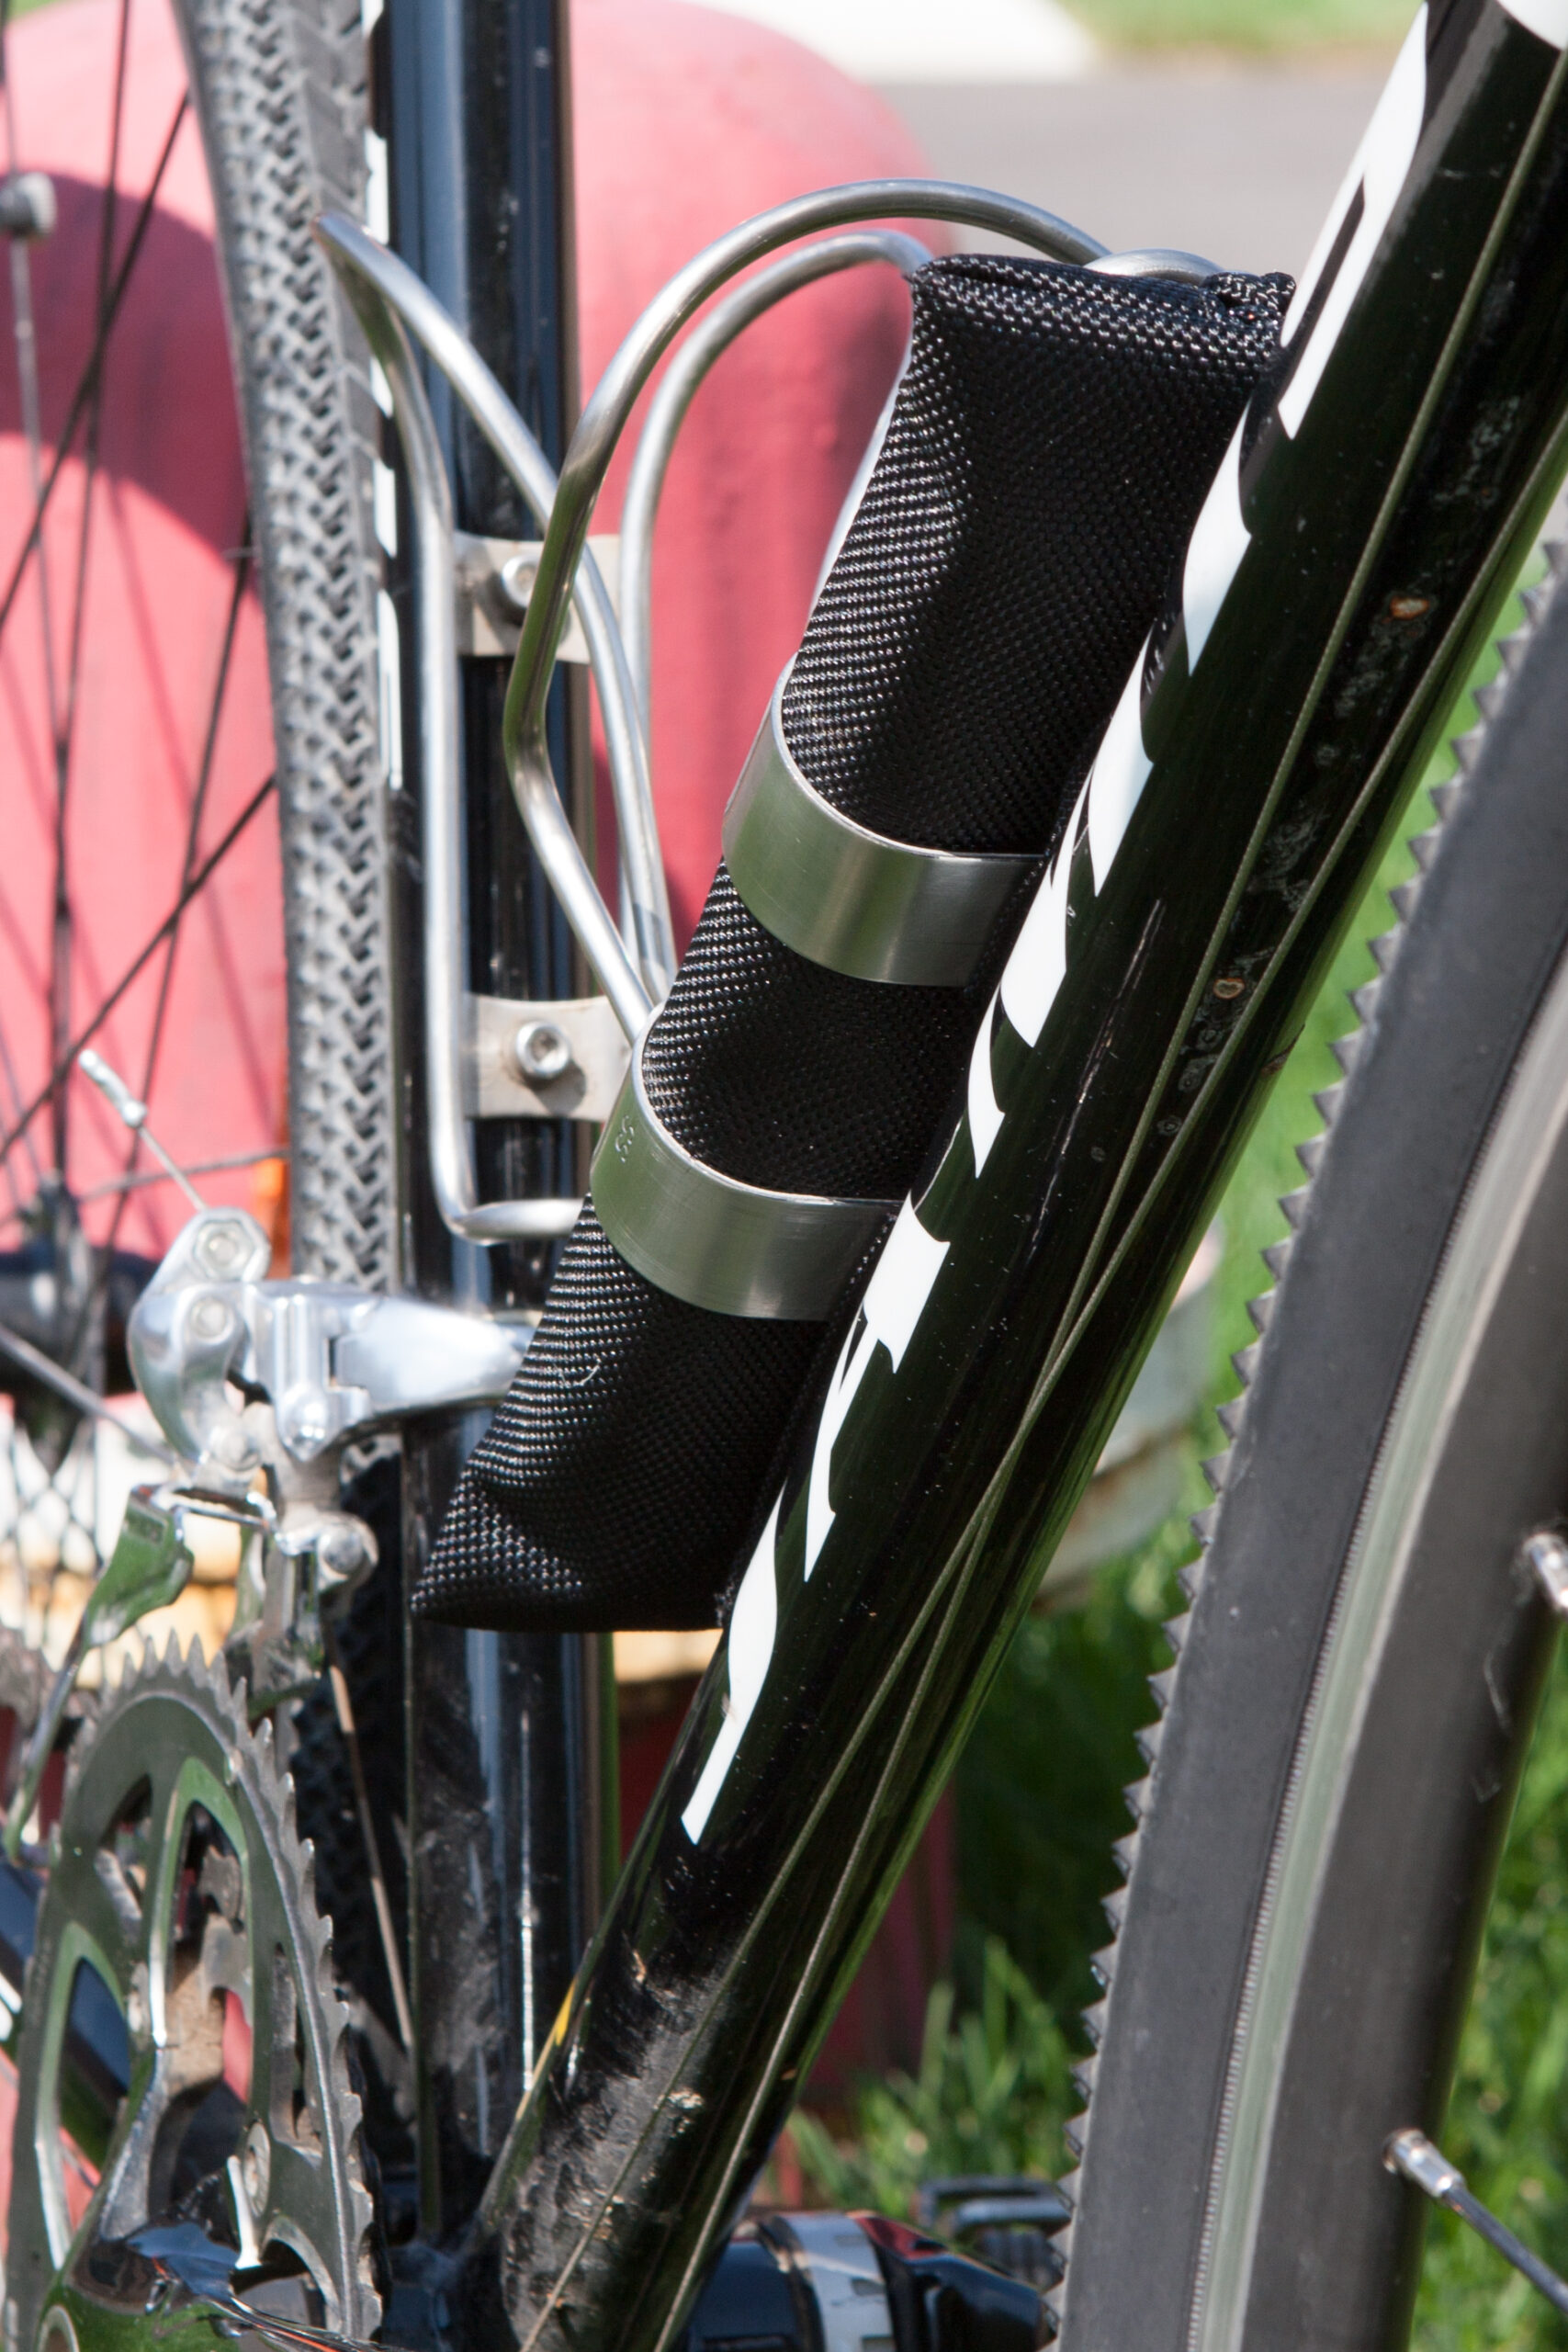
Ron from King Cage, and a very business-looking guy with the last name off Thomson in the Thomson booth. I also got to meet and shake hands with Stan of Stan’s NoTubes while talking to him about his prototype fatbike tubeless rim. (He kept having to stop and ask people — including me — not to look inside because it is the very first prototype and still has some very secret details. He seemed quite proud of it, though, and holding it with a deflated tire soundly seated I’m apt to believe his claims.)
So all said, I think it was a good trip thus far, and if the Emerald Expositions folks can sort out the … by Invitation quirks I think they’ll have a good option for the general public. I think for me I won’t want to come back unless it is as a full attendee, hopefully with a bit of business to do as well.


 of Chamois Butt'r Eurostyle is darker in color than the old (left). I wonder if it'll be different...")