nuxx.net
Making, baking, and (un-)breaking things in Southeast Michigan.

iPod in Car Update


Opened Up Dash and Center Console
(Click for more…)

Well, there’s the center console of my car as I had it opened up last night in order to figure out wiring stuffs. I ended up taking the following notes on these three pages which should cover everything I need to get my iPod nicely connected to the Aux In, without any visible wires:

· Accessory Power Socket pinout and notes.
· Auxiliary Jack Assembly pinout and notes.
· Connector E on Navigation Unit pinout and notes.

Despite a bit of digging in the dashboard (photo) I was unable to find a keyed +12v source on Connector E, which is the one which is used to connect audio accessories such as XM, CD changers, and the Honda Music Link. There are two sources of +12v there, but they don’t switch off when the vehicle is turned off. I can only assume that the Honda Music Link works by using a relay to turn off the power sent to the iPod when the vehicle is switched off by noticing a lack of data coming from the Navigation Unit or something, not by a simple loss of power on some lines. Ah well.

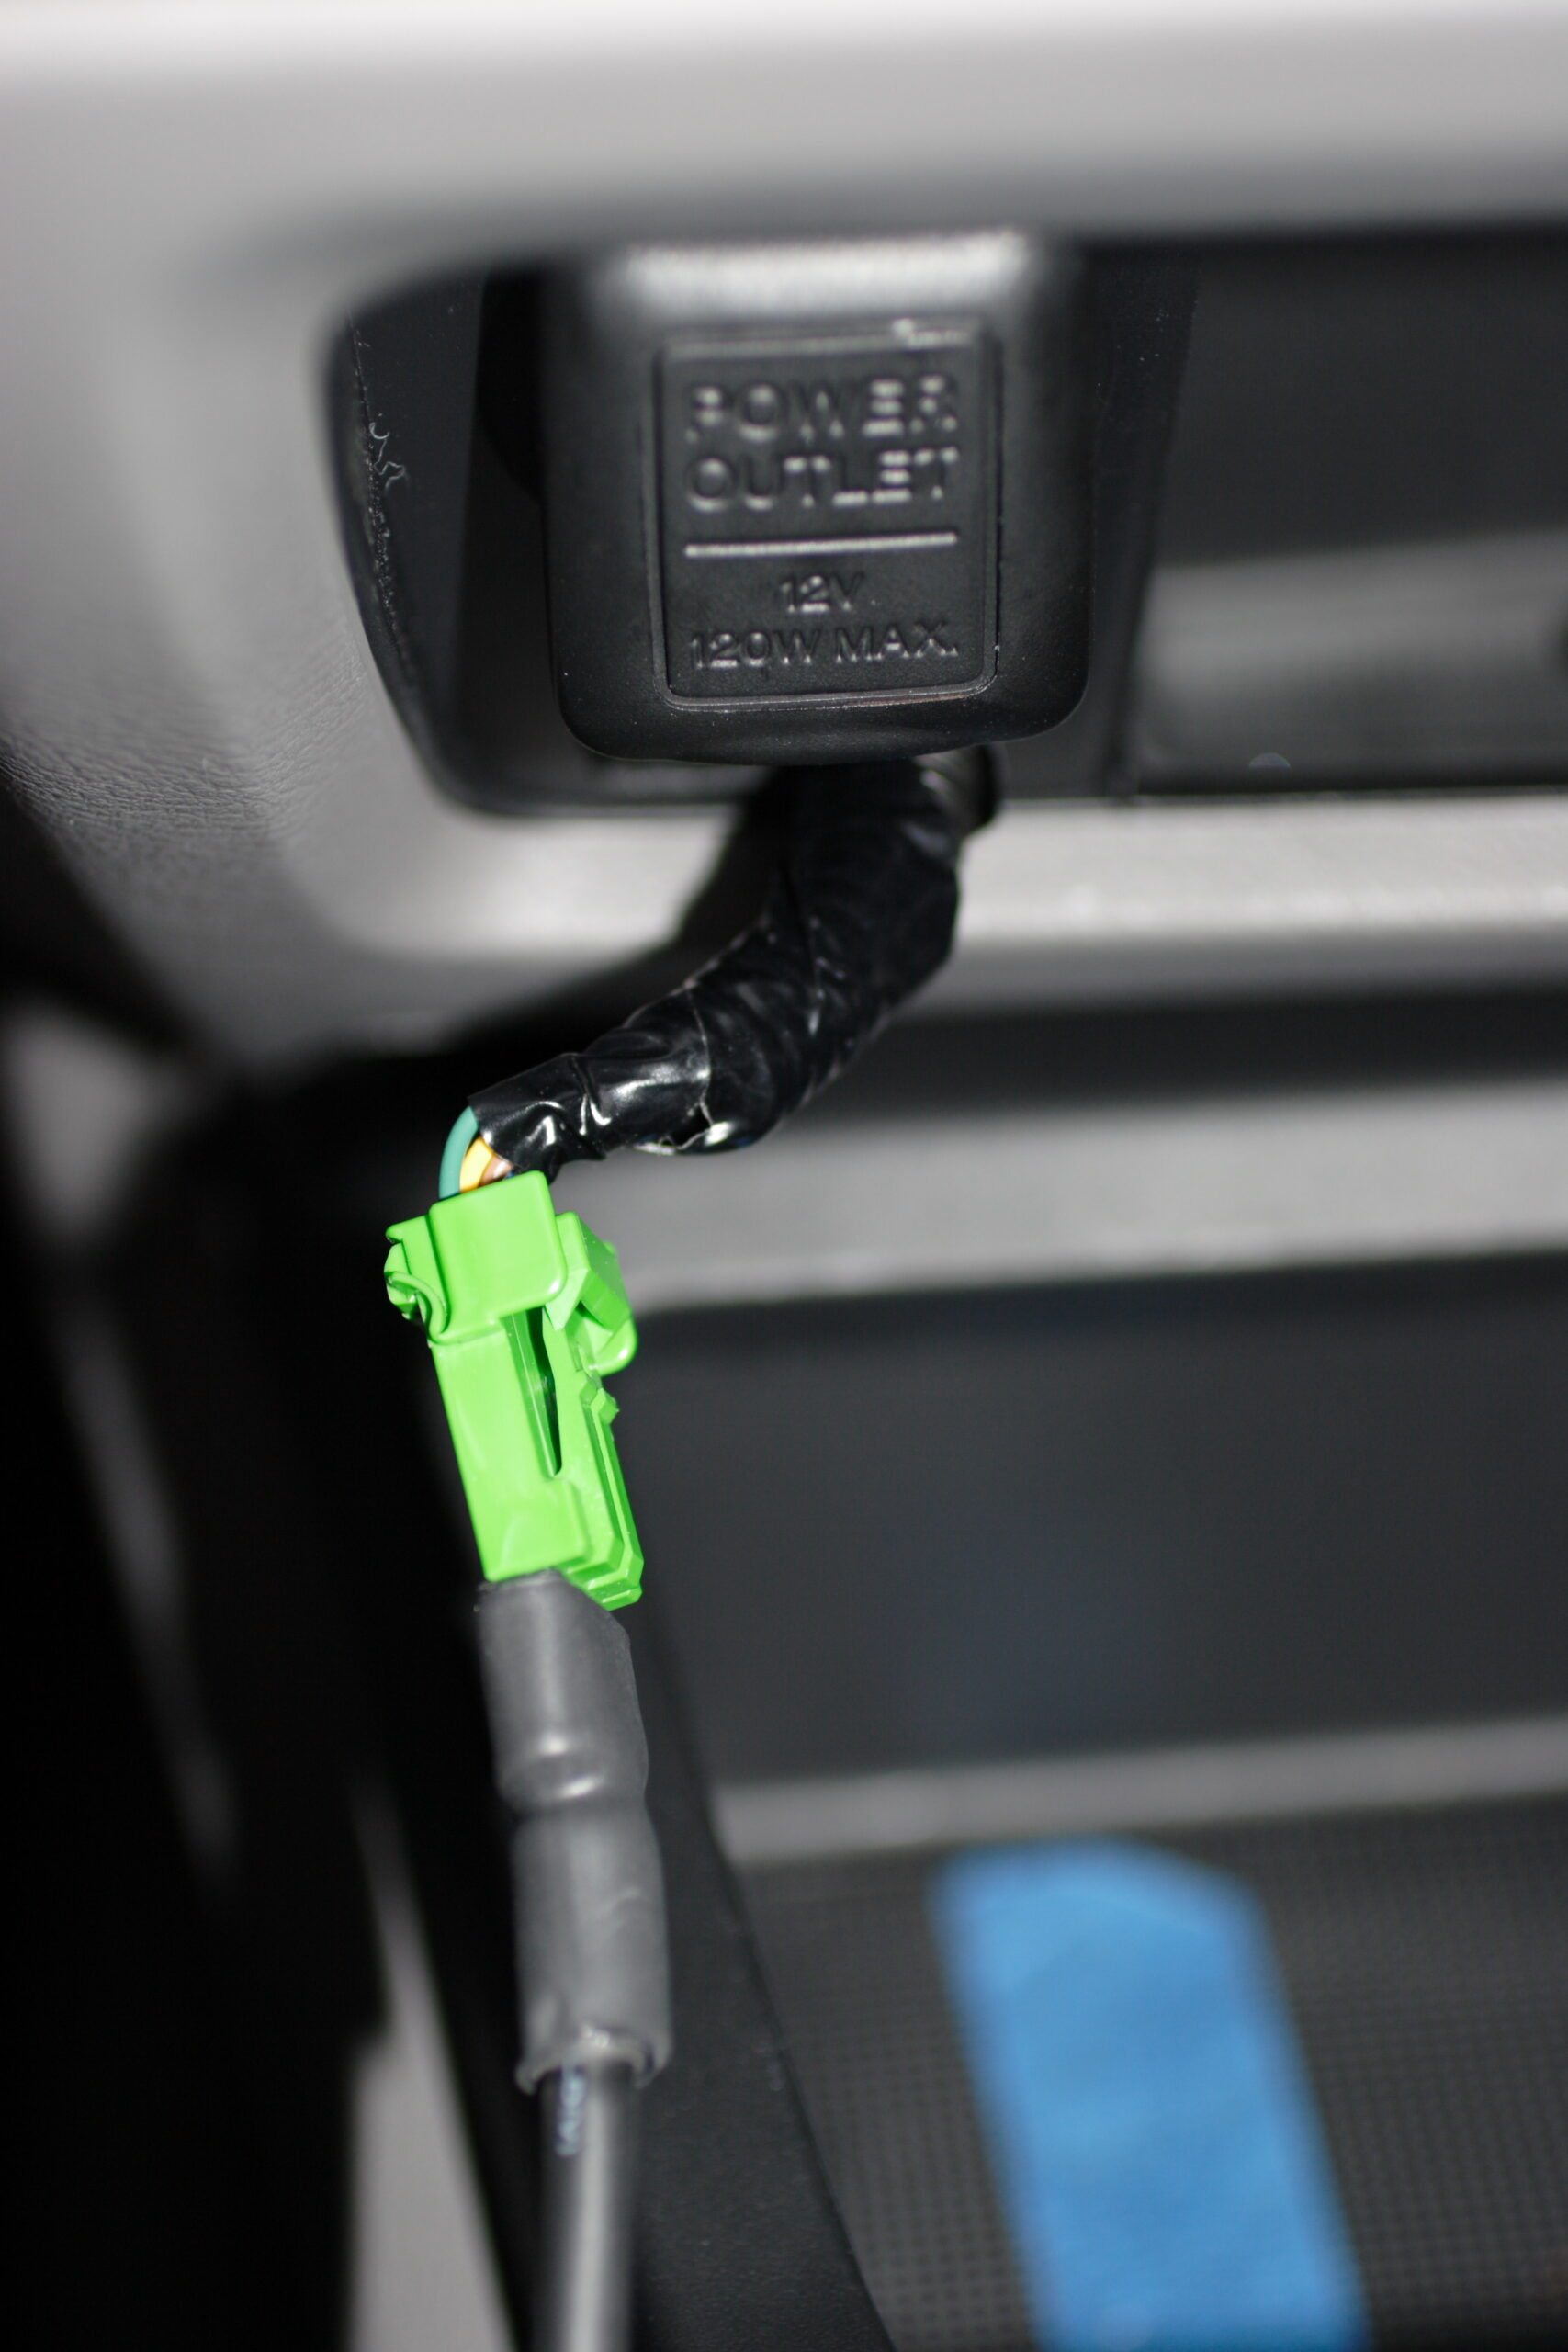
That said, I think I’m going to instead get power from the back of the Accessory Power Socket. It turns out that the connector is a simple pair of 1/4″ spade connectors with some nicely moulded plastic around it. I should be able to make a small harness which allows me to both collect power from there and pass power through to the existing socket, so it can still be used.

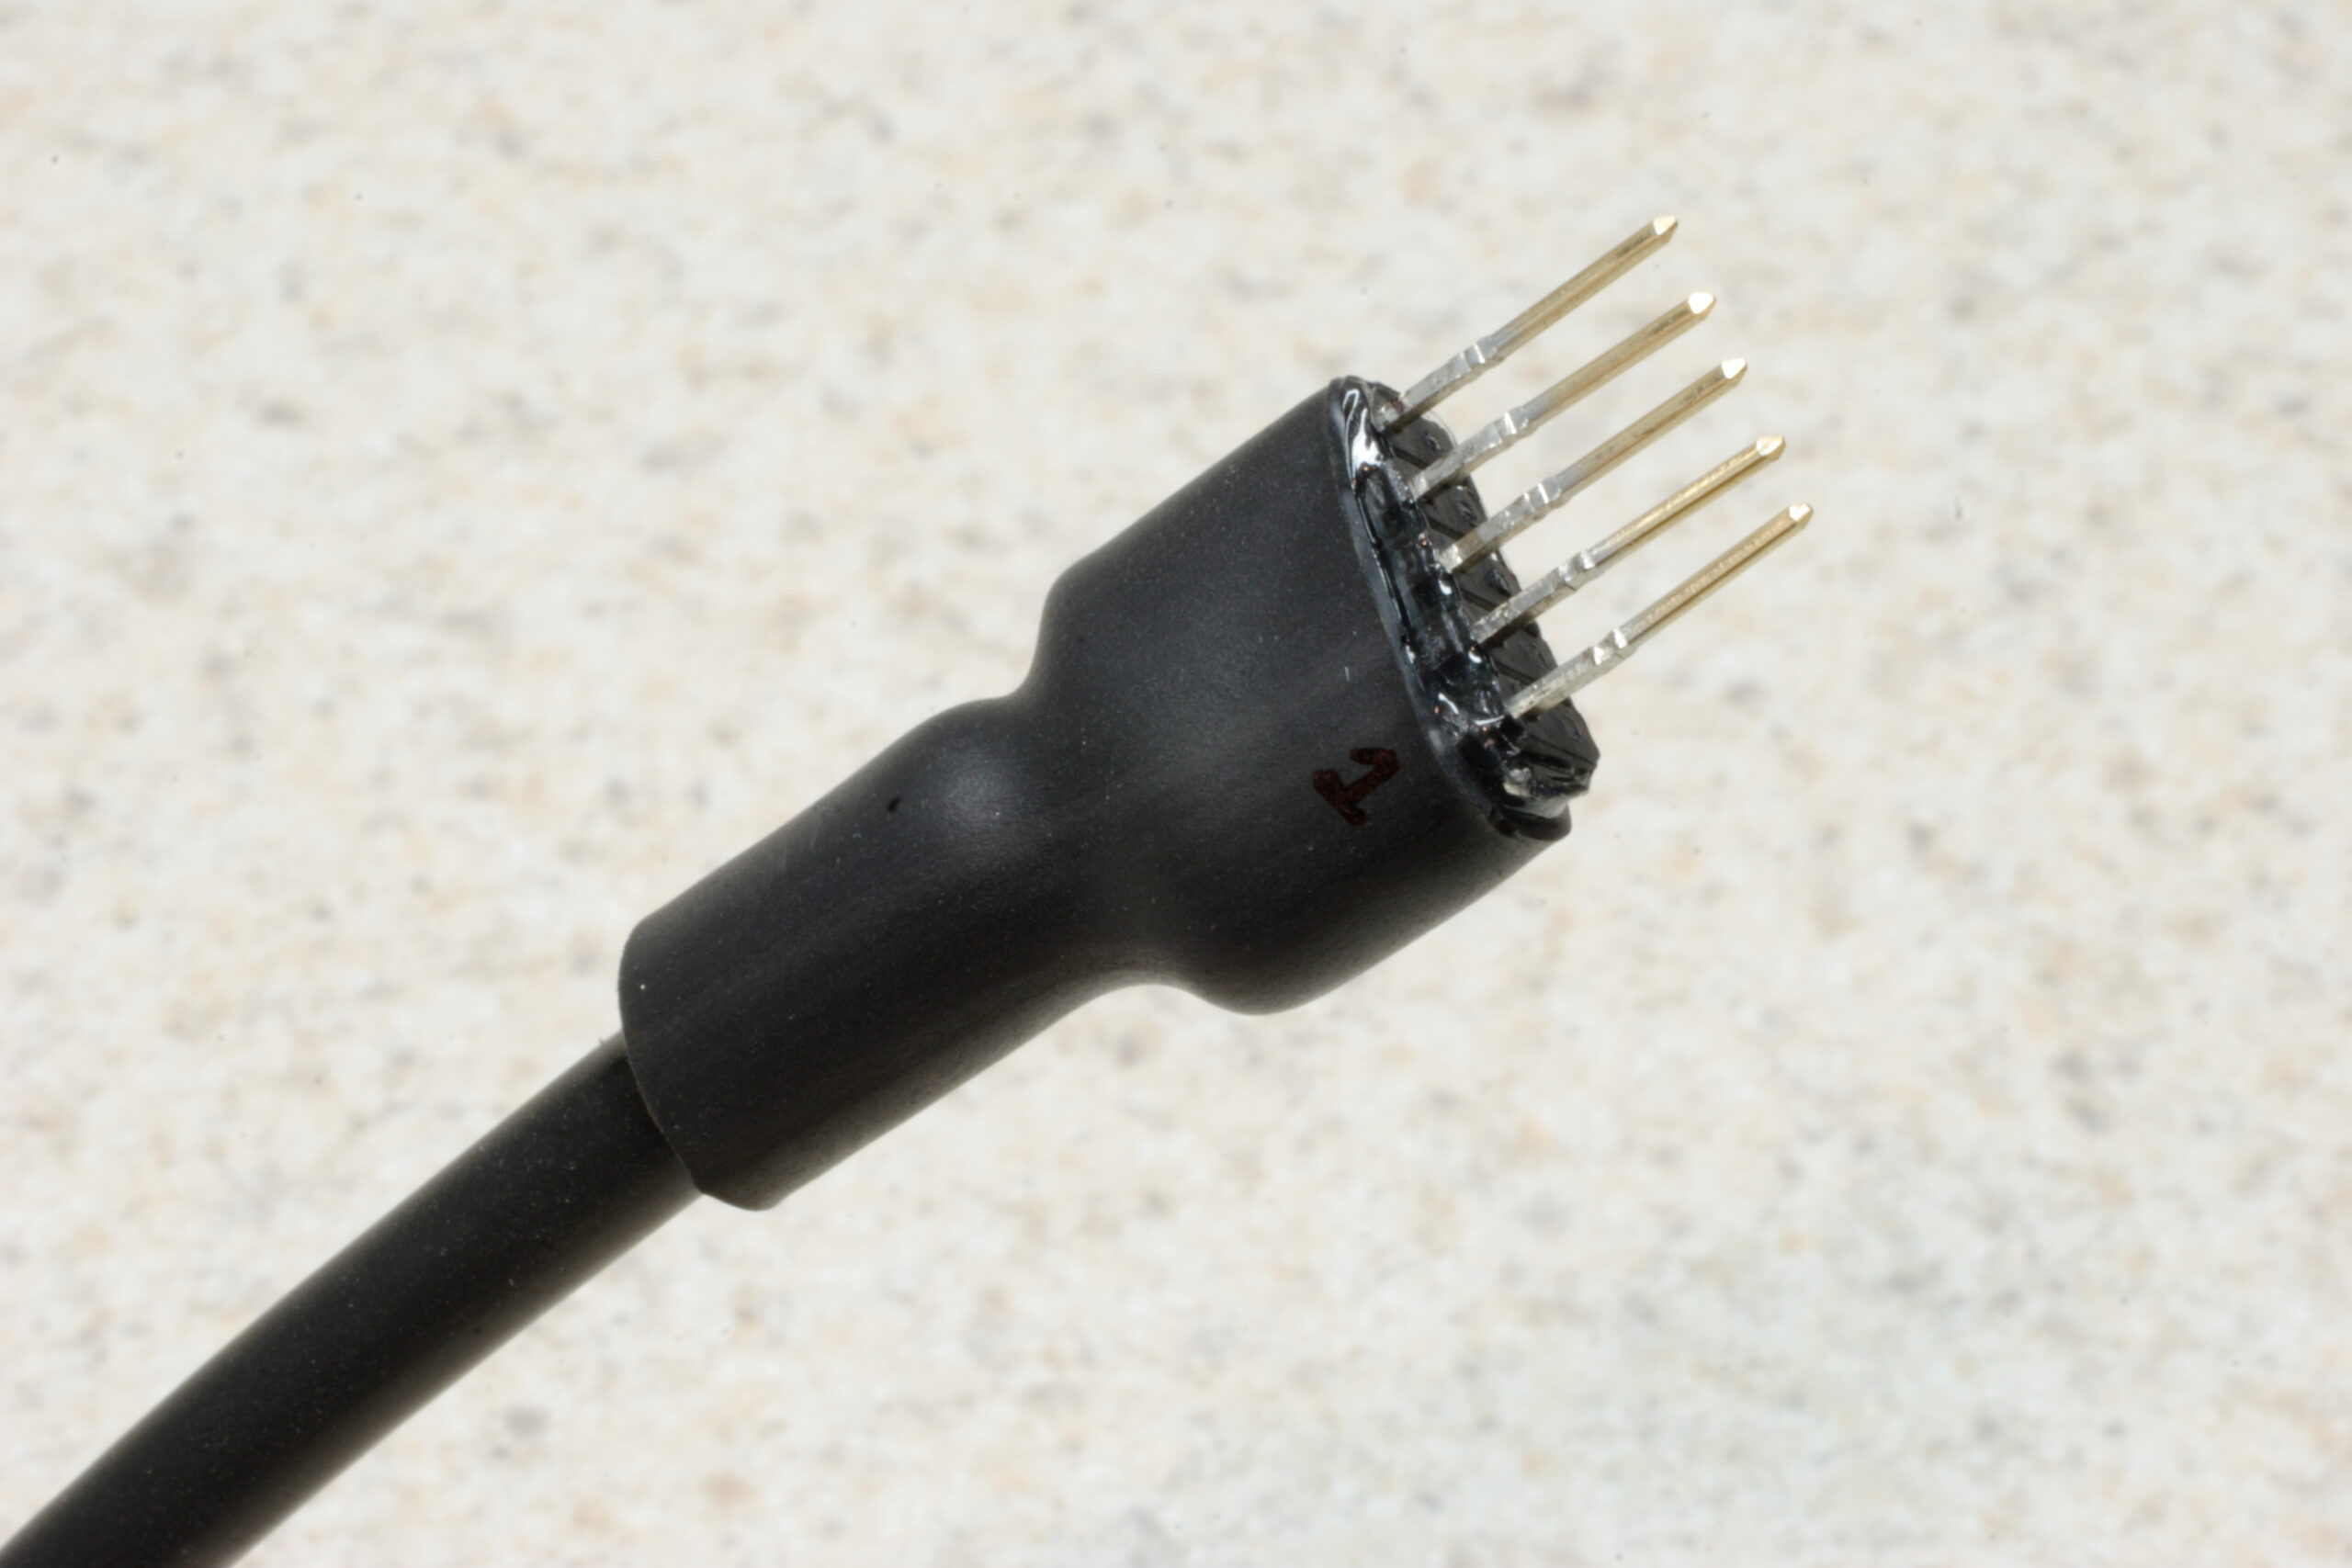
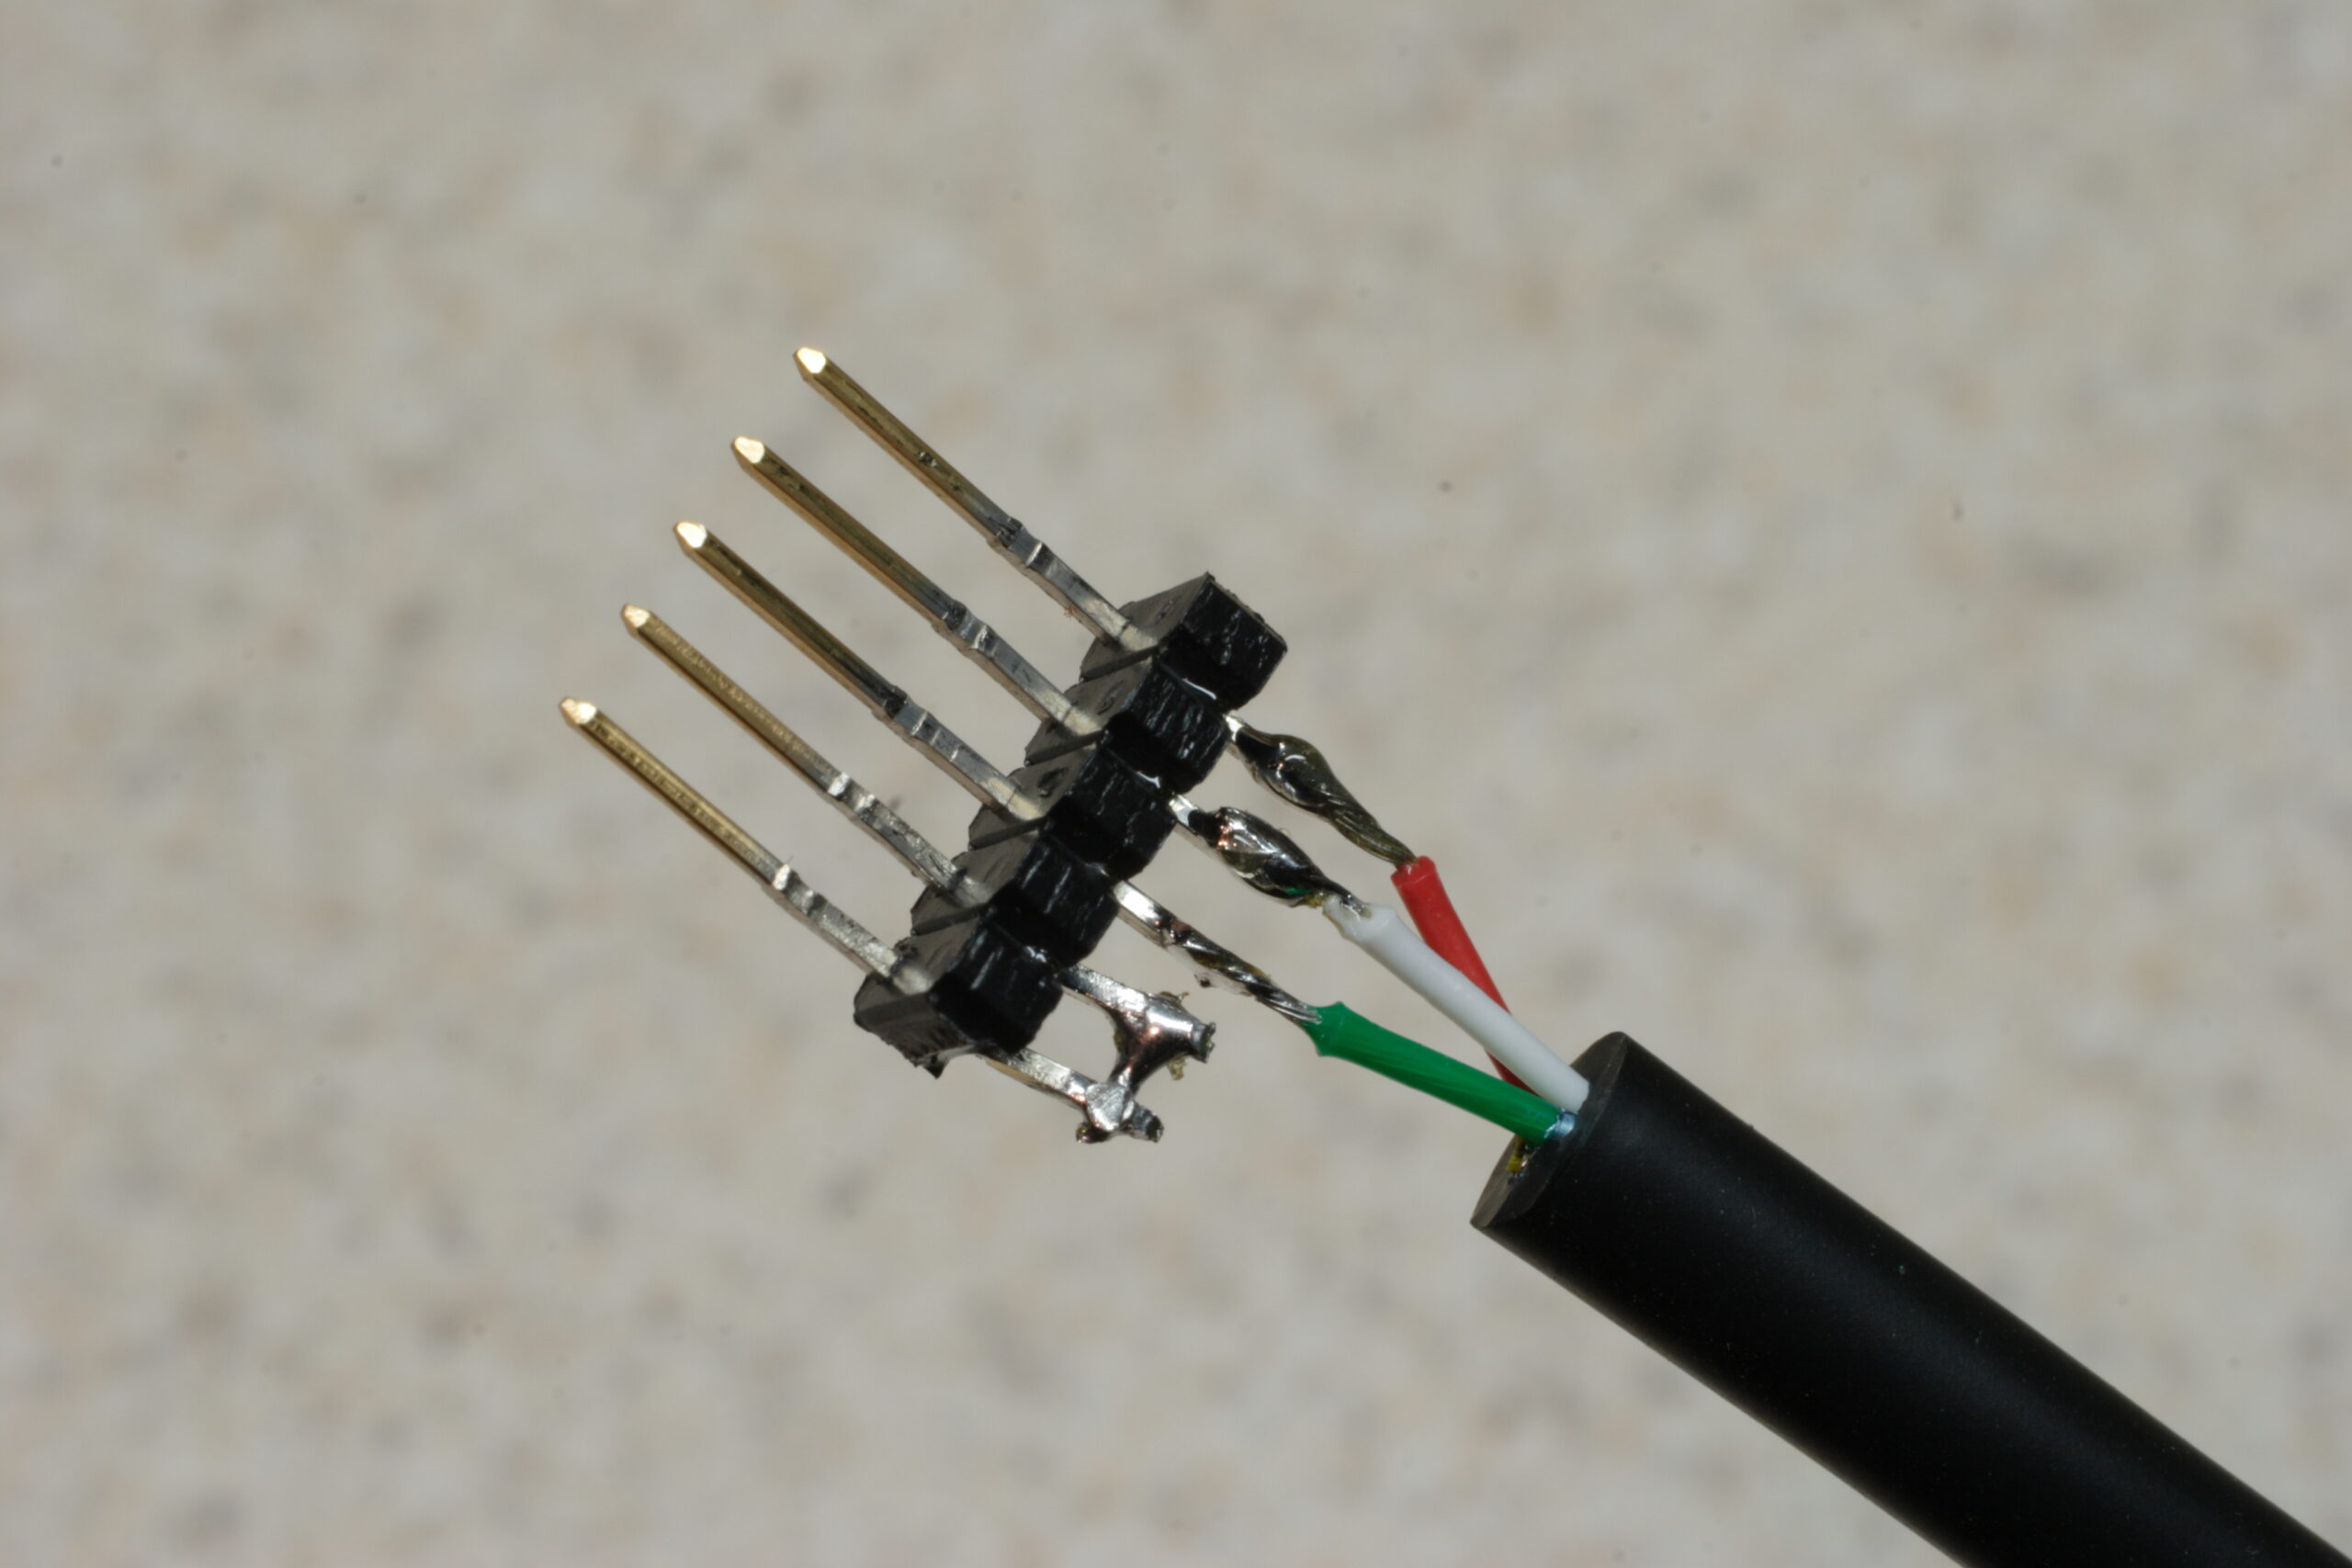
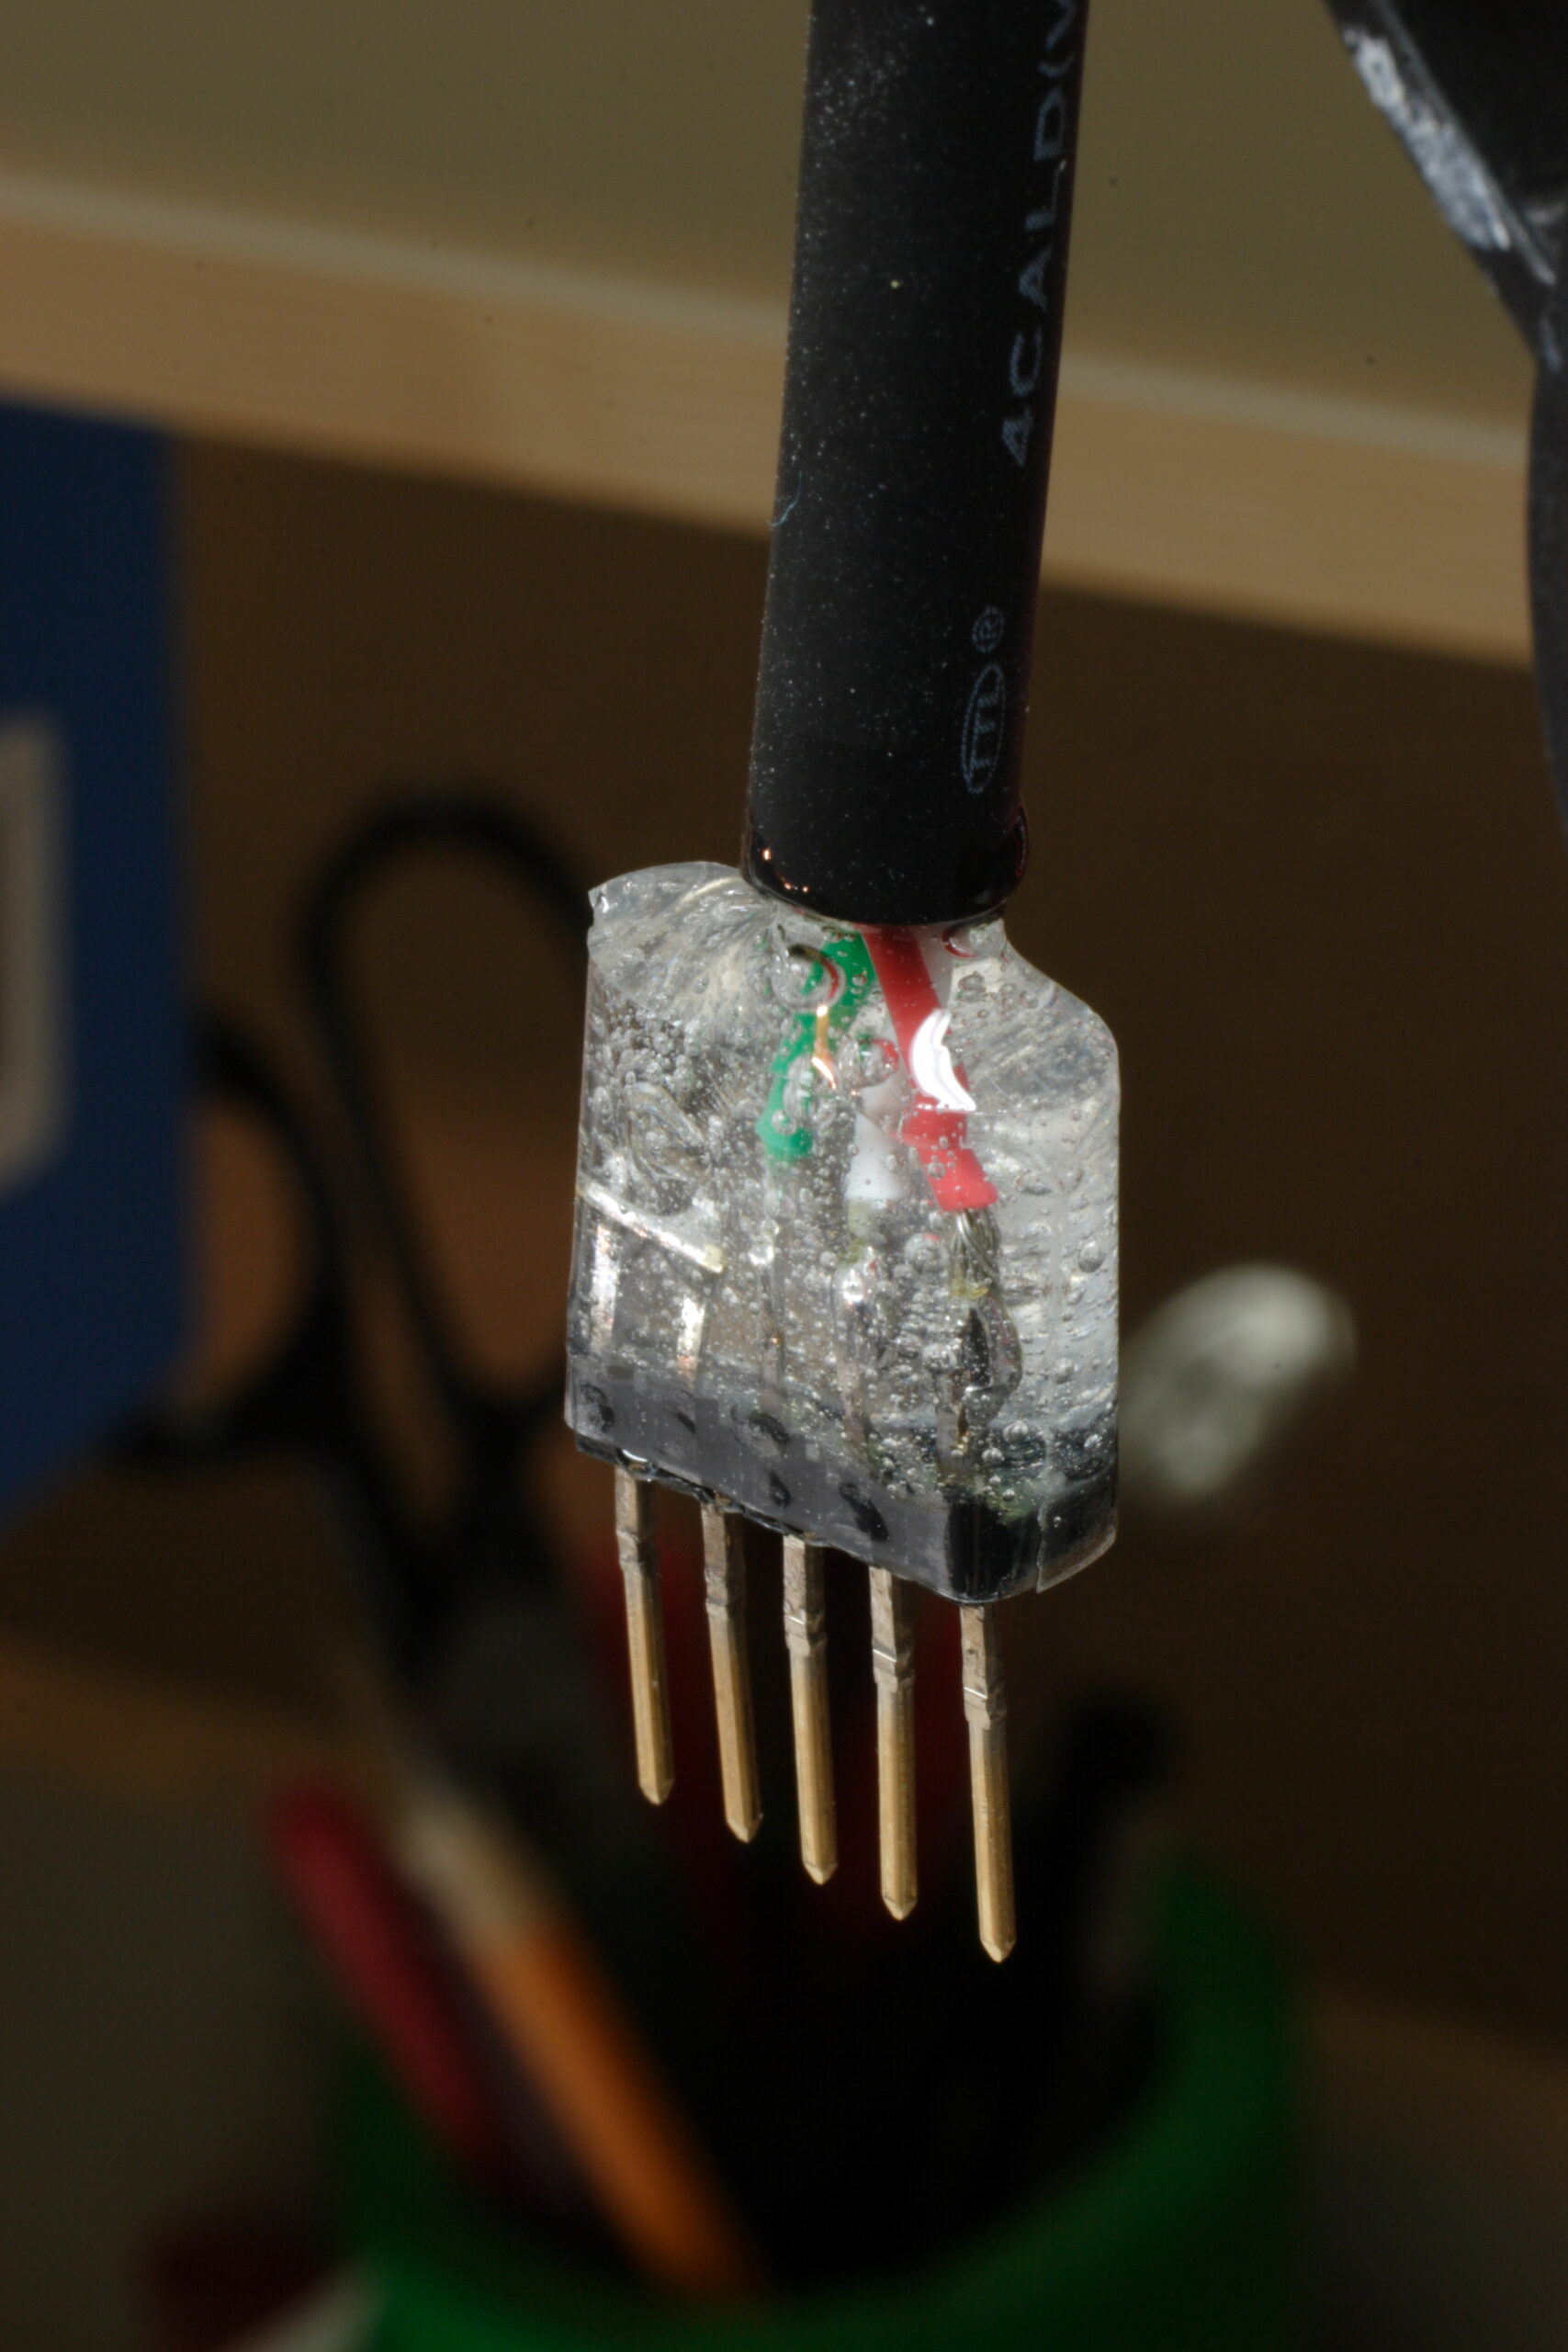
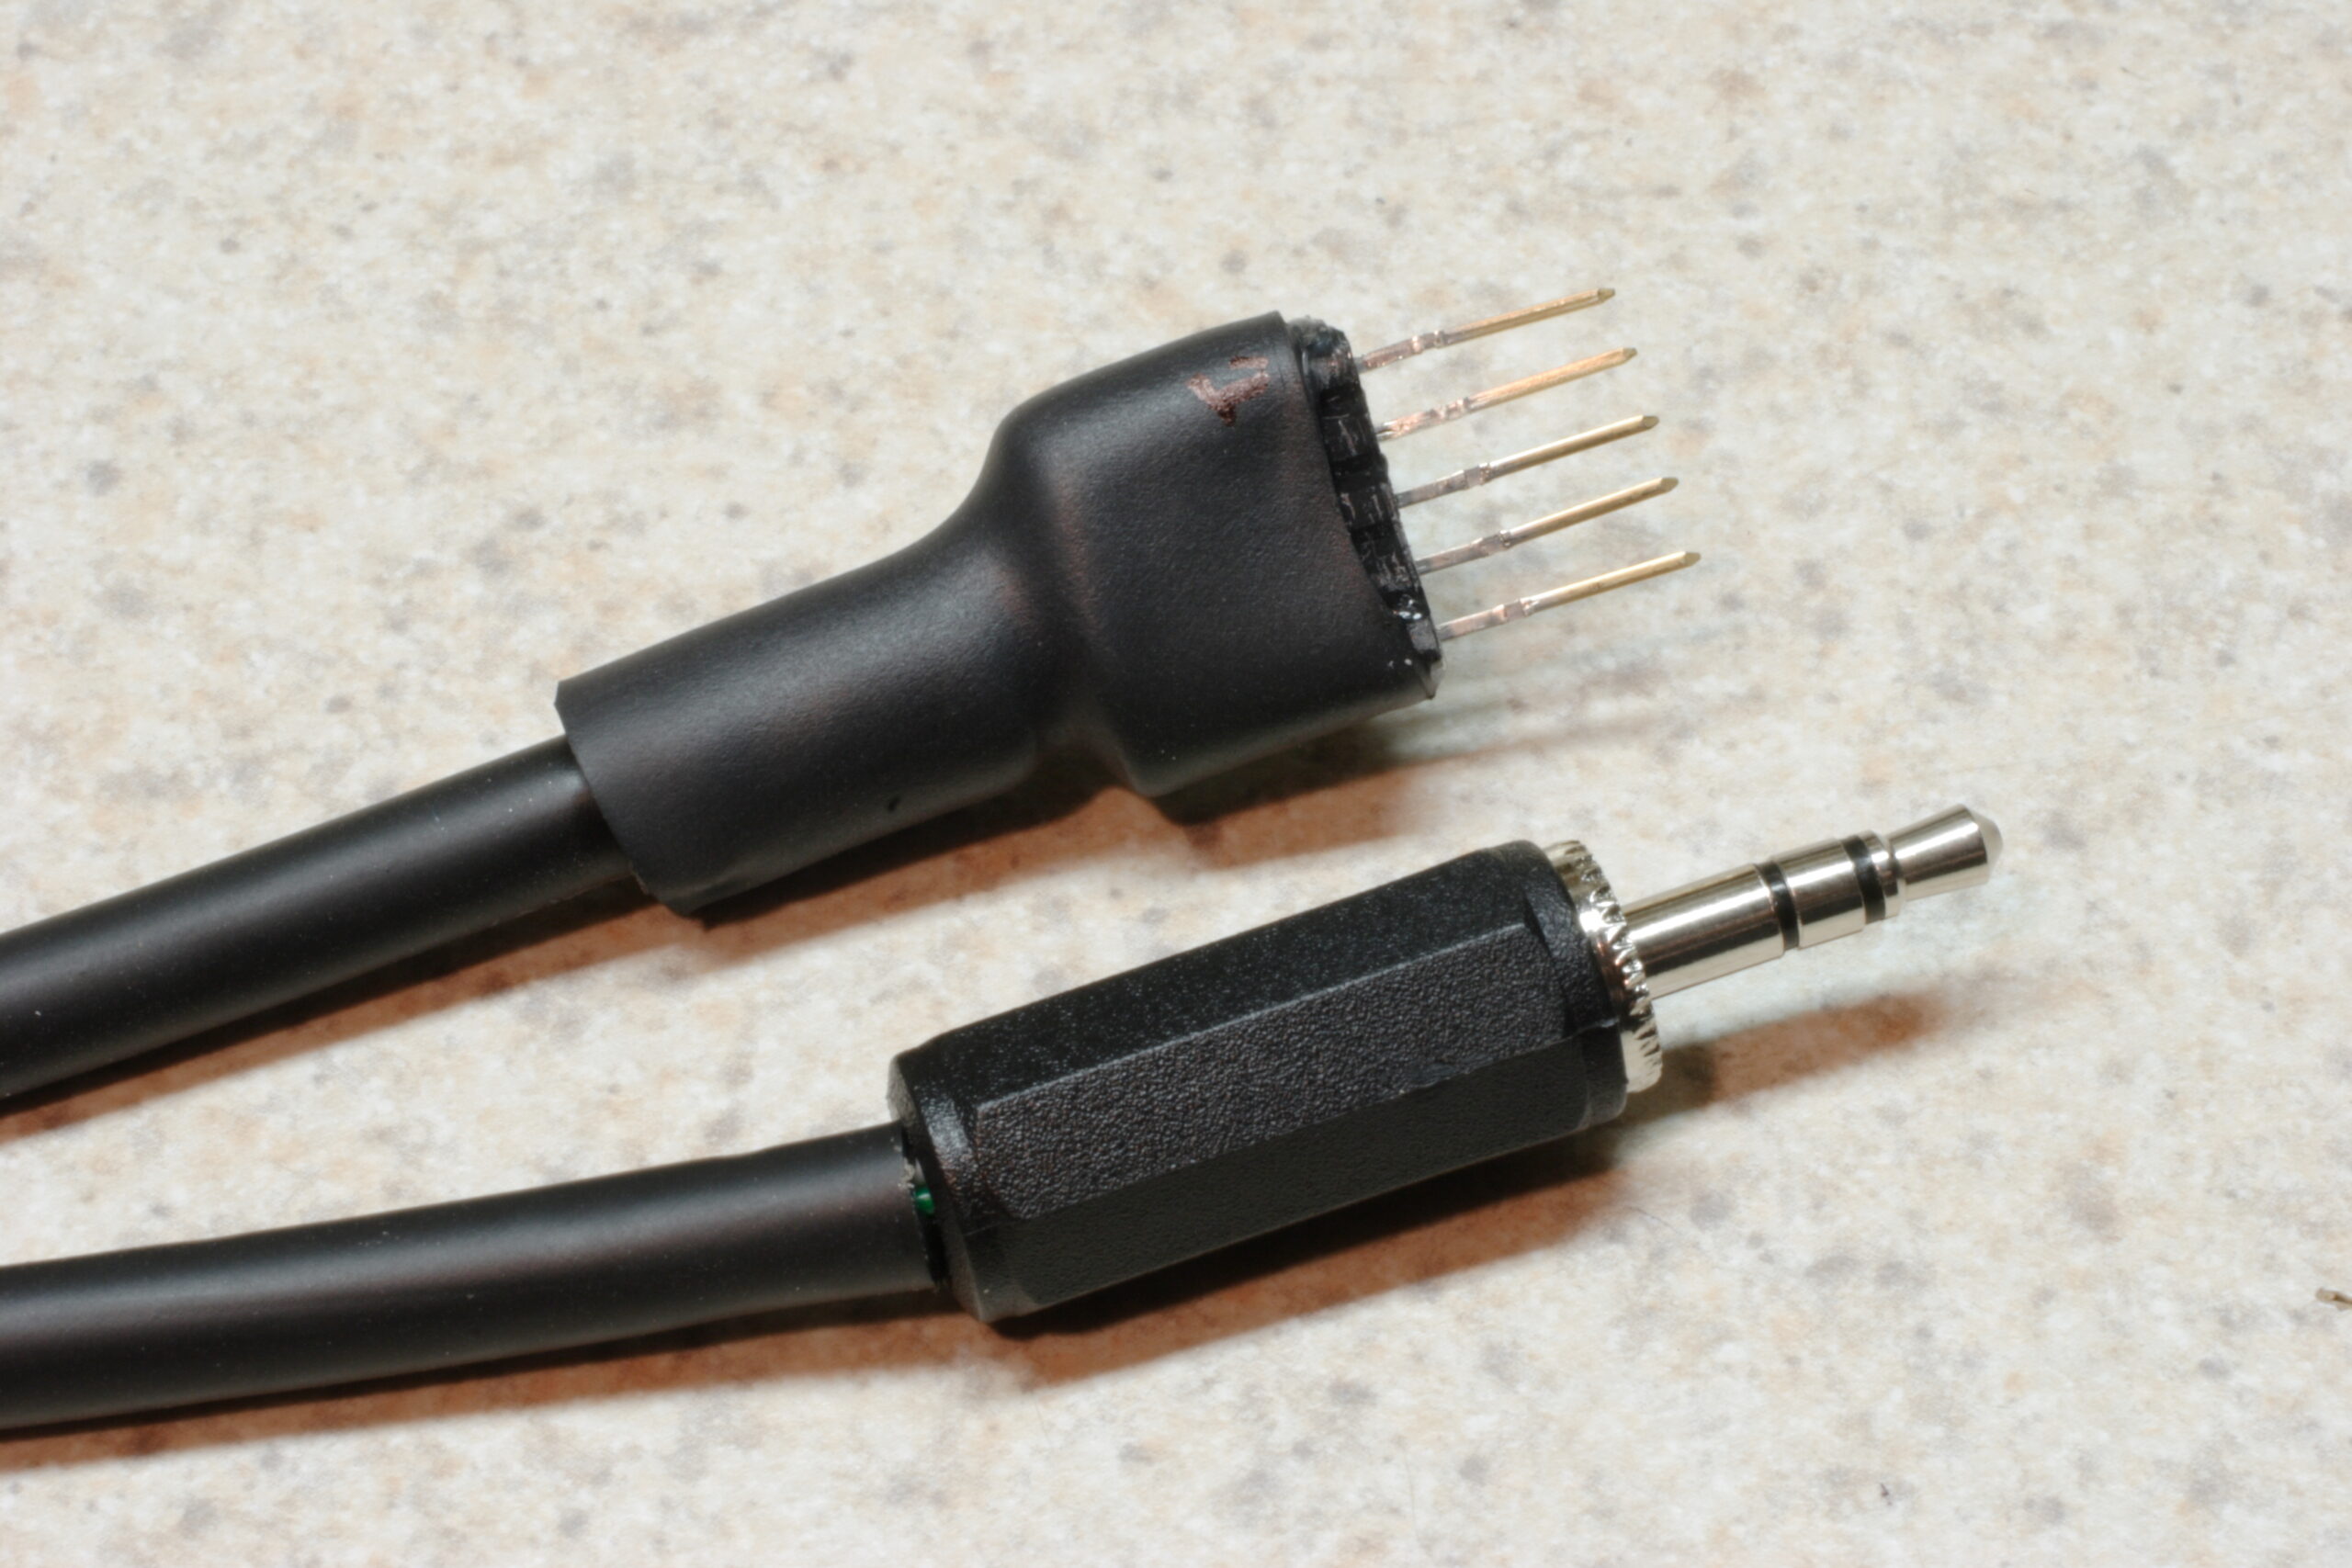
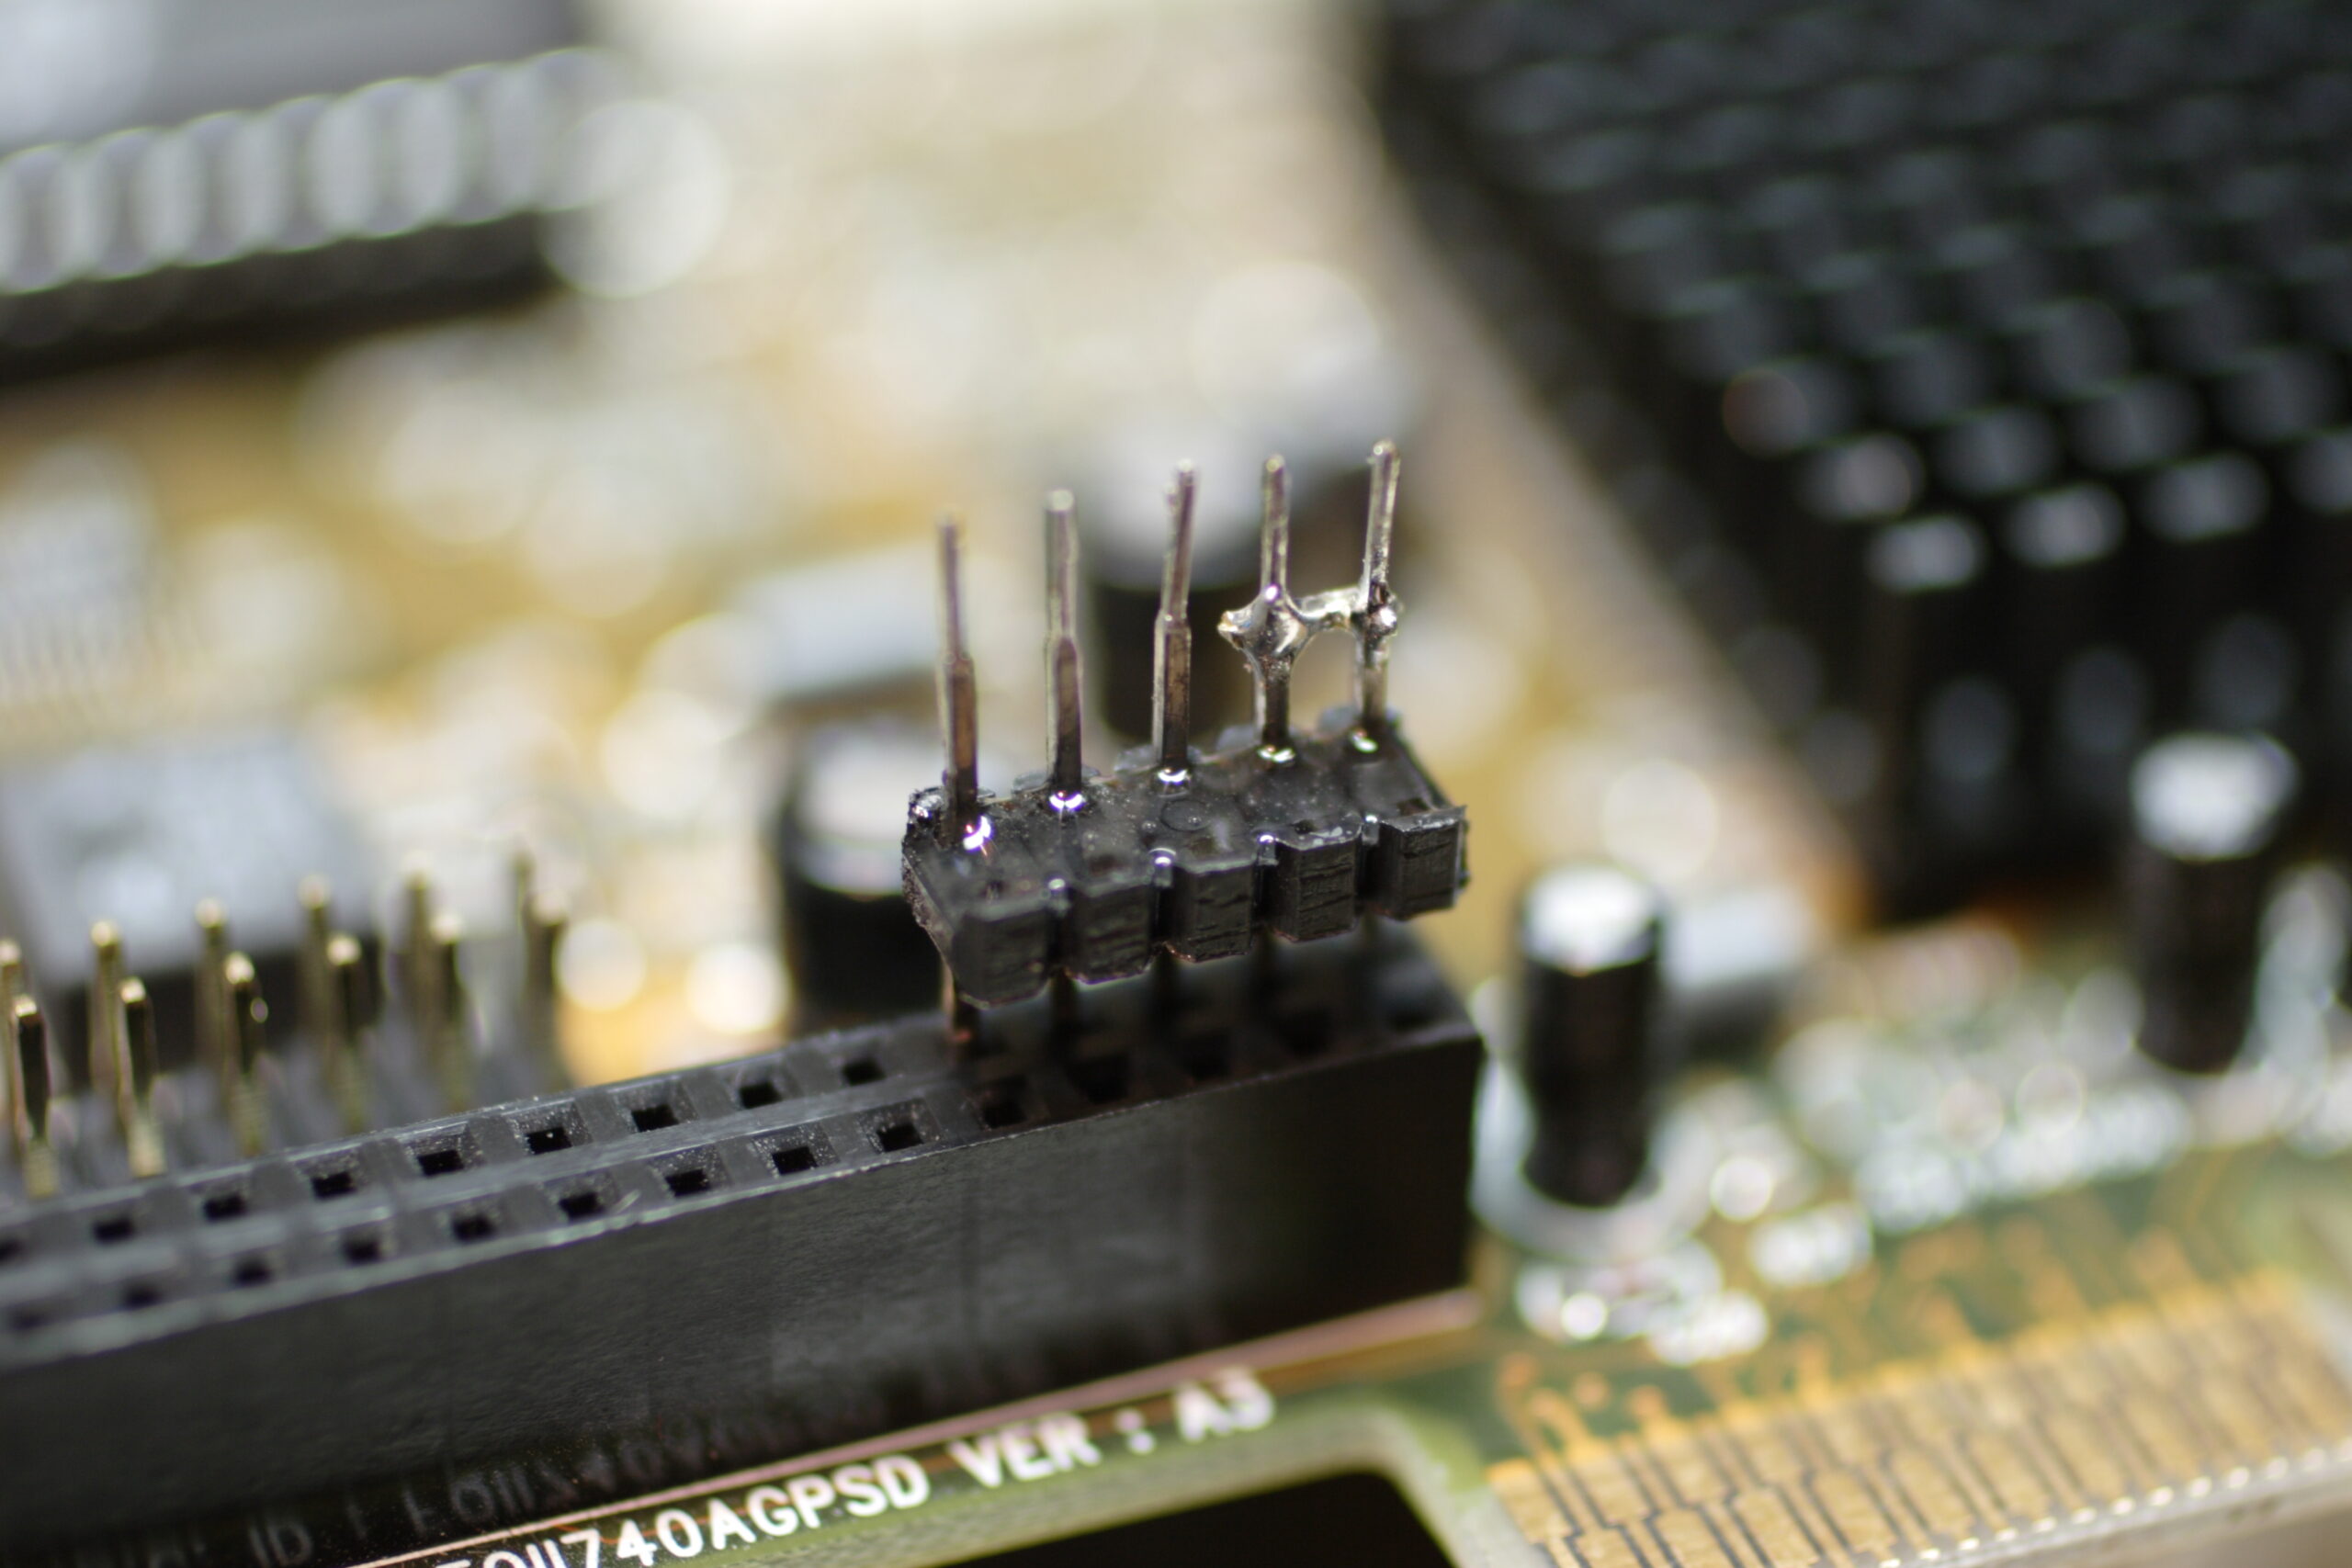
As far as audio goes, the back of the Auxiliary Jack Assembly is a bank of five pins, .100″ (2.54mm) apart, and just about 3/8″ long each. Of these five pins, the first two are shorted together when a 1/8″ (3.5mm) plug is inserted into the jack. This signals to the Navigation Unit that there is something connected to the Aux In and to make this an available input option via the interface. The other three pins are the standard Left / Right / Ground (Tip / Ring / Sleeve). So, I just need to get a small bank of the appropriate pins, short the first two together, and wire the other three back to the box where all the connections are made.

So, yeah. Lots of progress last night… I only had one problem, which I’m really kicking myself over. See, the navigation unit is held down by two 8mm-head bolts which are inserted from the underside. This probably also makes it a lot harder to steal. Anyway, when inserting one of the bolts I accidently dropped through a relatively small hole and it into the center console where it seems lost. I think it may have rolled to the side and is now somewhere under the carpet. There is still one bolt holding it pretty solidly, but I feel quite stupid about it all. Ah well.

automotiveelectronicsmoved from livejournal

Digital Gray Card and Car Stuff


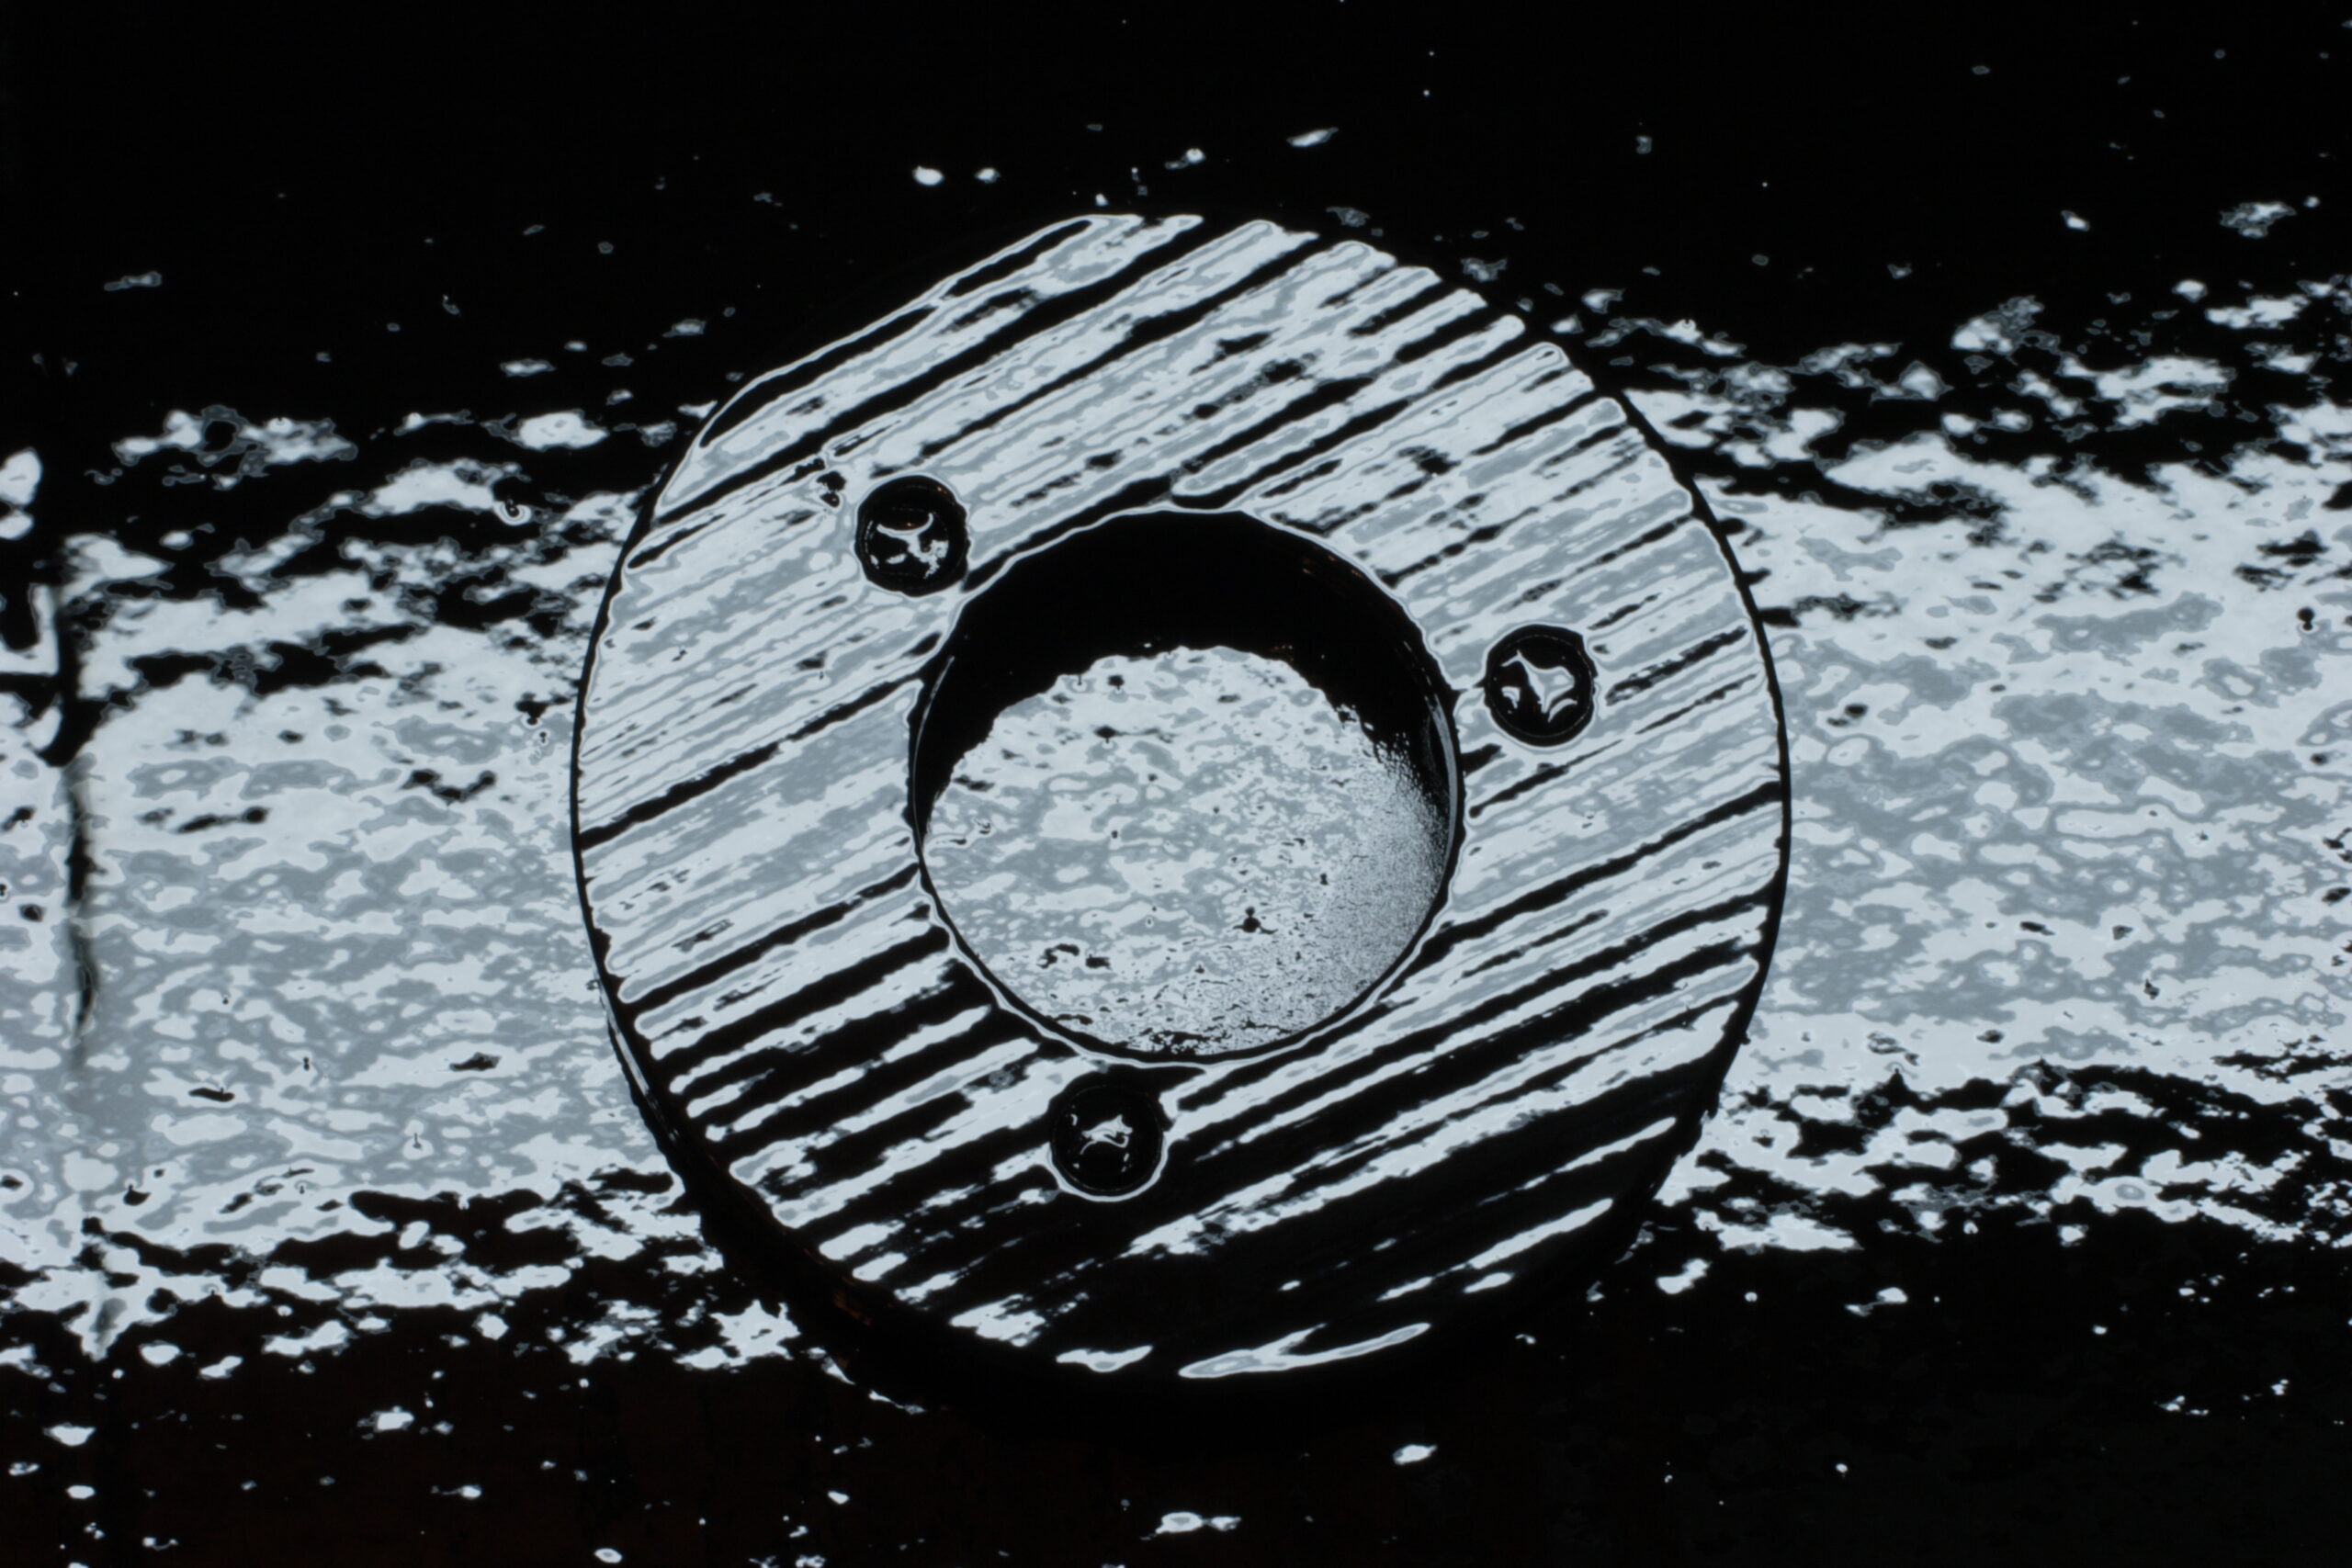
Edge of a Robin Myers DGC-100 Digital Gray Card
(Click for more…)

Well, today I finally received my DGC-100 Digital Gray Card from Robin Myers Imaging. I had read about this just before acquiring my 20D (photo gallery retired), and I finally got around to picking one up.

At US$9.95 (plus $1.10 postage) it’s fairly expensive for a grey card, but it’s also really well made. As it is a solid slab of appropriately colored plastic, should it become scratched or too damaged, one can sand it with 100 grit sand paper and then rinse it off, and it’s good as new. It’s also not vulnerable to things like finger oils and water and such as the cardboard ones are. Also, it seems to be quite a bit more evenly colored than the cardboard one I picked up for around US$3 back at the end of December.

I have to say, after seeing one of these in person, I have to strongly recommend that anyone who needs a grey card get one of these. I like it because it can easily be stuck in a backpack or something, and one doesn’t have to worry about the color rubbing off, corners bending, etc.

Tonight I also did a good bit of work on my car, pulling the dashboard off, Navigation Unit out, and figuring out where to get power and such from for the vehicle. I did screw one thing up, though. And I feel pretty bad about that. See, the Navigation Unit is held down (probably for security reasons) with two bolts up through the bottom of it. Well, when replacing everything at the end of the night, I dropped one of the bolts somewhere in the center console. I spent about 10 minutes looking for it, and I just simply can’t find it. I can only assume that it fell to the side and is now somewhere under the carpet or something. Blah. Well, at least the Navigation Unit is still held down fairly well… I do feel stupid, though.

I grabbed a few pictures of the torn open dash and some scans of my notes of pinouts, but I’ll post them here tomorrow or something.

Also, I think I’ve got the physical mounting of the iPod figured out, and I’ve now got the electrical worked out. The only things I still have to figure out are what connectors to use for the iPod dock cable and the audio out on the box which will couple everything together and where to get a .100″ spacing header with 3/8″ long leads. I’d use a standard IDE connector cut down, but those are only 1/4″ leads. I can work around this if I can find the same connector Honda uses if I look hard enough. (This is for the auxiliary audio input connector.

Now I just need to get all the parts, assemble it all, and install it all. Yay!

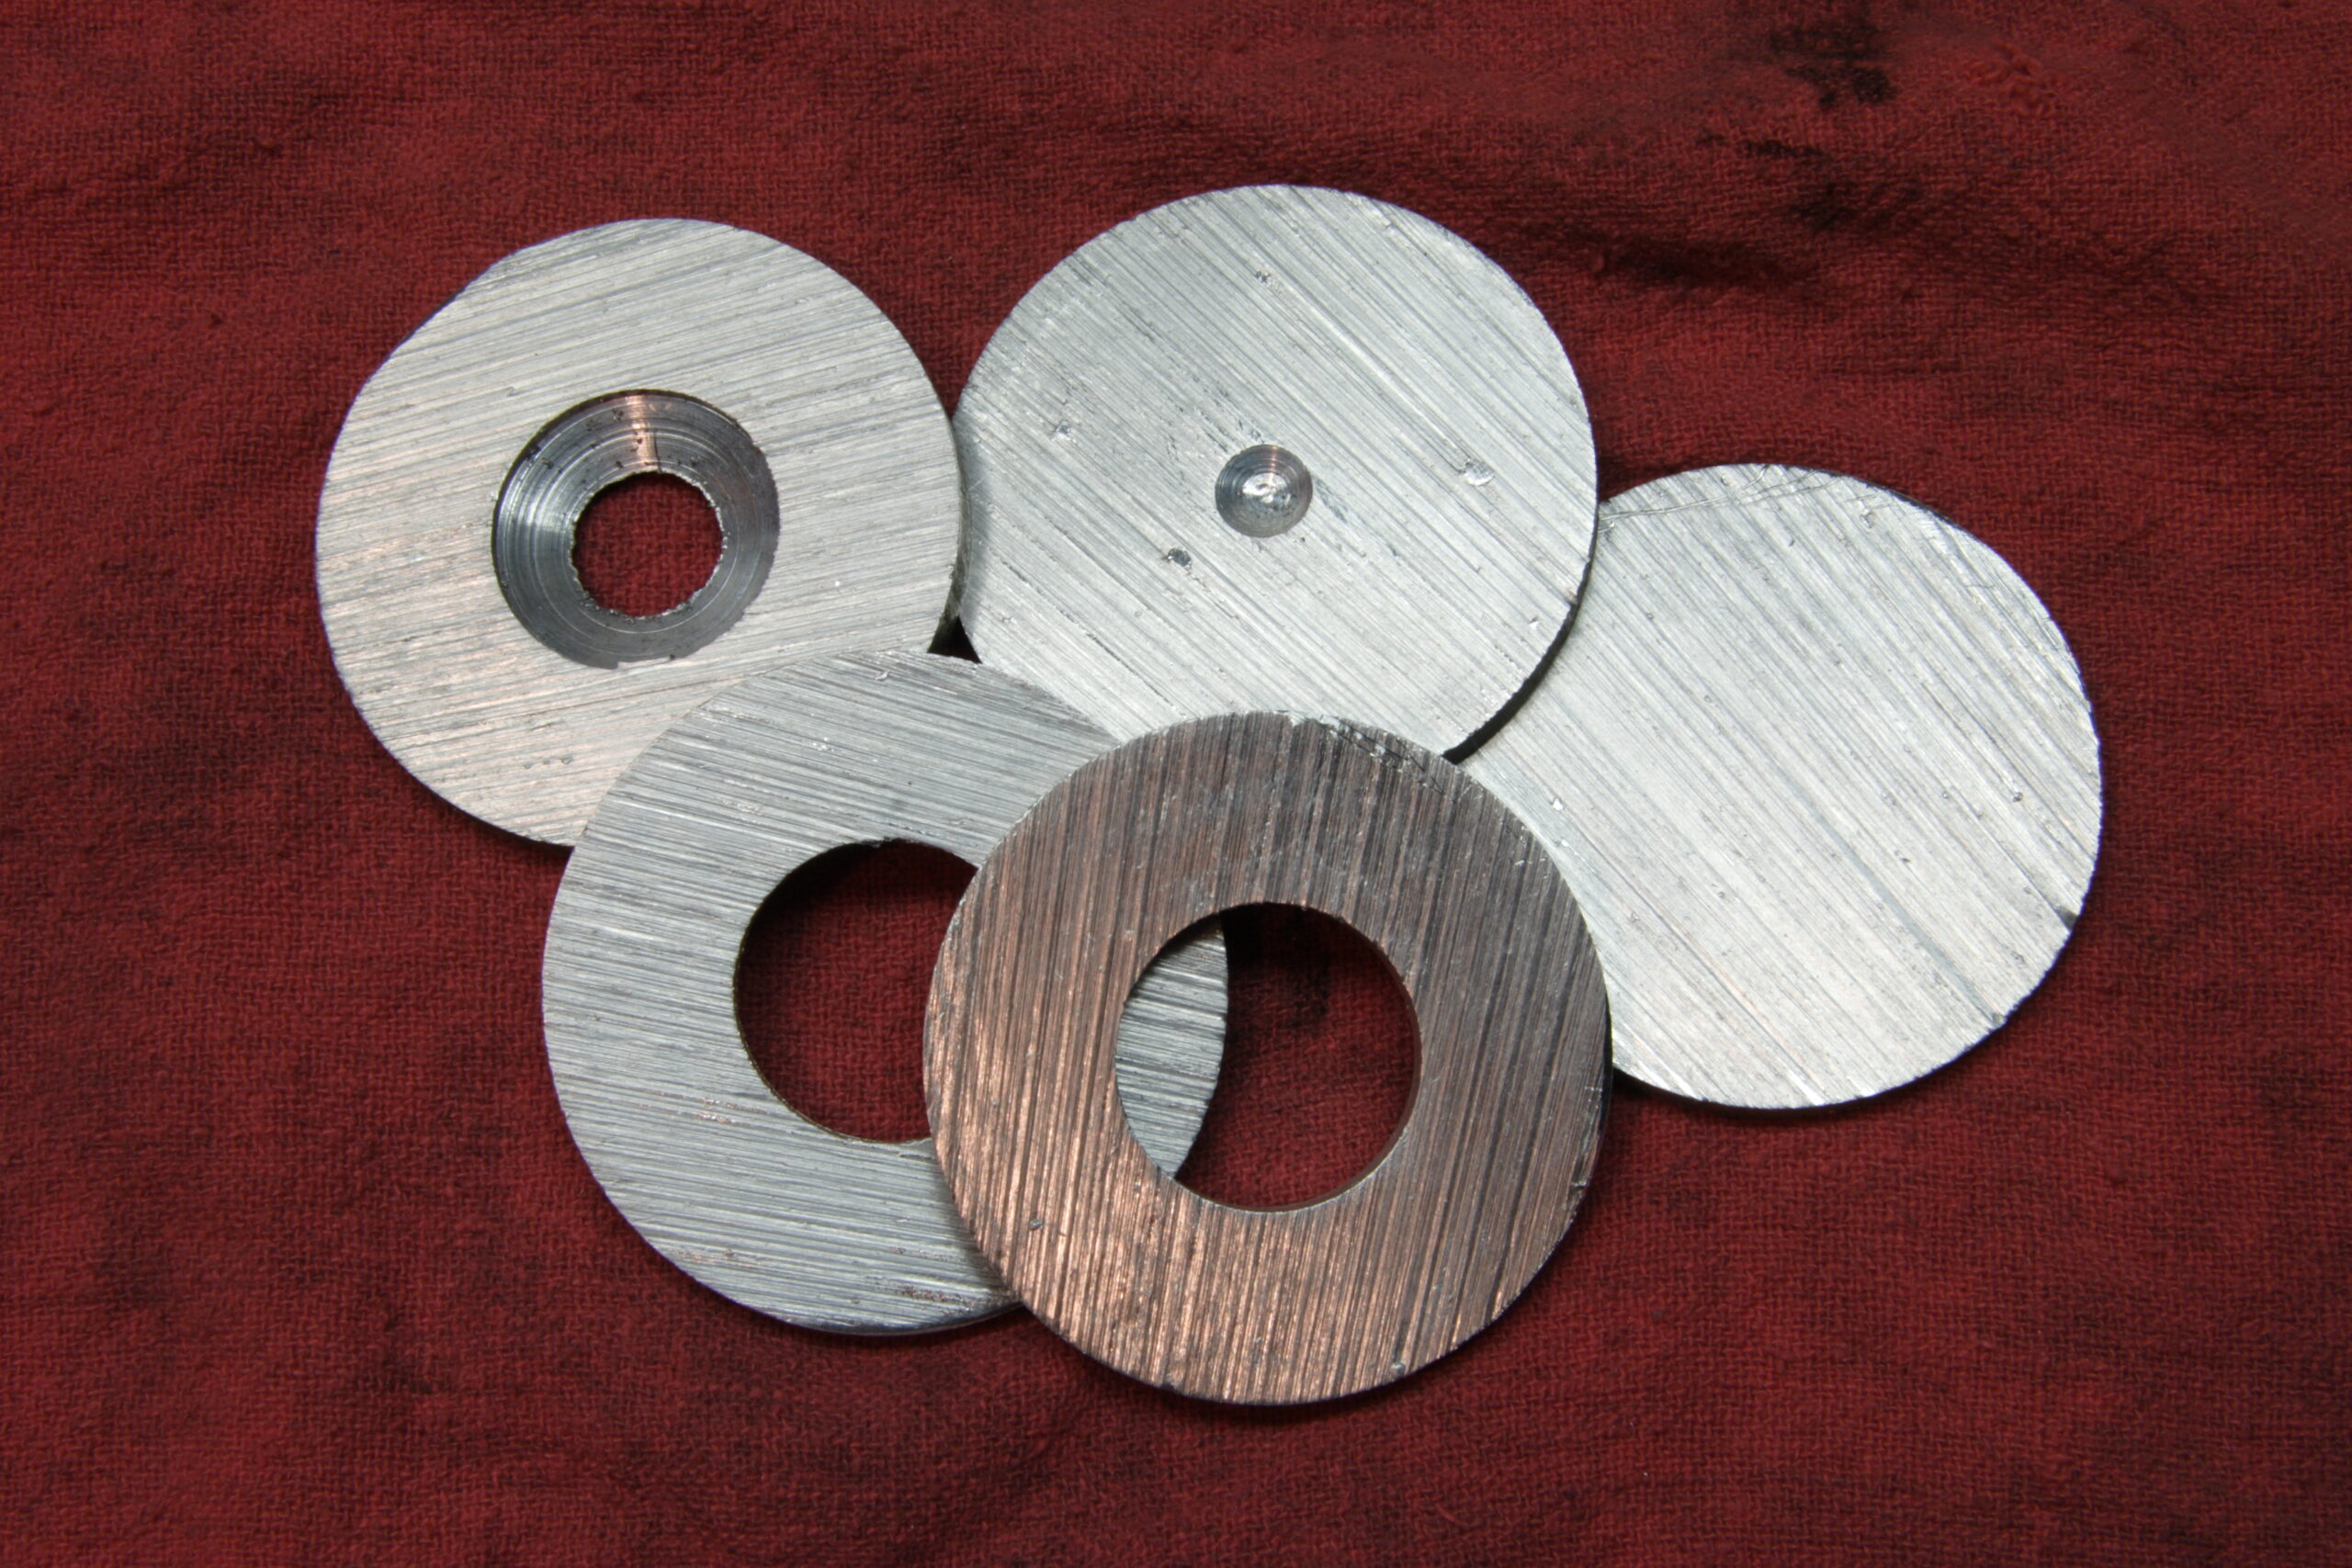
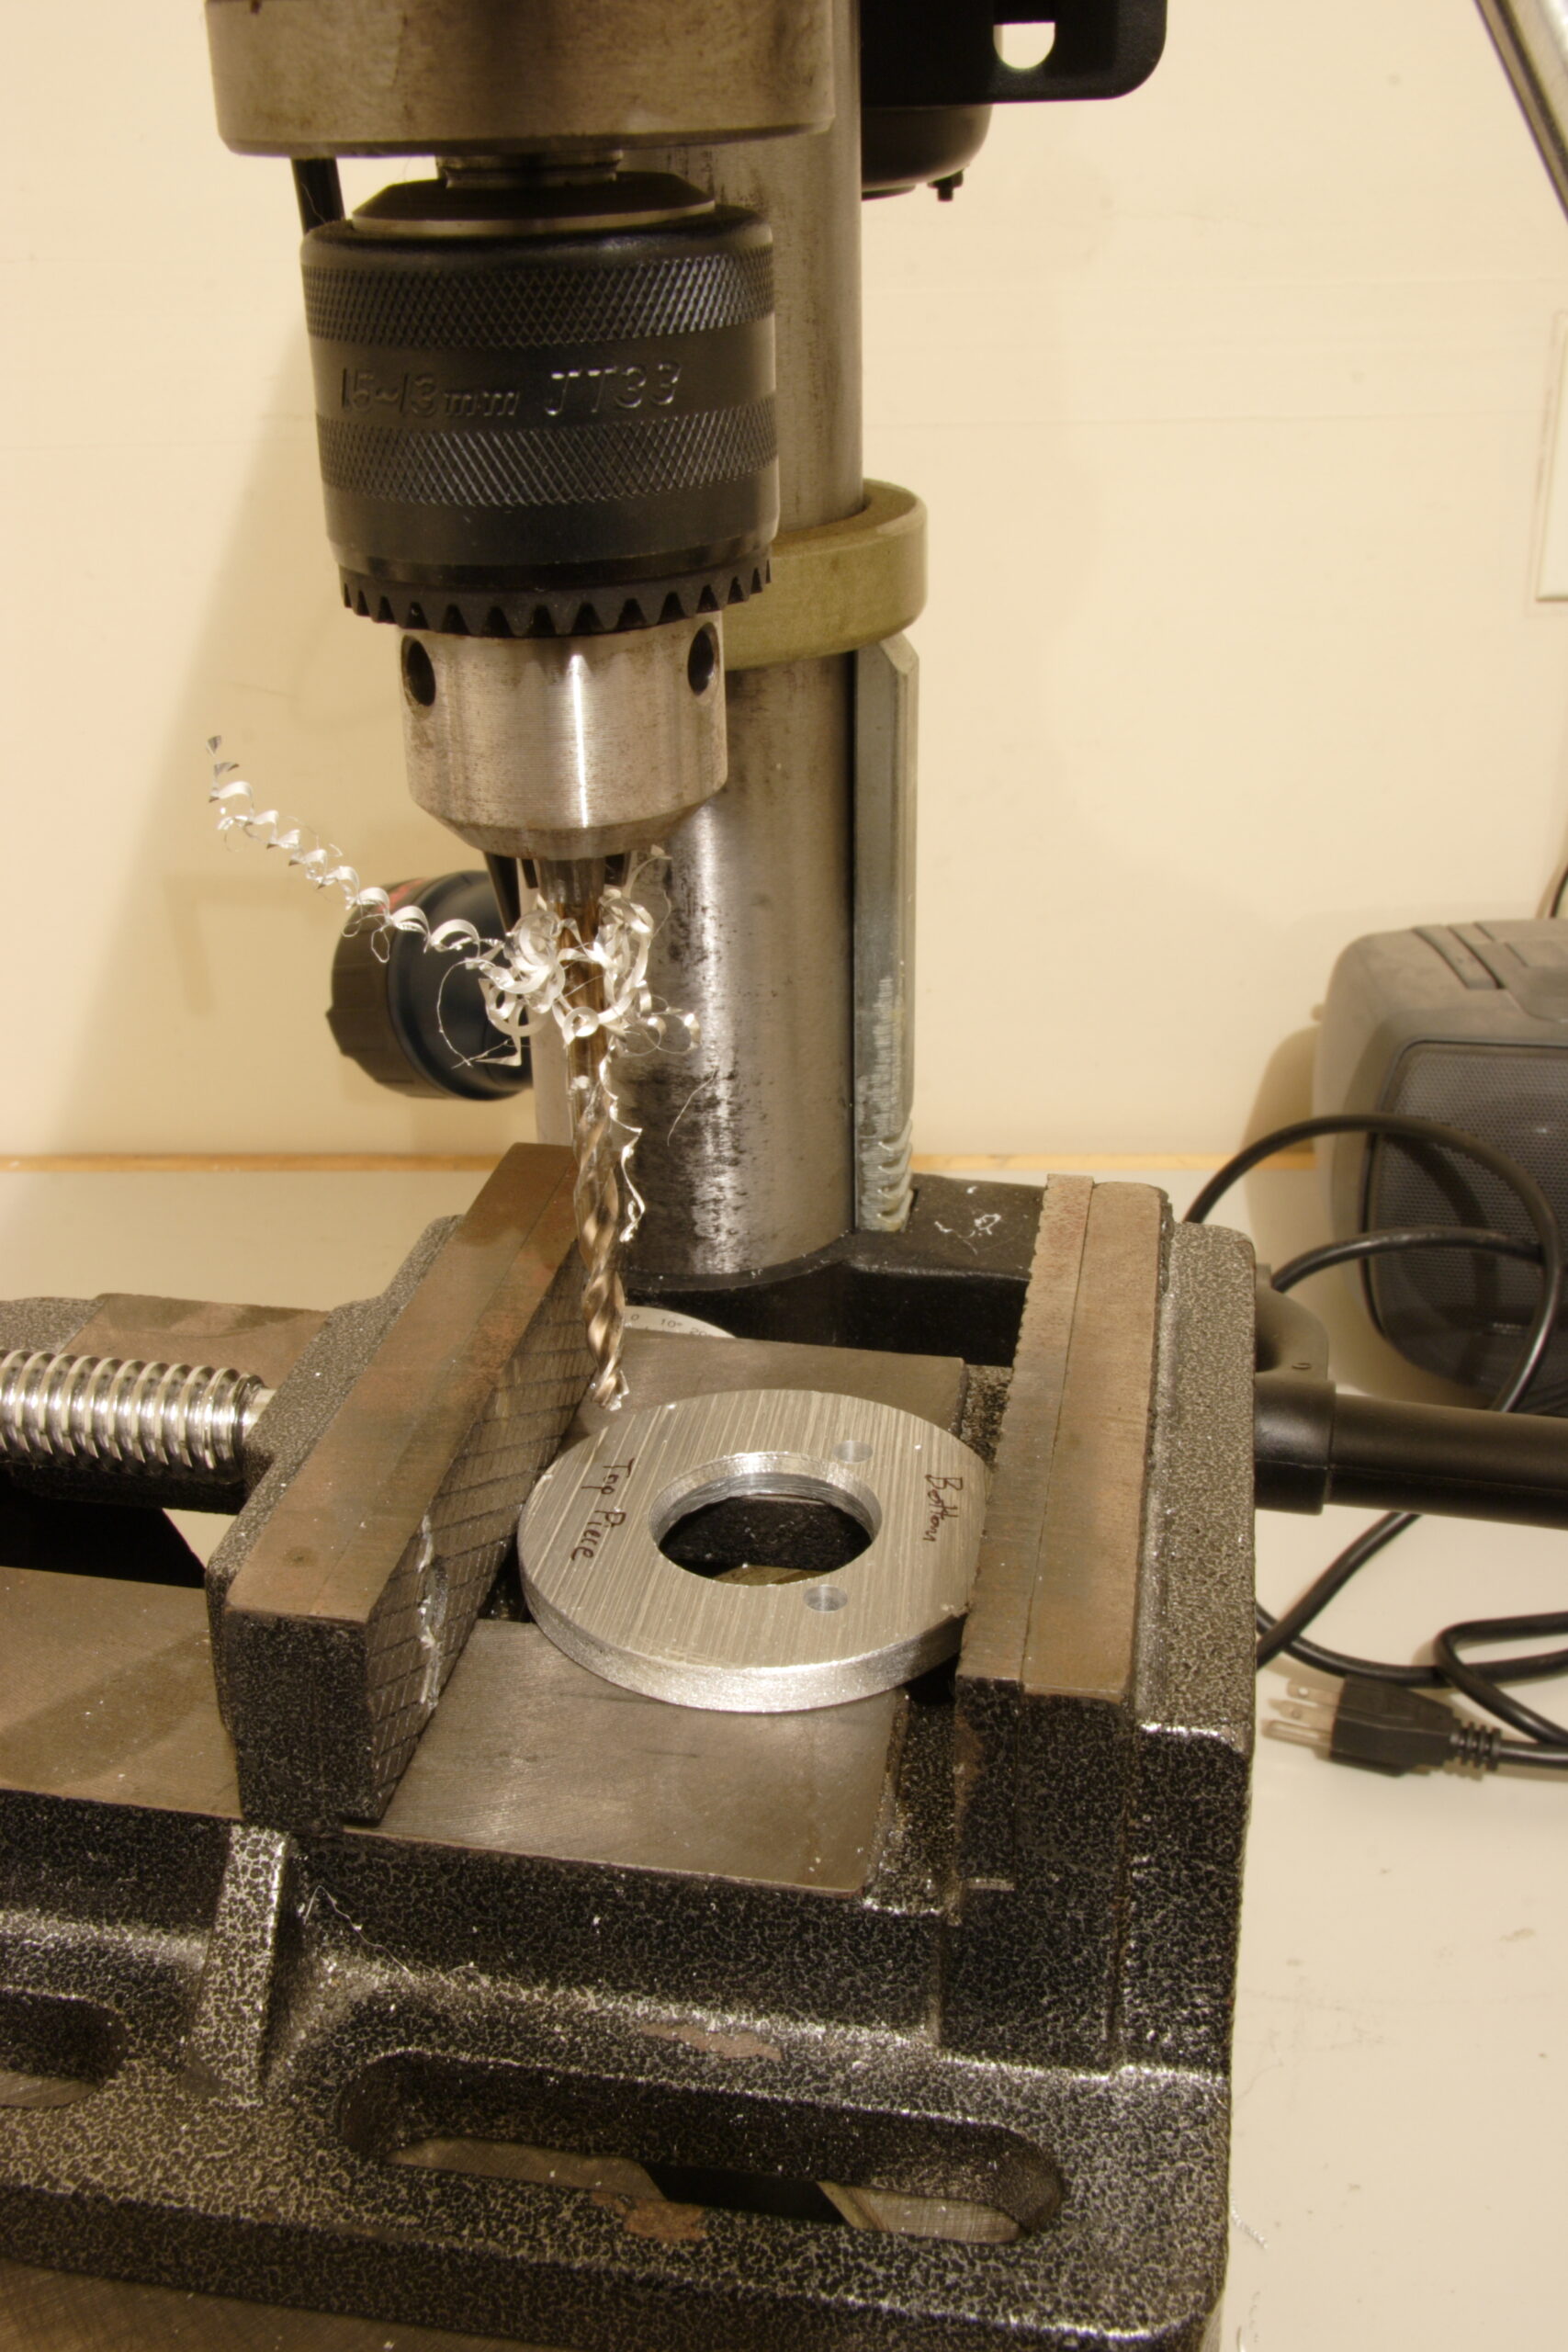
Oh, and a HUGE thank you to who is getting some of the parts I need made exactly as I need them. Sure, they are just some metal discs in the iPod stand, but without them I don’t think it could possibly be as stable or as elegant as I hope it will be. I’m really, really excited about this. :)

acquired thingsautomotivemoved from livejournal

AEx 6.3 & iTunes 6.0.2

[Cross posted to and …]

Upgrade iTunes to 6.0.2, put the v6.3 firmware on your Airport Express, restart iTunes, and there will be a ‘Multiple Speakers…’ option at the bottom of the drop-down to pick through which Airport Express (or local) to play the music. Select it and one gets the above dialog box.

Nice, eh?

Sync also appears to be dead on…

acquired thingscomputersmoved from livejournal

Second Version of iPod Connection in 2006 Honda Civic EX


Click for more…

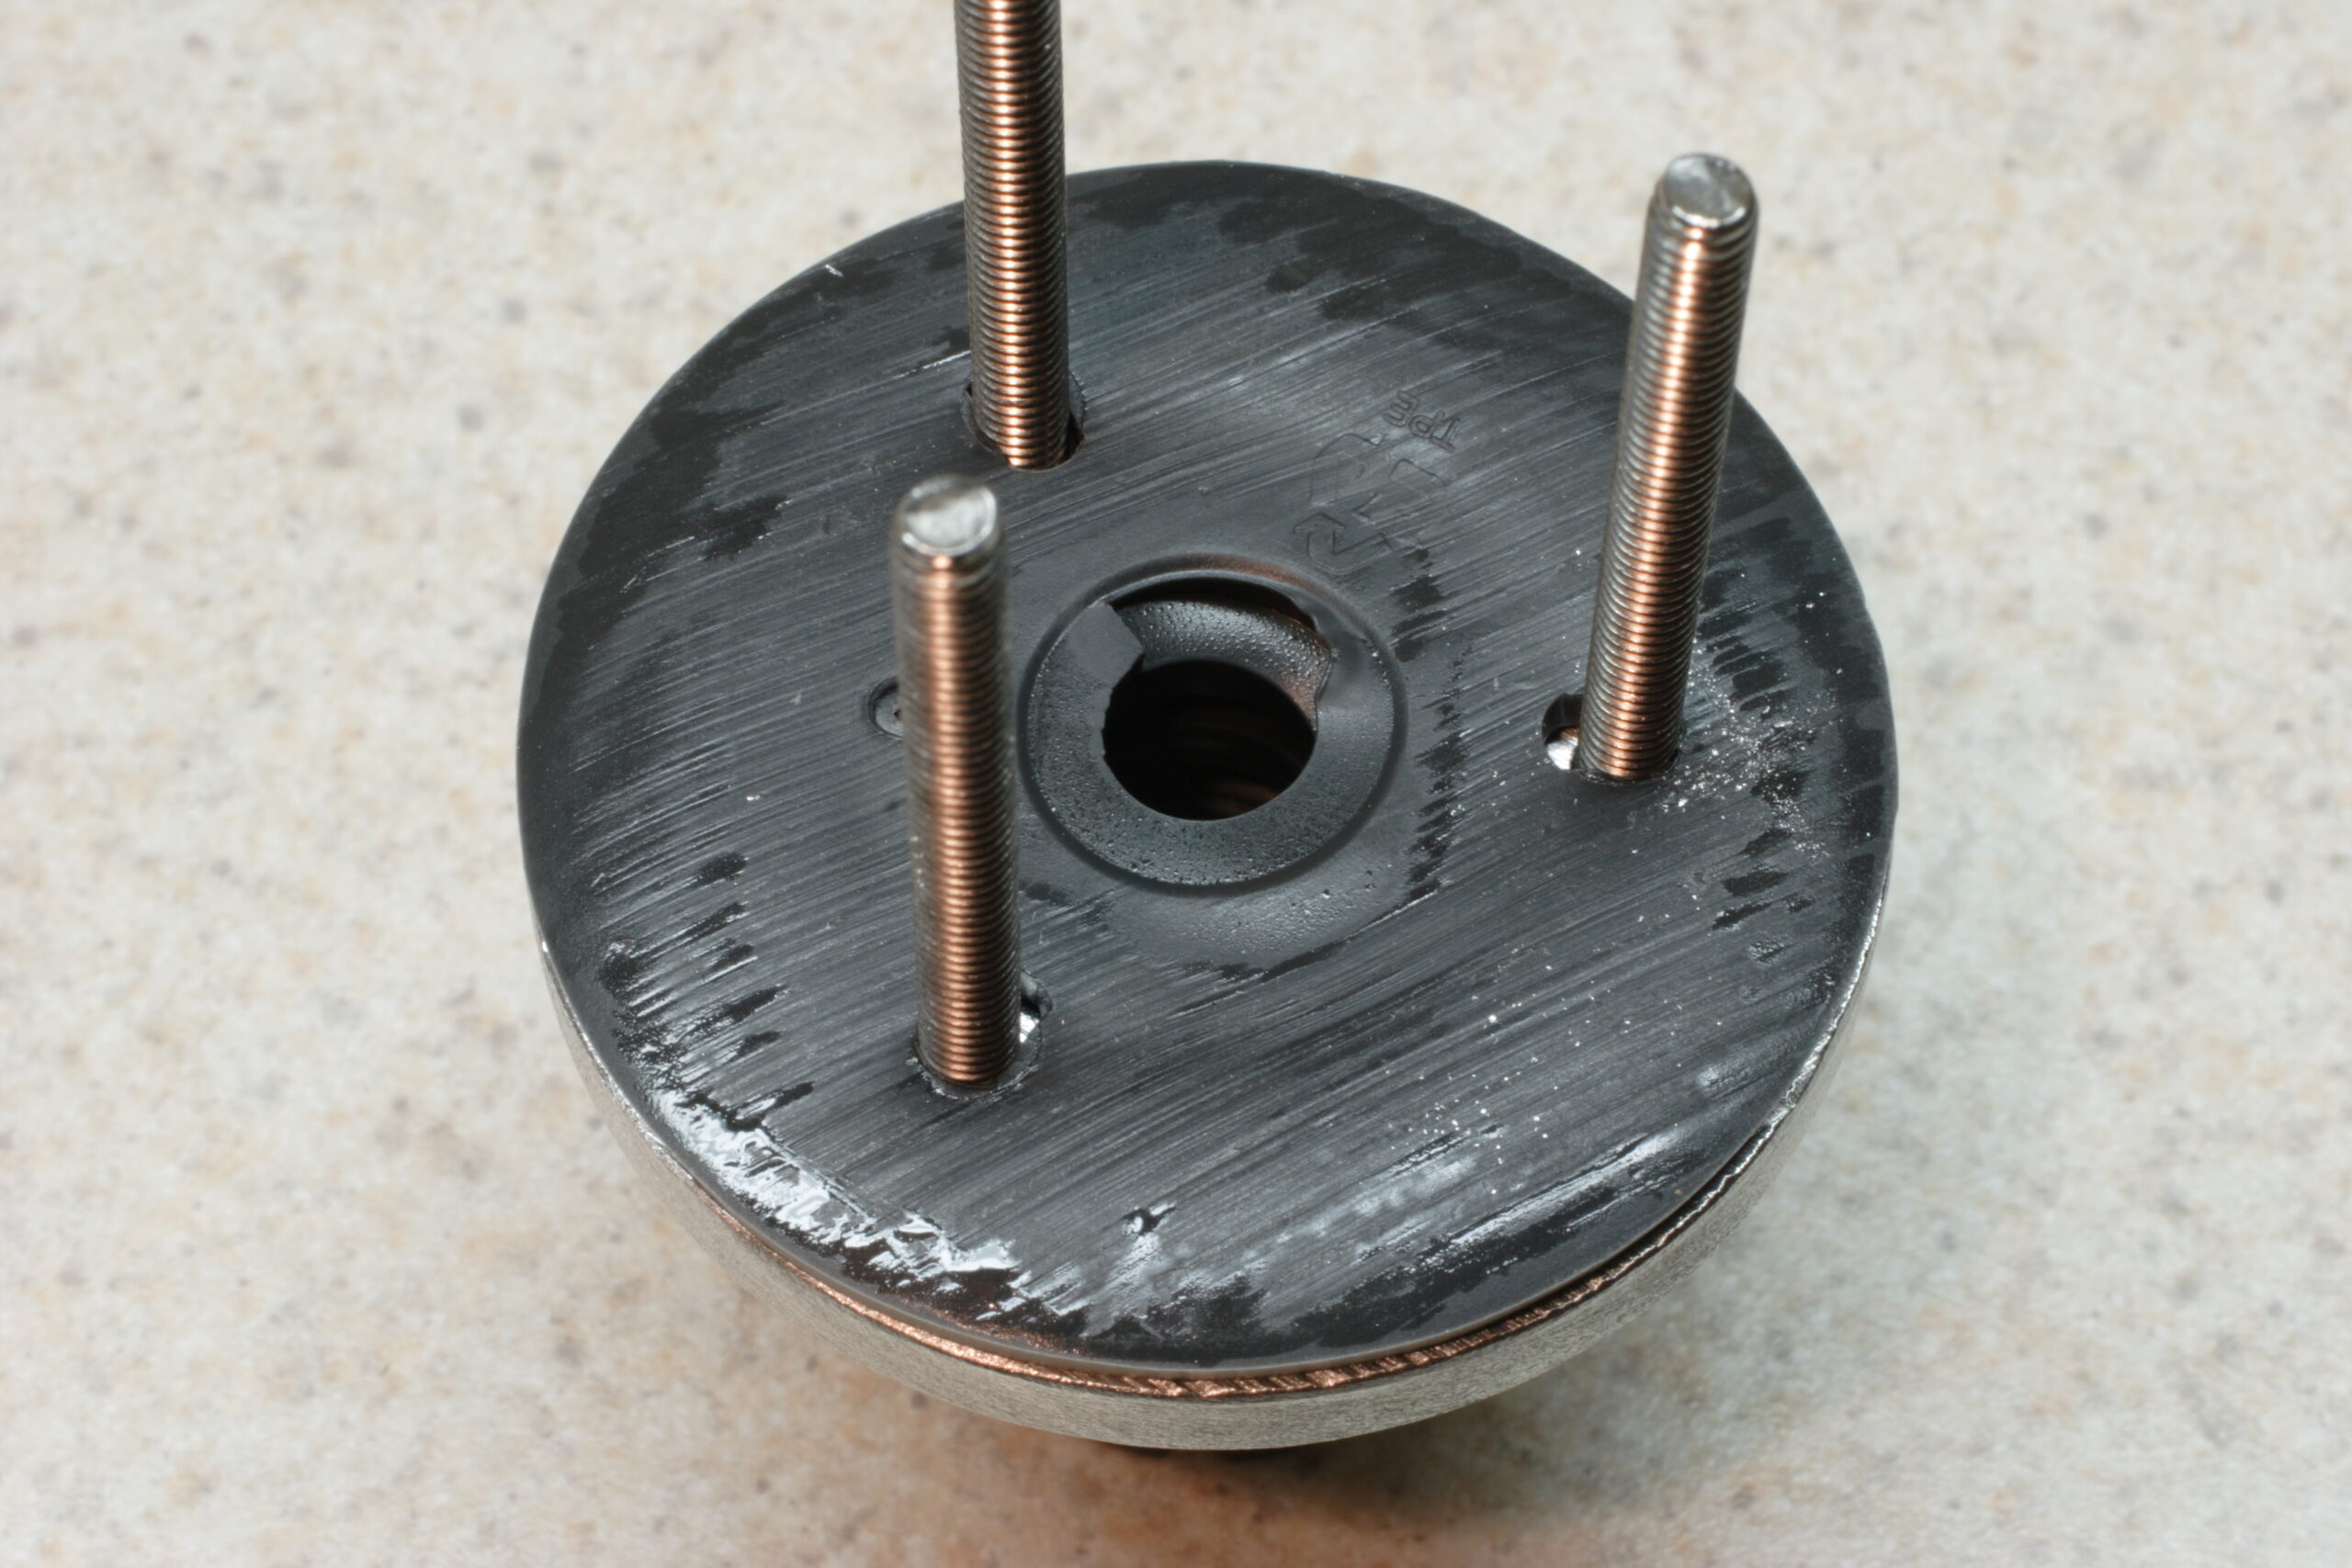
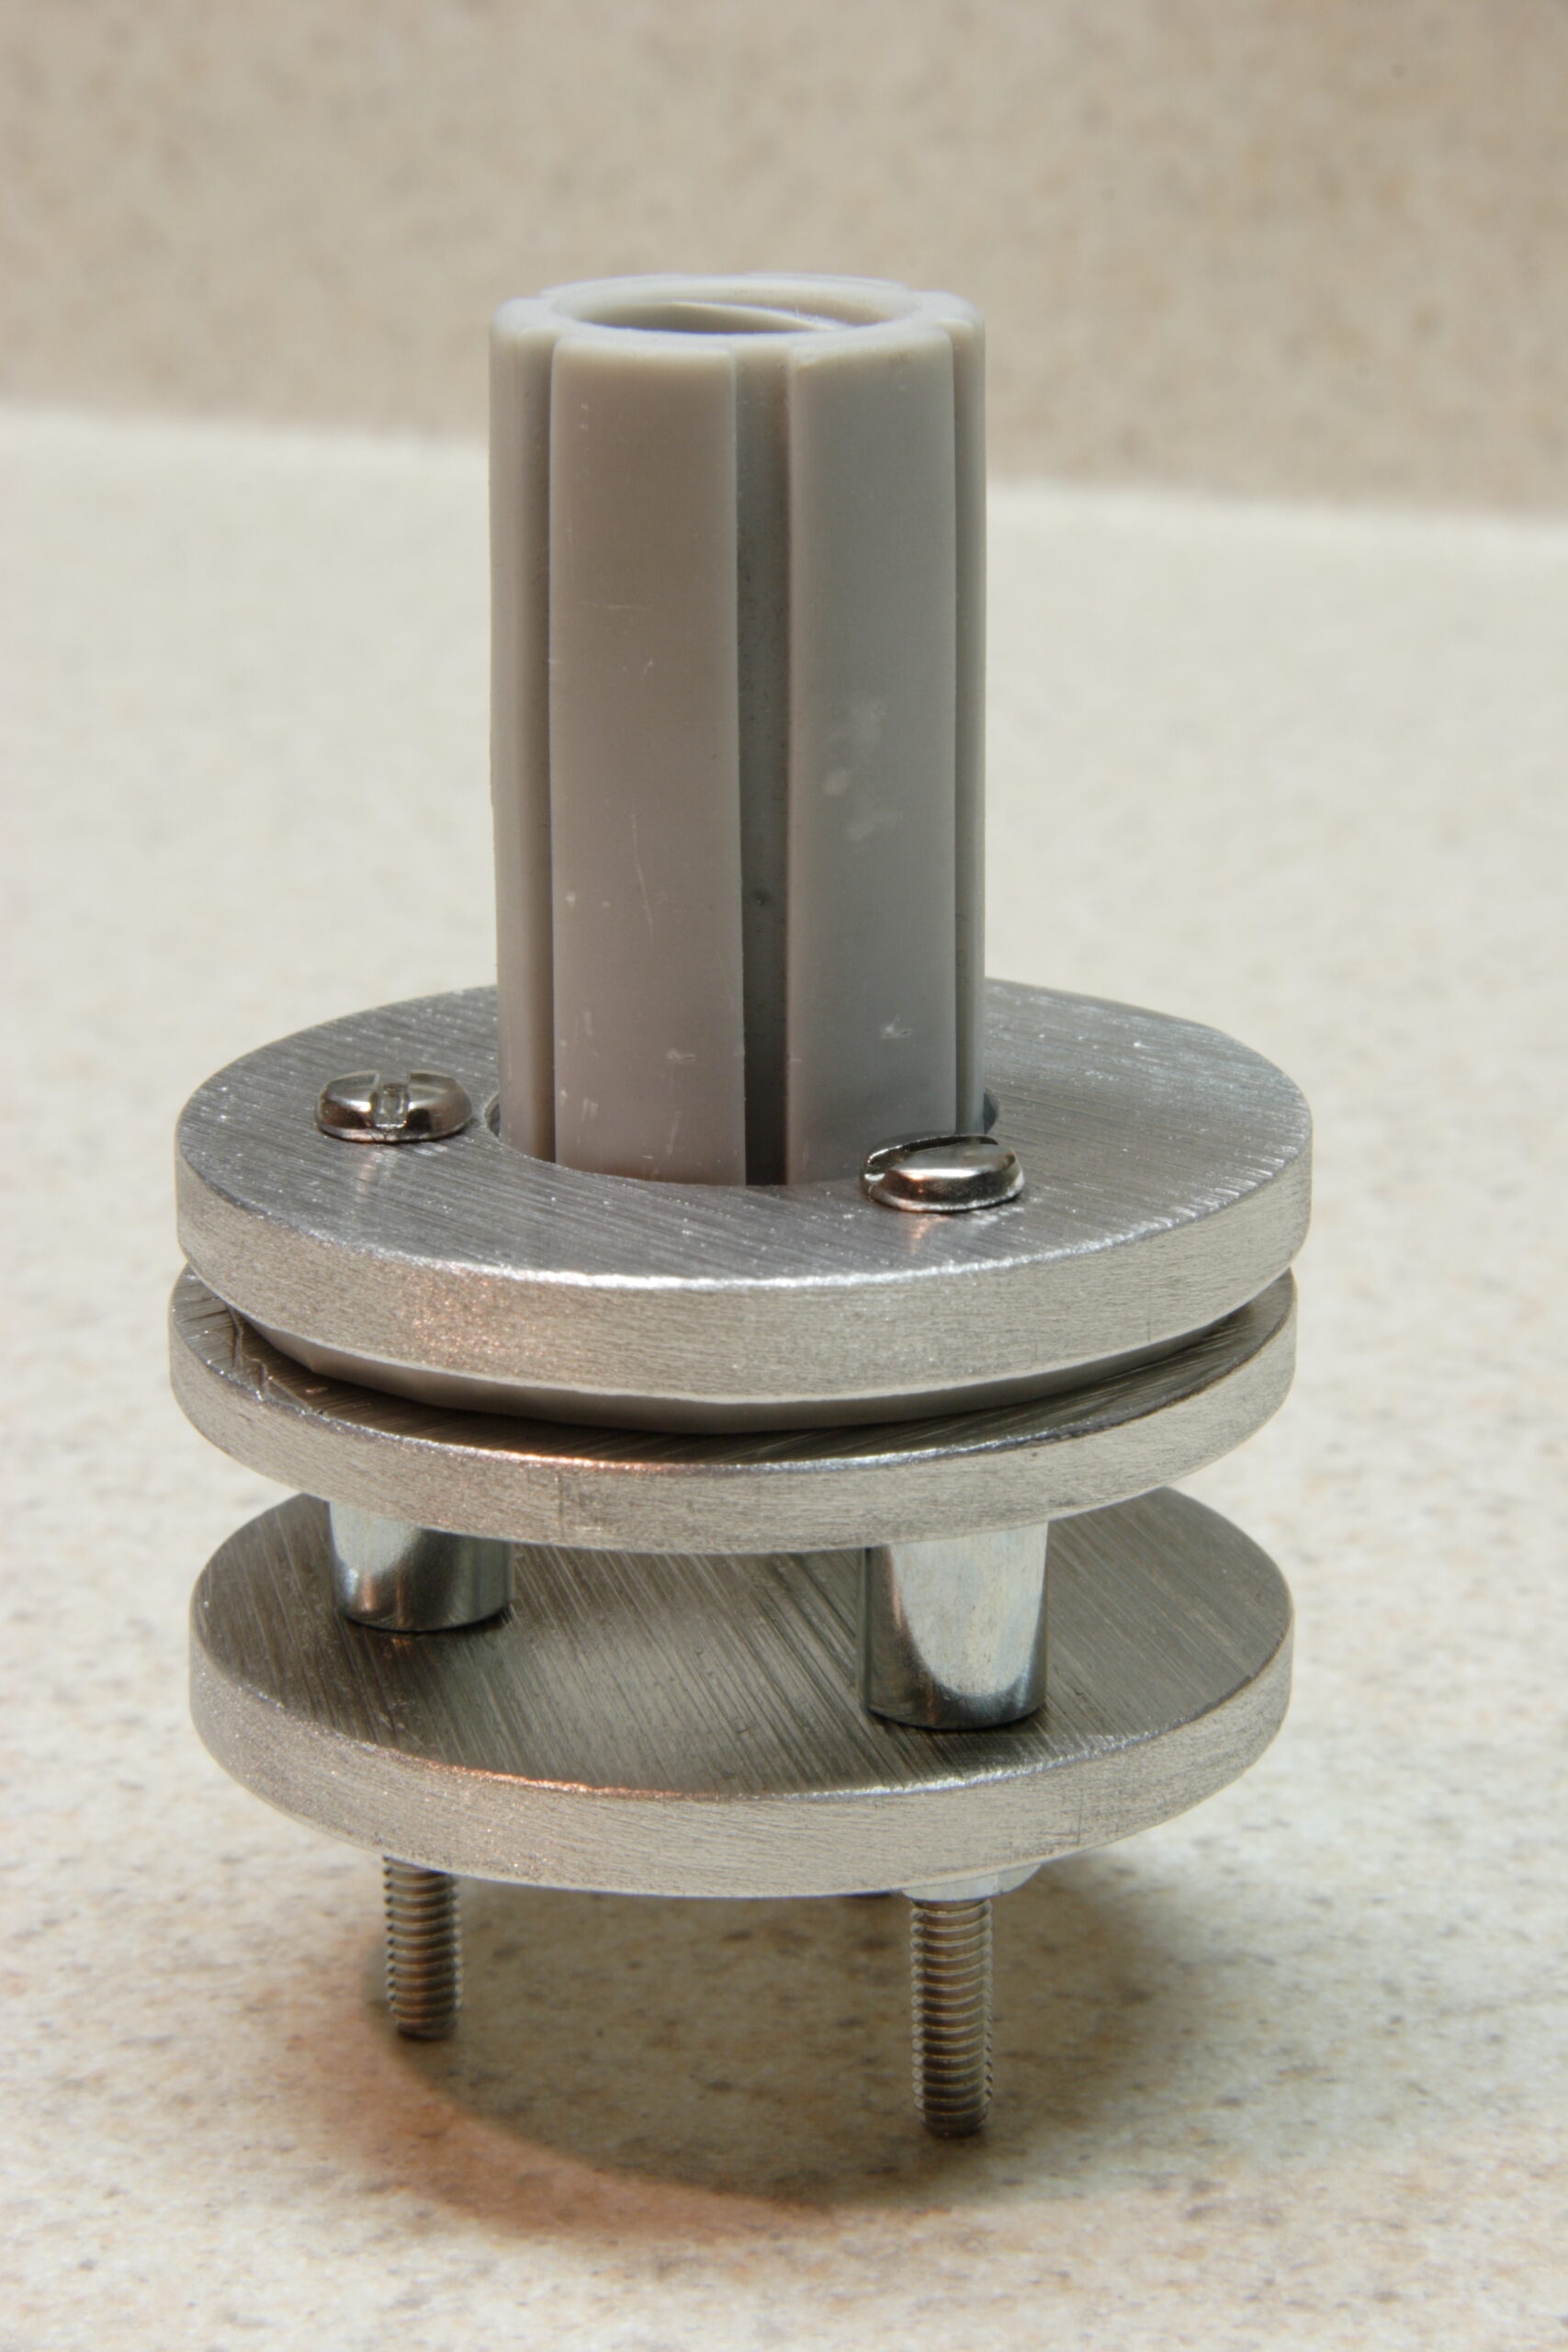
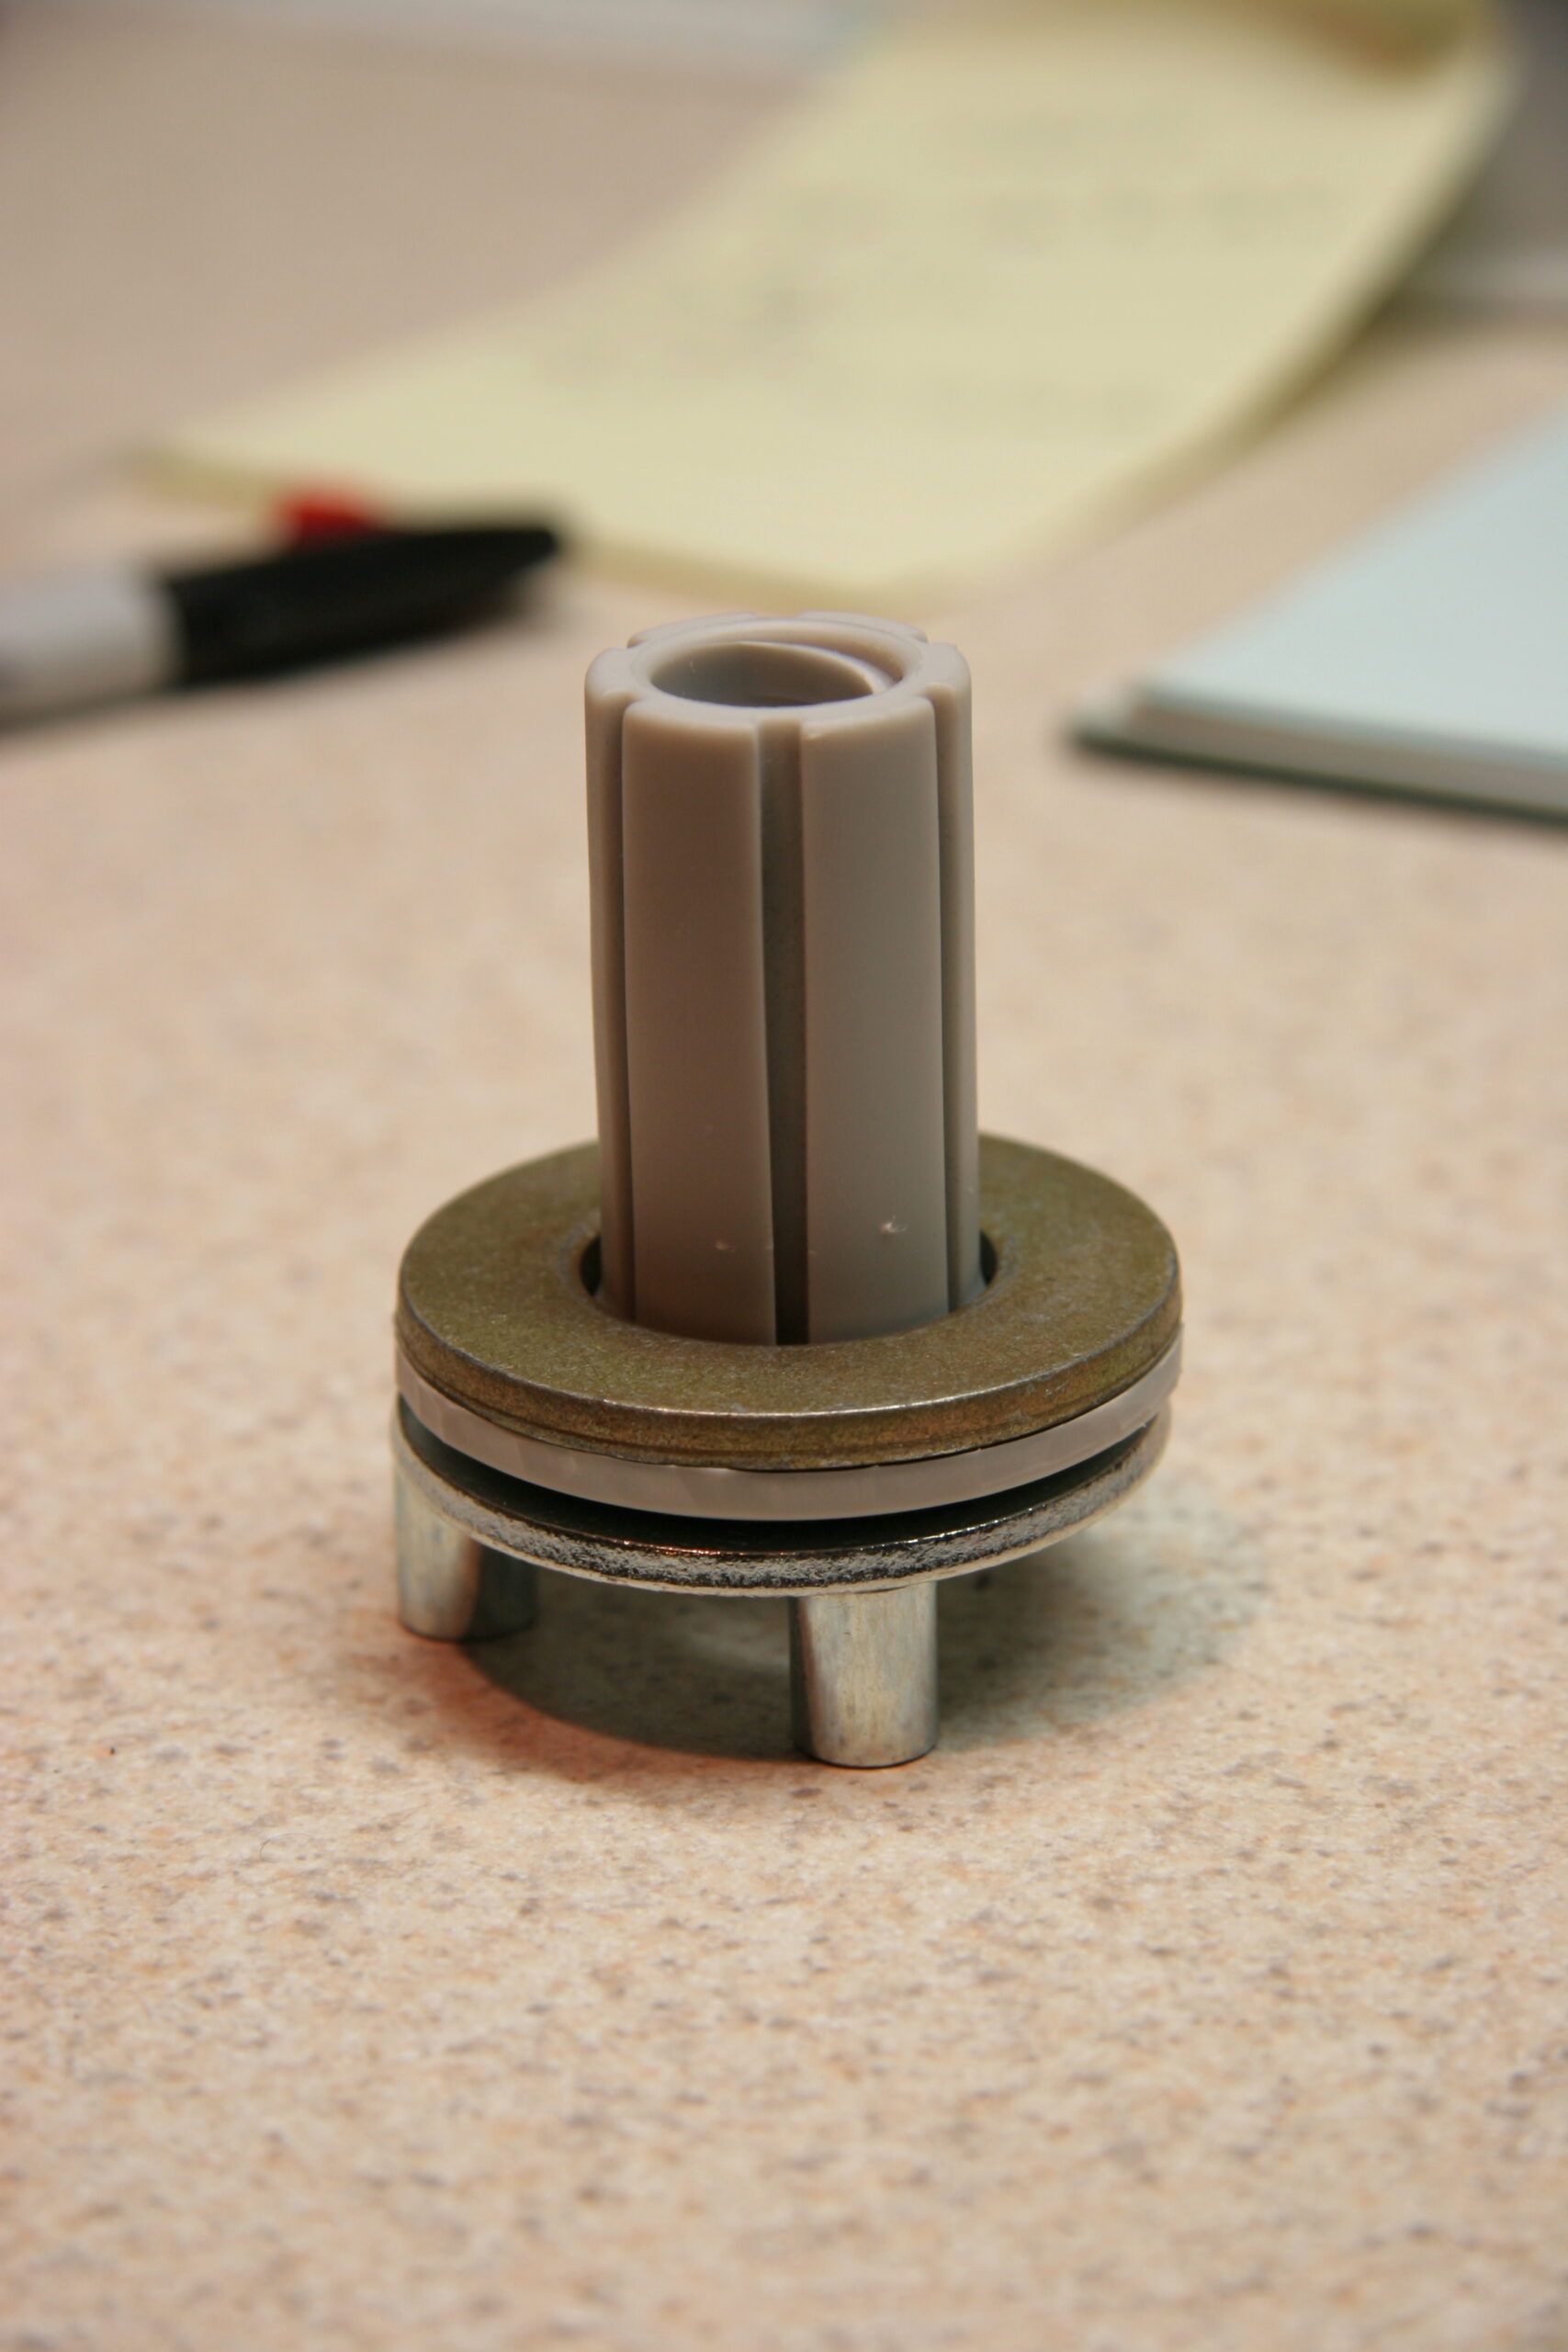
Up there is some of the test pieces I stuck together in order to see if I like how I’m going to mount my iPod in my car.

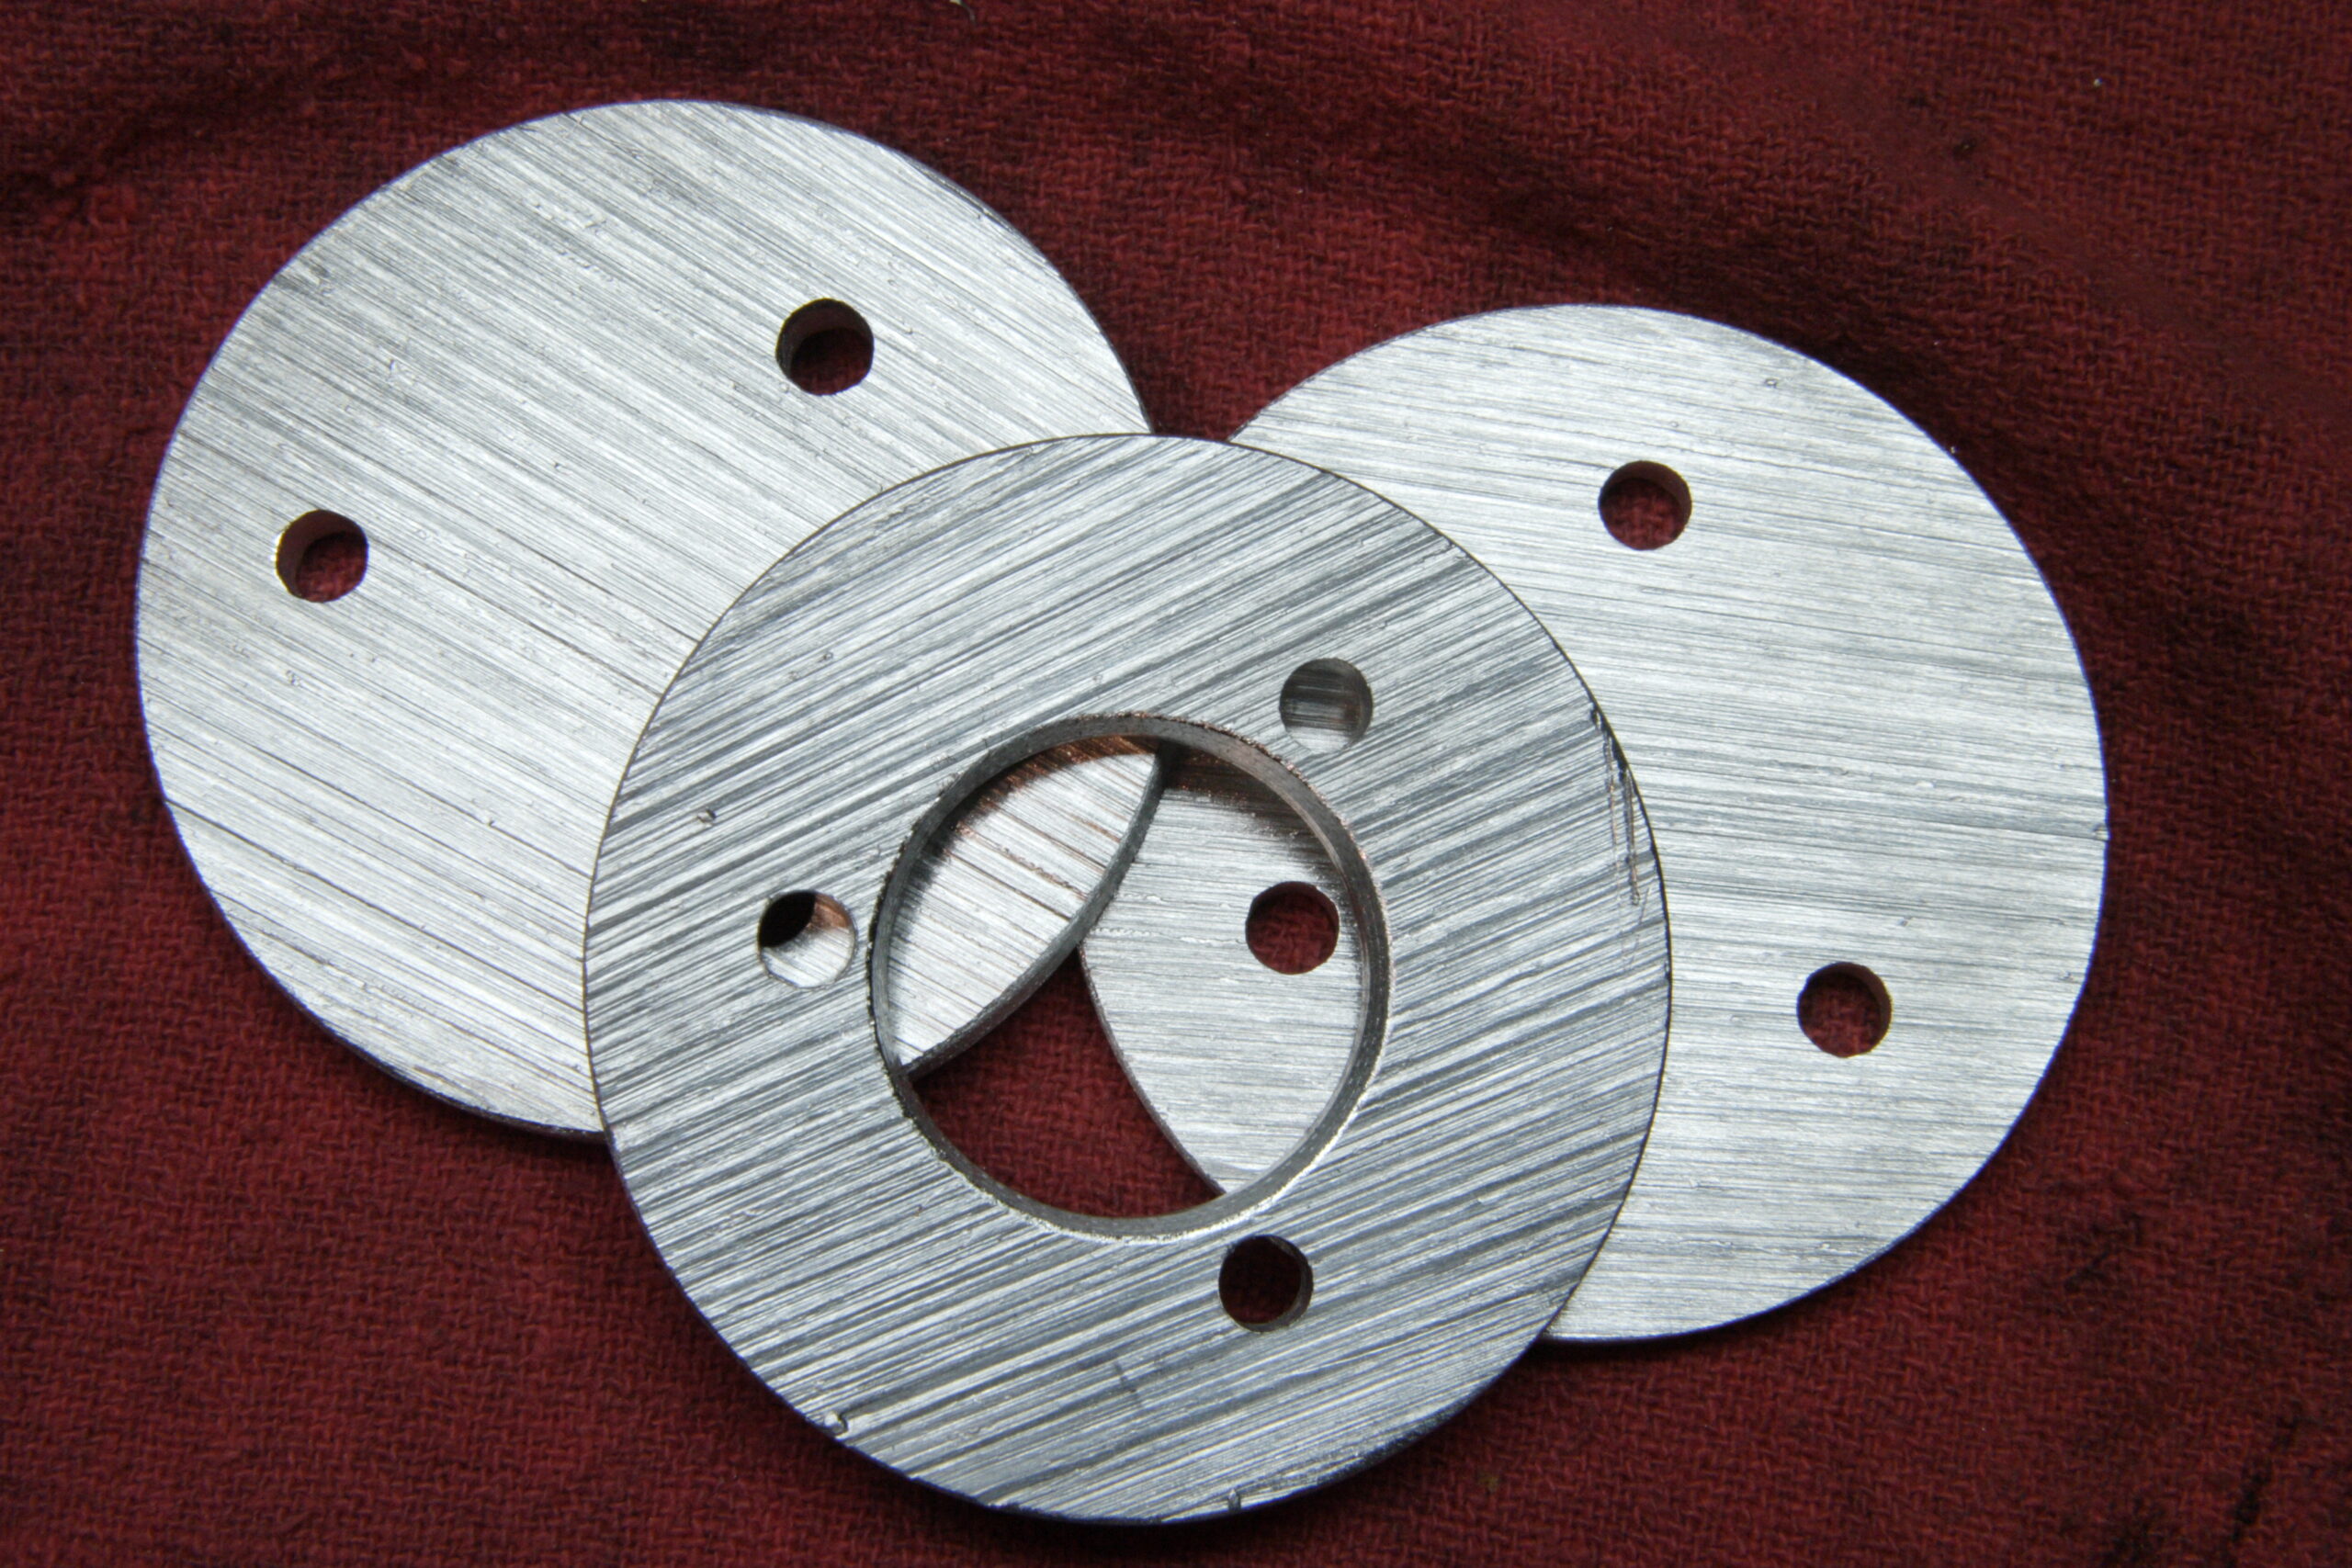
That photo shows a the original grey and white Belkin TuneDok from my Grand Am with most of the cupholder-supporting bits removed. The remaining vinyl bits into which the iPod holder portion threads is sandwiched between two metal plates and set on three spaces. In the final version the plates will (hopefully) be aluminum, there will be a plate on the bottom of the assembly, and that all will be bolted into the very front of the center console of my car, in front of the gear select area, set so the driver can clearly see it between the gear select lever and the accessory power outlet, and located within arm’s reach.

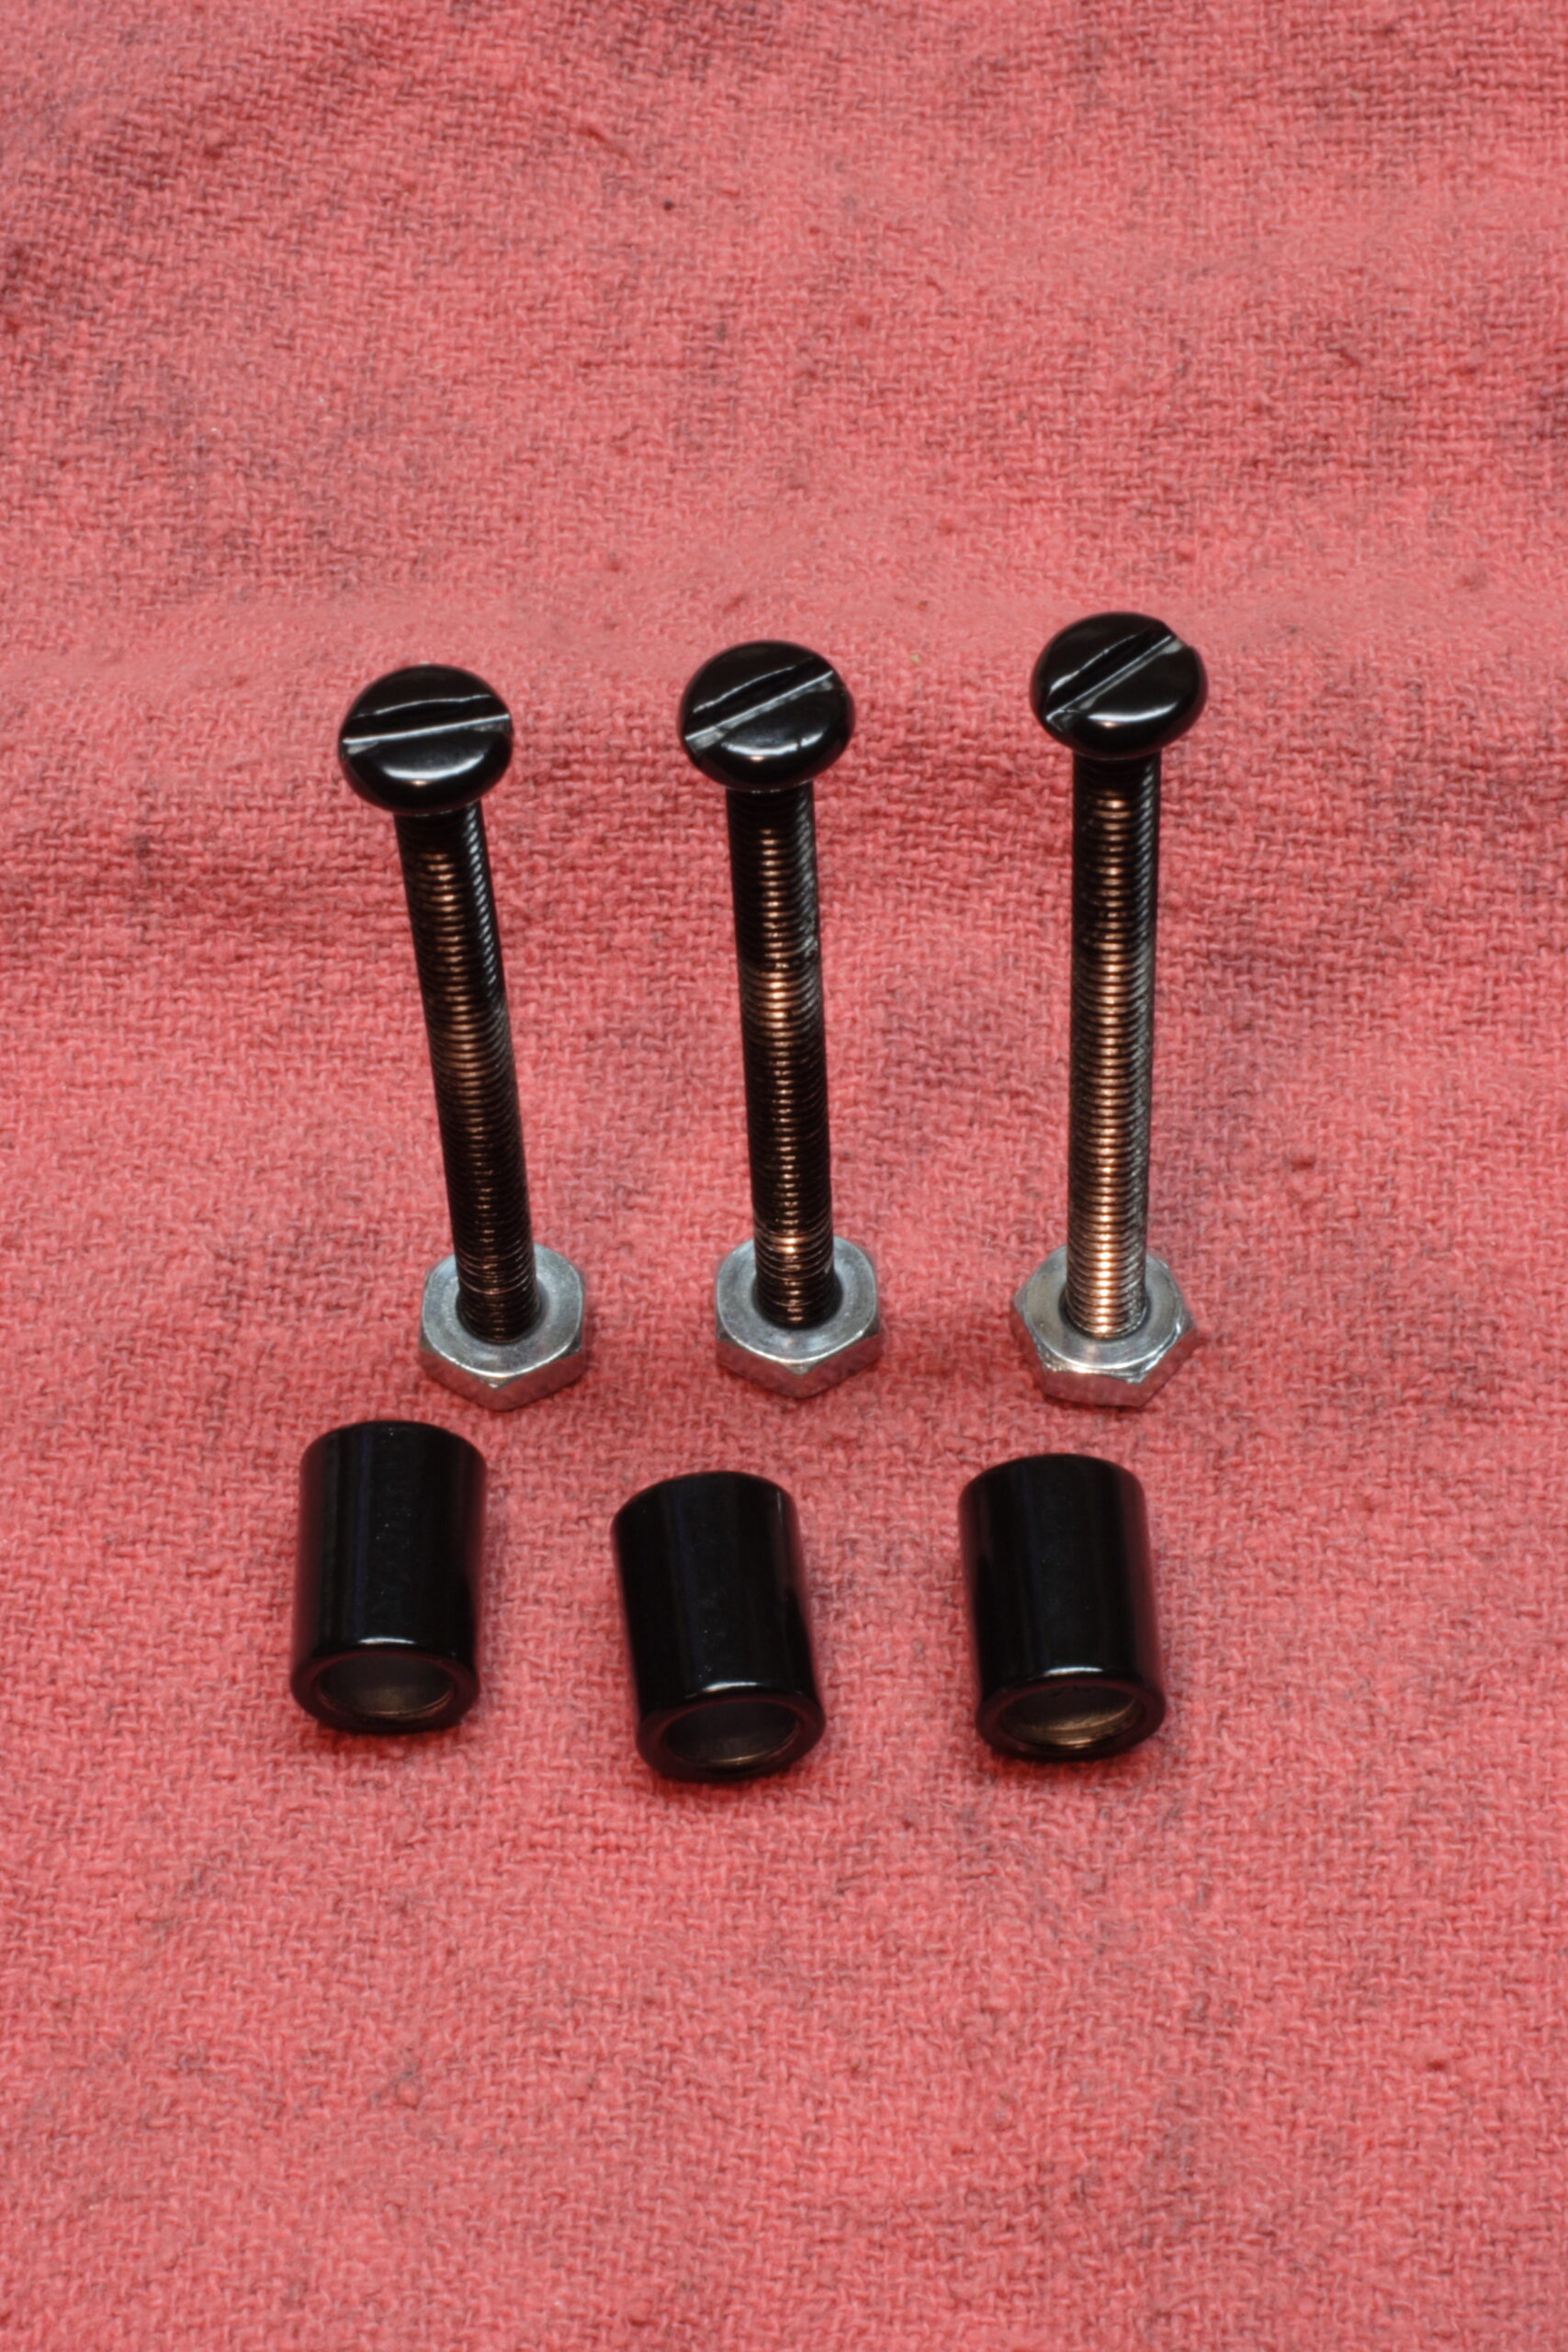
In the finally mounted version I will have most of the bits of a black Belkin TuneDok there instead of the dirty, old white one which is pictured. This will be mounted by running three bolts vertically through all three plates, the vinyl piece (it’ll be a darker grey), and the spacers, then bolting through the plastic tray in the front of the center console, with a washer, a lock washer, and a nut on the underside. I’m also hoping to give all metal pieces (except for maybe the screw heads) a light coating of black paint to help hide it all. If I’m thinking right, it’ll provide a nice, solid physical mounting point for my iPod.

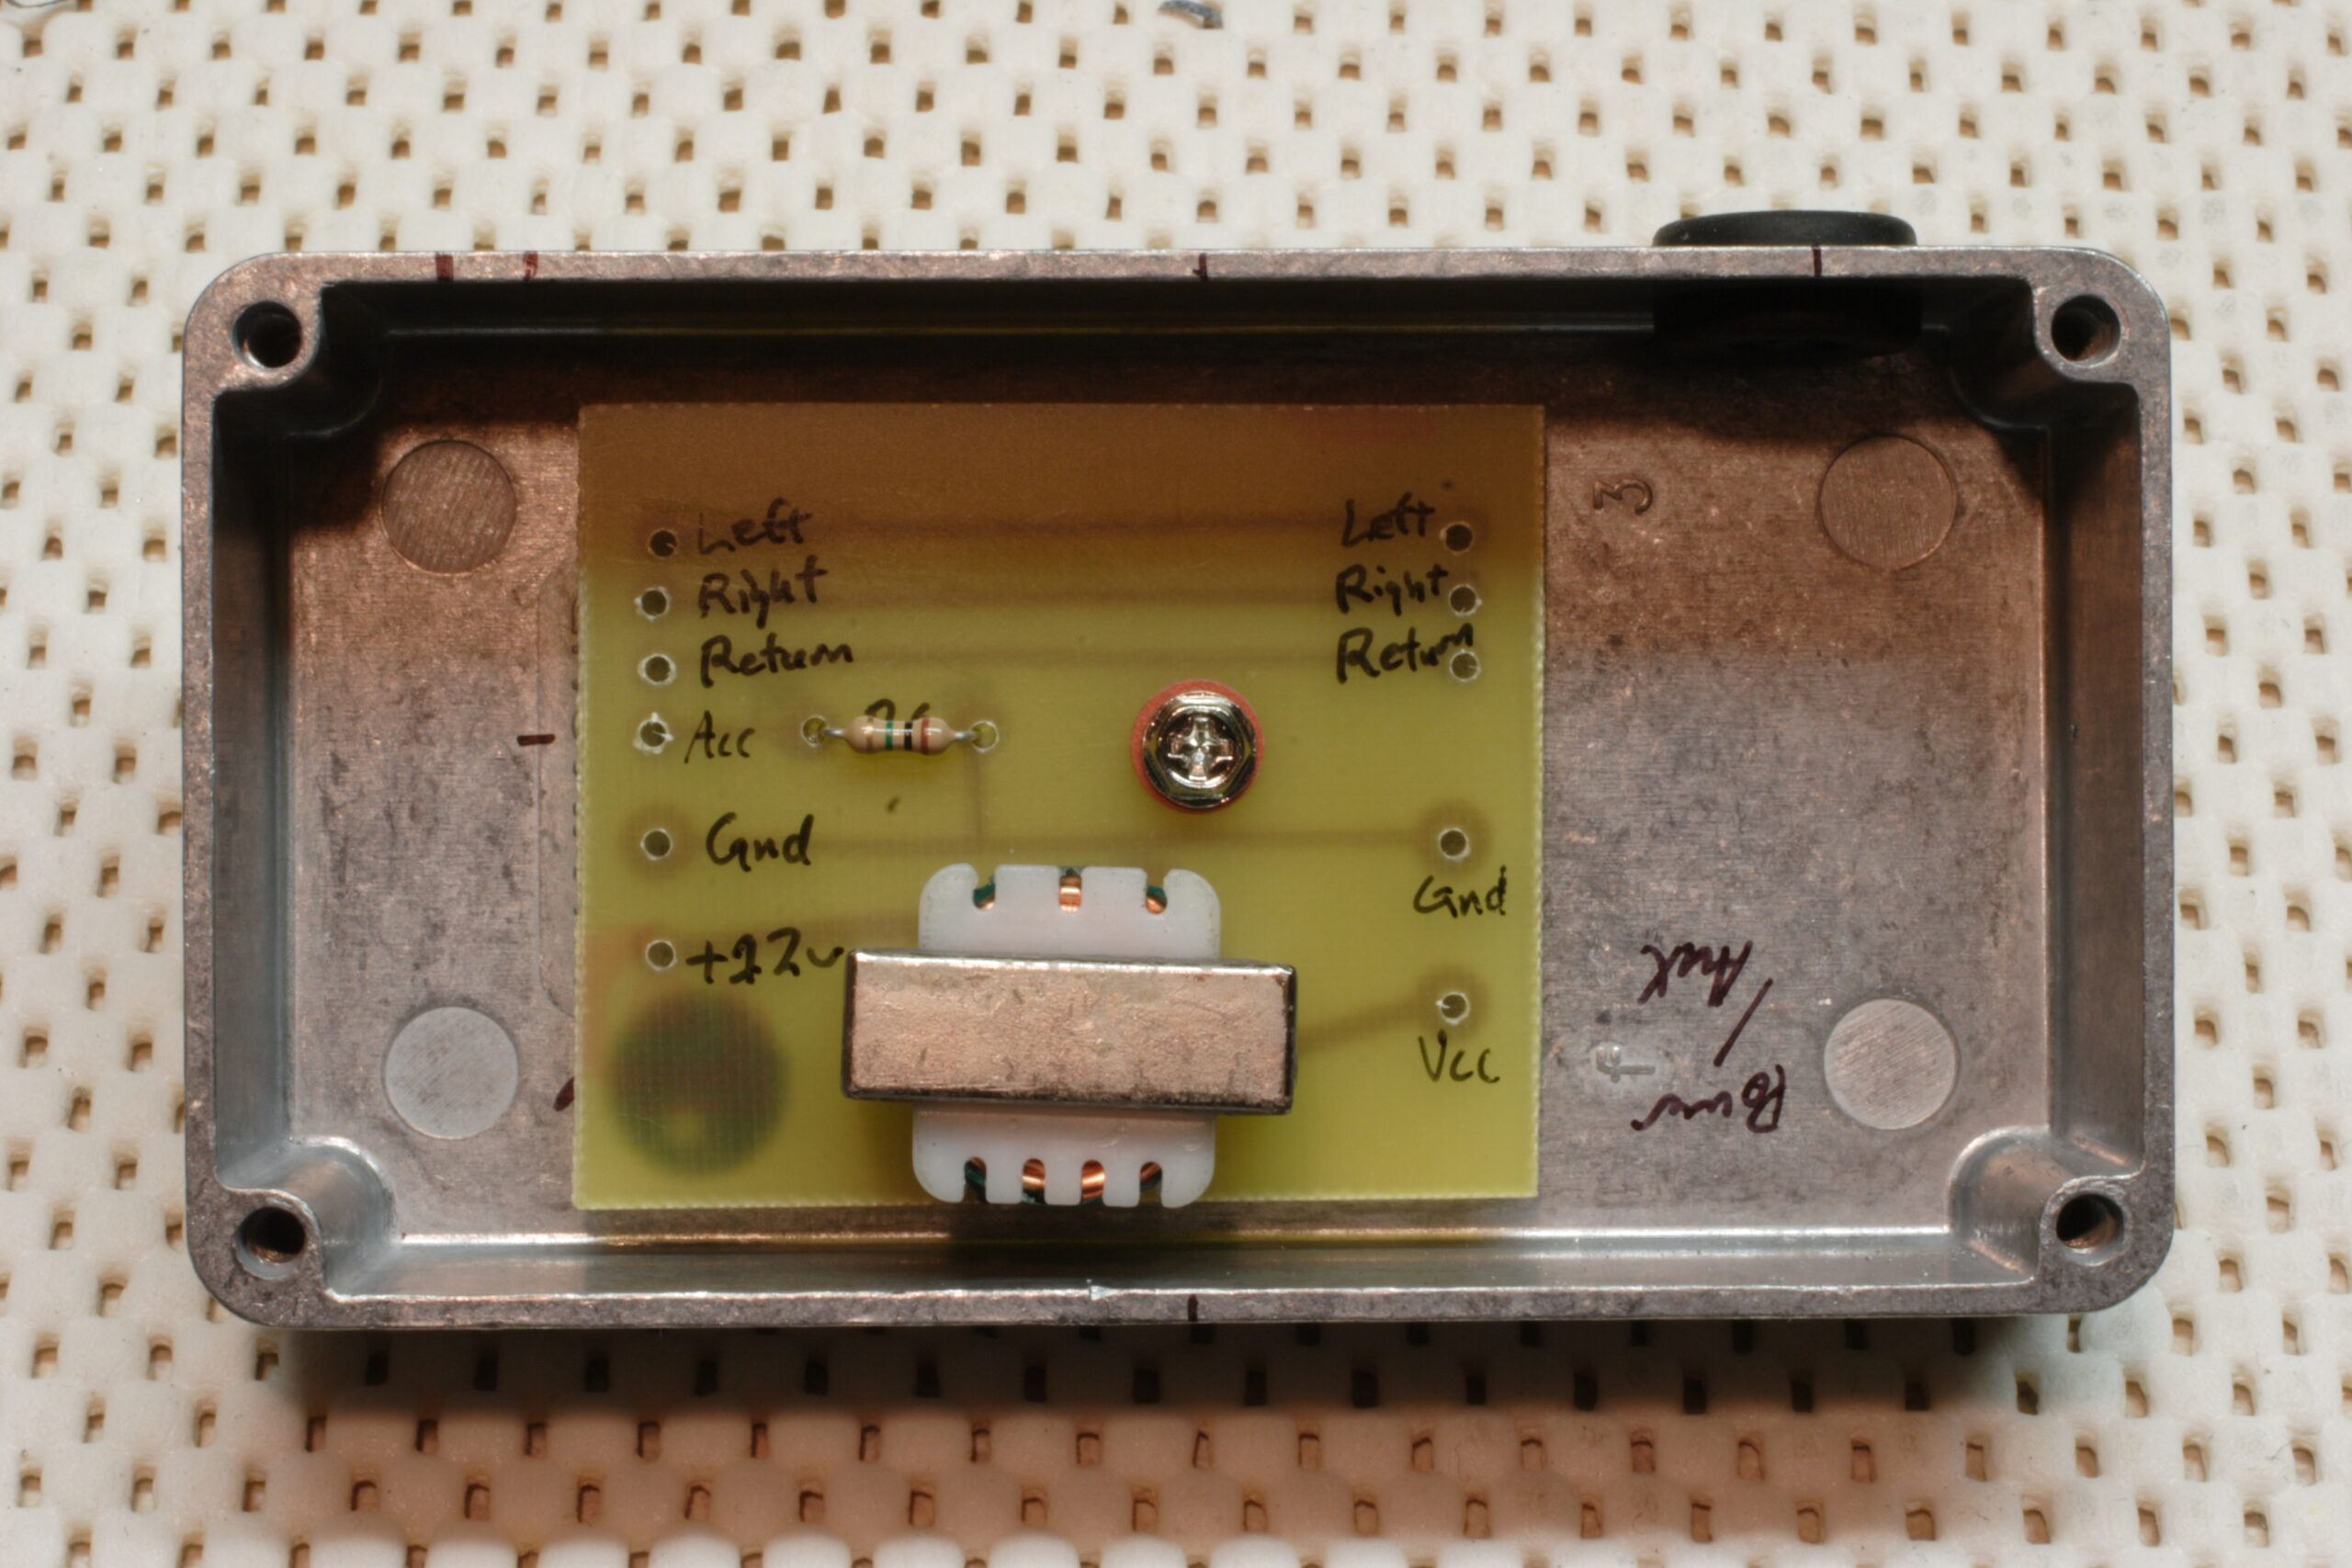
The other half of the problem to solve is that of the electrical connections. Those were mentioned previously, and the only thing I have left to do is find +12v in the audio bus (or whatever it is called) connector on the back of the head unit (I really hope there is a full +12v here) and get access to that. Then I have to somehow safely (and without changing any factory wiring) get to the back of the in-dash Auxiliary Audio Input and get some use out of this. In this I wish to close the switch which indicates if something is hooked up to the Aux In, then run the iPod’s audio into the Left / Right / Common lines.

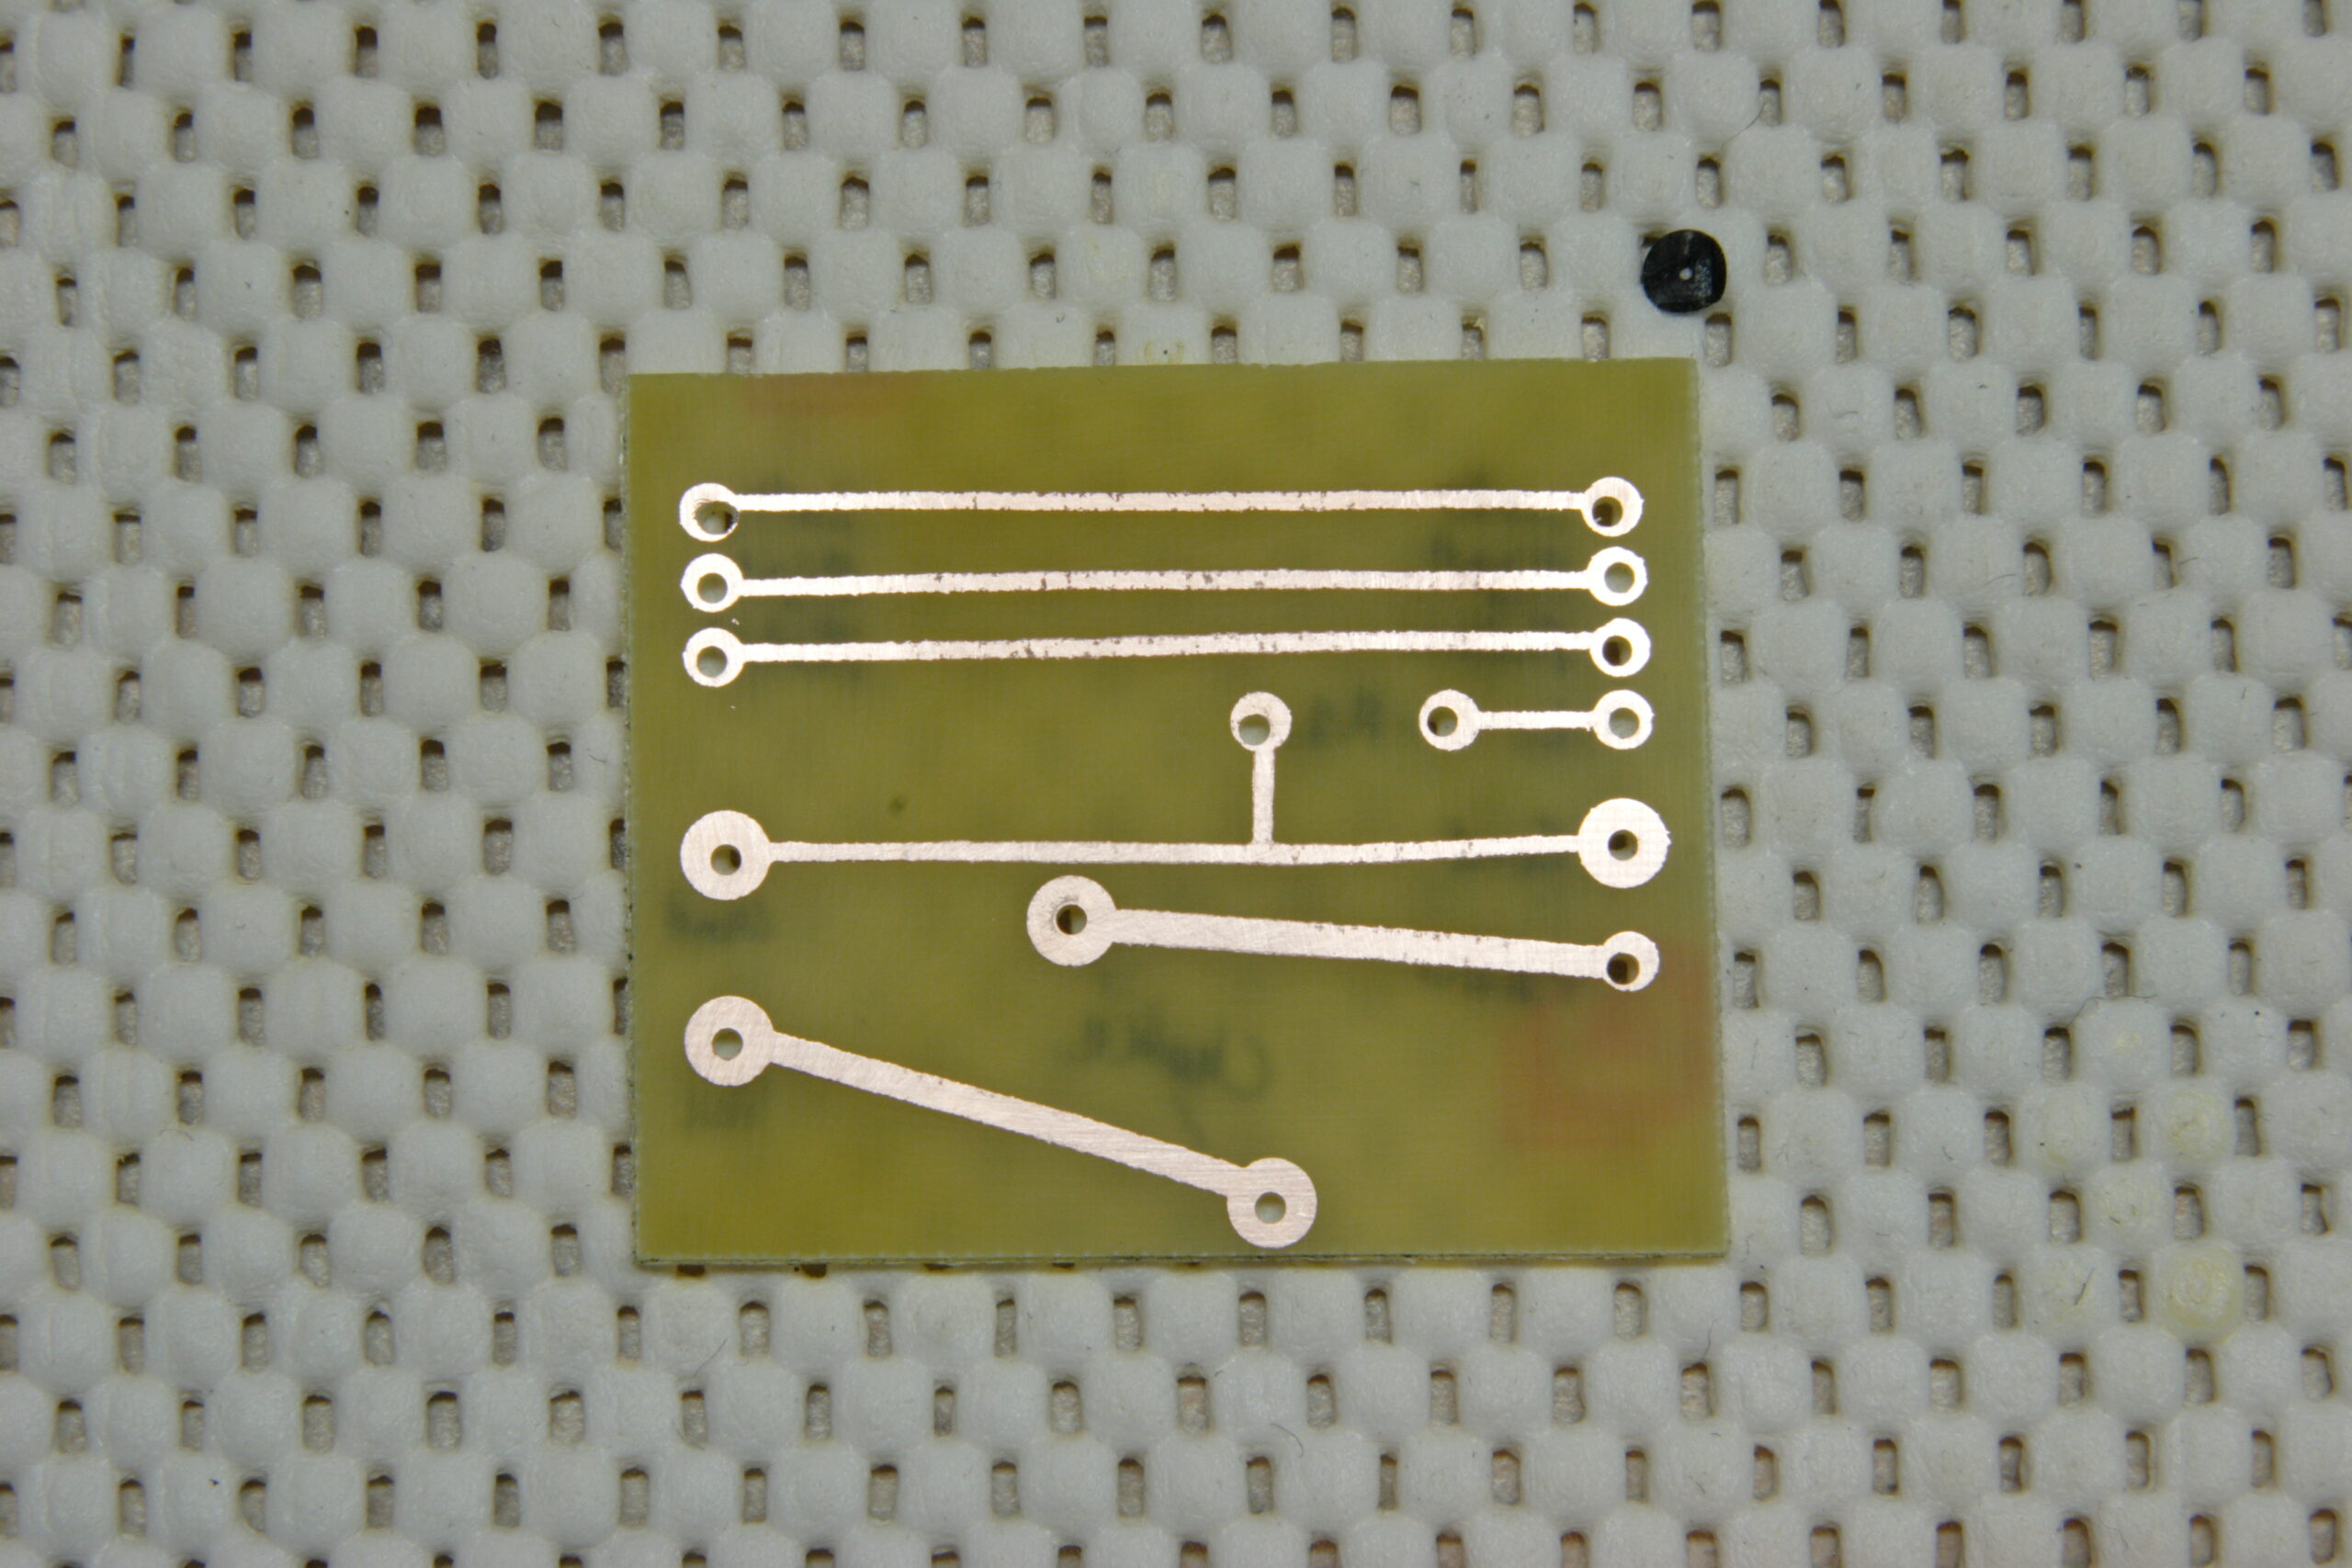
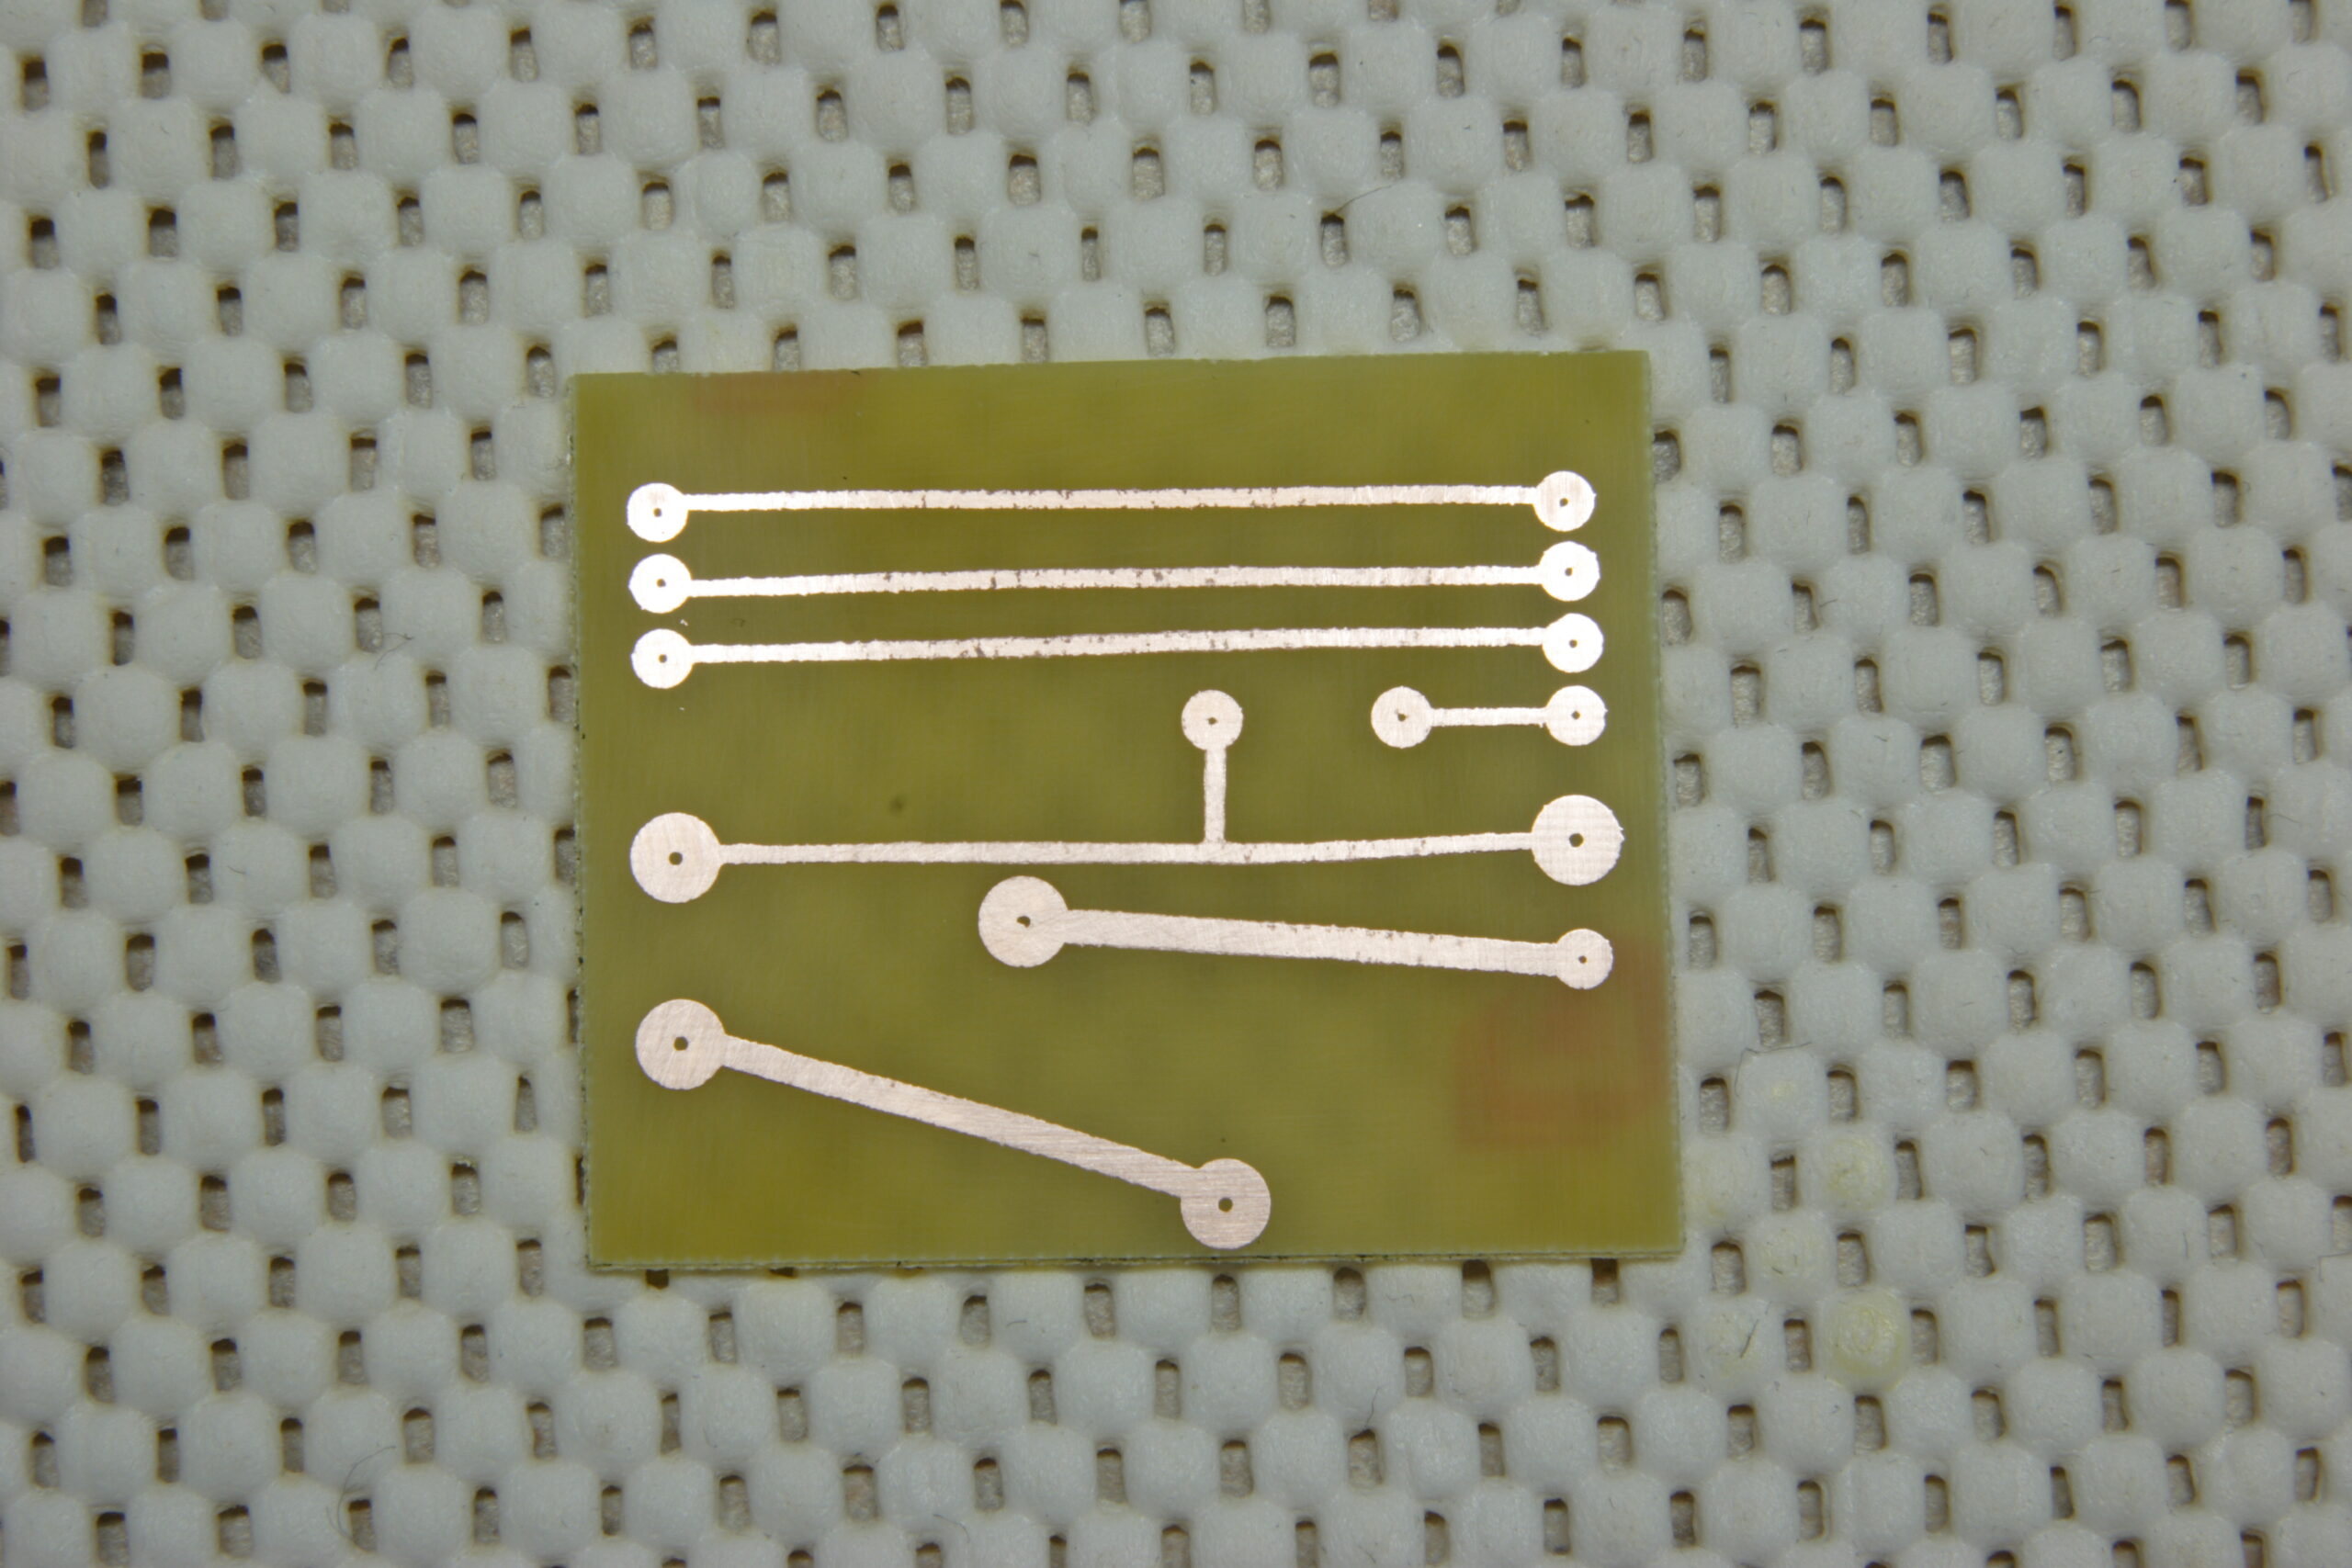
I think I’m also going to etch a PCB and mount it in a shielded (probably solid aluminum) box which will tie this all together. This will give me experience etching PCBs, and it’s a really simple project to start with. The box will be mounted somewhere beneath the iPod mount. There is a bracket inside the console which appears like it may be good for tying this to.

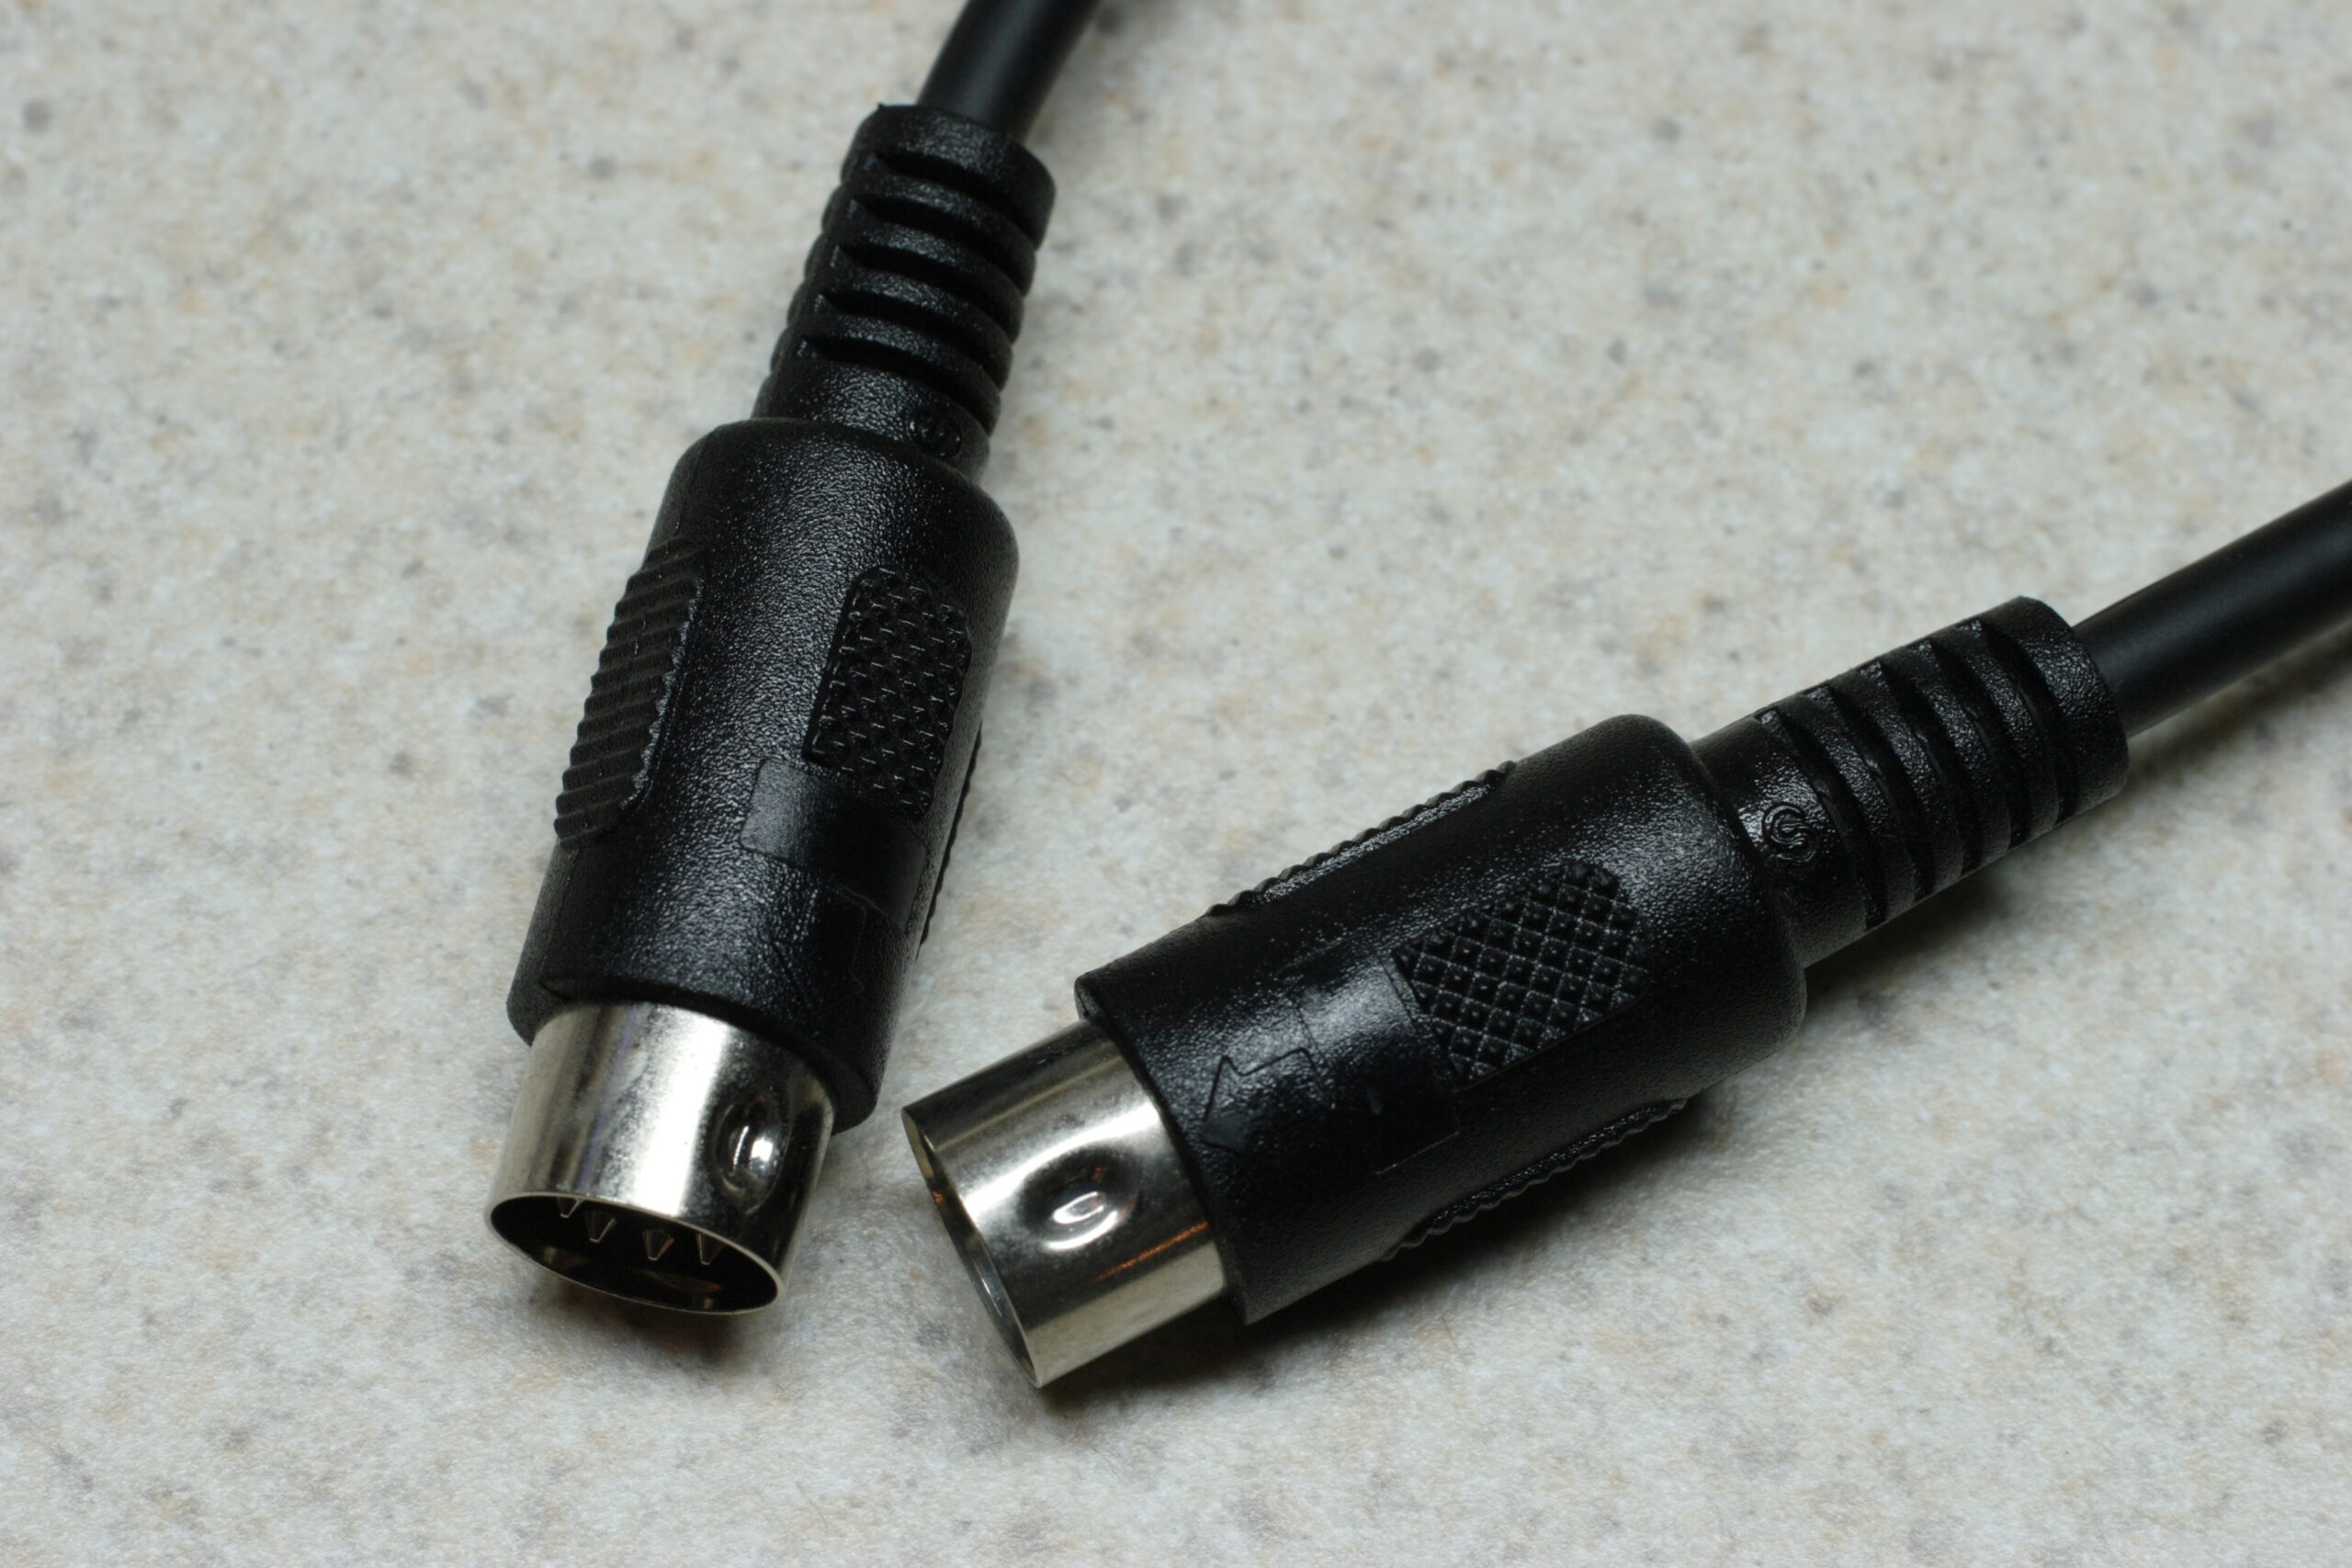
Just as when building the first version of my iPod adapter for this car, another MIDI cable will likely be sacrificed for making the connection to the Aux In. I’m not sure what I’ll do for power wiring yet. That’ll have to get figured out later. Maybe some random 18 gauge or 20 gauge or whatever I’ve got laying around the basement twisted together with some shrink tubing or tech flex over it or something. < shrug >

Oh, and completely unrelated to everything else I’ve mentioned in this post, I also updated yesterday’s LJ post which mentions Bell’s Sparkling Ale with a non-screwed-up photo. You can see that photo here if you would like.

automotivemaking thingsmoved from livejournal

Lowel ego

Wow, the Lowel ego looks like exactly the kind of lighting setup I need.

Then again, I could probably make something similar for a bit less… But it at least gives me some ideas. Maybe a nice diffuse lighting kit will be my next project after the in-car iPod mounting and the MAME machine.

electronicsmaking thingsmoved from livejournal

Honda Update

Well, it seems that someone from Honda called me to answer some questions I had about the Honda Music Link iPod Adapter. Instead of answering my questions, they got about a 10 minute earful regarding how bad the product is. Supposedly it all, plus the URL of my website, has been logged as a complaint. We’ll see what happens…

Maybe next I’ll address a letter to someone a bit higher up at Honda.

acquired thingsautomotivemoved from livejournal

iPod + Civic Brainstorming

Some ideas…

– Find a way to safely / easily / reversibly remove the door on the aux audio connector (probably pin + spring friction fit) and use a right angle connector.

– Trace pinout on cable between Nav unit and Music Link adapter box.

– Identify pins used for power. Likely pins 9 and 10 of connector E ‘BLU (SAT ECU BUS (+))’ and ‘PNK (SAT ECU BUS (-))’. May also be pins 1 and 11, ‘BLU (+B GA-NET)’ and ‘BLK (GA-NET GND)’.

– Adapt one half of 08A31-0F1-000 (BUS HARN 2PORT) to provide power to iPod (hopefully is +12v, otherwise cancel idea) and use other half to Honda Music Link. Probably wire-wrap / solder two pins in connector and heat shrink for insulation. Harnesses are cheap and readily available.

– Mount Belkin TuneDok in left side of storage area in front of gear selector. Use threaded sleeve from center of cupholder cut out and braced with large (trimmed?) washer. Bolt through bottom of stoarge area.

– Buy Belkin Auto Kit (Black) from eBay to acquire dock connector cable.

– Small PCB in project box holding 1MΩ resistor (to emulate Belkin Auto Kit and pause on power off). Probably will also patch audio from dock cable to 3.5mm plug and power from wires leading from BUS HARN 2PORT to dock cable.

– Appears to be space in console in front of gear select to mount small project box. There is a medium sized structural tube to which it could be cable tied (with padding, similar to how Music Link box is mounted).

– RF chokes on all audio lines inside of project box, just to be sure.

End result should be all-black mounting hardware. No changes to any factory wiring. Audio fed through factory connector, power pulled from the same place as iPod charging power is currently acquired. Power to iPod should be nice, clean power, filtered by whatever filters the power in the head unit making for no noise.

Before doing all that, I need to take my vehicle in and get the resonating sound I’ve been hearing when the engine is running at 1400-1500 RPM checked out. I think this is a common problem. I also need to get my iPod taken care of at some point, because I think the disk in it may be dying.

Okay, end of rambling.

automotiveelectronicsmaking thingsmoved from livejournal

iPod Stuff

Gur. I’m getting tired of the whole Honda / iPod thing. I just want the damn thing to work.

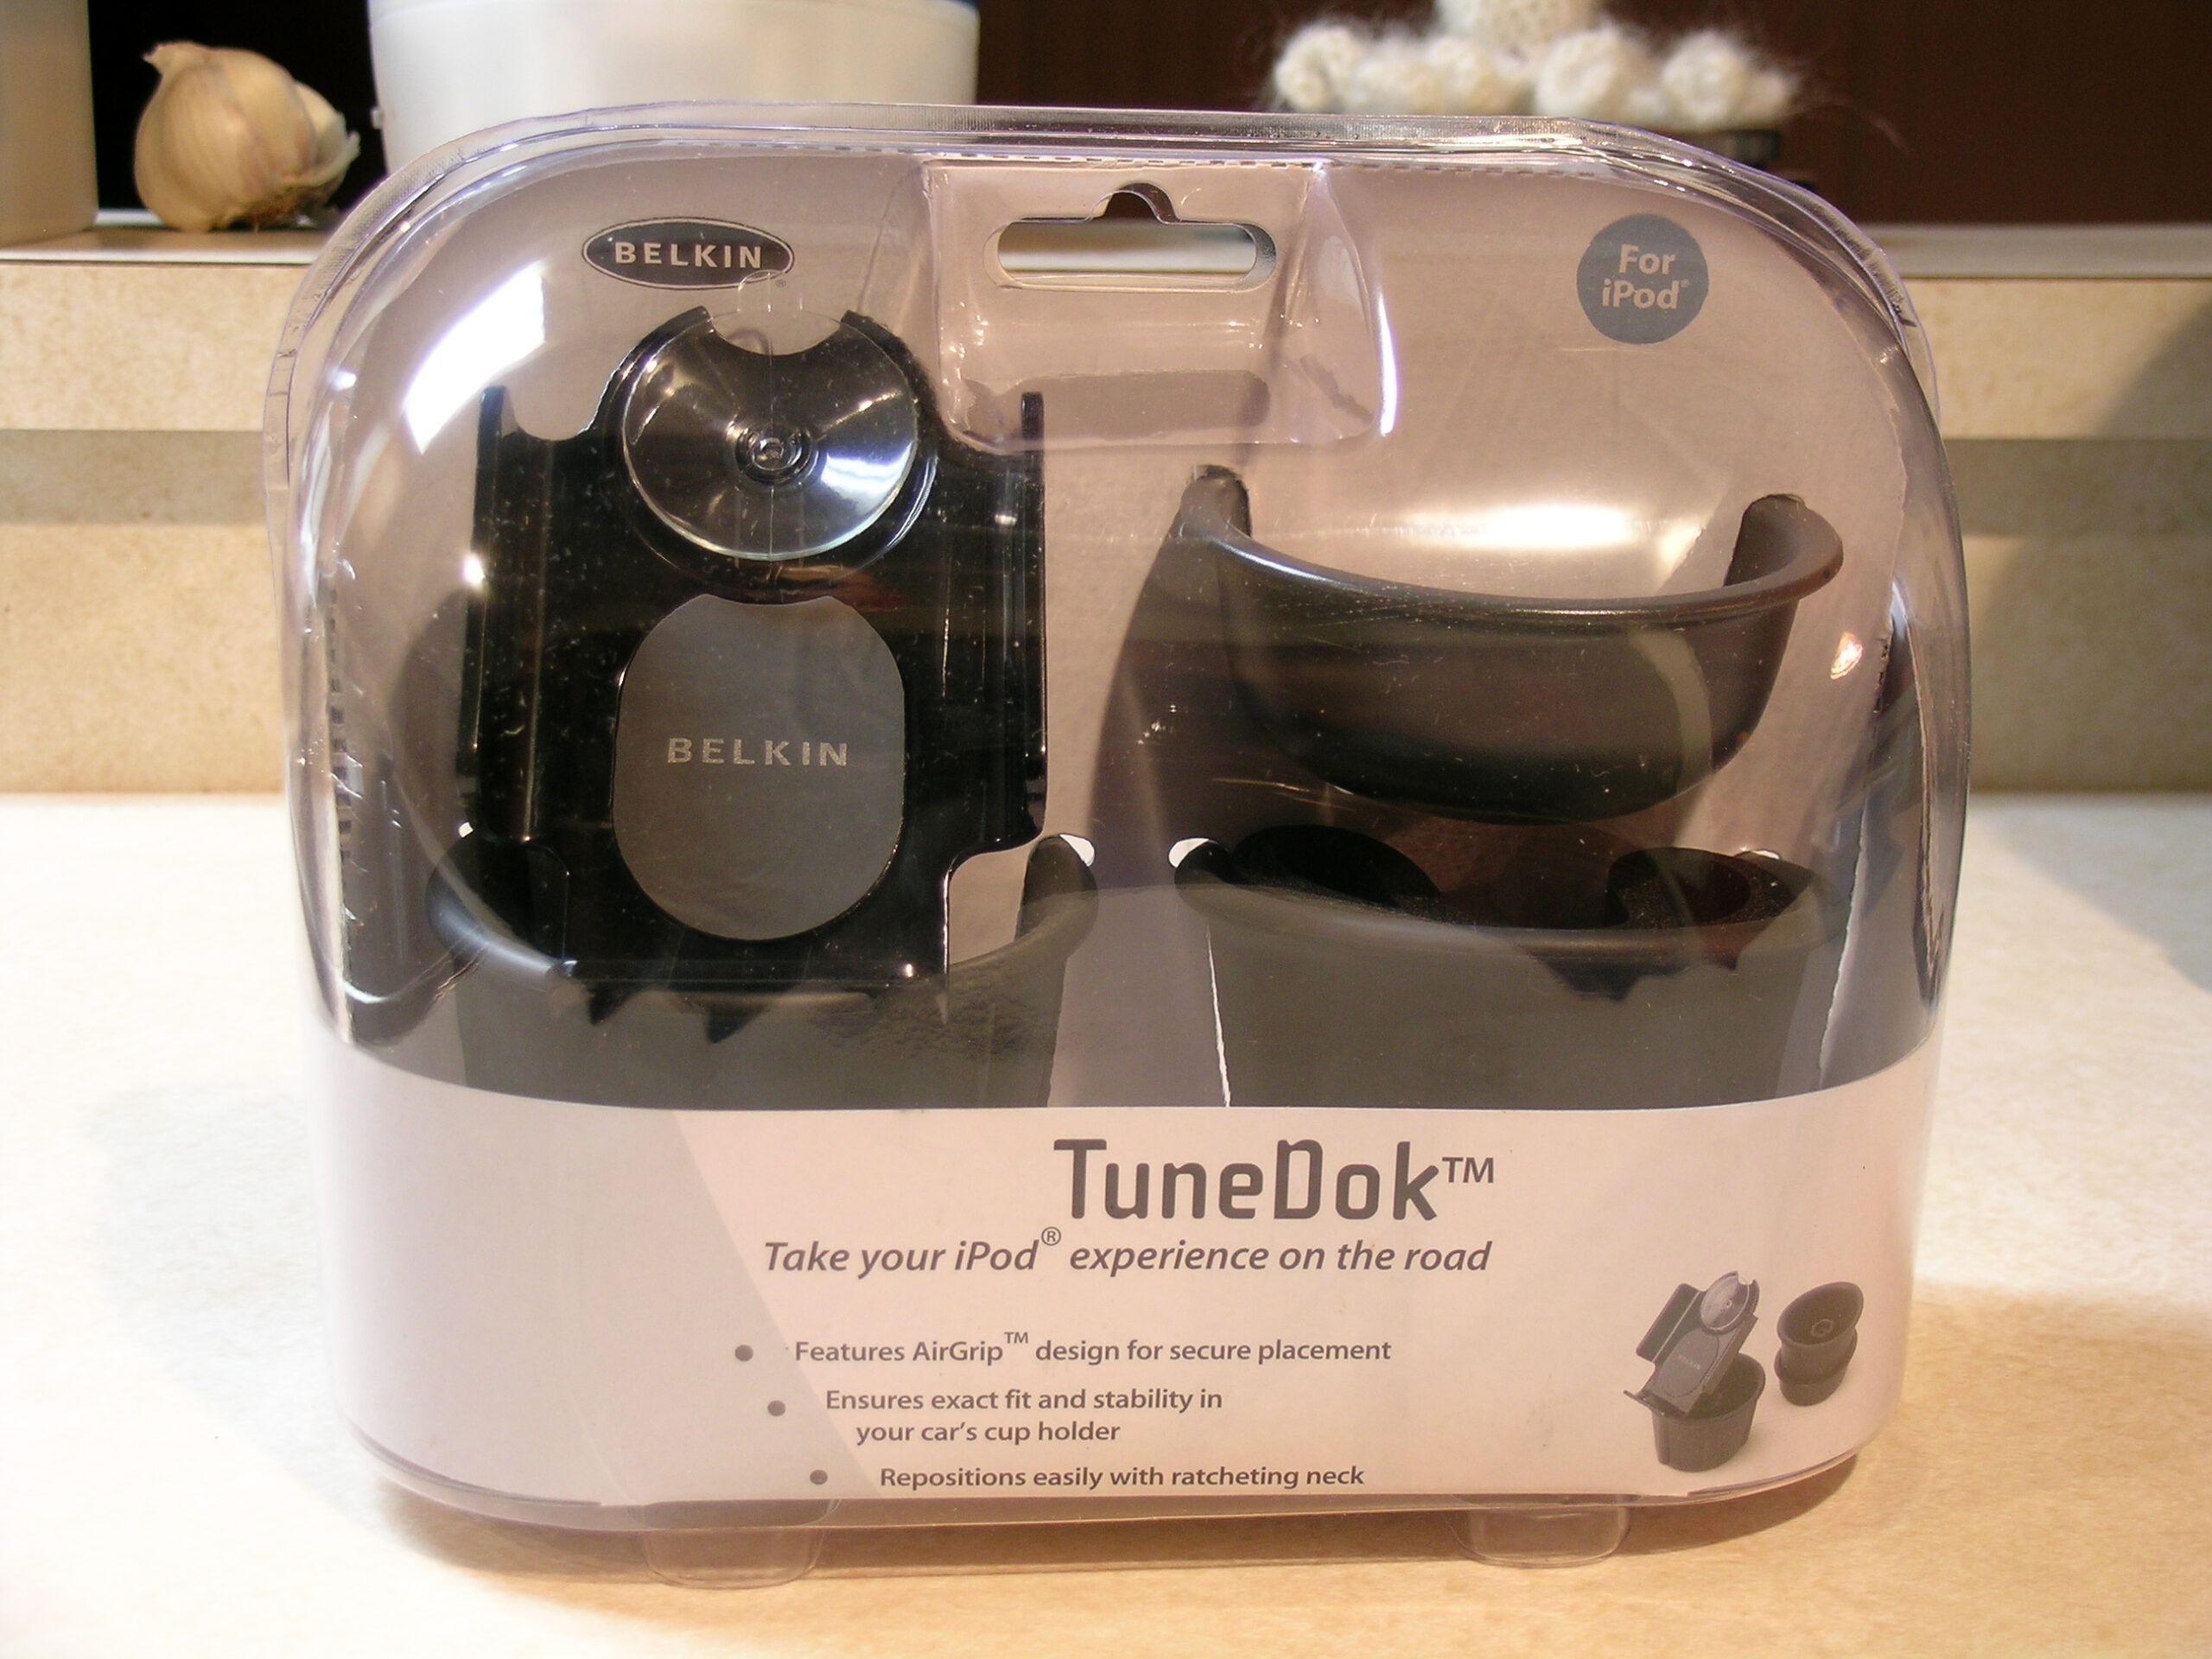
Here’s my current, and hopefully simple, idea. I mount an iPod holder in the console to hold the iPod. Then I figure out how to pull power from the Satellite / CD Changer / Whatever connector in the back of the stereo and do so. I have a spare Y cable for this connector, so I can tap power off of there. I then use one of these (or maybe these, if I am feeling cheap) to shove audio into the 3.5mm jack provided right on the console. Done right, it could be wired fairly transparently and completely non-invasively in the car (except for the mounting holes for the dock, which would be in a rather hidden location anyway).

The power would be pulled from the nicely filtered source on the back of the head unit, the audio would be fed in via ‘normal’ means without any special wiring / cabling / splicing, and the iPod would be mounted in an accessible location.

I’ll look more into making this work tomorrow, but I think it’s possible.

I’m also thinking of just buying a $20 Belkin Auto Kit from eBay in black so I can have one that matches the dock and is known to be well soldered and wee. Then I can just build a tiny PCB to make all the connections I want, mount that up in the console, and call it a day. Hrm. I really do think this is the best way to go… And if I plan it right, it’ll involve pulling apart the dash twice. Once to check / measure things, and another to do the install. I’ll likely go this route.

Tomorrow I’ll probably order the parts.

automotiveelectronicsmoved from livejournal

Noise Filter

Do any of you know where I can get plans or a schematic for a noise filter to put on a 12v DC car power source? I’m now looking into making my own iPod hookup, but the normal Radio Shack filter is physically too large for my purposes.

automotiveelectronicsmoved from livejournal