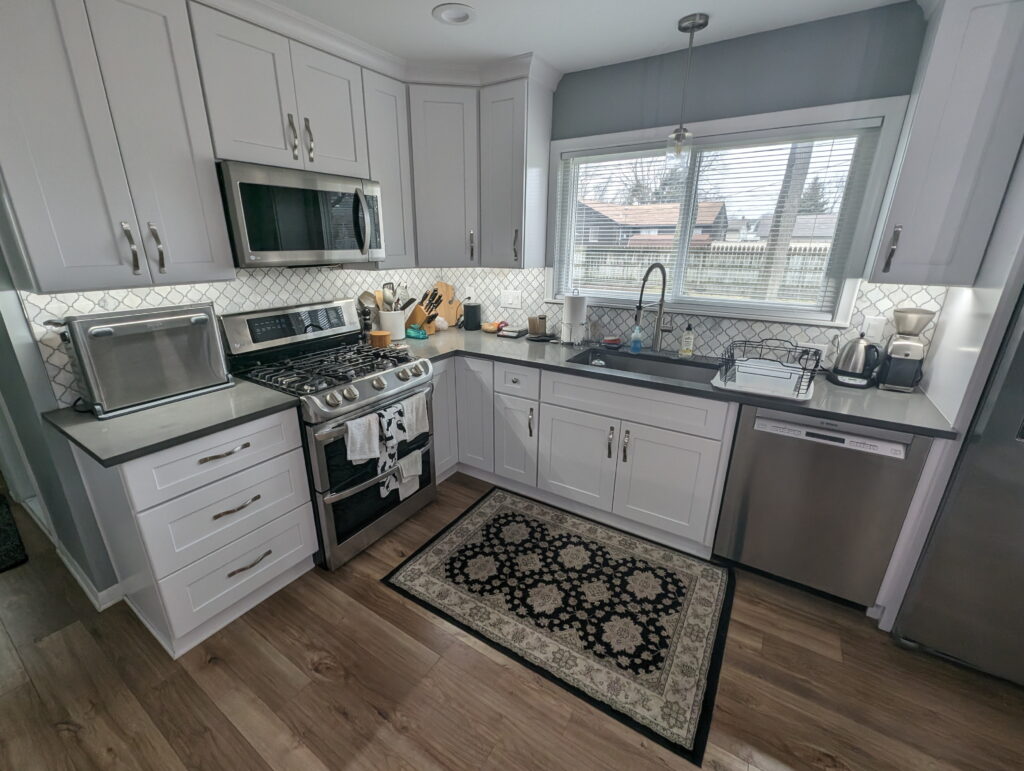
After the kitchen was redone in our new house, the under-cabinet space (where lights would go) was intentionally left unpopulated; something for me to finish later. The electrician had fitted an outlet per cabinet grouping, and a switch on the wall that toggles those outlets, but I’d asked him to skip the lights because I really wasn’t sure what style or color we wanted, nor how I wanted to wire things. Being low voltage with the outlets and switch already fitted, it would be fairly straightforward later on.
This winter, looking for a project, I decided to finally get this done. After talking with my friend Dan and some investigating, I finally got a solution together.
What I ended up doing was sourcing a handful of parts, flexible PCB LED strips, aluminum enclosures, wire, and wall wart power supplies on Amazon, assembling it, and sticking it to the underside of the cabinets. This has worked out well, so I wanted to share what I did.
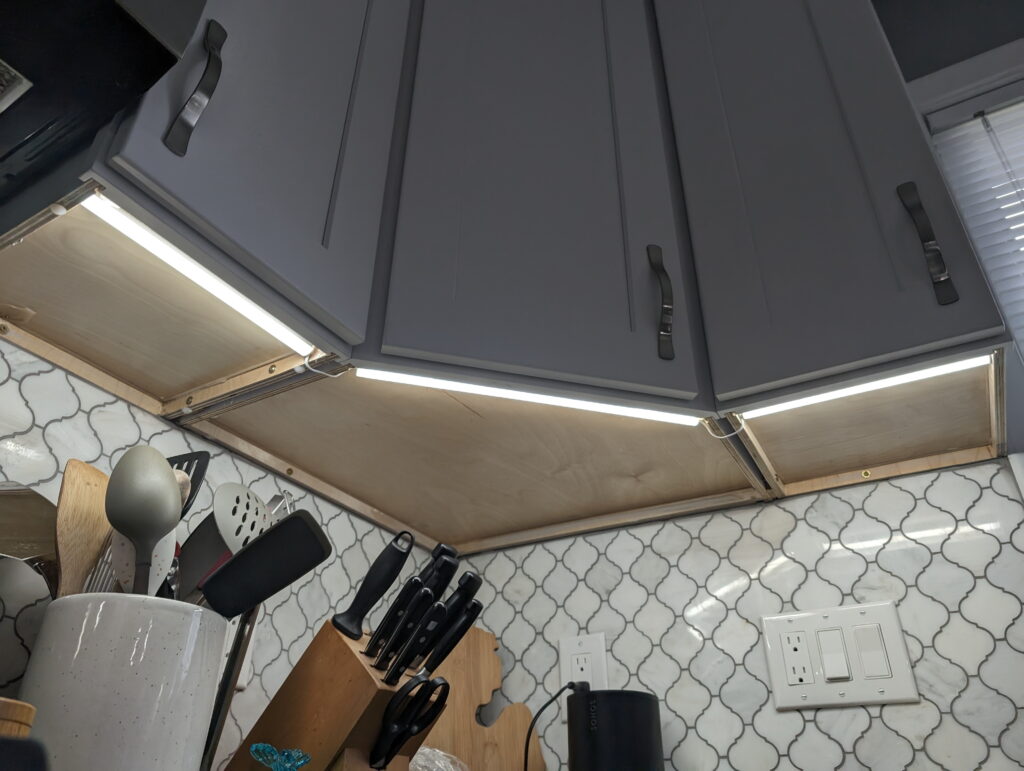
Our kitchen has three overhead cabinet groupings, the left-most has 22″ of face, the corner has 37″ of face (2x 10″ side cabinets and 1x 17″ center cabinet), and the right-most is a single 10″ cabinet. I had originally thought of ringing the underside of each cabinet with LED strip lights, but after some consideration I decided to do a single light assembly along the front edge of each cabinet, pointing down, with a wide-angle diffuser.
In the kitchen we have daylight (5000K) colored lights, but as the under-cabinet lighting is likely to be used as more of a night or secondary light, I figured on ~4000K lights. After buying strips of both 4000K and 6000K of to test, we ended up with some strips listed as Cool White 6000K. This matches pretty well whenever the overhead lights are on and it’s bright to cloudy day outside, and likely because of the grey-ish countertops it still looks fine when they are the only lights on.
It would have been possible to use a different type of strip that has multiple color temperature white LEDs and selectable color temperature, but doing this requires a controller external to adjust the light strips, which would have added around $60 just for the controllers, plus another $10 or so in LEDs, a remote control, more space taken up in the cabinets. This setup, with fixed color strips, is just AC-DC adapters plugged into the existing mains outlets, and the LED strips connected to the adapters. If we find that this isn’t good I may eventually go to controllers, but for now this is working nicely.
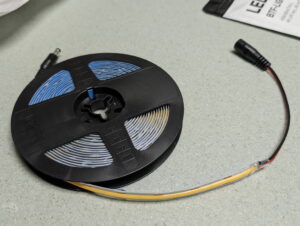
For the LED strips I chose FCOB LED strips from BTF-LIGHTING, 528 LEDs per meter, in 12V. With the heavy silicone coating over the LED chips it makes for a fairly even light. I chose the 12V variant of the lights because they have cut-points 22.83mm, which made it easy to make maximize the amount of LED strip under each cabinet. If the runs were longer it would have been wise to choose 24V to decrease the amperage, but at 14 watts per meter (W/m), the longest light segment will only take ~1.1 amps (A) so this should be fine. (Amazon Link)
For hookup wire I bought a simple coil of white 20 gauge copper clad aluminum (CCA) wire, again from Amazon. I already had some hookup wire, but I wanted white to blend in nicely with the cabinets. (Amazon Link)
For power supplies I picked up a basic five-pack of 12VDC / 2A wall warts. While I only needed three, the cost for five was $7 more than buying three, and since I’ll have LED strip left over and will likely build some more arrays for elsewhere in the house, I wanted spares. They also happened to come with (very cheap) barrel to screw terminal adapters that worked well enough. (Amazon Link)
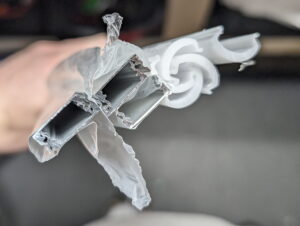
Initially I was going to mount the LED strips directly to the cabinets, but Dan convinced me that even while out of sight it would look much better in an enclosure, and he was right. The project feels properly finished this way and it looks tidy. The enclosures also add additional diffusion, making the light look smoother and more even and overall better. For this I chose some 1m long pieces of aluminum channel with a 60° milky white domed cover, then cut it to width for each cabinet section. (Amazon Link)
The light enclosures include screws and mounting clips, but I instead opted for tape, and picked up a 5 yard roll of 3M VHB 4910, which is specifically described as being good for Polycarbonate, Aluminum, and Acrylic/Polyurethane Paint; perfect for sticking these housings to the underside of cabinets. (Amazon Link)
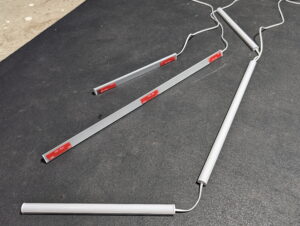
Assembly was done by first determining the width of the housings, so I went with even-inch sizes that are just slightly narrower than the underside of the cabinet. This resulted in five pieces: 1x 22″, 1x 16-1/2″, and 3x 10⁻¹/4″. With the cover snapped into the aluminum channel it all cut clean and easily using a circular miter saw with a fine tooth carbide blade.
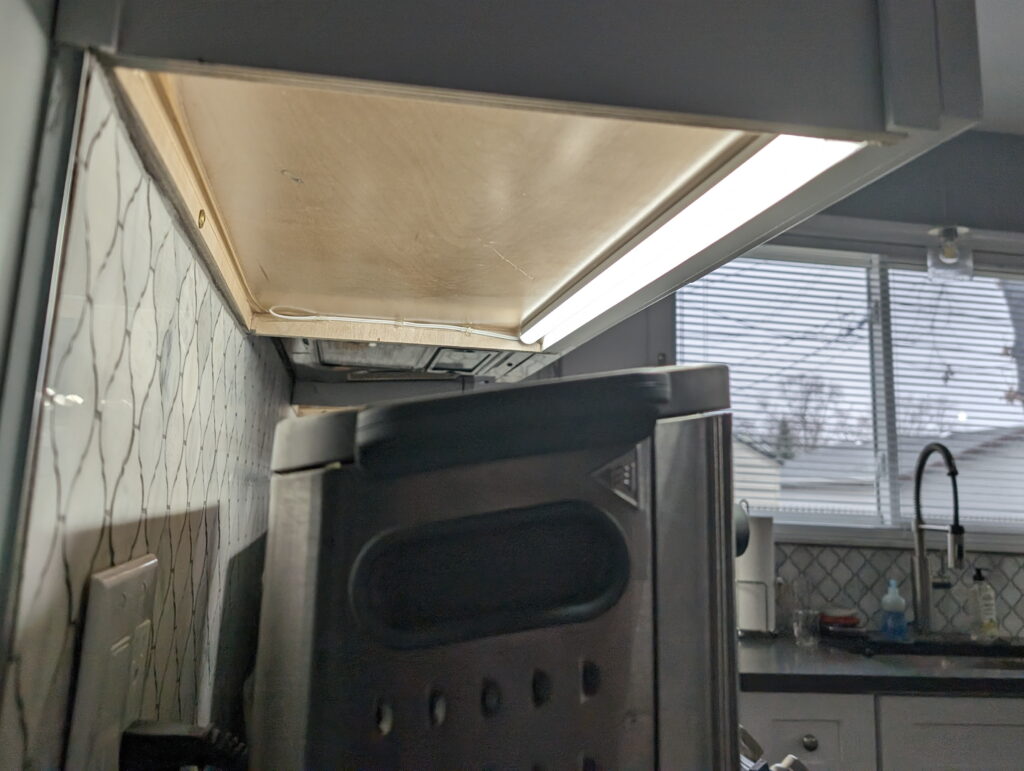
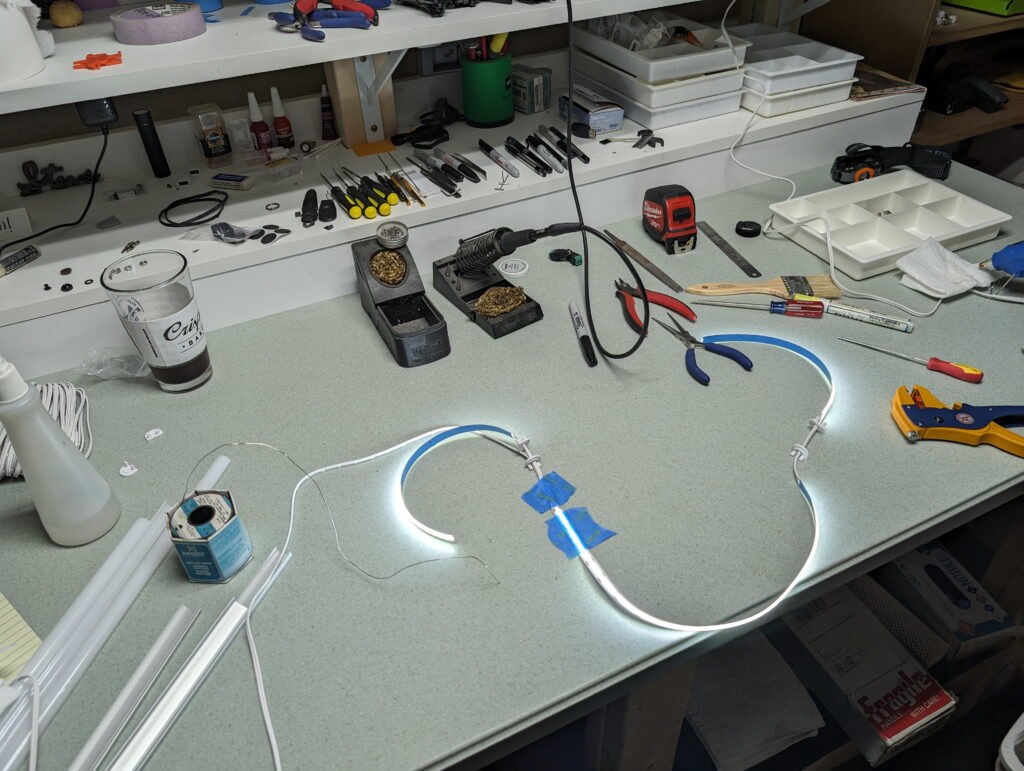
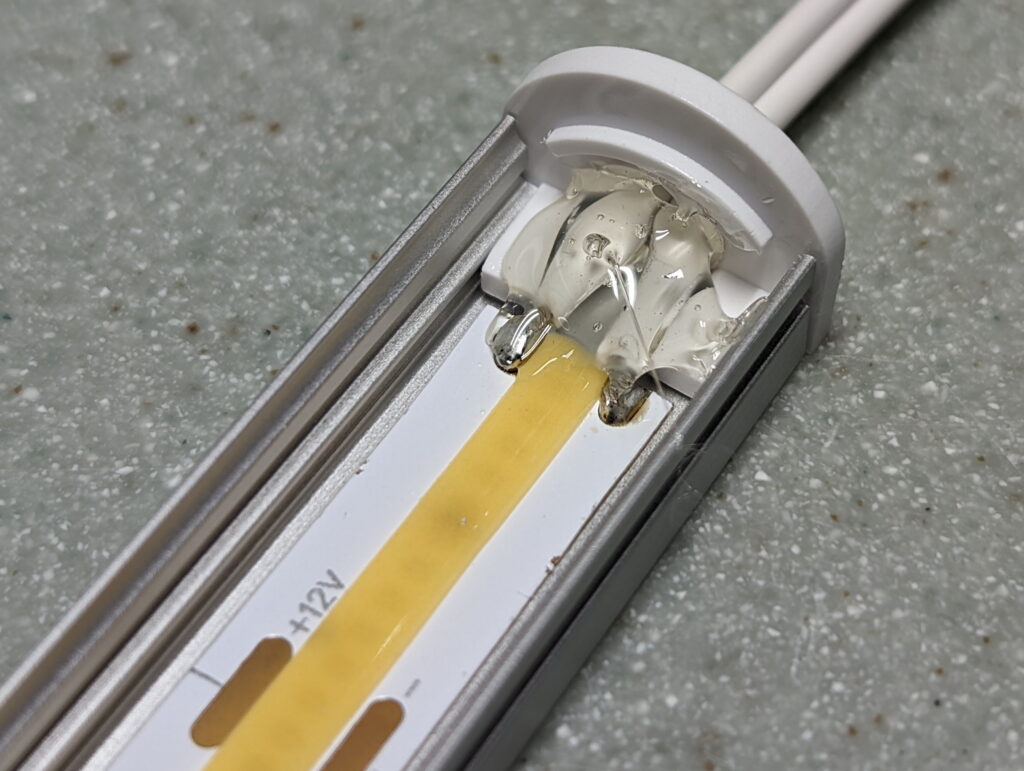
I then cut LED strip to the next step shorter than the housing, soldered the supply wire, stuck the strip into the housing via it’s self-adhesive backing, fitted the endcaps, added hot-melt glue for strain relief at the solder area, and snapped the face on. For the corner cabinet lights I wired it in a T arrangement, with the two sides being fed from the center, and then a wire out of the center to head up to the cabinet. This arrangement was because the corner cabinet holds the outlet near the back left side and it minimizes wire distance. It may have also helped with voltage drop on a long-ish strip of LEDs, but I’m not sure the ~30″ total would be enough to actually cause a problem.
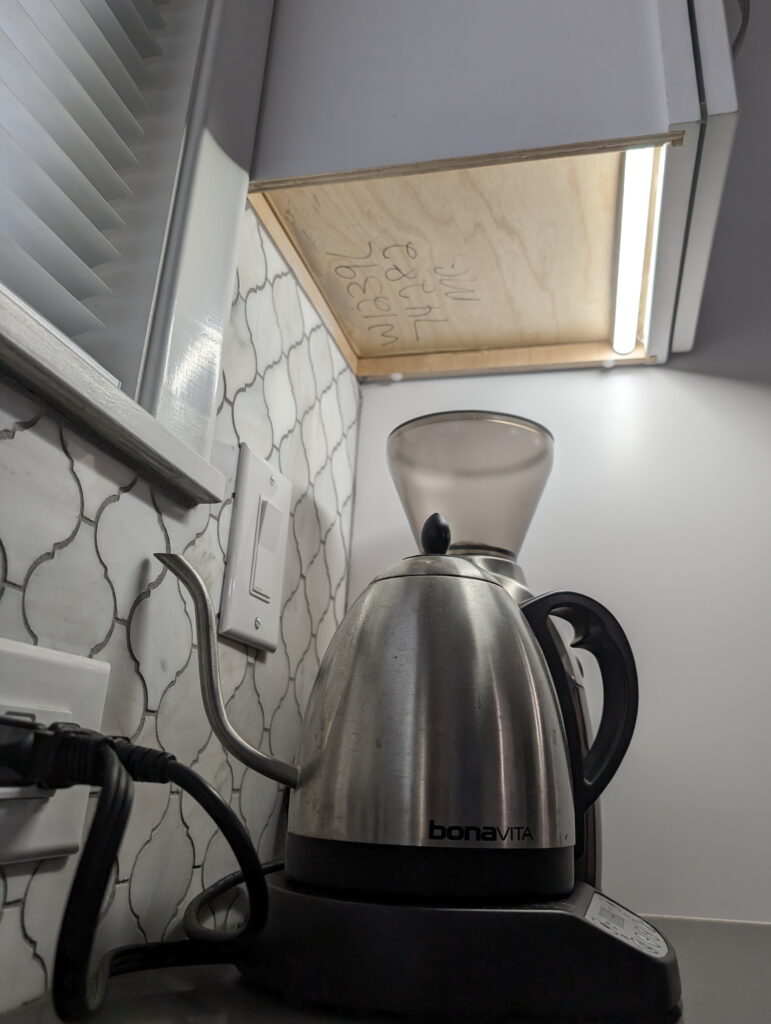
A small hole (3/16″) was drilled in the underside of the cabinet to run the wire up to the supply, cabinet undersides cleaned and strips stuck in place with VHB tape, wire was tacked in place with hot melt glue, and screw terminal to barrel adjuster adapters (which came with the power supplies) fitted. A bit of cable tying to tidy the cables in the cabinets and it’s all done.
Total cost for this project was $122.83, and that includes the unused 4000K strip that I bought as a test. There is enough extra left over to do at least another 10′ of enclosed light somewhere else in the house, so I might build some light strips for under my workbench shelves or perhaps where I have music gear in my closet.
Kristen and I are both really happy with how it came out. More than just filling in the room and serving as a night light it actually offers usable additional light when working on the counters, especially when cooking at the stove.
