Home-Made Cheez-Its

Yesterday afternoon I came across this post about making home-made Cheez-It-like crackers on LiveJournal. Since they sounded good and we had all the ingredients around the I went ahead and made some. It took about five minutes to make the dough then 10-15 to cut them out. After this they baked for 18-20 minutes until they were done.
Brief recipe is as follows:
- Combine the following ingredients in a food processor and process until crumbly:
- 8 oz. Shredded Cheddar
- 1 cup All-Purpose Flour
- 4 tbsp. room-temp Salted Butter (Use 1/2 tsp. of salt if using unsalted butter.)
- 1/2 tsp. Smoked Paprika
- 1/4 tsp. Ground Mustard
- After completely integrated, drizzle in 2 tbsp. of tap water and process more so it forms a dough.
- Wrap the dough in plastic wrap and put in the fridge for 20 minutes.
- Lay the dough between two pieces of plastic wrap and roll thin; perhaps 5mm thick.
- Cut the dough into rough squares with a pizza cutter.
- Poke small holes in the center of each piece of dough with a round toothpick with the end cut flat.
- Transfer to a parchment-lined baking sheet.
- Sprinkle with flaked salt. I used a flaked Spanish sea salt.
- Bake at ~375°F until golden brown. This took me almost 20 minutes. (If underdone the centers will be soft and they won’t be very good.)
- Cool, transfer to an air tight container for storage.
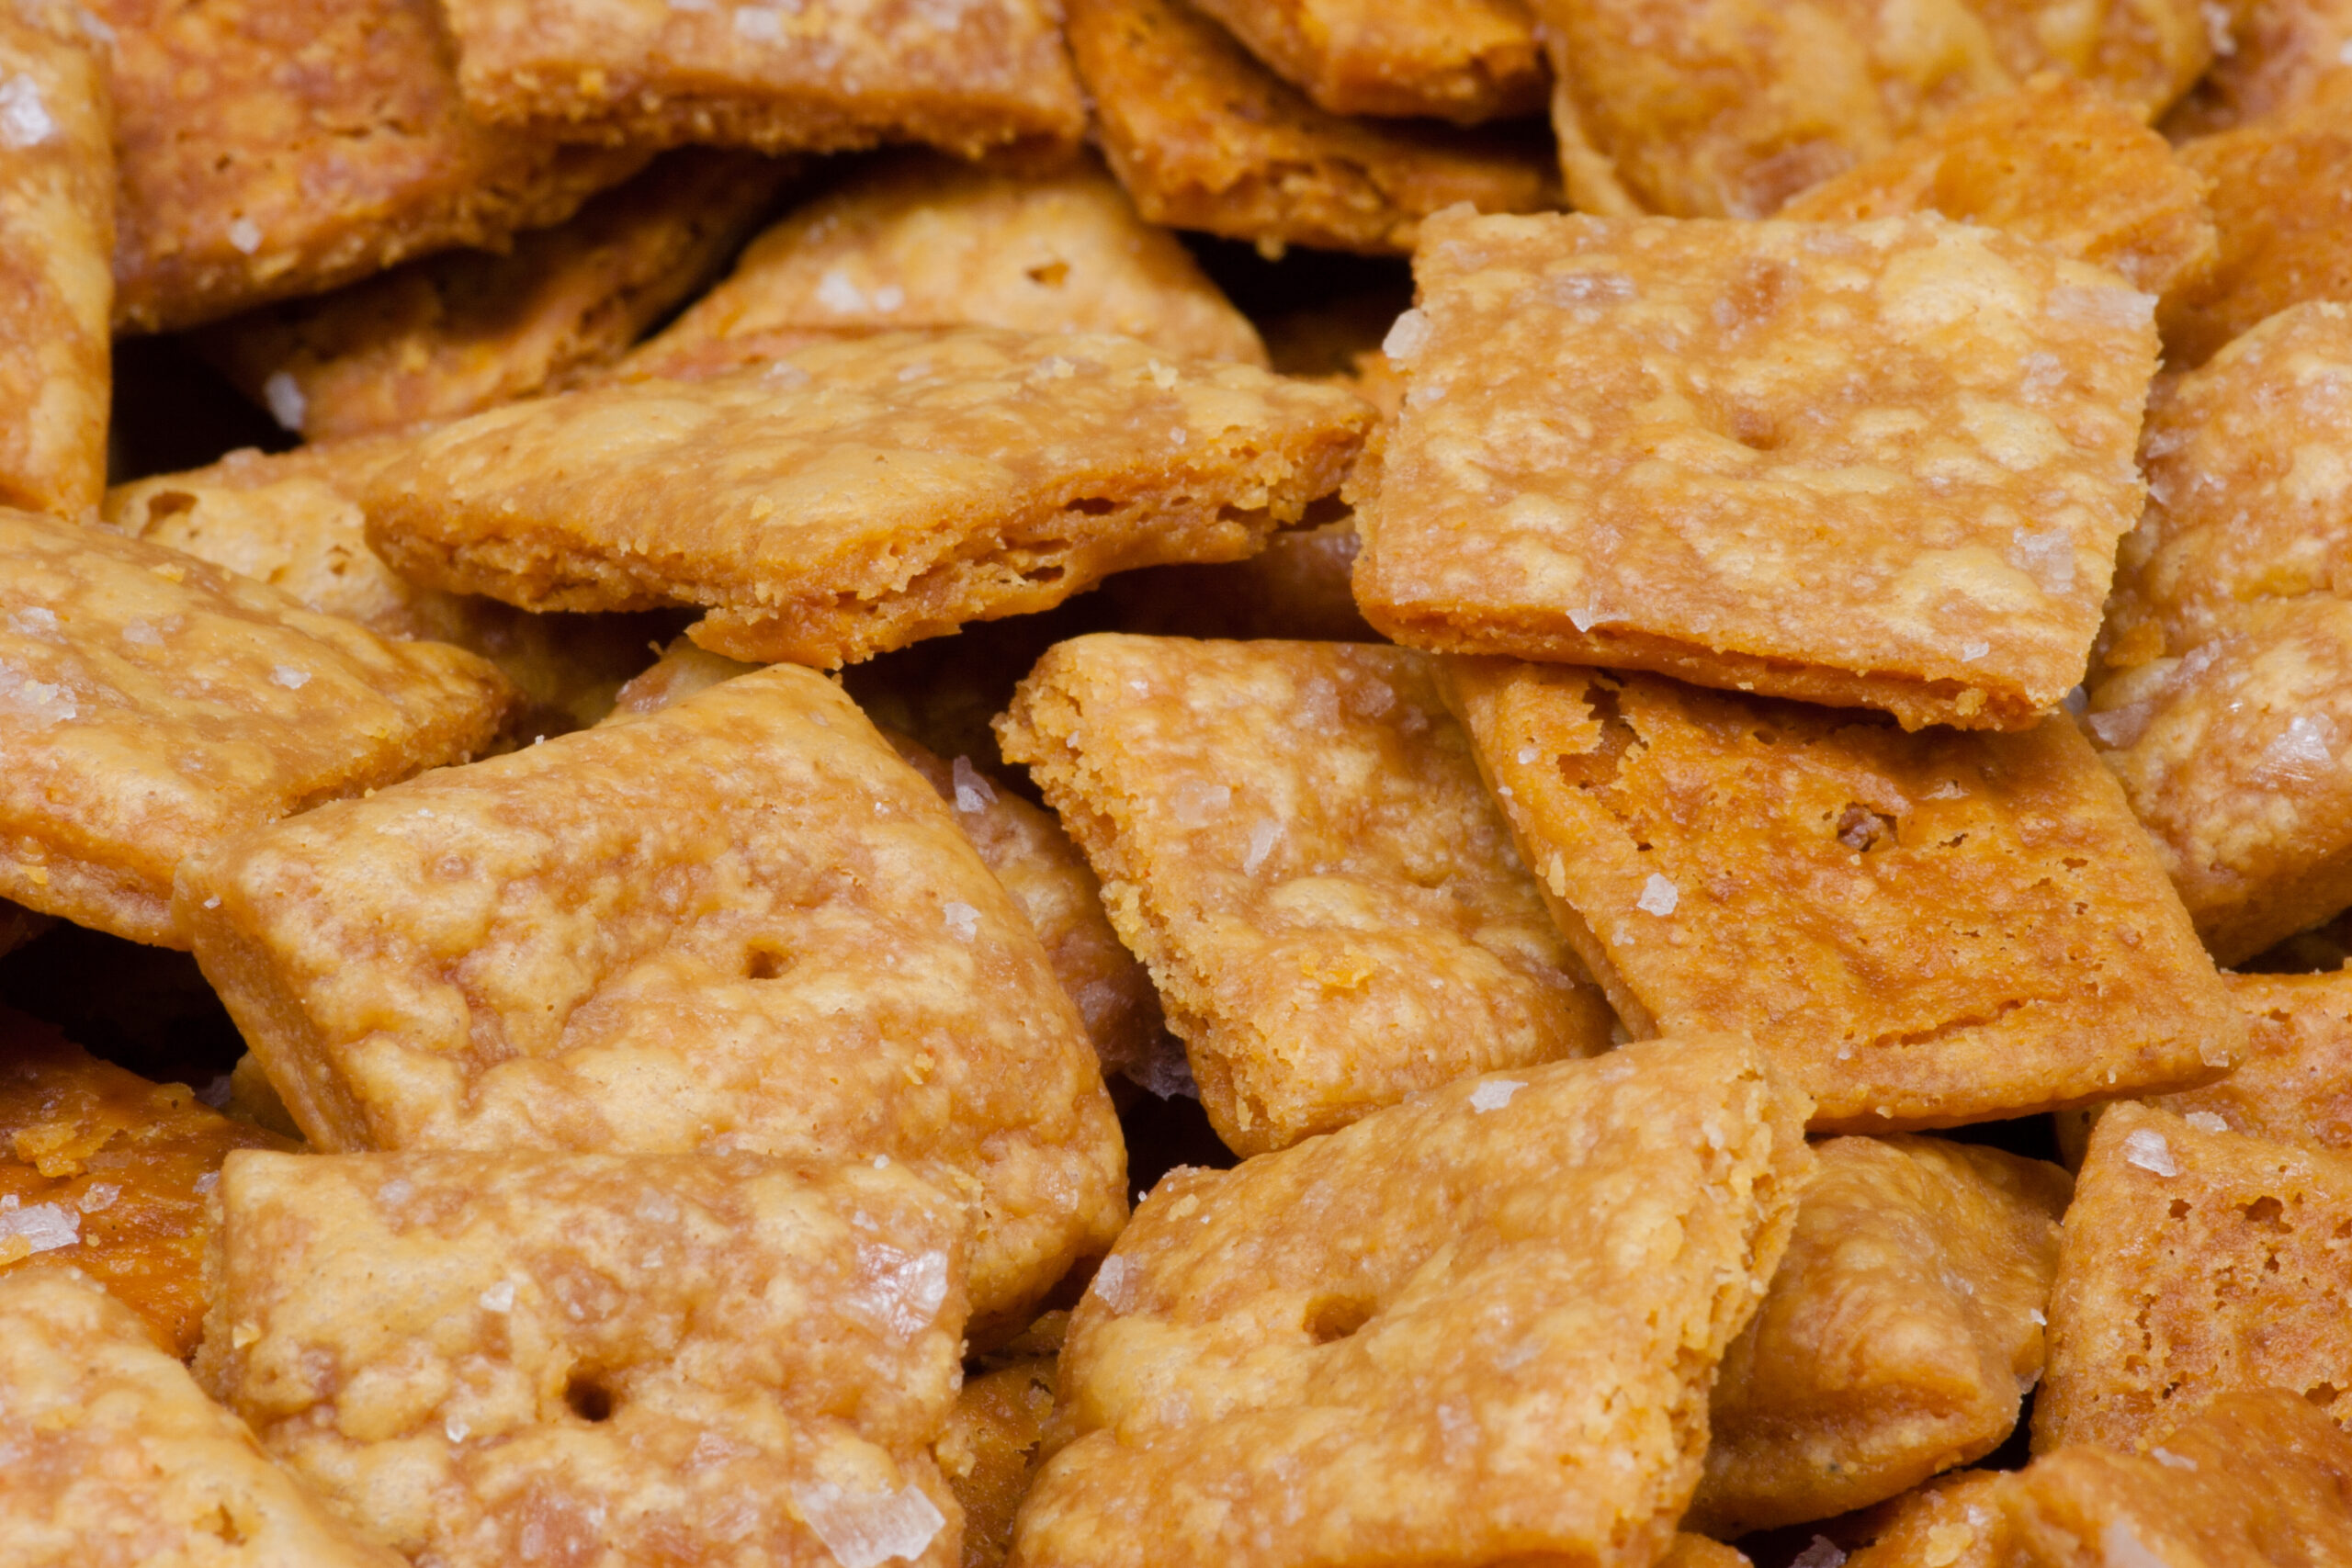
These are very, very good. They are similar to Cheez-Its in that they are snack crackers, but they taste much better and don’t have that odd vomit-like smell familiar to anyone who has opened a new box of the Nabisco product.
UPDATE / Lessons Learned: The second time I made these I did a couple things differently which made it much easier, and they came out quite a bit better (photo of the second batch):
- I split the dough into two halves, rolled the halves out separately, and baked each half in a separate pan. This gave me much more room to work and allowed me to roll the dough thinner making them more properly cracker-like.
- When rolling out the dough I put some thin bamboo skewers down next to the dough and used this as a spacer for the rolling pin. This allowed for all the crackers to be a consistent thickness.
- Dough was cut into 1″ squares for consistency in baking.
- After cutting the dough into squares I inverted the cookie sheet over it, then flipped the whole assembly over. Don’t bother separating the dough squares, this can be done later.
- Part-way through baking use a spatula to separate the partially-crunchy squares, shake to distribute them throughout the pan, and continue baking. This is much easier than trying to separate the squares when putting them on the pan.
- Be sure to bake any mis-shapen trimming pieces from the edges. They are just as good, but know that they’ll cook faster.
- Err on the side of over baking. Slightly browned crackers are better than chewy ones.