This weekend didn’t really end up as hoped. To summarize, as ![[info]](http://stat.livejournal.com/img/userinfo.gif) isolt said to me, Cancer Sucks.
isolt said to me, Cancer Sucks.
Before we get to that, a bit of background. My absolutely wonderful girlfriend Danielle’s mom (Linda) managed to get through a bout with breast cancer back in 2004, but last summer it came back in her legs. Since then the cancer has been managed with a combination of surgery, chemo, and radiation therapy, but last Wednesday she was admitted to Henry Ford Hospital because the pain in her legs was overwhelming her.
She had been in the hospital since then, with Danielle and various family members staying with her, and on Sunday Danielle and I went for a visit. Danielle’s mom’s oxygen was a bit low (SaO2 of 86), and she was acting really confused, and her mouth didn’t seem to move properly when she was talking. Additionally, she was making a bunch of gurgling sounds when breathing, so it was ordered that she get an MRI and a chest x-ray to figure out why both problems were occurring. Danielle and I headed off to a BBQ at my aunt and uncle’s place and everything was okay for a little while.
Right as we were thinking of leaving, Danielle received a call from her dad saying that “it spread to her brain”, and that she should get to the hospital as soon as possible. We got right in the car and headed down there as quickly as safely possible.
Once at the hospital we found that Danielle’s mom had been moved to the ICU, as the x-ray found that she has pneumonia, and the MRI found a number of tumors in her brain. All of the tumors were under 1cm, except for one 13mm tumor in her brain stem. I imagine that this, coupled with the hypoxia (and all the morphine) is what was causing her confusion.
We ended up staying at the hospital until sometime after 3am, and throughout most of that time there were at least 10 family members there, including Danielle, her dad, her grandma (Linda’s mom), her brother, Linda’s brothers and sisters, and lots of cousins and friends. Throughout the night while people were visiting her blood pressure and O2 levels were very low, but she was able to talk to everyone and tell them goodbye. As the evening moved on she made everyone leave except Danielle’s dad, who spent the night awake next to her.
Today we returned sometime in the afternoon with a couple bags of food for everyone who was at the hospital, which I would estimate at around 25 people, some of whom flew in from across the country. The food was very useful, taking care of a problem yesterday where we were all eating things out of the vending machine and from the Little Caesars in the lobby, which was open until 3am.
Early on in the day a priest from the parish Danielle’s aunt attends arrived and performed an Annointing of the Sick, or Last Rights while everyone Linda knew was in the ICU room. People had more time to visit Linda, and at one point she told me to be good, and I was able to tell her that I’ll be sure to take care of Danielle.
This afternoon Linda was moved out of the ICU and back to a private room, and tomorrow she’ll be transported home whereafter she’ll be under hospice care until she dies.
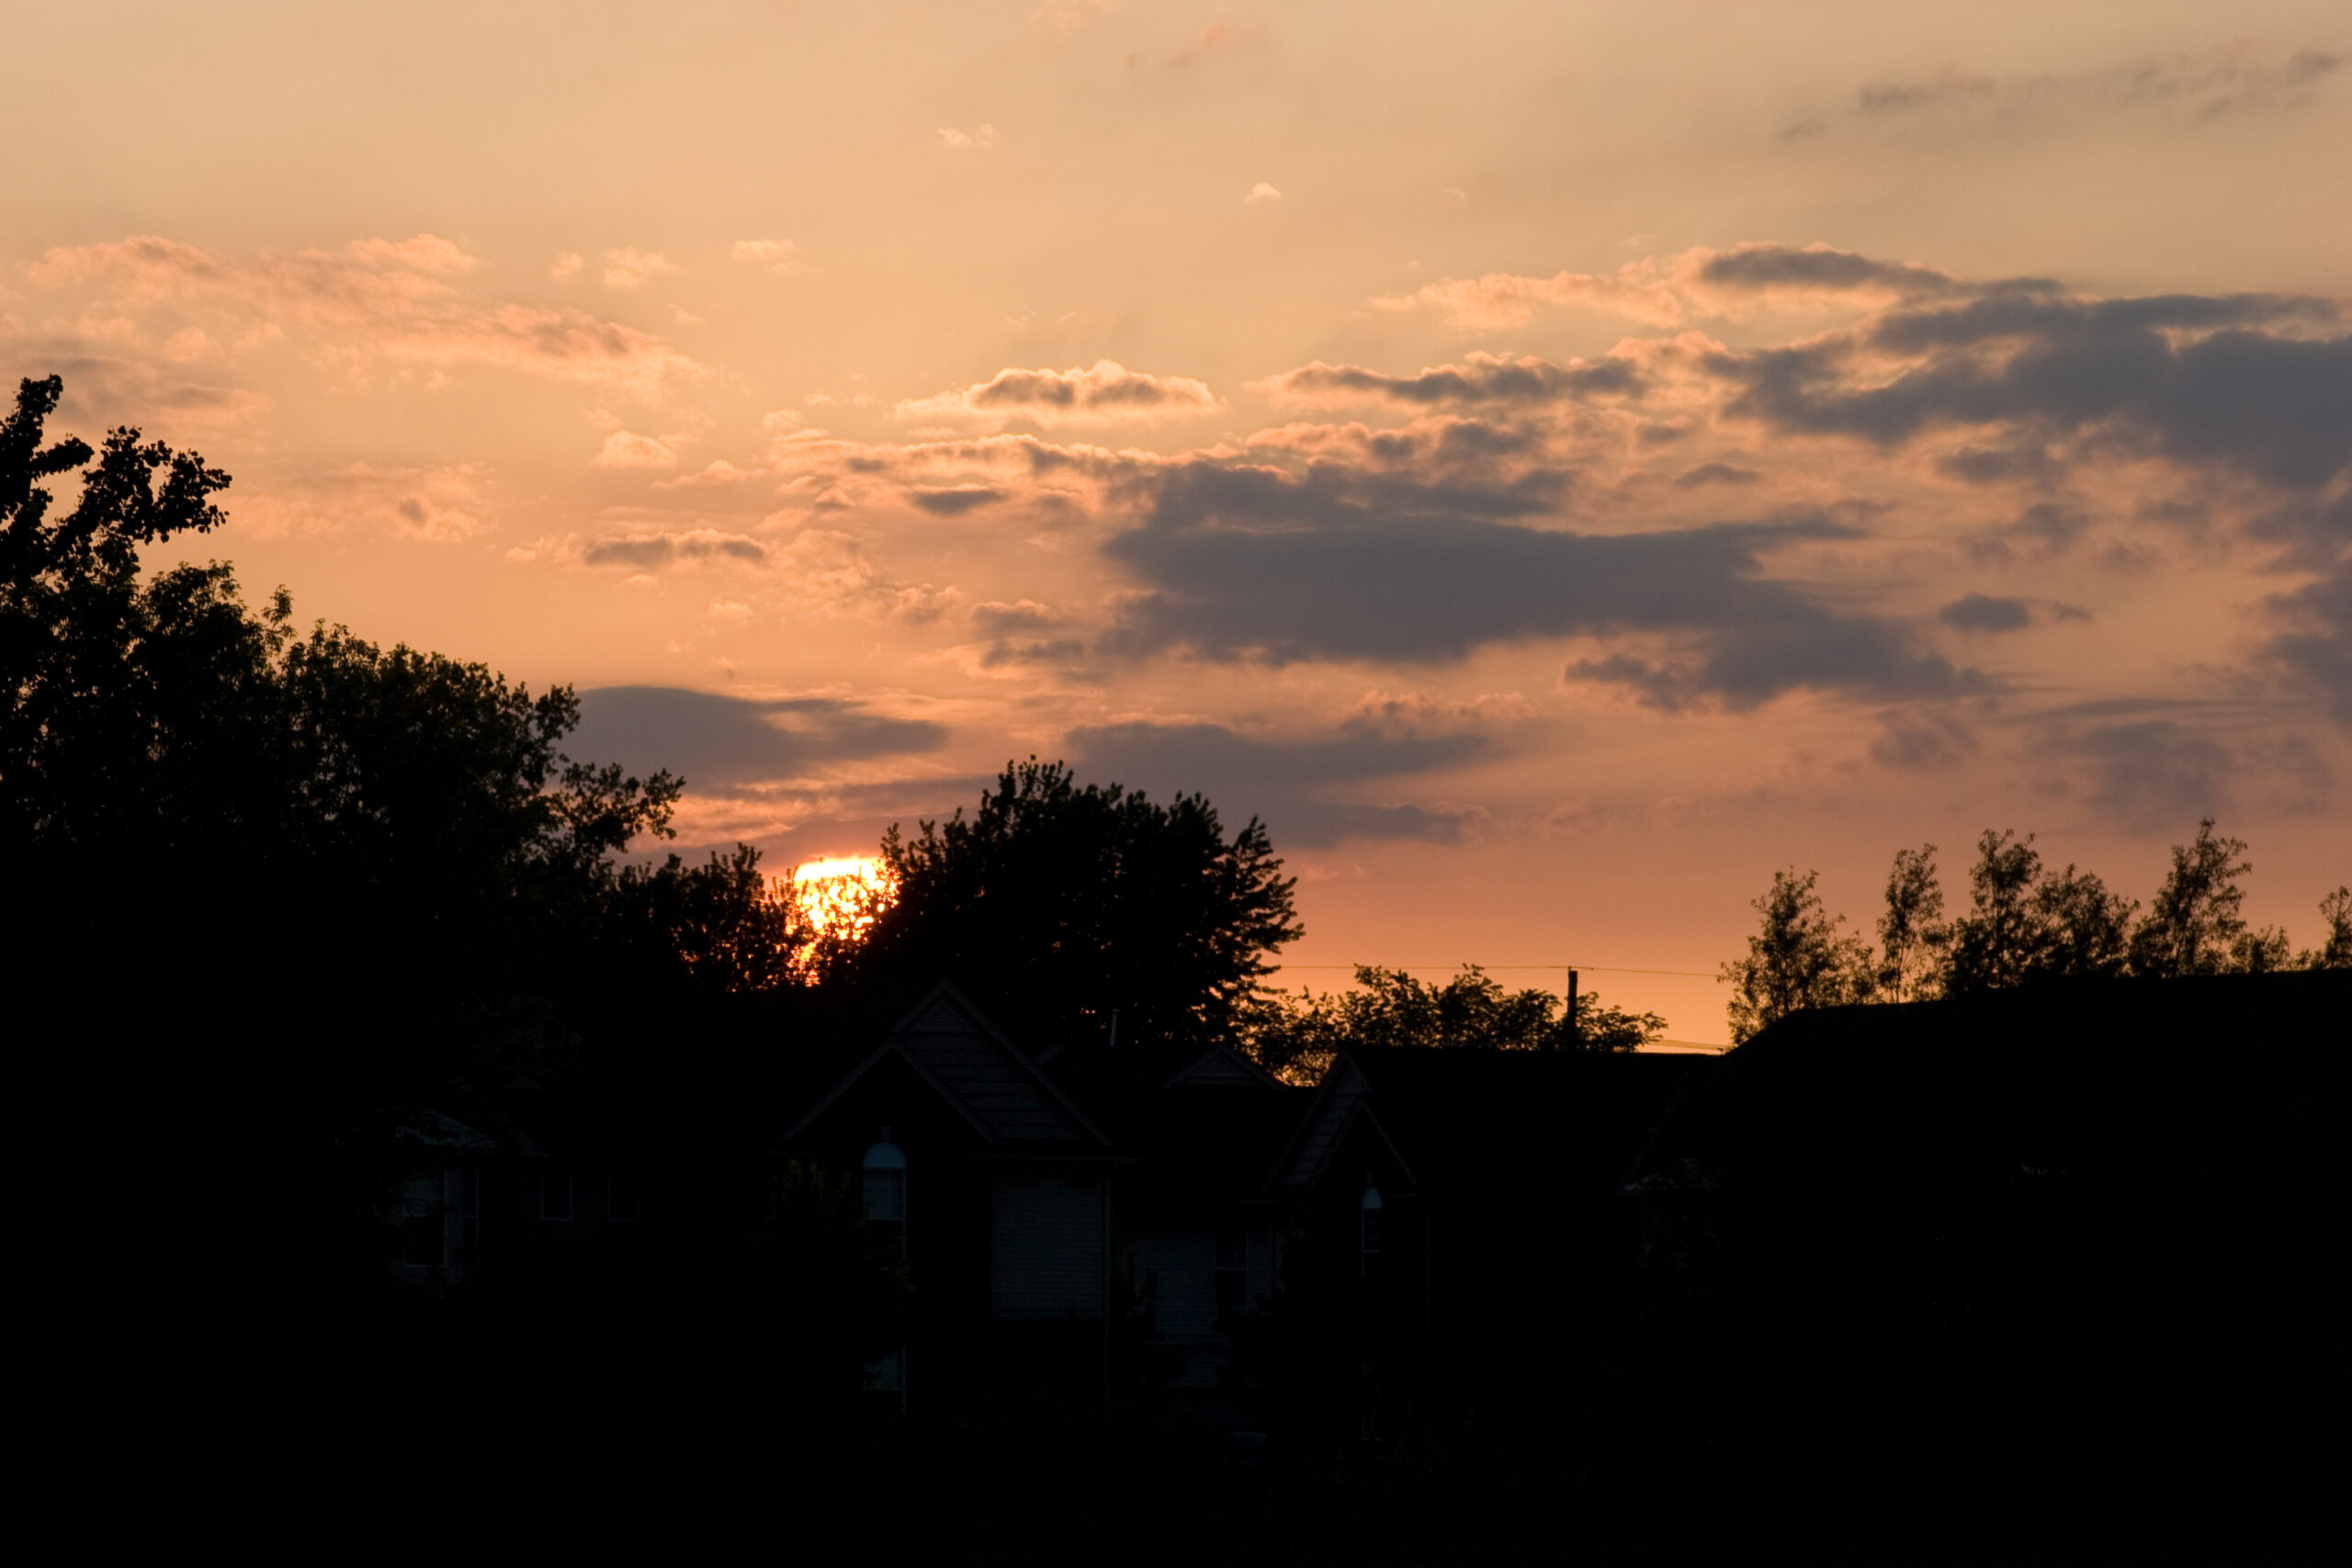
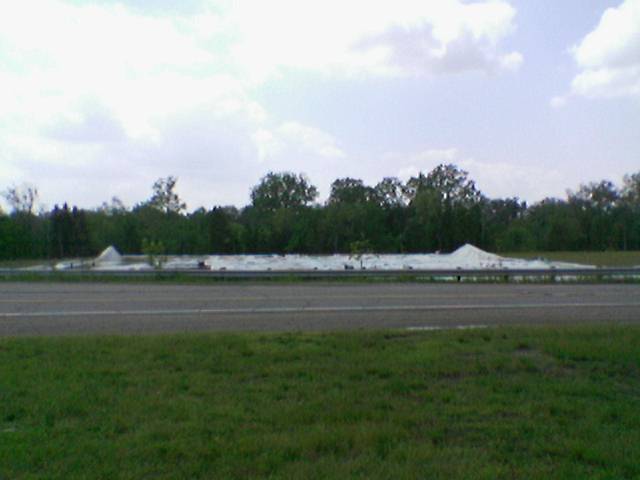
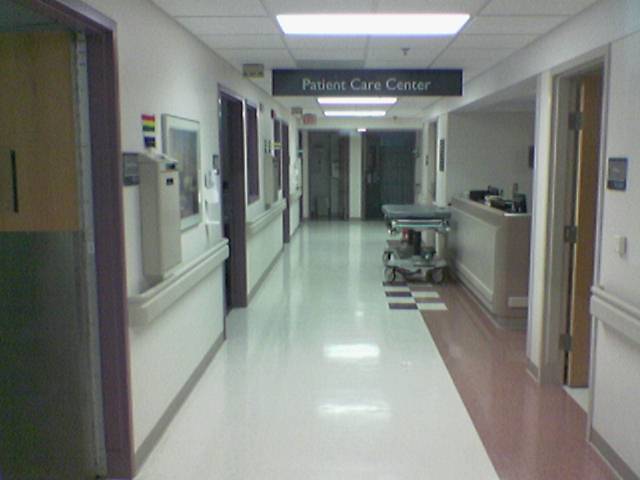
Oh, and that picture up there? I’m not trying to be overly cheesy, but I was noticing the building beautiful sunset and clouds while in the way home, so I went outside to take some pictures. If you’d like to see the other photo which I considered using to top this post, look here, at a photo taken out the window of Linda’s hospital room, just before we left so that she could go in for the MRI. And yes, I know this post is a bit scattered. Sorry. Lots has happened recently.
One final thing, before I forget, the staff at Henry Ford seemed to be some of the nicest folks I’ve ever delt with at a hospital. From the security folks, orderlies, and other people who I’d just asked for help to the nurses in the ICU and people working in the cafeteria, everyone seemed just great. That really, really helped.

