This article was originally published in 2016 for downstate Michigan folks who are heading to Marquette to ride, but after two years of trips to the UP with Kristen and seeing more and more trails developed, this article has been updated for the 2018 summer riding season. Originally a handful of suggestions — shared via email or chats or talking over beer — it all has been written down, consolidated, and made available for everyone. Even if you aren’t from Michigan, the recommendations below are a great way to get accustomed to cross-country mountain biking (XC MTB) in and around Marquette County.
Please know that this is not intended to be a thorough overview of all trails in the area, but instead recommendations from a Lower Peninsula rider’s perspective for how those new to the Marquette area can get started riding comfortably on fun and challenging trails, without getting in over one’s head too quickly. The greater Marquette area offers a huge range of mountain biking, with routes that anyone who is comfortable riding in Southeast or Southwest Michigan (eg: Stony Creek, Potowatomi, Pontiac Lake, Fort Custer, Yankee Springs) can thoroughly enjoy.
When first arriving in Marquette it’s highly recommended to visit one of the many great local shops (eg: Sports Rack, Down Wind Sports, Lakeshore Bike, Quick Stop) and pick up the official trail maps. Older versions of these are available as PDFs on the Marquette Township Documents website (under Recreation Committee → Recreation Maps), but they lack some of the newer trails, and it’s a really good idea to have an up-to-date copy in your pocket until you are familiar with the trails. The South Trails have maps at most intersections, but the (slightly easier to memorize) North Trails do not. These shops are all great, have treated me well, and are perfect for both route suggestions and parts or repairs.
For those of us from lower Michigan, we’re pretty accustomed to one-way trails. In the UP the trails are all two-way, unless marked otherwise (typically only downhill trails). When I first rode two-way trails I was a bit worried about how it’d go, but in practice it’s not a problem. Trails in and around Marquette are much lower traffic than those downstate, and tend to be a little wider with better sight lines. Same as one does for hikers, keep an eye out for other riders, keep to one side or stop and let them by (downhill riders yield to those climbing) and all works out well. When passing by others, tell the other person/people if you are riding alone, how many more there are behind you, if you are last, etc. (eg: “just me”, “two more”, “last one”.) Others will do the same, and this’ll lets everyone know what to expect.
Another notable change from downstate trails is difficulty and consistency. I find that many of our downstate trails are of easy to moderate difficulty, but will occasionally have surprise, sudden transitions mid-trail. Sharp, off-camber turns or blown-out rooty downhills after a fast, flowing section prompt me to ride slower than needed until I know a trail. Trails in the Marquette area tend to be more consistent with far fewer of these abrupt surprises. While they are overall more difficult, the consistency, flow, and lack of surprise features makes a first-time ride on them feel very welcoming.
In the Marquette area there are effectively four different systems of trails, South Trails, North Trails, RAMBA Trails, and Harlow Lake area. Here’s my take on each:
South Trails
Overview: Located just south of downtown, these are generally seen as the main Marquette trails and are the most popular riding in the area. The main trailhead off of M-553 (Google Maps) is where the widely-photographed trailhead sign, picnic, and changing areas are at. A huge range of trails start here; this is a great place to begin. (These trails are built and maintained by the NTN.)
Where to Start: Start with the Purple-signed Grom Loop. Yes, the kids trail. It’s a great warmup, and a fun ride to get a glimpse of the rolling terrain in the area; comparable in difficulty to Addison Oaks. Next ride either Green (Morgan Creek Loop) or Red (Pioneer Loop) clockwise. Access these by following the signs and crossing M-553. Green clockwise begins immediately across the road on your left, Red requires a climb up Benson Grade (the gravel two track) and then begins straight ahead. Ride down the two track at the top of the hill for 100′ or so and then veer left on to the trail if you don’t want to ride across the top of the pipe.
Green is pretty smooth, with some twisty turns, good ups and downs, and the trail takes you over the top of a waterfall (Morgan Creek Falls). Red starts out with a bit of rock and roots and has some (signed) optional tech lines, but then gets smoother and more flowing, particularly as you enter the Greywalls golf course area. Two good routes that mix up Green and Red and make for some fun riding are:
South Trailhead → Climb Benson Grade → 9 (via Red) → 10 (via Red) → 11 (via Green) → South Trailhead (via Green)
South Trailhead → 11 (via Green / Carp Eh Diem) → 10 (via Green) → 5 (via Red) → 7 (via Red) → 6 (via Red) → 8 (via Red) → South Trailhead (via Red)
Near the end of Red, before getting back to the trailhead, you’ll find yourself back at M-553. Cross, turn right on the sidewalk, and a few hundred feet later at the top of a rise look for a trail sign on your left. Enter the woods here and ride this section (known as Mossy) and you’ll pop back out at a road. Cross at the crosswalk and continue south along M-553 for a short while longer and you’ll be back at the trailhead.
After riding Red and Green, for more of a typical UP feeling with rocks, roots, and exposure, take Yellow (Gorgeous) east from the trailhead down to the Cliffs Power Road trailhead, the Blue back to the main trailhead. This section has a good bit more climbing and is a lot harder than Red or Green, but is still fun. Just before returning to the trailhead on Blue there is a split labeled More Difficult and Less Difficult. This choice is in relation to the very last section ridden, and the More Difficult section has chunkier rock than anywhere in SE Michigan; it’s quite a sight to see. This route is as follows, but has a few unmarked intersections. Just go straight, following the more-worn groove:
South Trailhead → 17 (via Grom) → 18 (via Gorgeous) → 13 → 15 → 16 → South Trailhead
Finally, be sure to climb Benson Grade again and ride Down Dogger and Eh Line. Down Dogger is a flow trail that’s completely rollable with only a bit of rock. Keep speed in check and anyone comfortable riding fast on twisty SE MI single track will have a blast. Eh Line is a jump line that begs to be ridden fast and getting air, but is completely rollable. Part-way up Benson Grade you’ll cross Eh Line, indicated by a large set of rocks on your right. I personally am more fond of Down Dogger, as it’s a bit more rough trail and less jumpy, although there’s still plenty of places to get in the air. Both of these trails are just to the left at the top of Benson Grade, with Eh Line before the pipe and Down Dogger just over. We have no trails like these in Southeast Michigan.
Don’t be afraid to go explore; trails here really aren’t as remote as they may seem when riding. They almost all cross two track at some point, and many adjoin neighborhoods. You won’t become truly lost. Anything labeled as Black Diamond (Very Difficult) should be doable to an experienced rider from SE Michigan, but will be a step (or three) beyond what is found downstate.
The only section I would suggest avoiding at first is the climb from 18 to 19 into Marquette Mountain Ski Area. It’s a fairly uninspiring climb, and finding one’s way through the ski area and back down can be a bit confusing. This is being built out to make a big yellow loop that connects with Pipe Dreams and Off Grade, but as of early 2018 it’s not done. Currently it can be a fun ride, but isn’t as good as other parts of the South Trails.
There are many other trails in the South Trails area, including very-technical and drop-filled freeride / downhill trails. Before venturing into an unknown trail be sure to note the difficulty designation. Sticking to the main colored loops (Red, Green, Blue, Yellow) will keep to the XC trails and avoid any real surprises.
North Trails
Overview: Often overlooked or dismissed as too-easy, located on the north side of town, across the lake from the popular Tourist Park campground, and continuing northwest to the NTN’s Forestville Trailhead. Typically more mellow and smoother than the South Trails, but with some truly beautiful views and fun riding. (Built and maintained by the NTN.)
Where To Start: For an easy start, I suggest starting at Tourist Park Trailhead (Google Maps) and exploring to the west, sticking to the single track. This is milder climbing and far less technical riding than most routes on the South Trails, but still a lot of fun, and a good way to get a feel for riding in the area. Some of my favorite sections are the climb to (and descent from) the Blue Heron Overlook, Collinsville Cut, The Oxbow, and portions of EZ-PZ which run directly along the river.
Once you have a feel for the North Trails, consider riding out to the Forestville Trailhead and back, making a loop. You can do this starting at Tourist Park Trailhead, or start in the middle of the North Trails at the Marquette Board of Light and Power (BLP) trailhead located just west of 2200 Wright St.. Here’s a great route from the BLP Trailhead to Forestville Trailhead and back:
BLP Trailhead → Dead River Trail (West) → Collinsville Cut (West) → BLP Rocks (under the penstock) → Lower Falls View → Blue Heron (turn left / climb up the hill) → Blue Heron Connector → At the end, cross the train tracks to your right → up Ramblin’ Man (to your left after the tracks) → Forestville Trailhead (water on the left side of the shed) → down Ramblin’ Man → Blue Heron Connector (cross the tracks again, ride for a few hundred feet) → Silver Lead (cross an old road bridge in the middle, trail continues on your left) → Collinsville Cut → Dead River Trail (East) → BLP Trailhead
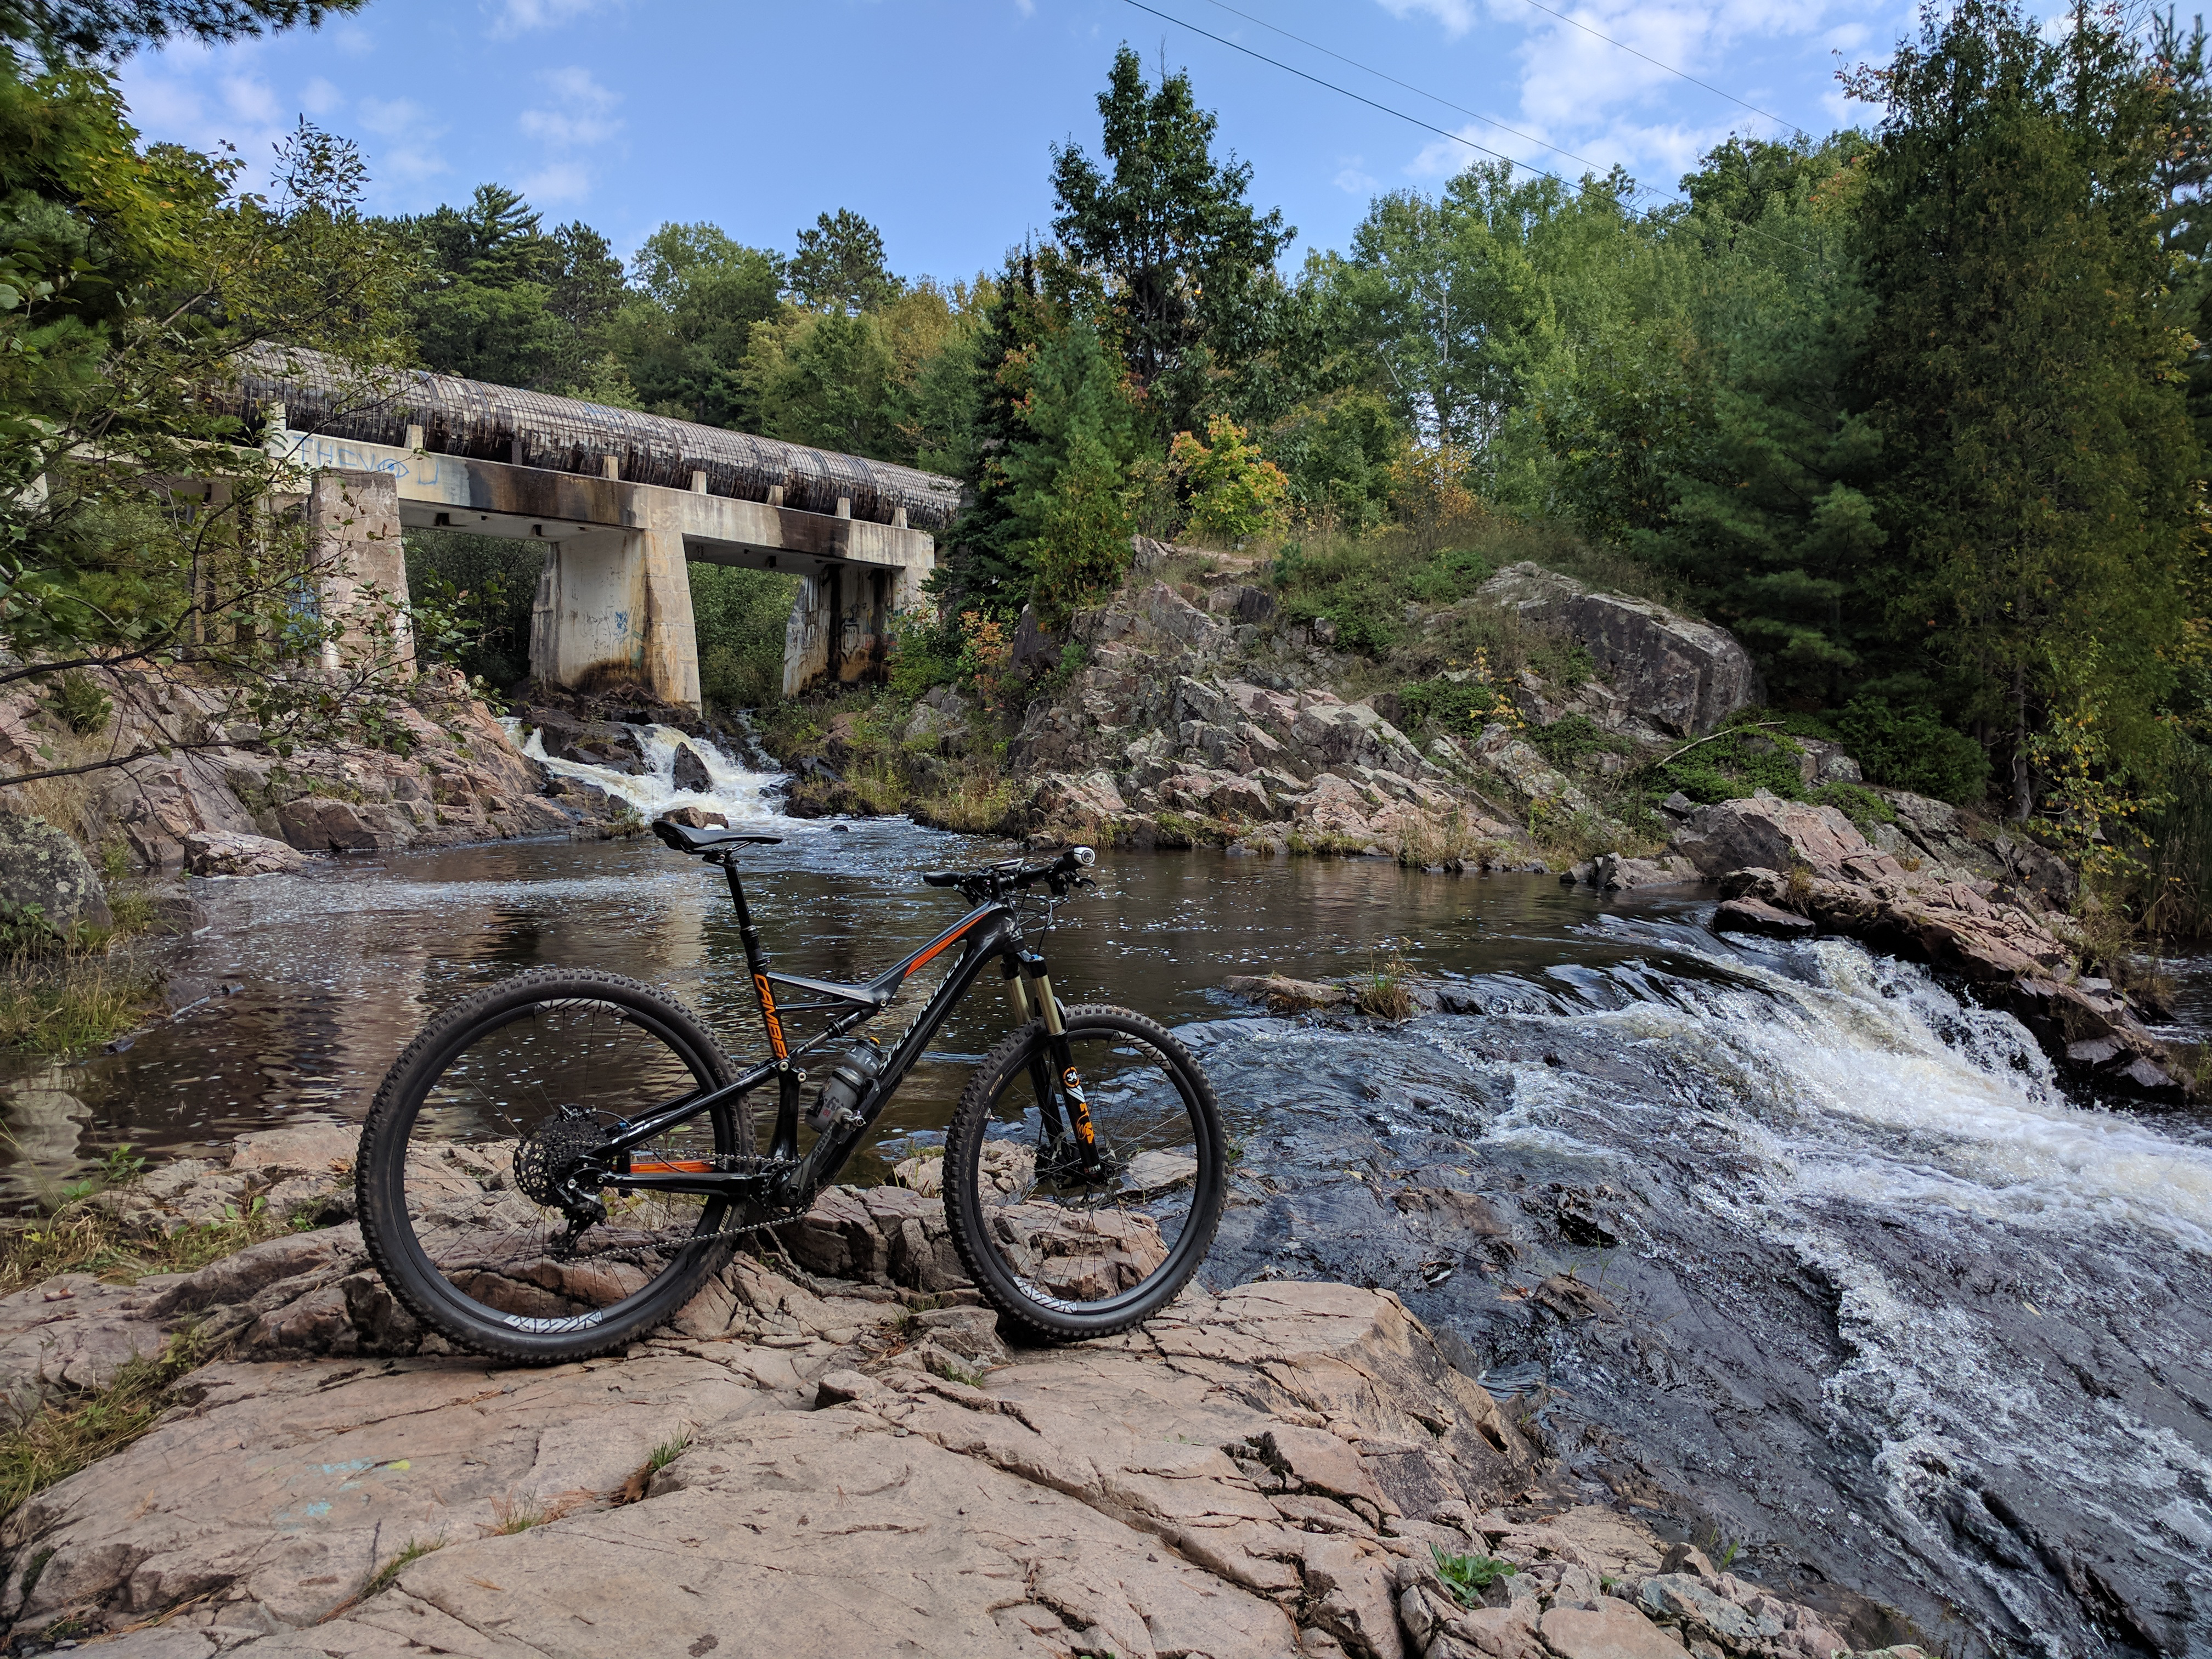
As you explore be sure to ride under the penstock itself; the large wooden pipe seen in countless MTB tourism videos (and above) and is a really neat experience. This can be done either when riding the BLP Rocks trail or at the east end of Blue Heron, just south of where it connects to The Penstock trail.
There are a number of small offshoot / casual trails along here, so watch for the main groove and stick to it. In some places the trail spiderwebs a bit, but don’t be afraid of getting lost. It’s a pretty easy area to understand, and most of the trail is fairly close to roads. Periodically you’ll encounter the Noquemanon Trail, an XC ski trail that’s open to bikes between the Forestville Trailhead and the Tourist Park Trailhead. It can be a bit sandy on the west end, but towards the east it’s quite beautiful, passing by ROTC Rock.
By heading east on the North Country Trail from the trailhead (blue rectangular blazes) one can get quite close to Lake Superior and connect to the bike path into Presque Isle or town.
The North Trails are extremely popular with runners and dog walkers, so keep an eye out for other users, particularly in late morning or after work.
RAMBA Trails
Overview: Mostly located in the space between Ishpeming and Negaunee, about 20 minutes west of Marquette, built and maintained by the Range Mountain Bike Club (RAMBA Facebook Page).
Where To Start: These are a collection of hand-built, rugged trails. Maps of some trails are available via Trail Genius, Trailforks, or in print at shops. This area is a spiderweb of trails that is now pretty well signed signed, but at times it can be a little confusing to navigate. I suggest starting at The HOB — the official RAMBA trailhead — which can be found either by following the RAMBA Trailhead signage off of US-41, or by navigating to here. There are also official trailheads at Jackson Mine Park in Negaunee or off of the Iron Ore Heritage Trail (IOHT) in Ishpeming at Cognition Brewing Company, but the signage is easiest to follow from The HOB.
For a hefty, but fun, ride seeing typical Ishpeming area trails, I suggest riding the Epic Loop. Plan on three hours for this ~18 mile loop, but expect some seriously wonderful views and fun climbing and descending amazing hand-built rocky stuff. This is a much harder ride than anything recommended above in the Marquette area, but it’s fun and a nice variant on UP riding.
After finishing, detour over to Jasper Knob — the world’s largest exposed gemstone — that offers a wonderful view of the Ishpeming and Negaunee area including the Tilden Mine tailing piles. Make your way to Jasper and Hill Streets (map), and on the north side of Jasper St. there’s a small wall with a stairway built in. Go through the stairway and follow the path up the hill to the top. (Yes, it’s ridable the whole way up and down.)
On Wednesday evenings there is a group ride which meets at Cognition in Ishpeming and leaves at 6:30 pm during the summer, moving back to 6:00 pm as the year moves on. (Check the RAMBA Facebook group for details.) At these rides there are groups which range from extremely fast locals who intimately know the trails to more casual riders who will head out for a stroll on the two track. Introduce yourself, ask around, and find a group that seems right to ride with. Don’t be intimidated; folks on this ride are super friendly and it’s an excellent way to see the RAMBA trails and meet up with some great people. And after, grab a pizza-to-go from Congress and eat it at Cognition. Mmm!
RAMBA trails to range from fast and fun to rocky and challenging, with a number of sections that are currently way beyond my skill level. Each time I’ve gone to ride here alone I’ve become a bit lost and frustrated that I couldn’t find trails I’d been on in the past, but still had a good time. One of my favorite parts is riding through the Negaunee Caving Grounds / Old Town Negaunee, a portion of the town which was literally undermined and closed down. Trails run along the old streets, sidewalks, and stairways which are now a park.
Harlow Lake
Overview: Trails located in and around Harlow Lake and the Little Presque Isle Cabins.
Where To Start: Home to some of the more photogenic and technical trails in the area, Harlow Lake is often touted as some of the most rugged riding in the Marquette area. This area contains everything from the infamous wall ride featured in Jeff Lenosky’s Awesome riding in the UP of Michigan video to Bareback as seen in Travel Marquette’s 4 Trails 2 Minutes video.
Since becoming officially recognized by the Michigan DNR there have been wayfinding signs installed, and an official map is now available (link). It’s not as well marked as either the NTN North or South Trails, but there are now signs at each official trail and maps located throughout the property. It’s now pretty easy to find your way around without a guide.
There’s some incredibly scenic trails here, but they are seriously rugged, and I’d caution a new rider from downstate about riding here without a bit of preparation. Bring a copy of the map as cell phone service is spotty. This area is fairly remote, you’re unlikely to encounter others, let someone know where you’re going to be at. Bring some offline maps via OsmAnd+ and/or Trailforks, ride cautiously, and be ready to do a bit of exploring. But also be ready to have your jaw drop at the scenery.
Riding in the Marquette area is great, because it’s usually possible to safely ride from wherever you are staying to the trails. In Marquette itself there are rail trails, multi-use paths, and safe residential streets that connect almost everything. One can even get to the RAMBA Trails from Marquette via the IOHT and up into Harlow Lake via dirt roads that connect into the SBR (off of the North Trails). When I’m staying in the area I’ll typically ride from wherever I’m at to the trails. It’s a great way to see the town and warm up one’s legs before getting to the single track.
After a day of riding you’ll want food and beer. Here’s a post I did in mid-2015 covering good places to eat in Marquette: Marquette Food Recommendations.
Finally, the great trails in the Marquette area are mostly built and maintained by volunteers, with the NTN having a small paid staff of trail builders and groomers. Sign up for a Noquemanon Trail Network Single Track membership (I’m at the $50 level myself, which seems good for an out-of-towner) and give a bit back to the trails you enjoyed. Support RAMBA by clicking the Donate button at the bottom of their page and tossing them some money as well.