Bored on a rainy June day, and having just figured out a thread size that I can 3D print (FDM) for external threads on Presta valves† I decided to draw up a replacement nut that’ll (hopefully) be another way to solve the problem of leaky valves on single wall rims. These could also be used as normal tubeless Presta nuts that are easier to tighten and remove.
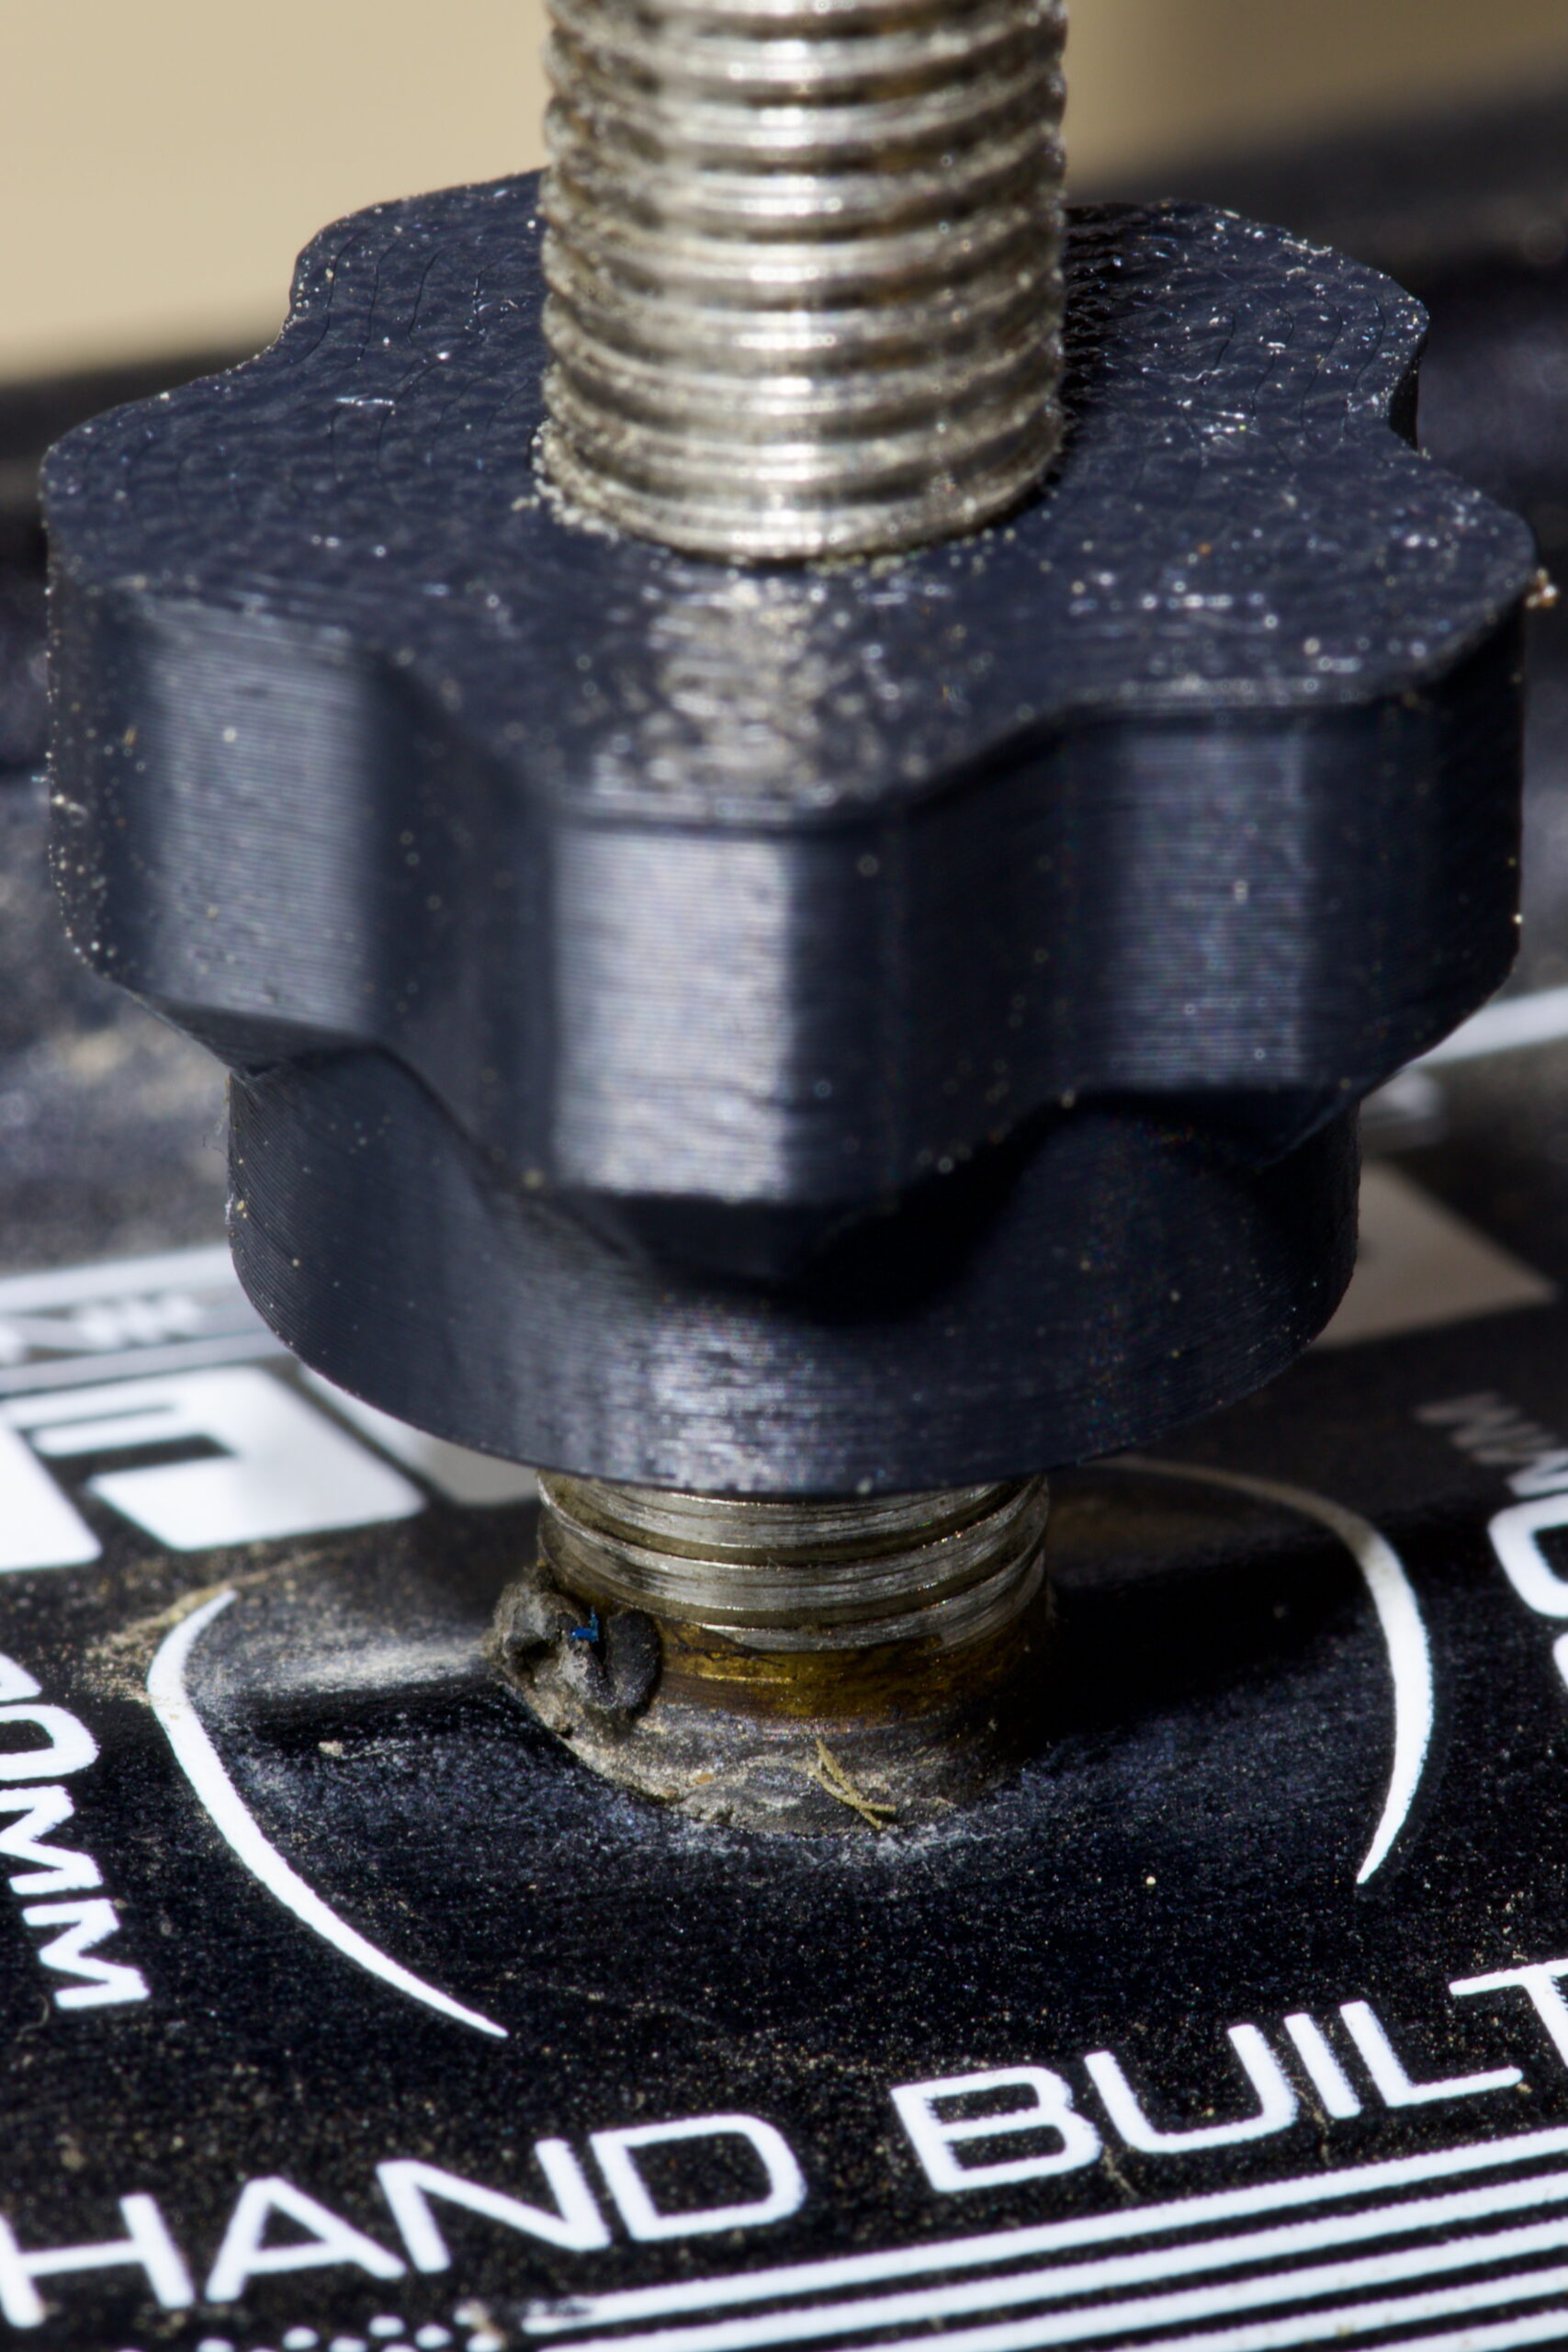
To recap, leaks are caused when the base of the tubeless valve protrudes through a single wall rim, the Presta locknut bottoms out on the base of the valve, resulting in a loose valve with minimal (or no) seal between the valve and the rim. This typically manifests as random/slow leakage on a tubeless fatbike setup. The solution is to use a spacer between the rim wall and locknut, either a nylon washer or something like the Problem Solvers Super P-Nuts, or… perhaps these Peanuts.
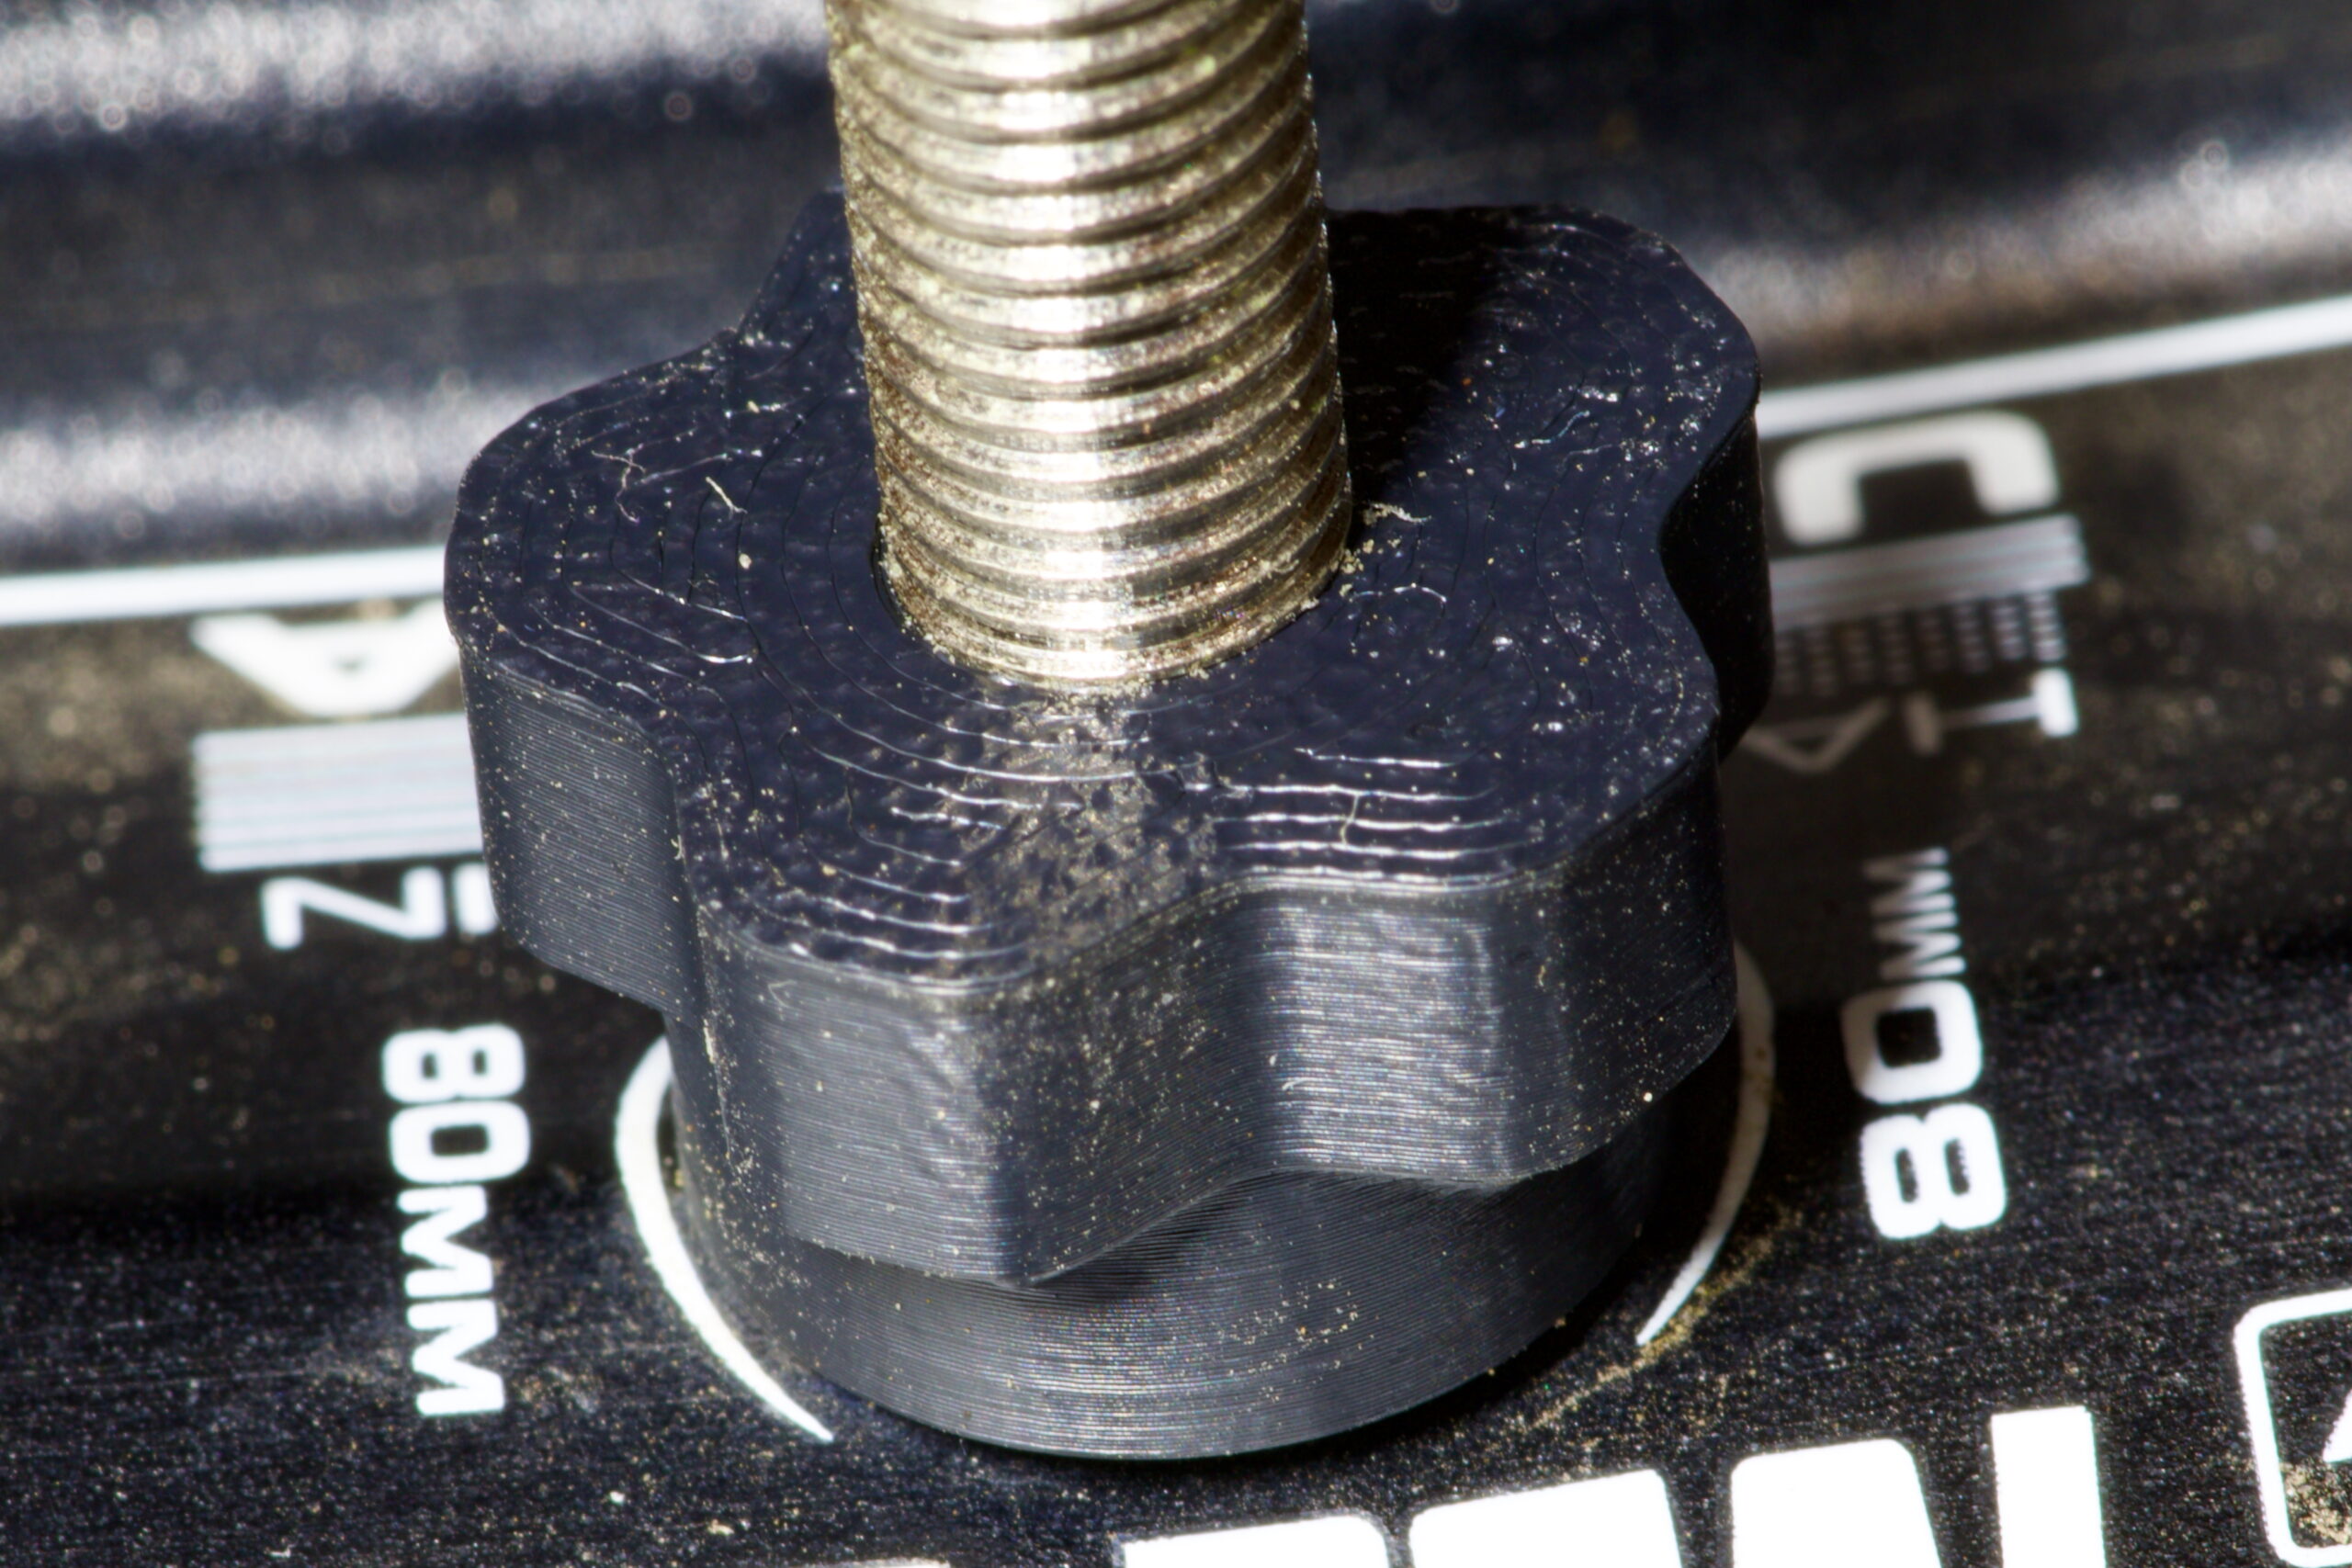
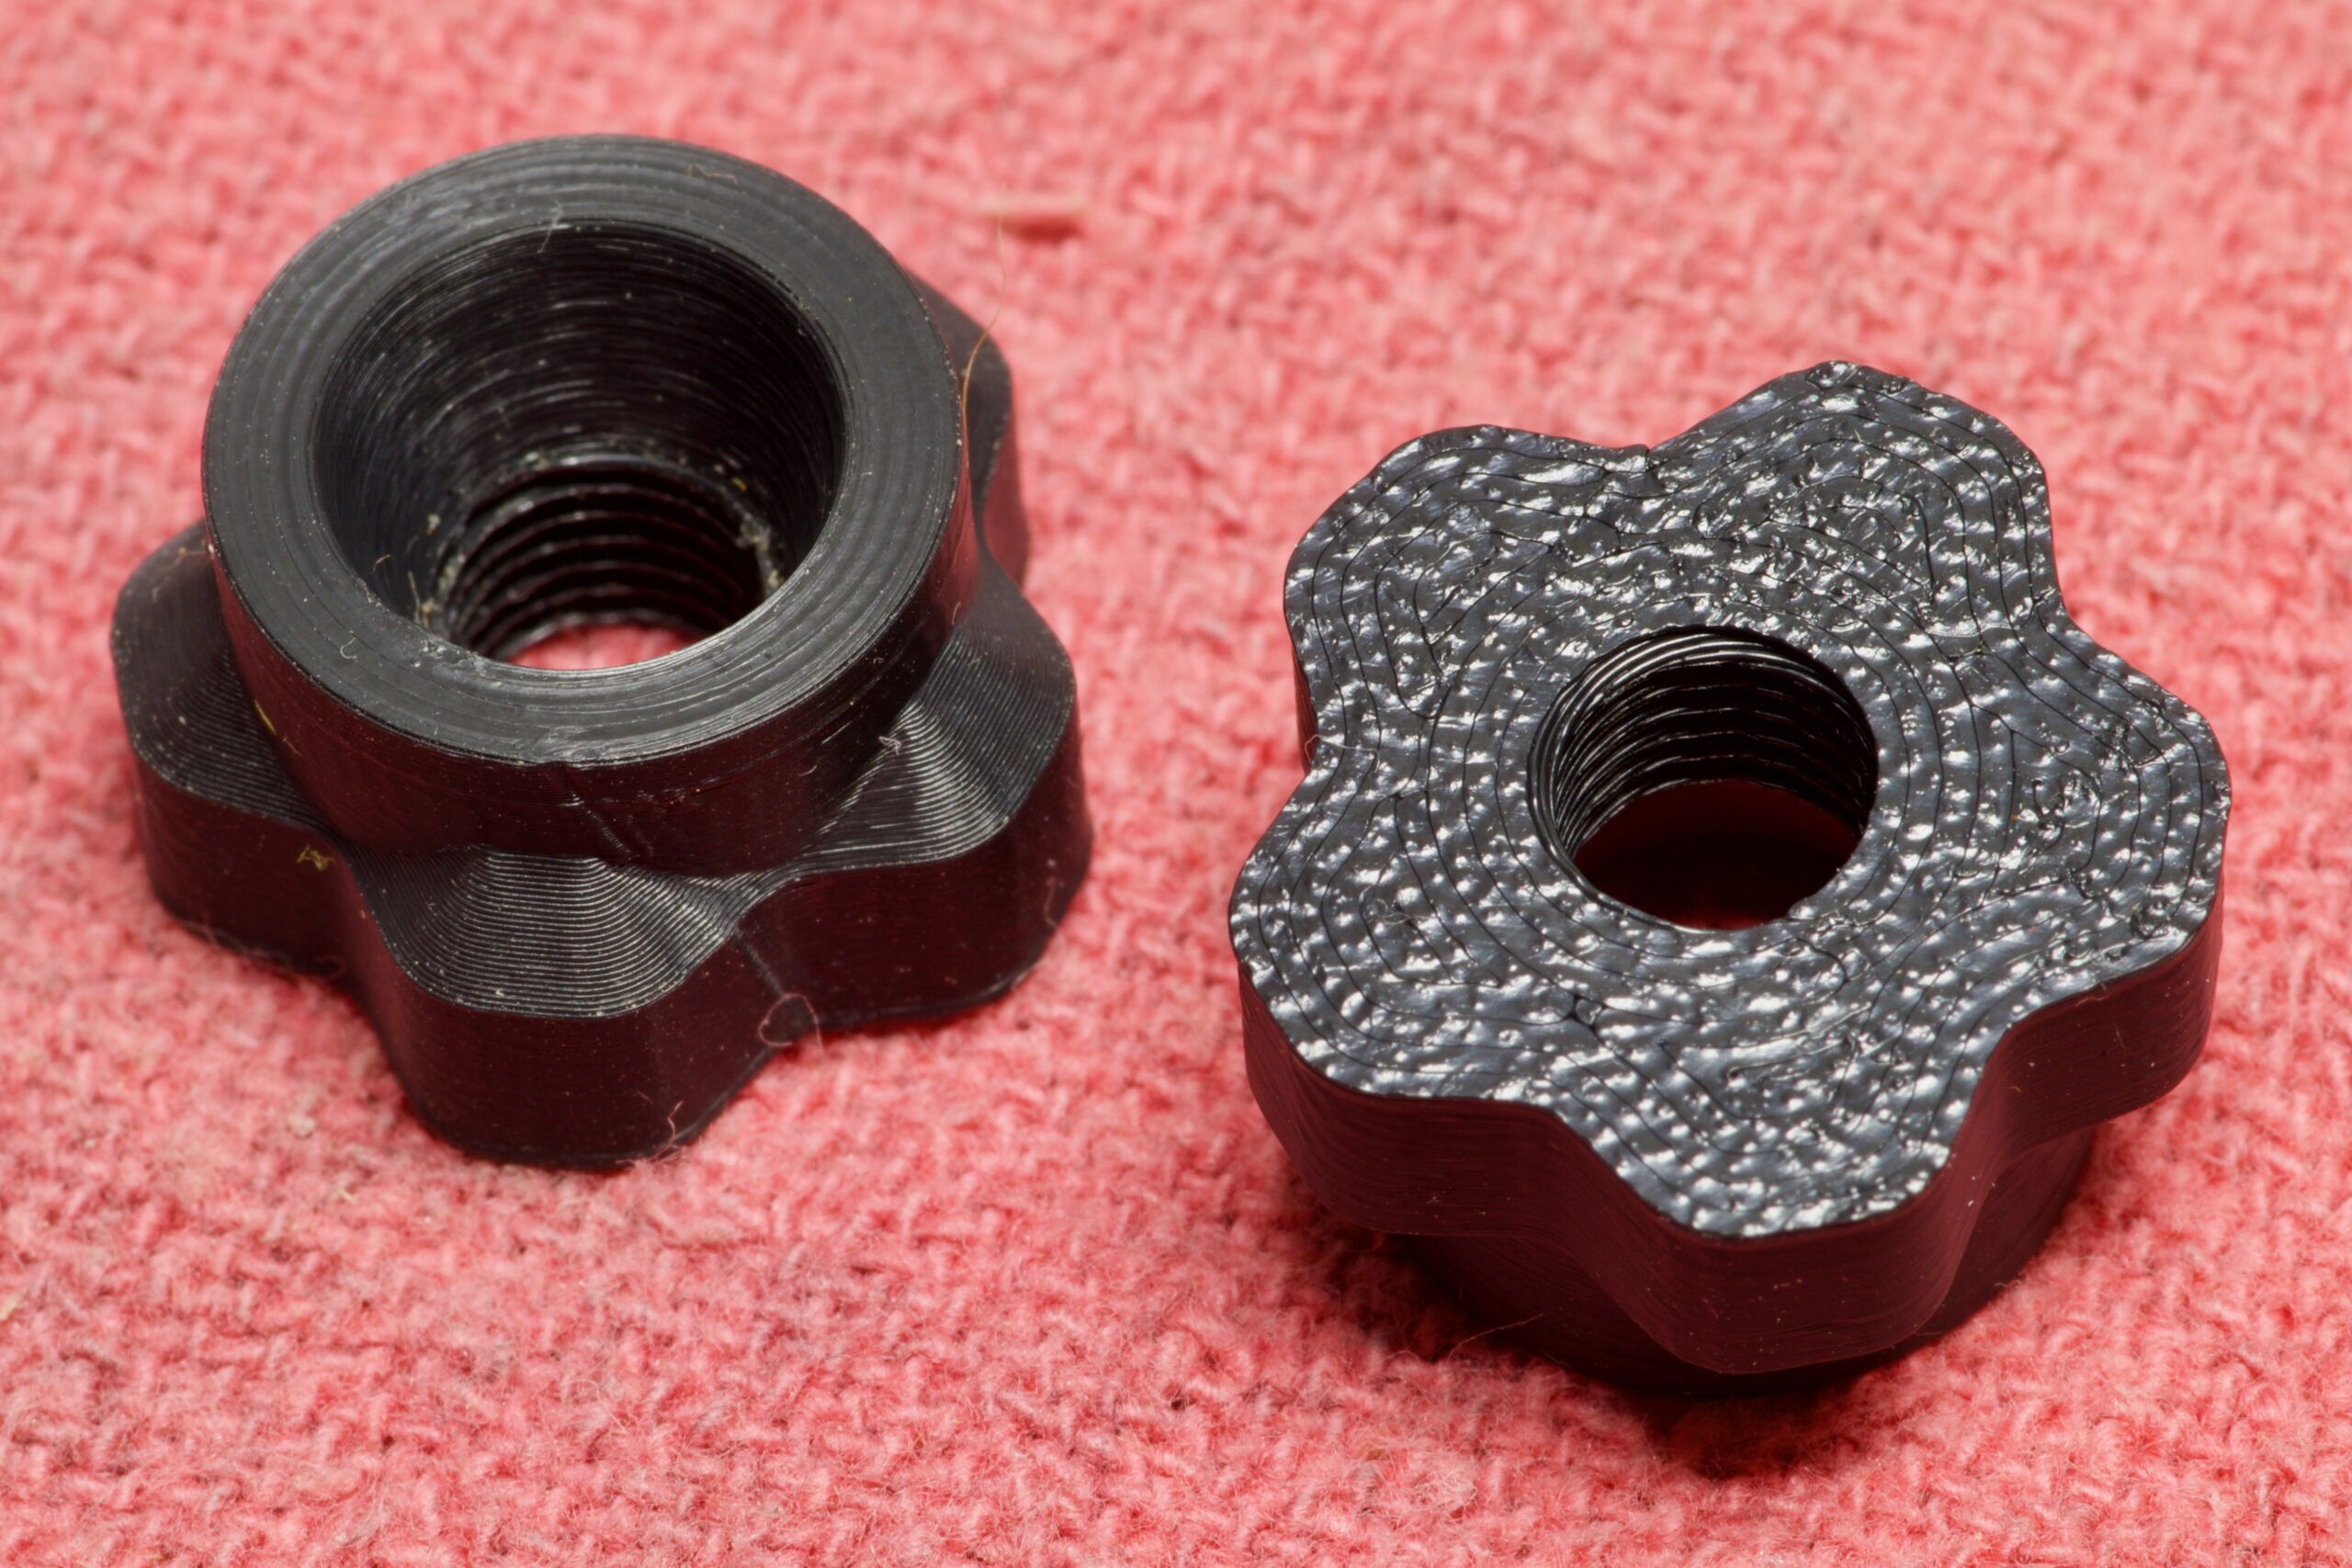
Now that I have a 3D printer, some filament appropriate for outdoor use (ASA), and a little bit of modeling experience, I made my own nut which I’m calling the Peanut. This has 5mm of threaded area, a 5mm (tall) x 9mm (wide) conical space for the valve, and 5mm grippy area to allow easy tightening and removal without tools. And yes, a name that’s an homage to Problem Solvers‘ product.
This is mostly an experiment, as unless one already has a printer and appropriate filament it’s far more cost effective to use nylon spacers + metal nuts or the off-the-shelf Super P-Nuts. It’s also a toss-up weight-wise, with these being 0.2g lighter than my previous spacer + nut setup (1.48g vs. 1.28g). But, I like playing around with making things so I made this and figured I’d share the result.
Printed on a Bambu Lab P1S, in Bambu Lab ASA, using the 0.08 High Quality @BBL X1C profile in OrcaSlicer with 100% concentric infill, 4 wall loops, and concentric top and bottom surface patterns, I’m pretty happy with how they came out. Because of problems I’ve had with ASA and print bed adhesion in the past, I had to do some extra filament purging and then applied glue stick to the print bed to help keep the print in place, and it all came out well.
Time will tell if these last, but they snugged up against the rim on my fatbike and feel solid, so I’m hopeful they are good for long-term use.
Files for this project — the .stl, .3mf from OrcaSlicer, and Autodesk Fusion .f3d — can be found here: fat_bike_peanuts.zip or here at Printables. These are made available under the Creative Commons Attribution-NonCommercial 4.0 International license.
† Per… lots of things I found online… External threading on a Presta valve is 6V1 or M6x0.8, but whenever I’d print this it wouldn’t thread on to the valve. This seems likely due to material creep / over-extruding or whatnot.

Creating a custom thread size in Autodesk Fusion, with a Major ∅ of 6.5mm, Pitch ∅ of 6.0mm, and Minor ∅ of 5.5mm resulted in a threaded hole that printed nicely and fits well on to all the tubeless Presta valves that I have around home. This is arbitrarily a bit larger than spec, but the resulting prints have similar play/slop to the metal nuts that come with valves and it snugs up well. I’m not sure how ideal this is, and could likely be refined, but it’s working for me so I’m going to stick with it.
Adding the following to the M6x0.8 portion of ISOMetricprofile.xml (or creating a similar custom profile as described here) makes this available in Fusion’s Thread tool:
<Thread>
  <Gender>internal</Gender>
  <Class>Presta</Class>
  <MajorDia>6.5</MajorDia>
  <PitchDia>6.0</PitchDia>
  <MinorDia>5.5</MinorDia>
  <TapDrill>4.2</TapDrill>
</Thread>