The Problem and Solution
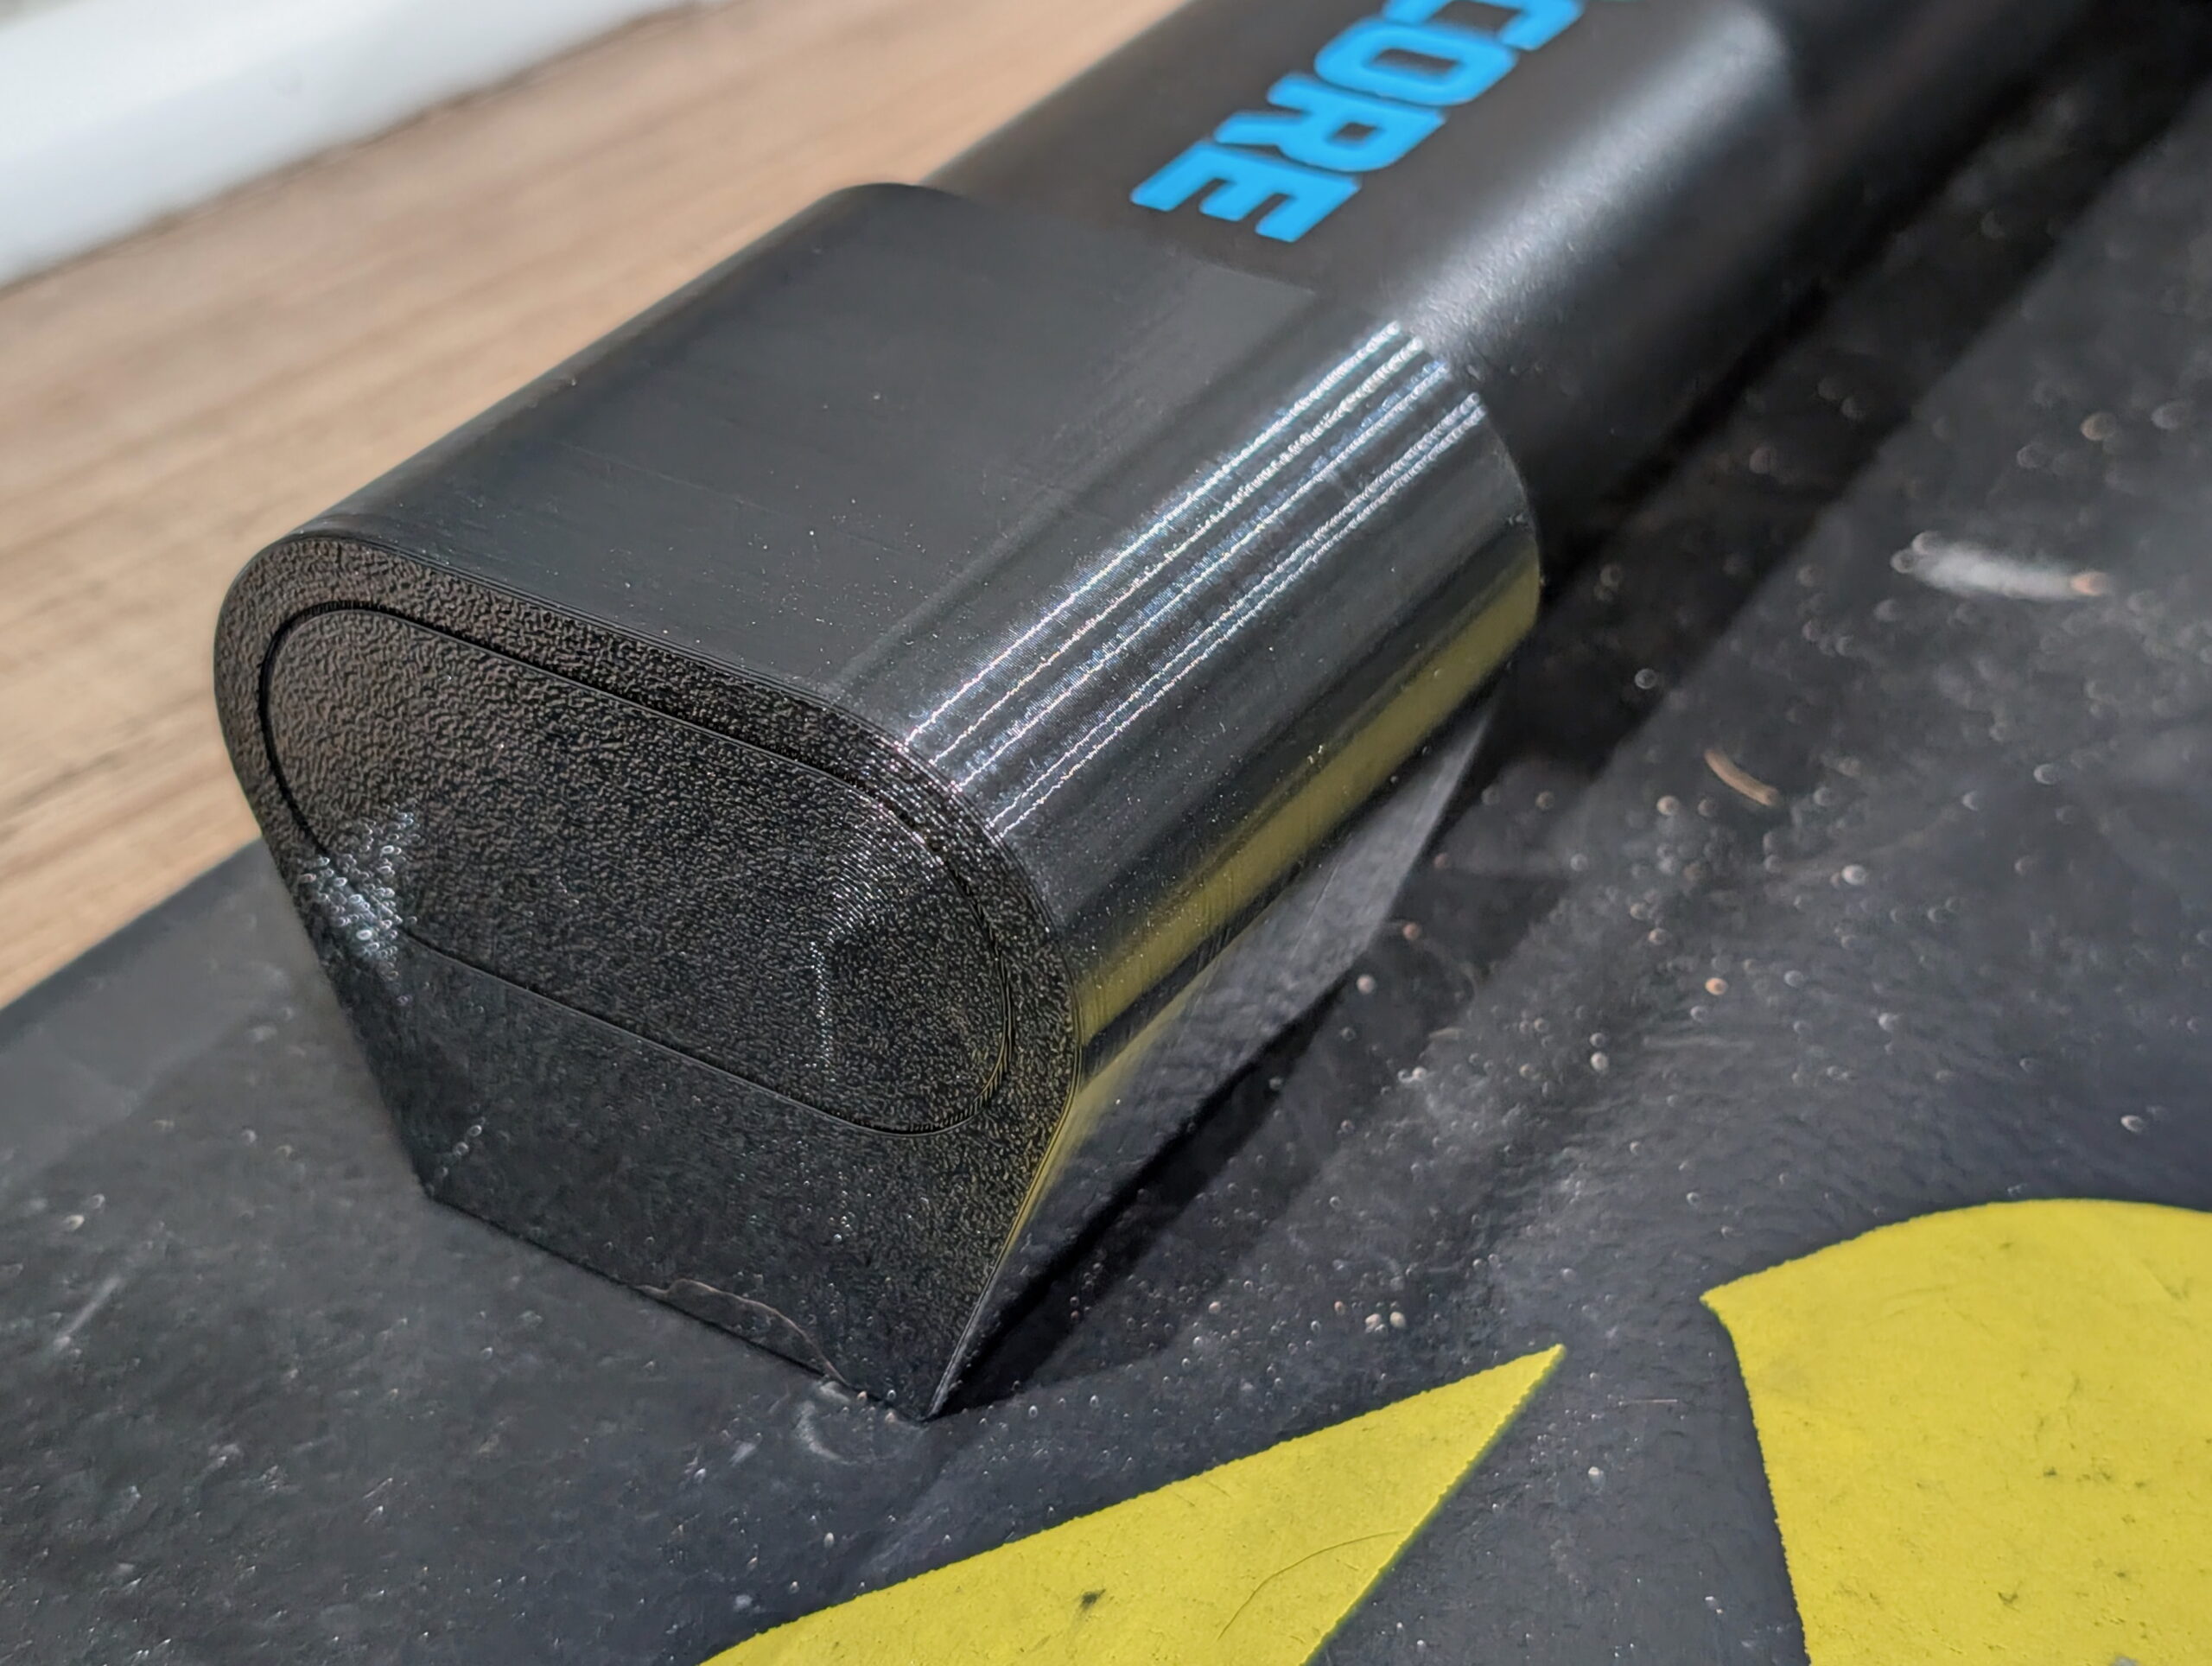
My new trainer, a Wahoo KICKR CORE 2, has the rear axle that’s ~322mm above the floor. With anything larger than a 700c x 25mm front tire this puts the front wheel higher off the ground, which screws with the bike’s geometry including the all-important saddle position. After a bit of measuring I found that raising the trainer ~14mm would make things level on our floor, and having a 3D printer and a wee bit of design skill, I decided to make replacement feet that’d put it at the height I wanted.
This is the result, 3D printable feet which replace the stock rubber ones, securing in place with the same set screws, and can be printed in whichever height is needed.
You can find the .STL files for +5mm to +50mm in 5mm steps, a Bambu Studio project containing all the sizes, and a parametric Autodesk Fusion project allowing you to generate your own custom height riser feet. (Just change liftAdditional.)
This is all licensed CC BY-NC so one can make them, change the design, whichever… You just can’t sell them:
Wahoo Fitness KICKR CORE 2 Riser Feet at Printables
(If you really do want to sell them, email me and we’ll work something out.)
These printed wonderfully using Overture PETG at slow print speeds (50mm/sec) in a Bambu Lab P1S with all fans off and temperatures on the high end of the specified ranges. (I am curious how TPU would work out for printing these as it should be more rubber-like…)
Design Lessons
The main point of this post is to document a few things I learned while designing this. Big, big thanks to my friend Jake Drews — who sells a number of similar products on Etsy as Cycl3dCo — for talking through some design ideas with me.
So what did I learn?
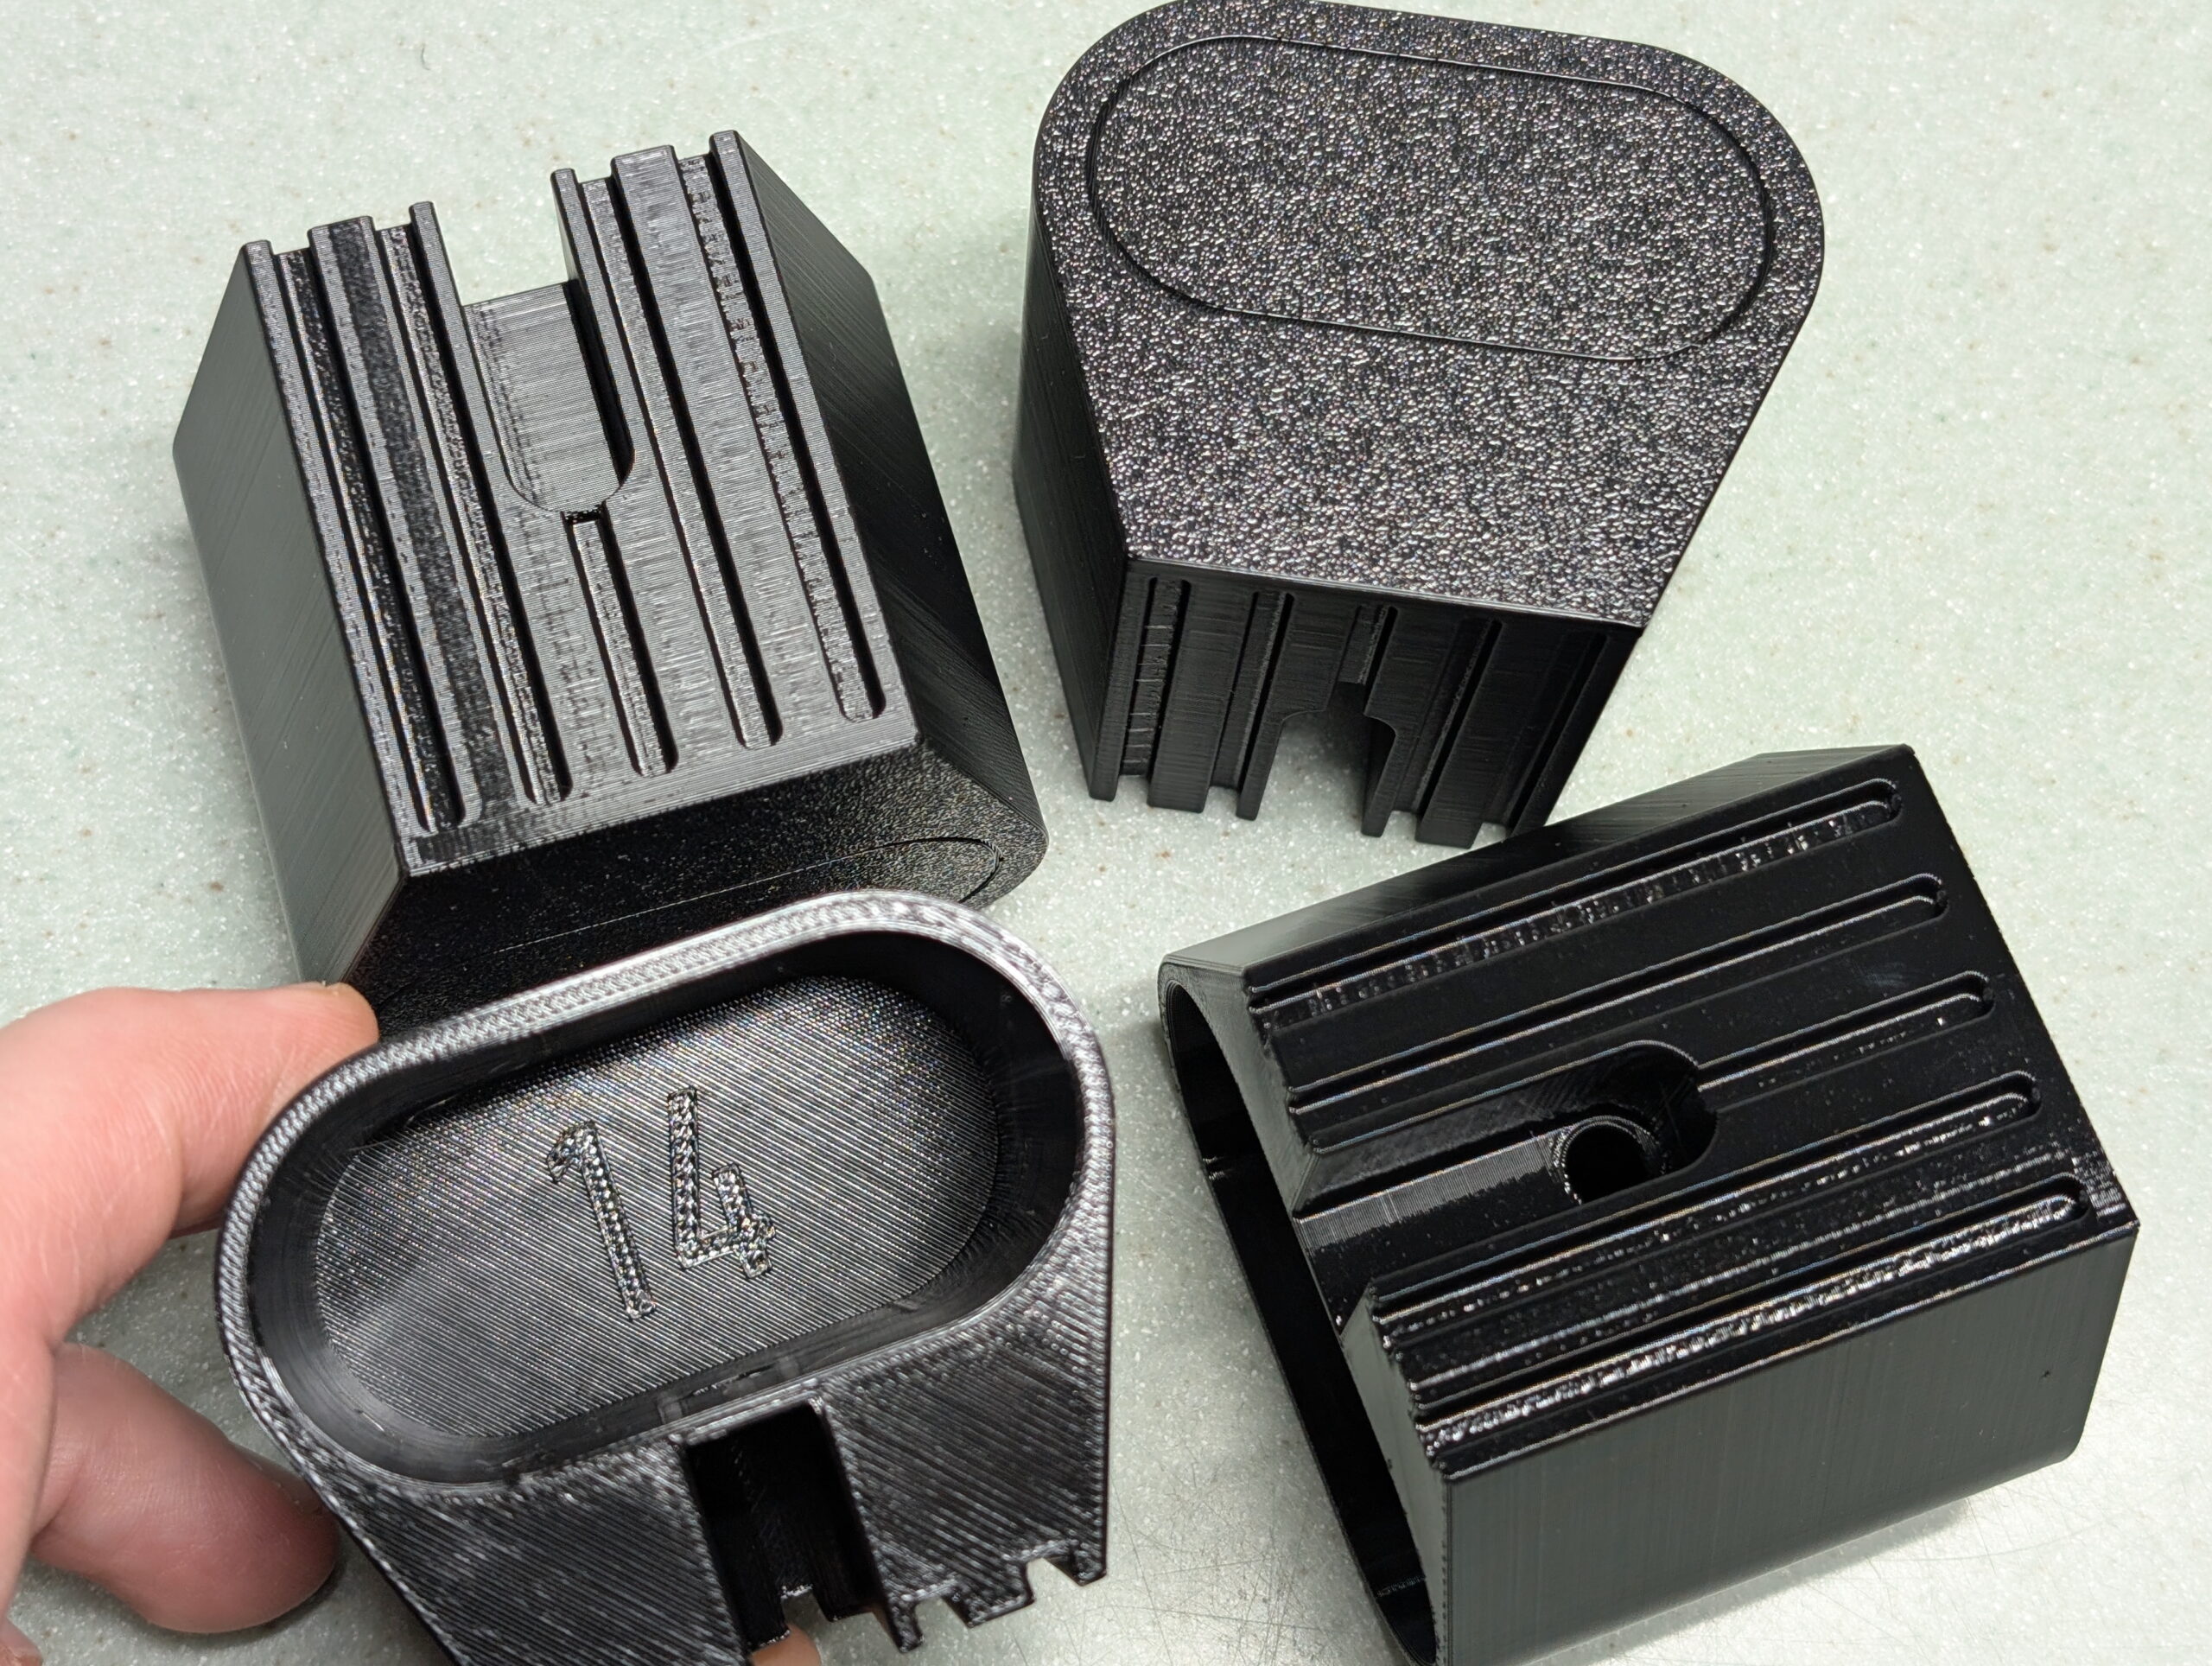
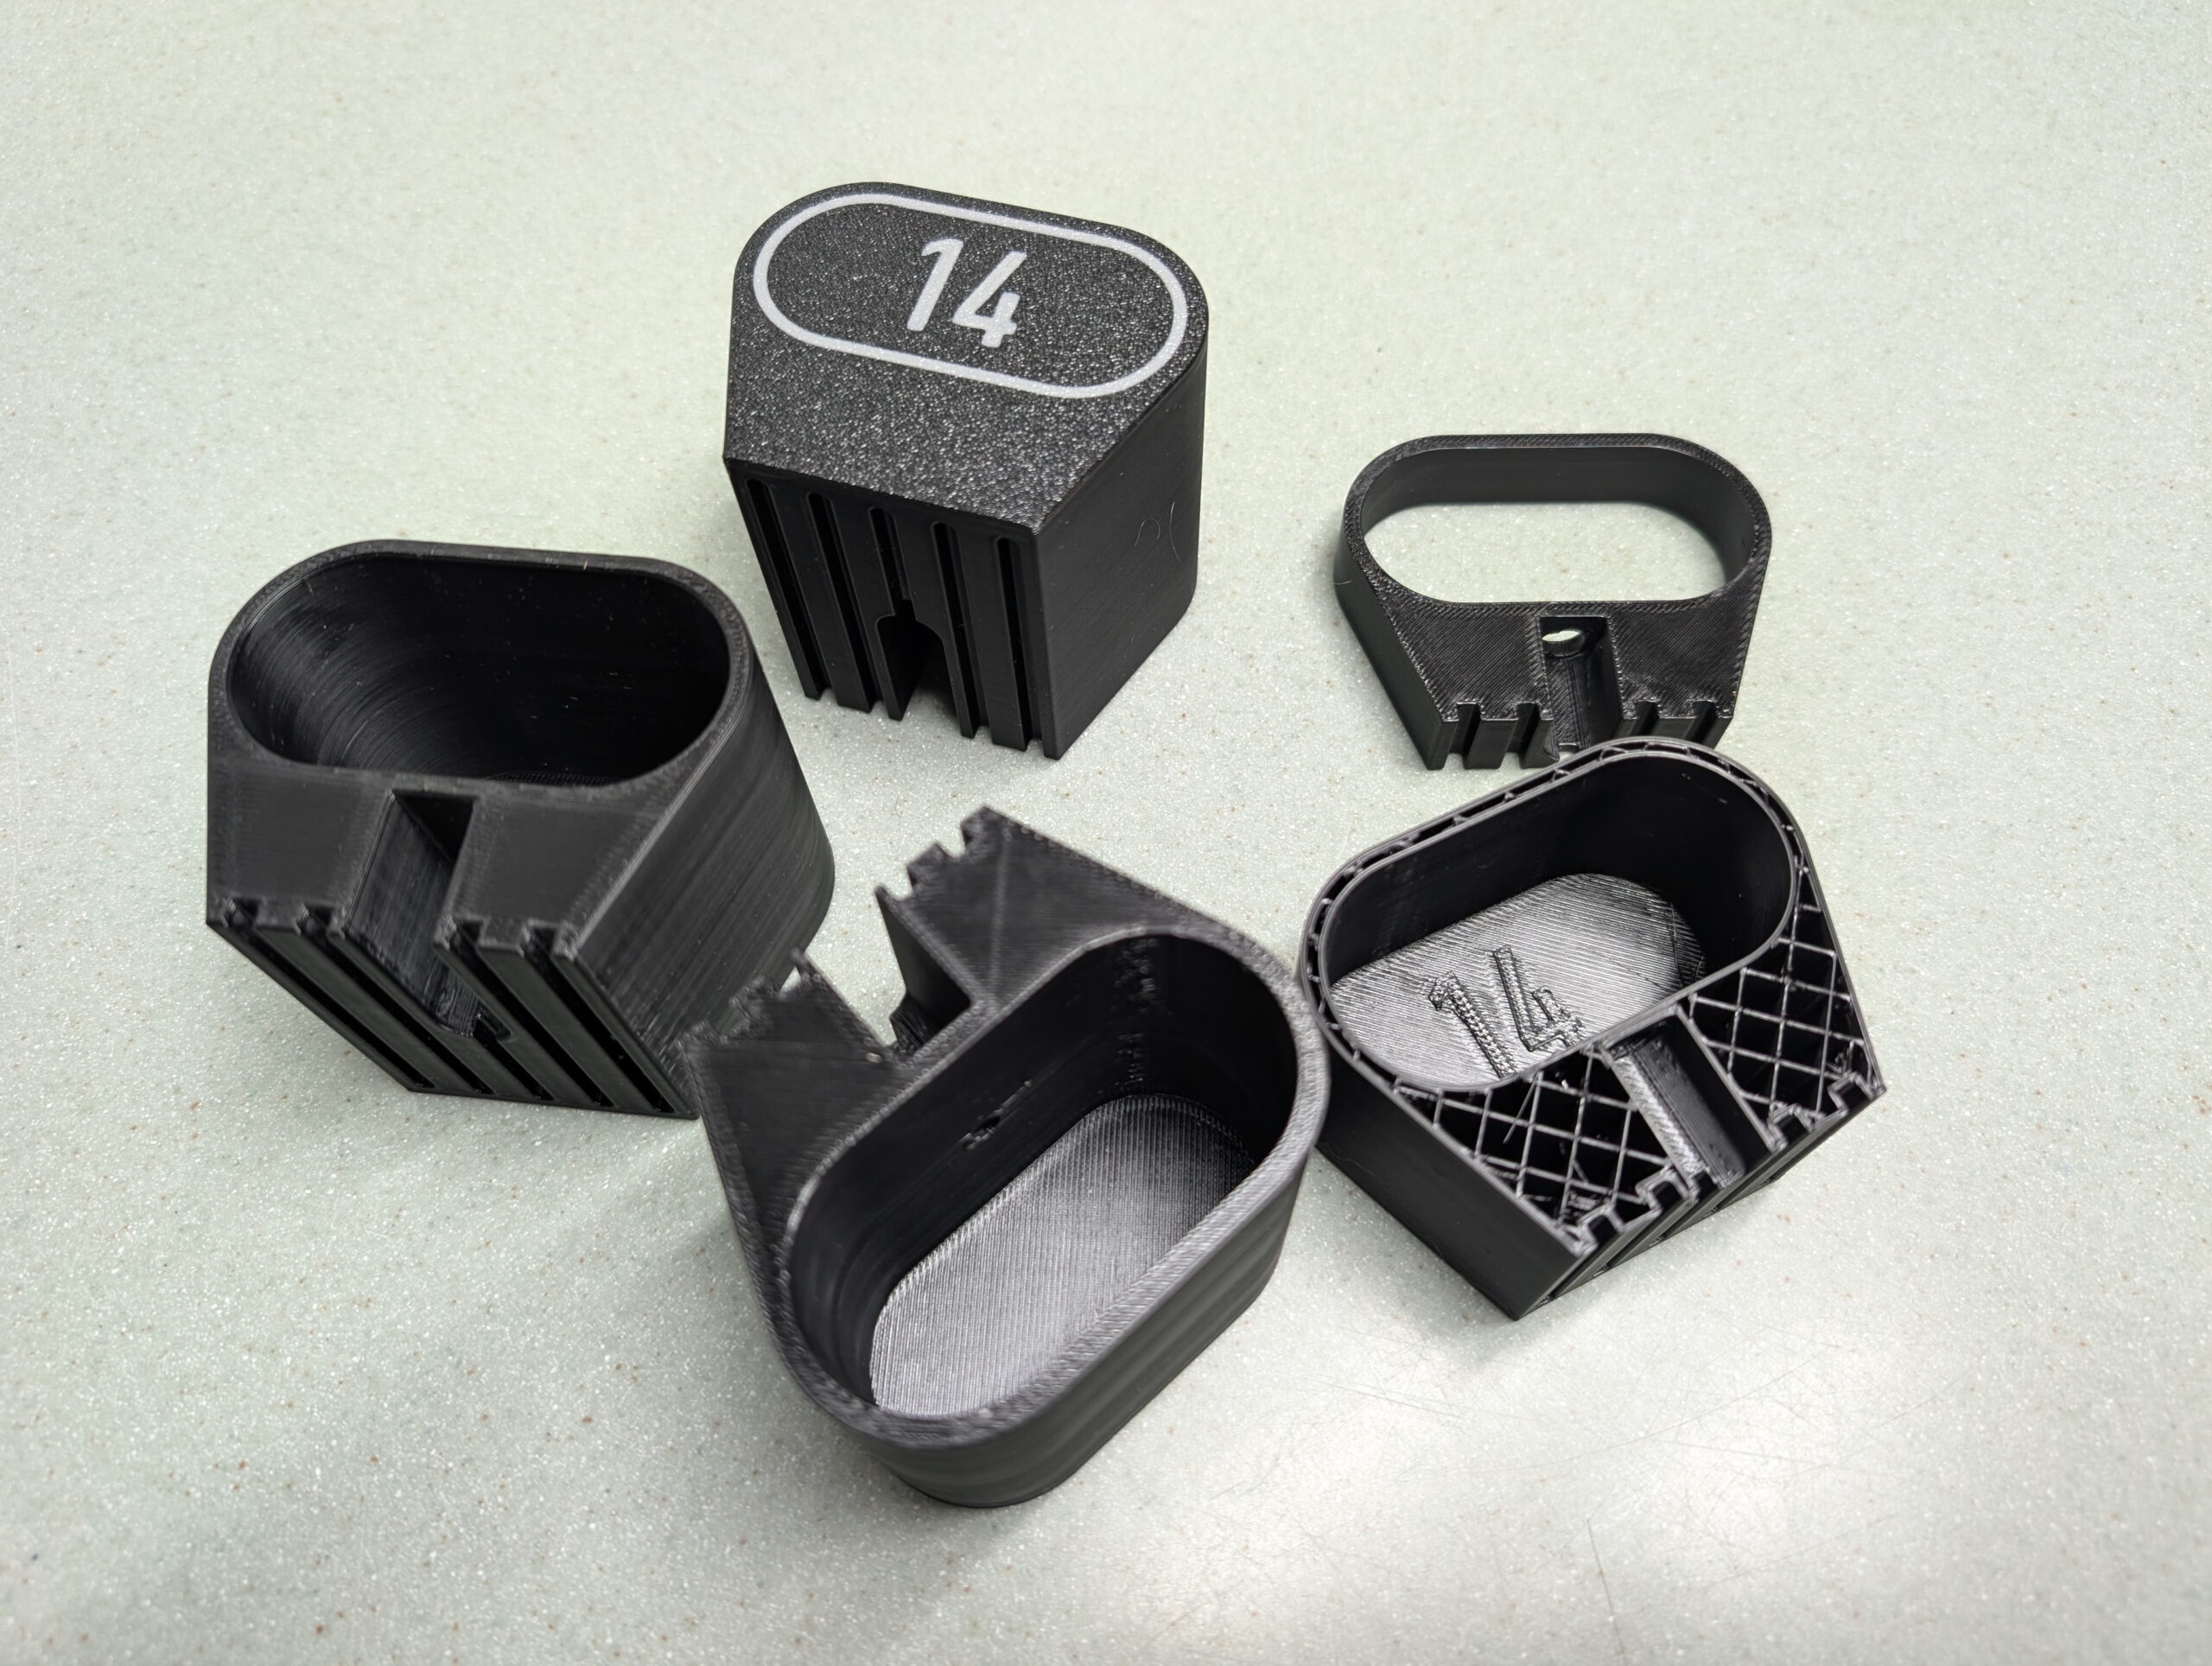
- I wanted to have parametric text on the bottom of the printed surface to show the lift. After experimenting with a second color for style and indication — which was not a great way to go — I settled on using a groove for design, and wanted a single line font as a similar groove. (These print well, akin to a 45° chamfer.) It turns out that single line fonts in Fusion need to be exploded before they can be swept to make a groove. Exploding a font makes it no-longer parametrically controlled.
- The simpler solution ended up being putting the height inside the leg as 0.5mm raised text, sized to sit inside the tube of the leg, and leaving the groove on the outside as a decorative feature. After all, one doesn’t need to see the height all the time, but it is good to have the parts marked. This works out better all around. Leaving the end just blank looked boring.
- If you can avoid multi-color printing, it’s probably better, as it’s less wasteful, many people don’t have multi-color printing setups, etc.
- Adding an inset of 0.01mm will make it easy to color in the slicer (OrcaSlicer or Bambu Studio), but if not colored, is small enough that it’ll be ignored by the slicer. This is a good way to make optionally-multi-colored designs. (Note that my final design didn’t use this, but it’s a good-to-remember technique.)
New trainers?
A few months back there was a great sale on the Wahoo KICKR CORE 2 trainers, and while Kristen and I had some problems with Wahoo in the past, the price was low and the new features would solve some problems, so we both decided to buy them. Specifically:
- Wi-Fi Connection / Kickr BRIDGE: Kristen and I both use an Apple TV (ATV) for Zwift, and the number of Bluetooth (BT) connections on the ATV is limited to two. This meant we could use Trainer + Cadence, or Trainer + Heart Rate Sensor (HR), or Trainer + AirPods. All very limiting. With the CORE 2 it can communicate via Wi-Fi and also bundle the HR data in, freeing up the ATV’s BT channels for other things, such as the Zwift Click controllers and AirPods. It also feels more reliable, and has been very nice.
- Virtual Shifting / Zwift Cog and Click: Via smart use of the smart trainer features, the CORE 2 supports virtual shifting with a single cassette cog. This eliminates wear on more expensive drivetrain parts (cassette), makes it easier to take the bike on and off, and results in a near-perfect chainline so things are simply quiet. While it took me a few rides to get accustomed to virtual shifting, it’s pretty nice and feels similar to actual shifting steps, but without the noise or wear.
- Noise: Simply put, the CORE 2 with the Zwift Cog is quiet. Unlike her older CyclOps Hammer, I can’t hear her riding. This might not sound like much, but the Hammer had a steady whine that I could hear throughout the house. It’s pretty much only the rattle of the chain passing over the cogs and noise from the blower fans.
- Weight/Balance: Kristen uses her trainer on a KOM Cycling Indoor Rocker Plate RPV1. With the older Hammer it’s heavy, asymmetric design made the whole assembly list to one side unless she put a 15 pound weight on the rocker plate opposite the trainer. The CORE 2 is more symmetric and lighter and simply doesn’t have this problem.
All around, they worked out to be nice upgrades, and we were able to easily sell our older trainers for fair prices. For a bunch of details on these trainers give this DC Rainmaker review a read.