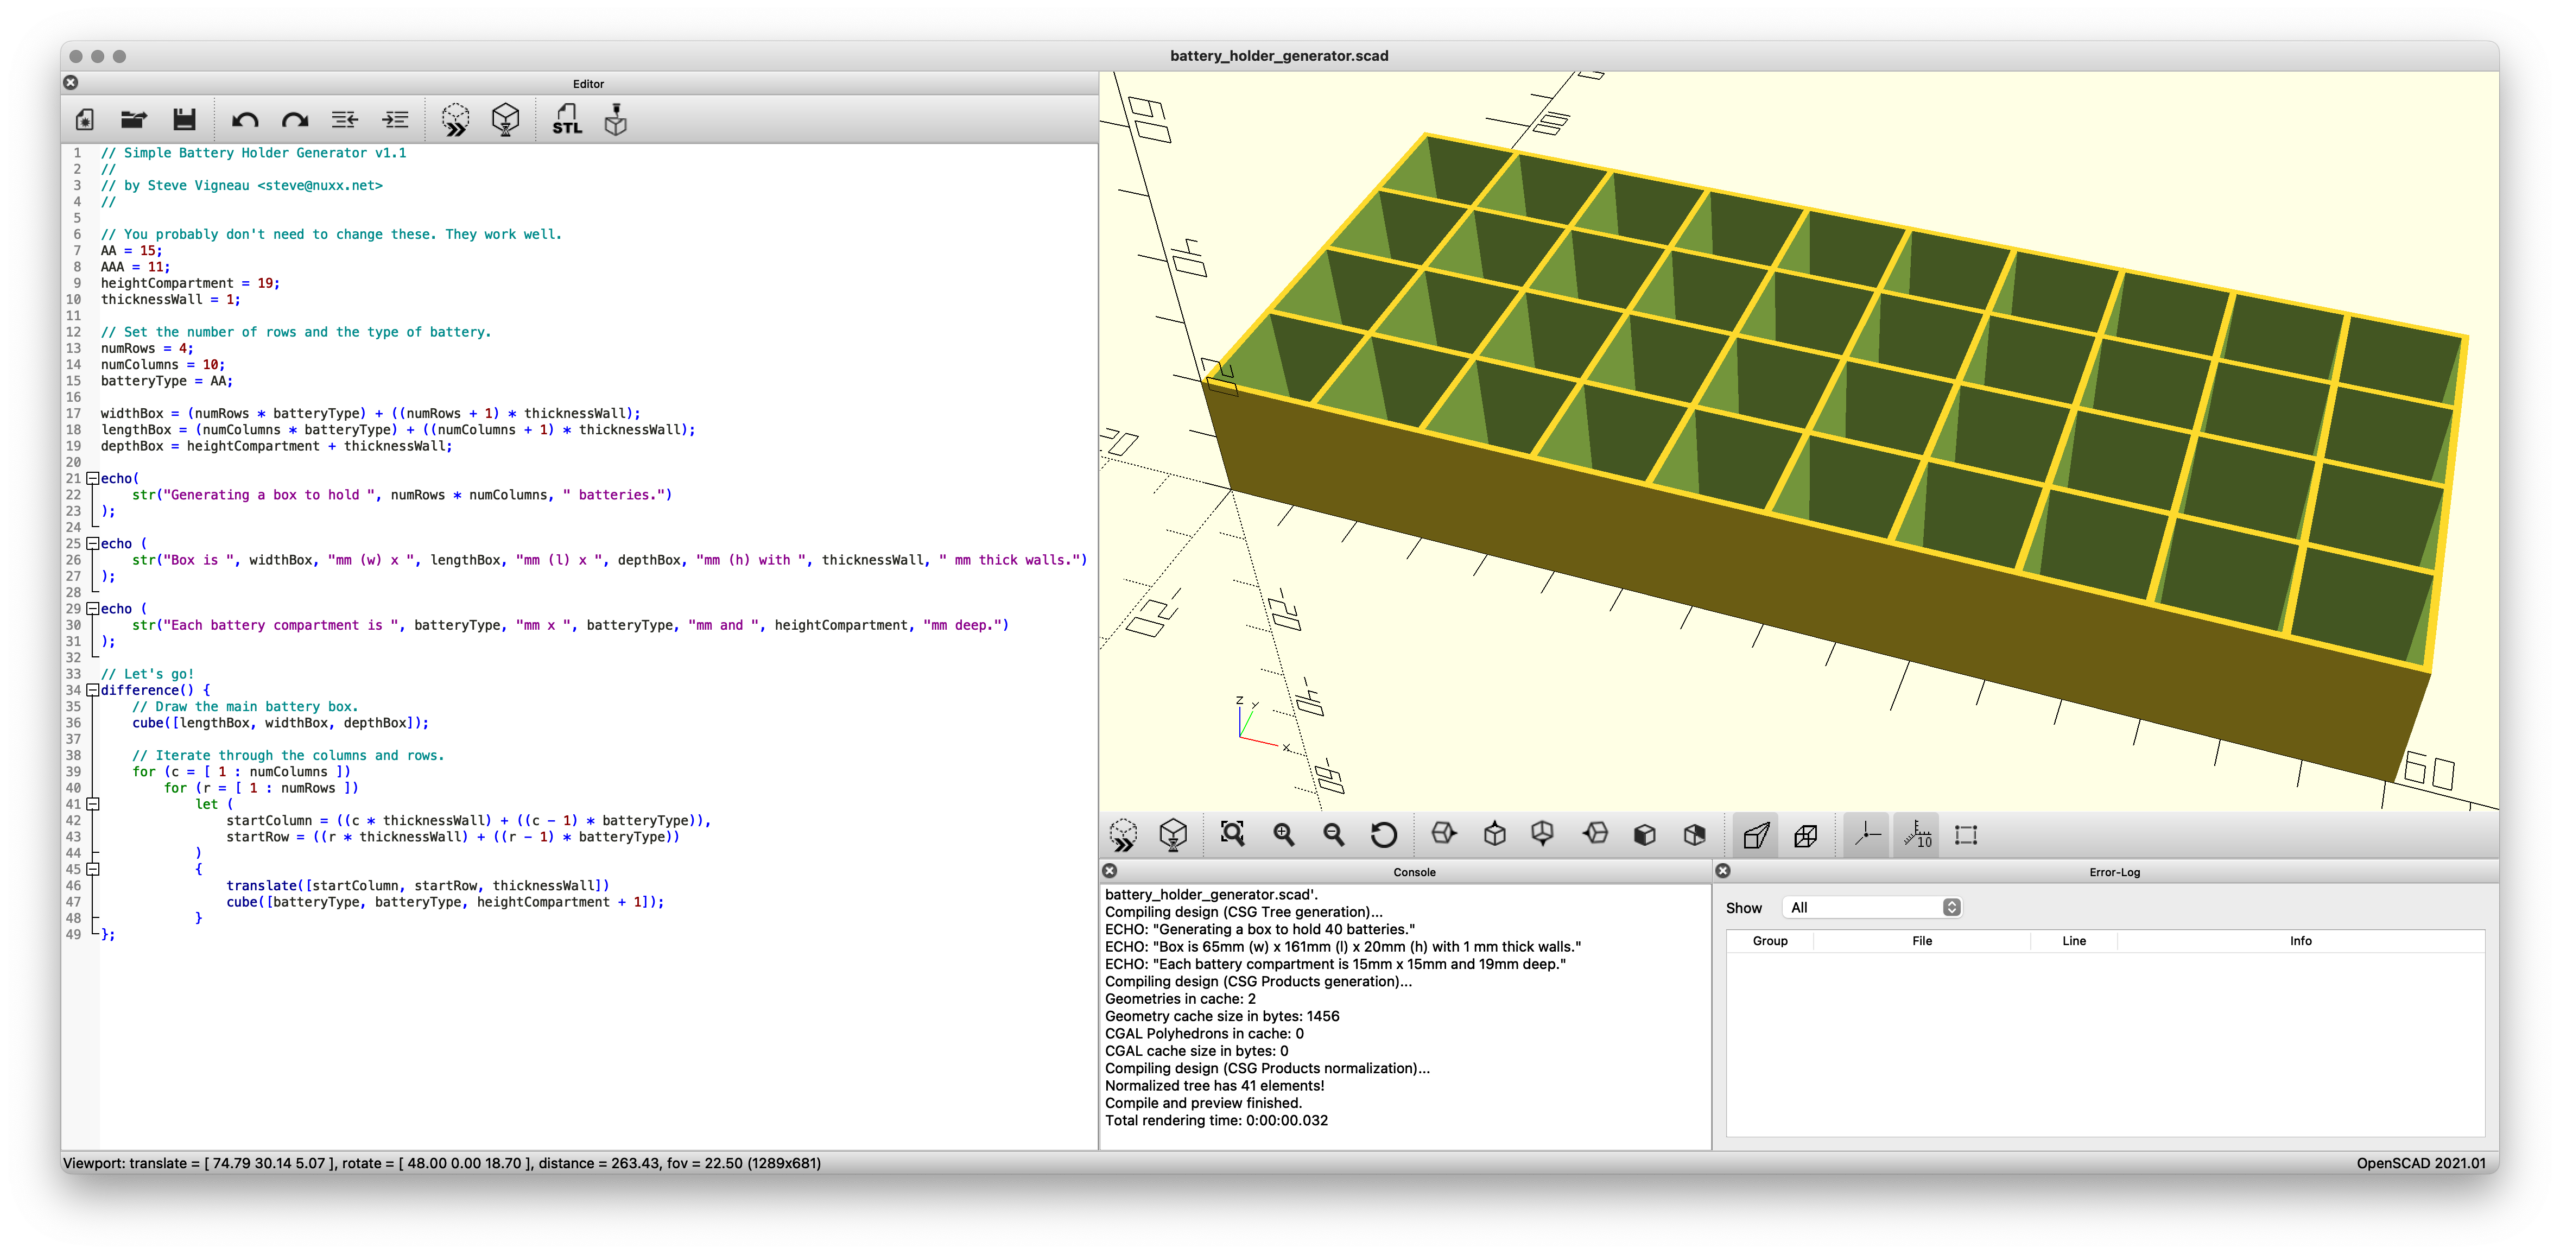
Earlier this year I designed a very basic box/organizer for AA and AAA batteries in Autodesk Fusion, making it parameterized so that by changing a few variables one could adjust the battery type/size, rows/columns, etc. This worked well, and after uploading it to Printables earlier today I realized that reimplementing it would probably be a good way to learn the basics of OpenSCAD.
OpenSCAD is a rather different type of CAD tool, one in which you write code to generate objects. Because my battery holder is very simple (just a box with a pattern of cutouts) and uses input parameters, I figured it’d be a good intro to a new language / tool. And in the future might even be better than firing up Fusion for such simple designs.
After going through part of the tutorial and an hour or so of poking, here’s the result: battery_holder_generator.scad
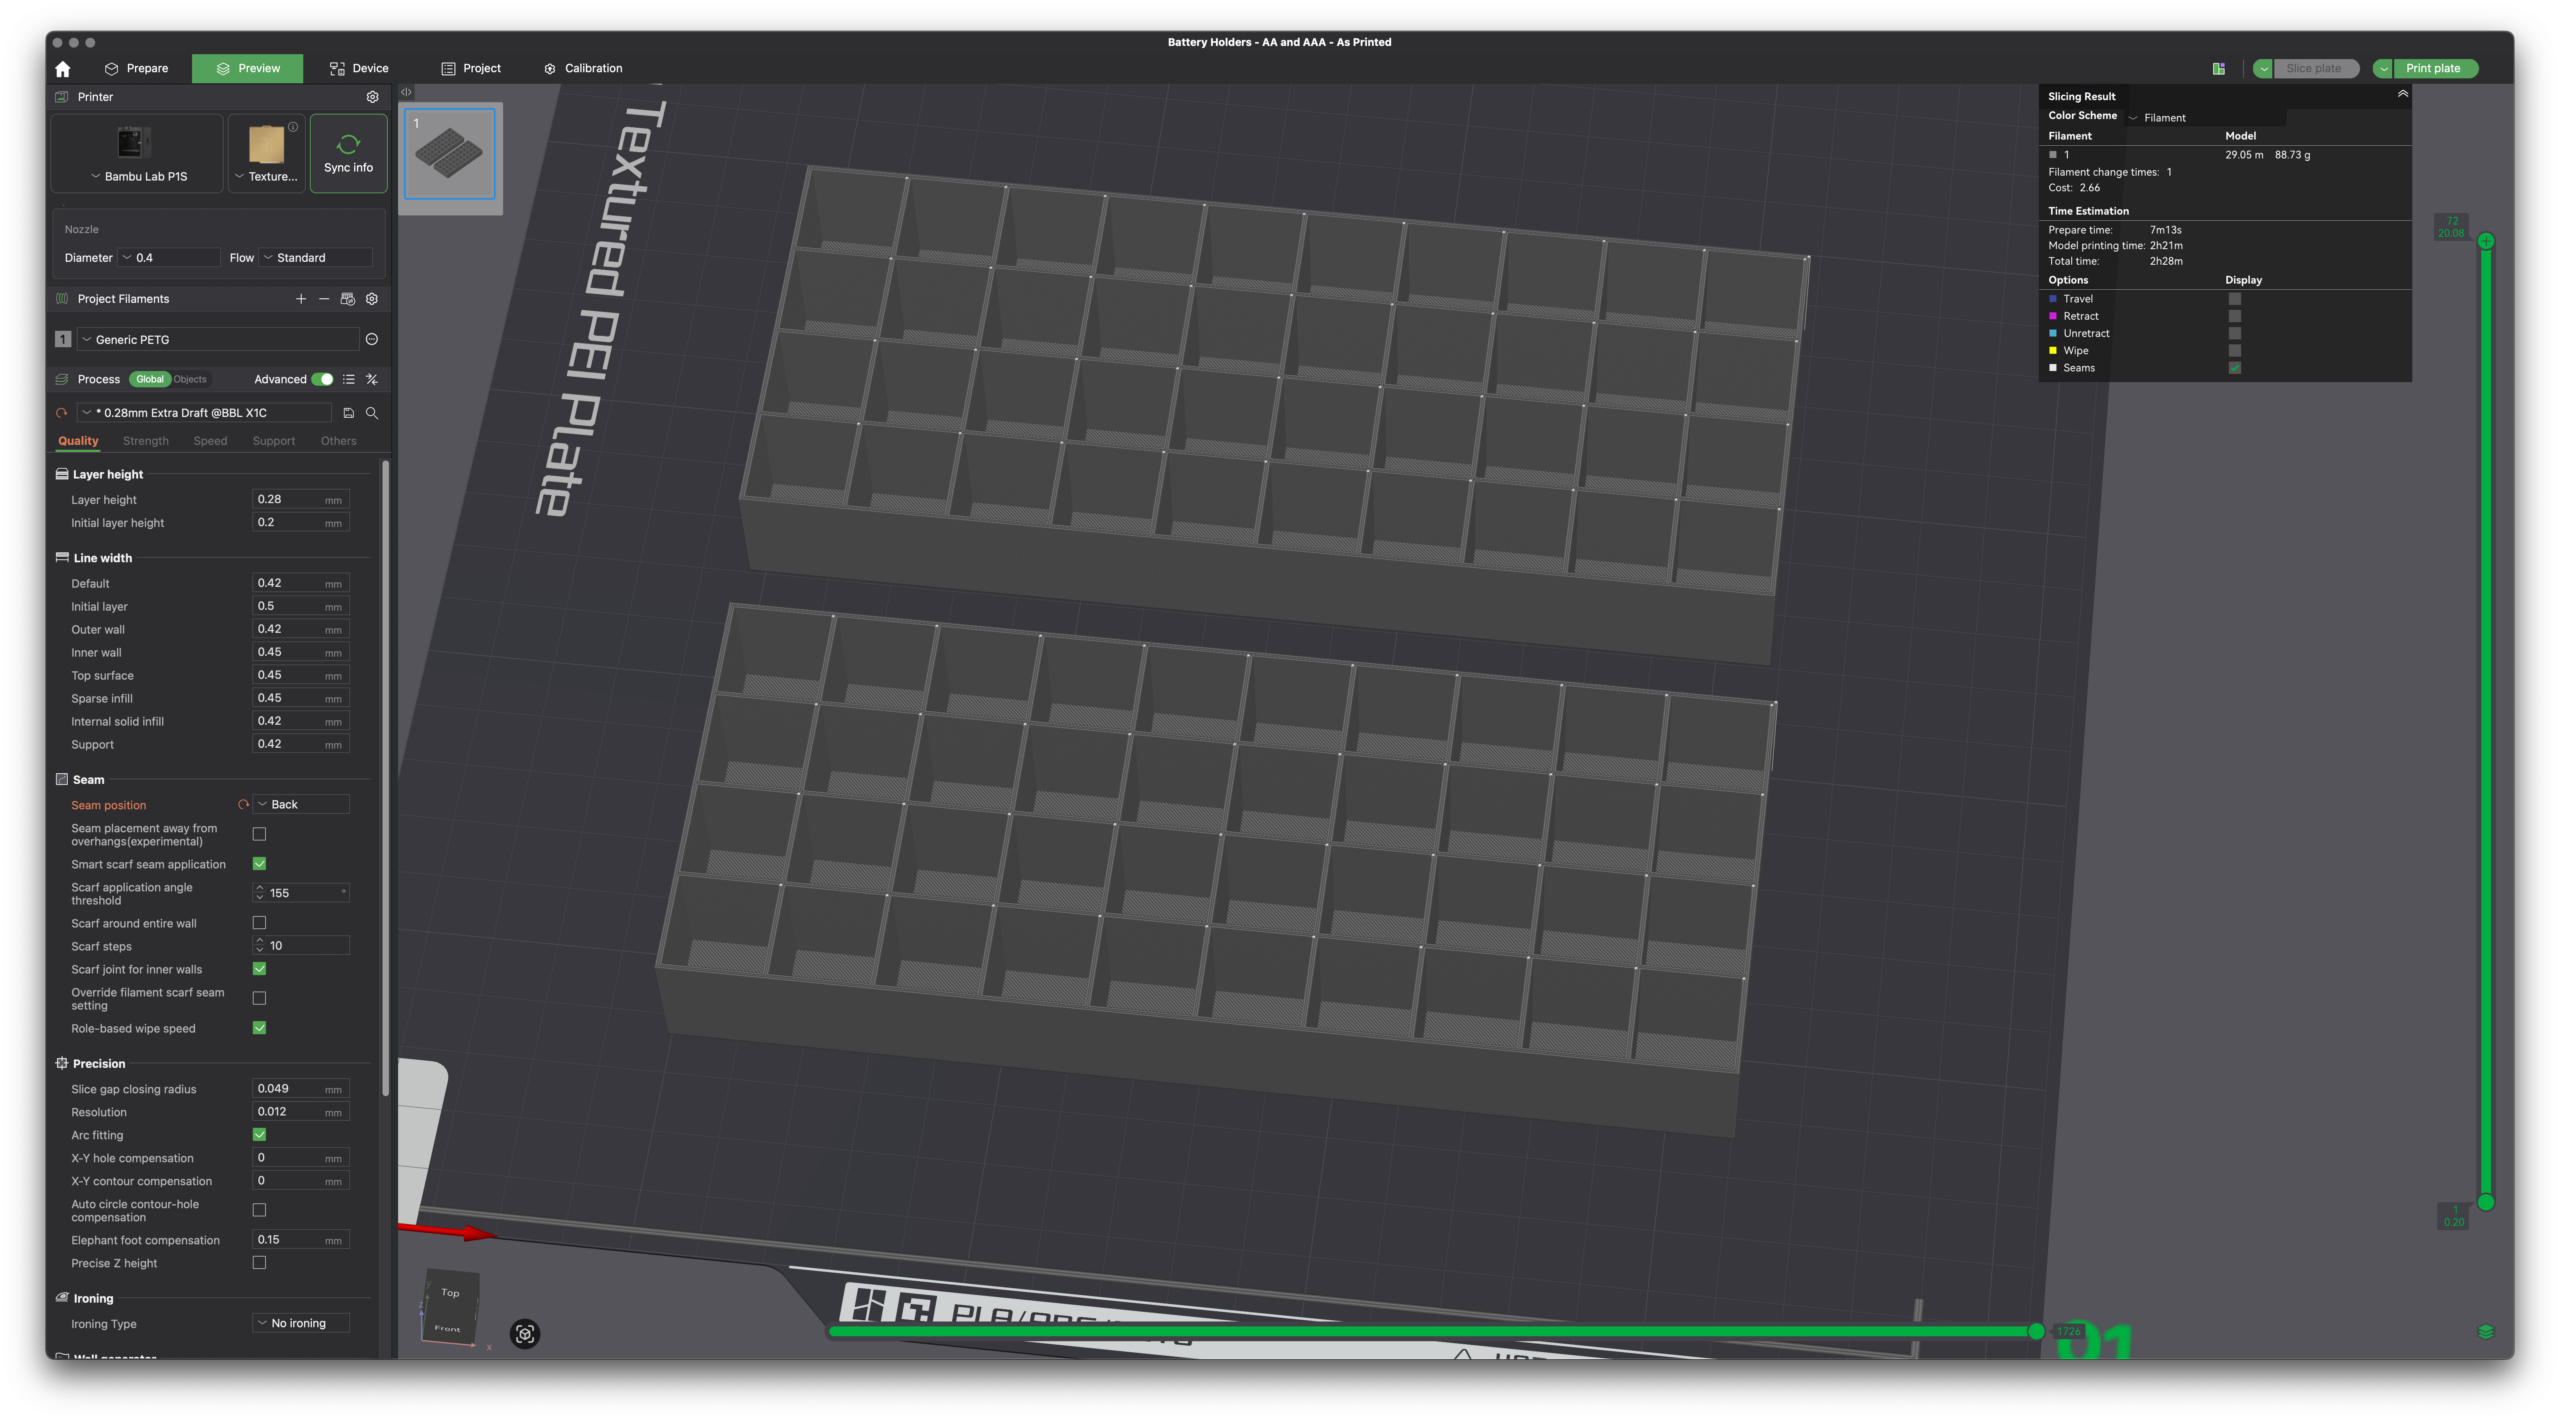
By changing just a few variables — numRows and numColumns and batteryType — one can render a customized battery holder which can then be plopped into a slicer and printed. No heavy/expensive CAD software needed and the output is effectively the same.
Without comments or informative output, this is the meat of the code:
AA = 15;
AAA = 11;
heightCompartment = 19;
thicknessWall = 1;
numRows = 4;
numColumns = 10;
batteryType = AA;

widthBox = (numRows * batteryType) + ((numRows + 1) * thicknessWall);
lengthBox = (numColumns * batteryType) + ((numColumns + 1) * thicknessWall);
depthBox = heightCompartment + thicknessWall;

difference() {
    cube([lengthBox, widthBox, depthBox]);
    for (c = [ 1 : numColumns ])
        for (r = [ 1 : numRows ])
            let (
                startColumn = ((c * thicknessWall) + ((c - 1) * batteryType)),
                startRow = ((r * thicknessWall) + ((r - 1) * batteryType))
            )
            {
                translate([startColumn, startRow, thicknessWall])
                cube([batteryType, batteryType, heightCompartment + 1]);
            }
};
Simply, it draws a box and cuts out the holes. (The first cube() draws the main box, then difference() subtracts the battery holes via the second cube() as their quantity and location (via translate()) is iterated.
That’s it. Pretty neat, eh?
(One part that confused me is how I needed to use let() to define startColumn and startRow inside the loop. I don’t understand this…)
While this probably won’t be very helpful for more complicated designs, I can see this being super useful for bearing drifts, spacers, and other similar simple (yet incredibly useful in real life) geometric shapes.